Transcripts
1. Introduction: Are you interested in using
your crafting skills to decorate and repurpose your
mementos and keepsakes? If so, you might be interested
in learning how to stitch pretty geometric patterns onto your old postcards
and photographs. Hi, everyone. I'm Clarissa. I'm a geometric artist and educator from Suffolk in the UK. Welcome to this class where I'll be showing you how to hand stitch beautiful
geometric grid patterns onto your old postcards
and photographs to create treasured
personal keepsakes and gifts for your loved ones. I'll take you through
everything you need to know from the materials you need
to complete the project, how to use the
printable templates to prepare your image
for stitching onto, and how to sew two
different types of pattern using the grid
and circle templates. I'll finish by showing you yet more design ideas
to inspire you. So let's get started. And
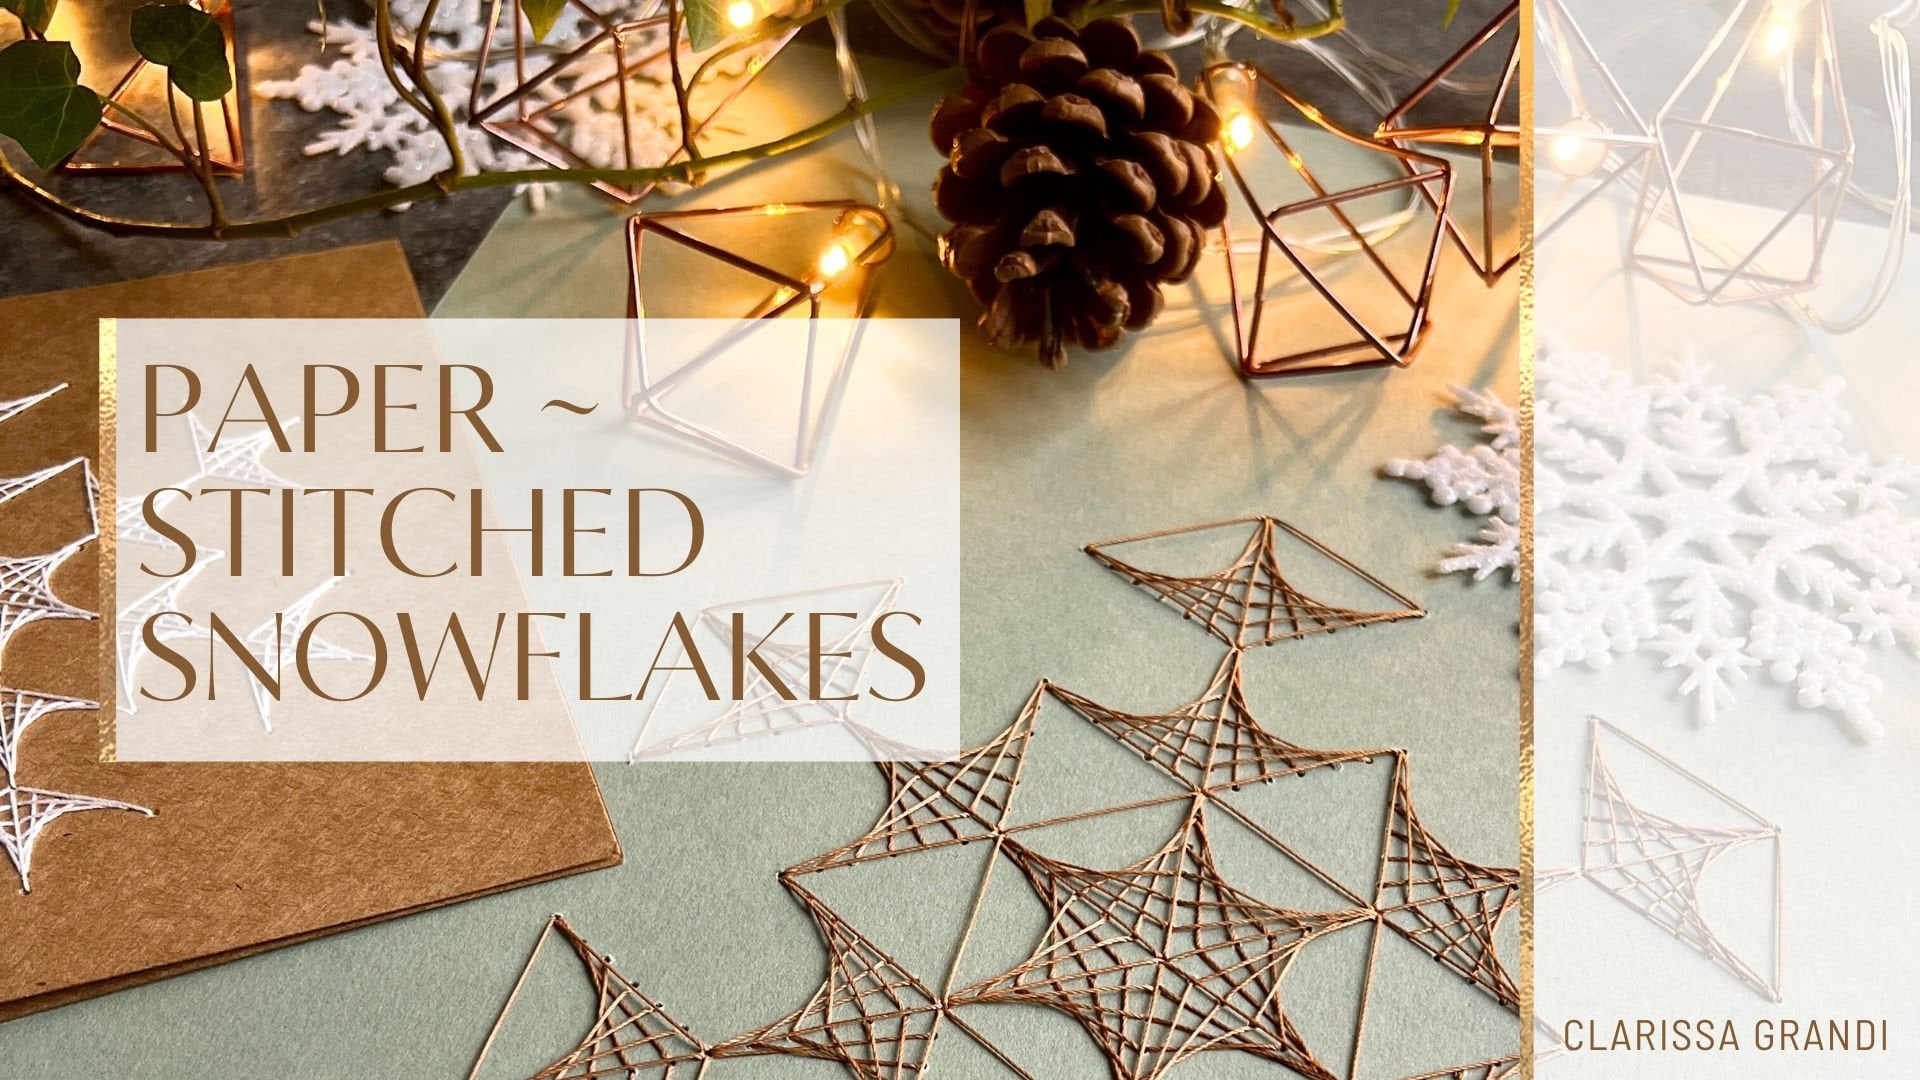
2. The Class Project: The project in this
class is to hand stitch geometric patterns onto an
old postcard or photograph. We'll begin by looking at the materials needed to
complete the project. I'll then show you how to align the printed templates and how to punch the holes
ready for stitching. And finally, I'll
demonstrate the stitching of two simple geometric
grid designs to embellish your old keepsakes. I'll also be showing you some alternative
designs to inspire you. You'll need your printable
templates at the ready, so do download the
accompanying guide, which includes a
handy materials list, three different sets
of pattern templates, and a page of example
patterns to try. Although I do
encourage you to use the grids to design
your own patterns, too. When you finished your project, remember to upload
some photographs to the project section. I do so love seeing your work, and it's great for
everyone else to have a bank of images
to be inspired by. So let's start off
with a closer look at the materials you're going
to need for this project.
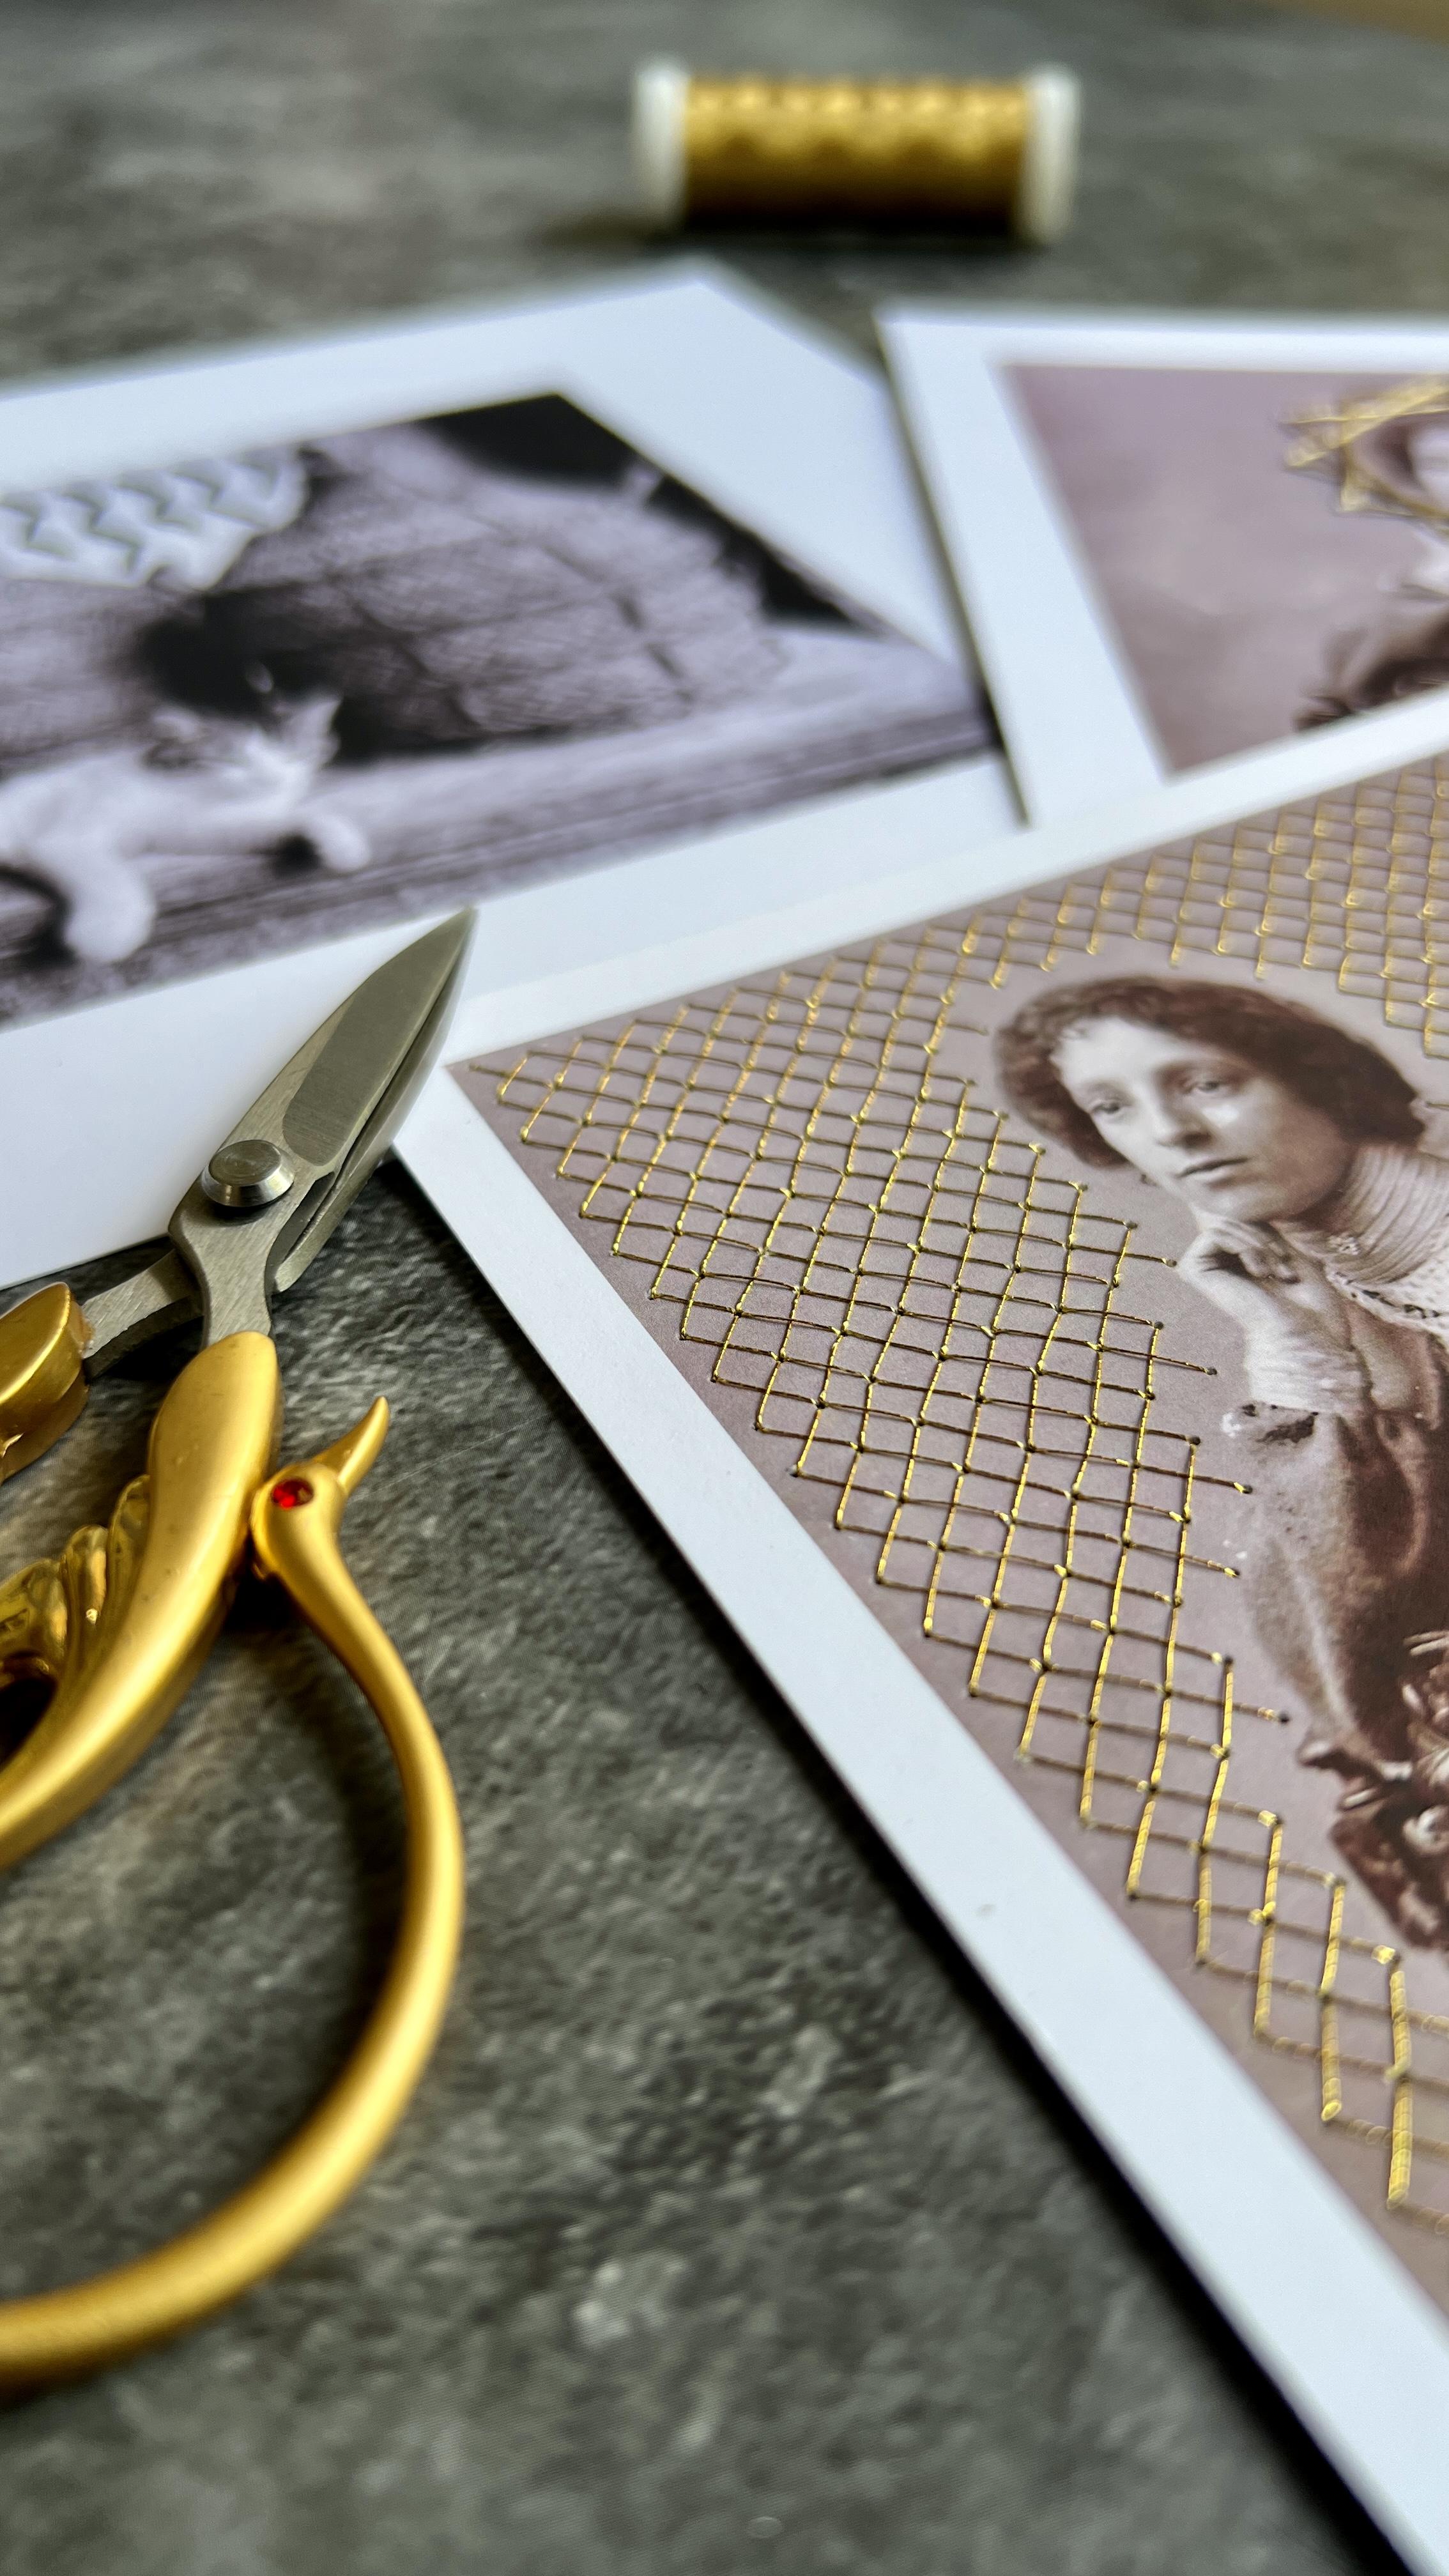
3. Materials for the Project: So we'll begin by looking at what materials
you're going to need. And first of all,
you're going to need your chosen photograph
or postcard or old birthday
card or whatever it is that you want to
embellish with thread. So here, for example, I've got the front of a lovely
birthday card. I've got a geometric postcard here and this beautiful
image of a cat, which is a treasured
postcard from a friend. And you can also, of course, do this technique
on old photographs, but I wouldn't recommend stitching directly
onto the originals. Instead, what you can do is scan them in and then print them onto card or onto
specialized photo paper. So this is mat photo paper. And because I didn't want to stitch onto the
original postcard, I've done exactly that here. I've scanned my postcard
and printed it off. I've done two copies just in cate I make a mistake
on the first one. This is my grandmother Ethel, so this is a beautiful
photograph of Ethel that again, I've scanned in and printed two copies
off just to be sure. Now you can also experiment with printing onto watercolour
paper because really, watercolour paper is the
nicest paper to stitch into, especially if you
go for a weight of about 250 to 300 GSM. And it has this lovely
textured surface, which can work really
well in contrast with the thread that you
choose to stitch with. So do consider that as well. Most watercolour paper,
if it's not too thick, should run through
your printer fine. Now, when you stitch
onto paper or card, you need to pre punch
the holes first. So there's a set
of things you're going to need to
assist with that. First of all, you need
a soft surface to place underneath your postcard or photograph as you're
punching the holes. So something like a felt laptop cover table mats useful or
a piece of packaging foam. You'll also need something
to make the holes with, so this is a paper pricker, but you can also
use the point on a pair of compasses or a pin, anything that you'll be able to handle easily and
make the holes with. You'll need some low tach tape for securing your
templates down, and it can be useful to
have a pencil ruler and eraser in case you need to align your grid
more accurately. Finally, you'll
need the template to punch the holes through. Now, these are available in the printable resource that
accompanies the class. And there's also some
example patterns there are circular templates. There are triangle
grid templates in different sizes and square grid templates
in different sizes. There are also some artists that provide wonderful
inspiration. Definitely hunt them down
and find them on Instagram and handy list of what
you need for the project. Now, the templates
are really best printed onto tracing
paper because this has revolutionized my paper stitching experience
because you can see the image through and really helps with
aligning your templates. Now, ensure that
your tracing paper runs through your
printer without issue, it's a very good idea to
have a heavier weight. So I would say at least
90 GSM tracing paper. If you don't have access to a heavier weight
of tracing paper, you can try taping down or sticking down with a
glue stick, one edge, the edge that's going to
pass through the printer first onto a piece
of printer paper, just to add the desired
weight so that your printer recognizes that there's
paper in the paper tray. But I'll also be
demonstrating using templates that are printed
onto normal printer paper. So that's fine to do as well. Finally, you'll need your
materials for stitching. So you'll need a needle and
a pincushion can be useful. A pair of scissors
any size will do. Low tac tape again for securing your thread on the back of
the postcard or photograph. Needle threaders can be useful, and then your chosen thread. So these are just some examples of threads that I like to use. First of all, this is a
fine crochet yarn size 30. I love working with this. You can get polyester thread. This is no 0.45 millimeter, and this comes in all
sorts of lovely colors. And you can get
metallic threads. So these are metallic
embroidery threads, and they add a lovely bit
of bling to a project.
4. Using the Templates 1: Okay, so I'm now going
to demonstrate how to pre punch the holes
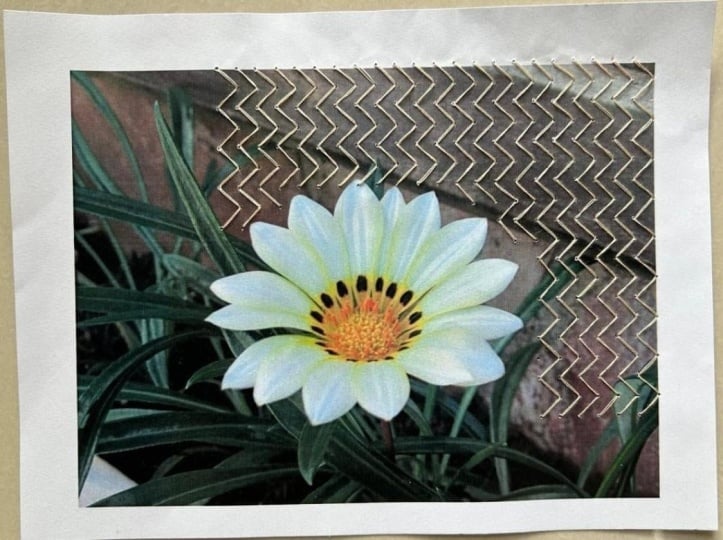
before stitching. So first of all, I'm going to be demonstrating the use of a grid, and I'm going to be stitching
onto my cat postcard. You'll see immediately that tracing paper is so
much easier to align. So I want to mirror this Chevron effect that's in the weave
of the basket. So I thought it would be nice
to use the triangle grid, and then I can stitch along the zigzags that
appear in the grid. And I can lay on
my triangle grid, and it's really easy to line
it up either in portrait, or landscape orientation,
whichever you wish. And I'm just going
to be stitching this back section of
the white wall here. So I'm going to align my grid, and I'm just lining
it up so that my grid is square with the
edges of the postcard. And then when I'm happy, I would secure that
down with some tape. If it's easier,
you can cut round the grid and get rid
of the excess paper. It's a little bit more tricky, aligning one that's printed
onto normal printer paper. So for this, I would
certainly cut it out. And I'm going to
just cut close to the edge on the two sides that I want to align to
the edge of my postcard. Okay. And then I'm just
going to have to keep an eye underneath just to make sure that I'm punching
into the right place. In fact, I might use my
pencil to trace out the area, the wall area that
I'm working around. Okay. You could work on a
light box or a light pad, and then you might
be able to see more clearly where your
area for punching is. Okay. So I'm going to be
punching all the holes in this section here because this is the
background, this is the wall. Alright, now I've got
everything aligned. I think I'm going to pop
on a little bit of tape. Just keep it in place. Might detach it a little. And I'll pop it down here because I'm not punching
in this section. And now that I'm ready
to punch the holes, I'm just going to
do some sort of short sharp moves so that
I get a nice clean hole. And I'm working
systematically across the page so that I
don't miss any out. Okay. I'm just going to cast my eye over to make sure I
haven't missed any. I think I have here, got a hexagon without
a dot at the center. So I'm gonna line it back up. I can see that's
the one I missed. And just put my pricker in
one of the others just to make sure that it's lined above the holes I've already
got, and it seems to be. So that was my missing one. Okay. I'll next demonstrate
the use of the protractor.
5. Using the Templates 2: Circle patterns can
be lovely ways of framing faces in photographs. So I've got my
photograph of Ethel, and I think I would probably use the smallest
protractor size. And again, you can see
with the tracing paper, it's so easy to just get the circle centered
where you want it. But you may not be able to
print on tracing paper, so you can still work with the circle
templates on normal paper, but I'd recommend cutting
out your desired size. So I'm going to cut out
this small one here. Okay. Now I'm going to find the zero and
have that at the top. And you'll notice
your main axes are along 090, 180, and 270. So I'm going to try and
keep those sort of square. Now this is where you've got
to take a bit of a punt. I'm hovering over Ethel, and I can see where the
center of her face is. And I'm going to
place my protractor down. You could actually. Actually, that's a
good idea. You could actually cut out
the center as well. I'm going to do that. I
can see exactly where she is 'cause I'm not going to use the center and punch
any holes through that. Okay. Okay. And then I can line up a little
bit more easily. I think I'm going to use
this inner ring here. And looking at, making sure
that looks pretty square. M zero and my 180
look pretty vertical. My 90 and my 270 look like
they're lined up horizontally. You could always
measure out with your ruler and make a small
mark at the top and bottom. But I'm gonna do it by I. Okay. And then when you're happy, you could use a little
bit of low tech tape. I'm only going to use
the tiniest piece. I don't want to tear. A surface. Okay. And then I think I'm going to punch through the top
of these little sticks. And the pattern I want to do is this pattern of
overlapping squares. So I'm going to need
one, two, three, four, five, six, seven, eight, nine, ten, 11, 12 holes. So 360 degrees divided
into 12 is 30. So I'm going to be
punching a hole every 30 degrees
around my circle. At my chosen level. So I'm going to be
using the ends of these little sticks here
and every 30 degrees. Okay. Again, check that I've
got. All the holes I need. I can't see any gaps. And now Ethel's ready to stitch.
6. Stitching the Triangle Grid: So first of all,
I'm going to stitch my triangle dotty grid
onto my CAT postcard. Now, it's always a good
idea to plan ahead and think about your strategy
when it comes to stitching. And with the grids, I think
it's a good idea to do a kind of running stitch and
then go back on yourself. So to explain what I mean, I'll refer to this large
triangle dotty grid. I want to stitch these zig
zags running down the page. But when I stitch, I'll come out of one
hole, into the next, and then I'll come out
of the hole below, which means I won't be filling in a stitch
in this section. My stitch will be on the
underside of my postcard. Then I'll come out and do
the same stitch I've just done above on the next section. Come out here and
do the same stitch. So I'll be doing a series of little lines coming down like that with
gaps between them. When you get to the end
of a line or you could do a full section and when you get to the end
of that section, you simply reverse your
direction of travel and fill in all the little
gaps that you've missed. That's like a back and
forward running stitch, sometimes called
the Holbein stitch, which can be really
useful for grids. It's probably easier
to see it as I do. So first of all, I'm going
to thread my needle. I'm using this fine
crochet thread, fine crochet yarn,
which I thought would look quite punchy on top of
the black and white photo. And I am going to cut myself for just a little less
than an arm span's width. I'm going to thread
a needle with a slightly larger eye because this is slightly
thicker thread. I'm going to draw it through so that I'm shortening the length
that I'm working with. And I think I'm going to
start in the top left. So I'm going to come up through that topmost hole and pull through till I've got
a couple of inches left. And I'm going to secure
with my low tax. I'm going to make sure that
I pull the thread away from the holes so that I'm not stitching into the thread
or into the masking tape. I'm pressing down firmly along the length of the thread
to make sure that's gripped by the tape and along all the edges of
the tape to make sure I don't catch
on those either. And then I'm ready to
stitch my running stitch. So I'm going to work my
way down. That's my plan. So I'm going to come
down to this hole here, up through the one
below it, down again. And you can see that
I'm leaving a series of gaps that I'll run
back and fill in. Once I've done a section, I may even do these stitches across the whole
wall and then run. So now I need to come up. So I'm going to come
out of this one. And this time I'm going
in a different direction. But I'm still missing
out the gaps. I'm just going to continue in this way until I either
run out of thread or I get to the end of the wall and then need to
turn around and come back. So I've got to a
stage here where I haven't got a hole
for my next what would have been my next stitch because that actually goes through the basket that
I'm trying to avoid. So what I'm going
to do is actually just not do this stitch, so I'm going to just
retrace my steps. And so I'm not going
to have a stitch here, but my chevron will
continue here. So I'm going to come
up here instead. S. Okay. Then I'll have a piece
of Chevron here, piece of zigzag,
and then I'll have the zig zag continuing
above the handle. So that means now
I'm going to come up here to continue
the zigzag here? One reason for using
this sort of reversing running stitch is because it uses less thread than
a backstitch would. So a backstitch, you'd fill
the missing gaps as you went. But if you want to
preserve your thread, then this is a better stitch. But you just kind of need
to trust the process a bit, trust that it will
fill it will all come together when you stitch
back in the other direction. So I'm at that stage
now where I'm going to be stitching back in
the other direction. I saw got a fair
amount of thread. So I'm just going to kind of have a look at which
stitches I need to complete. So I need to complete
this stitch here, and then I'm going
to come up here and complete this missing one here. And I'm just kind
of pre planning my root in kind of the
next few stitches ahead. So I'm going to come up here to fill in my first
little bit of zigzag. Then I can see I need to
fill in this bit here, so I'm just going to come
up at the nearest hole. Fill in that bit of zig zag. And now I can see the zig
zag starting to appear. I've got a piece
to fill in here. Right, I don't think I've got enough thread to
make it to the end. Which is good because
I can demonstrate sort of casting off
and casting off. So I think I'll do one last row. Okay. And just
going to turn over, pull my thread again away
from the whole section. Little bit of tape.
Fool it nice and taut. Pop your tape on. And then I'm just going to
snip this bit off. And I've still got a nice bit of length there so that if I need to perform any repairs or I need to sort of unthread
it or whatever, I've got a good piece of working thread there
that I can use, and I can take my low tack
tape off nice and easily. And then I don't need
very much thread because I've got far to go. Where is my end here? So I'll just take
about this much. And then I just cast on again
where I would next come up. So where did I get to? So I got to the end here. I need to next come up in this hole here to complete
this missing stitch. So I'm just going
to come up there. Pull through again till there's
just a couple of inches. Pull that over to
the side. Secure it. Snip off any excess. And I'm off again. Yeah, I think I'm done. Double check, holding
it up to the light. I've used every hole, so I'm going to cast
off, essentially. And if I was gifting
this to someone, I would consider
putting sticking down a piece of
white paper to hide, to hide the mess as it were. And you can also replace
the low tach tape with some more permanent
acid free tape, such as frames tape, and you could use
scissors to cut it out if you want
to be a bit neater. There he is. Little cat. And I think that's really added something lovely to the design.
7. Stitching the Circle: So I'm now going to stitch the
frame around Ethel's face. I'm going to use that
overlapping squares pattern, so I've got my example pattern
sheet ready for reference. I'm going to try this
thicker gold thread. I think it's actually
you're actually supposed to remove
individual strands of it, but I like the weight of it, all the strands together. So I'm going to give that a go and cut myself a kind of nose to fingertip
length to work with. And having a look at
my reference sheet, I can see that each
stitch, as it were, stitches across, and
I need to count one, two, three holes from
where my thread emerges. So if my thread emerges here, I'm then stitching one, two, three holes away. But rather than do the running Holbein stitch
on these giant stitches, I'm instead going to come up in the closest hole next door each time and then stitch
three holes away. Come up in the closest hole, stitch three holes away, and work my way
around like that. So I'm going to start actually, I might start at the side. There's a bit more room
here for me to put my tape, so I'm going to start by coming up through
this hole here. Pulling through sticking down. This stuff is not the
easiest to work with, but I think we'll
be right. Okay. Okay. Now, I said I was
going to work clockwise, so I'm going to count
one, two, three holes. And that's going to
be my first stitch. And then I'm going
to come up one hole away, again,
traveling clockwise. And that will just
if I just have that little plan in my head,
that would keep me going. So I'm going to
come up next door just to conserve thread. And again, I'm going
to count one, two, three, clockwise
stitch to there. Come up. Next door.
One, two, three. And now, if I came up next door, I'd be retracing my steps and putting on a stitch
I've already got. So this time, I could either come back one or I
could move forward two. I am going to come
back one, I think, just because that's
a shorter stitch. But I'm going to continue
clockwise with my counting. Counting one, two, three. Now I can move
forward again one. Count one, two, three. Move forward again. I need to pull some
thread through. That's it. Count
one, two, three. It's looking quite nice
already, actually, just with this little
design that's emerged. Oh I now need two. But all my holes
now have been used, but only in one direction. Now I'm going to go come up through the holes that
already have stitches in, but go in my reverse direction. I'm going to come up here. But this time, I'm going to count anticlockwise,
one, two, three, so that I start completing
the overlapping squares. So I might come forward
still and then one, two, three, one, two, three, I can see the pattern
starting to emerge. Will I have enough thread? I'm just going to tighten that a bit, and I think I'm done. Okay, so I'm just going
to double check that I've got one, two, three, three full squares
with all the sides stitched. And I think that
looks really lovely. I'm glad I chose
the thicker thread. So now to just cast off. And there we have it. And
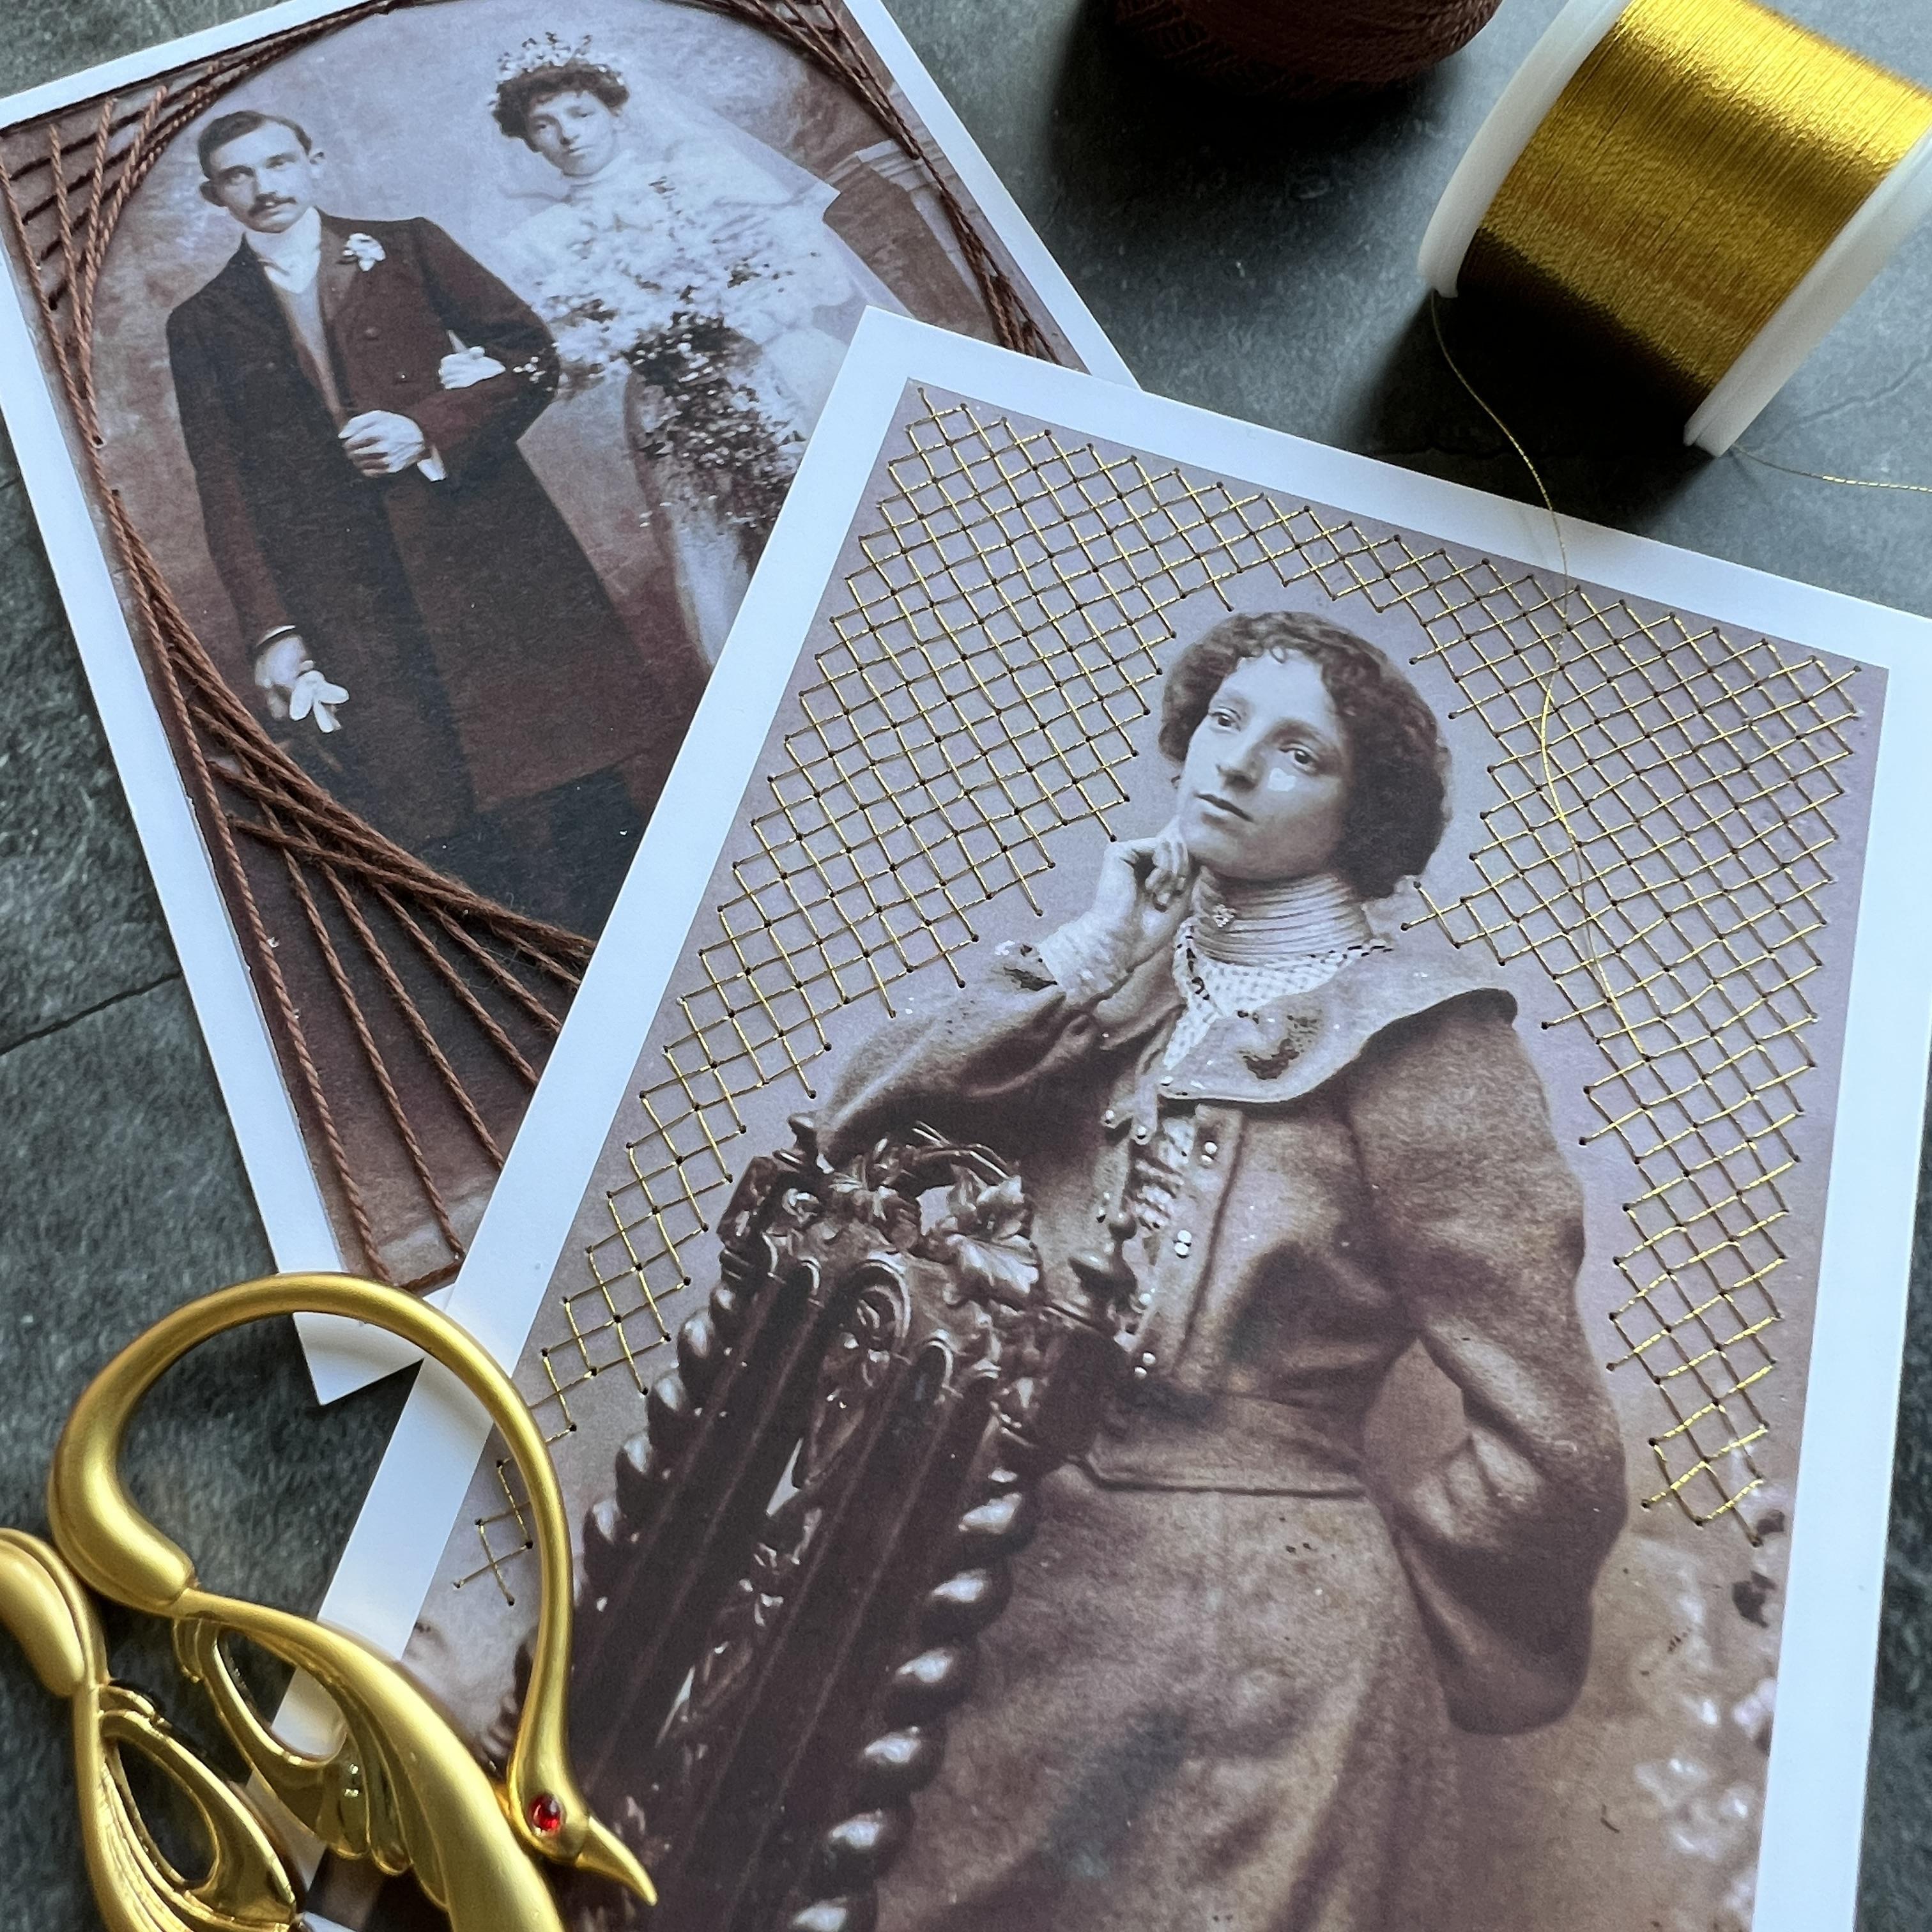
8. More Design Ideas: So here are my two
completed designs, which I'm really happy with
the circular frame using the protractor and the zig zags using the triangle dotty grid. But I've got a few other
ideas to show you. So first of all, I've got another
postcard of Ethyl. And in this one, I used
the square dotty grid, I think the smallest size, and hopefully you can
see it in the light. I stitched a cross stitch into the background
around Ethel. And I think I actually might even prefer this
version to this one. There's something
really lovely and tactile about this result. Then I've used the
circular framing idea again on this lovely postcard. And I did two separate patterns. So I've done the overlapping
squares pattern, which was going
every three dots. But I've also overlaid
that with a pattern that goes every other
dot and one that goes to every dot right
along the outside. So do play around. You can draw things
onto the templates and play around and
pre plan your designs. And again, I've stitched this in a fine gold machine
embroidery thread, and I think that's
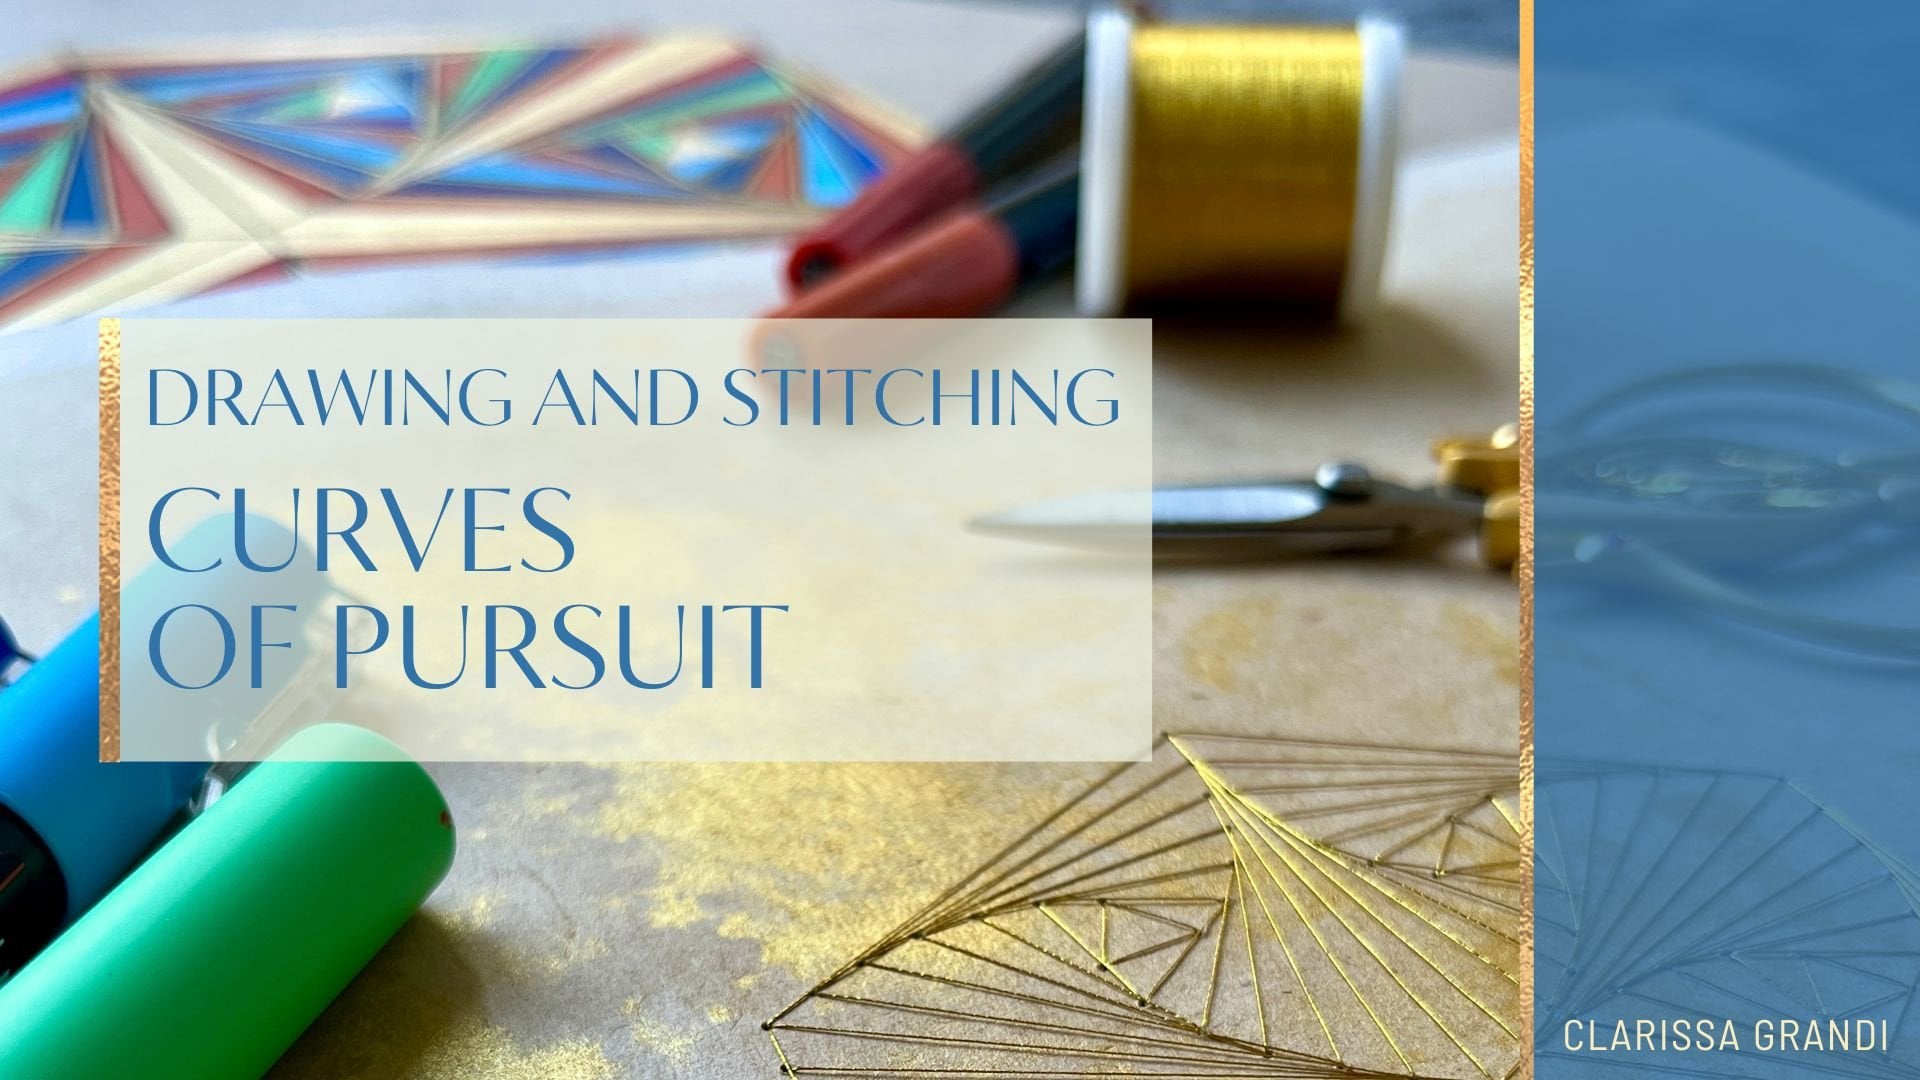
really effective. This is Ethel on
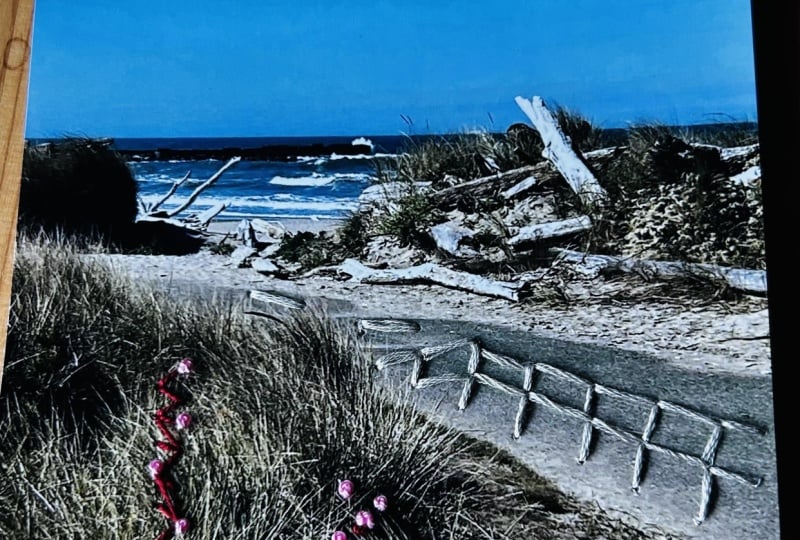
her marriage day. And here I framed the
couple in parabolic curves. So I use my square grid, but I just pricked
holes along the edge. And then I stitched joining up holes moving out on one axis
and in on the other axis, and you get these elegant
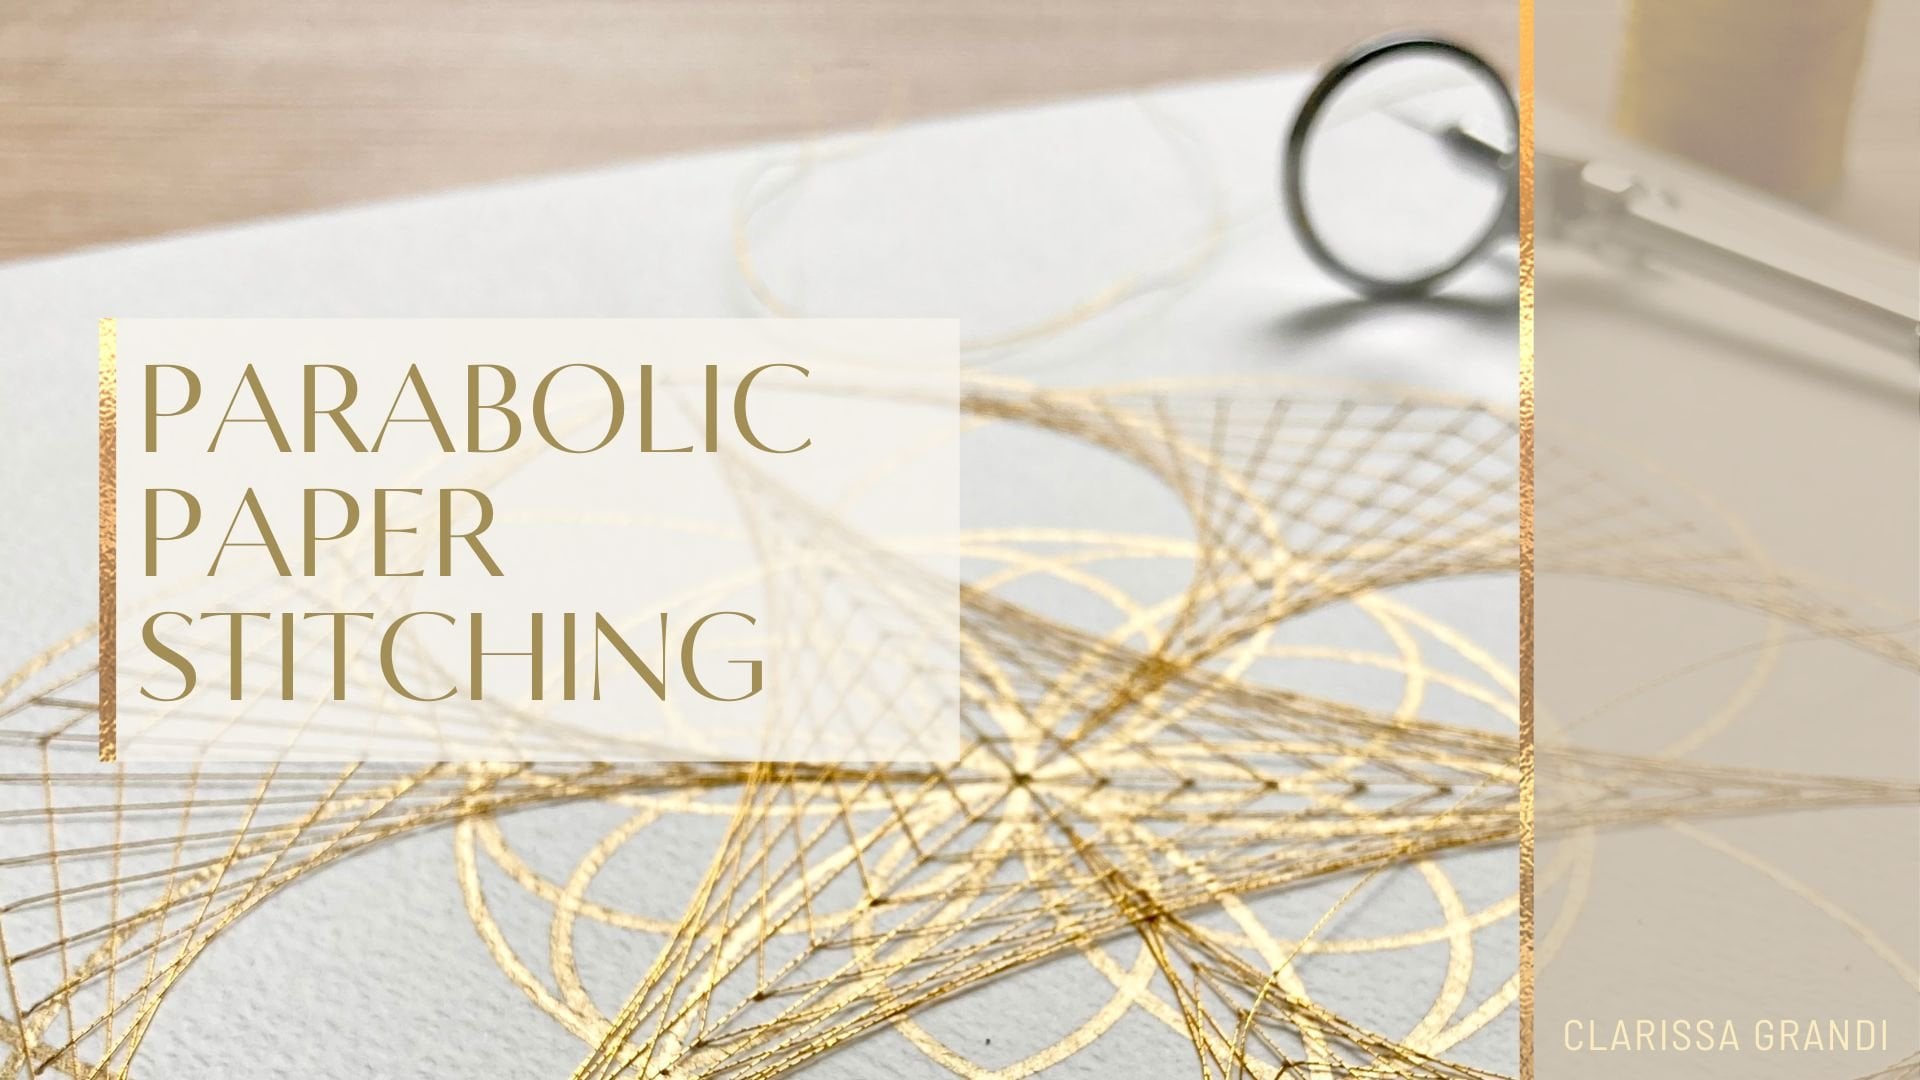
curves, parabolic curves. Again, I've used a
parabolic curve along the edge of this beautiful
Kingfisher postcard. And if you have any
geometric postcards, then you can simply stitch along the edges of the geometry
that you've already got. So this one's a
little tricky to see, but I've used that heavier
gold thread just to pick out pieces of the geometric pattern that are already
in the postcard. And to do that, I punched holes first at all
the vertices or corners of the pieces
of pattern that I wanted to outline and then
stitch them afterwards. So there's loads of
scope for embellishing your treasured postcards and old photographs and turning them into lovely mementos or gifts.
9. Conclusion: Thank you so much
for joining me for this Geometric paper
stitching class. I do hope you're happy with your finished
stitched keepsakes. I'd love to see
what you've made, so do share your work
on Instagram using the hashtag Geometric
Photo embroidery and tag me at Clarissa
Grandi dot art. And if you've got any questions, please pop them in the
comments section below, and I'll do my best
to answer them. I regularly offer live
online classes covering various geometric art forms from around the world
and across history. And I'm also creating a growing collection of on
demand classes on Skillshare. So do check out the Link in my bio if you're interested
in learning more. All that's left to say is take
care and happy stitching.
 Clarissa Grandi, Artist | Educator | Author