Transcripts
1. Class Intro : Hello everyone. My name
is Adam Unprofessional, graphic designer and
animator from Casablanca, Morocco with more than
seven years experience. This is my class on logo animation that I am
publishing on Skillshare. I also did work in collaborate
known brands like Wonder, Share, Animaker, Flex Lib. I did some work for some
big Youtube channels. I don't want to
mention the name of in my free time when
I'm not designing. I like to play games. I play
games like Cisco Valorant. I also like story mode
games like Dark Souls, for example, or Hander. As you may know,
there are a lot of techniques when it comes
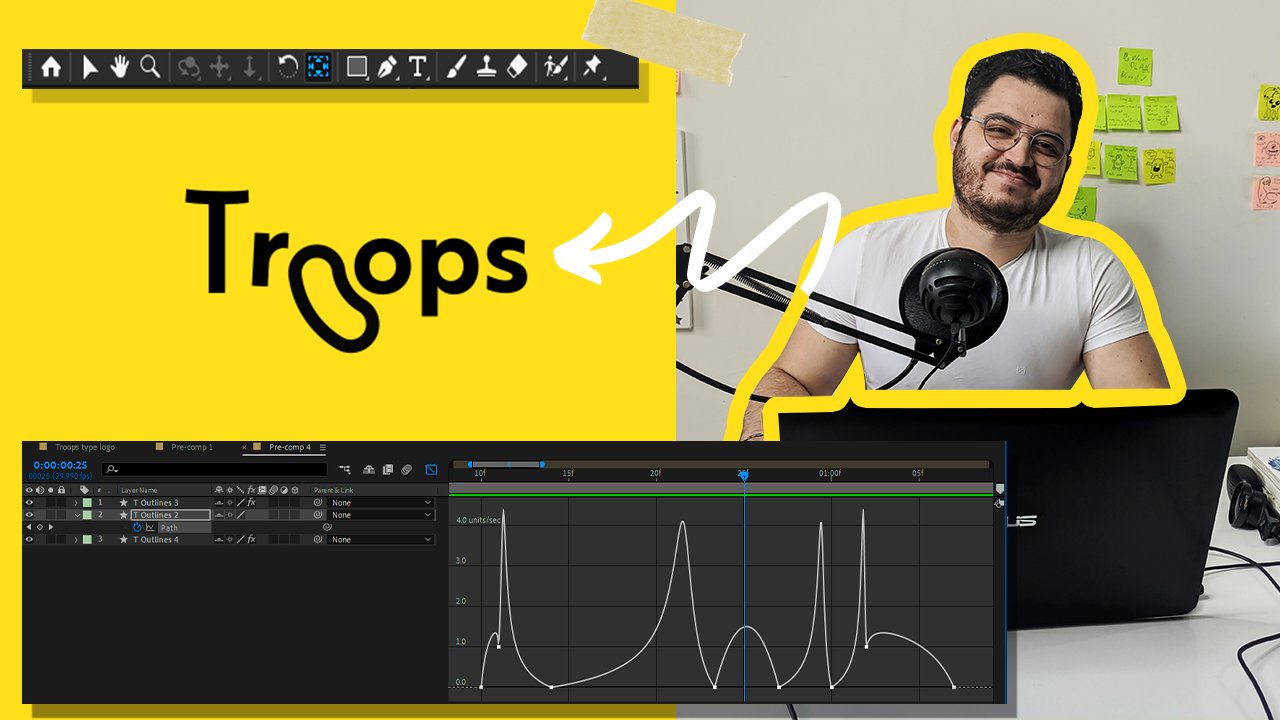
to animating logos. But for our class today, we'll be doing liquid animation. Projects will consist of animating letter
of our type logo. Using filling
techniques and pouring techniques to make it look
as realistic as possible. Now the reason why I choose liquid animation is because
it's something that's really used in the industry
and something that add more life
to your animation. It does make your animation
look more realistic. Now I do understand that liquid animation can be so difficult, especially if you do in
frame by frame animation. This is why I try
to keep this class as easy as possible and as beginners
friendly as possible. Doing only liquid animation
and after effects, and not using any
plug ins at all. As I said, this class is for
beginners and the only thing that you need is after
effects and your imagination. Also, keep in mind that the
techniques you learn here, you can apply them to
different liquid animations. Okay, go ahead and download your exercise files and let's
start animating a logo.
2. Class Project -Liquid Logo Animation: For our class projects
we'll be doing, of course, liquid
animation logo. And I thought, well, hard on how to make this class as simple as possible to not overwhelm
you guys with information. So I decided that I should divide this class
into three steps. We'll start by animating the
filling of the letter U, then animating the
pouring of the liquid, and then finally, animating the water drop and
adding more details. My advice here tonight gets overwhelmed by this class,
is that take it easy. If you don't
understand something, rewatch the lecture
and ask me questions. Or post a discussion to
ask me questions directly. I will answer you
guys in the same day. If I'm not working, I will answer if I'm working. It's after I finished work, I will be answering
you guys so you can go ahead and download your
exercise files from here. And the good news
is that we won't be needing any plugins. I wanted to keep this class
as simple as possible, so no plug ins for this class, we'll just be using plain
Simple after effect tools. All right, so that being said, this is our first blue and
animation in the next lecture.
3. Simple Glue Animation : In this first lecture,
we'll be doing our warm up, which is the glue animation. This type of animation is mostly used in the
loading phase. Let's see how we
can do that using only the tools available
in after effects. All right, so once you
open after effects, you want to have a
composition like this with 920 in height, 518. You can pretty much
do anything you want here. It doesn't
really matter. You just want to have a small composition,
Presets composition. You don't want to have a big one because this is
just an animation. Of course, I'm working
with 24 frames a second and background
color whites. And I'm just doing
like 8 seconds because this is going to be
a small animation click. Okay, now the next thing you want to do is
add a shape layer. We're going to go
with the circle, hold shift, click
and track, right? You want to have a
circle like this. Not too big. Too small. Okay? Now what we want to
do is add more circles. I'm going to go ahead and
select ellipse number one. And just duplicate this,
just like this, right? We want to have
the circles inside of the same shape layer. Let's open the option
for every circles. Make sure you open
transform as well. Transform ellipse two,
transform Atips three, transform Atips four,
selects all of them, the whole shift and selects. Now we can add position
and scale and it will be added to all the circles play. You just have the key frames
zooming into the timeline, then move in the
playhead into 16, around 16, frame the second. Now for ellip 4.3 I want to move it to the right a little bit
to the right, like this. We're going to do 100. All right, so 100 here. For ellipse three, I'm going
to enter the value manually, so I get the same,
same position, 100 here as well. Then for ellipse 21, I want to go with -70 -70 here. Then the next ten is
we're going to go ahead and reduce the
scale by 1090 here. And do it for all four of them. I just make sure you don't get lost with
that because I know it too many shapes. Next move to playhead again, 16 frames to the right. It is 2032. All right, so I got its rights. This time we're going
to move ellipse number four further to the
right, like this. Number one further to the left, like this, try to have the same distance
between the circles. All I'm just eyeballing here, but just do your best to have the same distance between
all four of them. Now again, we're going
to go ahead and decrease the scale more by ten to 80, this time for all four circles. Now if we play the animation, I think I'm going to
move these di frames a little bit to the, like this. Okay, let's go ahead now
and play the animation. All right, so see that the
animation is so generic. This is why you're
going to need to do some magic using
the speed graph. Select all the key frames, hold control, and
select all of them. Or you can just, I think,
select without control. Then nine, you go
to the speed graph, you're going to have a
graph like this, okay? What you want to do
here is select the middle, like this, all of them. And then move this
then to the right, deselect and select this one. Move this, then
again to the left, and then here thing here, right? So we want the animation to
start slow, then pick up, and then slow, slow, and then slow, right? We're just like aggravating
the easy and out effects. If you don't see the
graph speed like this, just make sure you
have the sidings, show selected properties and edit speed graph
show graph tips. And you should have a
speed graph like this. Also take note that
the frames between the key frames is important
If it's too close, this may not work now
for the gluing effects. First let's check the animation. All right, you can
see that we have the gluing effects
without adding anything. It does look like it's gluing. But to make it more interesting, close this, Now we're
done with the key frames. Those are properties.
And let's go to the effects and presets. What you want to do is
add two effects here. We're going to go with
Gchenblur, then levels. You can also do this. Let me
just adjust this one here. Let's play the animation first. All right, You can also do
this with Mall it plug ins. But I wanted to keep this
one dispersed animation without using any plug ins. Just using after effects. Now right here we have the
effect that we added first. I just go ahead and
uncheck this repeat edge. Pixels increase the blurriness first I just need to move
this little bits right here. The playhead just about when the circles are
about to separate, increase the
blurriness like this. Increasing the blurinessll
depends on the color, the size of the circles. You can just do this and try, but it should pretty much have no problems if you use
the same colors as me. While here with levels, I'm going to go ahead
and change it to alpha. Now, since we set the
blurriness high to 53, we need to bring
back the circles to its original side using the
options we have right here. Alpha inputs black and
alpha input whites. Probably we're going to also
use alpha outputs white. Let's try just using this. Inputs and inputs wit something like this arise. In this case, we can even add a little bit more color using the alpha outputs whites, Okay? If we play now, it's good now. But you can see that when
the circle gets small, it decreases more in shape. This is normal
because we adjusted the scale and we applied
defects to a different scale. If you don't like it like this, you can adjust the input white a little bit more, just like this. And maybe input black
little bit more too. All right, now let's play. As you can see right here,
it's going to get a little bit bigger than
its original size, bigger than the belting box. But that's not a problem because we have the effects and it looks cool if you zoom in and play. All right, let's see
all we can do here. Anyways, I think you get us, you just need to play with these until you get the
effect that you want. Now, here are the
important things to keep in mind in
this lecture, right? So, make sure it creates
shapes and same layer, make sure the distance
between the shape is equal. If the effects do not work, make sure that the distance
between the circles is not either too far
away or too close up. Next we'll do the
liquid animation.
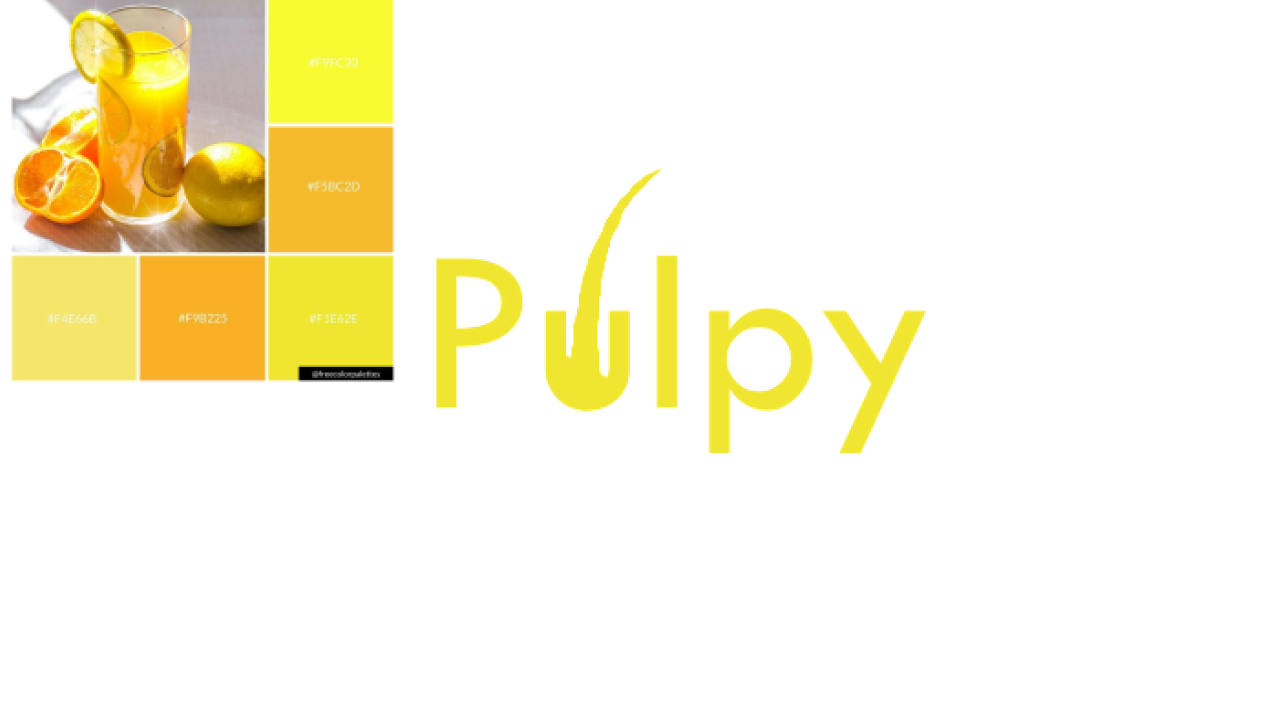
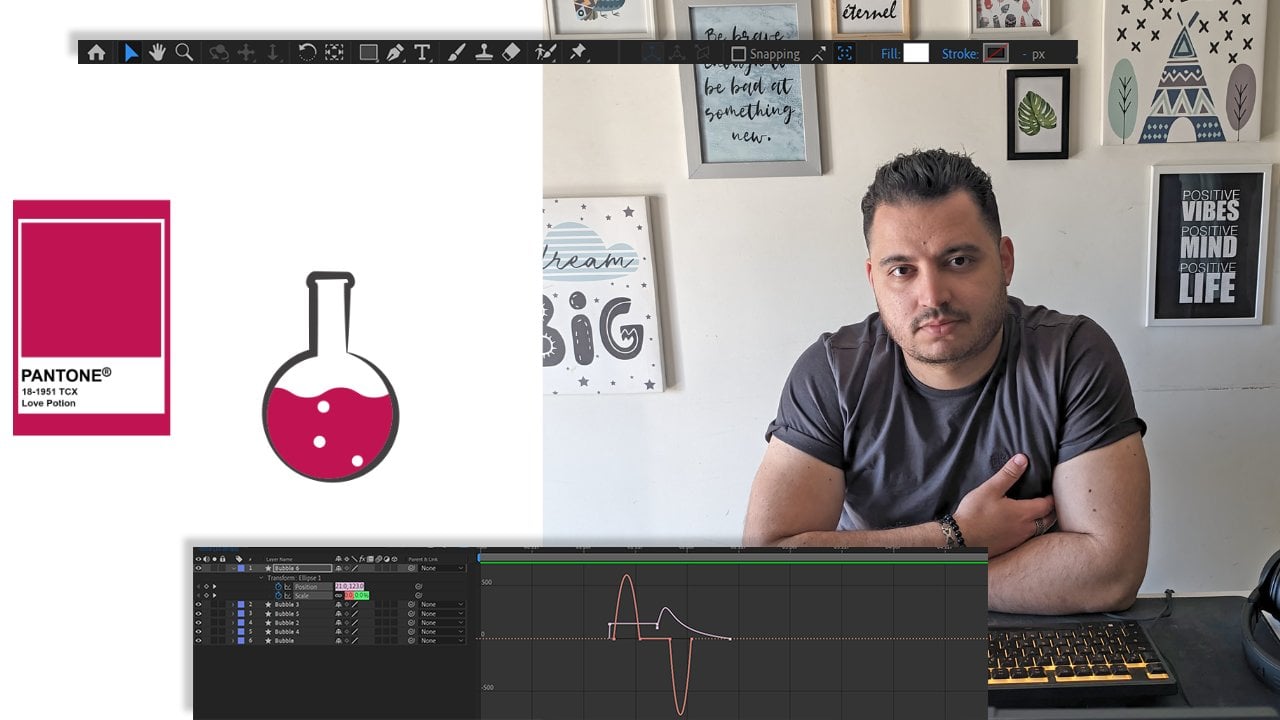
4. Wave Animation -Animating the Filling of The Letter U: It is time for our
main liquid animation. In this lecture, we'll be doing the animation of
the filling here. It's really important
to understand what type of liquid you will be animating, because the speed graph
will depend on that. For example, if we're animating
something like water, the filling will happen much quicker as if we were animating
something like honey, which is a dense liquid. Will take a longer time to
fill the glass underwater. This is really
important because it will help you with
the speed graph. So you'll know when to
ease out. And ease. All right, let's start out
with the basic animation. We're going to do the
filling of the let you, you can check the
composition settings here or we can just
download the file, the exercise file
from Skillshare, open it, and then
follow along with me. Now first and first, let's go to the Shape tools. And then I'm going to
select the rectangle. One, make sure you're
not selecting anything. All right, make sure
the type layer is not selected or the text layer
then I'm just going to draw tangle like this on top
of the letter hold shifts. All right, something like this. Then for the colors,
we're going to worry about the colors later. Okay, now right here,
ship player one. I'm going to go ahead and
rename it so we won't get lost. This one is going
to be the wave. I'll go to the effects and presets and then I'm
going to look for an effect called wave warp. Drag it and put it
on top of the wave. Now we can see right here
we have our wave shape. And then we'll just
go ahead and adjust the sits right
here, for example. Wave heights, I'm
going to put ads with maybe 42,
something like this. And speed, I'm going
to put two in a value. All right, next we want to mask the wave inside of the
letter U. How do we do that? Is that we take the pentool, we hide the wave layer, and click here and
the empty spot, Make sure you're not
selecting anything. All right, because you
want to add a new layer. If you select the wave, it will add the mask
directly to the layer. So make sure you're not
selecting anything. I'm just going to hide the wave. Then I'm going to
draw a mask with the pentool on top of
the letter U like this. Make sure you go above
the letter a little bit. We can now adjust
the anchor points. Hold Alt or Option, and click on the Anchor points. And then just click
here on the handles. And then adjust it like this. A little bit here like this. This little bit,
we are good to go. Now make sure you bring back
the wave or rename this one. Let's say it's mask. Now I'm going to put mask
underneath the wave. Maybe it change the
color of the layer. Then right here
under track mats, I'm going to change
this to mask. Okay, now if we
play the animation. All right, you can
see the wave now. So far so good. We have
our basic animation. Now we just have to animate
the filling of the letter. To do that, we're going
to need to adjust the position and
the wave heights. All right, so the wave selected, I'm going to click Position. And then I'm going to
bring it down right here, below the letter, right just underneath
the letter like this. Add an points and then move the play
head around 4 seconds. Then bring it back a little
bit to the top like this, make sure it goes above
the strokes of the U. Now I'll just apply
ends to these frames. Select them both and
then mine. All right. Now of course we
just need to adjust the wave height so the wave stops when the letter or
when the cup is felt. All right. Should not
continue afterwards. Now in order to do that, I'm
going to come over here, wave heights and then
add a key frame. Select the wave layer, then I'll just have a
look of the key frames. Then moved playhead and adjust
the wave heights to zero. All right, because we want
it to stop afterwards. Now you can adjust the
position accordingly to how much do you want to
fill the letter or the glass? Do you want the
glass to be entirely filled or just half
of it? All right. It's going to be your
personal choice for me. I'm going to go back
to position and just bring it back on top a little bit around here maybe. And this should be
good. Of course, you can always come
back and adjust values. Now let's play the
animation. See what we have. I'll just apply
sence to this all. If we leave the key
frames like this, you can see that the wave stops before the letter is filled. Usually if we look
to references, it doesn't happen like this. Usually the wave or
the water liquid continues to wave even
after the glass is filled. In order to achieve,
to mimic that, we're going to go
ahead and adjust the key frames accordingly to make it look more realistic. This one with heights, I'm going to push it to
one seconds right here. Here. I'm going to push it
like 15 frames away. It stops a little bit
after the juice is settled down on the letter A. This looks a little
bit more realistic. I'm going to go
ahead now and select the position key frames of
the water or the juice. Speed up at the beginning
and slow down at the end. We adjust the graph,
something like this. If you don't see the same
thing I'm seeing right here, just make sure you have
the same set in here. Show selected properties here. Added speed graph, and
show graph to tips. We want the speed graph
to look like this. It's more like this.
Same thing right here. The wave heights will
just go ahead and adjust the key frames.
Switch to selects. All right, maybe something
like this. Let's play. All right, again, you
can look at references. The waves start slowly when you just pour
in the water in, It does speed up
in the middle of the pour in and then it
slows down at the end. Maybe like this. All right, just like this, we have our first
basic animation. All right, so key takeaways
from this lecture. Always use video references. Understand what type of
liquid you are working with. And don't be intimidated
by the key frames. Try different distances,
different values, and just experiment
with everything. You guys up next we'll be animating the
pouring of the liquid.
5. The Pouring of The Liquid Animation: Again here. Now, in this lecture will be animating the pouring. Again, it's important to understand what
liquid are we pour into the glass as it's something like water or
something like honey. The pouring of the water
happens really quick, and the pouring of the
honey happens really slow. When I'm saying water doesn't mean that we're animating water. I'm talking about a liquid
that is like water, so it could be juice,
wine, anything. Water is, I'm not sure if that a term that
is being used, Water. But anyway, I hope
you get me So, yeah, With that being said, let's go ahead and start
with our animation. All right, so now with
the pouring animation first and first again, make sure you're not
selecting anything here. We're going to go
to the pen tool, make sure the stroke is about 16 with this type I'm using with this font in case you want to say is the name
of the fonts I'm using. Now again, I'm just
going to select the pencil and then
draw a stroke here like this. Click and drag. So I'll have the perfect
pouring curve just like this. Then I'm going to
come over here and rename this one orange. Then here we're going
to go to contents and find the stroke parameters. We'll change the line cap
from pat cap to round cap. Finally, we'll adjust the
taper to something like this. Okay, I think this looks good. Now the next thing
here is add trim path. So we can animate the
pouring trim path here. We'll add the key
frame for the starts. Click on you, so you just
have the key frames. Then I'm going to move
around the nine frames. Just the value of
the start to 100. Apply easings, click
on the animation. Ops is going backward. We just switch those
100 here and zero here. Okay, now we have to do, just adjust the
wave and the mask, the water filling star. After the water hits the
bottom of the U here, around here, I'm going to
move the wave and the mask. All right? And same thing. I'm going to play
just ten about. The U is almost filed. I'm going to go ahead and do the same thing for
the trim path, and this time we're going to
be adjusting the end path. Then if nine, let's make sure that
the distance between the key frames is
nine framed as well. He wants the pouring to
stop or to disappear almost before the water
settles down on the glass, or the juice settles
down on the glass, maybe a little bit, two
frames to the left. Okay. Now the thing here, again, we have to
adjust the speed graph. But before that,
let's go ahead and add another effect
called roughen edges. Okay, so we'll add it to the orange juice,
just like this. Then we'll adjust the borders
a little bit, just a scale. Now, going to go to
the stroke granters. Just adjust the taper a
little bit from here. End width, I just increase
the end width a little bit. All right. This looks good
now for the speed graph. Again, when you pour
into the glass, if you look at the reference, you can see that the
water hits the glass real fast. Will it? Just the key frames or the
speed graphs accordingly? Also right here as you can see, when the water hits the glass, the filling takes a little
bit of time to start. Which means we're going to have to adjust
layers a little bit. Okay, This is what
happens when you play with the speed graph. You've got to be careful
with the layers. I'm going to take
the two layers and then just push them a
little bit to the left. I have the animation
that I want, just like this, same thing
here for the end trend path. I want the animation to start a little bit slow then fast. At the end of the pouring, we're going to adjust the
speed graph this way. All right, so we
have a nice slow down toward the beginning
and the end of the pouring. Now finally we just need to
adjust the border to make the liquid or to make the
animation look more realistic. Of course we can use
three D stroke extension, but the extension
is a bit expensive. It's cost around
$2,000 or something. Right here, I'm going
to go ahead and add a key frame and
then move the play ahead and try to
turn this liquid or one line into dashes or drops of water using only the
border parameters. Okay? Because when you just
start pouring the water, you have this clear line of
water going into the glass. But when you're about to
stop with the pouring, the line becomes
like, this is what we're trying to mimic using
the border techniques. Basically, what I'm doing
here is just adjusting the play head between the key frame to see exactly where I need to adjust
the borders further. Again, toward the end, I want to have
drops in the liquid or drops in the stroke.
Just like this. I just want the animation to slow a little bit
down toward the end. Again, I'm just going to
select the key frames, then just adjust the speed
graph just a little bit. As you can see guys, I'm just playing the animation
over and over again. And adjusting the
speed graph and the key frames until I get
the effects that's I want. All right. Now, key take
ways for this lecture. Remember that the
point starts fast, slows down in the
middle, then ends fast. When you do the ease
ends, always play the animation back to see if
you need to adjust layers. Also, keep in mind
how things will look in real life
while animating. Up next we'll do the
water drop animation.
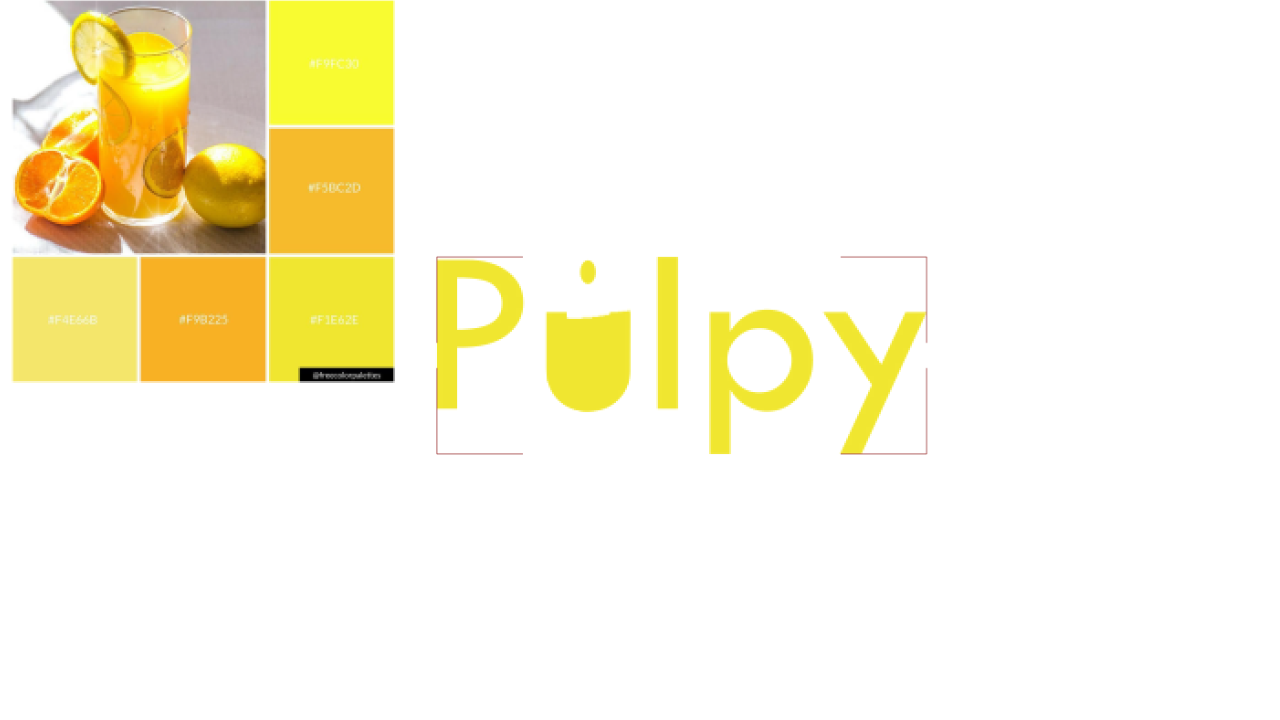
6. The Water Drop : This is our final touch, our final salt or ingredients. Or I don't know, spice. Now, right here,
what we're going to do is animate the
water drop. All right. For example, when you finish pouring the water
into the glass, there is like the small drop that comes out and
end of the glass. And then the water starts waving a little bit or
shaking a little bit, then it settles down
through a period of time. Those small details are what takes the animation
into the next level. Let's see how we
can do that using after effect now
with the water drop. First thing first is that we have to time it with
the end of the pouring. I'm going to play the
animation like this, when the pouring is almost done, I want to add it
just right after the liquid is finished
in this firm right here. Now I'm going to
go ahead, choose the ellipse tool, hold, shift, click and drag
something like this. Okay, this one is small. I want to add something
bigger a little bit. All right. Maybe
something like this. Then I'm going to click to
bring the position parameters. Because we want to animate
the position of this. After the pony is done, the water drop will, goes up, hold a little bit and
then it comes back down. Which means we'll be animating the position and of
course the scale. Now I'm going to
add the key frame. Once you had the key
frame, you can see that the ink point is all
the way to the right. Sometimes it all the
way to the left. Which means after you
have the key frame, always pay attention to this. And then adjust this to the
middle of the circle so you can animate as you want, hold control or command. And then put this in the middle. I'm going to put this key
frame a little bit down this and put it back a
couple frames behind. Then I'm going to put it back
up somewhere around here. Then back down
something around here. Select all of these
nine sima drop into right after when
the pouring is finished. It won't stay visible all the
way through the animation. I'm just going to
rename this layer to water drop. Now let's play. The emission happens
too fast to sex. All these key frames
right here hold alterruption, then
drag to the right. Let's play now,
that's a bit slow. Then let's adjust the speed
graph because we want the water drop to hold a little bit here before
coming back down. I'm just going to sex these and then adjust the speed
graph like this. It's going to start real fast. Hold a little bit here, and then comes back
down real fast. That looks better. Maybe just decrease the distance between these key frames a
little bit more. Play out a little bit more. All that looks perfect, but you can see that it's
a bit not realistic. It just looks like
a normal circle. Which means we have
to apply one of the logo animation principles
which is stretch squash. All right. We can do this
using the scale parameters. Again, right here, click on for scale and then I'm going to link with heights because we
want to stretch this. I'm going to do
something like this. Remember if you
stretch the heights, you have to think about
the width a little bit. Took something like this at a key frame helicon
user you gets all the key frames
that you're working with on the specific layer. And once it comes back up, I'm just moving the
layers to the rights. It starts right after the pouring is finished
because we did adjust the key frame a little
bit right here. I want it to squash little bits. Then when it starts coming down, I want to stretch
it again F nine, and they'll just adjust
the speed graph, same way as we
adjusted the position. Get hold here, see how it goes. I don't get a lot of switching
on its way back down. I'll try to adjust again this keyframe and see what is
the best option here. Maybe it here, try to bring this
little bits up. All right, so that's fine.
We'll keep it like this now. Next thing you know we
have to do, of course, and that will be our final touch to make the poor rain
look more realistic, is that we're going to be
adding the ripple effects. Okay, right after here when
the water drop comes in. Go ahead to effects, look for ripple and add this
one ripple under the sort, go to the wave layer and
then add the ripple here. Right. Now the
next thing here to do is go to the
center of ripple, click on it and then
you want to put it right here in the
middle just like this. Now here's what
you need to do on the parameters here
really is I want to click on two wave speed,
two wave heights. When I put ten open the effects ripple and then look for wave heights and
add the key frame. All right, so basically right here the animation
is going to happen, but before that we don't
want the ripple to happen. I'm going to adjust
this to zero. It's just going to happen after the water drop
hits the liquid. Let's play the animation now this looks good. After the ripple happens, it's going to keep going for
a little bit, then stop. Okay, move the play head a
little bit to the right. And then with height, you bring it back to zero, so the ripple stops
maybe a little bit more. This is better if line, then just adjust this a
little bit like this. I'm just going to close
all of these options. Bring type all the way to
the top, the orange juice. I'm going to put it
behind the mask and wave right here again, as I was
playing frame by frame, there is a little, there
is a small mistake. I'm noticing that the ripple is happening before
the drops liquid. Again, I'm going to go to
wave and find this key frame. I guess that because we
adjusted the speed graph, right, And this
is better, right? So guys, remember every time you just the key frames and speed graph go back and
check your animation, right? Because maybe some
things are different, so you always have to do that. Now, key takeaways
from this lecture. Pay attention to
the Er point when creating or animating a shape. Adjusting the position or the distance between
the key frames can also affect how the
final animation will look. Also, small mistakes
are hard to spot. Playing the animation
over and over again can really help with that. Up next, congratulations.
7. Congratulations...: All right, so
congratulations you guys. We covered everything
from the pouring, the filling of the letter U and the water drop with
the glue of animation. Now what I want you to do
now is go ahead and post your final project here on
Skelchoon, a projects gallery. I'll give you my feedback. Also, you can post
your project on your own social media like
Instagram and tag me. Please make sure you
follow me so you get notification when I
publish a new class. And also please leave
a review if you found this class to be helpful and you did learn
something here. Now, thank you so
much for watching the class and see you
guys in the next one.
 Adam Chraibi, Designer and animator