Transcripts
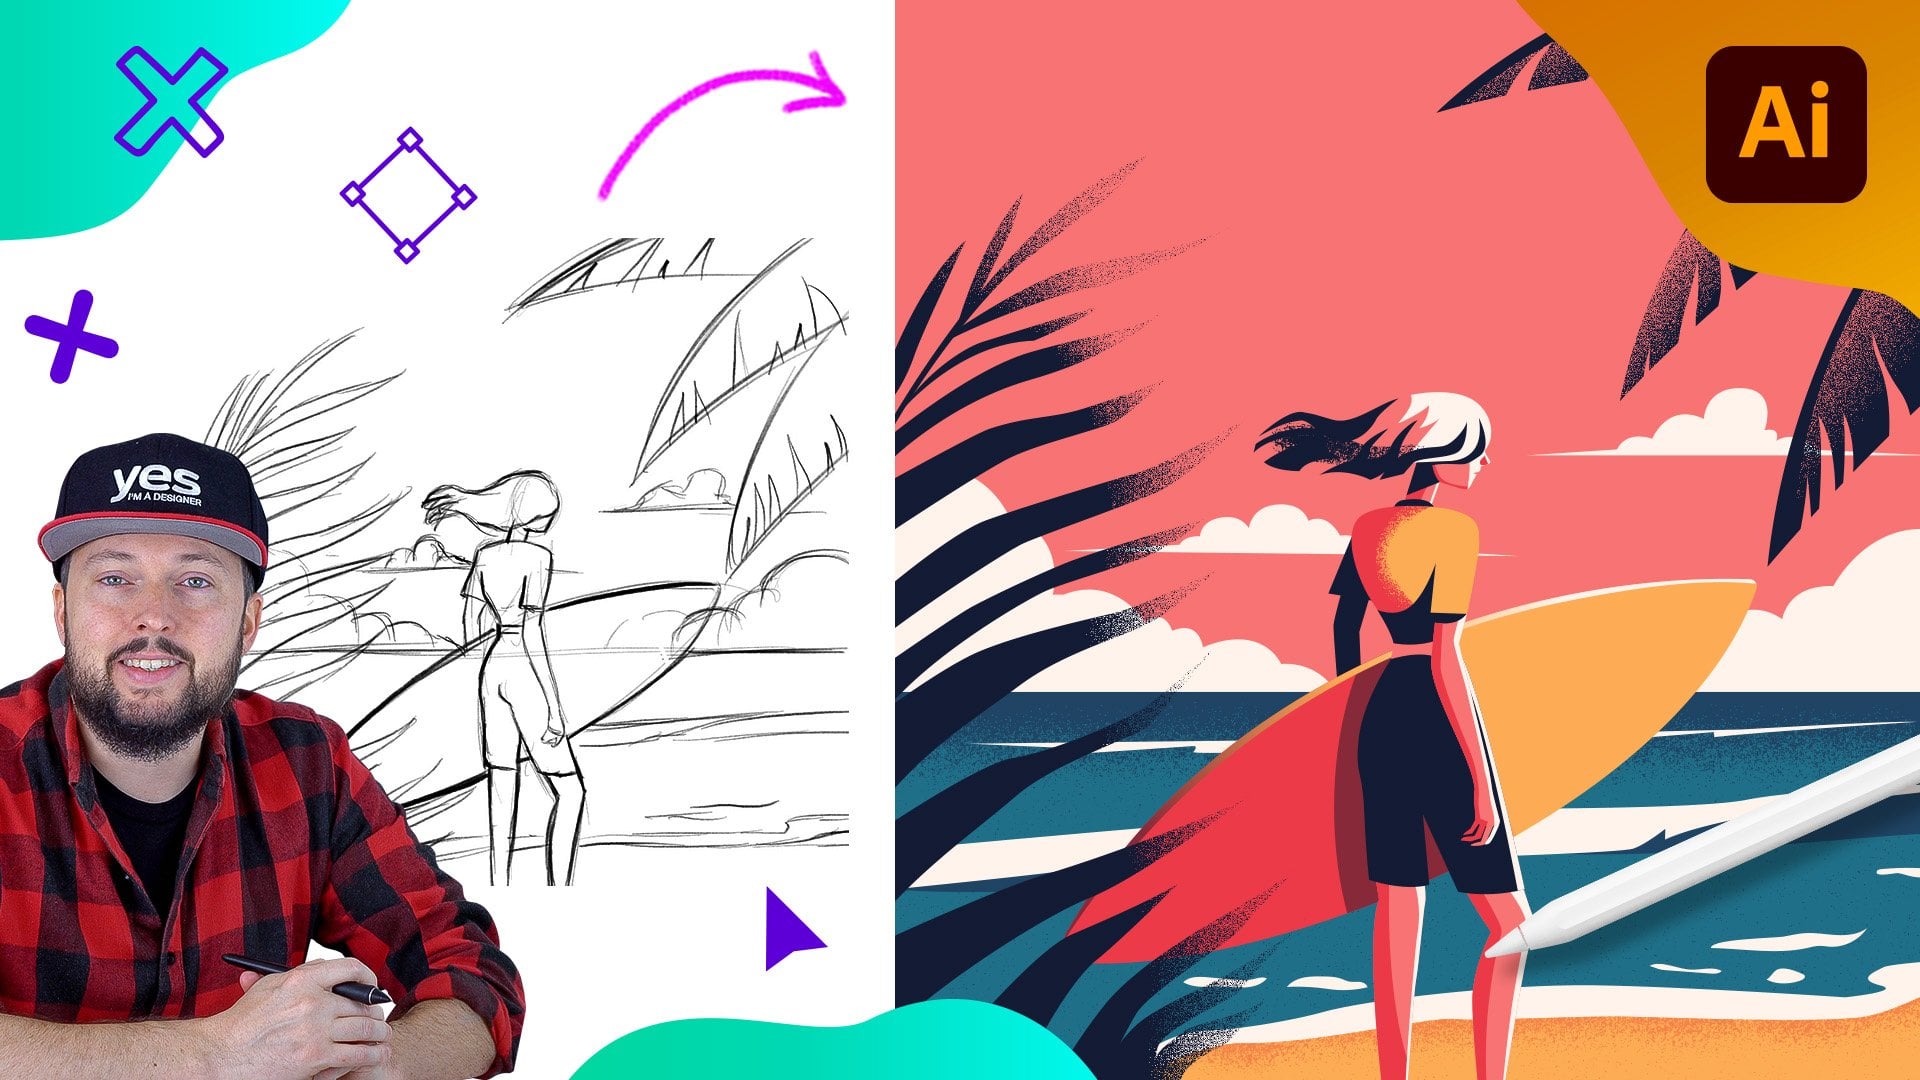
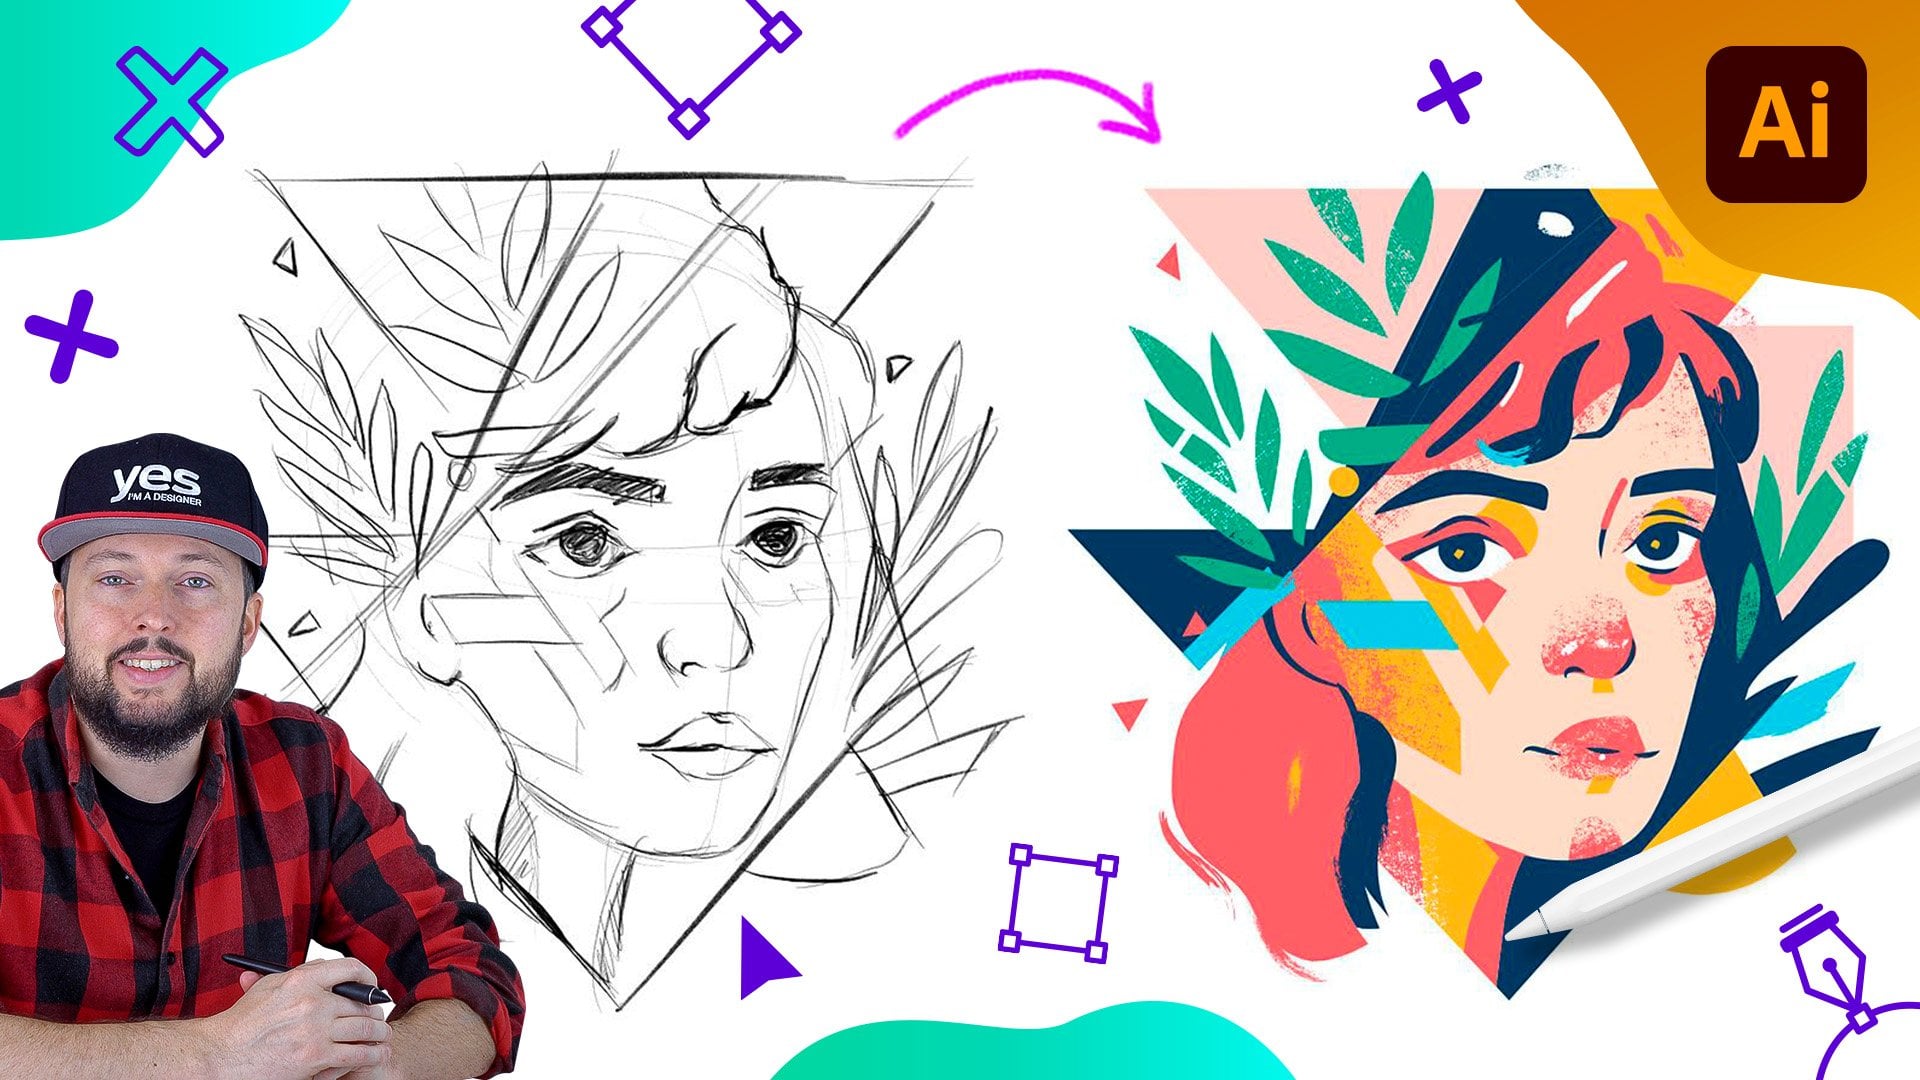
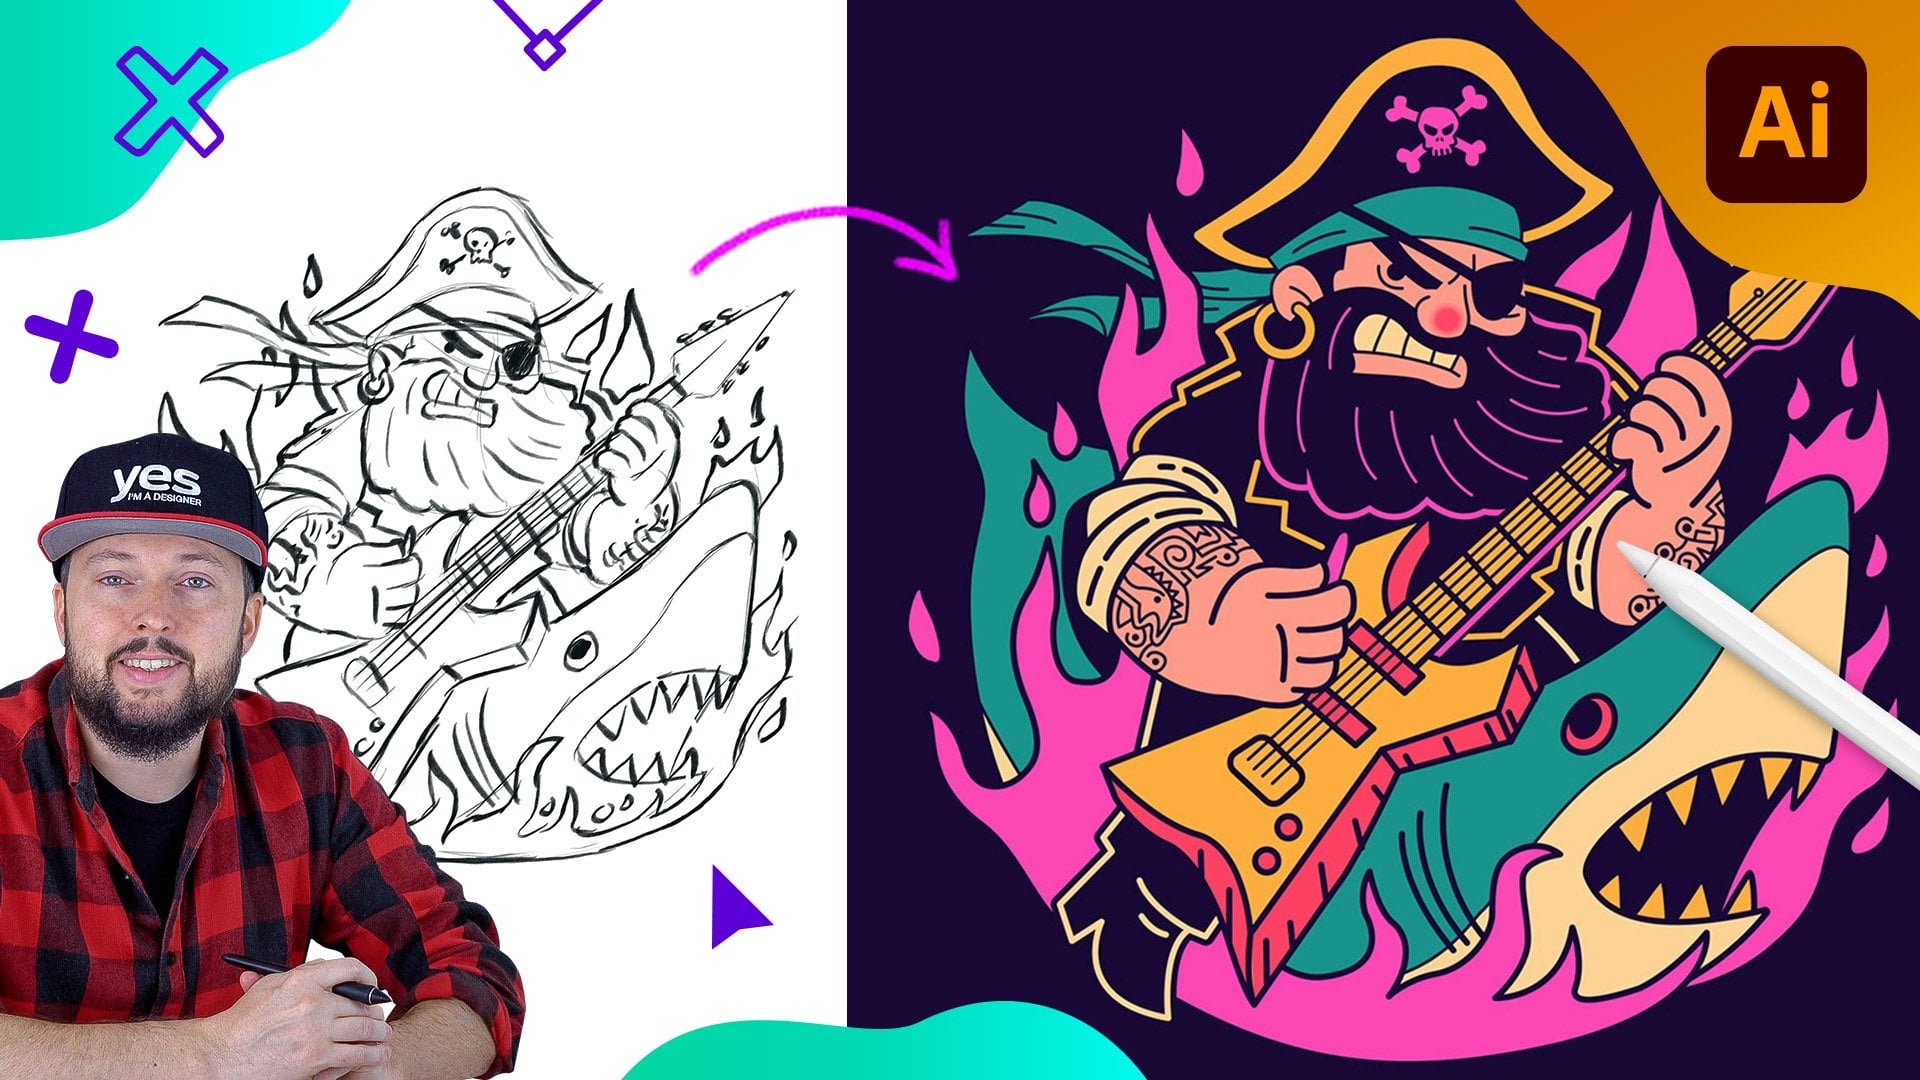
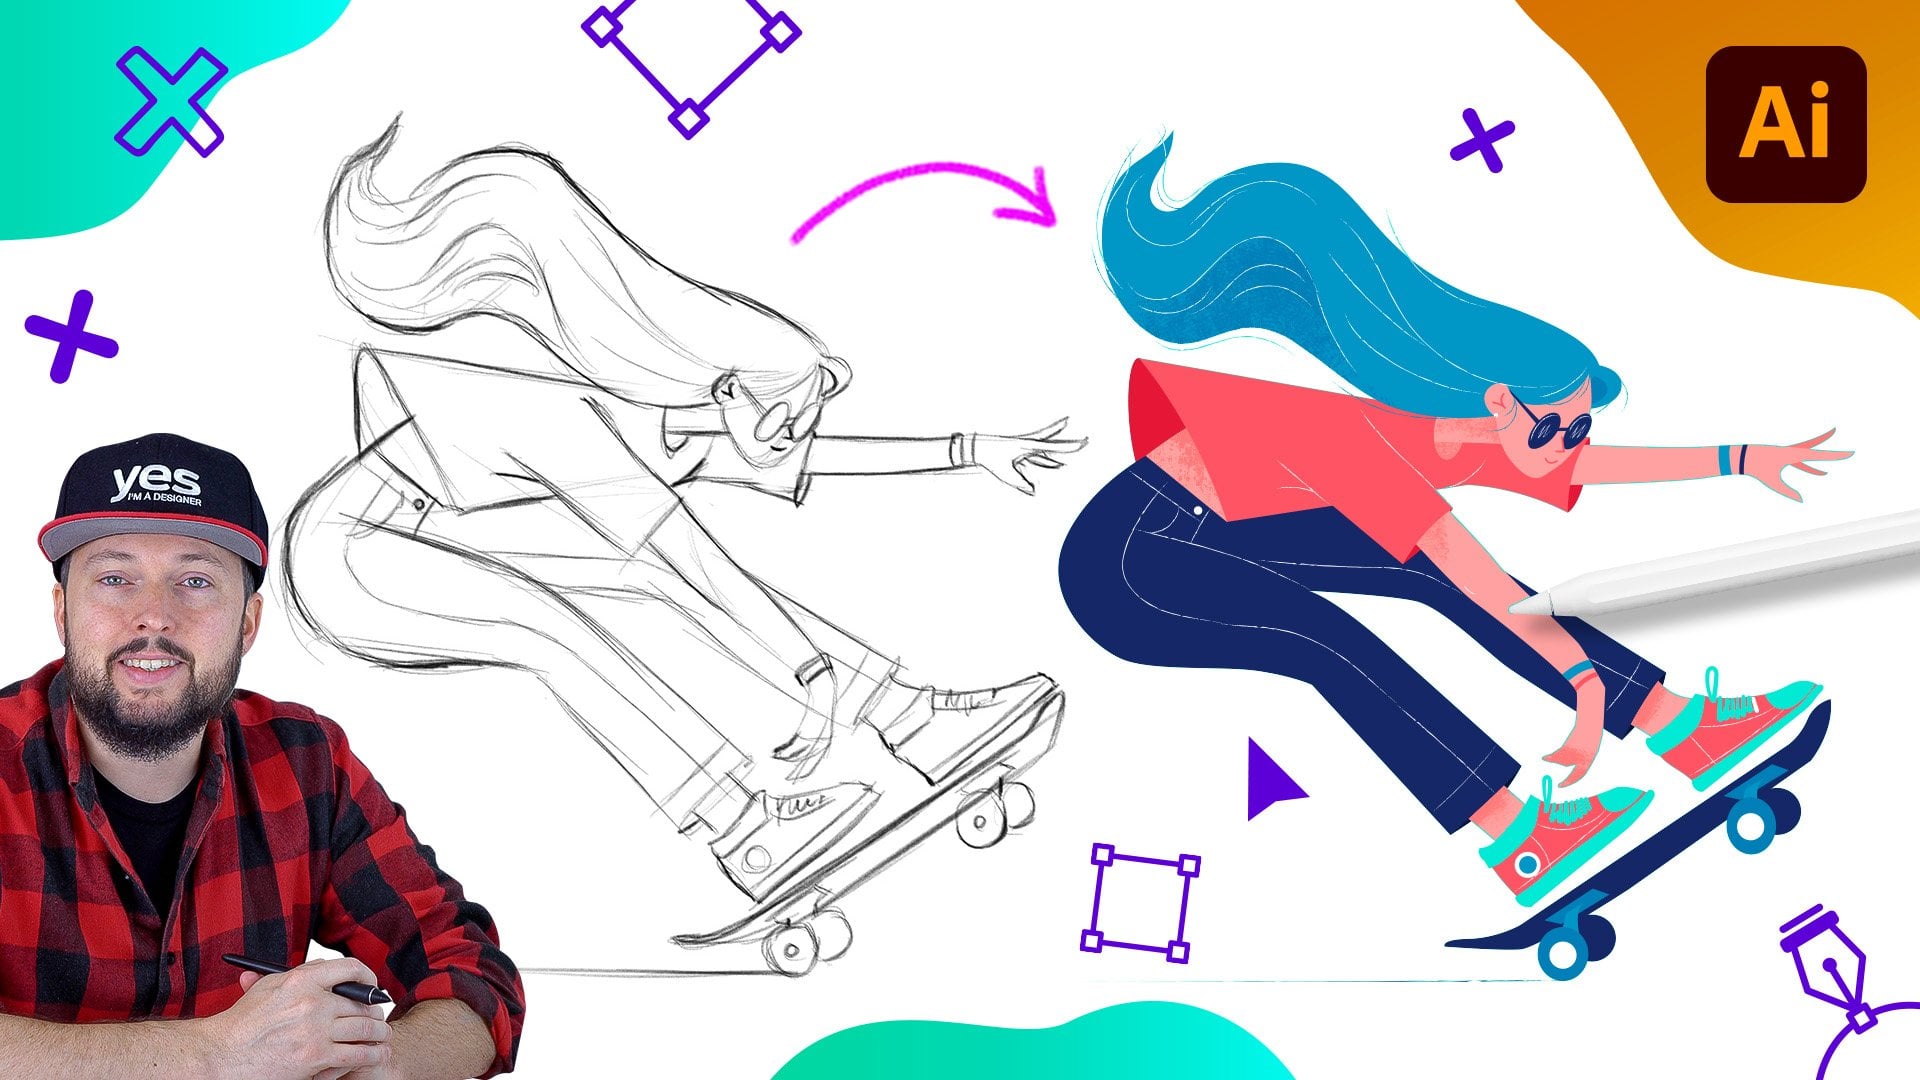
1. Introduction Bear in Space: Do you want to get
good at creating awesome vector illustrations
using Adobe Illustrator? Well, you came to
the right place. When coming up with
ideas for illustrations, I like to pair two or three completely unrelated
things together. In this case, it was the
aesthetic of propaganda posters, space travel, and
the grizzly bear. Combining things together to create unusual results can help to make your illustration stand out and be more memorable. This is a really fun project, demonstrating a lot of
useful and cool techniques, like half done effects,
distress textures, using the warp tool
for sculpting objects, and so much more. There you are an
aspiring Illustrator, digital artist, graphic designer,
photographer, marketer, or simply someone with a passion
for visual storytelling, Mastering Illustrator
provides you with the tools to turn your ideas into
stunning vector art. I will be guiding you
through every step of the process from the initial
sketch to the final touches, giving you a comprehensive
understanding of dov Illustrators incredible
tools and features. This course is perfect for you if you're new
to illustrator, or if you are self
taught and aiming to get more confident and
effective using it. I am Martin Perine, a certified OB professional and instructor with a
design background spanning over two decades. Throughout my career,
I've collaborated with renowned clients
such as Disney, Mattel, Cartoon Network,
Nickelodeon, and BBC. Leveraging this
extensive experience, I have carefully crafted
this course to help you navigate OB Illustrator like
a seasoned professional. I am not just
teaching Illustrator. I am empowering you
to express yourself. Tell your story and create illustrations that resonate
with your unique style. This is your chance to
create work that is truly personal and worthy of your professional
creative portfolio. You can follow along and
replicate my illustrations, or you can use the work
flows and techniques I show you and create something completely different
than unique. There are at least two
additional compositions you can choose besides the one I
am using in my examples. And rule now and
let the fun begin. Your creative adventure with
Illustrator starts here.
2. Main shapes of the bear's head: Mentioned this in
the other projects, I always like to start with
the most exciting detail. And once I have that in place, it encourages me to keep on going and add all the
additional details. So, in case of
this illustration, I'm most excited about
creating the head of the bear. So let me just zoom
a little bit closer. And the way I
imagine this is that it's going to be a very
limited color palette, so we have only three colors. So I am going to have the details that are
in the light yellow, and then everything else in
the helmet will be black, since the background is
also going to be black. So what I'm going to do first is to create the helmet itself. I use the ellip
tool and draw out the shape that's closest to what we have in
the background. And I'm just going
to press shift X to switch or swap the
stroke and the fiel. And let's increase
this up to five points, something like that. Now, already at the beginning, I would like to make sure that these lines are not
so crisp and sharp. So I'm going to add a
bit of roughness to it. So I will use the
distort effect. I go to distort and
transform rough N, and then we can set the
size maybe to 0.2%, and the detail can be
also less maybe three. And then let's click. Yeah. That's looking
already much better. So it's that small irregularities
on it that I was after. And I'm going to
duplicate this shape, command C or control C, and then commando Control F.
And let's just drag it out, holding down the
older option key. I can drag it from
its center point. And I think that's looking
already quite good. We can probably adjust a bit individual anchor points by using the direct selection tool. I can drag this a bit this way. Think maybe this direction
and can go up a bit. So I stay closer to what
I had in the sketch. Right. So now we
have these in place. I am going to switch to the blob brush tool
and I'm going to select the yellow color. And let's zoom a little
bit closer here. So what I have in mind is to use this tool and start
drawing these details. So let me just start here, and you will see what happens. So I'm going to basically
paint these details in. And I want to keep things rough, and I will simplify it later. But essentially, I'm
handling this as a painting, and I'm using the square
brackets to increase and decrease these values
while I'm drawing. I'll just fill that in as well. And by the way, if
you don't feel in the center part of the
drawing that you are doing, that can easily be
done later as well. So you don't necessarily have to always fill in every detail. So I will have the
yes here and here, which will be just a dark
detail in this case. So I'm just going
to go over here, fill in the edges, like that. Let's go on the
other side as well. The reason I'm using
the Blob Brush tool is because I already would
like to have a bit of that roughness or randomness in the illustration
established at this point. Instead of using the pen tool, this allows me to make it
feel a bit more painterly. Let me go over this
side here as well. And of course, I intentionally
not I'm not using the symmetry or
repeat mirror option. Because again, that would
just defeat the purpose. It's already a quite
simple illustration, so it doesn't have to be any faster than
what it is already. I'm just going to fill in all of this area here on the top. I am going to focus on
adding details later. Maybe I can leave a couple
of details out like there, and then Let's just see. I think this one
can be filled in. It looks a bit like we need
the poo at the moment, but I am planning to make
this look much more menacing. Let's see if we
can achieve that. Okay. Let's do the
other year as well. I quite like doing this type
of painting in Illustrator. It's not your common way
of drawing an illustrator, but I actually really enjoy it. It's almost like coloring
like a coloring book. Then let's see, I think
we are going down here, creating a little
bit of an edge. Then I'm just going to
draw these in quickly. But then obviously,
I am going to make these details a
bit sharper in the end. For now, I'm just going
to follow them roughly. Yeah, something like that. Then here we have
the year detail. Again, roughly
following those shapes that I created there. We can also go up here
at some fur details. Just so you can see if
I turn off the sketch. This is how it's looking so far. It doesn't look
promising at this point, but believe me, it's going to
work. So let's keep going. I'm just going to paint in
that part here on the top. And then add some further
detail here as well. Very minimal and simple. Okay, can increase
the brush size a bit, fill this big area in here. And we're almost done with
the most important shape. Going down here, then
go out of bit there. Then make my brush
a bit smaller. I'm using a stylus, by the way. With this method,
I always prefer to work with the stylus
instead of the mouse, it's just more intuitive. But of course, you can do
this technique without. It just makes it
faster and easier, but of course, you can do
it without it as well. I'm going to draw the mouth. It's just a simple
shape like that. And then let's go
around this shape, and I'll show you
a technique here. So if you have a
shape, that's closed. Like in this case, I
wanted to be closed up. Maybe around the nose, we go. But, yeah, I want it to
be closed up like that, what we can do is to use
the direct selection tool, click on one of the
inside anchor points, then delete that, and
then delete again. So press backspace
twice on the keyboard. That way, you can very
quickly take away that path, and that way, it
becomes a single path. So before it had two paths, which makes it a compound path, and you can see it
in the layers panel as well. That's
what it's called. So when there is a
hole inside an object, it automatically turns
into a compound path, and one side delete that path is going to
be just a normal path. It's still called
compound path here, but it's actually
just a single path now, a closed object. But yeah, so we got rid
of that detail there. Going to use the
blob brush again and just paint in the nose, the holes for the nose. And pretty much that's all the main details
that we needed. Just going to draw a
little bit more in here. That's one thing I love
about the block rush tool is that it doesn't make a big
mess in the layer spanel. So it keeps things
tidy in a way. So most of these shapes
are connected already. But what we can do
is to make it even simpler is to have
those two shapes, the original two circles
or ellipses locked. Then select everything,
command or Control A. And then press Command eight. So that's going to
create a compound path. So merges everything together. And from the pathfinder panel, we can also use
the United option. So that way, any
overlapping details will be merged together. One thing that I'd like to do is just to double check if
there's any little gaps. Whenever I use this tool, that's a good thing to do. And the easiest way to spot them is to press
command or control y, to go into outline view. Use the direct selection tool and just get rid of these packs. So it's just tiding them up. I can see two straight
points here as well. I'm not sure if I
can select those. That might just be something
that is going to disappear. I'm just going to
delete these quickly. There's some here. And then
there's one more there. That's one thing about the blow brush tool that
it can be messy. So it's good to clean these bits up before you move any further, because it's easy to
forget about them. And I think we are done. So it's looking
quite good already. I'm still not sure what
those Xs are there. Let's just take a look at it. If I look at my parts, there are two lines here
that are independent, so I can delete those for sure. That one. That one. And then let's see
what else we have. There is a straight
path there as well. Yeah, so we can, again, select all of this together. If it's already in a group, just press Command
or Control Shift G, and then Commando
Control eight to again merge them into
a compound path. And let's take a look at
this without the sketch. So this is what we
achieved so far. Now what I'm going to do
is to select this path, so the one inside. And I'm going to press shift X. So it swaps the feel
and stroke colors. So we have the black color already the bear head
looks much better. And then I select
the circle outside, and I'm going to change the color to yellow and
then press shift x again. But of course, this needs
to go to the bottom, so press commando control left square bracket
until it moves down, or you can also move it down
here in the layer span.
3. Adding details: Moving on, we can draw a circle. This was meant to be just
a black circle, I believe. Yeah, I wanted to do this
as a black circle here. So let's change to fill black. And then copy this
command or Control C, command or Control F.
Make it a bit smaller. I'm holding down shift and
alter option together. Fill this in with red, and select these two shapes, the two circles, and also
apply roughen on them. Again, let's take a closer look. Looks better. Maybe in this case, I'm going to pump of the
effect of roughen. Maybe the detail can
be increased a bit. And also di can go up to 0.5. C one. I think that's okay. Let's take a look at
it without the sketch. M. Yeah, it looks better. I'm going to also add
two little details here. Again, I'm using
the pencil tool. Draw one of the details, fill it in with red, and then draw another detail. Just a move it closer. Like that. Also set to red. This can come up a bit high. Now I'm actually going to
use the rectangle tool and draw a rectangle out here. I'll just turn on the sketch so you can see what this is for. There is a rectangle
I imagined here. And for this, I'm
going to use no, just a black stroke. Again, probably the 40
points as we used before. The same thickness. I'm going to round these corners
down like that. And now let's apply
roughen on this as well. That looks good. Now,
let's copy this, but the way I'm going
to copy it is by using the object path
offset path feature. This way I can make sure that it's perfectly reduced in size. And the radius on
the one outside and inside is going to
perfectly follow each other. So that looks good already -25 or 26, in this case, works. And then these points
at the bottom, I'm just going to make sure
that they don't appear, so I'm going to
actually, it's okay. Let's just move
it up a bit here. Okay. That looks good. But what I wanted
to do with this is the second rectangle is to
reduce the stroke size. And I actually want to go into the stroke settings
and turn on dash line. And I want the dashes
to be, let's say, 25, and the gaps to be 40. Maybe the dashes can be also 40. L et's try this. Yeah.
That's basically a stitching. What
we're doing here. Gaps can be maybe less 30. That looks good. Round caps
will look good on this one. There's a stitching
detail created. I also wanted to have
something like a clasp here. So for that, I'm going to
use the pencil tool again, and I will actually go back to our clipping path that
we've been using, and it seems like I lost the drawing side
mode on the way. I'm just going back there, selected the clipping mask
from the leer spanel here, and then turned on
the draw inside. And now I can just draw. I think I wanted the
claps to be here. I will draw this down, come up and close the shape. And this is going to be the
same color as the body. So what I can do is turn off the sketch and use
the y dropper tool, which is i on the keyboard and sample that from the background. Maybe the stroke value can
be smaller here like 20, and we can increase the
size of this a bit, can go somewhere around here. It sits quite nicely there, and then I will also apply
roughen on this one. Okay. Now the only issue is that the roughing was
applied to the stroke. So if I just drag this underneath all
the way at the bottom, so it's not on the stroke, but sits below the
feel and the stroke, then it will be applied on
the whole object together. So not individually
to either attribute. That's a useful thing to
remember as well to use whenever you use this feature or whenever you use any
type of effects. And since we are still in
this draw inside mode, let me just draw a
few additional lines. Maybe one more line here, And then we can also
draw a few lines here. Just a few straight lines one, two, three, add a bit
of detail in there. You can maybe also
add some detail on the clasp like one and two. We can also maybe add some here. Press shift x to swap it ad, shift x or select
the field color. And let's just fix this a bit. I'm happy with the
way this looks. Maybe we can just use simplify on them,
that should fix it. Yeah. Still tangled up a bit, so I will use the
minus tool there. And then maybe just connect
these two shapes like that. Okay. Let's click
away. All right. I think we are pretty much done. Maybe one last little detail. I'm just going to draw
around this shape, create a crease here as well. Black feel for this. This can be refined
just a bit more. Maybe adjusted in size. Okay. Let's take a look
at this from a distance. So one detail that
I noticed here is that this belt or strap. I thought that I originally planned to
go under the helmet. So this detail, I'm just
going to extend here a bit. And this can be
filled with yellow. That's just a subtle
little thing, but you can see without it. It feels like the strap
is going over the helmet, but now it feels like
it's going under it. So yeah, I feel
like that's better. And we can turn off
the draw inside. And let's just have a
quick look at our sketch. I think we have all the details
in place that I planned. Now we can just select some
larger details like these. I'm using the shift
click on them. And the tiny details I'm
not going to select. But these ones, I think, should be selected and then
apply roughen on all of them. Now, if it seems like
it's not doing anything, that is because maybe
some of these shapes that I selected are using fills, others are using strokes. So what we can do in this case, is since these shapes can
all be combined into one, I'm just going to press
command or Control eight, so that creates a single
object out of them. That's just going to make it easier to handle them anyway. And now they are all using
feel color or feel attribute. And on that field attribute, we can apply the Roughen. And immediately, it
worked much better, so we can see it
appearing on all of them. And the great thing
is that we can have that one object selected, come back to the
roughen settings and make adjustments
if we need to. But I'm going to keep it as is, I think this looks really good.
4. Creating the text with custom letters: Now, you might recall that at
the bottom, on our sketch, we had the title or
the text Bar or note. And I could recreate this
quickly with the type tool. I would probably be able to find something very
similar to it. But what I thought
we could do for this project is to do a
completely custom type. So actually draw the letters. And that's what I'm going to do. So I'm going to keep the
background layer turned off just so we can
see our sketch. Let's start with this
shape here in the middle. I'm just going to use
the rectangle tool for this and round down this shape. Now, if you want to be
accurate with your radius, you can just double click
on the corner widget, and then you will see
the radius used here. In my case, I'm just going to
round this up to 15 points. And because the chain is logged in the middle and
the transform panel, is going to keep all of
these corners the same size. So that is looking already
quite good, but the thickness, I think we need more
maybe 60 points. I think that could work. I will turn off the field or just simply set
the field to none. And then the stroke. For now, I'm going to
just keep it maybe red. I believe that's going to be the color that we will be using. But since we have
white background, it might be easier
to judge what we are doing if we just keep
things black. Okay. So now let me just align
this more to the center, and maybe 70 points will
work better on this text. By the way, I'm going to do
this on a separate layer. Just makes it easier. I will call it type
and put it there, and then I can just log
the whole illustration. The illustration is simplified
into three main objects, the helmet, the body,
and the flames. So we can just lock
that whole layer. And now we are working
on the type layer. So everything else is locked. Okay, so this is essentially how I want
the type to look like. So it's a mono line type. It's going to be the same
thickness all around. And I will probably
draw everything out on a straight line first, and then I'm going
to turn them around. So I'm going to drag a line
down here from the rulers, as commando Control R, and I drag one to the top. Like that. Okay. And it doesn't have to be perfectly
aligned to the letter. I just want to roughly
have it in place. And what I'm going
to do is to use the pen tool and go up straight. Then you can do by holding
down the Shift key. Then come down here, then shift click again on
the top, just like that. Now, for these stroke settings, the limit here should
be set to zero, and I want to use the
corner set to this option. But with a thick outline, even when we are
changing the corners, you might still
have some details coming out around the
edges like these ones. This is something that we
will be able to fix later. But for now, I just
wanted to show you that obviously this is something
that should be straight. So we will just leave
it at that for now, and I'm going to continue drawing the letters
with the pen tool. So I will start the next one again
holding that shift key. And down, again,
holding down shift key. Command or Control click away. And then what we
can do here is to select these two anchor points with the direct selection tool. And holding down the shift key, we can just drag them down. So they stay in the CAP height that we
defined with our guides. And then let's use
the pen tool again. Just connect these
two with holding down the shift key. So there's our A. And in this case, I'm going to set the corner
option back to this here and just increase
the limit to two, so that works better already. And then we can just select these two parts and move them a little out doing the king. Now what we can do is for the U, we can just duplicate this
shape that we created, Alt or Option click and drag, and then use the
reflect tool that's on the keyboard and
just drag it around, holding down the shift key, and then I can align it up here. Now, for the T, I'm going to use the pen tool again and
draw the center line, go all the way up
there, and then We can draw the other line
holding down the shift key and just make sure this
aligns to the guide. And then we can select
these two shapes and align them in
their center point. Okay. So let's see how
this looks so far. I feel like it looks
quite good already. Maybe this path can
be extended a bit. So I'm just going to hold down the old or option key to drag it out symmetrically
in both direction. Yeah, I feel like that's good. Now we need the other
letters from the left side. But before I go there, I'm already going to
fix this shape here. And one of the
easiest ways to do it would be to draw
another rectangle. Which is aligned to the
guides, just like that. And I'm just going to remove
the stroke from this. And then select these
two shapes together, and then press commando
Control seven. So that's going to turn
it into a clipping mask. So we chopped off that
detail from the top, already looks much
more organized. And we can already start
grouping things together, so any letters that
has multiple parts, I can just select them and
then use commando Control G, and then it will be easier
to move them around. And of course, you could use the outline type option to make it easier to
make adjustments. But at this point, I'm going to stay away from that
because I still like to have the option to change the stroke
size if I want to. I can see that this path
needs to come down a bit. Doesn't actually have to
go all the way up there because it's overlapping
the other shape anyway. So I can group these
two together as well. And yeah, now, I
feel like we have that side of the
text created well. We can reuse the A
on the left side, so we have that
already prepared. And then we can start
drawing the other letters. So let's just do E, going to draw from
the top down here. And then let's draw
one of these lines, that other line can be adjusted. So it doesn't go all
the way to the top, even the one all the way at
the bottom doesn't have to go all the way since this is going to be a line there anyway. Like that. Let's just duplicate this alto
option, click and drag, align it at the bottom, and also create one in the middle and reduce
the length of it. Something like that.
Okay. Now let's group these together into
one, commando Control G, and then we can
draw B and r. I'm actually going to start with R. So let's just draw
these lines first. I intentionally didn't go
all the way to the edges. And then for the next shape, I'm actually going to
use the rectangle tool. Draw it out like
that. Drag this down. And then what I'm
going to do is to just select these two
anchor points, this one, and this one with the direct
selection tool and use the Corner Rigid tool on
them to create the corners. We can probably use
5 millimeters here. Now, you probably recall me using much higher
value on these. So let's just go back. It
was actually 15 points. Not sure if it's going to work
well on these two corners, but we can try it out. Double click, set
it to 15 points. Yeah, actually it works fine. 15 points on this as well. Okay. Just to have the same
roundness, be consistent. Then we can drag this point down here all the way to the edge and then use the pen tool and draw one more line from
the center down there. Okay. Now this line
needs to actually extend beyond the outline, and we will use the same
technique as before. I will use a square
that's aligned here has no stroke and then select that other shape and press commando
Control seven. So it cuts perfectly into it. So it's still a stroke, but it's now created the
letter that we needed, and we can select all of these together and then group them. We actually will need also very similar shape
to this for the B. I'm just going to duplicate
this whole thing. So we have the selected
Alt or option, click and drag for the B. We can double click
on this group, or we can even ungroup
it temporarily, commando Control Shift G, and we need to just
delete this shape. And then what we can do is to duplicate this alt or option, click and drag and drag it down. There and then drag it up. It's going to be a bit
of a squeeze here. Let's just see if we can
fit it in like that, and that other shape
needs to go up as well. There. Okay. I'm not trying to be
100% accurate here. I feel like that looks good. Maybe the roundness here
needs to be adjusted a bit. So I'm going to
cheat a little bit and select these points. Let me just select these
two points actually. And I will type in for both of them the same
value of ten and ten. And then these two as well. That one and that one. I'm going to use ten
and ten. Like that. Okay. So that's a very
subtle little dent here, but I think it still works, so it's still visible as B. And now what we can do is to also group this
together into one. So now we have the
whole text ready. But maybe what I'm
going to do is to select certain points like here. This one, double click
on the corner rigid. Put 15 points on it. Also, let's do the same on
this other A, 15 points. And then maybe we can
do the same thing here on the on this point
and this point. Let's put 15 points
and 15 points. Okay. Actually, I might
leave one side to be sharp. I think I'm going to leave
the right side to be sharp, so I will just do like this. So that has a little bit
of symmetry or resemblance to what's happening
here with the A. So there's only
one round corner, also one round corner here. All right. So we
have the text ready. Now I'm just going to take
a look at the urning of it, so I will move the
letters around a bit. Let's move the t out. And I think here
on the left side, we have a good urning going on. Maybe just not the
alignment on this E. I can see some issue here. I'm going to select
that and just select these anchor points
and drag them in a bit and align them to
the other shape behind. Okay, so I think that
looks better now. I don't have issues
on the other letters. I think they work well.
5. Distorting the text: So now what I wanted to
do is to have this text follow the shape here above. So what we can do is to just
select all of these letters, and it's going to be easier to edit them later in this format, the way I have them right now, even including the guides. I'm just going to
select all of this together and group it as one, and then copy paste it. And we can even keep this duplicate outside of
the canvas right there. And then the one here
on the artboard, I'm going to group
these together. And these together, like that. And then I'm going to
turn these into feels by selecting all of them and go to the object menu
and choose expand. And let's click. So now
they are not strokes. I won't be able to adjust
their thickness anymore, but it will be much
easier to work with them. And it might make sense
for some of these to be merged together as well with the unite and the pathfinder. So like these, we can
join together as well. The R can also be
joined together, but in this case,
don't forget that we also have a clipping mask. And here's a useful technique. If you want to turn a clipping mask into
something permanent. So in this case,
there's our mask. What we can do is to drag
it out. Select that shape. I'm just going to ungroup
it a couple of times. So there's our clipping
path and this shape. We can just use this option
here in the pathfinder panel. So that's from pathfinders, it's the fourth icon. Once you select that, you
will get this result, and we can delete the
unnecessary paths, those remaining details there. And now it will be easier if
you just select this shape, this shape, and this to
unite them together. That's one, and then we can do the same thing here with
A, unite them as well. E as well can be united all
of those shapes together, and then the same thing with B, let's unite them all together. And I might actually have
these points selected here. Using the direct selection tool, I'm going to select these, and then for the corners, we can just add a
little bit of radius, a very subtle one like that. Okay, let's zoom out. All right. So now we have our
text outlined. It will be much easier
to work with it. Maybe just one more letter here, the N. I just remember
that steel has a clipping group on it
or clipping mask four. I'm going to remove the clipping group and
select these two shapes. And then from the path finders, I use this fourth one to chop off the
unnecessary details, and then we can remove all
of these access objects. So now we have the N ready. Okay, so it's much neater. I can remove any unnecessary
groups that we still have. And we could even just use these as compound parts,
instead of groups. So I can ungroup these and press command
or control eight. And then also this other one, instead of a group, I can just turn it into a compound path. But I still like to
keep them separate, one on the left,
one on the right. So now, before we start
distorting anything, I'm going to again
duplicate this. I'm just going to old or option, click and drag this down here. Maybe put it in a group. So that way we have a backup. Of the outlined version. So this is the original
details that we crafted. Then we have the outlined
version there at the bottom. And then now what I'm going
to do is to select this one, use the free transform tool. And first, I'm going to
use this second option, the perspective distortion,
and I'm going to start dragging the
end points this way. There's a skew on them, and I will do the same on
this other shape here. Again, free transform
perspective distort and drag it down. Now if I want to
be very accurate, I could create guides again and align this
distortion to that. But I'm just going
to work a little bit faster here just to make
it more interesting. I will use the free
transform tool now, and I'm just going to
drag this edge up here, and I can drag this up
a little bit this way. And then I'll do the
same on the right side, use the free transform
tool and drag this one up. That way, align the top edge. And then I think we have a really good distortion
and the fact going on here. Maybe what we can do is to have this shape selected and
drag it out a little bit more further down like that just so it follows the
angle of those two letters, maybe even further down. The only problem with
distortions like this is that we end up distorting the thickness of
the lines as well, so the letters are
getting thinner further in the back and
thicker here in the front. So that's something that
we need to compensate by adding a stroke on this
one here in the middle. Just going to add
black stroke on it, and I'm just going to
increase the value on it a bit just to make this the
thickest one like that. And maybe now we can just
reduce the height a bit, drag it down, and now it feels like there
is a good transition. Let's just change
the text color also. I'm going to set
them all to red. And then the stroke
on this one should also be red or this pink color. And then turn the
background back on, and let's turn off
the sketch layer. And let's take a look at this. This side definitely needs
to be further adjusted, so I just go back,
turn off the edges, so I can judge it better, drag it up that way. And even this one on the right can go a little bit higher. Just add a little bit more
sharper angle on it like that. Now, if you notice any issues
with your kerning, like, in this case, I feel like the U should have been a
little bit further up. It's a little bit trickier
to move it around now because obviously we
will lose the angle. It won't be perfectly aligned
if I move this around. But maybe we can just
cheat a bit and move these two points to
the right just gently, and that just helps with
the urning slightly. But this is why
it's good to have backup of different versions or stages of your text that you can fall back on and
you can make changes to. So you can always come back
to these and adjust them and then recreate the effects
that we applied here. And one thing that I wanted to make sure that I don't forget at the end is to have the roughen effect
applied on these as well. So I'm just going to select this one here in the
middle because it has both outline and
feel and expand it. Then use the pathfinder unite to turn it into a single shape. Now if we select these three, we can turn them
into a single path, commando Control eight that created the compound
path for us. And then let's go up to fat
and choose apply Rugen. And this is obviously
a live effect that we can always access from
the appearance panel. But let's just take a look
at this from a distance. That looks quite good. While I want this to be a
little bit more subtle. So I go in here and reduce
the amount of detail maybe to two and the size
can go down to 0.1. Yeah. That looks good. Just a very subtle effect. Don't want to affect
the legibility. I feel like that steel
reads really well, and then now we can take a
look at this from a distance. And now after this, we will just need to add a few final effects.
6. Adding distress and halftone effects: So to make things look
more interesting, I wanted to add a couple of final effects on
the illustration. First of all, I would
like to add a texture. And the way we are going to
use this is by first of all, putting everything
into a single group, because I would like to use
this on all of the objects. And so far, it made sense
to have the type on a separate layer and all of these objects in
individual groups. But now we will have to
put them all together. So the text that I have
here on a separate layer, I'm going to bring onto the
same illustration layer. And then I select
all of these four, so the flames, the
body, the helmet, and the text, and
group them together, command or Control G. Now we can create an opacity mask from
the transparency panel, and we will turn off
the clip option, and then click on the
opacity mask thumbnail. This is currently empty, so it's not doing
anything at the moment. But I would like you to open
the file that's included in the exercise is folder
called Distress texture. I'm going to copy this. It's just a lot of small points already
set to black color. So copy all of this together. It should be a single
group or compound path. And once you copied it, you can even close the
original document. And just paste it
into your artboard. And it's going to come in much
smaller than what we need. So I'm going to hold down
the altar option key and drag it up until it
fits our illustration. That looks good already. And if I click outside, you can see the effect, so it was that simple. So the good thing about this
is that we can zoom closer, and these are all
vector details. So they will scale with the
resolution of your print. So it will always
look sharp and crisp. And I love the little
details in this. And the cool thing
is that you can, of course, move this around. If I hide the edges, I can just show you
as I move this, it's going to keep updating. We can reflect it around, turn it upside down, check different angles for it and decide which
one works best. I feel like this
already looks good. And now I'm going to
exit the opacity mask, so go back to the
normal thumbnail in the transparency panel. And then one additional
thing I would like to do is to add some half done
effects on the text. So I'm going to select
the text at the bottom. And this object currently has only a fill and the roughen
effect, if you recall. But now we are going to add an additional effect by
creating a second fill. And on this fill,
I'm just going to use a linear gradient. And I will press G
on the keyboard, drag the gradient up from the bottom to top.
Something like that. And then while this
fill is selected, I go to the effect menu, and from Pixelate, I will
choose color half ton. The radius or the
size of this can be adjusted depending on the
scale that you work in, and also your document
raster effect settings. I'm going to set it
to maybe ten for now, and I make sure that
all the channels are set to the same number. It could be 90 or 100
or whatever you want, but just make sure you
have the same numbers. Then let's click. And we can already see the half
ton effect generated here. If I go to the
effect menu and go on the document roster
effect settings, you can see that I'm
using 150 PPI resolution. If I reduce this down to 72 PPI, it's going to affect the size and the quality
of the half tones. So again, if I go up to 150, it's going to be more detailed and the
higher the resolution, the more detailed it will be. Of course, because everything is created with a live effect. We can always go back,
click on color half tone. And if I want these
dots to be bigger, let's just say 25 pixels, then obviously they will
be much bigger now. So let's just zoom out. Now, my main problem
here is that it gets too dense around the top. So what we need to do is to
extend the gradient out. I'm still using the
gradient annotator, and I will actually
reverse the gradients. So I want the dots to be
stronger at the bottom, and then fade out on the top. And that makes sense because we have the largest
letter at the bottom, which will still be eligible. I'm just going to adjust
the midpoint as well. So I'll drag that down a bit. Feel like that is
working quite well now. I don't want the fact to
go on all of the letters. I feel like here in the center, it's the strongest,
it looks good. And with these settings,
I'm happy now. All I have to do is to change
the opacity of the fiel, this gradient field to multiply. So I will choose multiply, and then it's going to be added on top of the text like this. So that is looking quite good. We can always go back to the document roster
effect settings. Maybe increase this
up to 300 PPI. We will get more detail. That looks much nicer now. And if I want to go back
and make changes to this, I just have to select the text. Elect that fill, use
the gradient tool, and then I can just adjust this and see the
changes updating. And the cool thing is
that we can even save this whole thing as
a graphic style. So if I go to the
graphic style panel, I can just add this, we can call it half tone. And then if I want to reuse it, maybe on the flames, I can just select the flames and click on the half tone
effect. And there you go. It's already introduced there. Same as before, if
I select my fiel, I can just move it up
maybe a bit in this case. And it should update. And we can see the half
ton effect there as well. So let's take a look at
this from a distance. We have that distress
effect created with the opacity mask and that
texture that we used, and then we applied
the half ton effect on the text and the flames. Feel like it looks really cool. Now, of course, we can always
make changes to the colors. If you don't like the
colors that I used here, you can easily just select everything going into
recolor artwork. And since this is such
a simple illustration, there's only two colors. We can very quickly
move these around. We can just turn off the connection between
the two of them. And that way, I can
maybe drag this one out, make it more a stronger red. And you might just need to
wait a little bit longer because there's lots of effects applied on
the illustration. But yeah, as you can see, it is very quick and easy
to make changes here. I'm just going to reset
back everything the way it was because I like this
color combination. And that's all I wanted to
do for this illustration. I hope you had fun.
7. Conclusion: Well done for
finishing this course. I hope you had just as much fun going through it as
I had recording it. And of course, don't forget
about the class project. Because remember,
practice makes perfect. I can't wait to see your work, so make sure to submit it. And in case you
like this course, and you would like to
learn more from me, then there's plenty of other courses that
you can find here. Go ahead check them out now. I can't wait to meet
you in the next one.
 Martin Perhiniak, Graphic Designer, Illustrator & Educator