Transcripts
1. The Journey Begins: Ready to craft ordinary
cardboard into an epic loot chest? Hi, I'm Naama. I'm a graphic
designer and artist. I love how we can create fun and useful things
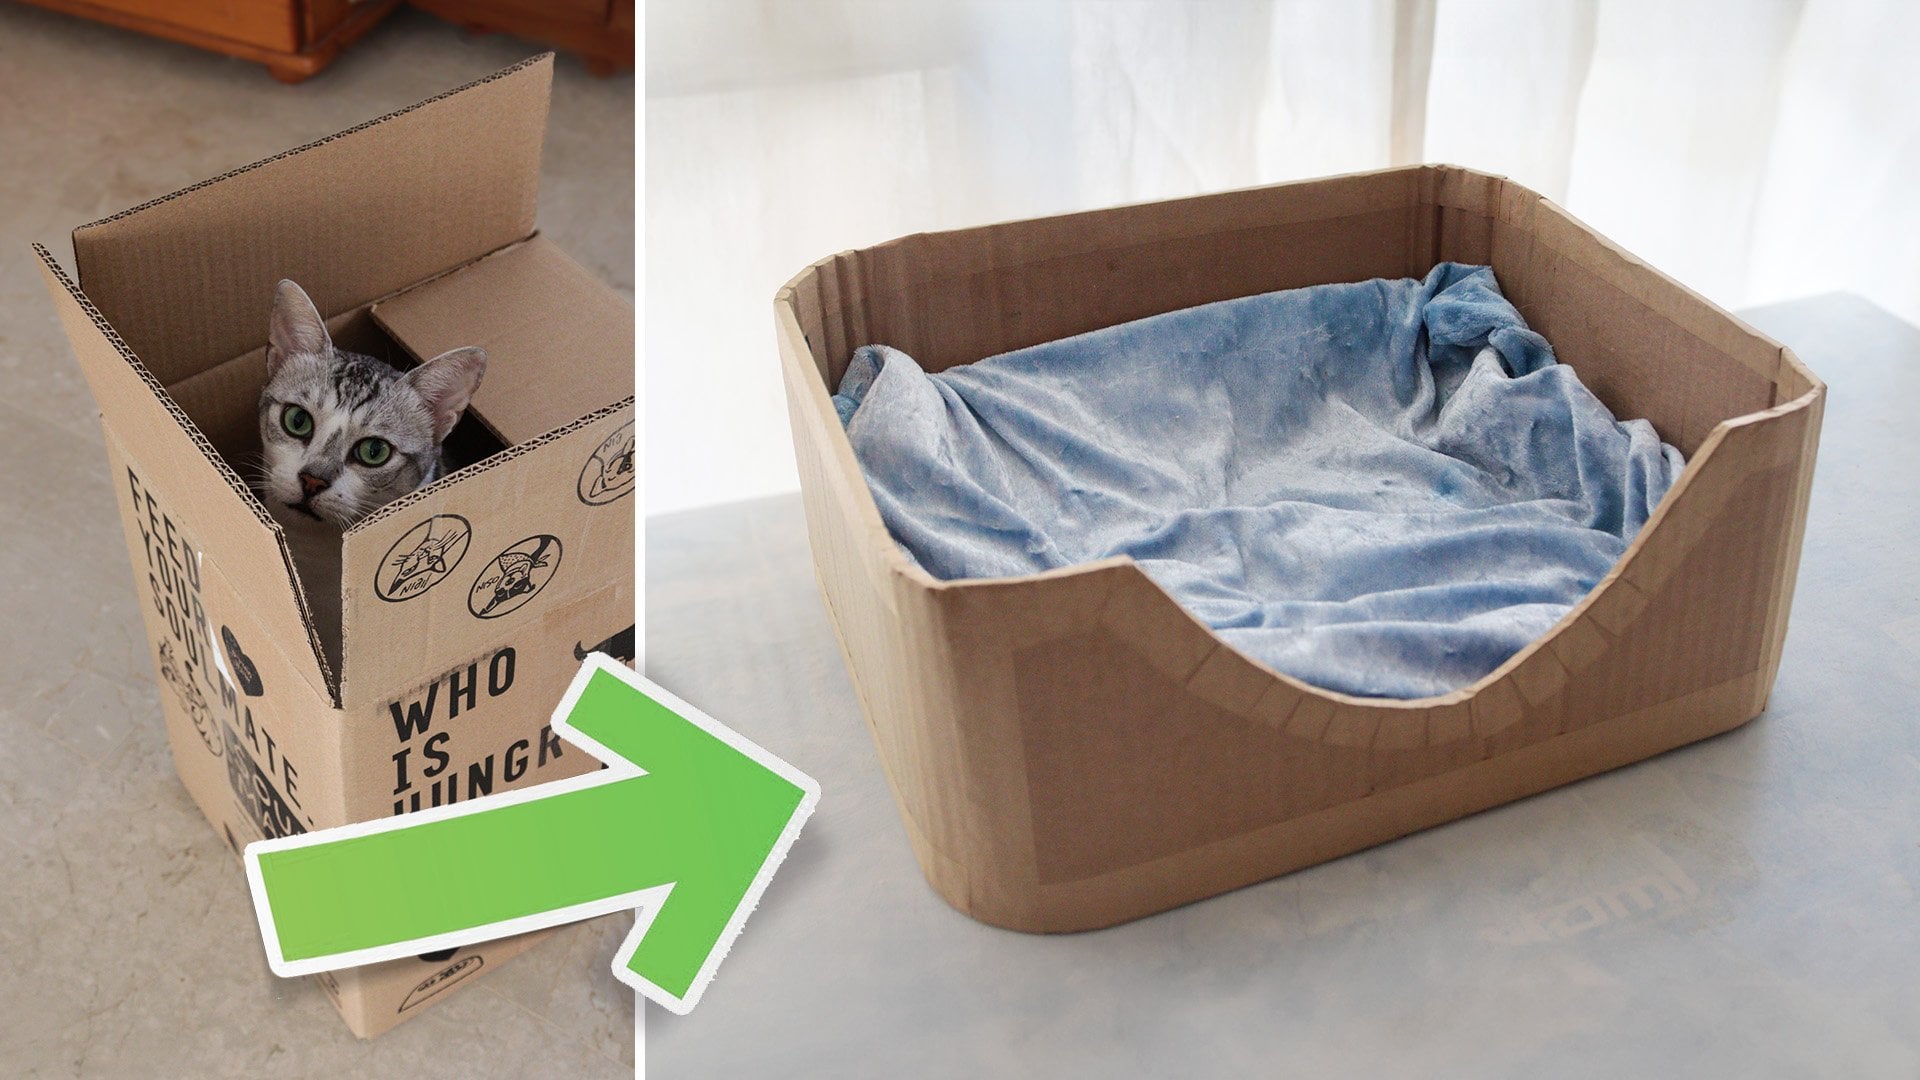
using simple cardboard. In my previous class, we made a cozy round edged
bed for a cat. In this class, we're
taking it a step further, building a loot chest with a lid and simple
cardboard hinges. It's perfect for storing your
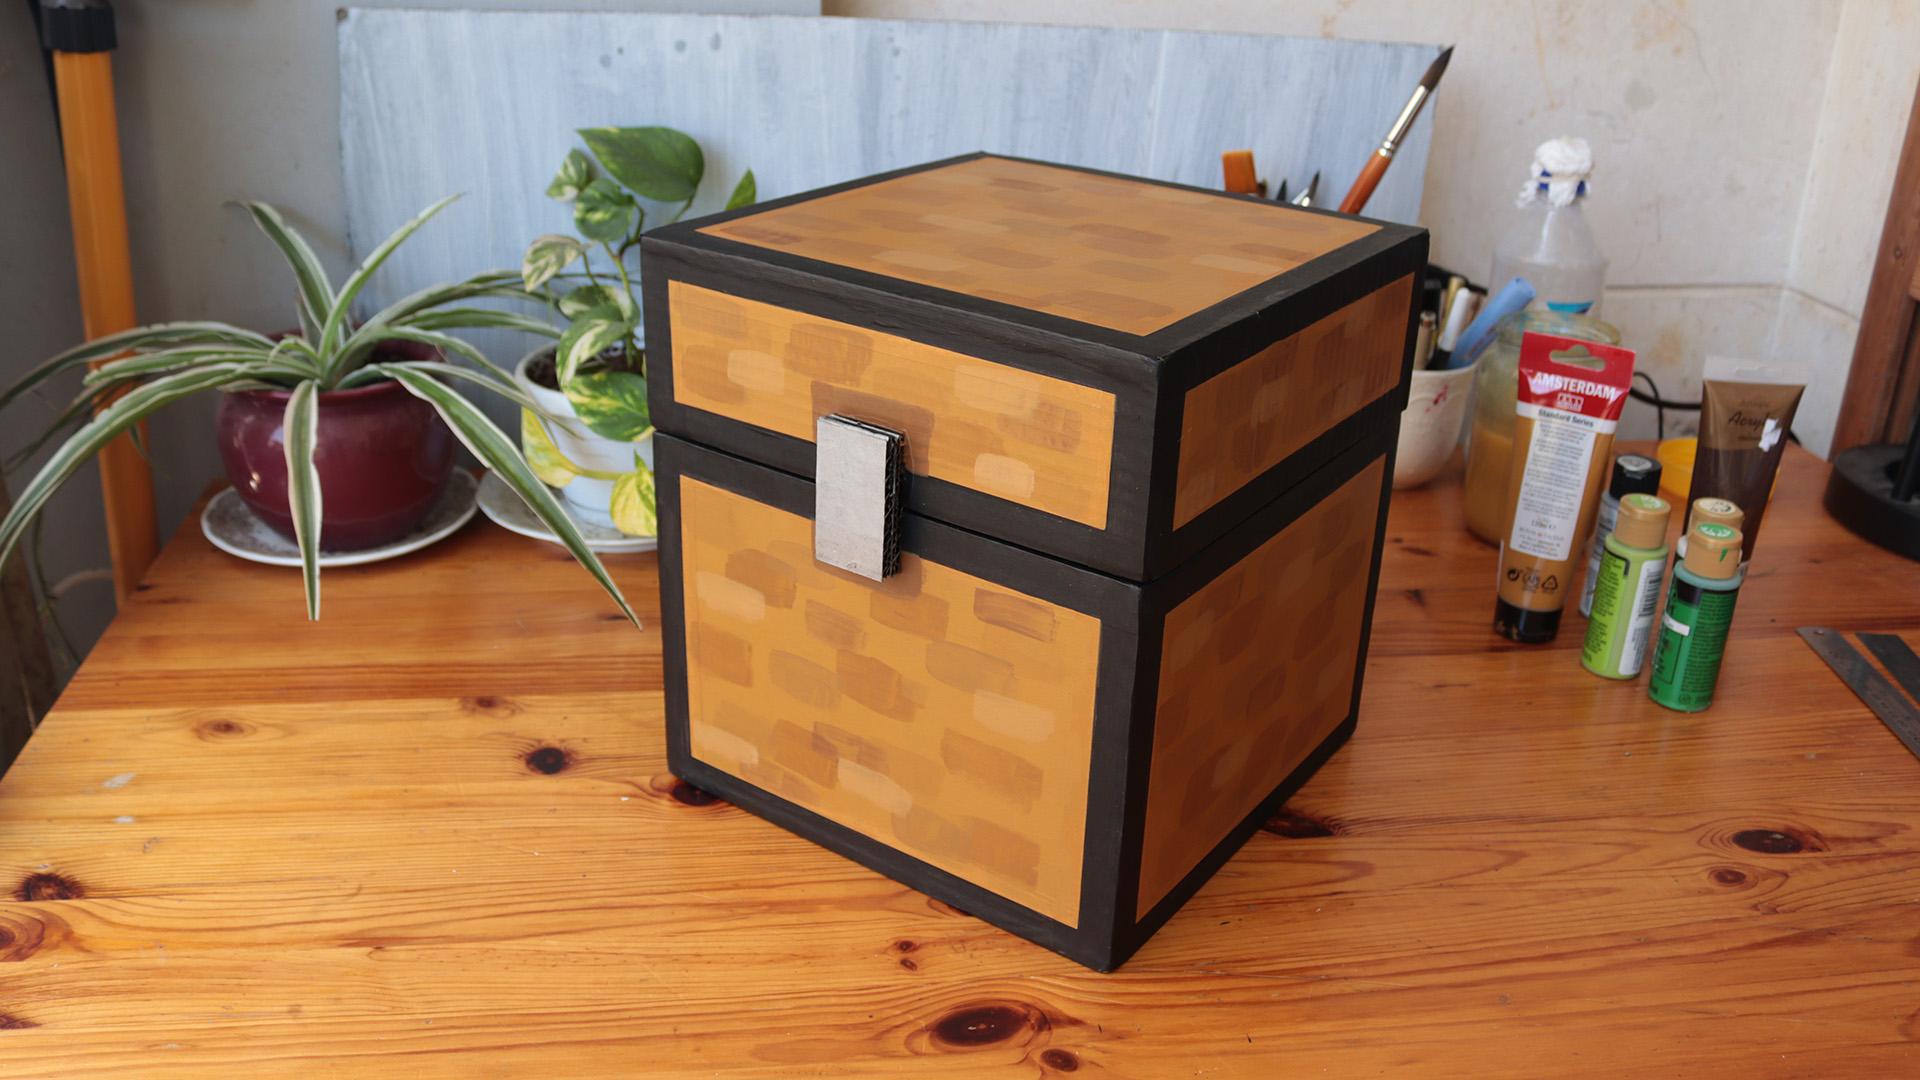
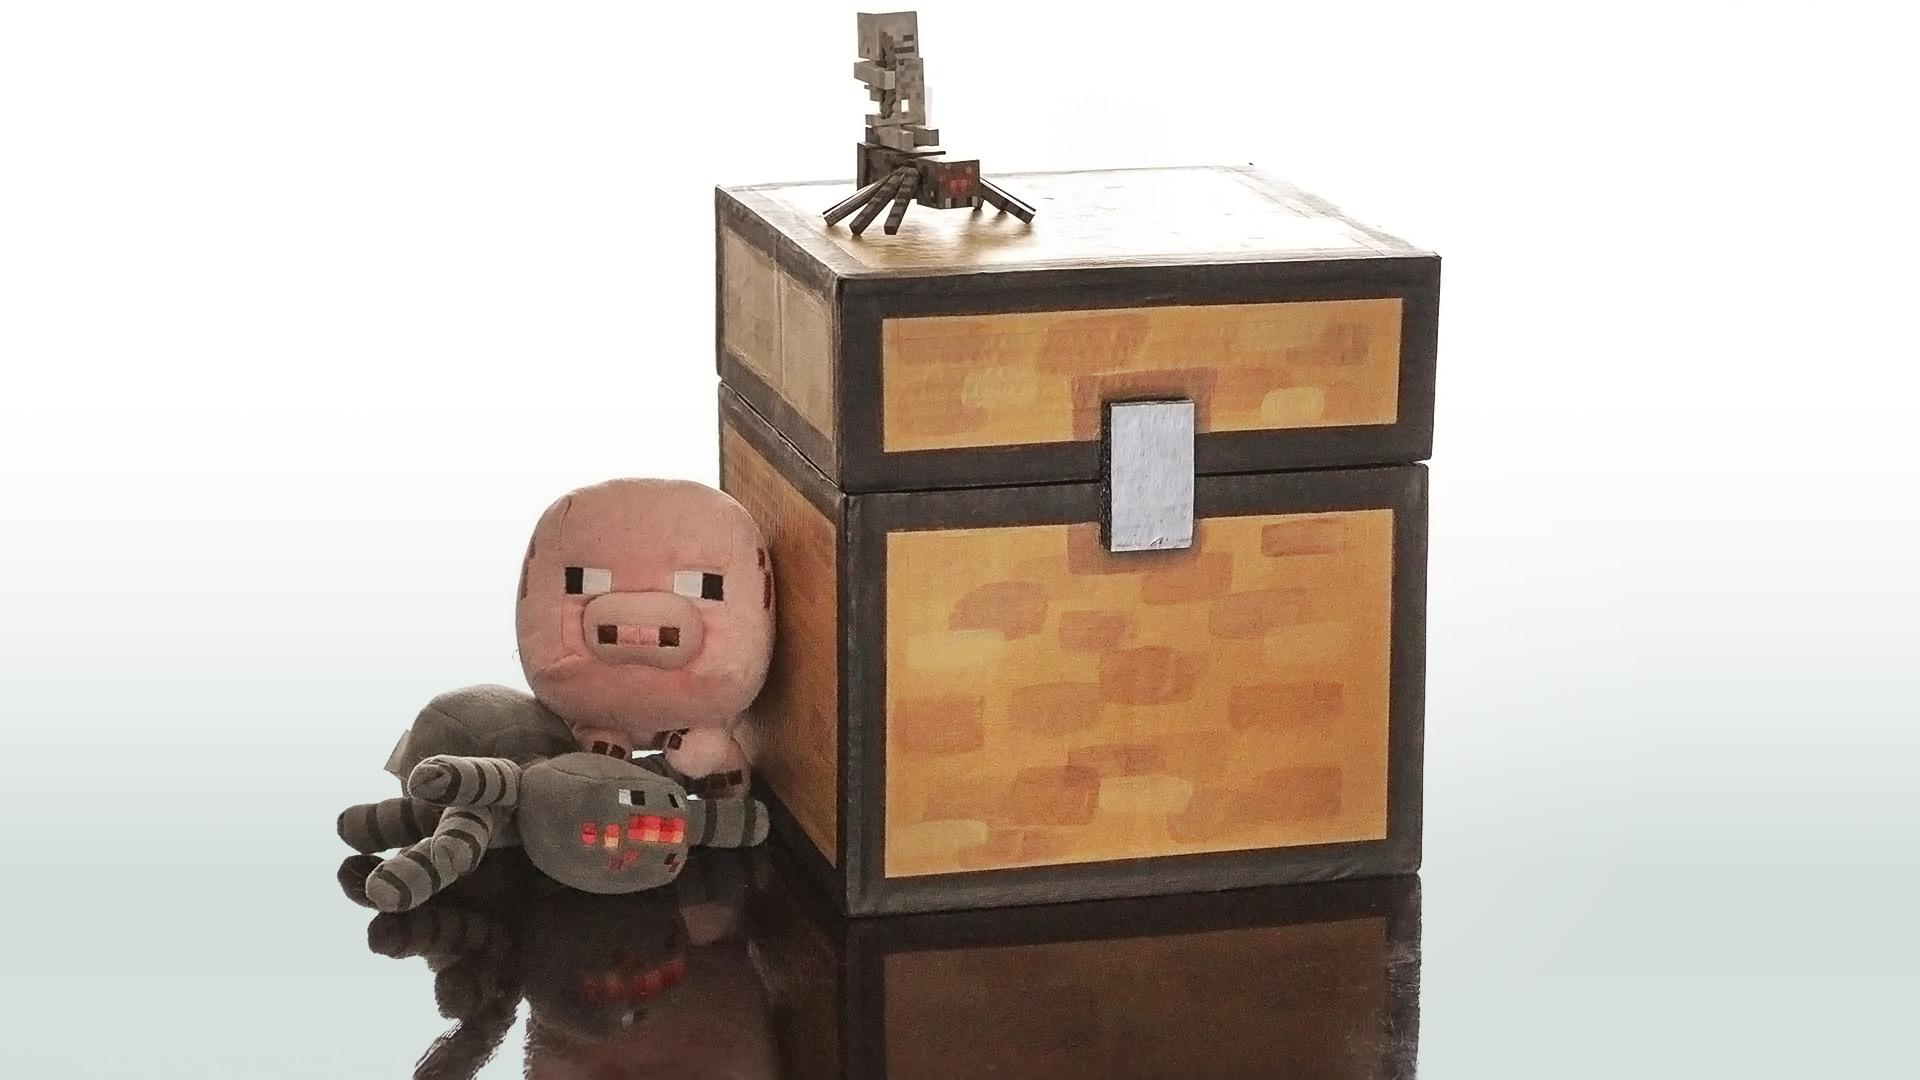
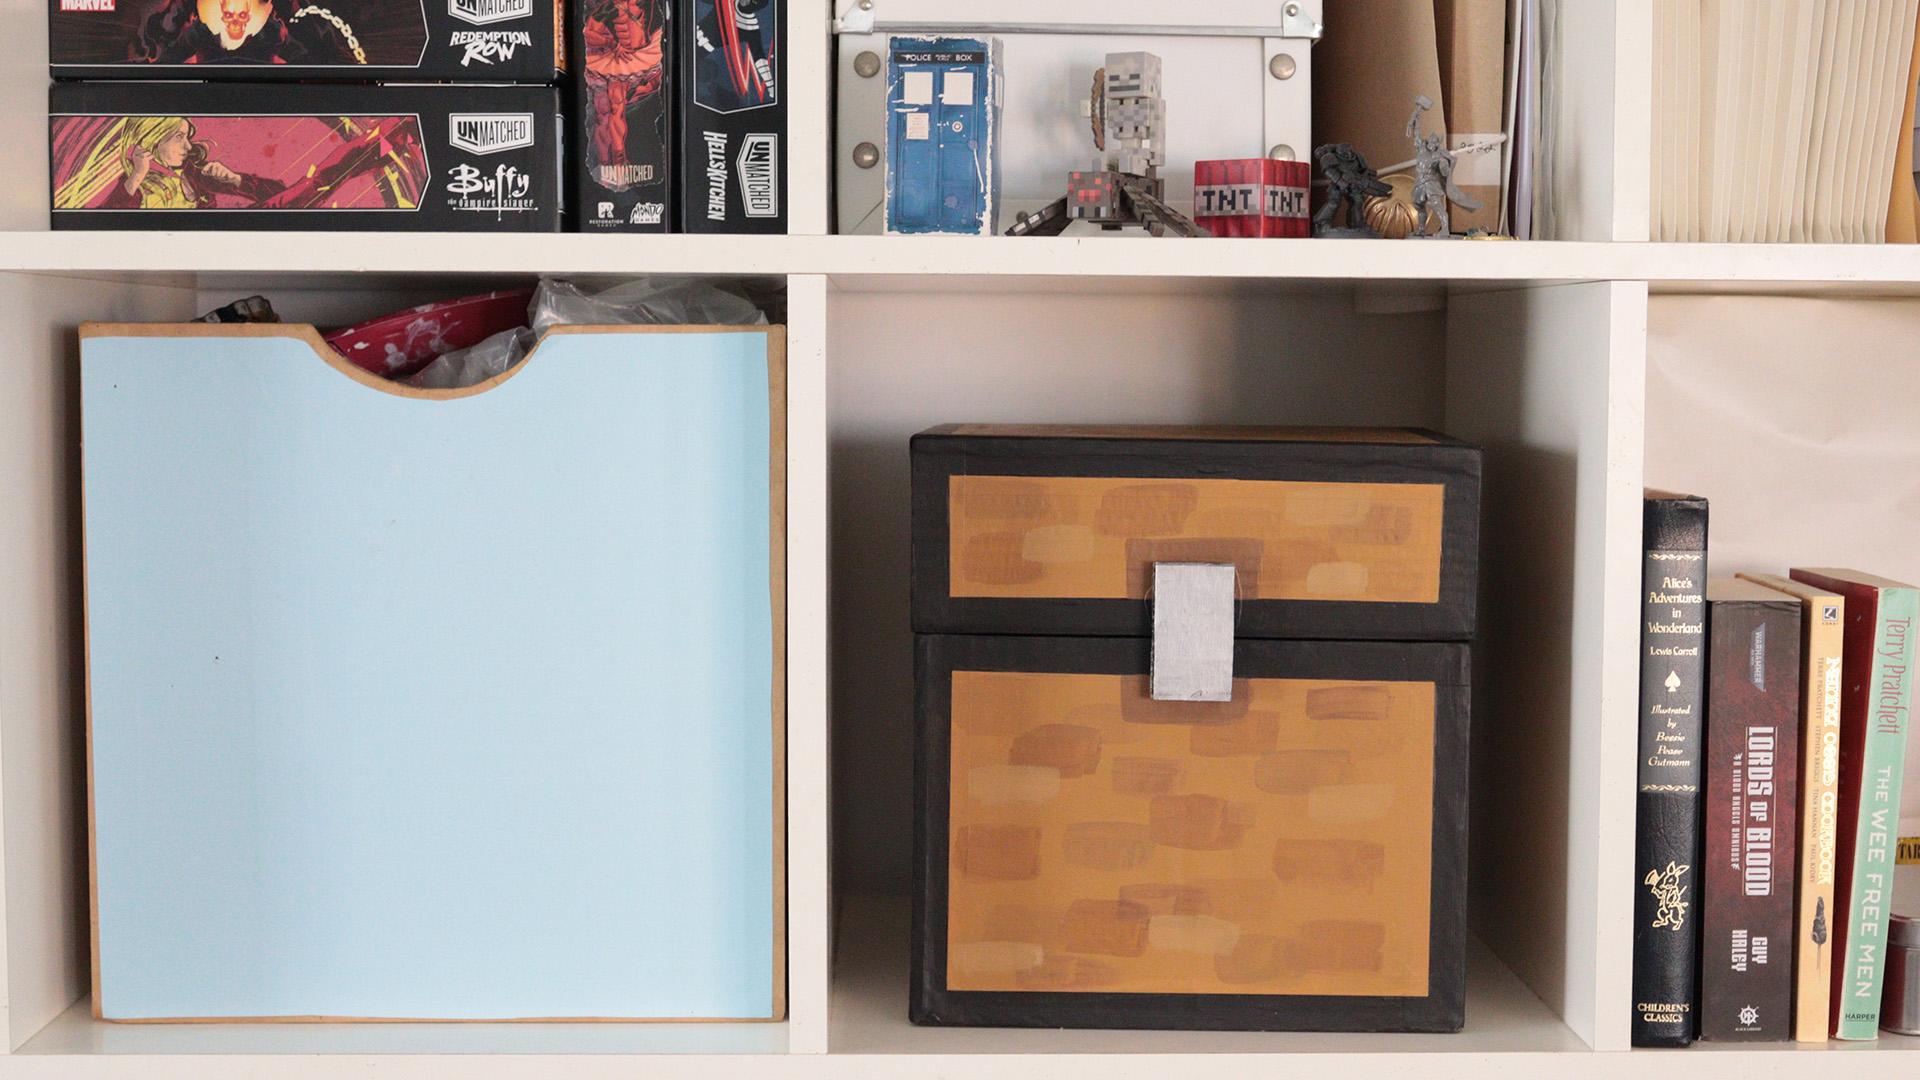
treasures or as a gift for someone who loves video games, especially minecraft fans. So what will we
learn in this class? I'll guide you through
cutting the pieces, gluing them together, and giving your chest a
clean polished finish. You'll also learn how to
paint it with acrylics, along with essential tips
for walking with them. The class includes a
printable file with all measurements in both
centimeters and inches, so it's easy to follow along. There you'll also find
tips on how to adjust the design to make
your box in any size. So jump into the class
and learn how to create your very own
loot chest from scratch.
2. Inventory Check: The materials we'll need are a cardboard box or a
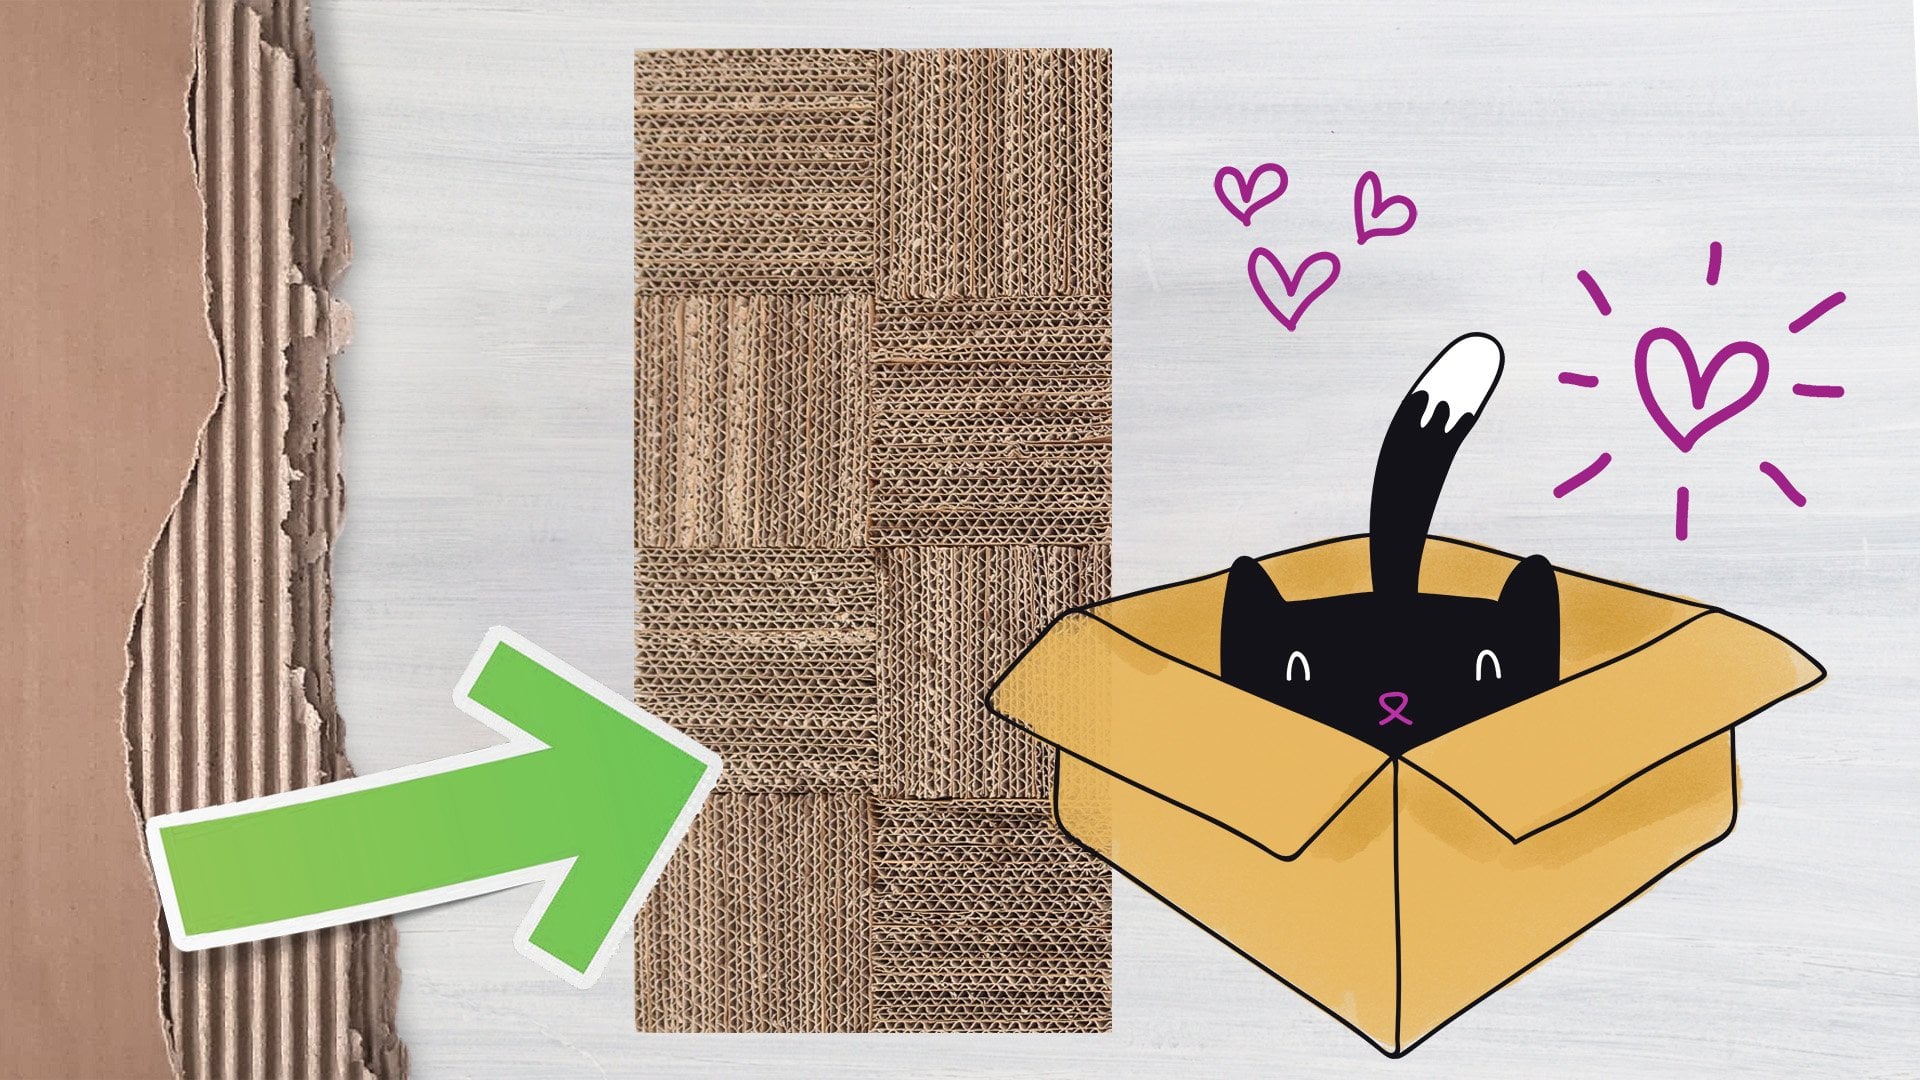
sheet of cardboard, preferably double layered
for extra strength. To cut a cardboard,
we'll use a craft knife, a ruler for measuring and
cutting, and a cutting mat. If you don't have a
cutting mat with a grid, I recommend using a square ruler to help find straight angles. To assemble the box, we'll
need hot glue and PVA glue, also known as school glue. You'll also need
some masking tape or washi tape, and a roll
of gummed paper tape. If you don't have gummed tape, you can simply use regular
paper with PVA glue instead. To paint the box, we
need a black marker, ideally a permanent one. For paint, you'll need
black acrylic paint and light brown acrylic paint, something between
brown and orange. The shade I use is
called raw sienna. You will also need
gray or silver. For the texture, you'll need
some brown and green paint. I use a bit of white as well. And finally, you'll
need a flat brush, a container for water, and something to mix the paint on like a plastic lid
or a small plate.
3. Crafting Begins: Cut Out the Pieces: We're going to build
the chest in two parts, the box itself, and the
lid. The chest is a cube. Is width and height
are 25 centimeters. You'll find the full
plan and dimensions in both centimeters and inches
attached to the lesson. There you'll also
find tips on how to adjust the design to make
your chest in any size. The lower part of the box is about two thirds of
the total height. In this case, that
means 17 centimeters. The lid is the remaining
8 centimeters. Let's start with the base. That's a square 25
by 25 centimeters. We need two of these. One
will be the base of the box, and one will be the
top of the lid. To get started, here's
what we need: cardboard, a metal ruler, a craft knife, and a pencil or a pen. Before we start cutting, we need to make a straight
reference line. You can use the lines
of the cardboard to help find this first line. Mark it with a pencil or a pen. To make things easier,
I'm going to cut these two pieces off to
get them out of the way. It does not have to be perfect, so I'm not using a
ruler for this step. Let's go back to the
first line we marked. I'm placing the knife along the line right
next to the ruler. Make sure the knife is
touching the ruler, not floating in the air. First, feel the edge
with the blade, then start cutting slowly. That way, you avoid slipping
and hurting yourself. Also, don't apply
too much force, so the knife doesn't
jump out of place. Make several light passes until you cut all
the way through. Now we've got our
first straight edge. From this line, we'll
measure 25 centimeters across and 25 centimeters up. Mark the two points,
connect them, and cut. That gives us one side. Now rotate the cardboard and cut 25 centimeters in
the other direction. At this point, I want
a 90 degree corner. You can use any object with a right angle or the grid
on your cutting mat. I know this line and
that line is straight, so I'll align the
cardboard with the grid. There's an ugly part
here I want to cut off. I line up the ruler here
with a vertical line. Mark it and cut. Now we've got a clean line that's at the right
angle to the others. From here, we'll measure 25
centimeters across and cut. Now we have a perfect
square, 25 by 25. We need two of
these. To save time, I just trace the first square
to mark and cut the second. I have two squares, cut from different
pieces of cardboard, so I'll choose the one that
looks better for the lid, since that's the
part you'll see. The other not as nice
will be the base. I'll mark those two
pieces with a letter A. Now let's get the front and
back panels of the box. Each one should
be 25 centimeters wide and 17 centimeters high. Same method as before. Start with a straight edge, measure, mark, and cut. Then use the first piece to
trace and cut the second. Next, take the base square. The 25 by 25 and the
two panels we just cut. Before we cut the side panels, we need to know how
wide they should be. So we hold the front and
back pieces up to the base. Hold them on the edge of the base and measure
the gap that's left. The exact size depends on the thickness
of your cardboard. In my case, it came out
to 23.7 centimeters. Now I'll cut two pieces
that are 17 centimeters high and 23.7 centimeters wide. You'll want to measure your
own and adjust accordingly. I've cut the two
horizontal lines, and now I'll cut the side. Last time I showed you how
to use the cutting mat grid. This time, I'll show you how to do it with a square ruler. Place the ruler along
the straight edge. Hold it so it doesn't move and mark the line
with your pencil. Once you have a straight line, you can measure
the width and cut. Now we've got all the
pieces for the box. Let's move on to the lid. We already have the top
the 25 by 25 square. Now we'll cut the front and
the back panels of the lid. Two pieces, each 25 centimeters wide and 8 centimeters high. Then we'll cut the side
pieces, same height, 8 centimeters and about
23.7 centimeters wide. Again, depending on your
cardboard thickness. Now we've got all
the lid pieces too. In the next video,
we'll assemble everything and
build the chest.
4. Putting It Together: To assemble the parts, I recommend using hot glue. It's quicker and easier. Protect your work
surface from the glue. I use a plastic sheet, but a piece of cardboard
works just as well. You'll also want to
prepare a small piece of cardboard to spread
any excess glue. We start with the
base of the box, which I've marked
with a letter A. That's how it's labeled in the parts file included
with this class. Take the two parts
marked with the letter B. Choose the nicer looking one, that would be the
front of the box. Then glue it here at the front. Press the hot glue gun and draw as straight
a line as possible. Place the part, flash
against the edge. Be careful not to touch the
hot glue with your fingers. Use a small piece of cardboard
to scrap any excess glue. Hold it in place
for about a minute. Then repeat the same
steps for the back part. Take the second B piece, choose the side
that looks better, and place that side facing out. Again, be careful
with the hot glue. Once it's cooled a bit,
take the two side parts, mark with a letter C. Apply glue to the edge of the base and try to keep
the line straight. You'll also need to glue
the connecting edges. Gently open the structure a little and apply
glue there as well. Do the same for the fourth side. This part of the chest is
now ready, well, almost. It's not fully sturdy yet. We'll reinforce all the joints inside and out in
the next lesson. But first, let's make the lid. For the lid, choose the nicer
looking side for the top. So I'll flip it now with
the good side facing down. We'll attach the lid
parts the same way. Start with the
front and the back pieces marked with the letter D. Then attach the side pieces
marked with the letter E. Now, both parts of
the chest are ready. In the next lesson, we learn how to reinforce all
the connections, so the box will last a long
time and be ready for use.
5. Prep the Surface: Now we need to reinforce
all the joints of the box so that it's strong
and durable over time. It also smoothes out the corners and softens the rough
texture of the cardboard. To get a clean polished finish, it's a good idea to smooth out any raised or
uneven spots first. Look for any glue residue that's sticking out and
carefully remove it. While I'm at it, I'll also
show you how to replace the blade in your craft knife in case it's gotten too short. Loosen the screw and take out the blade along with
all the inner parts. Make sure to keep
everything facing the same direction so you
can reassemble it correctly. Insert the new blade, place the parts back in and
tighten the screw again. Now carefully, trim off any glue residue or
uneven cardboard edges. To strengthen the joints, well glue strips of
paper over them. You can use regular paper
and apply glue manually. I'm using craft paper here because the
color blends better, but you can also use
plain printer paper. The best option is this
water activated gummed tape. It has glue on one side that becomes sticky
when you wet it. This is my preferred method
because it's quicker. The glue spreads evenly,
and it's very strong. I'll show both methods. For the first method,
cut white strips of paper and use a brush
to apply PVA glue. Make sure the glue covers the entire surface of the paper. Don't leave any dry areas. Place the strip
along the corner. Press down and smooth one side first, to avoid wrinkles
and air bubbles. Then smooth along the edge
to create a crisp corner. Before pressing the other side, cut a diagonal slit at
the corner with scissors, so the paper folds neatly. Always start pressing from the center and then move
outward to the sides. If you see a wrinkle,
you can cut it slightly by hand or with scissors
and press it again. It's better to have a
cut than a wrinkle. Finally, fold and glue down
the extra bit at the corner. If the glue has dried in the meantime, just
add a bit more. Don't forget to wash
your brush well afterwards so the
glue doesn't ruin it. For the gummed tape method, you'll need a roll
of tape, scissors, a bowl of water, and ideally
a sponge to apply the water. Make sure to keep
the water away from the roll to avoid getting
it wet accidentally. Measure roughly how
much tape you need. Cut it and wet the shiny side. That's the side with the glue. Smooth one side down first. Press the edge. Cut a diagonal at the corner. Then press the other side, start from the center
and move to the sides. Smoothing as you go
to avoid wrinkles. Repeat the process on all the outer joints of the
box and also on the inside. This will make the
box look better and keeps it strong so it
doesn't fall part over time. Now we're left with
the top outer edge, which will also cover for a
cleaner, more finished look. Cut the strip a little longer
than the width of the box. This time, start by pressing
the center in place. Cut a diagonal slits from the
inside corner of the box. Make a crisp edge. Then press the inner side, again, start in the center
and move to the sides. Then press the outer flap. And tuck in the corners. You can already see
how much better it looks compared to the parts
we haven't covered yet. Continue to cover the rest
of the edges the same way. Now there are some watermarks, but those will disappear
once it dries. The box now looks much better and is ready
for the next stage. Before we paint it, we need to attach the lid and the look. We'll do that in
the next lesson. O
6. Hinges & Lock: We have both parts of the box. To connect them, we'll glue two cardboard hinges
on the back side. They're very simple to make, but they'll hold up for a long time. On the front side,
we'll attach the lock. To make the lock,
cut two rectangles, measuring 6 centimeters
by 3.5 centimeter. Spread glue over one of
the rectangles and use a brush or a piece of cardboard
to spread it evenly. Press the two pieces together and hold them in place with a rubber band until the glue dries completely. For the hinges, cut two
rectangles that are 3 centimeters wide and
6 centimeters long. It's important that
the longer side follows the direction of the corrugation
in the cardboard. This will allow it
to bend easily. Fold both pieces in half. At this stage, you should have two hinges and the
lock that's drying. Turn the box over
to the backside. This is where we'll
attach the hinges. Apply glue to one side of a rectangle and spread it with a brush or a
piece of cardboard. You can also use
hot glue for this, but regular white glue (PVA) is actually stronger when
working with cardboard. Attach the hinges
evenly across the back, placing one side on the box
and the other on the lid. To hold them in place
while the glue dries, you can use masking tape
or washi tape temporarily. It's also helpful
to place something heavy on top to ensure
a stronger bond. After a few hours,
once the glue has fully dried, remove
the rubber band. Now, we'll attach the lock to the front - right in the center. Apply glue only to the
top half of the lock. Hold it in place temporarily with some light tape
or rubber bands. Once that glue has dried, it's time to reinforce the
hinges from the inside as well. Open up the box. We're going to glue some
short strips of paper inside in the area
where the hinges are. Cut strips about 8
centimeters long. With the box open, glue the strips over the
area from the inside. Once everything is dry, the connection between the
box and the lid will be strong and the lid will still
open and close smoothly. This is what your box should
look like at this stage. To make it really look like
a loot chest, in the next lesson we'll paint it and add
some interesting texture.
7. The Final Touch: Color & Texture Magic: In the first step, we're
going to mark a black border on the parts of the box,
1.5 centimeters wide. To measure the width
of the border, I'm using a small ruler that
is 1.5 centimeters wide. If you don't have
a ruler like this, you can cut a paper strip 1.5 centimeters wide
and use that instead. We'll also need a black marker, preferably a permanent one, so it won't smear if it gets wet. Let the ruler or paper
strip align with the edge, and draw a line 1.5
centimeters in from the edge. Do this on all four sides
of each part of the box. I will do the same thing
with the paper strip. Repeat this on every
side of the box. When painting our creations, there are a few tips that
are worth keeping in mind. Protect your workspace and your clothes, because acrylic
paint can be hard to remove. It's a good idea to
start on the back or another hidden part of the piece so that if there are mistakes, they'll be less visible. If you're using both
light and dark colours, start with the light one. It's much easier to
paint a dark colour over a light one than
the other way around. We'll start with
the light colour. This one is called Raw Sienna. I'm using a flat brush and carefully painting
along the edge. It's okay to go slightly over
the black line. We can fix that later
with black paint. Because acrylic paint
is a bit transparent, one coat often isn't enough, especially if your cardboard has printed text or patterns on it. Wait until the first coat is completely dry and
then add a second one. Make sure to paint the
inside of the box, too. Tips for painting with acrylics. Acrylic paint appears
lighter when wet. So when testing a color, wait until it dries to
see the true color. It's also a bit transparent, so you'll usually need
more than one layer. Make sure to let each layer dry completely before
adding the next one. If the border lines have faded or disappeared, go
over them again. Use a small flat brush
with black paint to carefully define the edges and try to keep
the line straight. Take your time, go
slowly and be precise. If any paint goes
outside the line, wipe it off right away
with a damp cloth. Paint the hinges and the
lock black as well. Open the box and carefully
paint the top edge black. Once all the black paint is dry, we'll use light gray or silver to paint over the
lock and the hinges. Again, let the first layer dry completely, and then add
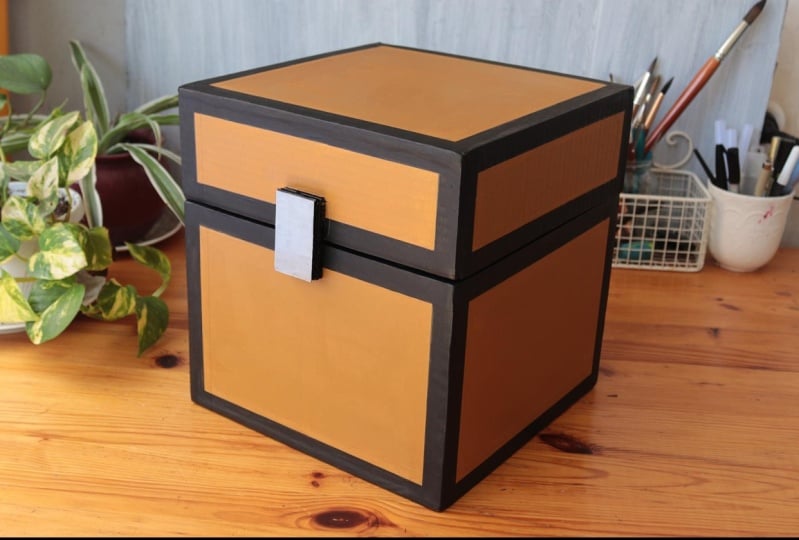
a second one if needed. You can leave the box as it is. But if you want to add
an interesting texture, it's a fun and simple technique
that kids will enjoy too. It's a good idea
to experiment with colors on a scrap piece
of cardboard first. Keep in mind that acrylic dries darker than it
looks when it's wet. So take that into
account when testing. When mixing colors, always start with
the light one and add a very small amount
of the darker colour. We'll take a tiny bit
of brown and add it to our base color and
test how it looks. Again, we start on the
back side of the box. Using a flat brush, we'll paint squares or
horizontal rectangles in a random pattern. Do this on all sides. By now, the back is dry and you can already see that
the color has darkened. Now we'll add a little more
brown and a touch of green. It's better to add too
little than too much. You can always add
more if needed. We'll keep painting more squares and rectangles in
different shades. Now I want to add
a lighter color. So I'm mixing a bit of off
white into the base colour. It turned out a
little too light, so I'll add more of the
base color to balance it. The final step is to paint shadows around the
hinges and the lock. We'll mix a bit of brown
into the base colour and use a flat brush to carefully shade around the hinges and
around the lock. Open the box so you can
finish painting the shadow. And that's it. Our
treasure chest is ready.
8. Quest Complete! Now Let’s Level Up: The box is ready,
you can give it as a gift or keep it to
store your own treasures. Hi, everyone. Thank you very much for joining
me in this class. I hope you had fun turning simple cardboard into
your very own loot chest. By now, you've learned how
to build the structure, add the lid with
cardboard hinges. And paint your chest with
texture and personality. Don't forget to
upload a photo of your finished chest to
the project gallery. I'd love to see
what you created, and I know others in the
class will be inspired too. And if you enjoyed this class, I really appreciate it
if you leave a review. It helps more people find the class and supports my work
here on Skillshare. If you're ready for your
next cardboard adventure, check out my other
class where we build a fantasy style cabinet with elegant curved lines
all from cardboard. It's a fun challenge and a
great follow-up project, and you can make it in
any shape you like. Thanks again for being part
of this creative journey. Happy making, keep exploring, and most of all,
have fun crafting. See you in the next class.
 Naama Yaffe Mendelboim, Graphic designer and artist