Transcripts
1. Introduction to this class: Cuts need to scratch. They needed to maintain their clothes to mark
their territory. To really stress that when
they do it on a sofa, that leads to stress,
a lot of stress. So we need to give them
something else to scratch. You can buy expensive
scratchpad from the store that you
can easily make. Simple one by yourself using cardboard that
you have at home. In this class, we will
learn how to make a simple scratchpad that you can hang on the wall or furniture. Now the variation with an interesting design and the round scratchpad that
the cat can stand on. Hi, I'm, I'm a graphic designer
and artist on Tel-Aviv. And I love making things
from everyday materials. You can check out
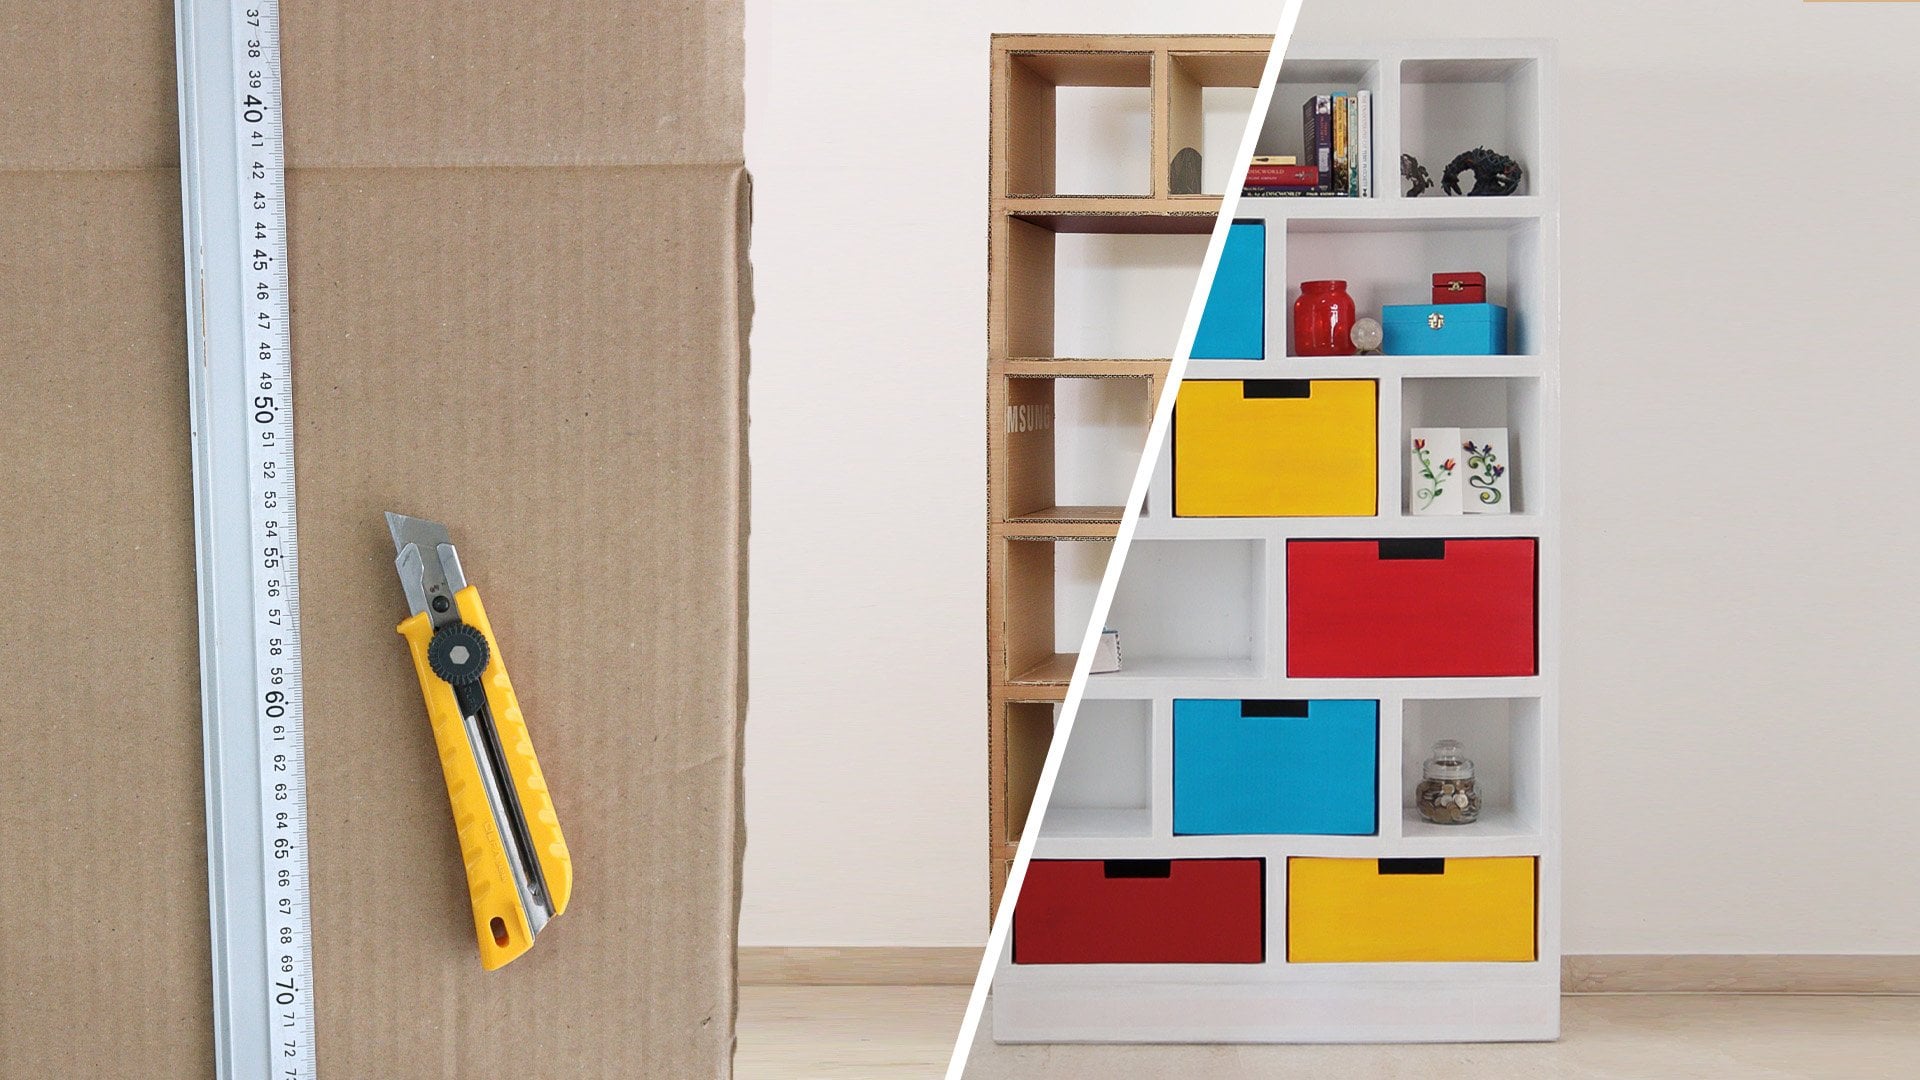
my other classes about making furniture
from cardboard. But to do it later, now we're focusing on what he's really matter and that is cats. In the next video,
we will talk about the tools and materials that
we'll need for this class.
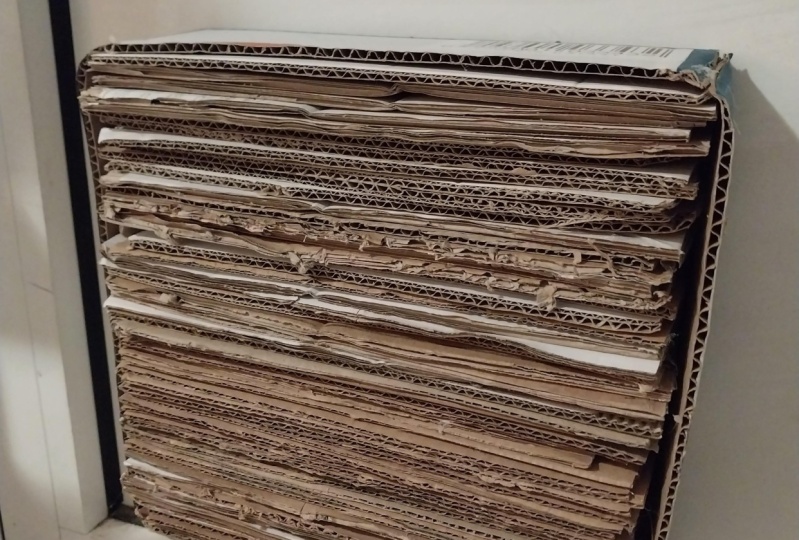
2. Tools: To make our scratchpad,
we need cardboard. A book's package
is a great source. We won't double wall
cow get it cardboard. It has two layers of waves. You can also use cardboard
with just one layer of waves, but you will have
to cut more pieces. We're going to need
the utility knife. I like the one that
has a lock like this one. Because safer. We need the ruler. The best glue for cardboard
is PVA glue or school glue. But we also use hot glue because there are times that we want the glue to dry fast. Usually I use combination
of PVA glue and hot glue that you can ever
put them in the same place. I apply the PVA glue on
most of the surface, but keep it clean lines on the
edges for the whole group. I recommend investing in a cutting mat that has
a grid like this one. It helps a lot when you make crafts with cardboard or paper. And it's not expensive. But if you don't want
to buy that right now, you can use cardboard. Just put it under the
one that you are working on and it will protect your
surface and your blade. Okay, now, let's get to work.
3. Basic Scratch Pad: So I have this
piece of cardboard. It's not very pretty. It has wrinkles and
some little holes, but it doesn't matter because it will be the backside
of what we do. I'm going to need a rectangle
that is 20 cm by 4 cm. I put the blade in
contact with the ruler, inserted, deleted, and
only then start to cut. I'm holding the ruler
firmly in place. This is my first clean line. I will measure 20 cm from here, making contact with the ruler. Only then starting to crash. If we're not making eye contact. If I just start to cut, I may get over the ruler
and health message. Now I have to clean lines and I want to cut
the other side. I can do it either by
using a right angle ruler. Now I can see where it's
a straight line here. But I'm going to use the
grid on the cutting mat. Those lines are aligned to
the lines of the cutting mat. Here I can make, I'm going with this lines now. Then cut it. And now 40 cm. So this is the base that I need. Now we take pieces of
cardboard and we need them to be with the
waves on this side. So there are all
kinds of shapes, but I need that part, the part that is
facing this way. And I'm going to cut
strips to make it simple so I don't have
to measure all the time. I'm just going to use the
ruler itself is a guide. I take this piece of cardboard. I align the ruler to it. So it right on the edge, straight on the edge. In cut it like that. So this is the piece I want. The width is the
width of the ruler. The length doesn't
matter very much. I'm going to cut it to
size to fit in here. Even if the cardboard
is not very pretty, if it has wrinkles
and this little hole, it doesn't really matter. We need this side. This side will be the side
that will be facing outward. So I gathered a lot
of fish species. I don't know how many are they. It doesn't really
matter right now. If there will be not enough, I'll just cut some more. I'm going to make a frame. I'm starting with
the short side. I'm using the lines
of the grid off the cutting mat to
our line that piece. So this is the first one. I'll do another one here. So I have this
tool and I want to measure the tool that
will be between them. To measure, I'll take the two. I align them to the edge. Then I see how much is
left, how much I need. Now I'll glue them in
place because it's on the edge and it's very narrow and there's
nothing holding it. If I'll use PVA glue, it will take a lot
of time and I'll have to hold it
in place somehow. We say masking tapes or pins. Because of that, I prefer just to use hot glue in this case. Attention not to hold
it like that because the glucan drift where your
fingers hold it like that. Don't touch the hot glue. And if there is a drip here, just use another piece of
cardboard to watch it. Now here's my frame. Then I can fill it up. I want to know what is
the lens that I need. So I'll take this one, will stick to the edge. In luck. Well, I should cut. I'll do this one, I'll
test it and then I'll know if it's like a list. Yes, it's exactly right. So I'll use this one as a
template to cut all the rest. This is the original and
all the rest are colored according to this
template. Make it simple. I will not mark it with a
pen or pencil and just align it in place and cut
it just like that. It's very important to use the same template
every time because if I will cut it and use this one as a template to the next and the next two-third. Then if there is
a little mistake, the mistake will get
bigger and bigger. So the first part was pretty
easy and very simple. The second part will
be even simpler. I'm just going to
get some PVA glue, spread it a bit. Then I'll take this one
because it's the first one. I will apply glue on both sides. And that's it. Now the second one, I just apply glue on one side. Put in place. Another thing I should do right
now is put some blue on these panels on the sides. Very simple. Very relaxing. I'm not even
bothering with brush, just applying the glue and back, that doesn't have to be pretty. So I got to the last one. On this one, I will apply
glue on both sides. And I'll squeeze it here. That's it. I'll just let it dry. I see that this side can be DID. It's a mixed loss. So I've put some glue here. Let it sit in. I want to stick it somewhere
so the cats can use it. So I'm going to put
some double-sided tape. Hungry take place a bit high because cats like to stretch
when they scratch the pad.
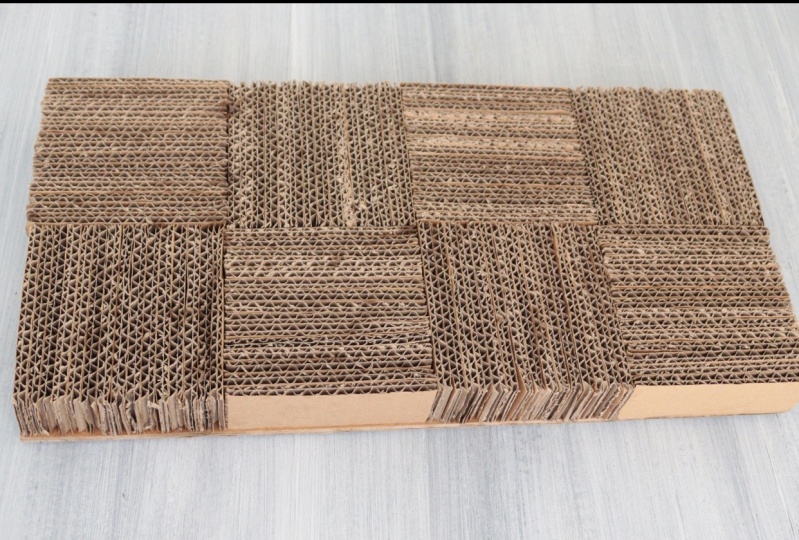
4. Variation 2: For this design, we also need a rectangle that
is 40 cm by 20 cm. And again, we'll need a lot of strips for this
pattern that I want. I need them to be 10 cm wide. I can use the first one as a
template to mark the others. For this pattern. I'm not
going to do a frame outside. I'm just going to put
them in place one-by-one. There is the pretty
side and the ugly side. I want the pretty sad to face outward for the first one because it's narrow and there's nothing to
hold it in place. I will use hot
glue for this one. Okay, The first one is in place. I'm going to put some PVA
glue here so it can stick to the first one. And
on the bottom. This way, I'm going
to put several of these until they
reach this line. Now I will do this side, but this time the pieces
would be horizontal. And for the last one, I chose piece that is clean
and with no wrinkles. In that way, I'm going to
fill the entire piece. The next batch will be with the lines like that,
always on time. This group will be with a
line like that. Vertical. That is the pattern that
I want for this one.
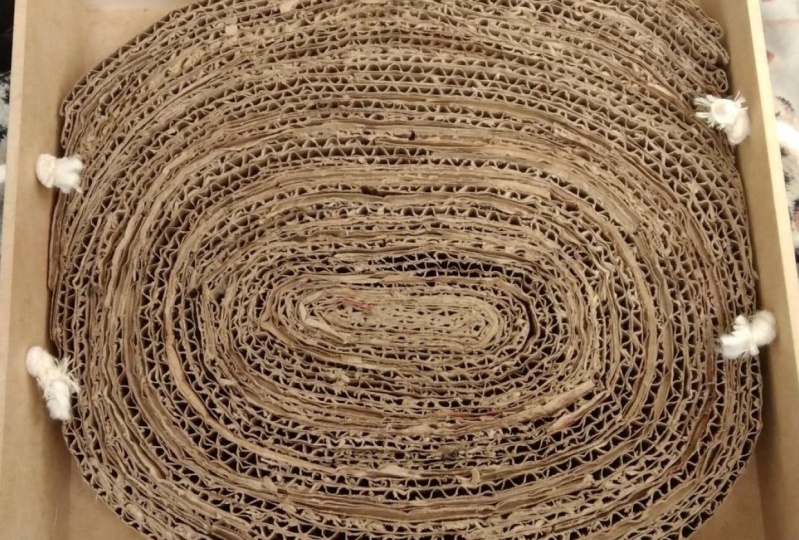
5. Round Scratch Pad: To make around pad, we need a lot of these trips. I start with related piece. I break the lines
of the cardboard. It now it's easy to fall it. For the first piece, I put some hot glue near
the edges and the bit inside and fall it inside
to make it tight roll. Be careful not to
touch the hot glue. Take another piece. The left is not important. Break the lines
of the cardboard. Apply some PVA glue inside, but leave the edges clean. I use hot glue on the edges because I want the
glue to dry fast. Connect the new piece right next to the edge of
the previous one. Hold it in place
for a few seconds, and keep going until the
diameter of the circle is about 40 cm or 15.5 ". The round Scratchpad
will be on the floor. So the pad needs to be big enough for the cats to stand on. Good job Depot. You-all very good cat.
6. Your Purrject: We learned how to make
three scratch pads. And your project is
to make one of these, either one that you can hang
on the wall or furniture, or a larger one that you
can put on the floor. I recommend making
tool, one to hang in, one to put on the floor and let the cats decide which
one they like most. If you have any question, you can post it
in the discussion and you can attach an image. And of course take a
picture of what you did. And don't forget to come
back and post your project. And if you have a
different design, that will be great. I really like to
see what you did.
 Naama Yaffe Mendelboim, Graphic designer and artist