Transcripts
1. Introduction: Right, pursuing
depression for Mondelez, I've understood the vital role of colors, shapes, and textures. This realization keeps on improving the
region that I build towards my passion
of contributing towards the great
artistic community. Hello, my name is
Mercury and I'm, I'm an artist and a YouTuber. The last seven years
I've been making Mandela portraits in various
dimensions and sizes. You might also know me from my Instagram handle
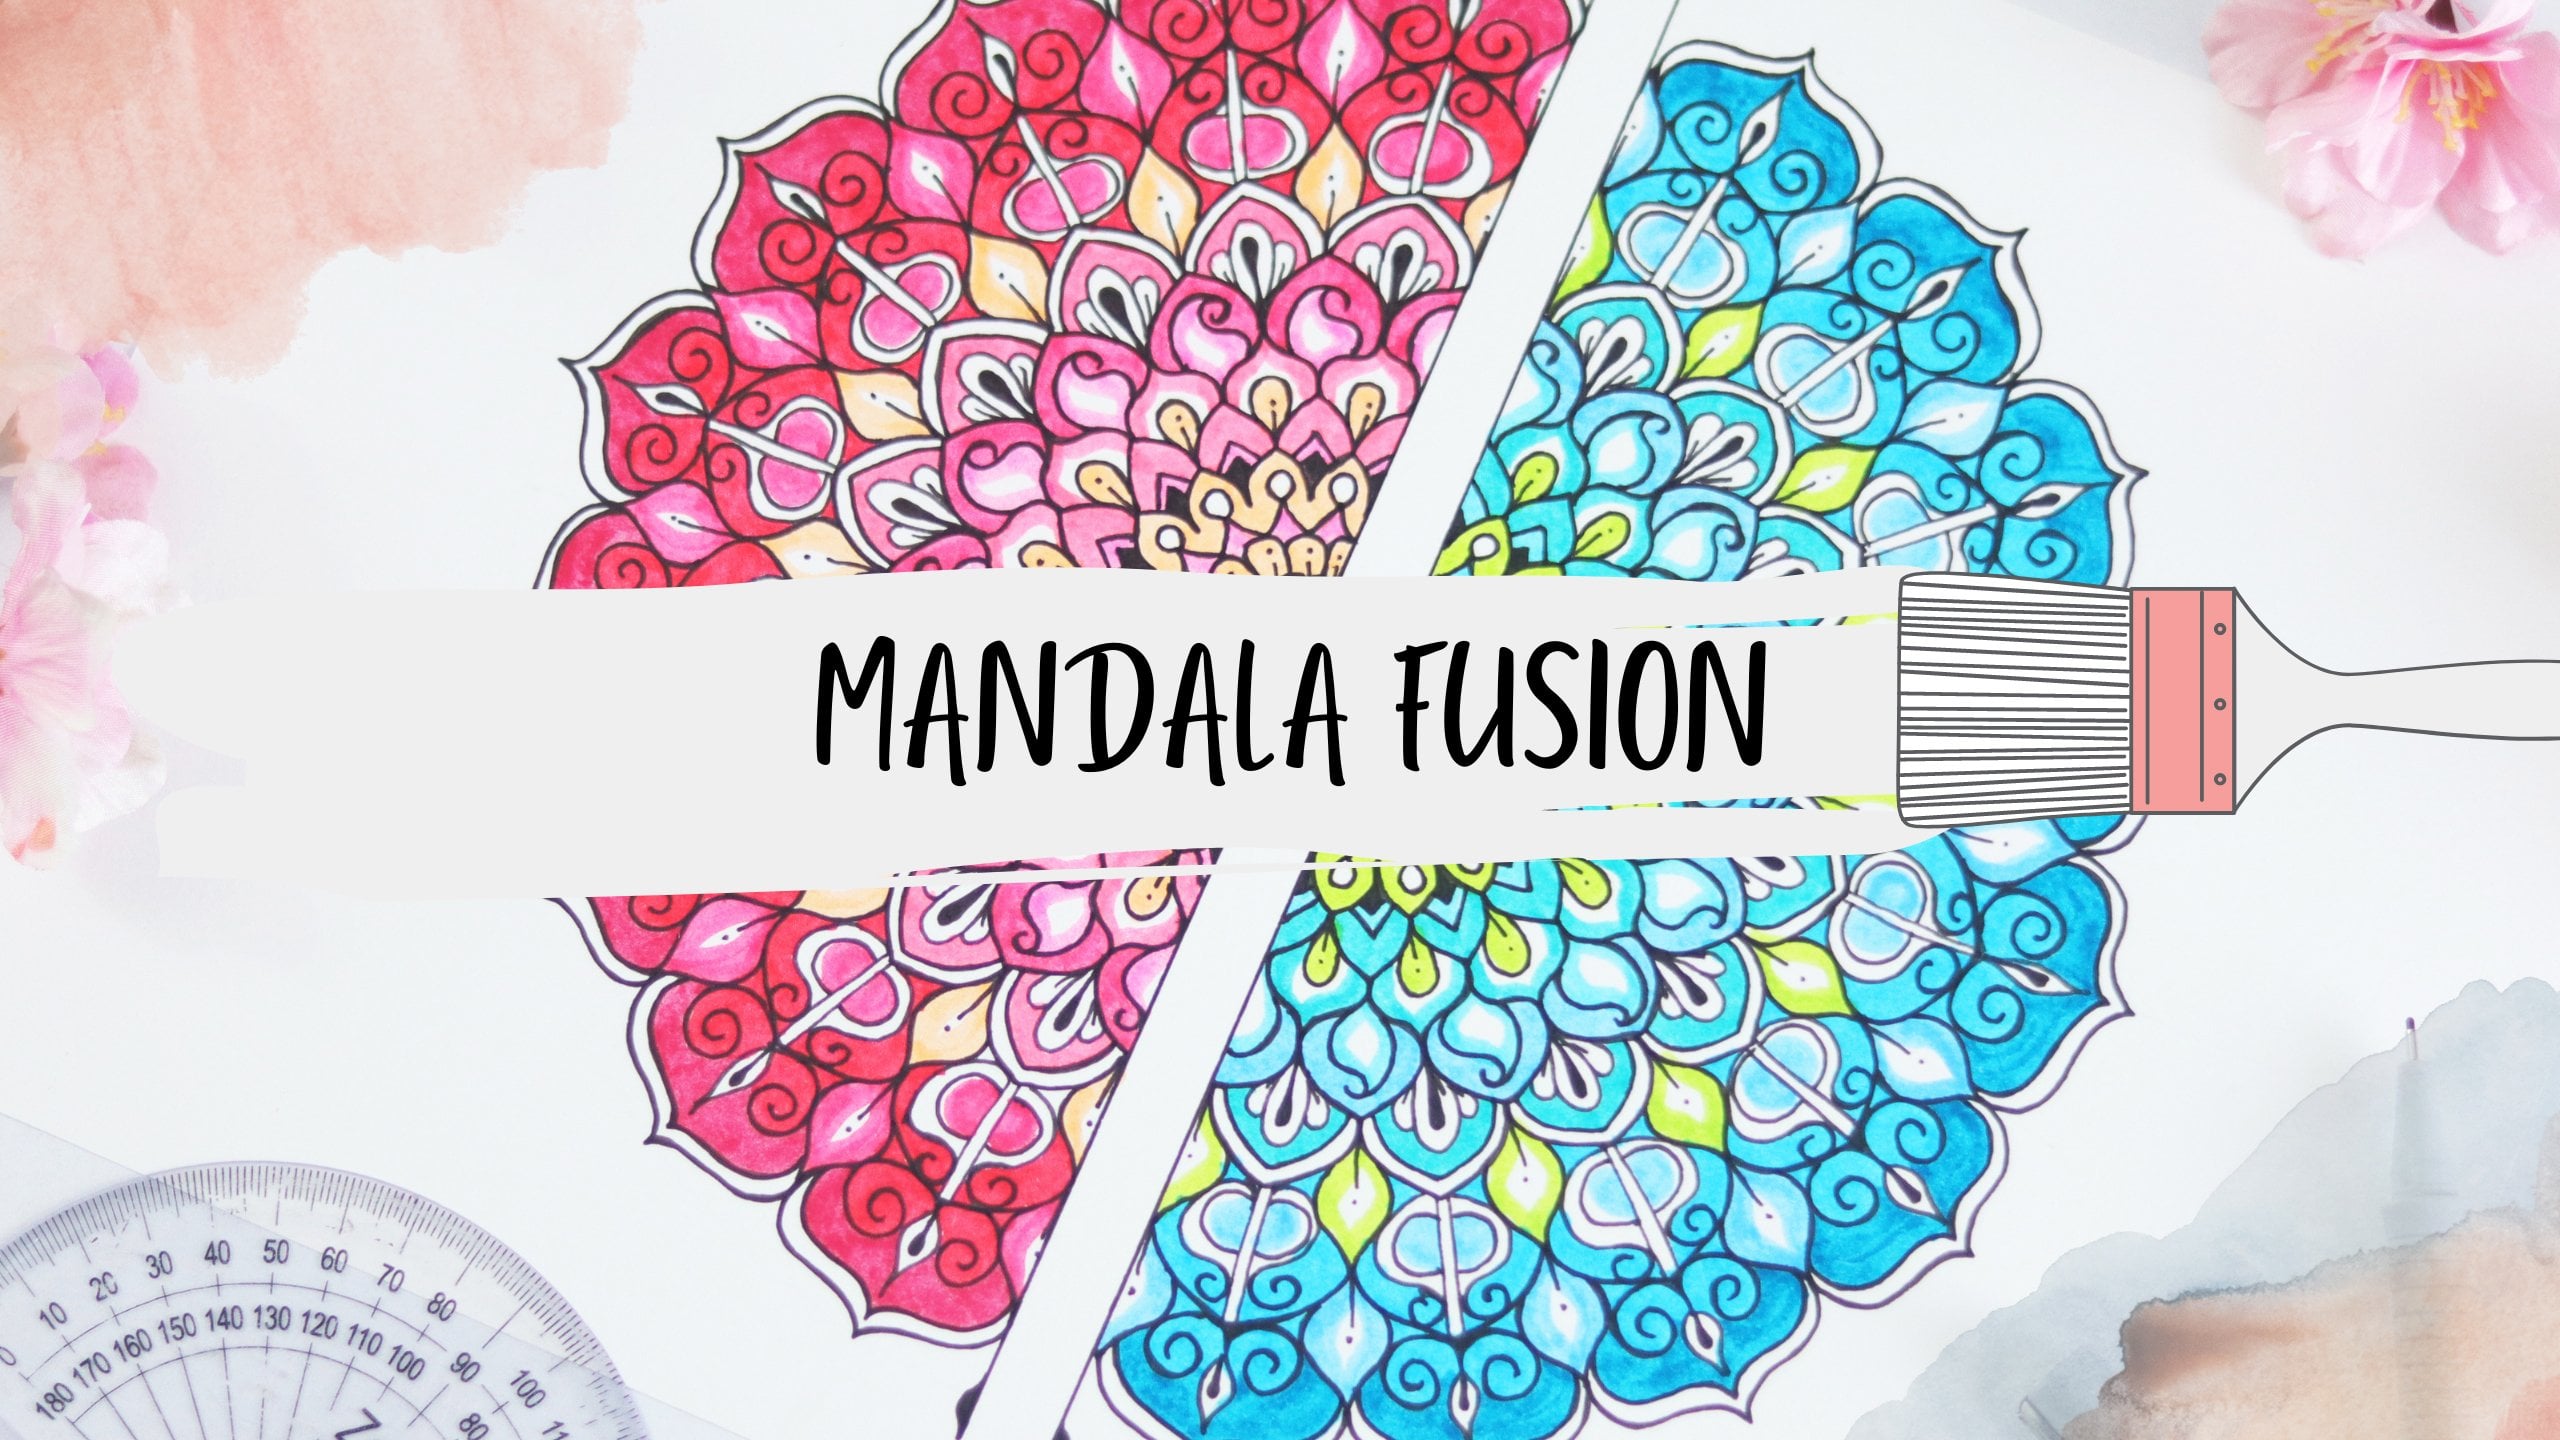
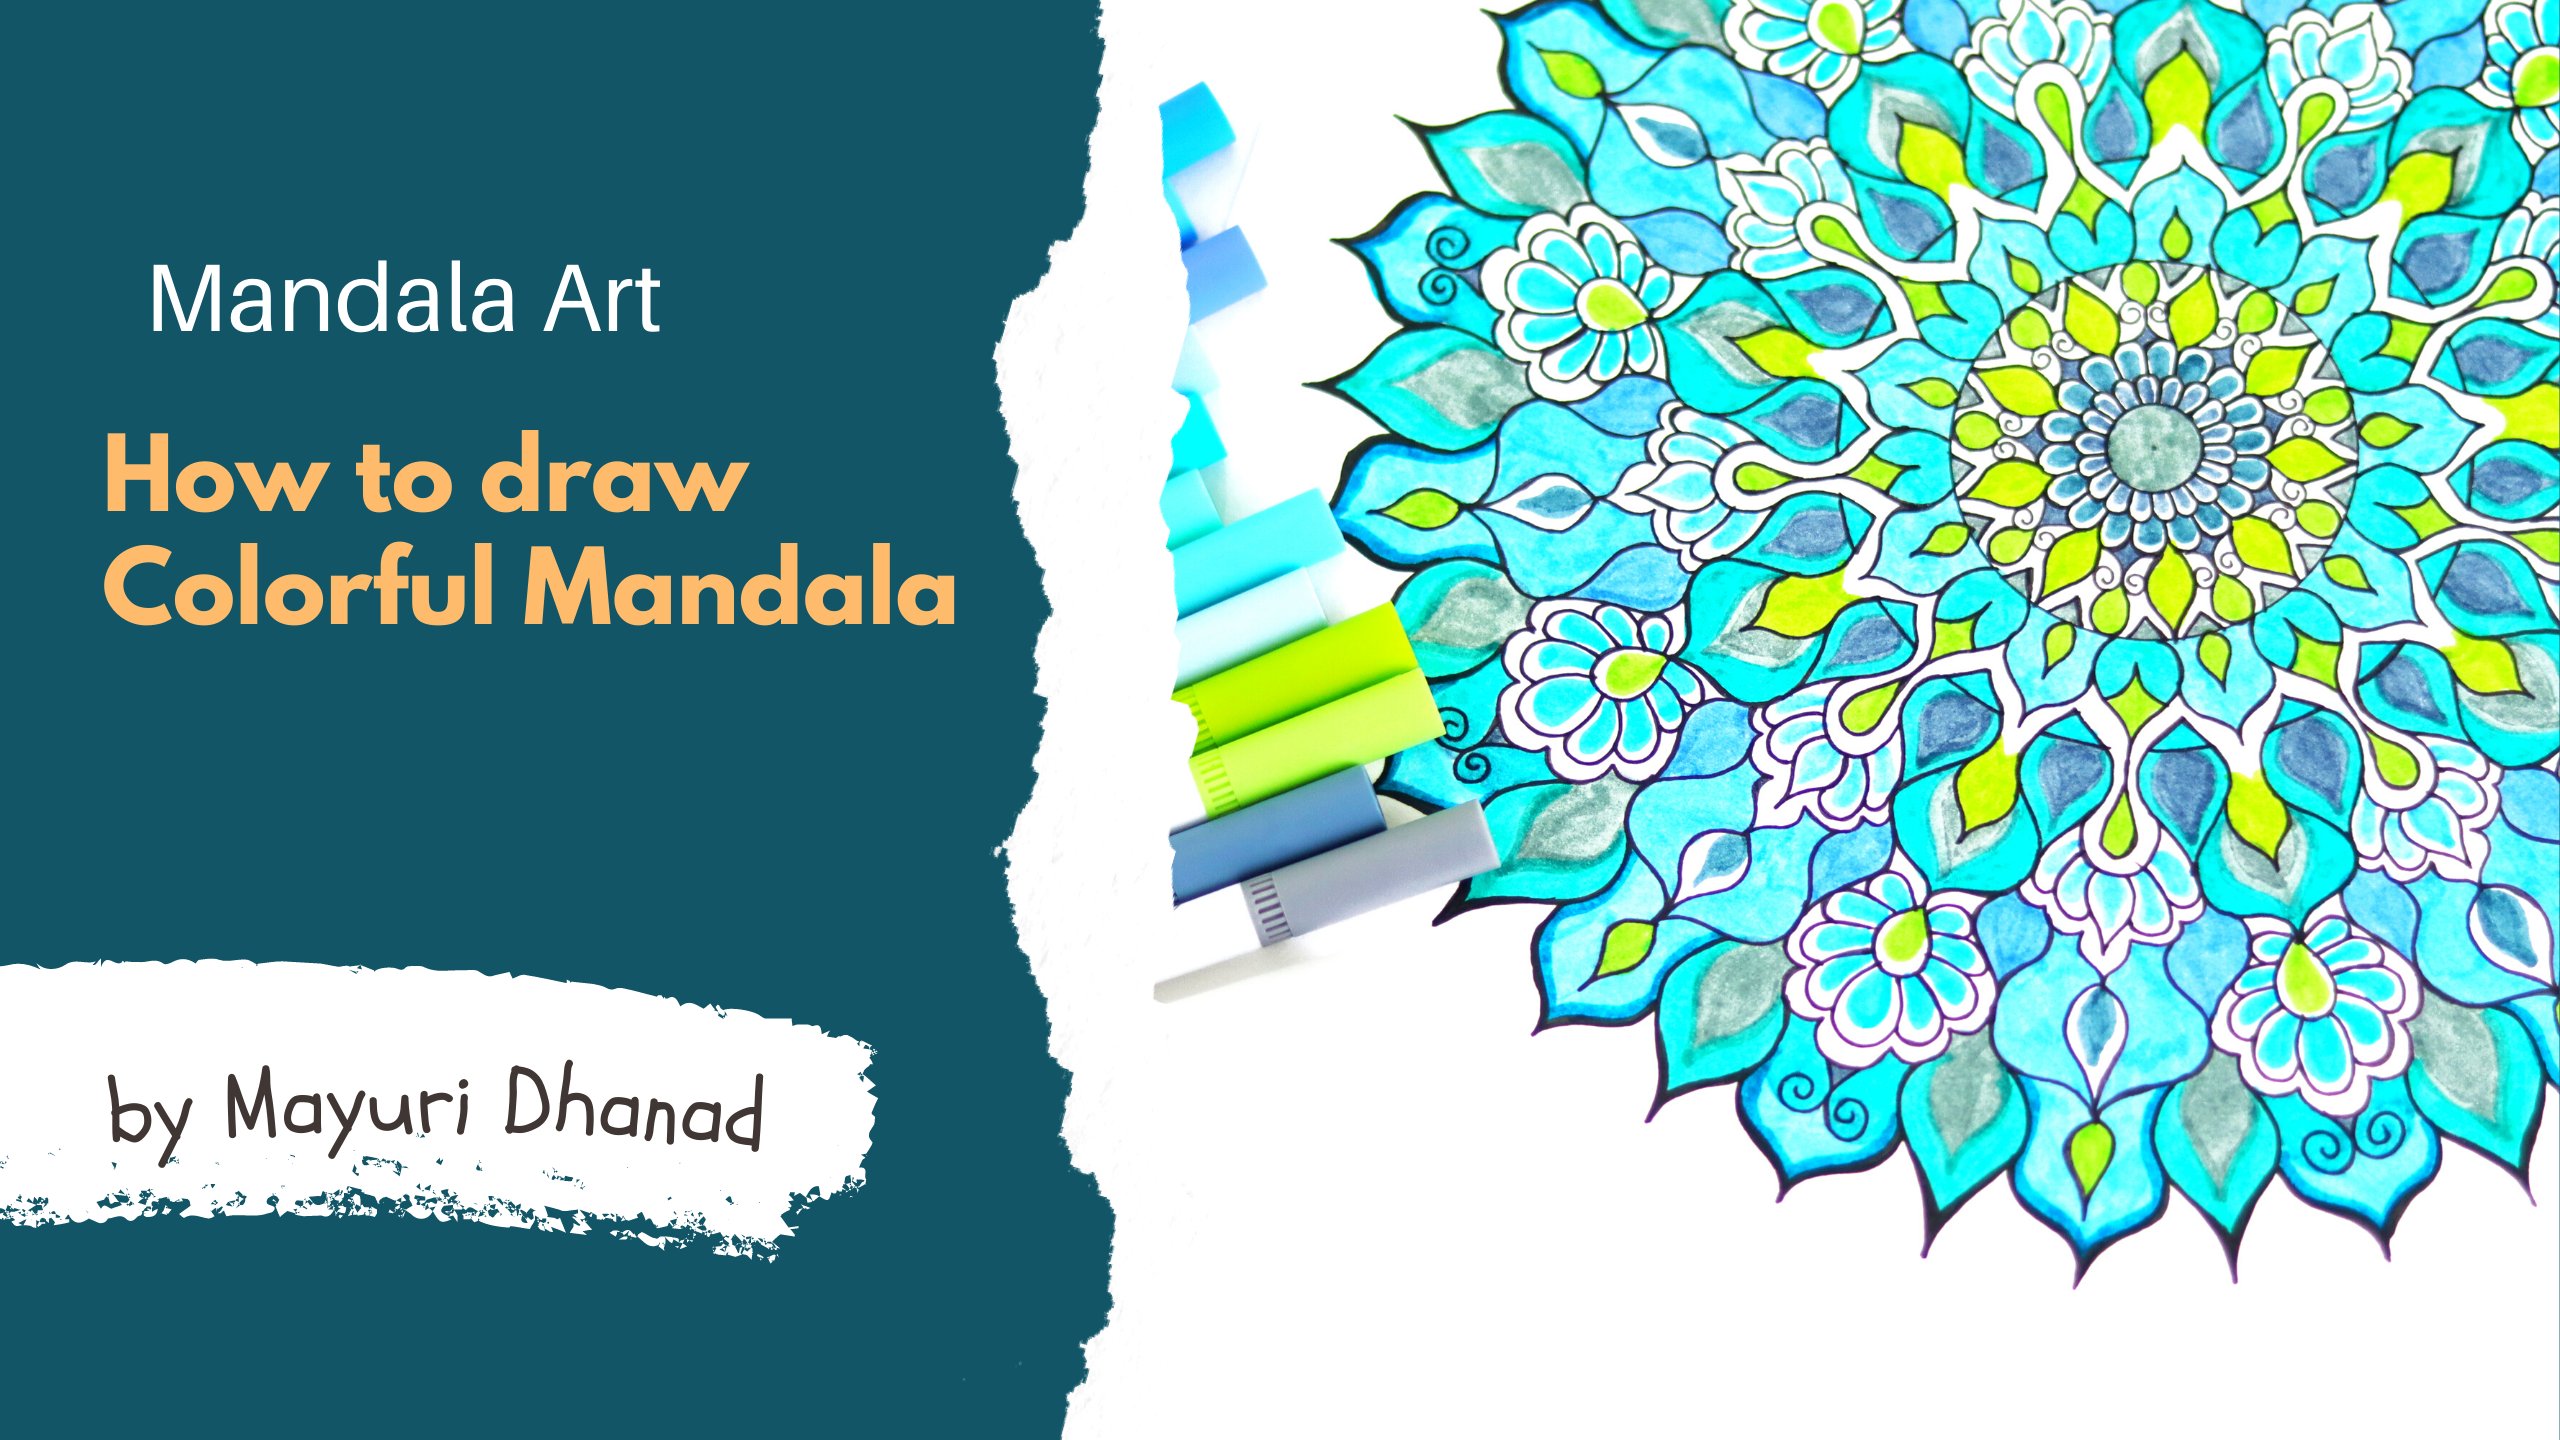
two points, Mondelez. In this course we're going
to run Monday light, which is fusion of half-man and half abstracts
and flower design. Their scope briefly through
the flow of this course. Firstly, we'll practice
few basic shapes and patents which are required
for our final project. Then we will move on to creating a perfect grid as per
our final designs. Once done with it, we will
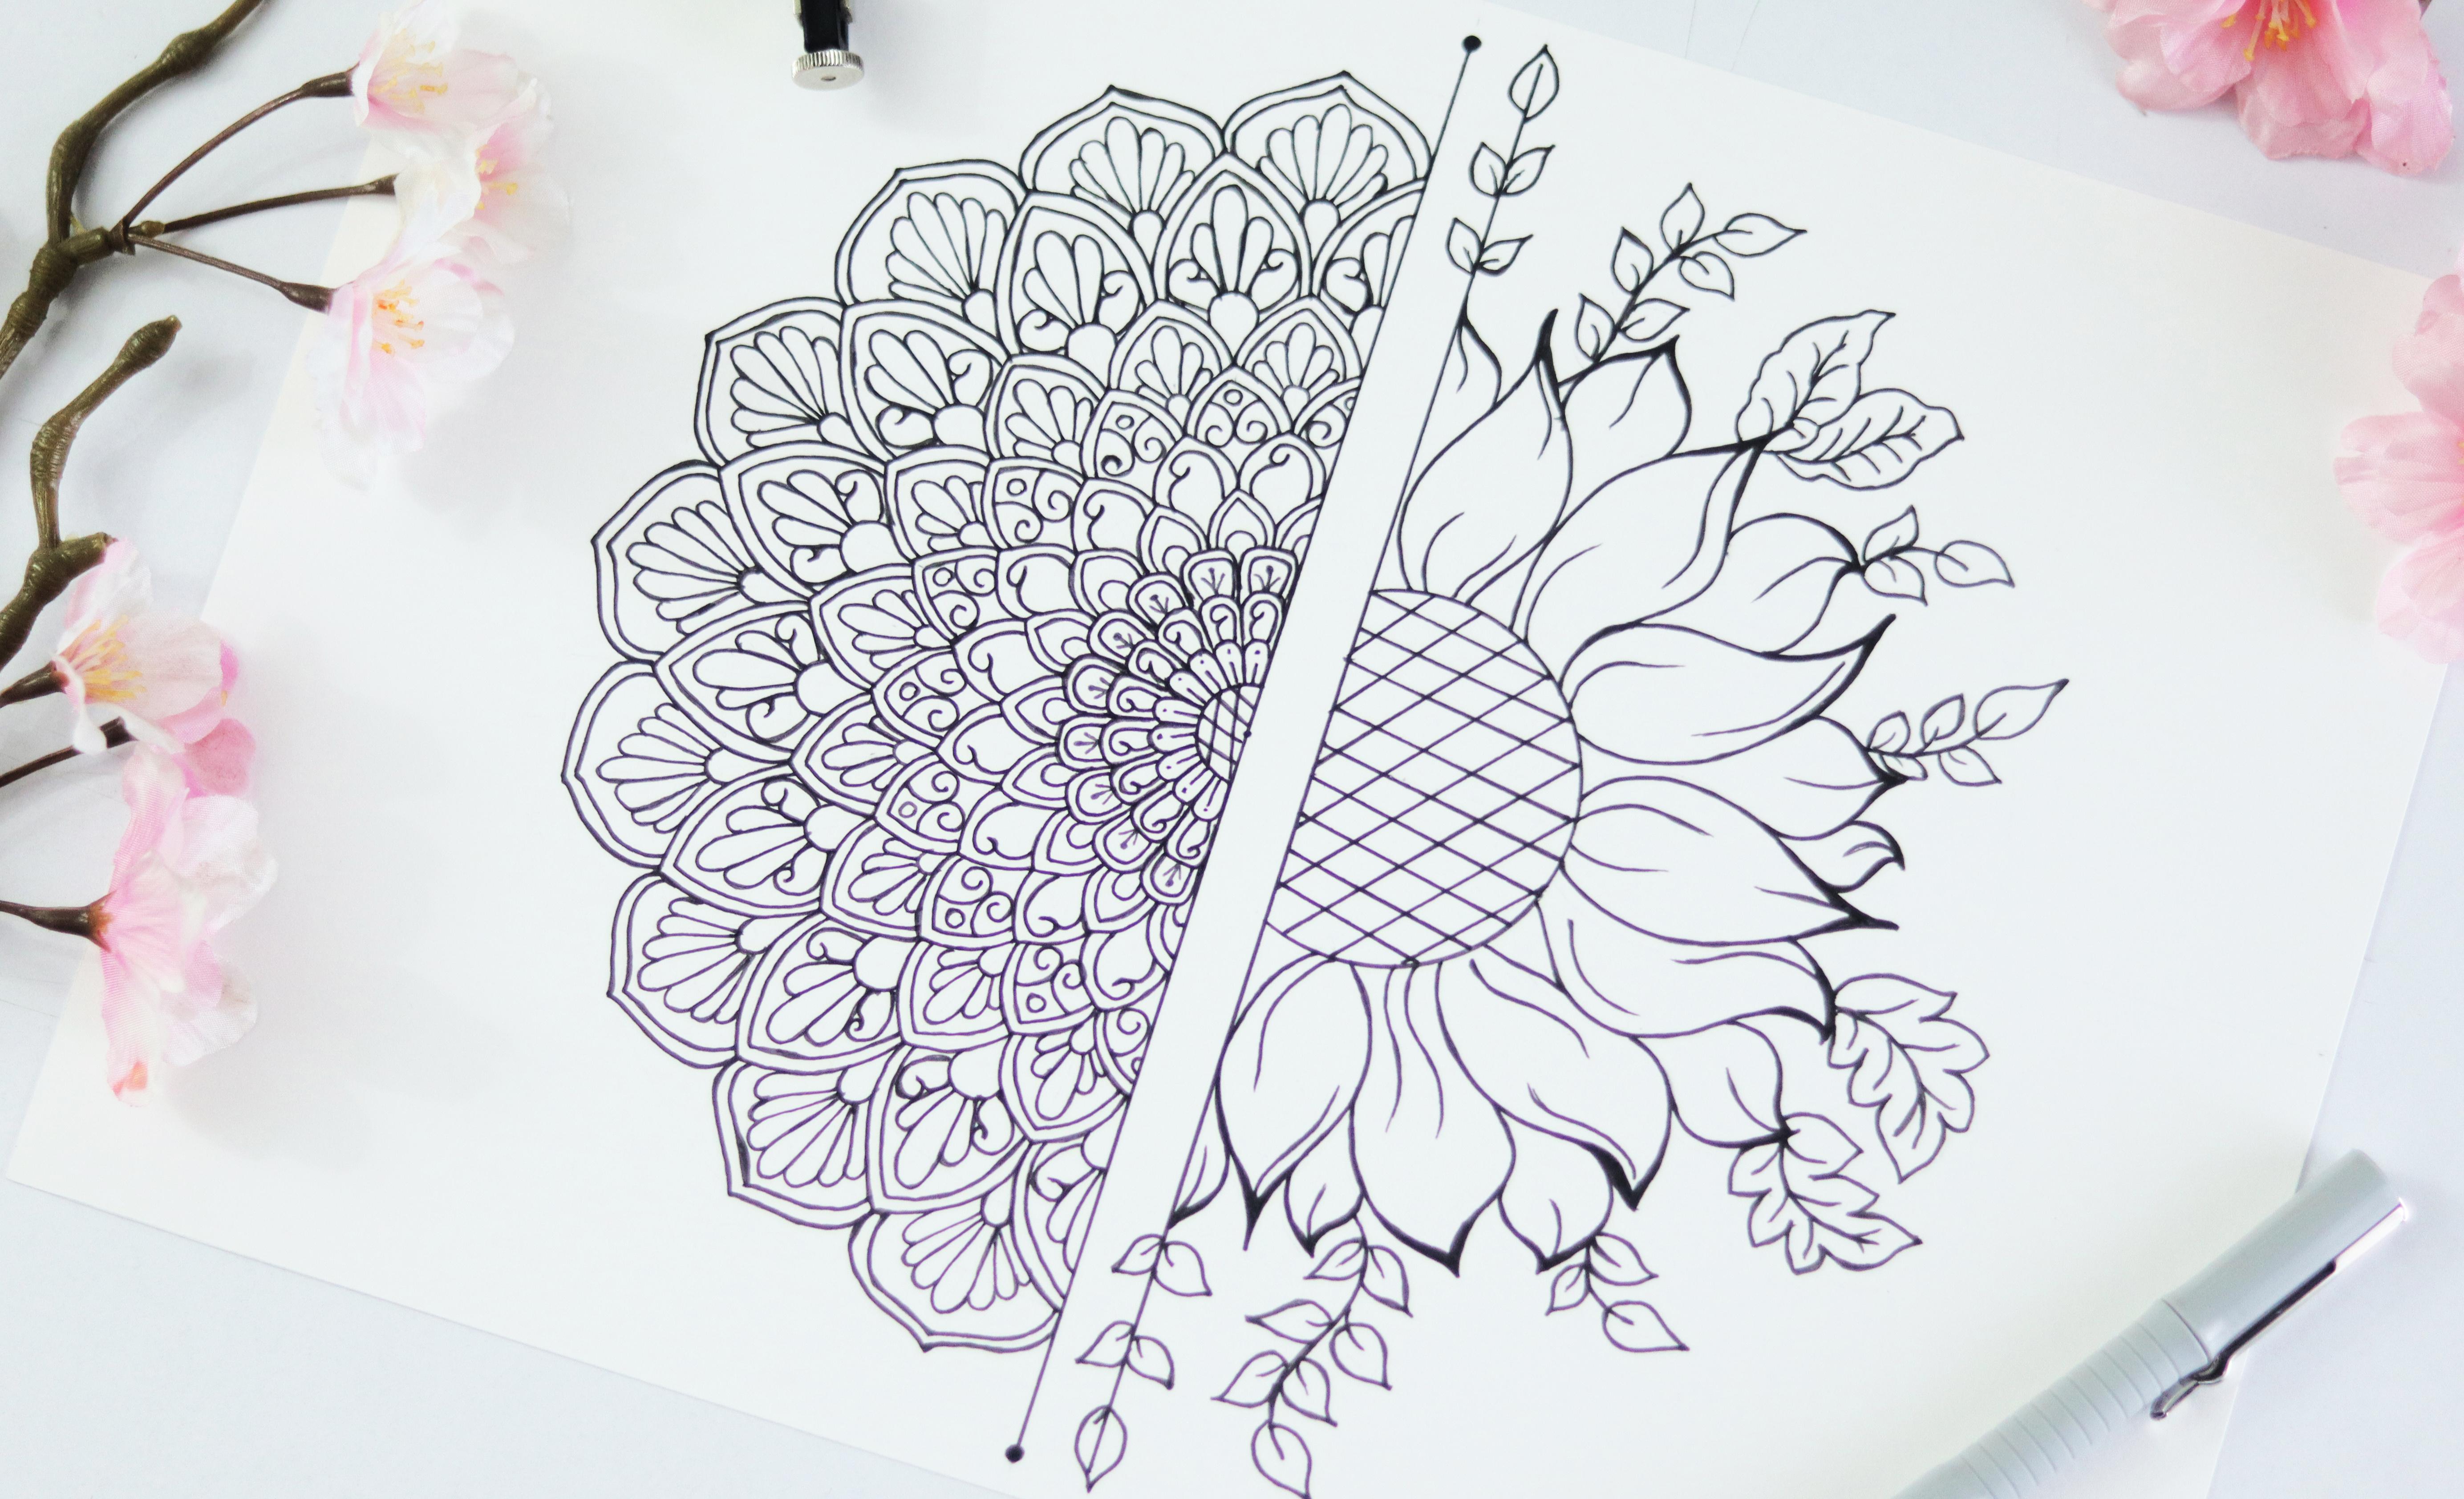
start drawing our Mondelez. Starting with drawing
half-moon data and how sunflower design using
black fine liner. Then coloring our
final Mandela design using simple techniques. I encourage you to be creative and experimenter
in this course. And I'm here to guide
you in this journey and show you the techniques and my favorite ways to do it. I have created a free
downloadable worksheet to help you with your art. This printable PDF content, the steps involved in grid
making and Monday light. I wish my Monday
lab tutorial spirit bring you smiles and happiness. And you will understand each
and every step properly. I'm really looking forward
for you to join this course. Divert and be creative and experience the benefits of
drying Mondelez yourself.
2. Material Required: What material you need
for this whole course. You can get these tools easily. Stationary stores, skin, Benson, protractors, grind concise. Here I'm using a
stateless come fast. You can also use any other
kind of simple compass. Black fine liner. There are various brands you can try like steadily art line, Sharpie microphone, whichever
fine liner is available. You can use it for your Monday. You can draw them on della
with pencil if you want. But dark markers make the patents cleaner
and more definite. A benzyl had someone said in 18, we'll never know when the line
is done with a marker pen. You have a sense of stability and the line seems more clear. Let's see which color we
can use for our Mandela. These are, Oh my goodness, this particular pad content
hundred different shapes. You tend to do a team
brush tip and fine liner. I will be using these
markers for our Mandela. There are many other brands you can try as part of an ability, like copy, Sharpie,
stirred letters, etc. Next, up, grind pepper. Use it on hundred to
300 GSM drying paper. Gsm stands for grams
per square meter. It defines the quality of paper.
3. Pattern Making: Practice is directly
proportional to patients, because attaining perfection in the development of a skill
is a time-consuming process. One must stay patient
and keep practicing more and more when picking up a
new scale to perfect it. Use grid paper or graph
paper so that you can work on symmetric
and perfect patents. First try simple smooth
curve in each block. Second when is similar to
first when with Baidu curve. This better design is bit difficult compared
to other designs. So try to find some simple techniques
for you to dry it easily. If you're having trouble with
drying it symmetrically. First practice one
side than the other. Next up spiders. We're going to practice some
variations of it as well. You can experiment
with different shapes and create your own
patterns for Mundell aren't perfect and art requires the power
of patients in learning and the
zeal to work hard. And it is patient that will lead you to your desired goal. If you lose patients easily, you end up losing the opportunity of
learning a new skill. You need to practice
these patterns in order to draw
beautiful Mondelez. Next TO flow, very shame. You can add as many
petals on sites. I do like if you think that some of
these patterns are too difficult or easy
for you to draw, replace them, or
you can even repeat similar patterns you like
the most in your Mandela. Different patterns will look different in different spaces. If you can draw these shapes like circles, squares, lines, curves, you can relax and enjoy drawing
repeated to patents. And you will be surprised
and delighted to learn that you have an
amazing artist within you.
4. Grid Making: Mandela grid is
something myself and many other artists use as a
template for our creations. In this tutorial,
you will see how easy it is to create
beautiful Mondelez. Have a sense of
symmetry and balance. Let's start drawing. Here. I've taken a
full-size drawing paper. Now step one is to find two
midpoints for semi-circles. For that measure the
length of paper and mark two points in the
middle with a gap of 1 cm, the same port opposite side. Now, draw lines
through those points. My descender of remaining two sites and draw a line
through those points as well. Highlight the two centers. From each point
using your compass, draw semicircle of
radius 9.5 centimeter. When to have the midpoint
and outer circle to work in. Place your protractor
over one of the point and Mark angularity regions with
the gap of ten degrees. New Deal either side, blank to work on abstracts and flour. Bless this scale and draw lines through those
points we just mine. And the center point, as shown in the video. So that you will get
18 equal partitions of one semi-circle. Using a compass. Draw several more circles
with the gap of around 1 cm or refuel want vary the size of each circle to create
an interesting button. Here we will draw 12
semicircle is for our Mandela. Our Mandela grid is ready. Hope you understood
the whole process.
5. Drawing Mandala: Without even realizing it, you might have made
a Mandela before. Ever cut out
snowflakes as a kid, or maybe do a little complex repetitive pattern
in the notebook. There's a reason we innately food to these beautiful
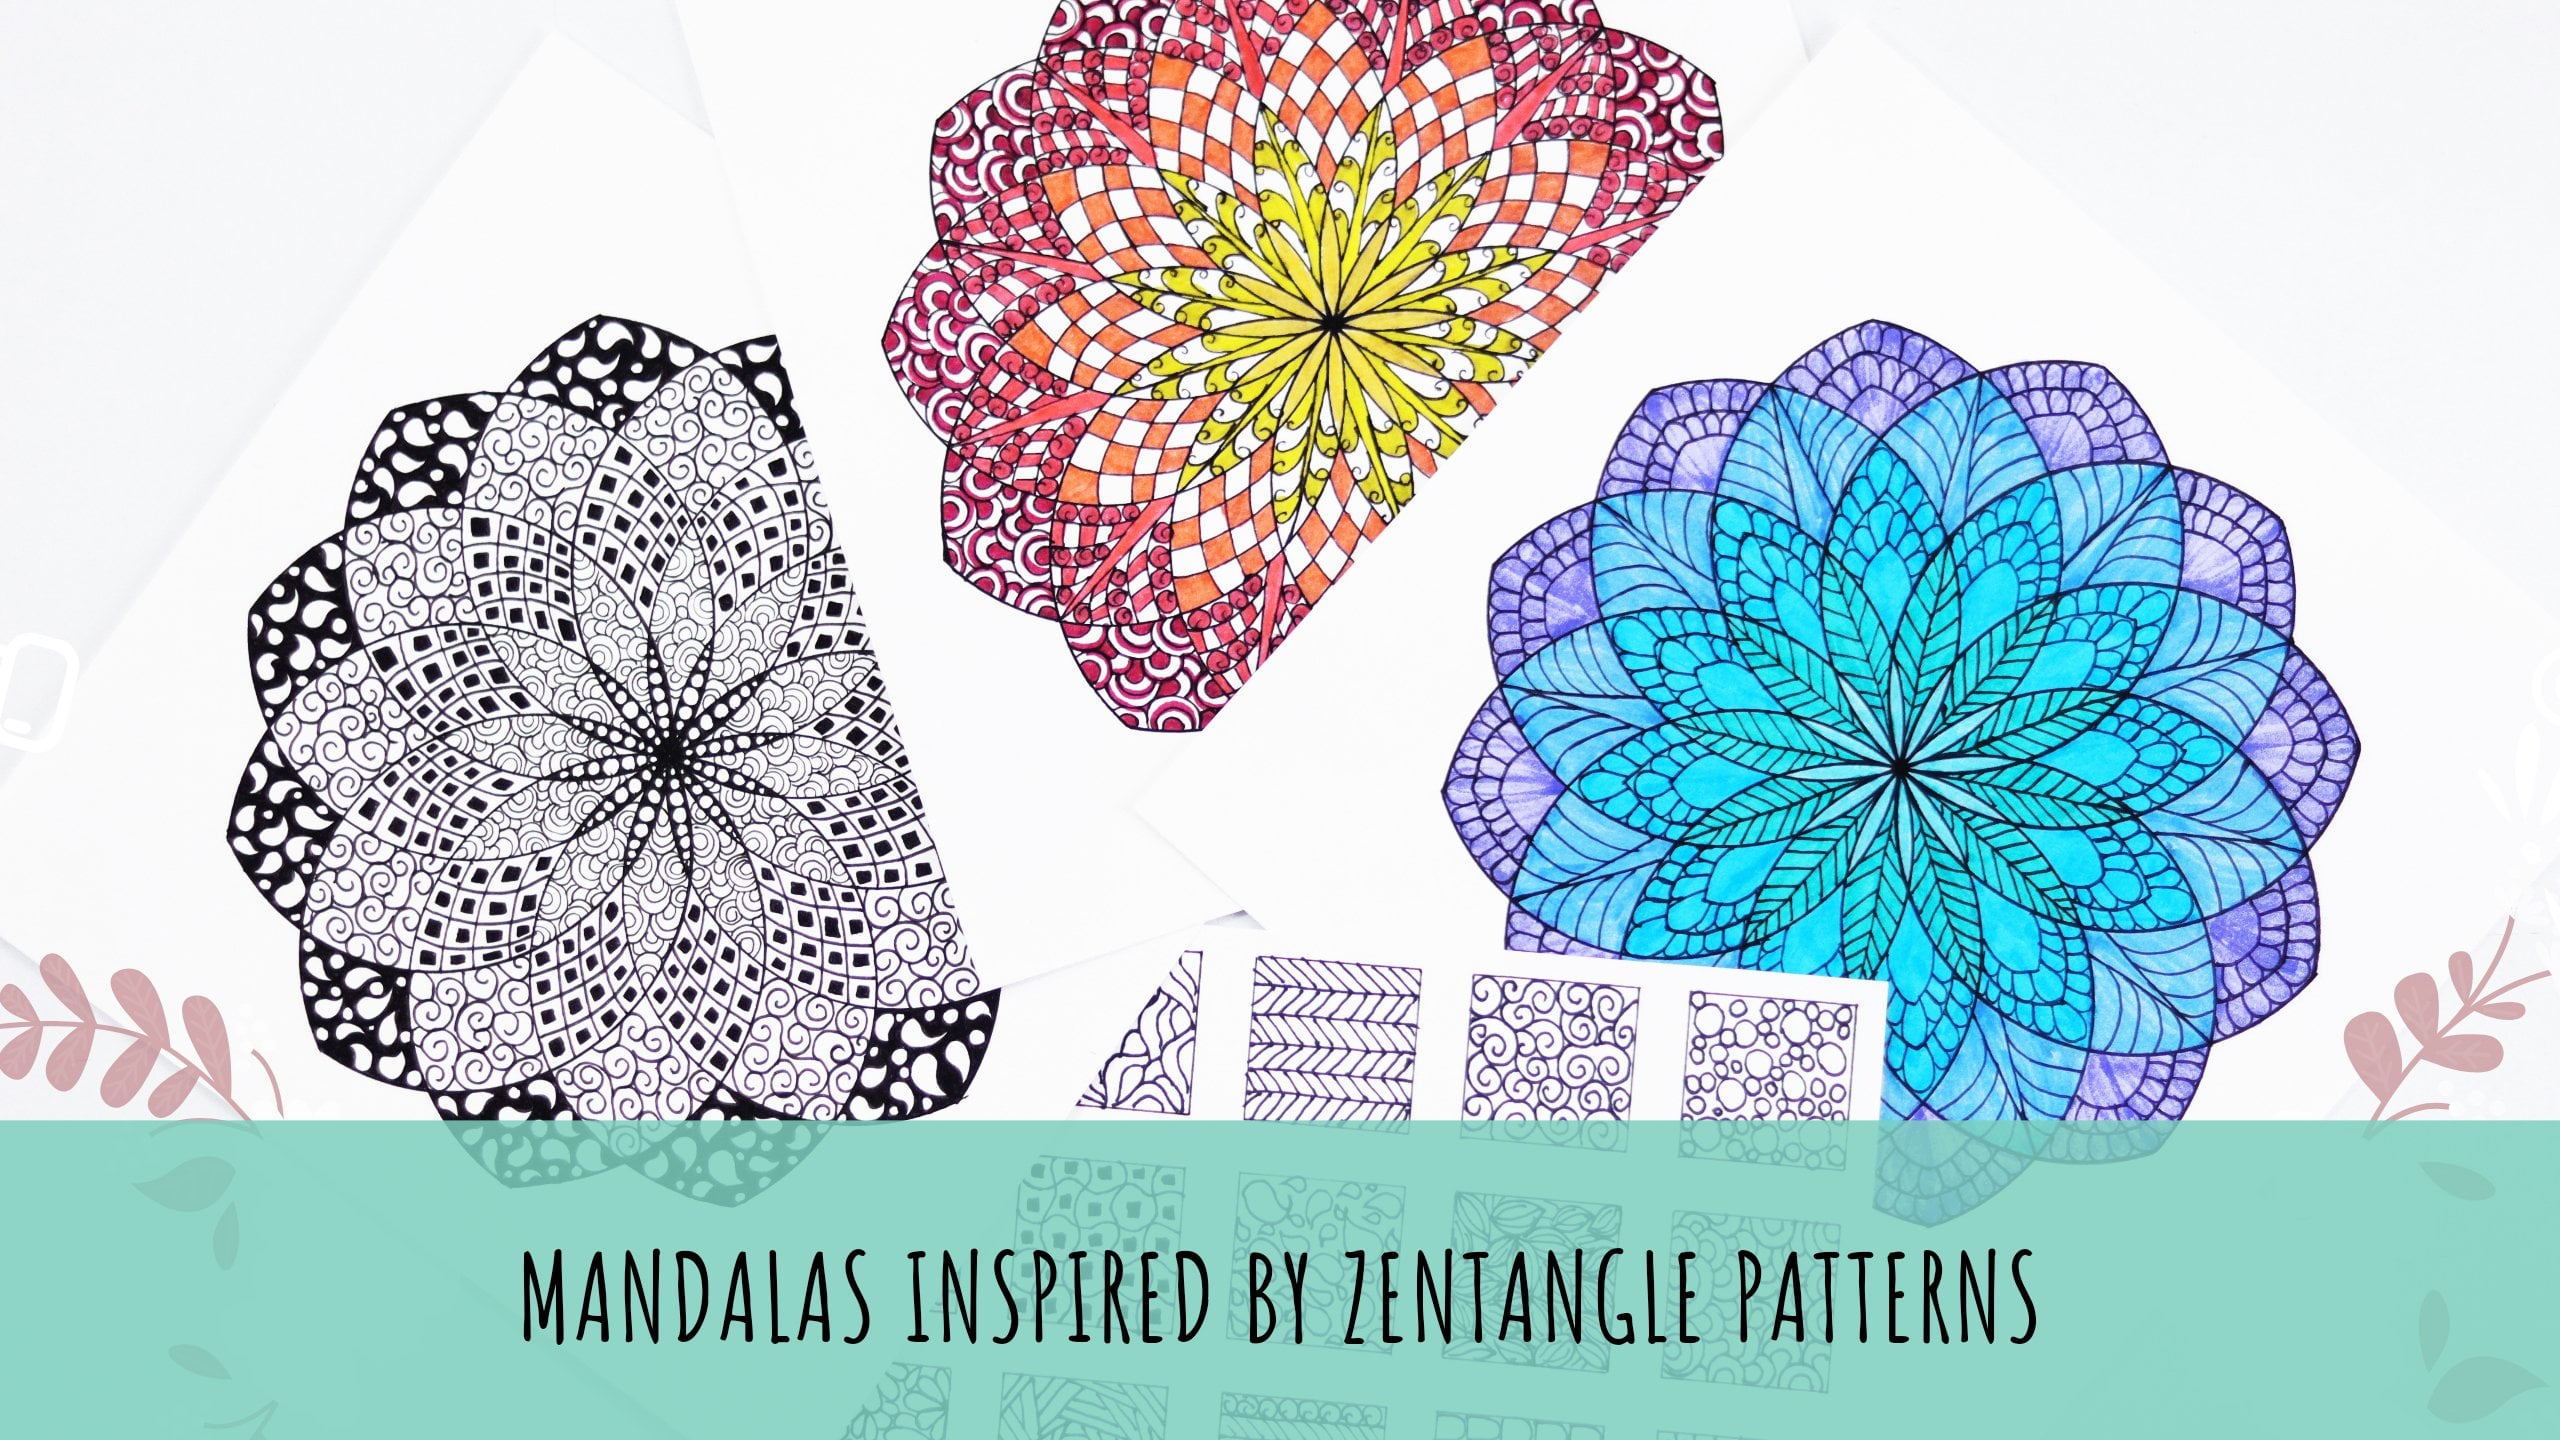
and intricate designs. Mandela is an arrangement of simple shapes repeated
in a circular pattern. But here we're going to
do a small experiment and draw a fusion of Mandela and
extract some floral design. So let's start drying. Now is different by
starting from the center, draw whatever simple shape you want inserted
the first weight. Or you can follow me through. Same shape in the ways next to it with detailing inside it. Keep working your
way outward using the circles and lines
as your markers. This helps keep the
symmetry in your Mandela. Just keep trying the same
shape in each village and working outward every time
you complete a blue circle. Grind Mandela is more fun and rewarding than
you probably think. The results are probably
better than what you expect. Whether you think you have
no drawing skills at all. You are a seasoned skater. Building up different
shapes in your Mandela. You can change up the type of
shapes that you are drying. I'll stick to a team. It's completely up to you. Try setup. Got this
triangle is Leo, straight lines, curved
lines and spiders. Esteem handler gets bigger. You might like to experiment
with longer lengths and larger shapes like this petal shapes that end up
overlapping the agenda. At any point, you can go
back over your Mandela and add some thicker lines and other shapes and
details if you like. How much detail you
put in is up to you. From circa seven to eight, drop colors with border
and flowery shapes. We learned in previous lesson. There are no rules or guidelines on how Mandela
should look like. You can make it look
however you want it. You can add more
patterns to make it look beautiful or leave
it simple and plain. Each one has its own charm. You can add shading to a drawing to make it more
realistic and complex. What's more, you can even
draw a square, Mandela. It will do Mandela's a geometric
and interesting field. Once you keep Brian
Moore Mondelez, you'll come up with
your own shapes and designs to make them, and you will draw them faster. Eventually you will develop your own style of
creating Mondelez. You can also try making them free hand once you
gain the confidence. You can also create Mondelez
with watercolors or create watercolor
background syndrome underlies over them. Drying and Mandela is not
rocket science at all. All you need to do
is keep trying. Start with something small
and keep progressing. As you master the skill, you will be amazed at your own progress as you
keep working on your skill. Experiment with different
styles, types of Mondelez. Don't restrict yourself to digestion potato
drying off Mondelez. Now that we're done with
Mandela drawing pi, Let's move on to
drawing some flowers. Dry semicircle within
the larger one. That is about half its size. If you want this employer
betters to be small, you can draw this circle bigger. And if you want the
British to be big, draw this circle smaller. Now that we have the center of the flower and outrageous setup, we can begin
practicing the petals. The key to drawing
flower petals is to draw them moving
away from the center. Think of Sandra is
coming off this and add some details to it. Start drawing petals. People start to freak
out a bit at this part, but try not to let it worry you too much when you
get to this step. Again, nature isn't perfect,
flowers aren't perfect. Pay attention to this
spacing that I'm using between the petals and how
they aren't perfectly even. Now that we have the
first layer of petals, we can start adding the ones underneath Dr. triangular shape that connects the two petals. Once you've finished
trying it with pencil highlighted
with black fine liner. Now draw vertical lines. We didn't reduce circle to
create checkered pattern. Let's practice drawing. Lose. A great way to not only add variations
to your lives, but also give more
perspective to your drawing is to use angles are slammed
when drying this team. Feel free to play
with the shapes of leaves and see what you like. I drew my leaf barely
small and with some jagged edges to give
it a naturalistic feel. A bunch of leaves is a great way to fill
the freight easily. It also adds movement
to the page because these leaves to be
dangling or hanging. Starting by drawing
the center line, then add small lines to mark where you want
your lives to be. Next, idea leaves angling
each fair differently. Last part is to give it a final touch by
adding curvy lines, two petals and leaves. We will color our Mandela in next lesson using
simple techniques.
6. Coloring Mandala: Have you ever wondered how
some mighty stare able to find perfect color combination that does seem to work every time. Each they're just tired. It's science and we
call it color theory. In this class, I'm
going to choose color combinations
that are appealing and which will look good in
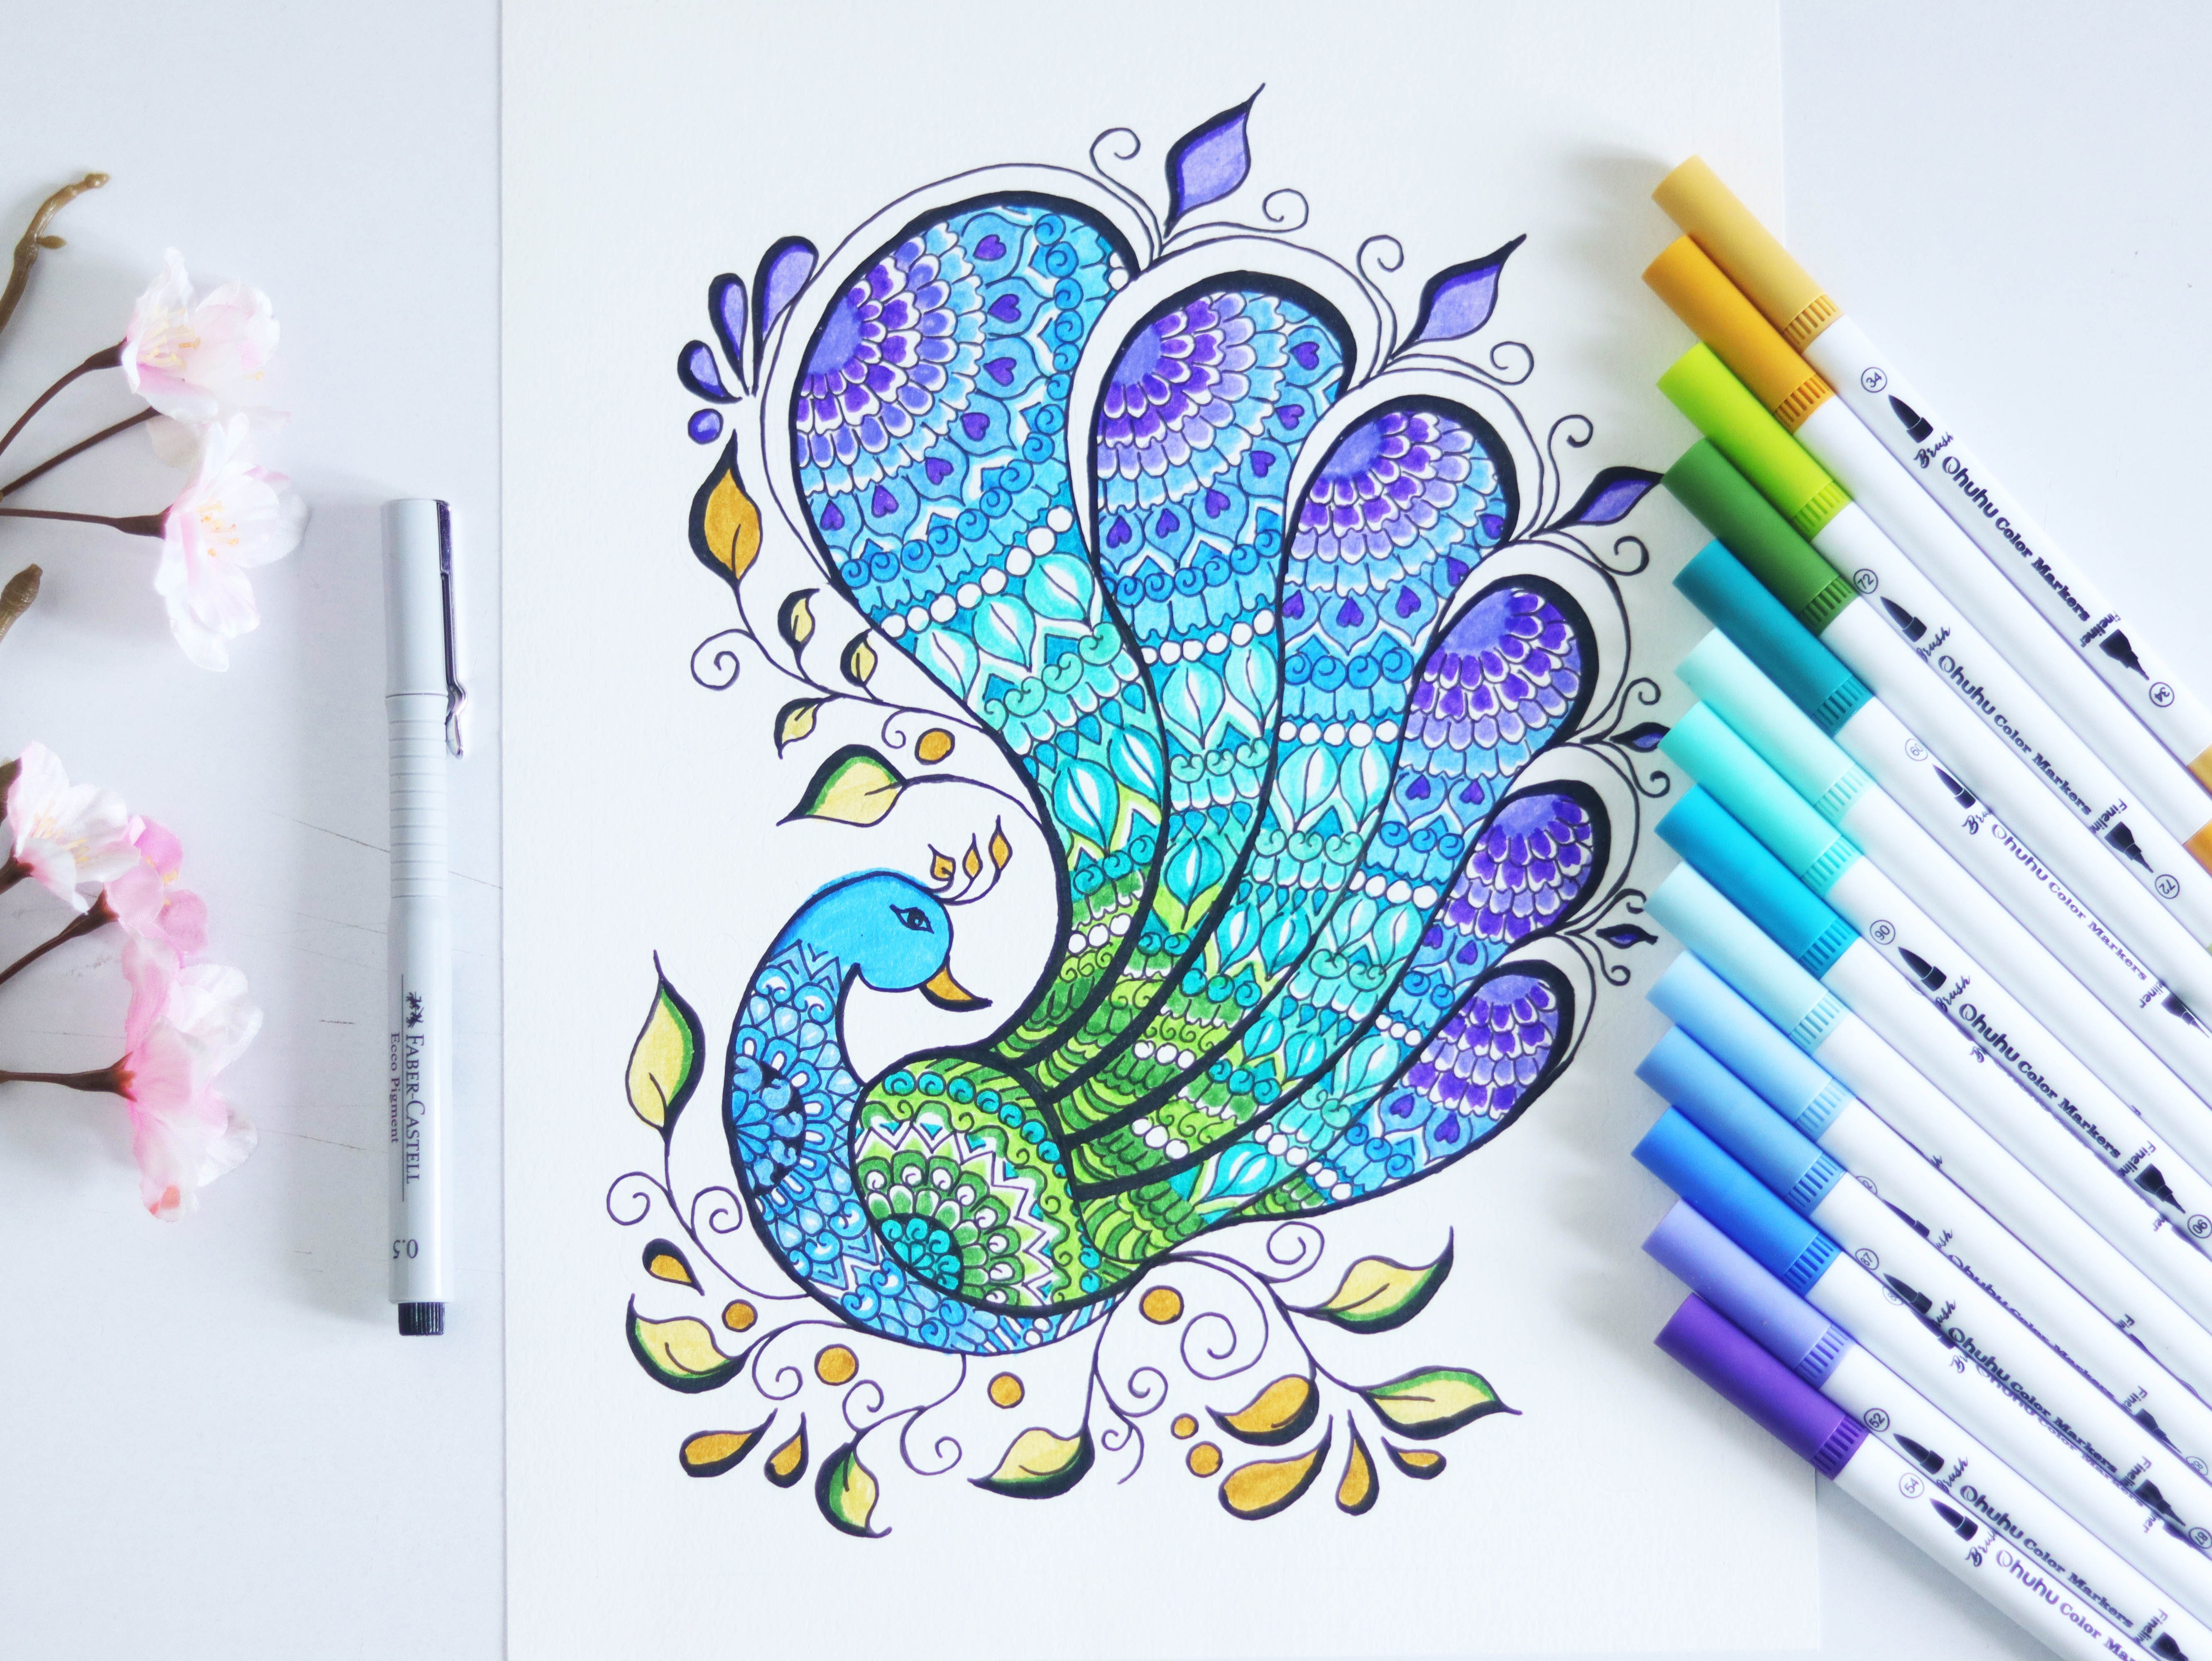
our Monday right here, I will be using 0 markers
for coloring our Mandela. These are the brush tip markers. Keep a separate sheet
of the same type of paper you are
working on next to you. So you can paste colors first before laying them
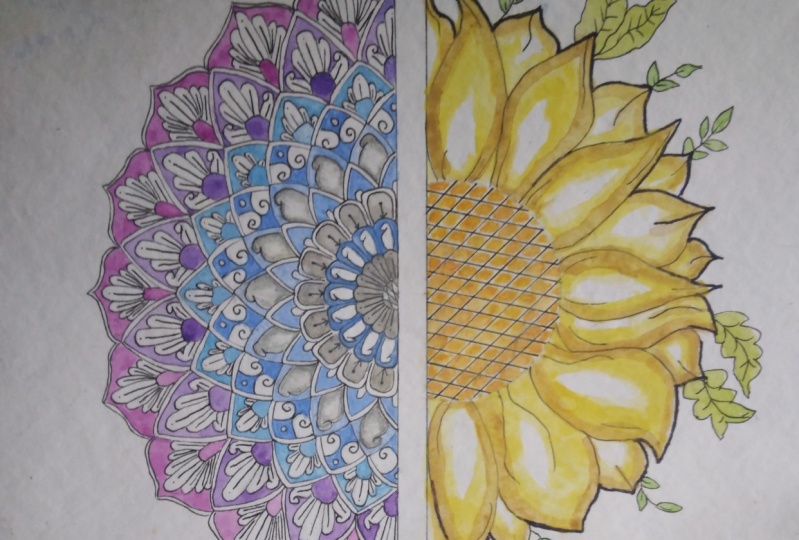
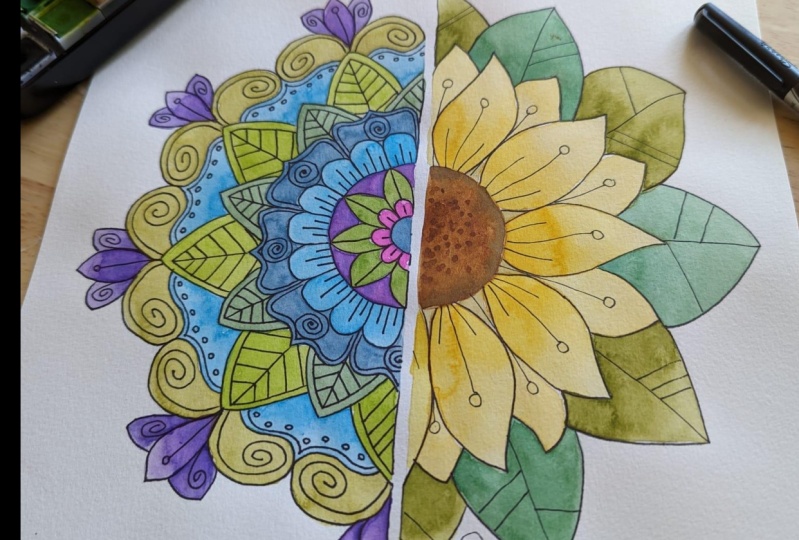
down on your artwork. We will use complimentary
color scheme for our Mandela. Yellow and purple flower and leaves used by your
shares. For predators. Yellow and mustard, yellow, checkered patterns,
orange leaves, huge dark and light
shade of green. What Mandela design we will use gray and purple shares
flesh to share. So Greg Cloud, grit
and lead gray. Next up, sky blue. And four last two layers use dark and light shade of purple. They start coloring our Mandela. Starting with sunflower. Use yellow to color better, leaving some white gap in the
middle or gradient effect. Photo borders apply
mustard color. Now Florida lives with multiple, use dark green and poor single large predators
use light green. Highlight the veins
using the worksheet. Once you decide which
color looks good on which part started applying these
colors on our final Mandela. We will require some
time for coloring. Let me explain some
details on how we should use markers for
coloring properly. And some tips and
techniques about it. Might've goes green,
beautiful vivid colors. They can also leave your
artwork full of unwanted lines, extra dots, and sometimes
even ruin your paper. How does one color
evenly with markers, especially when coloring such
small and complex images? When coloring with markers, it's best to use
more even strokes. Tried to leave lots
of space between your hand holding the
market and your paper. Make sure your strokes are all moving in the
same direction. You don't want to use a
back-and-forth motion. But ensuring all your
strokes go the same way, we'll give you a
nice even cooler. Essentially, you want to pick
up your hand and move it back to your starting point
to a Judas model fluid lines. Contoso helps to start with your lightest colors like your lower pink and move
towards the darker, more dominating ones
like black and brown. Lake saturation points while
coloring with markers, you may notice lines in
your market strokes. Light small strokes
will help you elevate this effect and
minimize your lines. You can also use
a blender marker to smooth out these
tricks in color. Blender markers at a
t colorless markers that helps art
fully blurry lines, as well as create
shading effects. Bare attention to the type
of markers you are using. In addition to thickness, there are different types of Margaret tapes suggests
seasonal or brush. Knowing the difference and currently using
your markers will keep your marker perspiration functioning for much longer. Here when I'm
project is complete. Now let's move on
to Mandela finance. Use light grip or first layer. Next layer. The
middle design, right? Repeat the same for
next two layers, light gray then lead. Few more tips when using
markers for you at artworks. Brush tip markers are
particularly useful as the integral of the IOT is to draw with thick or thin lens center. Incredibly helpful for
intricate detail work. But because of their
delicate brush tip, it's essential to use an extra lights bridge
to bring your tip. This style of mercury is not meant to be
pressed down heart. Again, lots of space and a
light touch will help you. As too much pressure will cause the tip to lose its shape. A delicate touch, however, will allow you to get into
small corners of your artwork. Like a calligraphy pen. Tips are useful for creating a variety of thick
or thin lines. But again, care must be taken to afford the integrity
of your teeth. So much pressure which
measure tip down. Losing the ability to make those team crisp lines be good peer markers and they will be good for you and
you arrived to work. When blending marker colors, starting with the lightest color in your palette is critical. You can layer more colors
on top in descending order from lightest to
darkest using small strokes. To use various thickness and styles when choosing
your palate. Don't feel limited
by one box or brand. How to color evenly
with markers. When layering
colors using light, which is key to over
saturate your paper. Using the small strokes and living lot of
whitespace will allow you to mix in more colors with ease to create your
unique effects. Using a blender marker by layering colors
will also help you get a nice even loop and help
create some cool effects. Don't be afraid to
play with colors. When you start to
fill in an area, you will first one to blocking
the light base color. Now using markers is
similar to painting. We can lay down course to get darker version of
the same color. As you add more
layers to an area, you can start adding
shadow and highlights and even blend colors together
to create a sense of depth. We won't go into all
the dependencies. This is simply an introductory
tutorial datas lot of cool medical techniques
you can use here. Here our final
project is complete. I hope you liked seeing
this Mandela takes shape. And I hope it gives you a
nice to try drawing when you start small, start simple. Experiment with
shapes and colors and let it be fun and relaxing. And if you are after other ideas for simpler ways
to draw Mandela, go ahead and try it out.
 Mayuri Dhanad, Mandala and Craft Artist