Transcripts
1. Introduction: Without even realizing it, you might have made
a Mandela before. Ever cut out
snowflakes as a kid, or maybe due to the complex repetitive pattern
in the notebook. There's a reason
we innately feel poor to this beautiful
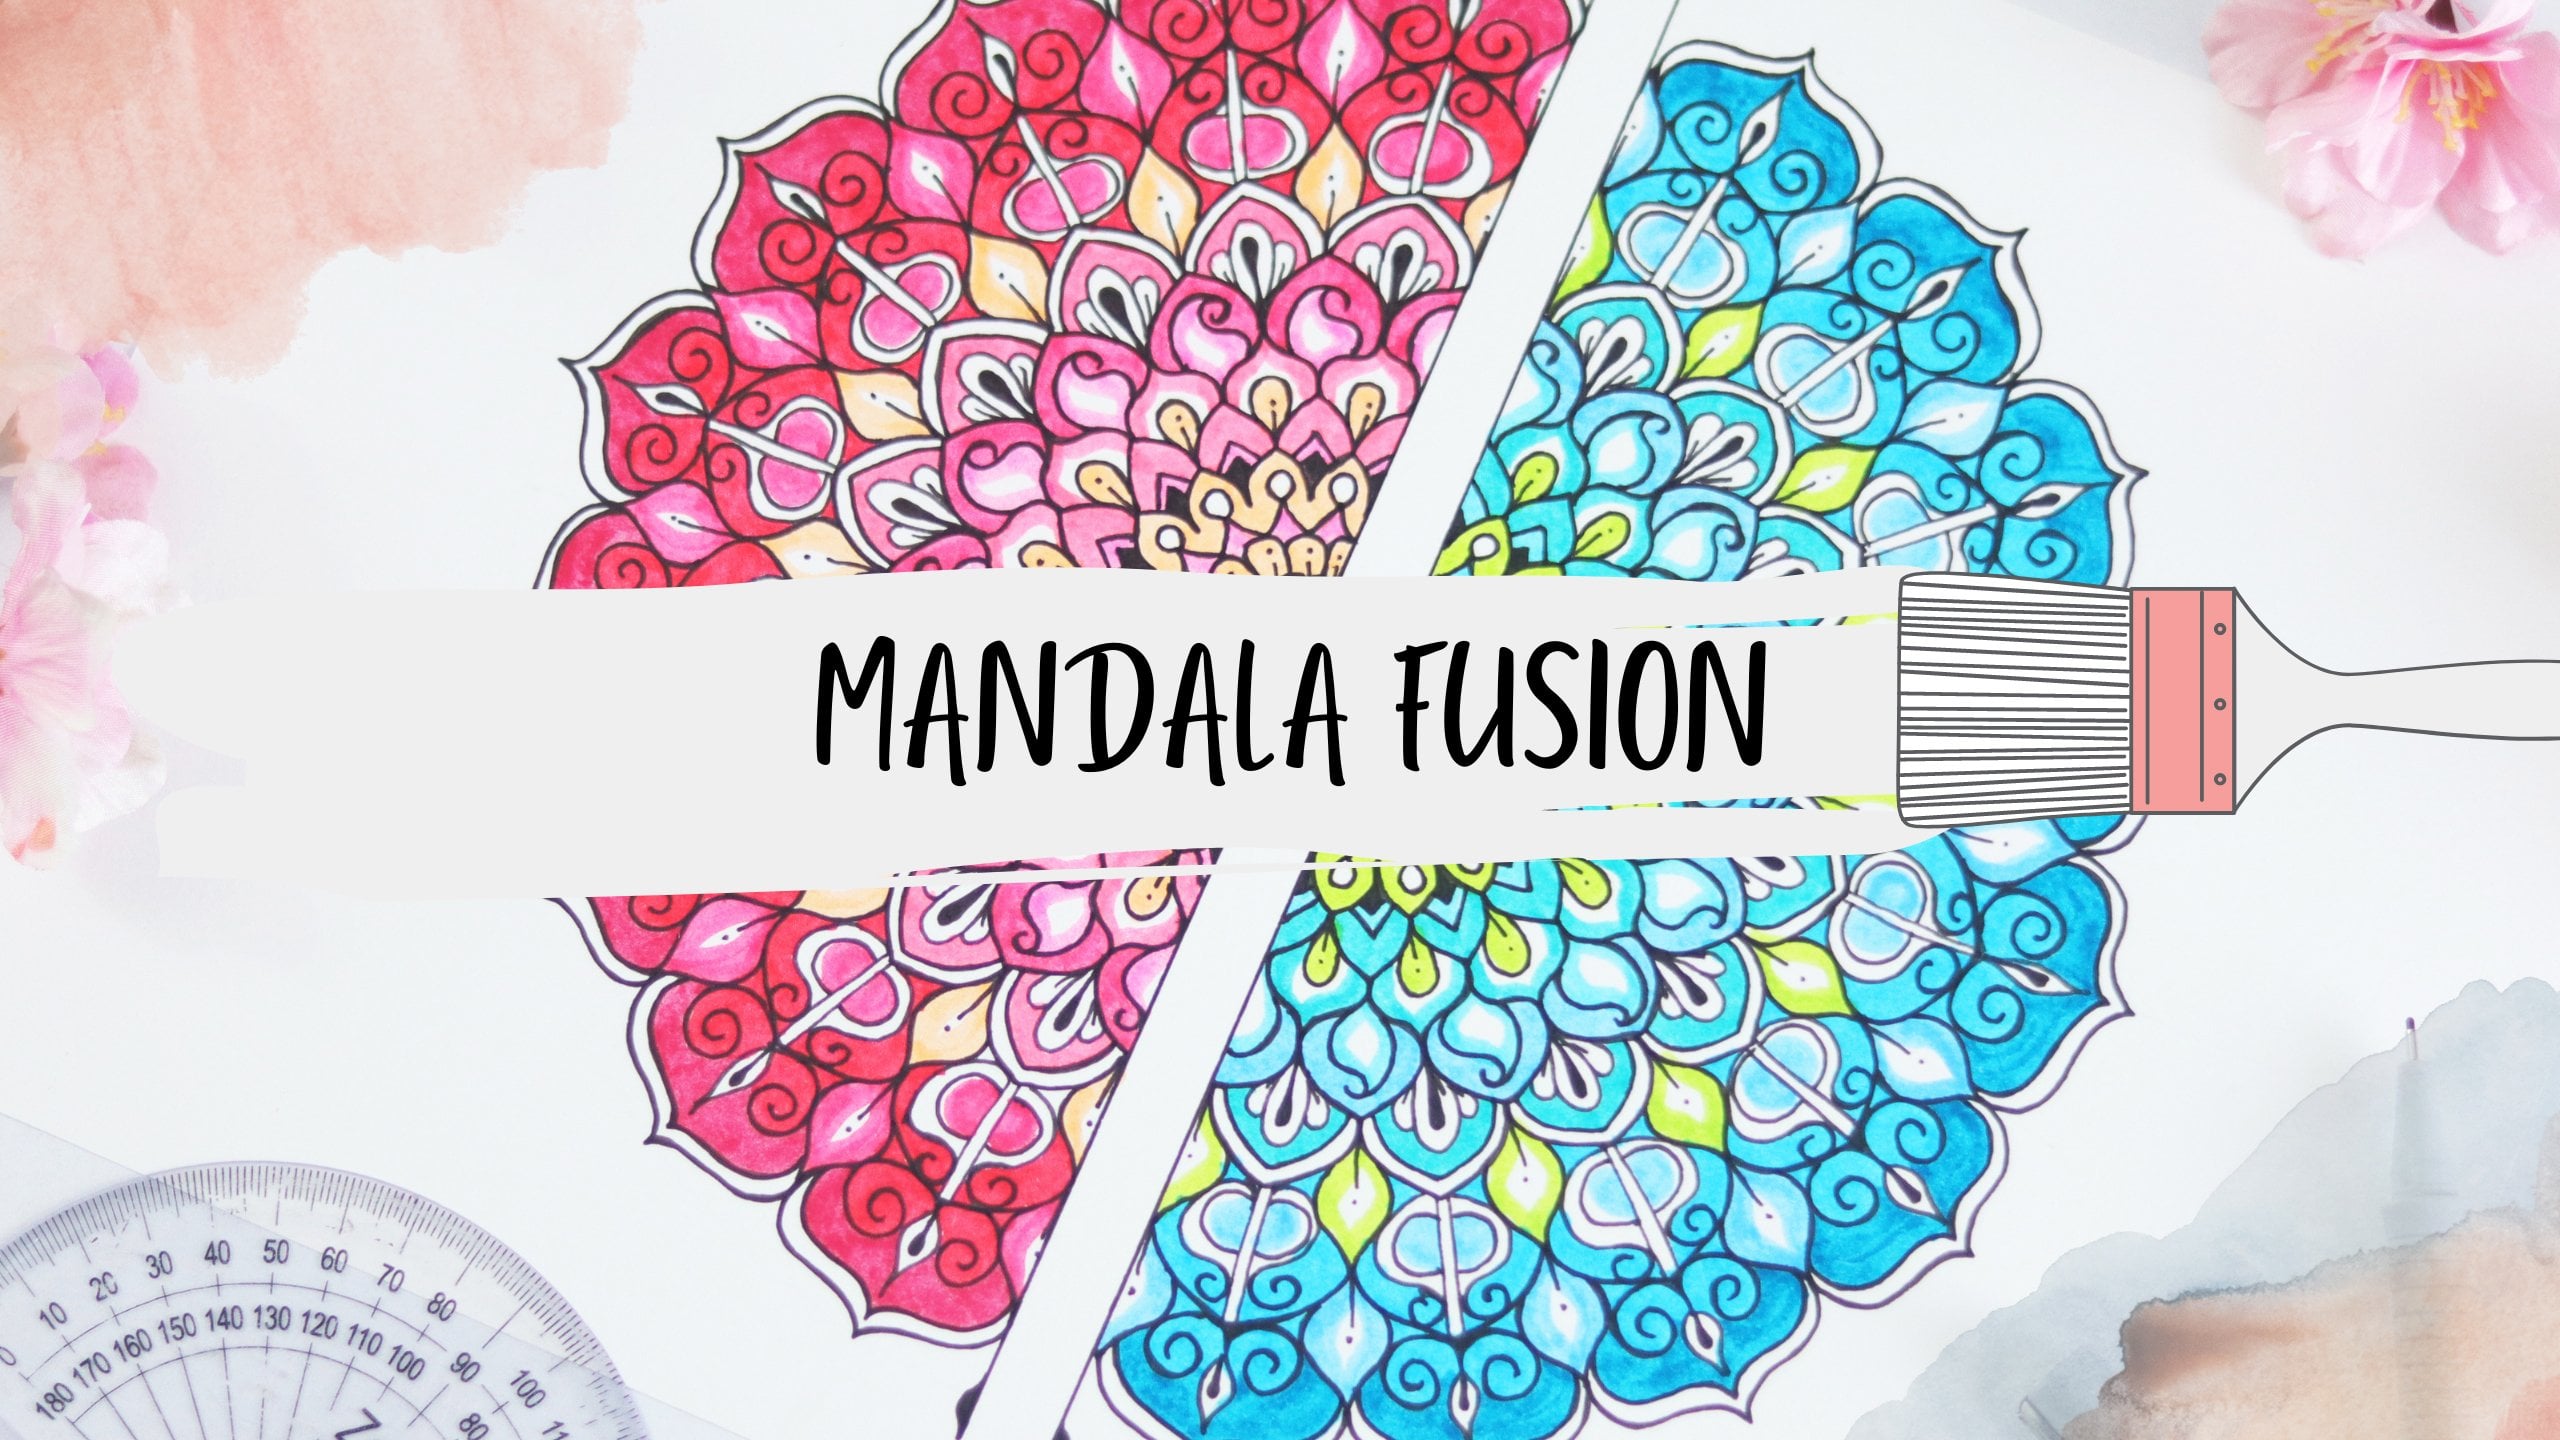
and intricate designs. Mandela is an arrangement of simple shapes repeated
in a circular pattern. But here we are going to
do a small experiment and draw Mandela in form of
abstract peacock Design. My name is Mercury, animal model artist
and a YouTuber. Since the last eight
years I've been making Monday lab worksheets and
radius dimensions and sizes. In this class, you will
learn how to draw, because design period with
repeated two patterns, which is extremely satisfying
to draw and color. Our first lesson is about art material required
for this project, which you can easily get
in stationary stores. Then we will practice to
common repetitive patterns, which will be helpful
for our final design. Then put our final project,
drying peacock design, build with simple and
beautiful patterns and coloring it with
interesting color combinations. I wish my eye tutorial will bring your smiles and happiness. And you will understand each
and every step properly. I'm really looking forward
for you to join this course. Tibetan, be creative
and experienced the benefits of grind
Mandela's yourself.
2. Material Required: What material you need
for this whole course. You can get these tools
easily in stationary stores. Skin. Pencil, drawing. Here I'm using a
stateless compass. You can also use any other
kind of simple compass. Black fine liner. There are various ranks you can try like steadily art line, Sharpie, micron, fine
liner is available. You can use it for
your Monday night. Let's see which color we
can use for our Mandela. He said, Oh my goodness, this particular paths going
1,000 different shapes. It has to do a team, brush tip and fine liner. I will be using these markers. There are many other brands you can try as per availability. Like copy, Sharpie, straight
letter, Sakura, etc. Next up, drying paper. Use around hundred to 300 GSM. Grind pepper. Gsm stands
for grams per square meter. It defines the quality of paper.
3. Petal Practice: Breakfast is directly
proportional to patients because attending perfection in the development of a skill is a
time-consuming process. One more step patient, and keep practicing
more and more when picking up a new
skill to perfect it, use grid paper or graph
paper so that you can work on symmetric
and perfect patterns. First, dry simple smooth
curve in each block. Second, when dropped
black structure. This battery design is a bit difficult compared
to other designs. So try to find some simple techniques for
you to draw it easily. Put one triangles. Next up spirals. Moving to practice some
variations of it as well. You can experiment with
different shapes and create your own patterns
for Monday night. Again, drop structure in
the opposite direction. Perfect and art
requires the power of patients in learning
and zeal to work hard. And it is patient that will lead you to your desired goals. If you lose patients easily, you end up losing the opportunity of
learning a new skill. You need to practice
these patterns in order to draw a few
different Mondelez. If you're having trouble with
drawing it symmetrically. First practice one side
and then the other. If you think that some
of these patterns are too difficult or easy
for you to draw, replace them, or
you can even repeat similar patterns you like
the most in your Mandela. Different patterns will look different in different spaces. If you can draw these shapes like circles, squares, lines, curves, you can relax and enjoy drawing
repetitive patterns. And you will be surprised
and delighted to learn that you have an
amazing artist within you.
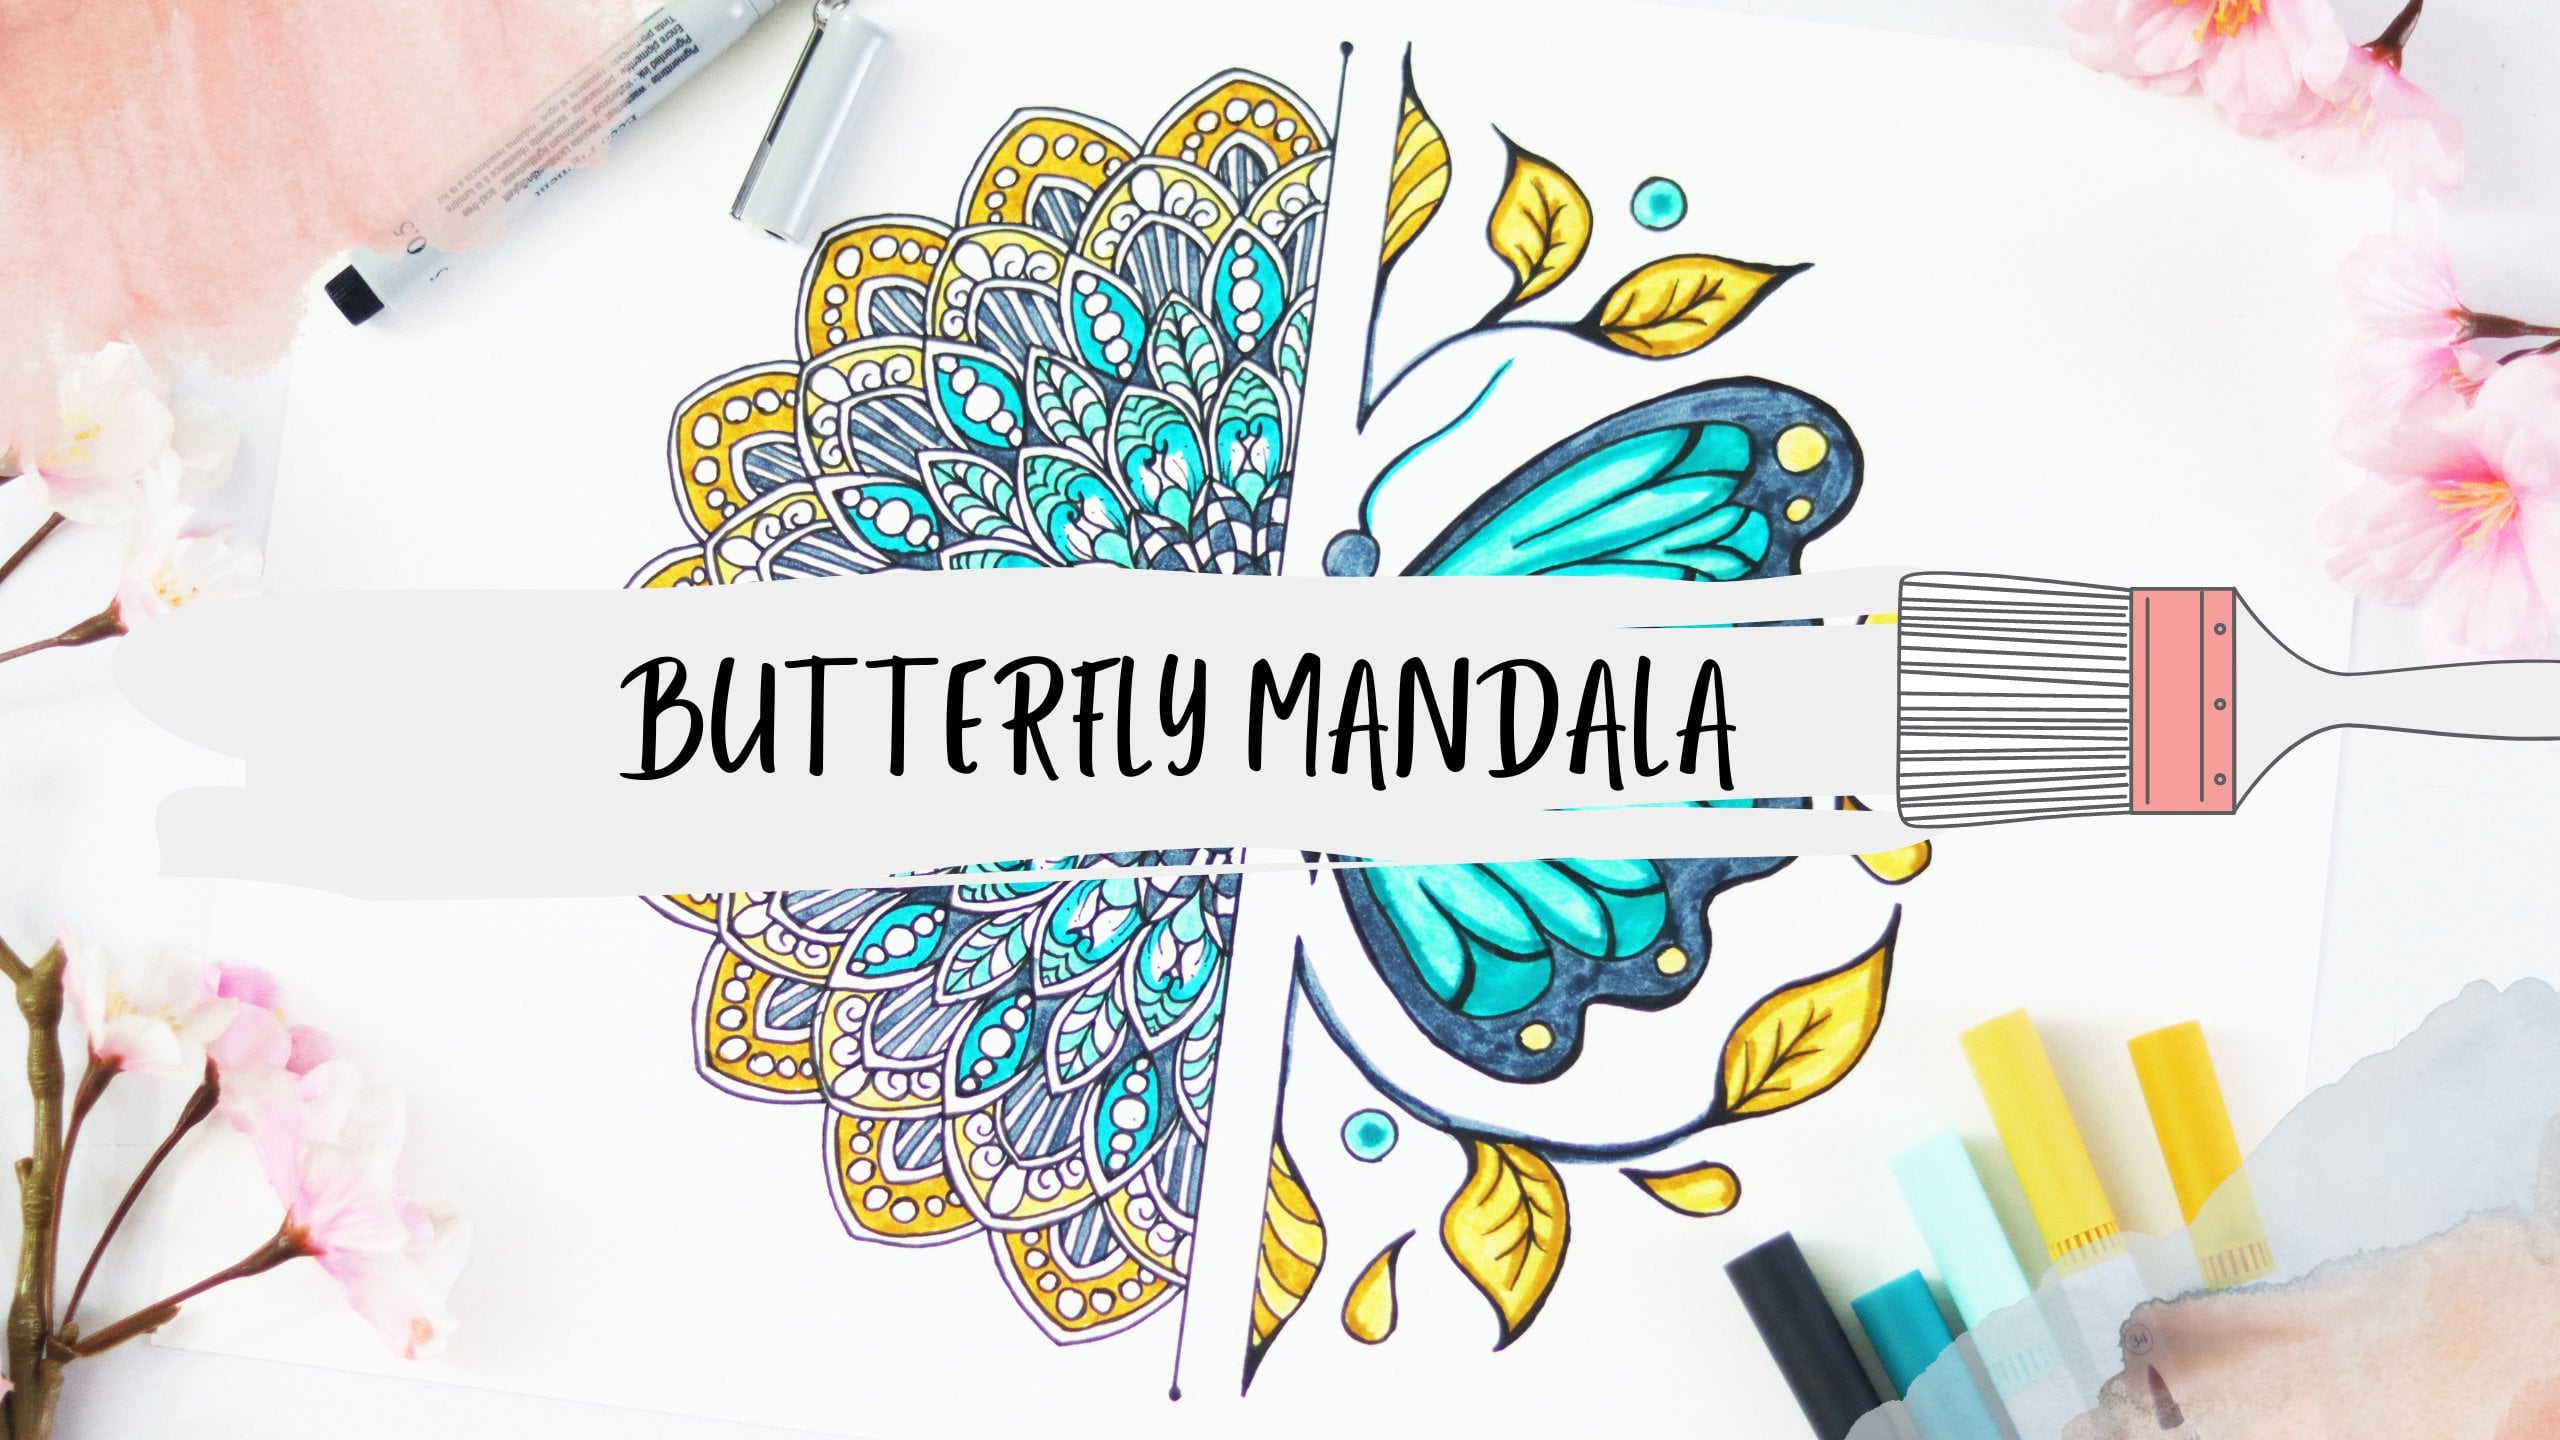
4. Drawing Peacock: By the pursing, the
passion for art, I have understood the vital role of colors, shapes, and textures. This realization keeps on in brewing division
that I build towards my passion of contributing towards the great
artistic community. Manila is an arrangement of simple shapes repeated
in a circular pattern. But here we're going to
do a small experiment and Roman villa in form of
abstract because design. So let's start drawing. This lesson will teach you
how to draw a peacock. We will pay attention
to the shapes of each section and types
of plane created. Artwork looks right. Here. I've taken a
full-size drawing scene. The best way to get students
off to a good start to any drawing lesson is
to show them how to use guidelines as the
reference points. So draw vertical line as an Ireland for our
peacock design. Take a scratch piece of paper to practice body shape of peacock, which is considered to be
a difficult part to draw. Start your pickup by
drawing this small circle. It will be a head of peacock and draw
lines attached to it, which will be next part. Draw a little shape in the middle and connect
it to the next line. This will make the
whole body of peacock. Now add the week and the ground. Drawing skill set about getting the size and placement
of lines on paper. So having some visual
reference point to get started will always help anyone learn how to be a
little more accurate. Draw lightly with pencil first on a sheet
of drying paper. You mainly to sketch
the line so few times before you get
the desired one. So have a good eraser too. Now for feeders, we will
draw this outline and then Add Section to it so that we can fill it with
patterns later. This tutorial will show
students how to drive because without getting
lost in too many details, those feeders, for instance, are incredibly
complicated in real life. But a simple shape do
the job just fine. They are radiating
out from the body and offer some great radial
symmetry drawing practice. Let's practice drawing. Lose. A great way to not only add
variations to your lives, but also give you more
perspective to your drawing, is to use angles are slammed
when drawing this team. Feel free to play with shapes of the leaves and
see what you like. I do my live fairly small
and with some jagged edges. We'll give it a
naturalistic feel. A bunch of leaves is a great
way to fill the pages. It also adds
movement to the page because these leaves seem to
be dangling, are hanging. Starting by drawing
the center line. Then adds more lines to mark where you want
your leaves to be. Next, add your lives, angling each pair differently. And this leaves and goes on sideways of breather and body. If you feel some area of
your design looks too empty, you can go back in later and
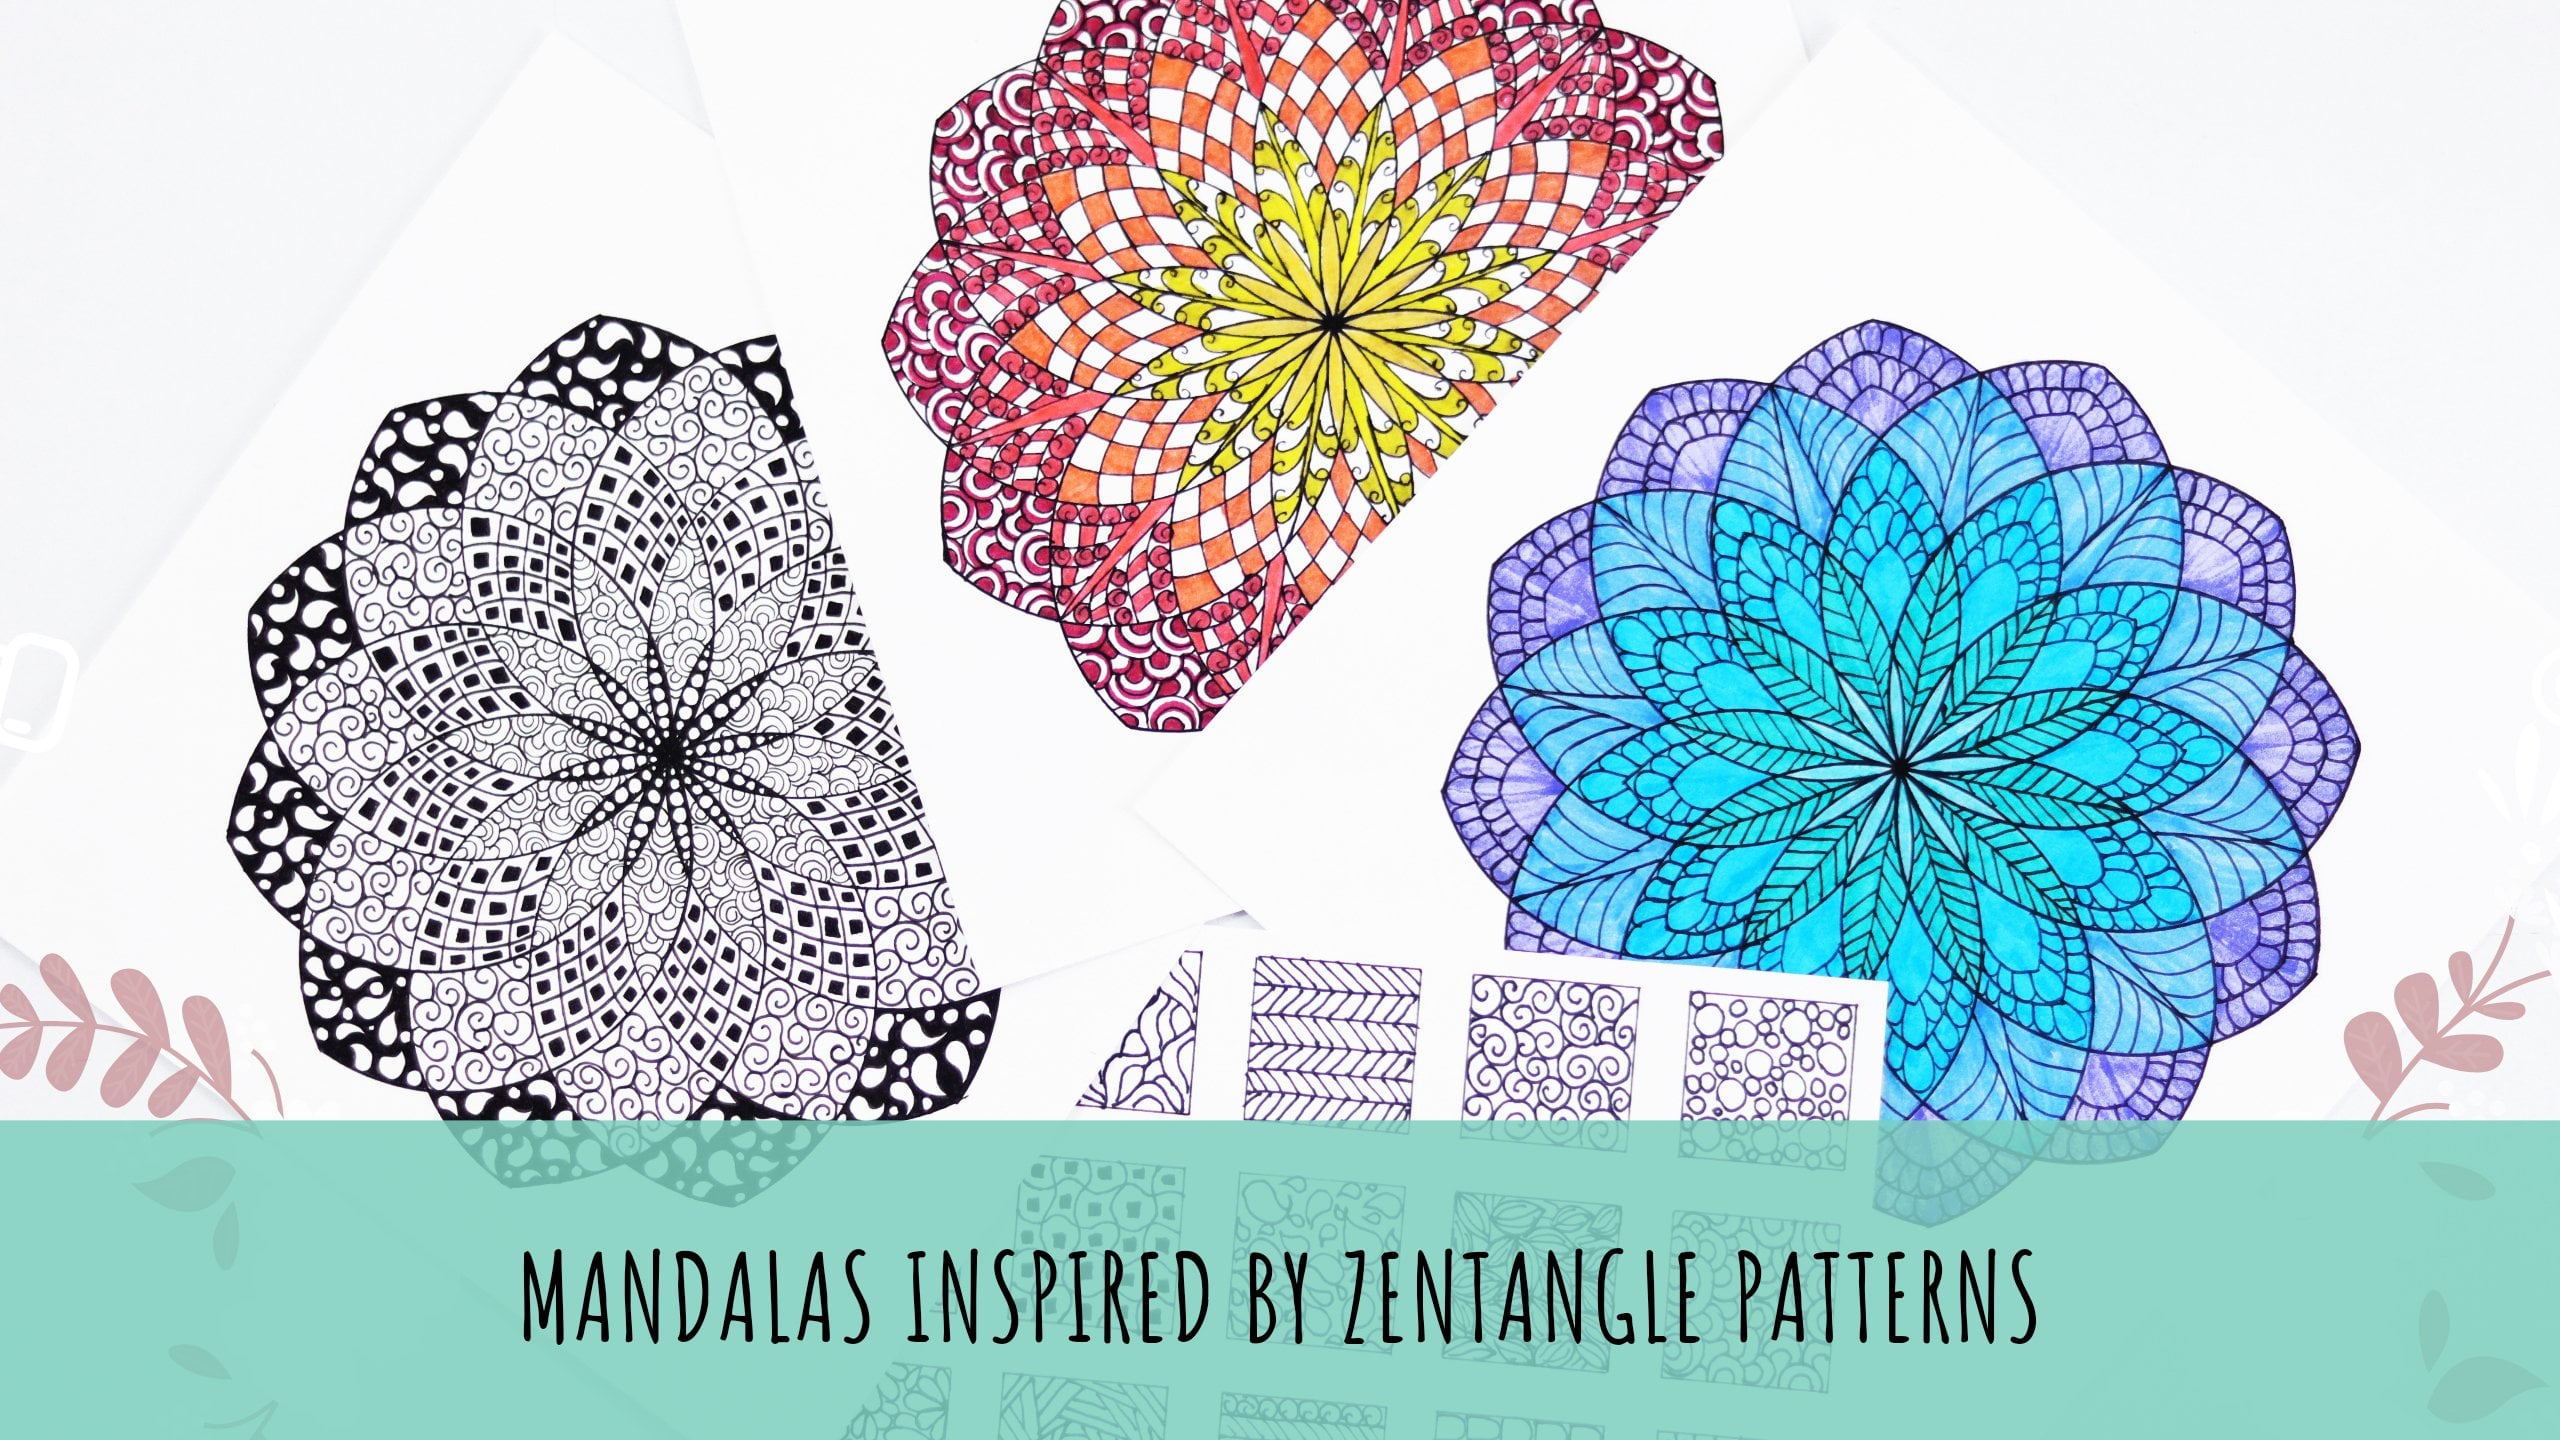
add more lines and spirals. There are no rules or guidelines on how a Mandela
should look like. You can make it look
however you want it. You can add more
patterns to make it look detail or leave it
simple and plain. Each one has its own jar. You can add shading to a drawing to make it more
realistic and complex. What's more, you can even dry square Mandela that will give them a null as a geometric
and interesting. You can also try making them free hand once you
gain the confidence. You can also create Mondelez
with watercolors or create watercolor magnum
syndrome nonetheless, over them. Once you're sure of the design, highlighted with
black fine liner. Once you kept growing
more Mondelez, you will come up
with your own shapes and designs to make them. And you will draw them faster. Eventually will develop your own style of
creating Mondelez. It is extra pencil lines
for neat and clean artwork. Now to make the code design
look more bold and clear, we will highlight it
with more black color. My concern edges also
keep some lines ten. Here I'm drying
byte is complete. In the next lesson we will fill the empty feeder
area with beautiful, repeat it to patents.
5. Drawing Patterns: Our first step of this
art project is complete, which was peacock structure. Now in this lesson we will
move on to a bit intricate. Lace your compass needle
randomly over the middle part of peacocks body and start making concentric circles
still the border. Draw these circles with the gap of around point by two 1 cm. We use the same procedure while making grid form under light. Similarly, draw circles from the upper part of the feeder. Circles can help
ensure that each and every part of the
design, it's symetric. Make sure that you draw circles slightly while using the pencil. Because we need to erase MLF to airlines are part of it at the
end to get a clean design. When it's done with it, we will start making repeated
two patterns. You need to make it look
more intricate and detailed. Start with the body of peacock. Fill the inner circle with simple spirals are
attached to each other. Next, draw a simple curves as we practice in our previous lesson. Now, draw some curves as before and fill it
with this virus. Keep making patterns and
filling the gap between the previously drawn patterns using different
shapes and designs. This is what makes the Mandela
look like more intricate. Even though we are
using simple shapes. The placement of ships and the detailing makes
it more complex. We have already
practiced this shape. So when you are working
on final art project, you don't have to think of the different shapes
and patterns. Just keep your practice
sheet near to you and pick one shape or better and fill
the layer with that better. Now for free there, we will keep the same sequence of
patterns for each partition, starting with the bigger one. Top grossing bell curves
are attached to each other. Even though you are circles cannot be of same
measurements as mine, you can replace
that pattern with some another from
practice sheet. Whereas Ben with the
first partition, it is easy to draw. Rest of the feeders draw petals in the same sequence as before
for the next partition. Don't think about how it's
going to look when you finish or how people will
react when they see it. Don't make it about yourself and don't treat it as a taste
of your drawing skill. Let the rhythm take
you around each circle and let the Mandela become
your horrid word for now. There is no good or bad, just the reading
lines and contrast. If you see us barn
that looks too empty, you can go back in later and
add more lines and patents. Don't worry if you make mistake. Take a slow deep breath. Note that you can and hopefully we'll be
doing more of these. Amuse your mistake as a way
to start a new pattern. You can experiment by feeling
the grids with spirals, patents was darts and so on. But make sure you start
something simple and then later on you can get
into complex designs. Our pick up Mandela in the next lesson using
simple techniques.
6. Coloring Peacock: Even though peacocks have
to be very bright in color, they are not as
bright as they look. In fact, peacocks
are actually brown. Color often changes due to
the reflection of light. That's the secret of
their colorful feathers. Resection of peacocks
feeders changes its color when the light
strikes from different angles. So in this class we are going to choose color combinations that are appealing
and which will look good in our pickup Mandela. Here I will be using oval markers for
coloring our Mandela. These are brush tip markers. Keep a separate sheet
of the same type of paper you are
working on next to you. So you can test colors first before laying them
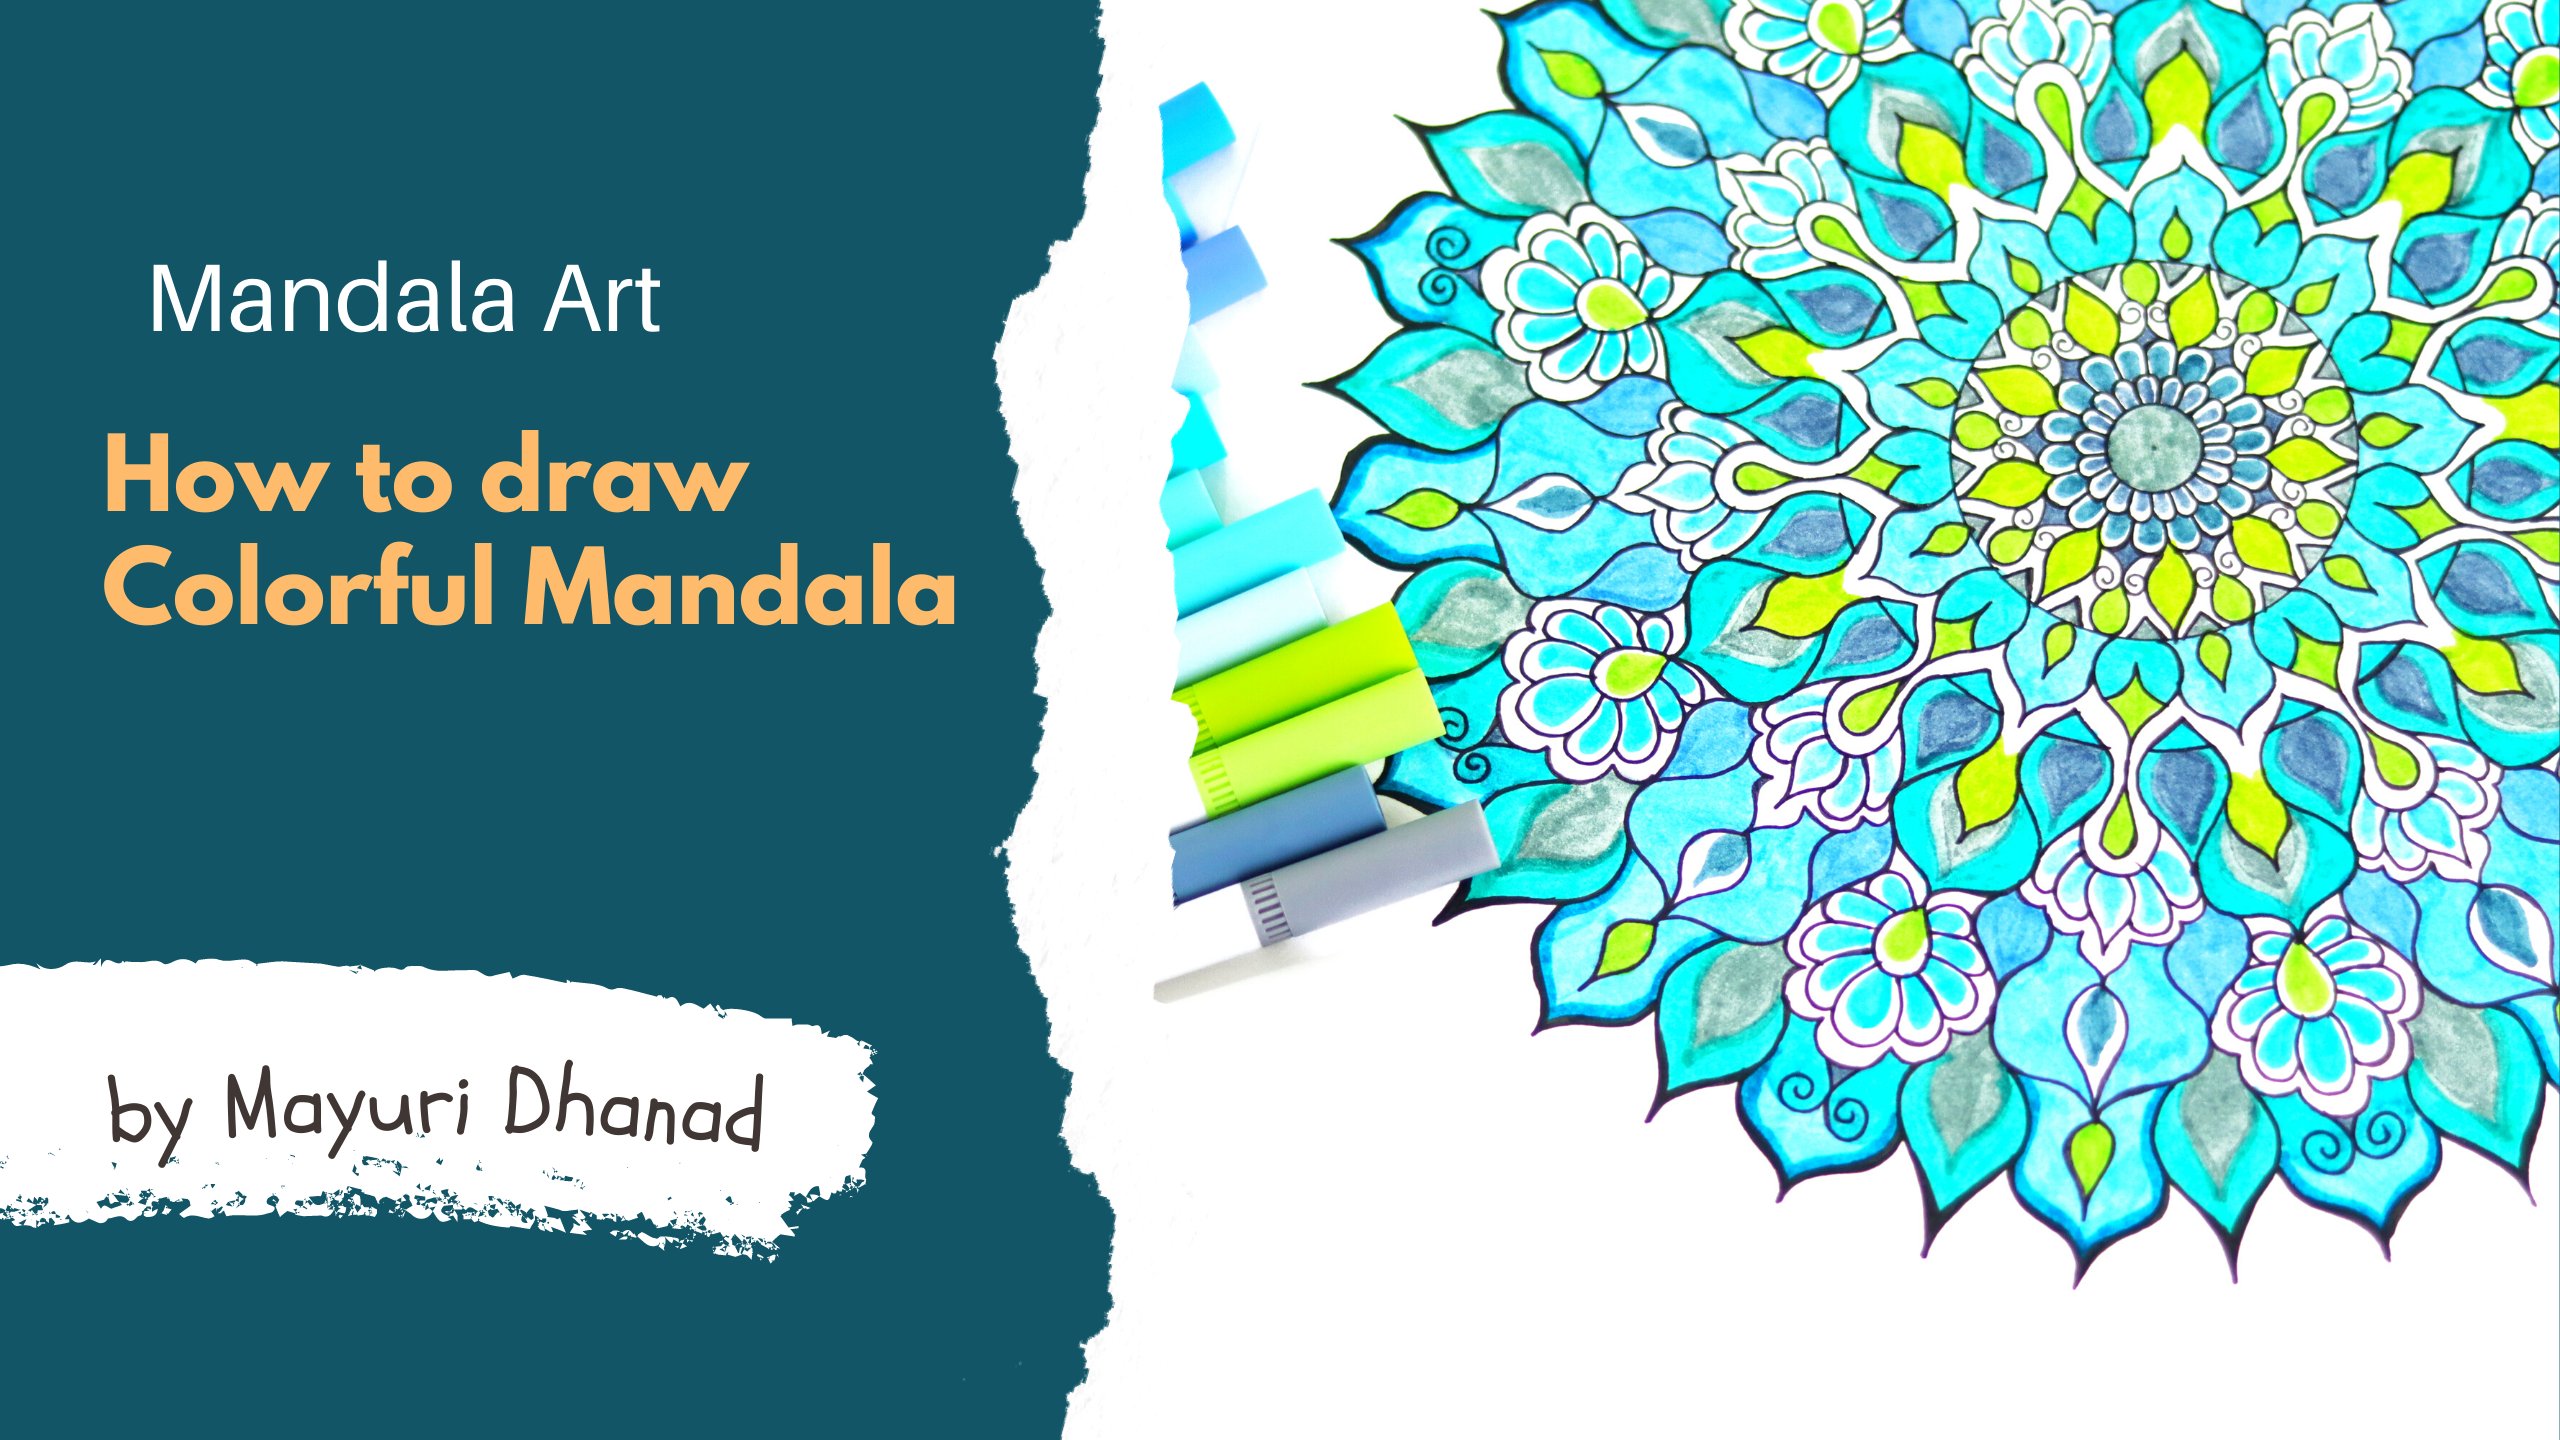
down on your artwork. For coloring our peacock, we will use blue, purple, green, mustard,
and differentiators of it. Or the body of people use
blue and green shirts. Let's start with three sets
of blue light to dark. Fairly floral design with light blue and next
layer with dark shade. Fill the remaining part with
black to create more depth. Since we will require
some time for coloring. Let me explain some
details on how we should use markers for
coloring properly. And some tips and
techniques about it. Michael's create
beautiful vivid colors, but they can also leave your art book full
of unwanted lines, extra dots, and sometimes
even ruin your paper. How does one color
evenly with markers, especially when coloring such
small and complex images? When coloring with markers is best to use mall even strokes. Try to leave lots
of space between your hand holding the
market and your paper. Make sure your strokes are all moving in the
same direction. You don't want to use a
back-and-forth motion. But ensuring all your
strokes go the same way, we'll give you a
nice even color. Essentially, you want to pick up your hand and move it back to your starting point to achieve those model fluid lines. It also helps to start with your lightest colors like yellow or pink and move
towards the darker, more dominating ones
like black and brown. For the next part,
used to share. So green, light and dark
and aqua blue color. Like saturation points while coloring with thicker markers, you may notice lines in
your market strokes. Light small strokes
will help you elevate this effect and
minimize your lines. You can also use
a blender marker to smooth out
districts in color. Blender markers or a t colorless
alcohol-based markers. Lives aren't fully blurry lines, as well as create
shading effects. Bare attention to the type
of markers you are using. In addition to thickness, there are different
types of markers, such as seasonal or brush. Knowing the difference and currently using
your markers will keep your marker respiration
functioning for much longer. Here one side of Or art
project is complete. Now let's move on
to the feeder part. Start with two shares of purple. Dotted failing the whole
section it colors, keeps some areas white. It makes the pattern and colors look more
clean and elegant. Start with purple, and
as you go downward, use the sequence blue, then aqua blue, then green. Few more tips when using
markers for your artworks. Brush tip markers are particularly useful
as the integral. The idea is to draw with
thick or thin lens center. Incredibly helpful for
intricate detail work. But because of their
delicate brush tip, it's essential to use an extra light touch
to bring your tip. The style of mercury is not meant to be
pressed down hard. Again, lots of space and a
light touch will help you. As too much pressure will cause the tip to lose its shape. Delicate, however,
will allow you to get into small corners
of your artwork. Like a calligraphy pen
Caesar tips are useful for creating a variety
of thick or thin lines. But again, care must be taken to a poor the
integrity of your tip. So much pressure which
measure tip down, losing the ability
to make those thin, crisp lines be good peer markers and they will be good for
you and you are at work. When blending my colors, starting with the
lightest color in your palette is good
because you can layer more colors on top
in descending order from lightest to darkest
using the small strokes. To use various thickness and styles when choosing
your palate. Don't be limited by
one box or brand. How to color evenly
with markers. When layering colors
using light touch is key to over
saturate your paper. Using a small strokes
and living lot of whitespace will allow you
to mix in more colors with, is to create your unique effects using a blender
marker by layering colors will also help
you get a nice even look and help create
some cool effects. Don't be afraid to
play with colors. When you start to
fill in an area, you will first one to block
in a light base color. Using markers is
similar to painting. We can lay down course to get darker version of
the same color. As you add more
layers to an area, you can start adding
shadows and highlights and even blend colors together
to create a sense of depth. We won't go into all
the details since this is a simply an
introductory tutorial. But there is lot of cool marker techniques
you can use here. Why is bandwidth
be there and body, we will color the rest
of the site designs. Lose and spiders with
mustard and green. Foreground, big set of colors, drove pews, dark
shade of mustard. Now for some blues, use dark shade and for
remaining use light shed. Use green to highlight
the border yourself. Please. Go small, I near the beak with black pen. Here. Our final
project is complete. I hope you liked seeing
this peacock Mandela shape. And I hope it gives you a nudge to try drawing
maneuver cell. Start small, start simple. Experiment with
shapes and colors and let it be fun and relaxing. And if you are after their ideas for simpler ways
to draw Mandela, go ahead and try it out.
 Mayuri Dhanad, Mandala and Craft Artist