Transcripts
1. Intro: Why do we do, do doodling
is a good way to be productive if we're
losing ideas us, it helps us to remember past ideas and info
that are in our brands. It is relaxing and at
the same time improve our focus to Delhi
due to Lincoln, also help improve
our artistic skills and also help us
find our passion. Hi friends, I am zen and
I'm a self-taught artists. I love to sketch, draw in pen in any medium
that I can acquire. My favorite medium has
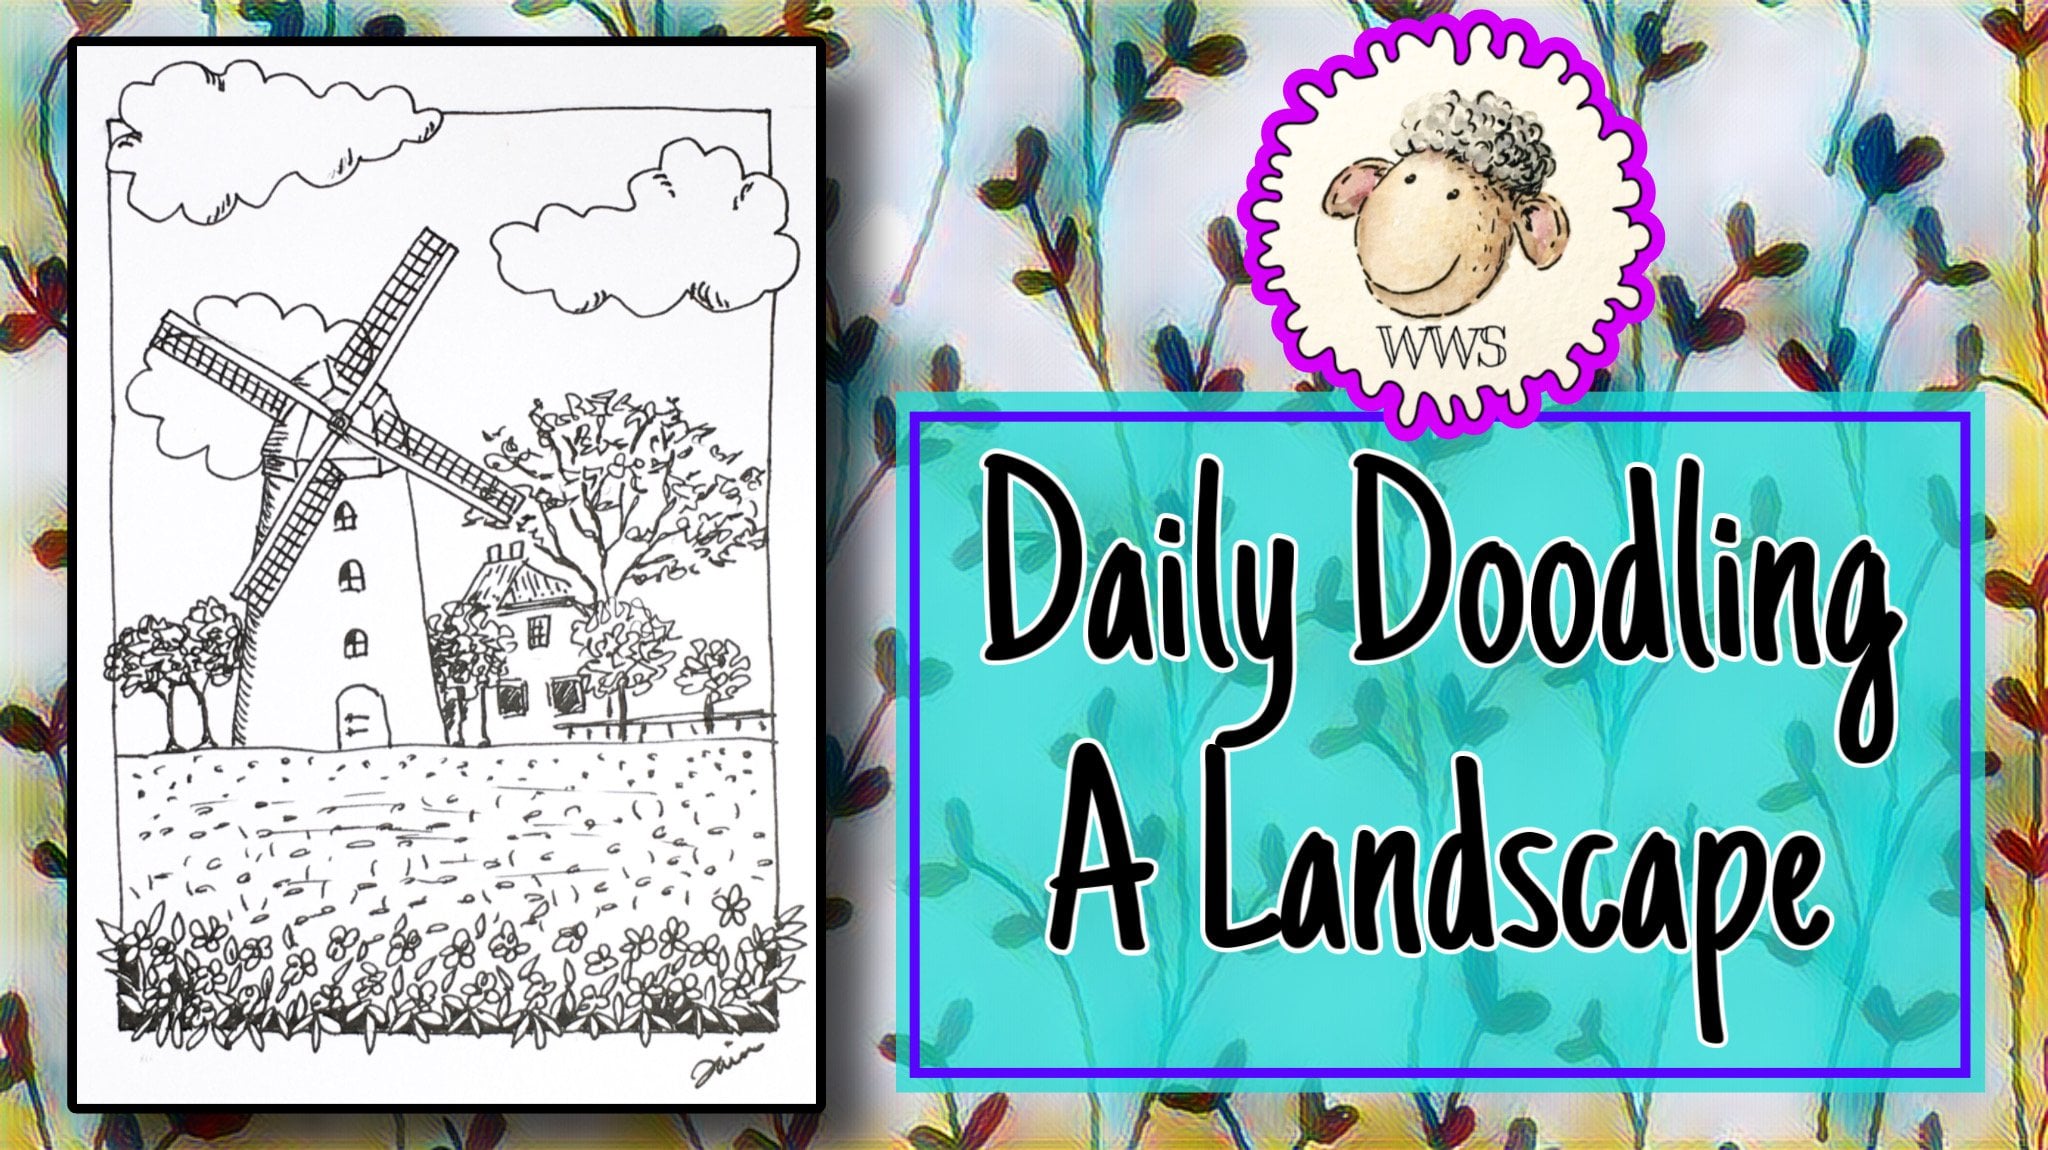
got to be what the color. And whenever I'm free, I love to doodle. So in this class we
are going to do though some flowers, white flowers. Well, I chose flowers
mainly because I'm sure a lot of you out there are
familiar with flowers. You can find flowers
almost every way. May it be just in a vast in the garden or
among the grass? This class is mainly for
beginners who wants to start doodling and doesn't
know where to begin. Drawing skills are not
required in this class of doodling doesn't require
any skills to begin with. You only need two
items to start, a paper and a writing tool. In the lessons you
will learn to doodle a few flowers with different petals and
some floral plans. At the end of the lessons, I want you to do though some flowers for
your class project. You can either do a single
flower or a whole floor plan. You can do that from
your own imaginations or from reference photo, or even just to do what
are shown in the lessons. So get ready and I'll
see you in class.
2. Class Project: Class project. In the class lessons, you will learn how to do
the single flowers with different kinds of petals
and also a whole floor plan. After completing
the class lessons, you are encouraged to
do a class project. In the class project, you can choose to
doodle flowers and floral plants that are
covered in the class lessons. You can choose to do
your own flowers. If you want to do though your own flowers
but have no idea. You can always do though
from reference photo, you can find lots of beautiful
flowers in the internet. For me, my number one
choice is Pinterest. Here's an example
of a floor plan. I do del from a reference photo, which I found in Pinterest. Here's another reference of single flowers
found in Pinterest to once your project is done, please share it with
fellow students by uploading it in the project
gallery below this video. This way we all can
learn from each other. I also always give it back
to all my students projects. Next, I will show you what you need to use
in their lessons.
3. Tools and Materials: Tools and materials. Any pen paper will too. I feel a plain paper notebook. You can also use the plain
size of recycled papers. These are air for size sprint peppers and I cut
them into half. Thickness of paper doesn't
matter in doodling unless you want to pin your doodles
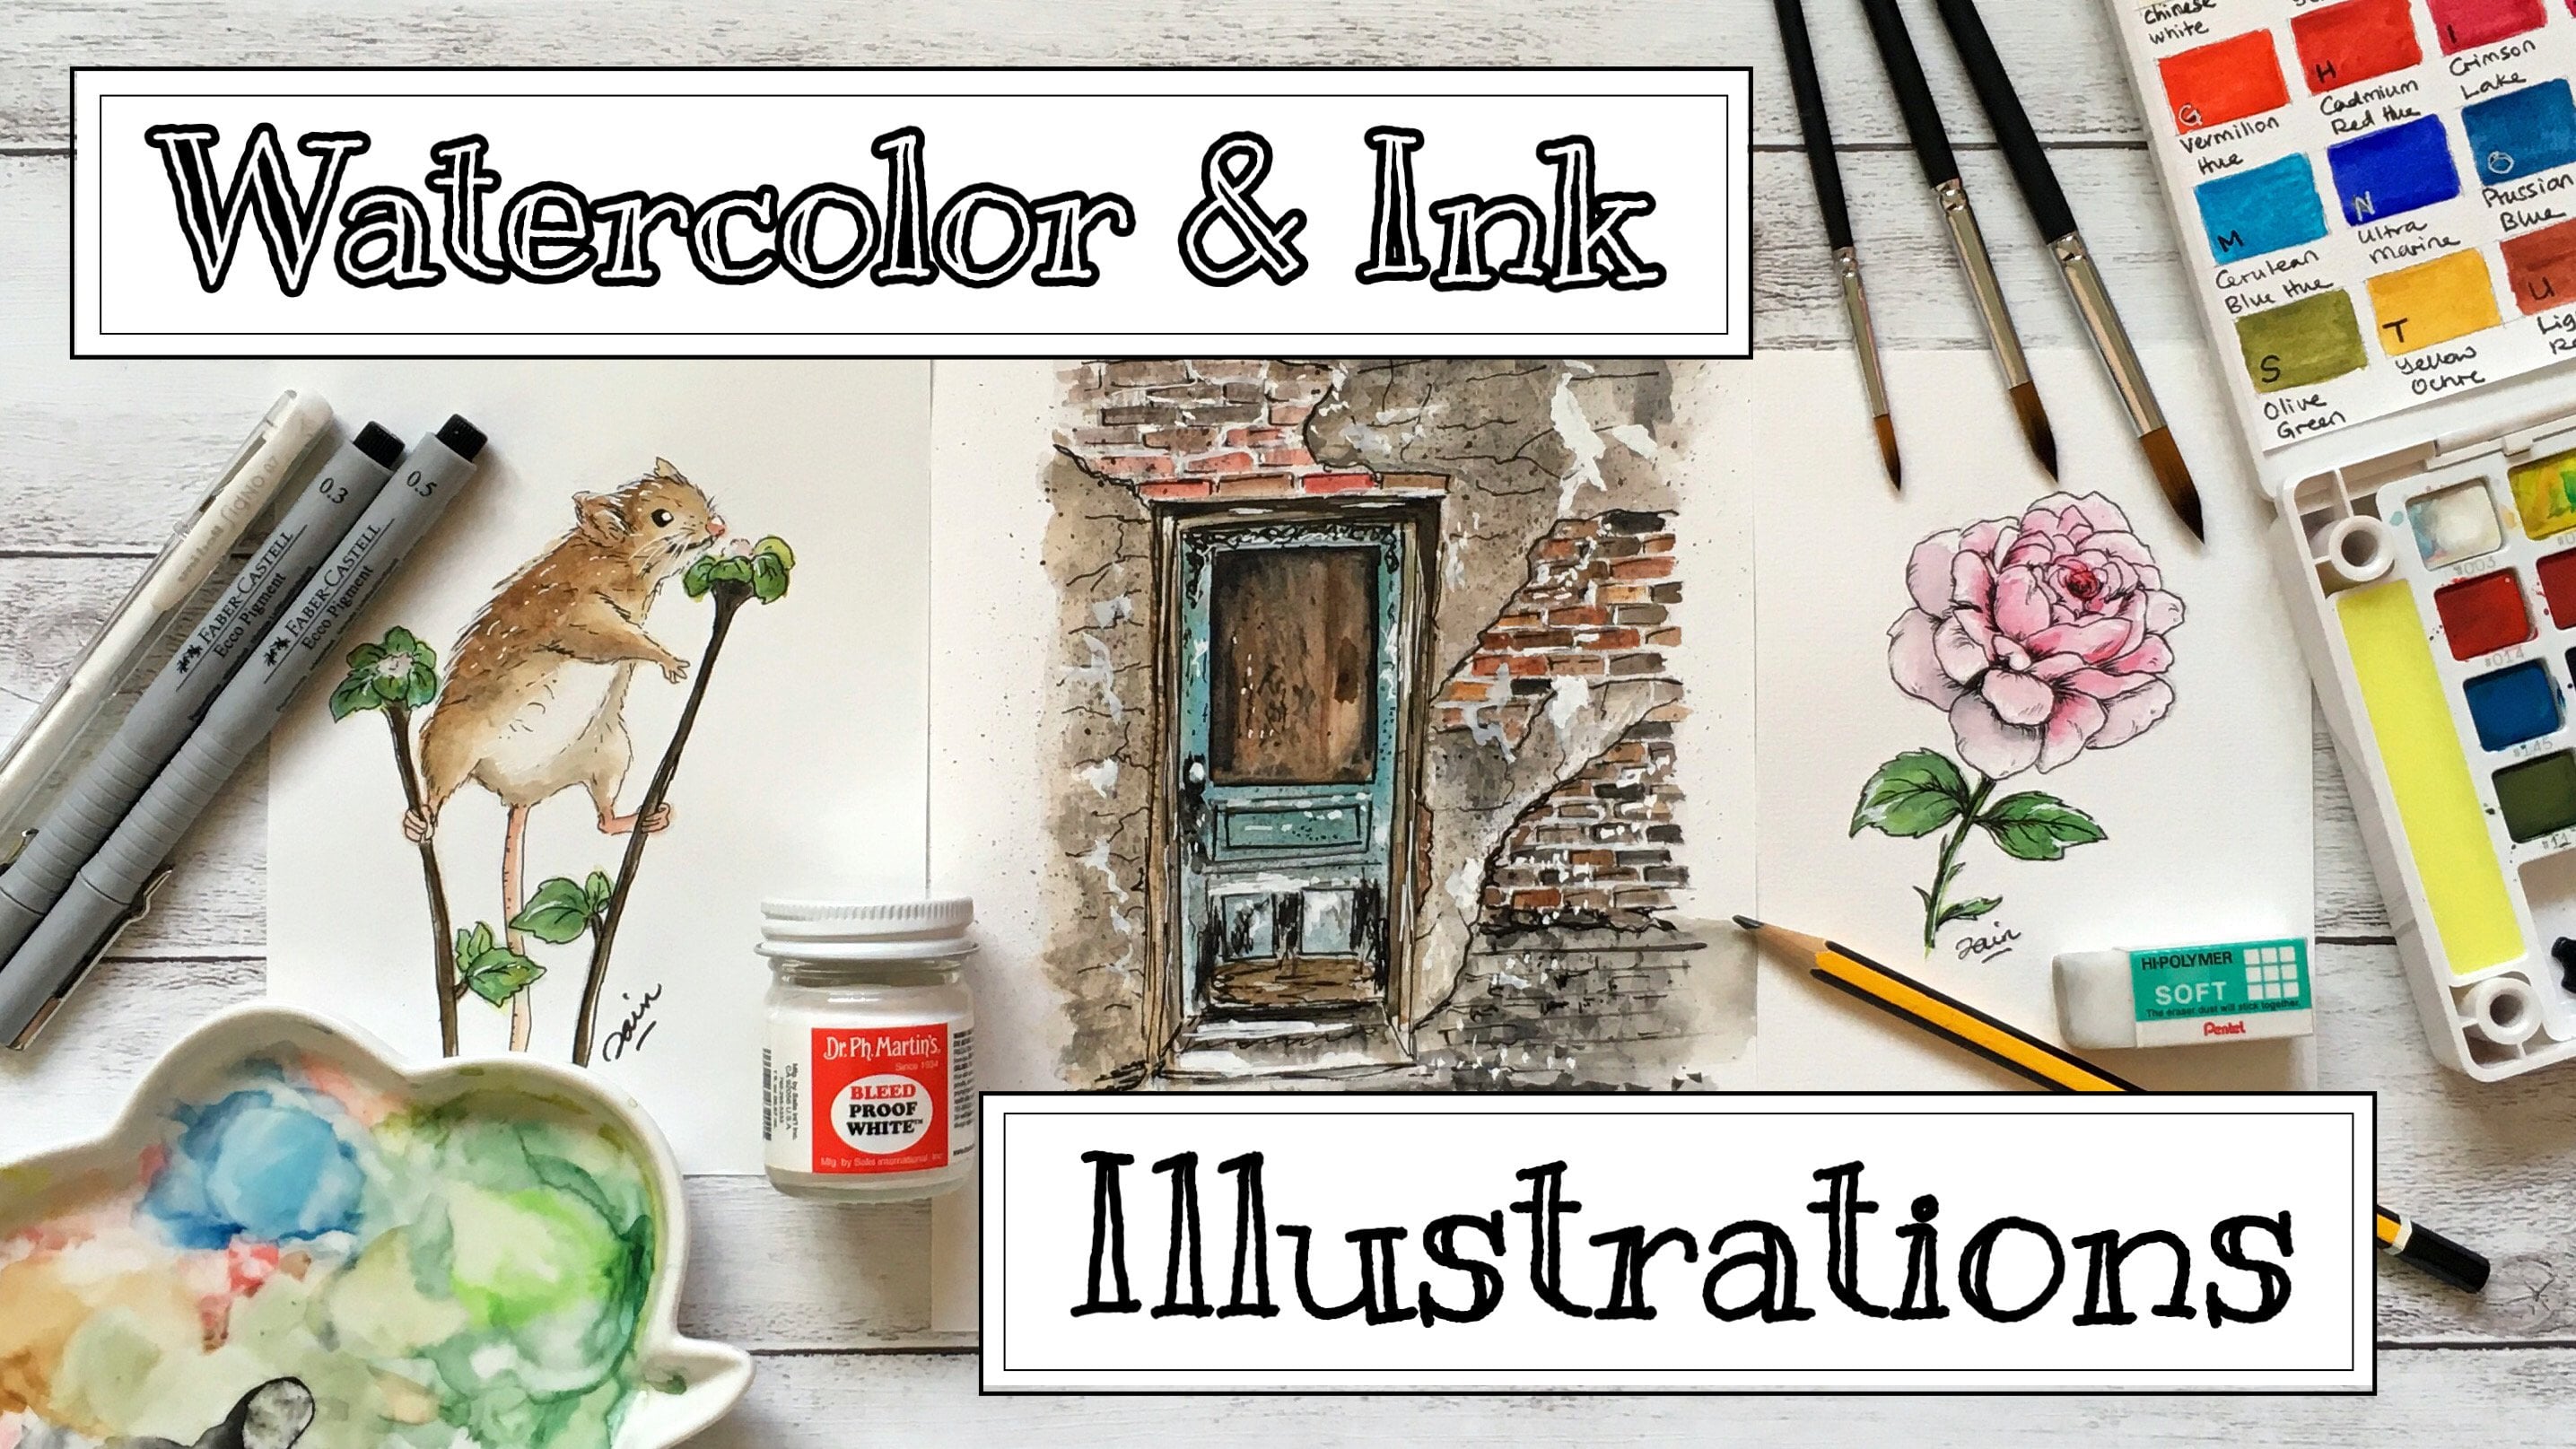
with watercolors after that. Then it's advisable to use thicker paper like
watercolor paper. The thickness of this peppers in my sketch book is 300 gram
or hundred and 40 pounds. Doodling tools. There are endless
options and you can find them already on your desk. Any tools that can write
can definitely do. The most common writing
tools that anybody owns would be either a
pencil or a ball pen. I have a few examples here. The first tool I have is the most common pencil
and a bone pain. The next one here is a gel pen. Then a fine liner. Any color you wish to use. And this is a brush pen. You can also use
a marker pen with colors or even pencil colors. Feel free to use whatever
writing tools that are available at your premise. One advice though,
if you wish to pan your doodles with watercolor
or coloring brush pens, do use a pen with
waterproof ink. That's it for now. Simple tools and
you are good to go. So see you in class.
4. Basic Flowers: Basic flowers. Let's start by
drawing some simple, basic flower doodles
without any leaves. Just a single flower
or cluster of flowers. Just use any pen or
pencil and a paper. We start with the
center of the flower, which is often around. Then continue with the petals. Draw as many petals as you can until you reach the first petal. Don't lines in the middle of each petal and some
spots on the center. This makes your flower
looks more lively. You can add a stem
for your flower to. Next I'm drawing the same
flower, but in profile. Draw the site petals
with curves in this makes the
flower looks real. And draw the lines
on the petals too, even though is the underside. Here's another flower with
less petals and wider. I also draw the petals with a little indentation on the top. It's the same flower, but in profile view, it's always good
to learn to draw flowers facing in
all directions. Because flower don't
always facing towards you, all facing towards the front. We will learn more about
that in our next lesson, where we're going to
draw a flower, plants. Next flower is the tool is very common and it's
the easiest to draw. This one is similar
to the first flower, except that the better stop
point D and more narrow. And this is how it
looks from the side. This next flower
is quite unique. The petals are growing
downwards and I think it's something
like a corn flour. Next is a fluffy flower, like dandelions with white poof. And these are small
bell shaped flowers clustered together in
almost like a cone shape. Examples are like the
Bluebell flowers. Next is also a cluster of
flowers with small white bells. And there are examples
of lily of the valley. There are clusters, are not too compact, light blue bills, but they are still considered
cluster of flowers because they are all
growing out from one stem. This next flower
is the snowdrop. This flower always reminds
me of a table lamp. And the last one is also a
cluster of small florets. You can draw with round
or pointy petals. You can draw as many petals as you lie or in
whatever shape it is. As for mine, I'm drawing
a hydrangea clusters. There are of course, more flowers out there, but I will just leave it here. See you in the next
lesson where we will do a whole floral plans.
5. Floral Plants: Now that you have learned
the basic flower shapes in the last lesson is time for
us to take one step further. In this lesson, we
are going to draw the whole plant,
flowers and leaves. Let's begin with the
easiest flower, the daisy. Start by drawing circles
for the centers. Don't have to be
perfect round as the flowers are not
exactly facing front. You will see which
way they are facing after I edit all the petals. Now for the petals, pay attention on how I draw them to show where
they are facing. I will put arrows to indicate
each of the directions. Once I'm done drawing
all the petals, then draw issue stem curve to the direction where the
flowers are facing. Lastly, just add the leaves
as what I'm drawing here. Once it's done, I always
like to draw a base. So my plan would look like
it's floating in the air. Just draw some irregular
shapes below the plan, resembling pebbles or stones in a few short lines as ground. The next floor plan is snowdrop. Start by drawing the
ovary of the flower, which looks like a cat. All facing down. A snow drops, always
faces downwards. Draw the middle petal
first are shown then followed by
the site petals. Repeat for the other
two snow drops. Draw the stem curving
from the top of the cap. Halfway through There's a
part that looks like a leaf. I will put a reference
picture to show on the left. Repeat for the other
two snow drops. Then just add in three long and narrow
leaves from the best. Lastly, a few lines for
the ground at the base, and we are done. Next. Cosmos plants. They start wildflowers. As usual, always start
with the center. If the flower that you
are drawing does show its center, draw the petals. See how I draw the
shapes and also making them curving up as these flowers have
petals curving upwards giving
them a bowl shape. And let's draw another flower. Draw two stems joined
together as one. Then draw a flower bud on the right side and
draw the leaves. Cosmos have simple leaves
that looks like soft spots. Lastly, a few spots onto the center to add
some interests. The final flower
plant is the violet. Very sorry to hear that the
camera didn't capture what I drew here as I forgot
to move my paper up. But I will show you
another one next. Here's how the
flower looks like. I didn't edit the
stem and the leaves, which are again out of focus. But I will show you in a minute. Let's move the paper and draw with a better view this time. The violet has three
petals showing in front and another two behind. I shared at the lower
part of the petals to show that part has
lines of darker color. Going a second violet
behind the first one. Then finish with the
stems, flower buds. And lastly, some leaps. Let me draw another beaker, violet for you once more with the lower front petal and then adding the site petals. Now the two top petals, which are usually
overlapping one another. And draw a small data center. Now, draw curvy lines out
from the center as shown, which is typical of a violet. Lastly, the stem. I forgot the lines
on the top petals. So here goes, does it, we have done full
flow real plants.
6. Recap: If you are watching this part, it means that you have
learned how to draw some basic flowers and even
a whole floor of plants. So congratulations. For the past two lessons
that you have taken. I hope you are able to start doodling away your
class project. Even though they are just
simple doodle flowers. But you can still make
them more likely by giving them some curved
lines and spots. Do remember to share
your class project in the project gallery
below the video. This way, we can all learn
from each other's projects. If you do post it on Instagram, do tag me at only
what the color. Meanwhile, here's a bonus
floral doodles just for you as an appreciation for
completing this class. For more of my
inspirational at videos, you can always go to my
YouTube channel under woolly, what the colors to deal. The link is in my
teachers profile page. Thank you so much for taking
this class and would highly appreciate it if you could take a moment to
reveal my class, I hope to see you back in my
future classes to come by.
 Zainab Mohamad Ali, Artist and animal lover