Transcripts
1. Introduction to SHAPES: Welcome to the five basic elements of art. I'm Chris Carter. This is the first class in a series of five classes that focuses on the basic elements of art, which are line, shape, value, color, and texture. I referred to the texture is texture. Pattern. I began by focusing on shape. Shape is the first element that you consider when creating a painting or when working on a painting and making decisions about what's working and what's not working in the painting. There's so many ways to approach painting. And I don't have only one that I use. Sometimes I'm just throwing paint and allowing layers to to build up and I have no idea where it's going until it starts to take on the personality. And then I start to nurture that. And it could be that I'm not deciding about the overall shape until, until I put in many, many layers. I don't know where it's going, but when it comes down to it, and I start to work on resolving the painting or drawing and making it work well, then, then I always go back to asking myself, the question is about the five elements. What are the basic shapes? That's the skeleton of a painting or drawing. That without, without a strong skeleton, the strong foundation. You can't put the clothes on it. You can't put on the accessories. You you can't make it work in the way you want it to work, to communicate what you want to communicate through the painting. And there are times if I'm out planner sketching or if I'm traveling and I'm, I'm doing some urban sketching or just some, some fun drawings of people. I see, I'm not worried about the composition at all. I'm, I'm more concerned in capturing the essence. I just heard an animal somewhere wrestling around in the cornfield. Just wanted to make check. Just wanted to make sure that it's not one of the local coyotes or or a bear or or something else that I don't know. Okay, back to the issue of this art class, which is focused on shape another time. So I plan it out ahead of time. Like that's the purpose of thumbnail sketches, which are really, really valuable. I hardly ever take the time to do them. When I do, I'm always glad I did. But to be quite honest, I'm I'm usually too excited about getting on with what I'm doing and I don't take the time to do the thumbnail. I suggest to everyone that they do, but like I said, I should practice what I preach and I, and I don't really. So I find that one of the great things about teaching is that it makes me ask how and why I do the things I do. And I realize now that I always check on shape, value, temperature, color, and texture. Even though now it's become pretty intuitive. And I didn't do that automatically. Like when I say intuitive, it doesn't mean that you're born with this ability to do it. It means that you have trained, you have added that tool to your tool box and maybe it did come easily to you, but maybe it didn't. And it's just something that you have learned so that now it's an automatic response. And that's what it is for me. If I see are the paintings just not working? I don't know why. Values are grey colors gray, but what's wrong? Well, it might be that my overall shapes aren't. Maybe I should mention that the order in which decisions should be made is first, shape. What, what are your basic shapes? And a painting? Second, value. What, what value? Light, medium or dark, or light, midtone and dark are. Each of those shapes can be now within each of those shapes that secants dark shape. You have a light dark, a medium dark, and a dark dark. Okay. Within the light shape, you have a light, light, a medium light, and a dark light. And within the medium shapes, the midtone shapes, you have a light, medium and a dark. Okay? So, so all of those come into play, but if you break them down into just light, medium or midtone and dark, with those basic shapes, you're good to go. And then the next is not color. Color is the last thing that you decide. The next would be the temperature. Is it going to be a warm queue or a cool whew? And that makes a huge difference. And that's just another magnificent layer in the veils of your painting. If you have decided the value and the temperature of your color, you can pop almost any color or hue into your painting and it will work the way you want it to. And that's where a creative color comes in. And you would be shocked at how many colors you never thought would work. Work absolutely beautifully. Alright, so I am starting this class. This class begins with a focus on shape. And less than one, I'll be presenting the different ways to look at shapes. There's a lot of confusion about what shape, what the word or the term shape really means when it comes to art. And I didn't realize this at first until I started teaching. And there were quite a few artists who've been professional artists for many, many years. And they were still confused by what I meant by shape. So I'm going through that and breaking that down for you to be able to look at shapes in different ways and choose your shapes. Then in lesson two, you're going to choose either a live subject, something where you're looking at the real thing, whether it be a landscape, Still Life, object, whatever it is, or you can work from a photograph. I don't really care. And you are going to come up with at least three options of what your basic shapes for that painting or drawing would be. You're not going to go ahead and do the painting and drawing. Not in this class, you're going to decide what your basic shapes will be. Out of the variations that you have, you will pick one. Okay? And, and that's it. So for your project, you will post the variations that you came up with. You will post a photo of what it was, either the photograph that you were working from or you will post a photo, a snapshot of the real view object. Still I worked from. And then you will post the one you've decided for you is the way that you would go, is the structure is the skeleton of a painting that you would invest the time to go further with. Okay, and then you can, in the rest of the series, which will be one will be on line, one will be on value, one will be on hue or color, and one will be on texture pattern. So in those, you can either move forward with this same subject project or you can pick a different one. Chances are you'll pick a different one as you start to acquire more understanding of what it is that I'm presenting here. So very, very excited about this series. And the reason I'm in a cornfield is because I started doing intros early in the year when the corn was really short, just coming out. And this may be my last opportunity to film in this cornfield. This is the one behind my house. The others that I filmed in, we're next to my house here in New Jersey. And since I haven't been traveling this year due to the coded pandemic. I'm taking advantage of, of where I live and I, and I want to share it with you. So autumn is my favorite time was when I was born and I just wanted to share with you my wonderful cornfield. So this is Chris Carter. Welcome to the five basic elements of art. This class focusing on shape.
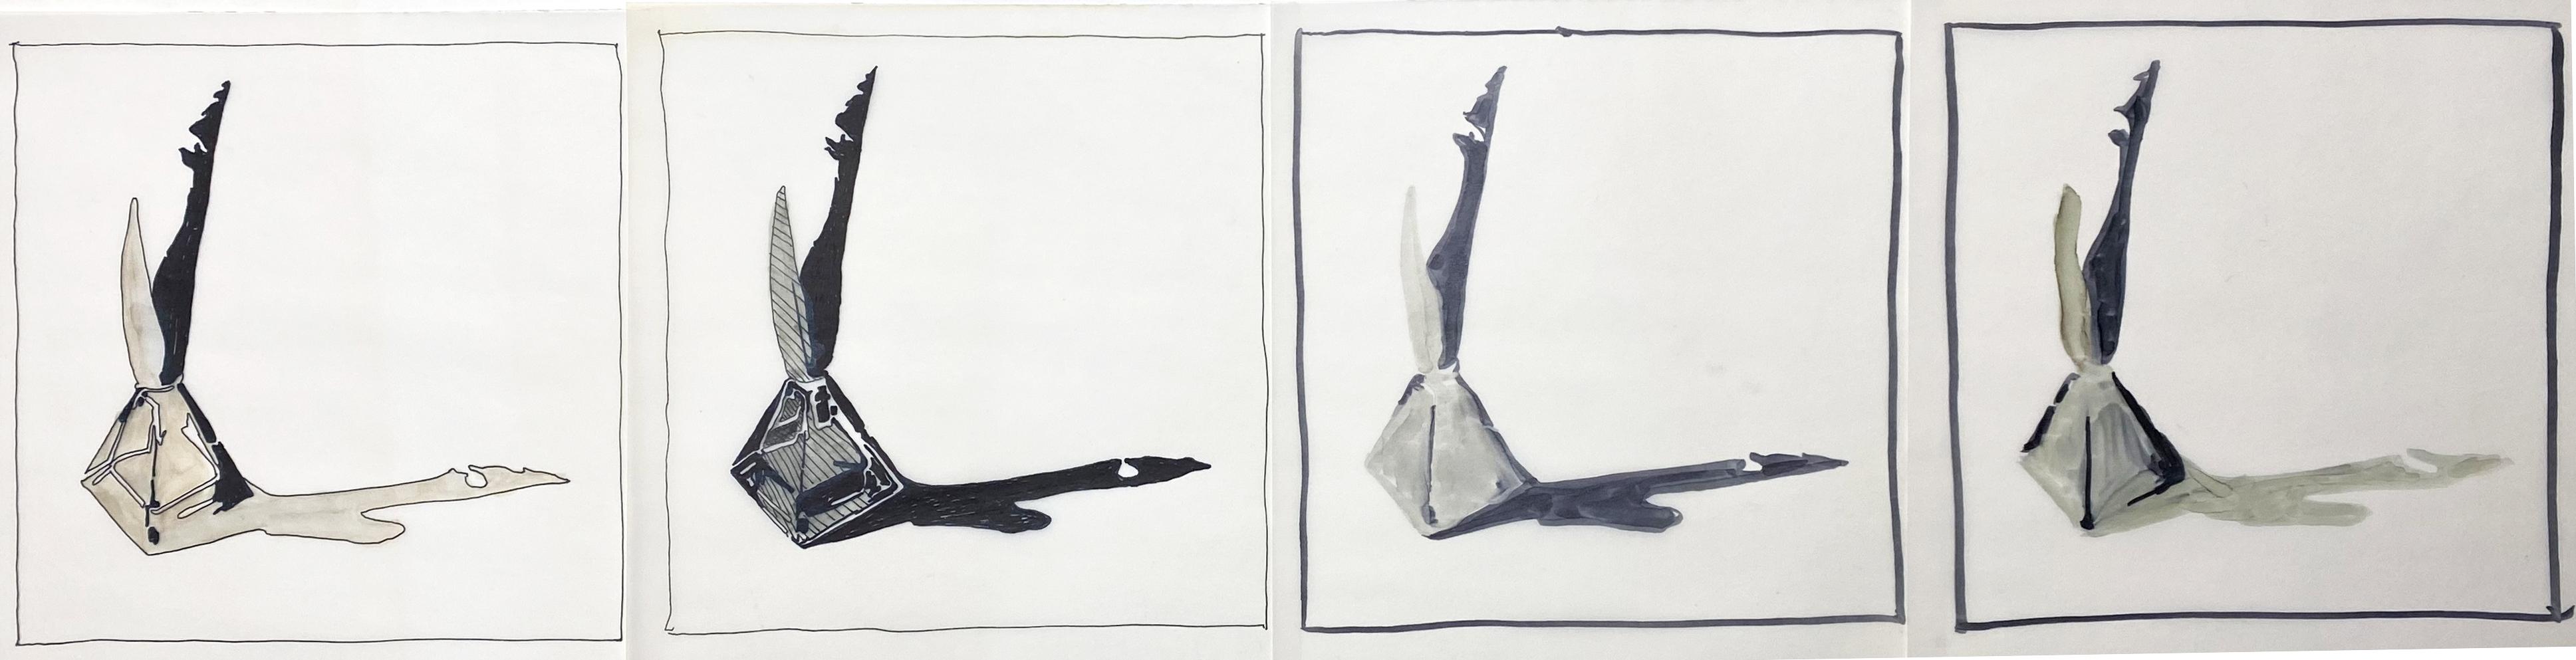
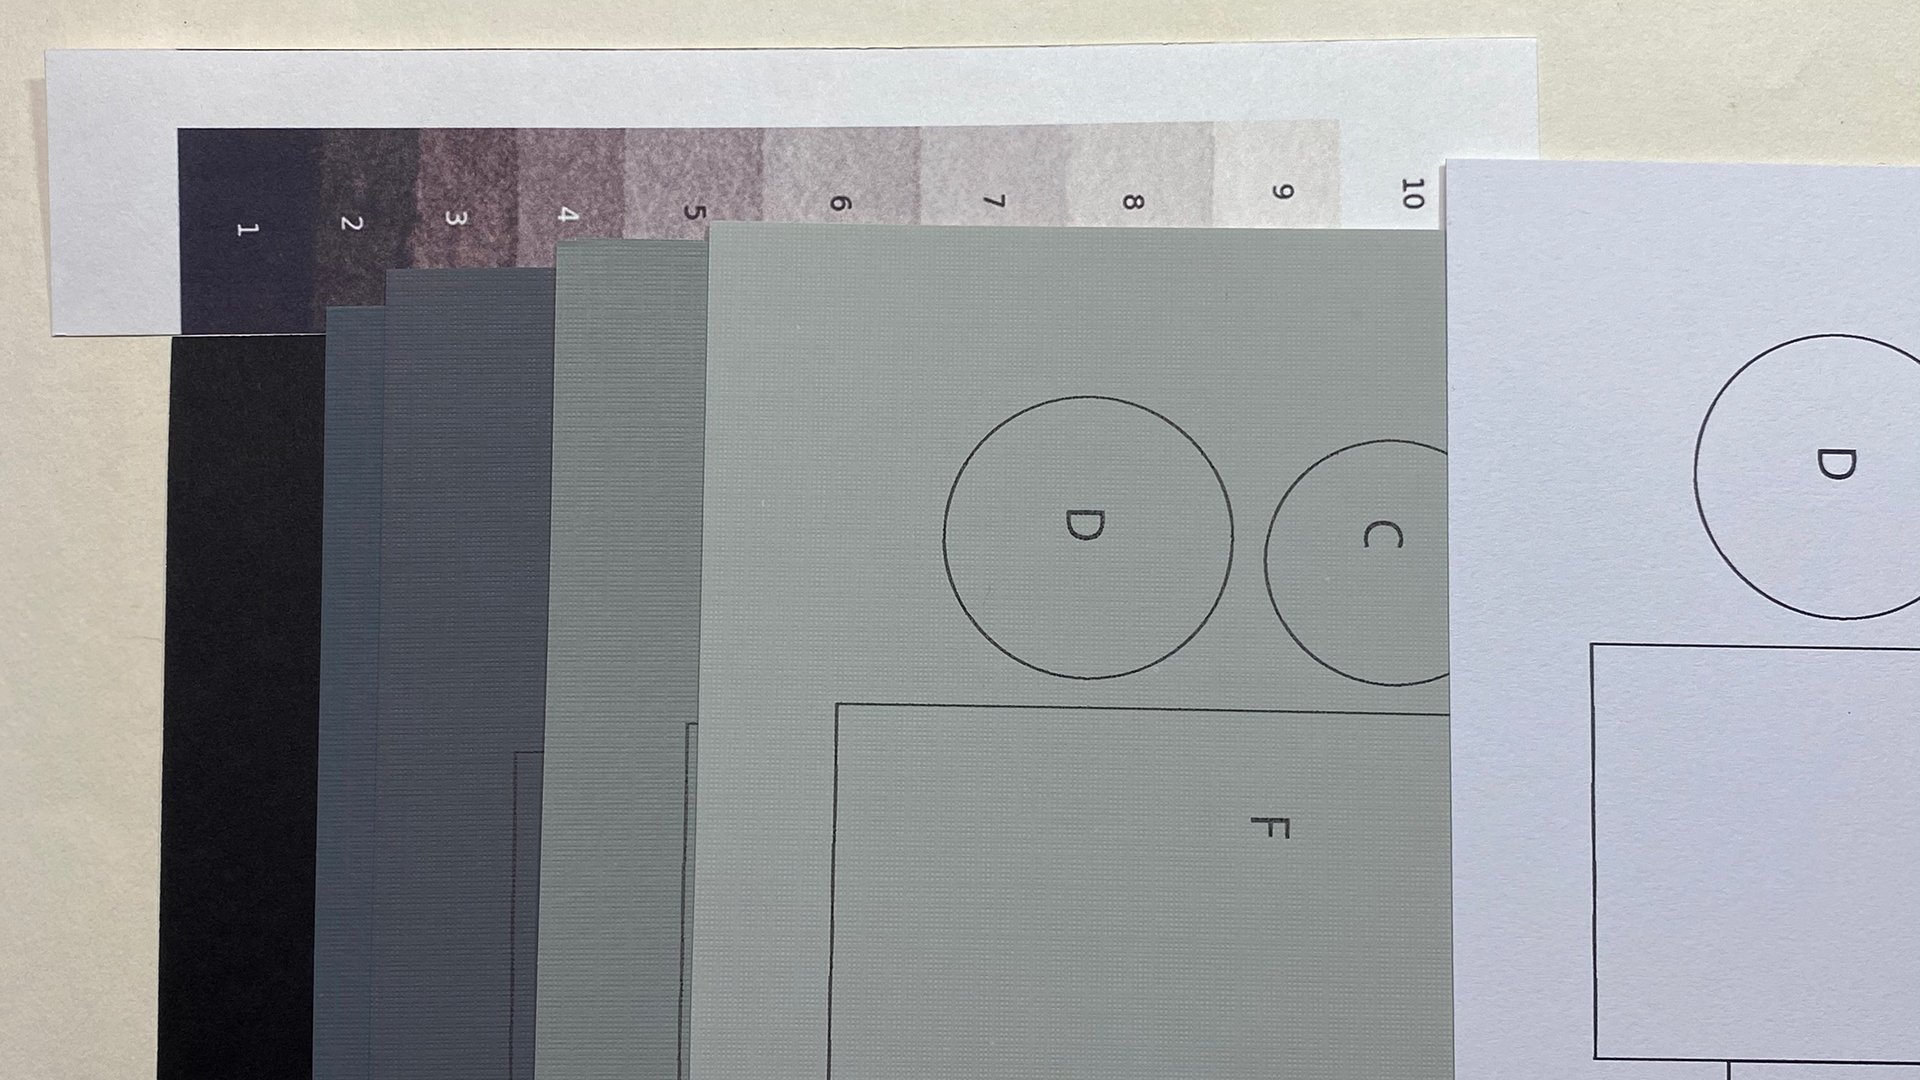
2. Techniques for Creating SHAPES: In this lesson, I'll focus on the element shape and present three different ways to choose closed shapes from the objects you're working with. In my case, I'm working with a white feather, a black feather, and a blue tinted glass inkwell. I begin by drawing a line that indicates the border of my image. For me, it's easier to see the shape or shapes that make up the background of my image when I have a borderline drawn, rather than think of the edges of the paper is the border of my image. If you find it easier to see your background shape without the border line, please leave out this step. The first way of considering shapes that I'll present is to look at the entire shape of each object individually, based of course, on only the parts of each object that are visible to me. I begin by drawing the outline of the inkwell. Then I draw the outline of the shadow. Even though the shadow isn't an object, it's definitely a significant shape in the image I'm creating. Next, I draw the outline of the white feather. I can see the white feather both inside of the inkwell and outside of the inkwell. Then I draw the outline of the black feather. I'm drawing all of the shapes as closed shapes. That means that if I cut along the line, I've drawn a piece of the paper would fall out. How many closed shapes have I created for the inkwell? Shadow, white feather and black feather? No, I've created eight closed shapes. The inkwell, the shadow, the white feather above the glass, the black feather above the glass. The white feather through the glass, the black feather through the glass, and the background. Another way to create closed shapes inspired by my objects is to draw the outline of all the shapes combined together. If I eliminate all of the lines that are shared by two of my shapes, I end up with one large shape describing the outline of all of them combined. How many shapes does my image have now? It has two shapes. The shape of the objects and the shape of the background. The third approach I'll present is to draw the shapes if you're dark areas and your light areas. For demo purposes, I've left the outline of the combined shapes visible so that you can see the location of the dark and light shapes I'm drawing. Normally. I just draw the dark and light shapes without any outline of the objects. I was starting with the dark shapes using blue ink lines to differentiate them from the original black outline. Here, I filled in the dark shapes and eliminated the black outline for you to see the dark shapes more easily. Now I'll draw the light shapes using orange ink lines. I've added the wonderful shape of the light reflection on the table to the left of the inkwell. Here are the light shapes filled in with the black outline and the dark shapes removed. I've left the background color of the paper so that you can see the light shapes in the dark shapes more easily. If I were to create a painting from these shapes studies, I would have the light shapes, the very lightest lights. The background would be mid tones, and the dark shapes would be the darkest tones for values. In the next lesson, I'll demonstrate a few ways to combine these three methods to create shapes from the objects you're looking at. Combining the way you see shapes is how you create strong design and composition in your work.
3. Combining Techniques : In this lesson, I'll demonstrate a few variations of creating closed shapes. To describe by objects. Each closed shape will be given either a light value, a midtone value, or a dark value. To demonstrate the technique of using paper over a photograph, I snapped a photo of my objects, printed the photo and slipped it under tracing paper. You will see that I assign values to the shapes that are sometimes different from the real values of the shapes. There are no rules. Use your reference as a reference, as inspiration and as a guide for creating shapes. Don't be a slave to your objects. Alter the shapes. Anyway, you wish assign any of the three values, light, midtone, or dark, to each shape. I've stayed somewhat close to reality. You don't have to see what happens. Ask yourself what if, and then do it and discover the answer. Use any tools you wish. A pencil, pen, marker, brush, or charcoal. You can even use pain if you wish. When you've created a minimum of three variations, compare the sketches and ask yourself the following questions. How did this sketches differ from one another? Which one do you like the best? Y? Which one do you like the least? Why? In the project section of this class, please post a snapshot of your objects, photos, a few variations, and make sure to label your favourite of the variations. Remember that this is only one of a series of five classes focused on the five elements of art. And those five elements are line, shape, value, color, and texture, pattern.
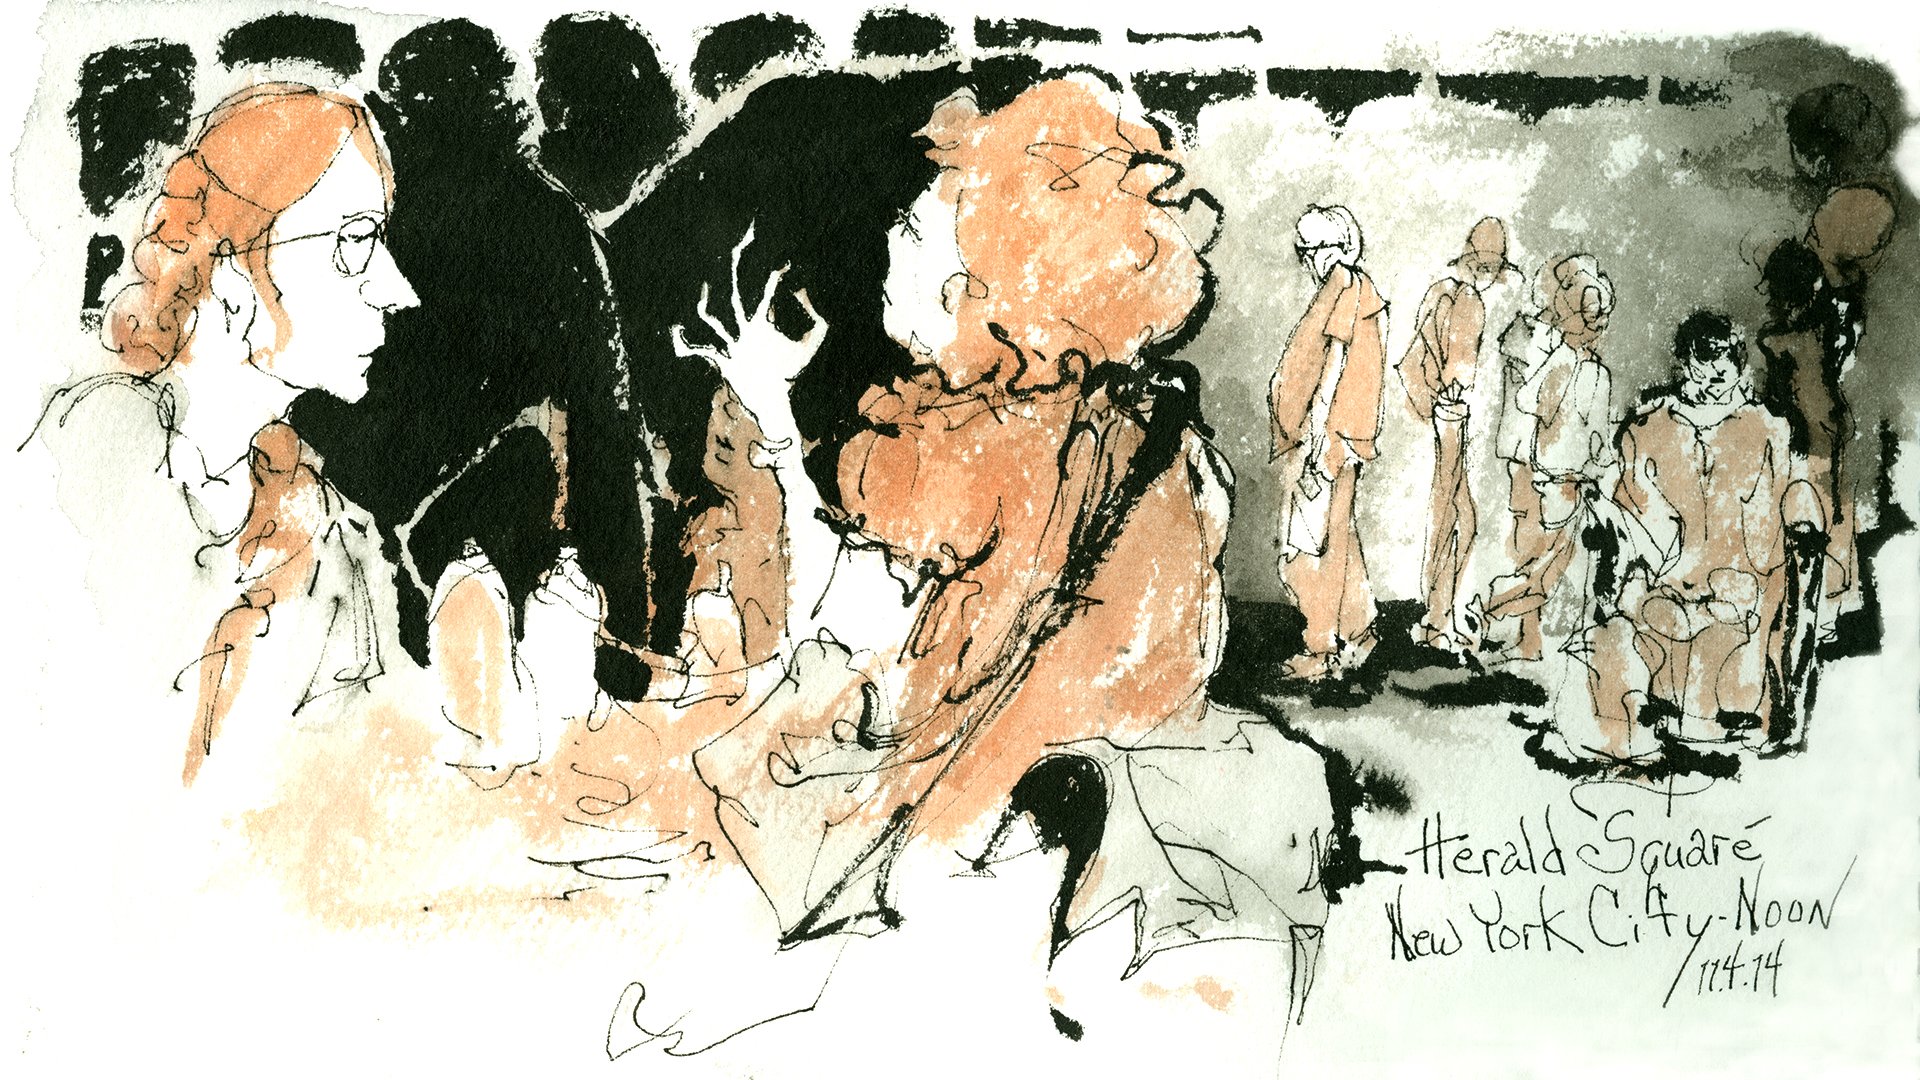
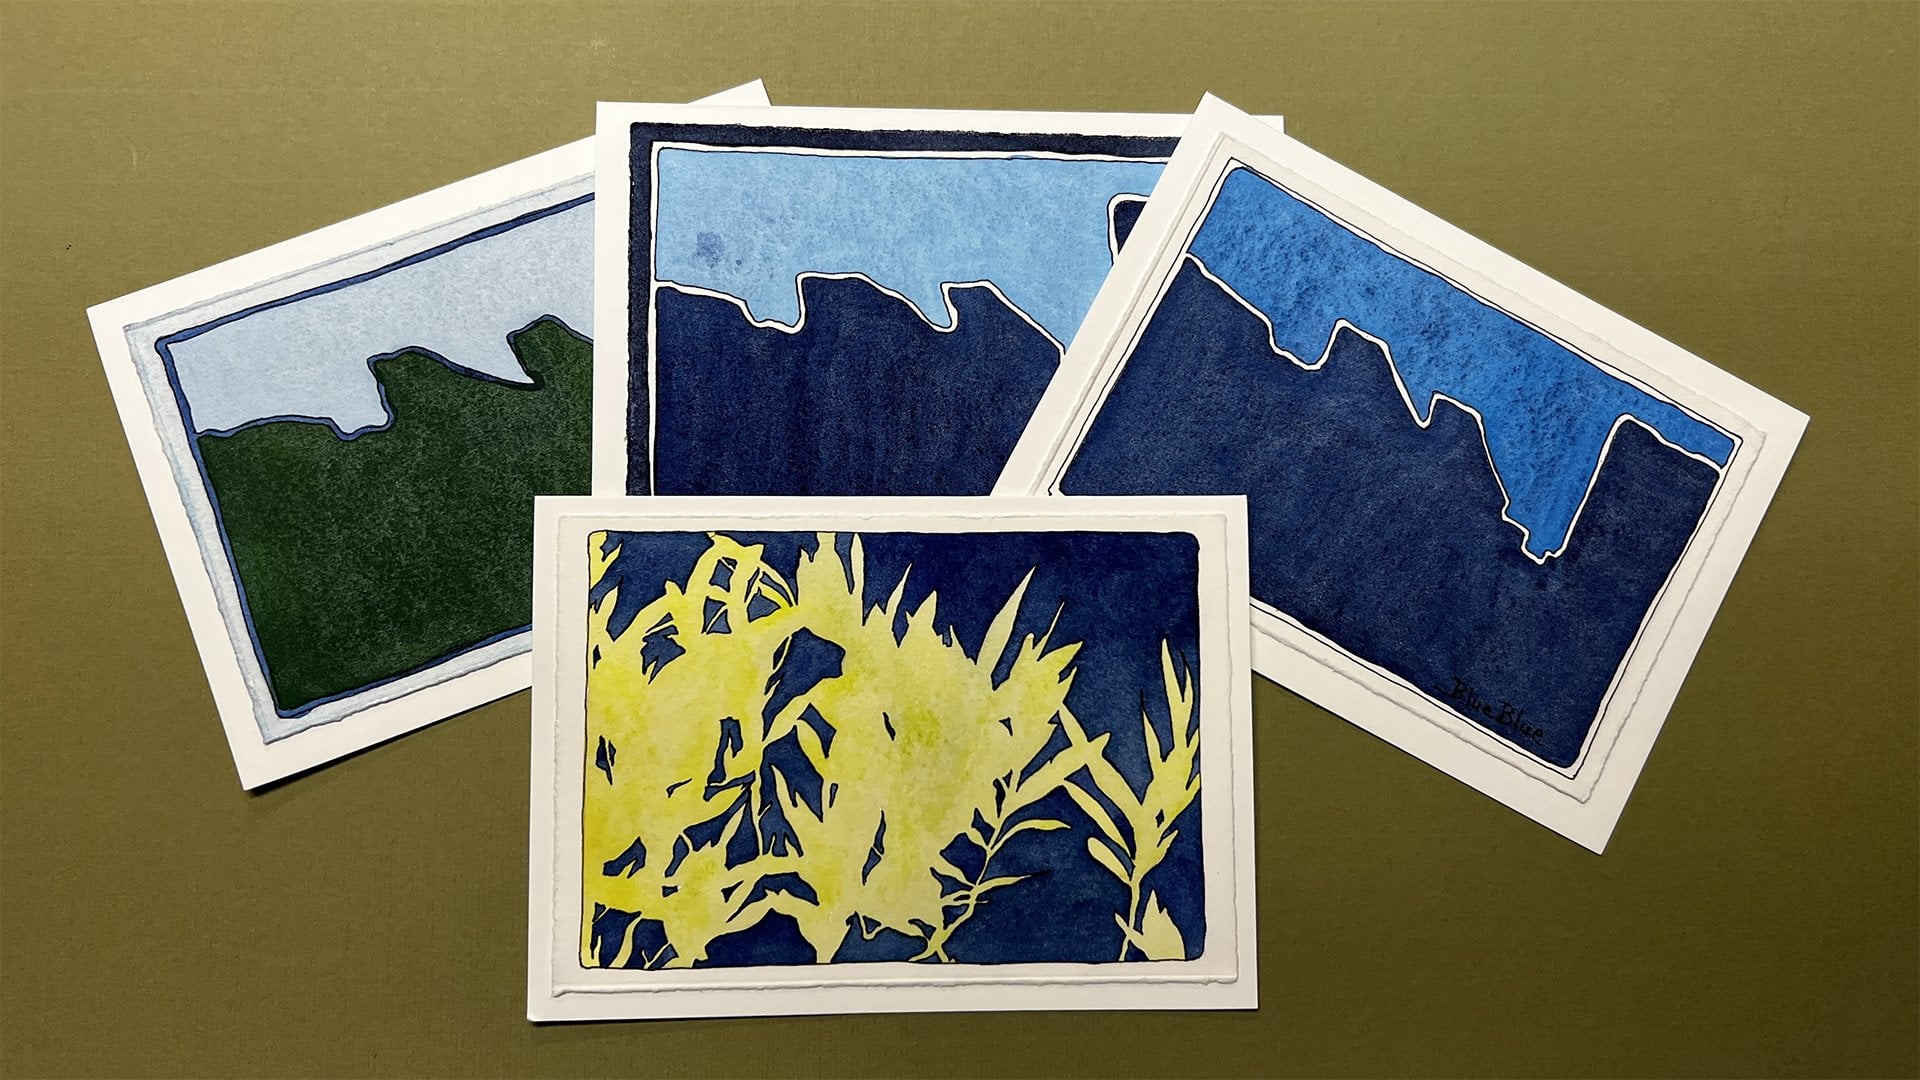
4. Examples and Conclusion: You've come to the end of this mini class focused on shape. I want to leave you with a series of examples showing you the delight you can have with closed shape drawings. They are perfect for honing many of your skills. Drawing, choosing values, color, color, mixing, colors, schemes, stepping away from reality, as well as design and composition. Have fun creating drawings and paintings made up of closed shapes. Please post your projects in the project section of this class, we all benefit from one another's projects. I have many more of these skill building classes here on skill share. Pulling the puddle, which is the most useful watercolor technique I know. Flex Agon fun, fabulous fun with illustrating a little toy made up of one strip of paper folded that ends up having six different sides to it. You flip it around and delight everyone. Color wheel mon dollar's, snaking up on design and more. Hone your skills and nurture that wonderful artists within you. I'm Chris Carter. Ok.
 Chris Carter, artist, illustrator and explorer