Transcripts
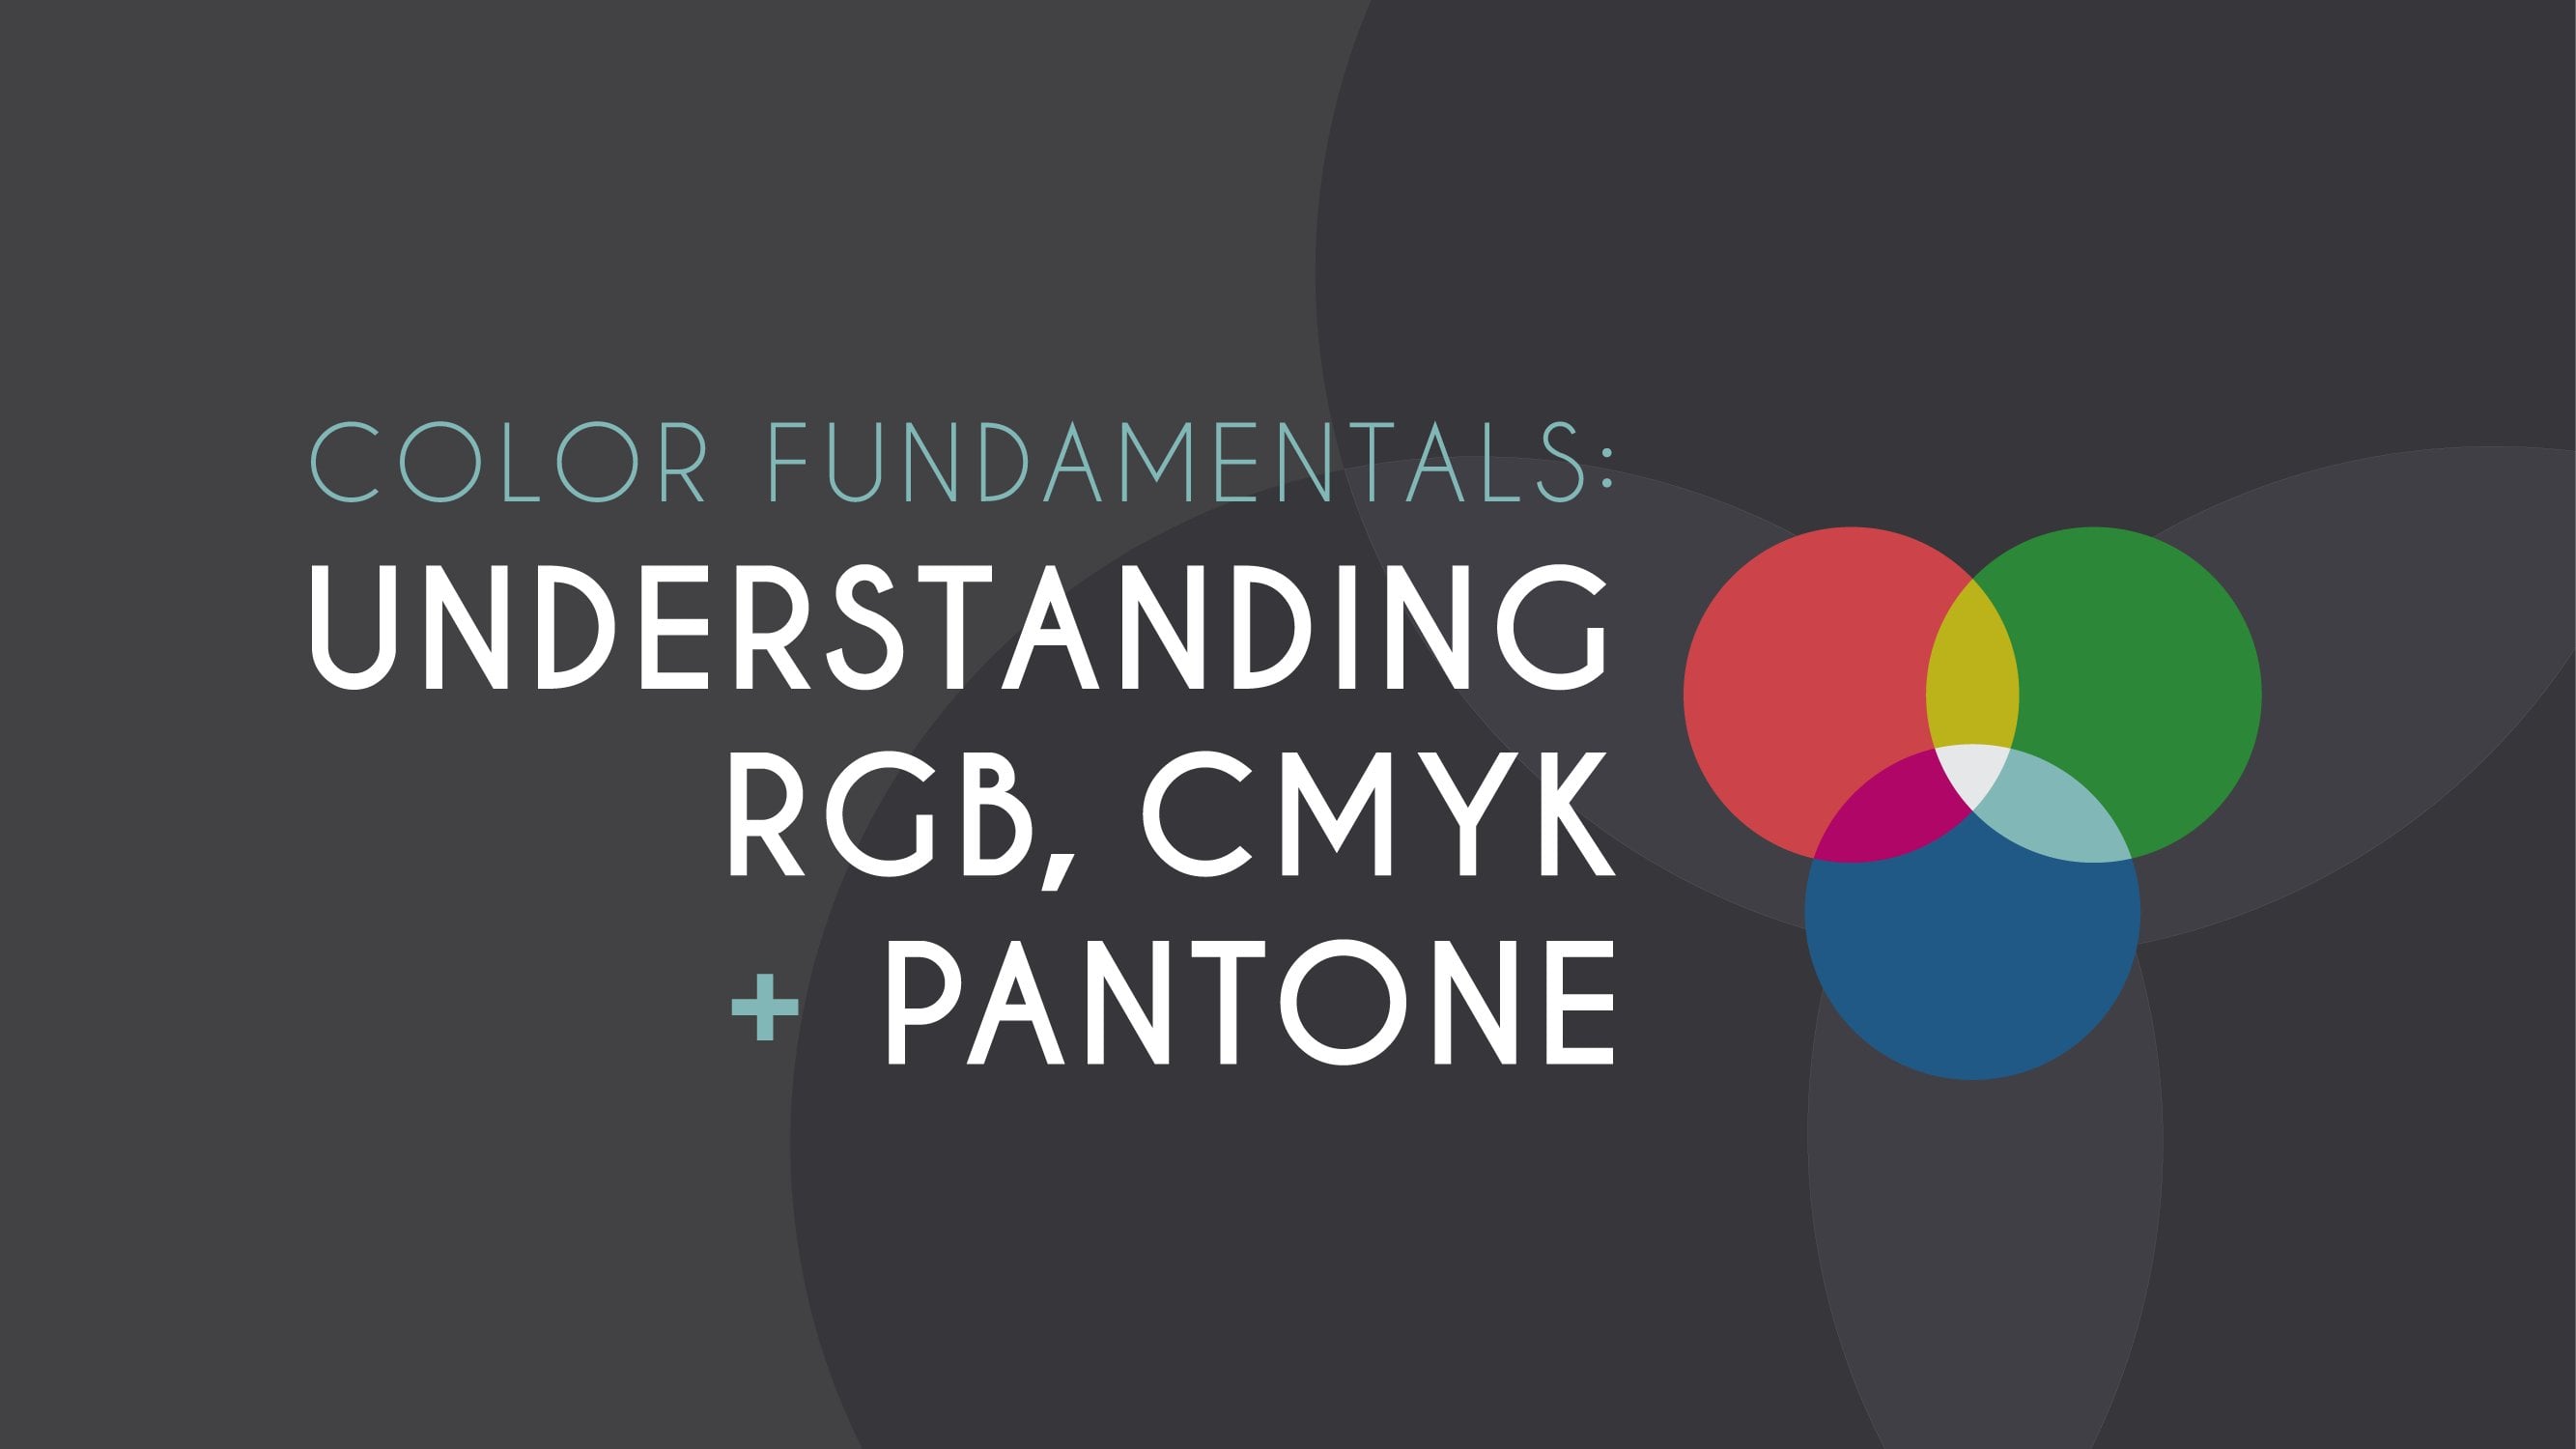
1. Introduction: Hi, welcome to my class. Throughout this class, you will learn about the differences between a raster image in a vector image. We will also discuss the most common file formats for both rasters and vectors, which are JPEGs, PNGs, TIFF, PDF, EPS and SVG. Those are basically the most common formats. That you or your clients will need to work with.
After you finish this class you will have the skill to know which file format to use for your specific work. If it's for print, for a website or just to send to someone you are working with. Throughout my career, I have worked with magazines, non-profits, government organizations, entrepreneurs... I have done a lot of things from print to digital. So I have work with different formats. So this class is great for photographers, graphic designers, people who create content for the media. Anyone who creates, receive or sends artworks that are created in programs such as Photoshop or Illustrator, and need to work with them to put them out in the world. So it doesn't matter if you're an experienced designer or are just starting. If you ever have the question and you're not sure about which format to export your artwork, this class is for you. For this class, you will need a program or app that allows you to export to at least JPEG or PNG. I will be using Illustrator and Photoshop. You can use those or you can use something similar like Affinity, Procreate or Adobe Fresco. Are you ready to answer all of your questions about file formats? I'll see you in the first lesson.
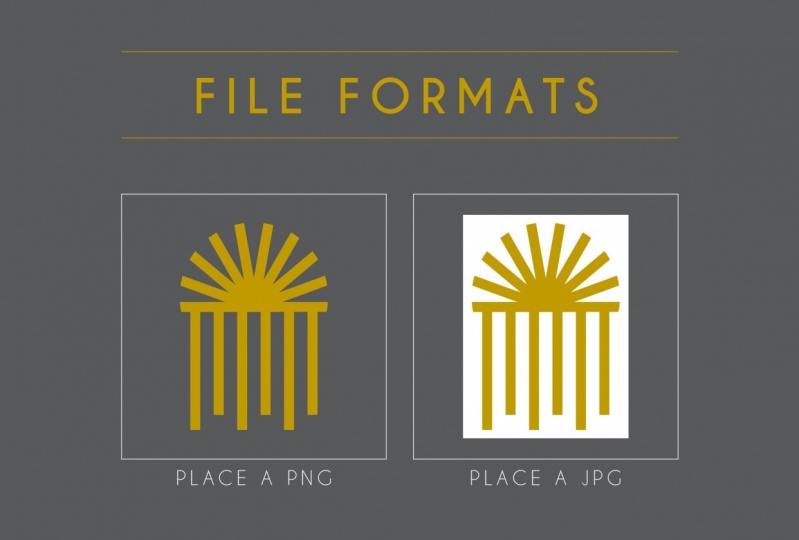
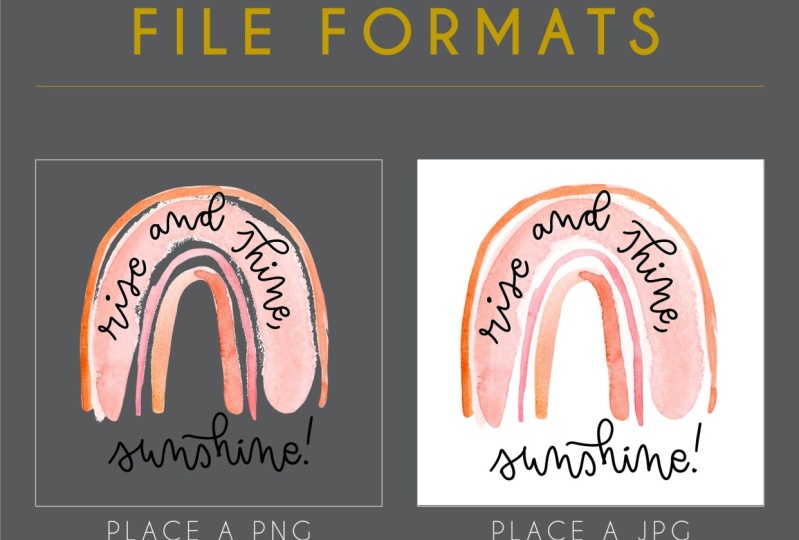
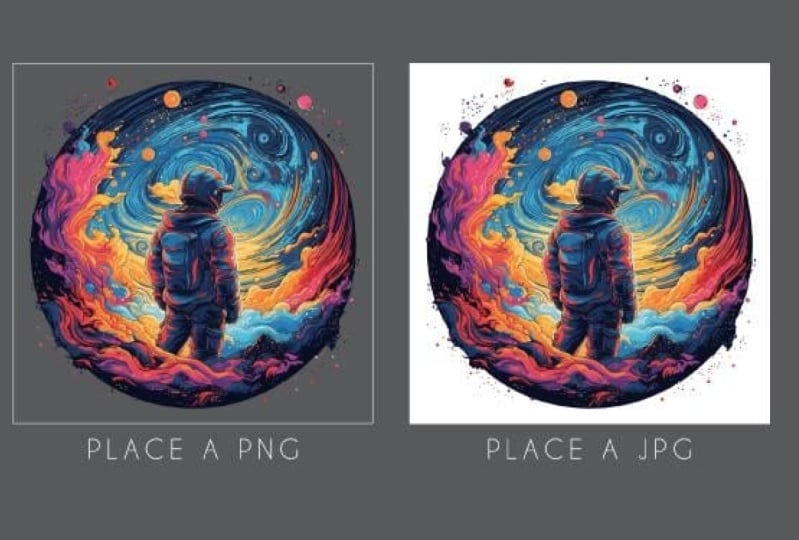
2. Class Project: Before we start our lessons, let's talk about our class project. You will need to go to the "Resources" area of this class and download the "Class Project" document. Then you will need to select an artwork of your own and export it both in JPEG and PNG. Then place them in this selected areas. Export that artwork and uploaded to the "Project Section". I would love to see it.
3. What is a File Format?: What is a file format? If file format tells the computer in which Program a document can be opened. Every file format can be identified by the three or four letters at the end of the file name, after the dot, that is called the file extension. Many times "file extension" and "file format" are used interchangeably. File extensions are associated with a specific program. For example, a file created using Microsoft Word, will have the dot DOCX file extension. If you double-click on this file, that computer will know that it should open in Word. There are different kinds of formats. When a file format is from a specific program, it's called a "Native File Extension". For example, DOCX from Microsoft Word, PSD from Photoshop, or AI from Illustrator. Some programs understand the native file extension of other programs, usually with some limitations. For example, Apple Pages, which is the word processor from Apple, may open a Microsoft Word document. But some things may look different, such as the format and fonts. Other times this won't be possible. For example, you can't open the Photoshop document in Word. But there are some kind of file formats that can be open in different programs and devices, such as a JPEG. But before we jump right in and explain those file formats, let's first explain the differences between the raster image and a vector image. So you can better understand all of this.
4. Raster Images: When we talk about a raster image we refer to an image that is created out of pixels. A pixel is a basic and smallest unit of a digital image that is usually represented by a square. A group of pixels is called a bitmap. So when people refer to a raster image or a bitmap image, they are referring to the same thing. Now, let's say that this golden square is one inch. This image has five pixels tall and five pixels wide. Five multiplied by five is equal to 25 pixels. So this one inch image contains 25 pixels in total. Usually, images are not described by the number of pixels that they contain, but by their resolution. The resolution is a number of pixels an image has per inch. In this case, this image has five pixels per inch or PPI. So it's resolution is 5 PPI. Let's say that this other golden square is also one inch. But in this case instead of five, we have ten pixels per inch. So this image contains a 100 pixels or a resolution of 10 PPI. So what happens if these golden square is scaled up to two inches? Does that mean that the pixels doubled? The answer is no. In this example the one inch 10 PPI image was increased to a two inch image. But the number of pixels remain the same. So they were redistributed to the whole image because we doubled the size, the pixels are now divided in half per inch. Now we have a 2-inch 5 PPI image. When you increase in the image in size but not in pixels, the resolution decreases. So the image will start to look pixelated or blurry. So the bigger in size you want an image, the more pixels you need to have it in, the higher the resolution. Let's jump into Photoshop to see this. So here we have this beautiful sunset picture from my hometown. Let's go to "Image", "Image Size", let's zoom this out a little bit to take a look at this, So now here we have this picture is 16, around 16 by 24 inches, the size, and the resolution is 240. Now let's uncheck the "Resample" box and let's increase the width of the picture for around 20 inches. Vgc. Did you see what happened here? The resolution decreased. If we take it to 25, it keeps decreasing because we're not adding pixels, we're just making the image bigger in size, in inches, in this case. And the pixels are redistributing themselves within that space. Now let's cancel this and open again "Image Size". And this time let's keep check the "Resample" box and let's increase the width to 20 as we did before. But this time, as you can see, the resolution keeped at 240. And if we keep increasing this size of the image, the resolution will be the same, but the image size, it will increase, because we're adding information. As his standard is something that is going to be printed, should have a high resolution than something that only will be the displayed on your computer or on your phone. Programs such as illustrator will suggests to export on 300, 150 or 72 PPI. A design that will be printed should be at least 300 PPI. Designs that will only be display on the screen can be 72 PPI. A 150 PPI is this standard happy medium between those two. Another aspects to keep in mind when considering the resolution of an image, it's the viewing distance. Specifically if you're going to print something, I always suggest that you contact your printer provider and ask for specifications to the document. Because printing a magazine is definitely different than printing a billboard. Because of the viewing distance is different. Don't be scared to ask. It doesn't mean that you don't know something or that you're not experienced. But the contrary, it shows that you know that every file is different and that, you are capable and want to provide the best file possible to the printer provider. Now, let's talk about vector images.
5. Vector Images: We now understand what a raster or a bitmap image is, but sometimes a printer provider will ask you to send a vector file. So now we're going to explain what that is. When we refer to a vector, we refer to an image that is created using points and lines, not square pixels. You can create a vector at any size. When you scale up or scale down in size. The computer will use mathematical equations to adjust it. This keeps its quality. Adobe Illustrator is a vector-based program. We can place a raster image inside a document in Illustrator and combine them with text and vectors to create an ad or some design. But that doesn't mean that everything inside of it, it's a vector file. I'm just explaining this so you know that Illustrator, can handle raster images. The process of changing in raster image into a vector image is called vectorize. Let's go into Illustrator to take a look on how to do this. Here we can see the same sunset picture that we saw before. And these two images look basically the same. But let's zoom in to see the differences. Let's go into this one first. As I'm zooming in, you can see that it starts to, to pixelate and you can see the pixels, the little squares. Now, let's zoom in into the other one. You will see that, these are colors and as I zoom in you can see the points and you will never see squares. This means that this image is a vector. How do I change this raster image into a vector? Well, you have to select it. There are different ways to do this. You can use the Pen Tool you can use a pencil but the easiest way for this scenario is to select the image and "image trace it". Here you can see that it changes to something really weird. So you need to open your "Image Trace Panel". And in this case we're going to choose the preset for "High Fidelity Photo". It's going to take a little bit of time. And then you click "Expand". If you have a different image and you would like a different results. You can play around with all of these presets and modes in the "Image Trace Panel". So now as you can see, we have dots and colors. So now this image is a vector image. As you can see from far away, it looks like a picture, but as we go in it starts to look different from a real image. So that's basically a difference between a raster image and a vector image. A raster image will always look more realistic than that vector image. Now, the process to convert a vector image into a raster image is so much easier. Here we have a vector image that we just designed inside illustrator. You just go to "File" > "Export" > "Export As" and over here you can choose whatever format you will like, JPEG, PNG, TIFF, or any other than you need to use. So in summary, Adobe Illustrator is a vector-based program and it's intended to create illustrations. Adobe Photoshop is a raster-based program and is intended to manipulate pictures and create photomontages. But lately, many people have used it to create designs in it. You may ask yourself which one you should use to design. Well, it all depends on the purpose of your content. Here we have some qualities that will help us decide if we should the design in a raster or a vector. If you're designing an event flyer that will only be printed in a specific size, for a onetime event, then you will be okay designing it in Photoshop. But if you are designing a logo, you may need it to be printed in a small size for a business card, but also a big size for a car wrap-up. Because of the ability that a vector gives you to change the size without losing quality, it is better to designs such artwork in Illustrator, also, a logo will have a long-term life and you are probably not sure in what sizes do you may need it in the future. Rasters contain real-life images with a lot of detail. And of course, Photoshop still the strongest program available for photo montage and photo editing. If your work is more related to those fields, then you should stick with Photoshop. What you need to be aware and knowleagable is the capability of your computer and the size of those projects. Even though a vector illustration may be complex, vectors can't recreate real-life images. So is consider a simpler graphic than a picture. So it all depends on the content. But I always like to say that there is no better tool the one you have at your disposal. So if you have Photoshop, use Photoshop, or if you have Affinity, use Affinity, use the thing that you have right now. Now that we know the differences between a raster image and a vector image, let's talk about different file formats for both of them.
6. JPEG: One of the file format that most people have had contact with is JPEG. If you have ever taken a picture and transfer it to your computer, you have worked with a JPEG format. JPEG stands for "Joint Photography Expert Group", which does exactly that. A group of experts in still image coding standardization. They established the still image compression and processing. But what is a JPEG? A JPEG is a compressed raster image. Compressed means that it makes the files smaller. JPEG is a lossy file, which means that when you compress it you lose quality of the image. But in exchange, it makes it more manageable between devices and programs. You can use JPEGs in websites and social media. You can print them in a decent quality. It allows to share them fast and efficiently. You will notice that in some instances, your file extension may read JPEG and others JPG. They are the same thing. Older computers didn't support to have four letters in the file extension. So they shorten the extension from JPEG to JPG. Nowadays, you may have both on your computer and they open in this same programs. In summary, a JPEG is a raster lossy file. It supports both RGB or CMYK. It most commonly uses are for print, social media, email, websites, storing, you name it. And that's it's strength, that it's compatible with almost every device, program or app and reduce the size of your file while keeping it nice. It weakness is that you can't restore a low-resolution image to a high-quality one to perfection.
7. PNG: Another common file format is PNG.PNG stands for "Portable Network Graphics". A PNG is a Raster image that, unlike a JPEG, is a lossless compressed file Which means that it doesn't lose its quality once is compressed. The most common trait of a PNG is that it has the ability to display a transparent background. A JPEG will always be a square or a rectangle. A PNG allows you to export any shape. That transparent background usually will be represented by a white and gray check board on programs such as Photoshop. In terms of color formats, a JPEG may be exported in RGB or CMYK. A PNG will only be able to export in RGB. If by any reason you need a PNG in the color format of CMYK because it's intended to be printed, you need to open in Photoshop. Erase the background there, and then place the Photoshop document in InDesign or Illustrator. If you need a white background in a PNG, you can export one, adding a white background in Photoshop or selecting white while exporting in Illustrator. In summary, a PNG is a raster lossless file. It only supports RGB. It most commonly uses are websites, social media, or as part of a design both in Illustrator, InDesign, or even Photoshop. Its strength is that it compress an image in its highest quality. It offers the option of a transparent background. It weakness is that it doesn't export in CMYK and files are bigger in size than a JPEG.
8. TIFF: Now let's talk about a less common file format. A TIFF. TIFF stands for "Tagged Image File Format. A TIFF is a raster image. That can be both lossless and lossy compressed. It supports RGB and CMYK. It also supports transparency and layers. So it's very common to use in Photoshop, although you can, you can export a file in Illustrator. This format is mostly use by photographers or designers working on a project together. In summary, a TIFF is a raster, both lossy or lossless file. It will support both RGB or CMYK. It most common uses is for printing or scan in high-quality images at large sizes. Its strength is that it's an easy sharing file between professional collaborators that are in the editing process. For example, a photographer may send a picture in TIFF to a graphic designer, design in a magazine. Its weakness is that not all programs support it. You can't open it in any program.
9. PDF: A PDF is a common file format that is mostly used for reading material. PDF stands for "Portable Document Format" and it was created by Adobe. A PDF supports both raster and vector images. It just depends on what the file was originated with. It can also be lossless a lossy compression. It depends on the specifications that you select, once exporting. It's purpose was for people to be able to share a document with someone who didn't have the original program that, that file was created with, for example. So when designed something in Illustrator and want to send it to a client, but the client doesn't have the program. So the designer exports the design in a PDF and send it to the client, so the client can view it. A PDF can be pretty powerful. You can add videos, audio or even sign documents. These days, designers mostly use PDF to send a file to a printer provider. Because at the export window, you can choose crop marks and other specifications that printer providers will need. In summary, a PDF can be raster or vector and lossy or lossless file. It supports both RGB or CMYK. It most common uses are to send a file to a printer provider, through email or as a digital download in a website. Its strength is that it preserves the look of the document and can be viewed in many devices. It makes your files smaller, while keeping its quality. It makes his manageable. Its weakness is that only specialized programs can edit a PDF. You may need also to install Adobe reader to open it.
10. EPS and SVG: So far we have talked about file formats that expert images in raster files. But I want to talk about two other file formats, the exports in vector. The first one is EPS. EPS stands for "Encapsulated PostScript". A postscript is a descriptive language. It tells the machine what to show. It was created by Adobe for printers. The postscript communicates with the printer to produce an image identical to the digital one. Before this, this process had to be done manually. Nowadays, the most common use of an EPS is to send to a printer provider. When someone ask you to send the file as a vector file, they mean that you export your Illustrator file as an EPS. That way, not only illustrator can open the file, but other programs that support vectors, such as Corel Draw. In summary, an EPS is a vector and lossless file. It supports both RGB or CMYK. It most commonly use is to send a file to a printing provider. Its strength it that it keeps the original vector file editable and can be resized without losing quality. Its weakness is that it can only be edited with a vector-based program. The second vector format is an SVG. SVG stands for "Scalable Vector Graphic". This format allows you to display vector images in your website, is usually used for responsive websites. Which means that are website that adjusts its images, or its content, depending on the size of the displays that you're viewing it from. You can scale up or down an SVG, and you won't lose any quality. Because it is intended for web. the most common color format is HEX. Not in CMYK. But you can export it in RGB. When you expert and SVG and you want to preview it, you should do it in a browser such as Google Chrome. This file format is not recommended for printing. In summary, an SVG is a vector and lossless file. It supports RGB or HEX. It uses is basically for websites, especially responsive web design. It's strength is that, it can be resized without losing quality. And its weakness is that not all programs or services supports it.
11. Conclusion: We have reached the end of this class. We have discussed that difference as between a vector and a raster image. Also, we have discussed the most common file formats that you may need for your projects, or for your customers. As you can see, you can have the most optimal file for the purpose of your project. Some things to keep in mind are the following. Number one, you should look for the service provider specifications. Number two, if you don't found them, ask them, because some providers may prefer, for example, a PNG instead of a JPEG or TIFF instead of a JPEG. Number three, when in doubt, test your file size and resolution in various file formats. You may, upload something through your website as a PNG or JPEG. But the file size and the way it looks, the resolution, may vary. So if you're unsure, you might just try different options until you find the one that best fits your document or your project. Number four. As a thumb rule, print files should always be 300 DPI and digital files should always be 72 DPI. And number five, remember, technology is always changing and there is always a possibility for exceptions. That's why the first one was to always ask your provider for the specifications. Because things change and maybe for print. They don't need a PDF. They can do a JPEG because they have a machine that works better in JPEG. You never know. That's where you should always ask and always be open to learn what's new out there. I suggest that you download the PDF called "File Formats" from the "Resources" section. So that way you can have a summary of this class in hand whenever you need it. If you have any questions, don't hesitate to ask them in the "Discussion" section. Also remember to upload your class projects. I will love to see them. Thank you for taking this class. See you in the next one.
 Nayda Cruz, Editorial Designer