Transcripts
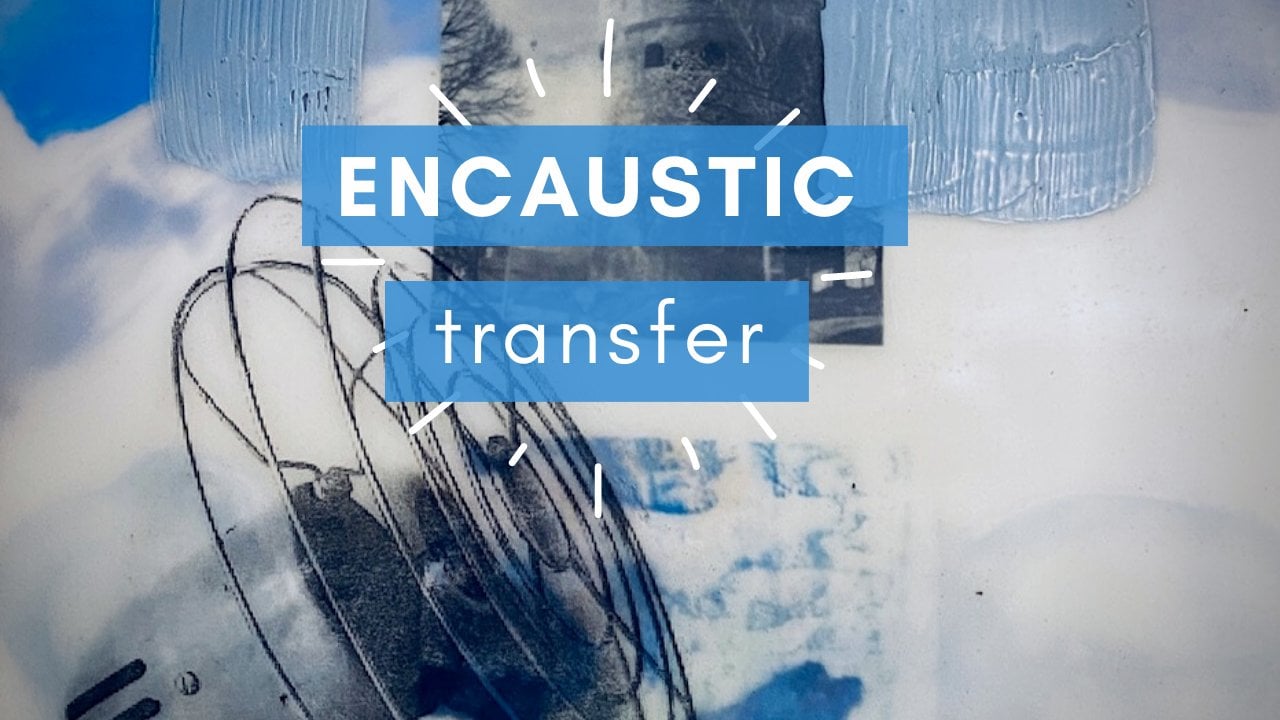
1. Encaustic Monotype Intro: Hi, I'm Dana Seeger. Welcome to this course
on encaustic Monotype. Encastic Monotype is
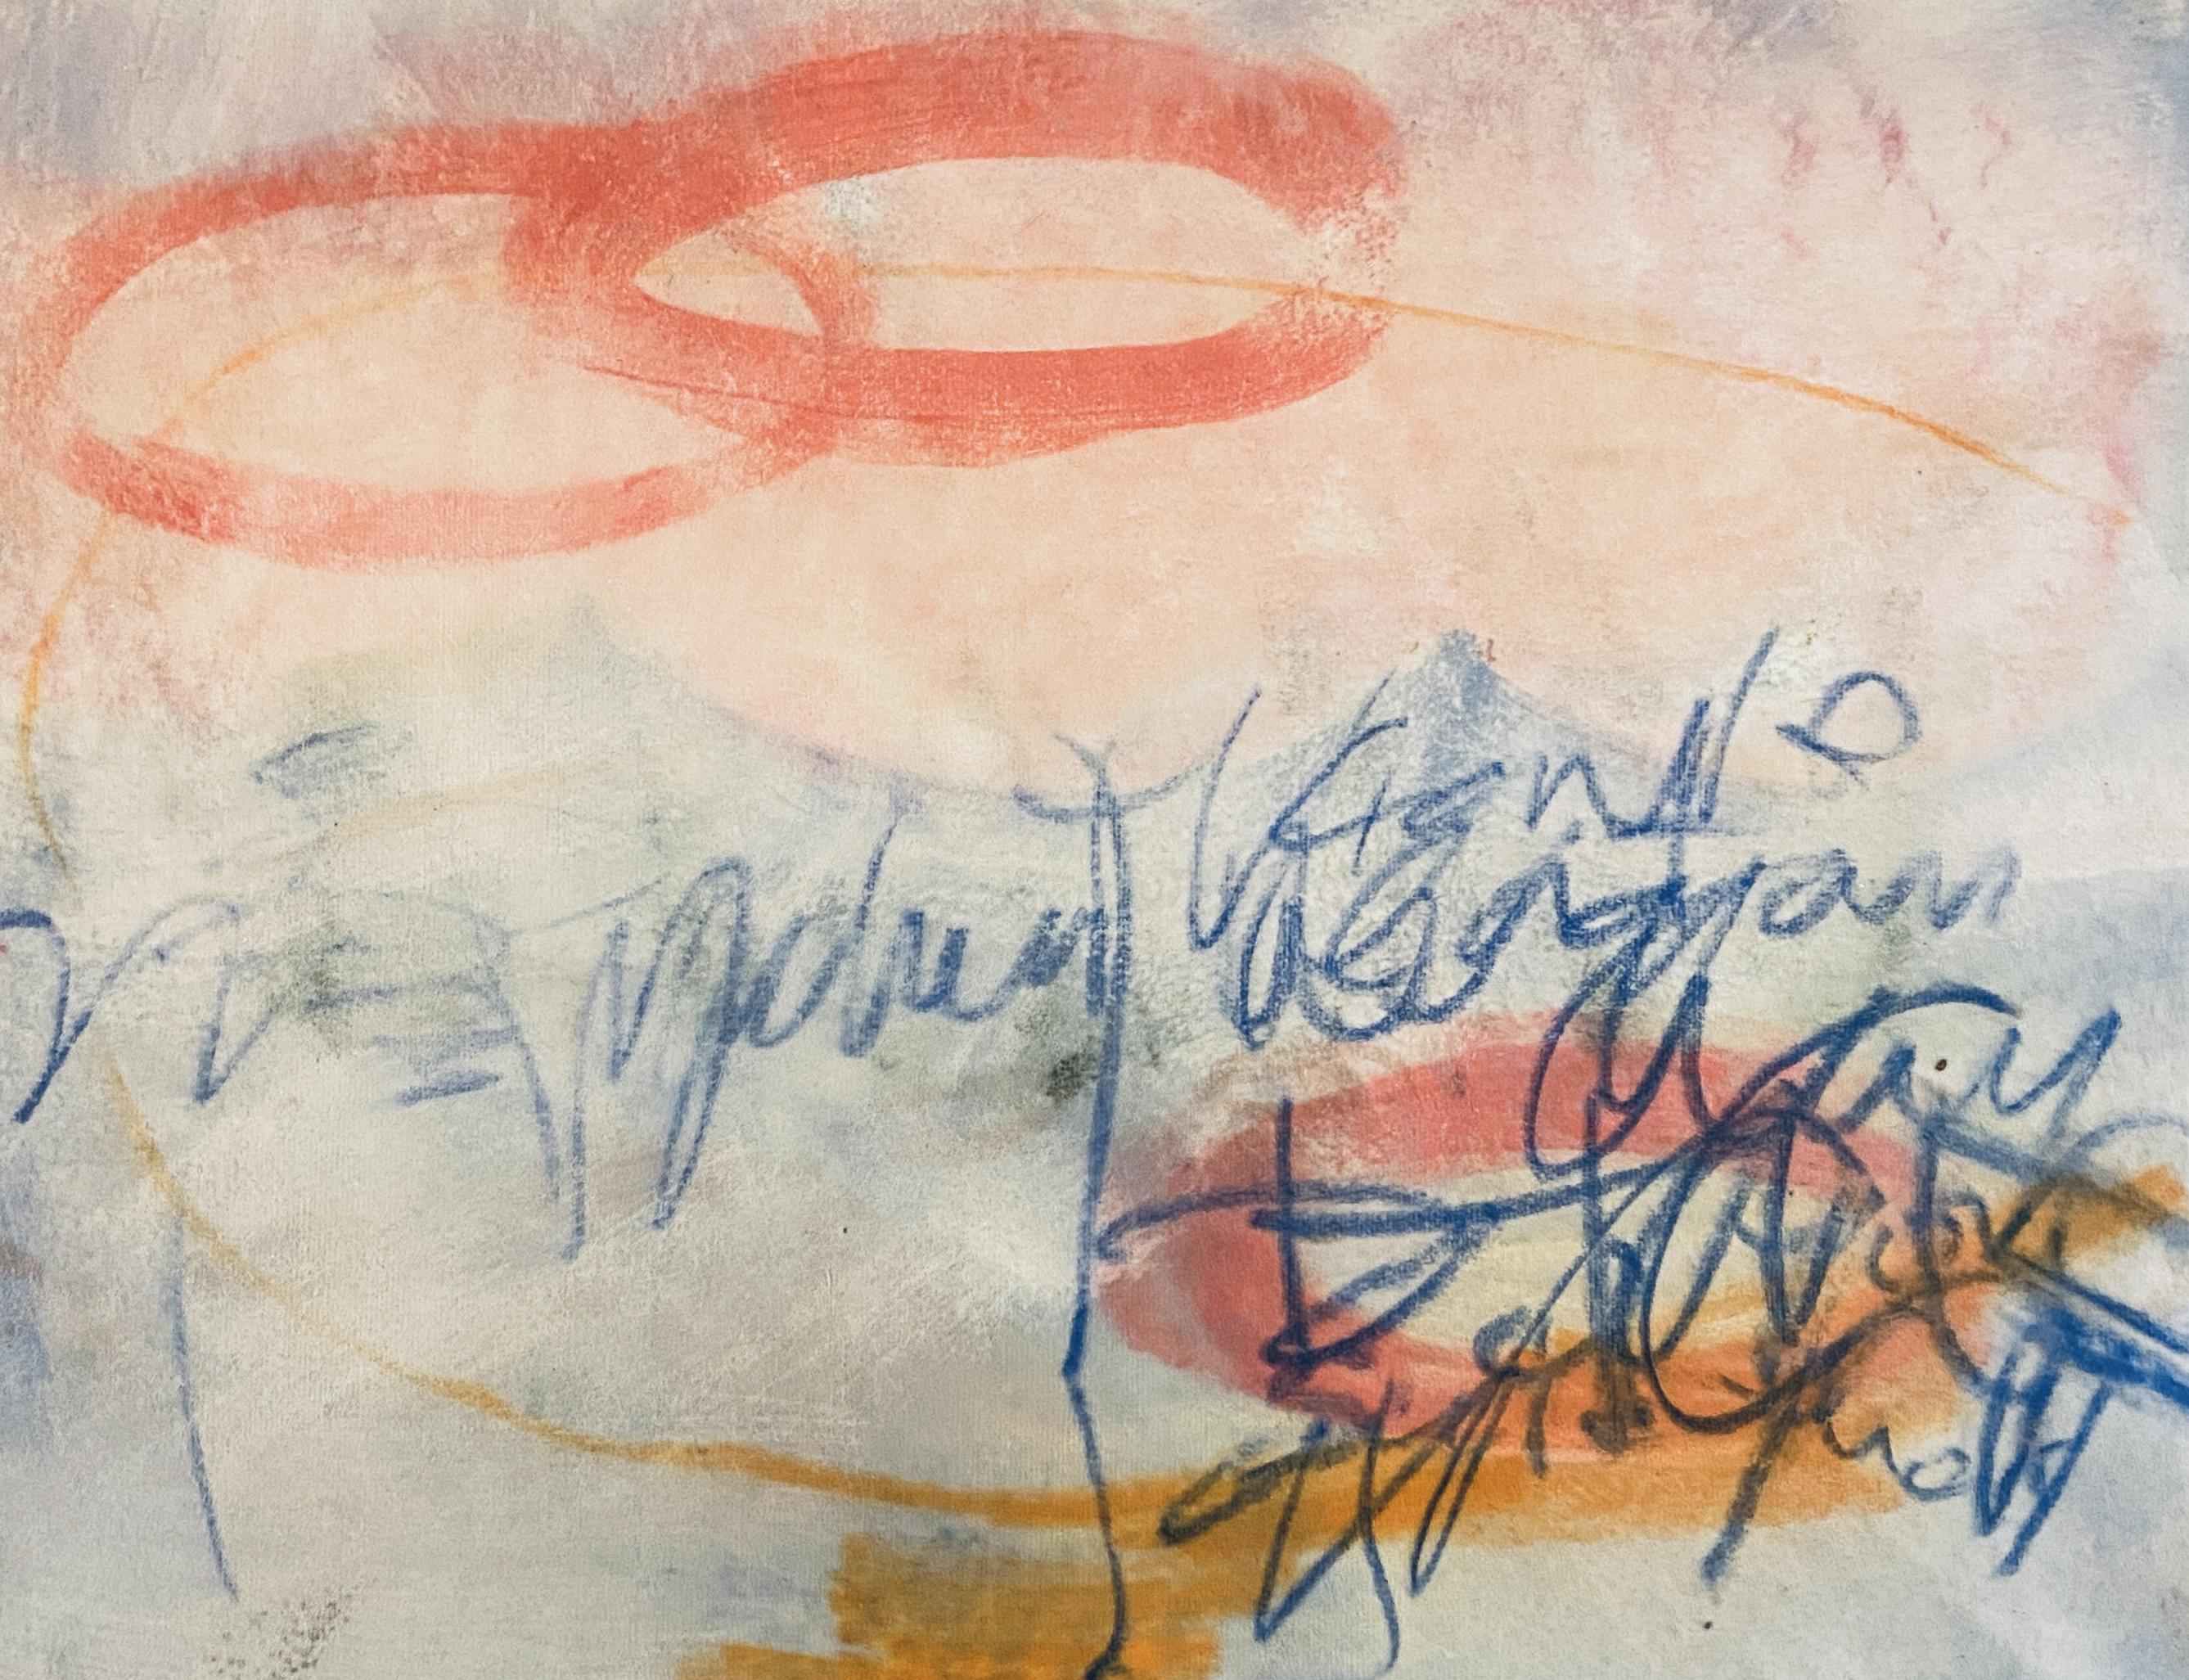
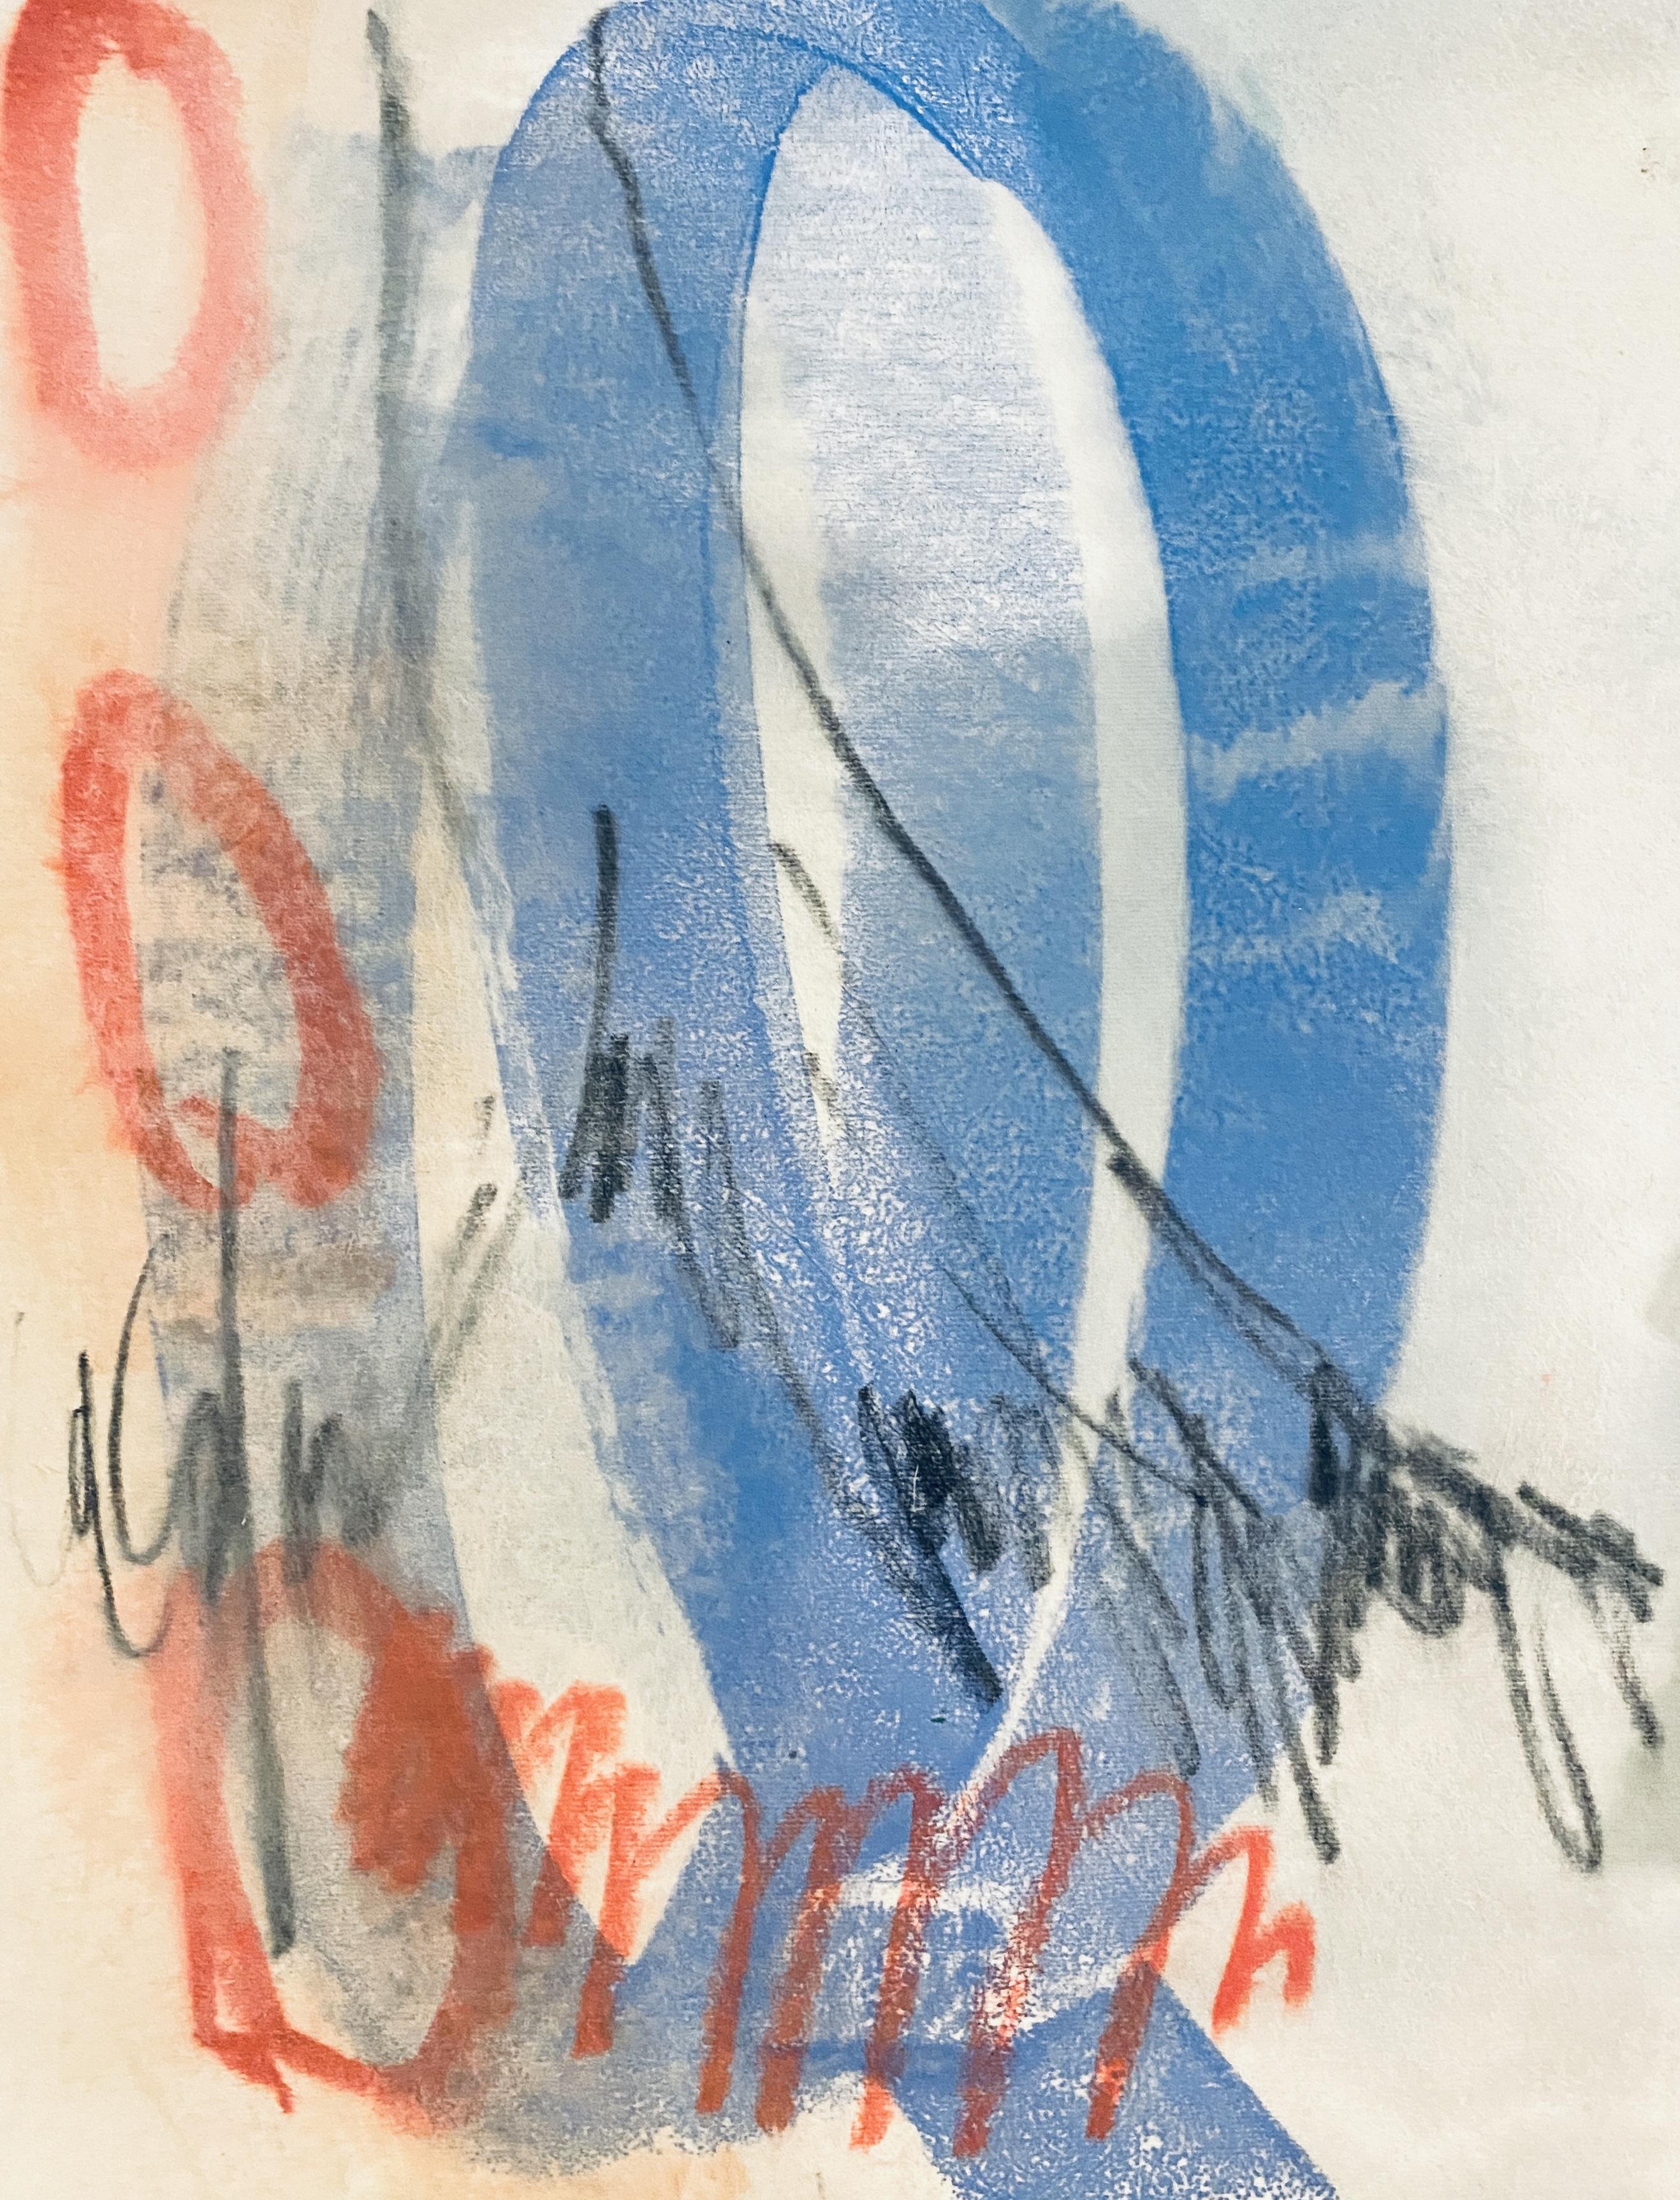
a really awesome way to make prints without a press. This is an example of one of the encaustic monotypes we
will create in this class. It has a very loose and
fluid and free look and you can combine it with stencils and other types
of printmaking to make it a really unique one of
a kind image. Let's go.
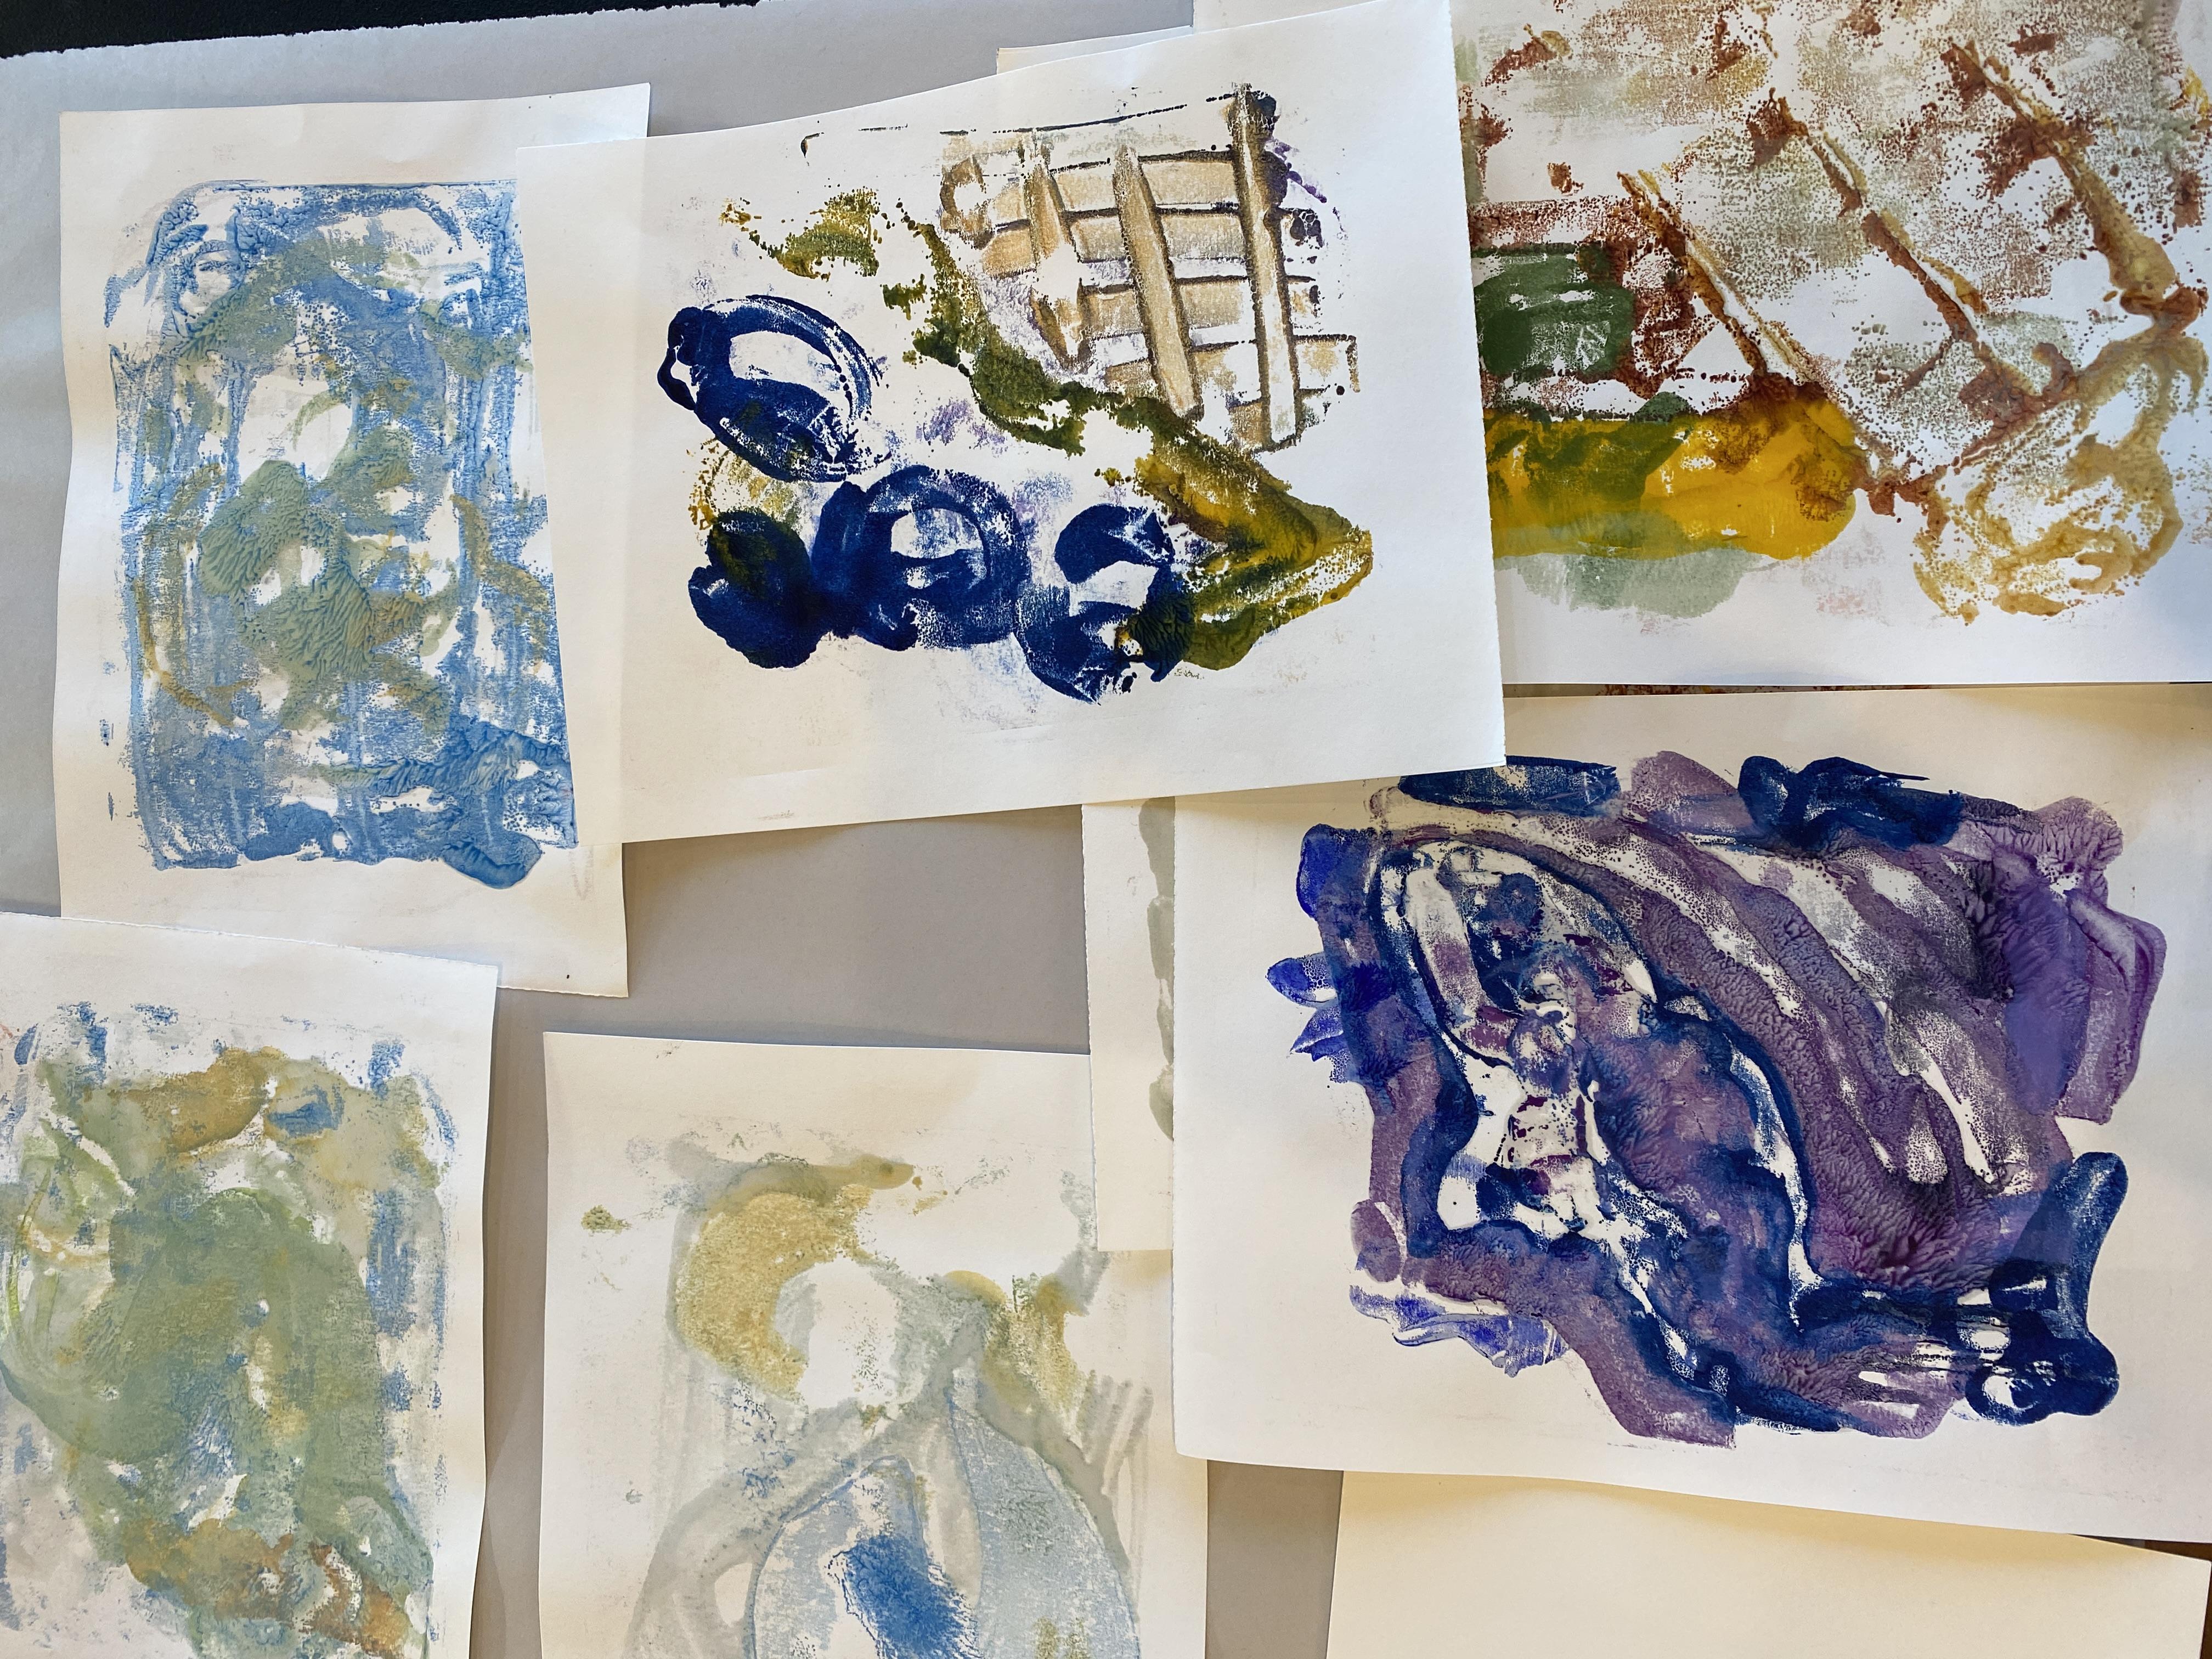
2. Class Project: The project for this
class is going to be a series of
encaustic monotypes. And I say series because
you can't make just one. The encaustic monotype
method lends itself really well to making
multiple unique images. Once you start painting on
the surface of the plate, it's really hard to stop. So we're just going
to keep going, keep layering and create about ten unique prints on
different pieces of paper.
3. Encaustic Monotype Materials: U. These are some of the
materials that we need for encaustic monotype.
We need a hot plate. In this case, I have a anodized aluminum
surface, which is nice for, um, seeing your colors
because sometimes what I use to heat up my palette
is a pancake griddle. But with Teflon coating, it's hard to have the
encaustic stay on the surface. So these are encaustic
pigment sticks made by RNF encaustics and it's just really a dense pigment mixed
with the encaustic medium, which is beeswax
and Damar resin. That's what this is
just a clear beeswax mixed with Damar resin and that allows the end result
to be a little bit harder and more durable
than just beeswax alone. It also raises the
melting point so that it doesn't melt at
a lower temperature, melts around 180 to 200 degrees. So I've got all kinds of different colors here that
I can spread on my palette and these are sticks that are also made
by encaustic coos, which is an encaustic
pigment company. You could make your own
using little molds, oil paint or dry pigment and blending them into
the encaustic medium. Then we've got our
paper, of course. The paper that we're
using today is a Japanese rice paper
and mulberry paper. This is a sumi paper
for Sumi drawing. This is a mulberry paper called Hosho we're also working
with ncostaflex, which is a really
cool fiberytaper that's made specifically
for encaustic painting and encaustic monotype
because it stays flexible, doesn't get cracky when the encostic gets
embedded into it. I really like it for the
monotypes because you can just leave them as is or
embed them into a painting. So those are the
papers we're using. We might also incorporate
things like stencils. You might need some
encaustic paint brushes. Then you also might need Something to smooth
the paper down. I like these hard
plastic scrapers, use a credit card, you
can use a wooden spoon. The surface is not super hot. It's only about, like I said, 180 to 200 degrees. Even if you touch it, it's
not going to burn you. If you put your finger on it and held it there,
it might burn you, but you can also
use your fingers to burnish the back. I'll
show you how to do that. The fun tool is one that has these bridges in it so
that you can actually scrape through the paint and make different patterns and
lines and things like that. Something like this
might be also fun. Silicone works well
because it's heat safe. You can use silicone
basting brushes. To work really well. If it's heat safe, you
could probably use it. The stencil material
that I like is Durlar. It's just called stencil
making material. It's a hard plastic, but it doesn't melt when you
put it on the hot plate.
4. Paper Tearing Tip: Mm hmm. With encaustic monotype, one of the types
of papers that I like to use is a
thin mulberry paper, a Japanese long grain paper, one way to size it down from its full sheet is to
cut it or you can tear it a trick for tearing the paper because it
is such a long grain paper, sometimes it's hard to tear. I'll put my ruler on the place
where I want to tear it, and then I'll take a wet brush. And I will dampen the area that I'm going
to be tearing along. By dampening that area with
a little bit of water, it just really helps to loosen those fibers and makes it much easier to tear along that line. Then you end up with this nice
raggedy deckled edge that mimics the edge that was made
when the paper was made.
5. Encaustic Safety: I just want to talk for a second about a
couple safety tips. So if you're going to be using your brushes or a stir stick, for instance, and you
get them right out of the wax or off the hot plate, they're going to be warm. They're not going to probably give you third degree burns, but the warm wax will coat your finger like a candle
dripping on your finger. It's about like that.
The hot plate and the pan are probably a
little bit warmer and they might give you a little
first degree burn. But more importantly, what you really don't
want to do is leave things plugged in because it's a necessity to have
some sort of warming device, whether that's a gas torch or a gas burner or an electric burner or
an electric hot plate, you really want to
make sure that you leave your space safe. And in this case, I'm unplugging, even though
my hot plate is off, I'm unplugging it in addition
to turning it off because I just want to be
absolutely sure that nothing's going
to catch on fire. It's not going to start
an electrical fire, it's not going to
warm something up a surface next to it or
adjacent or underneath. I don't leave my brushes on a surface because
they will stick to it. So when I'm done pulling
them off the hot plate, if I'm not going to clean them, then I'll just set them off the surface off a
table, for instance, so that the wax part doesn't
come in contact with the surface that you can
also put it upright, but that will allow
the brush or the um, tool to cool without
sticking to a surface. Again, unplug everything,
turn off the gas, don't put the wax into contact with anything that you don't want it to stick to and just be aware of
your surroundings, aware of what you're doing, keep surfaces clean and clear of anything
that can catch fire. I do have a fire extinguisher in my studio at all times that I can easily access because that is number one
thing is safety. So even though I've never had a fire and I've never
had anything happen, I am extra safe and extra cautious so that
it doesn't happen. So taking those extra
safety steps will really ensure that you have
a good experience and not a scary experience.
6. Starting Out: One way I like to start is by doing a little drawing
with some pastels. You can use pastels. You can use things
that China markers or even oil pastels and
these are going to be okay when you put them on the hot plate
and they'll just fuse in. Pastels might offset
onto the hot plate, which is also okay. You might use that as
another type of color and so you can do
all kinds of marks. You can take the pastel and
make marks on the side. You could do a whole drawing. But that's a fun
way to start out your caustic monotype.
Have fun play with that. Once you have your monotype, you can always go over it
with other materials too, like pastels or oil crams, things like that
are compatible to go over your finished painting. All right. Once you have either you want to start fresh with
a blank piece of paper or you want to start with something you've
already drawn on, one of the first ways to make an image with your
encaustic monotype is to just start using
your encaustic paints, your paint sticks on the palette and you can
spread them around. They will melt with
the heat of palette. So it's always a little bit you don't always know
what you're going to get, which is cool I think because
I like working that way. I'm just going to take a blank piece and I'm going to put it face down and you can see that it's absorbing the color and you can pick it right
up or you could use your scraper tool and bread
the paper onto the surface. Then when you pull it
up, you have that image, a mirror image just
like a print would be, but you don't need to
press, you just need the heat and then caustic paint. So we can keep layering. We can use what's here, we
can add more, add more color. We can take our scratching tool and scratch the marks into it. Let's see. You can
make big swirls. The longer you leave it
on, the more it's going to melt and the more
saturated it will be, but also the more paint you'll have. Just be aware of that. It will absorb into
the paper, usually, but it might bleed and give
you interesting results. That's another version.
These can just be set aside to cool as you
continue working.
7. Cleaning the Palette: When you're ready to
clean up your palette, whether that's to end your
session or because you want to just use a different color, I bunch up a paper
towel so that I'm not touching the
surface of the palette, making a little pad, and then just clean
by wiping it down. If you want it super dubrilean, you can put some soy wax RNF makes a soy wax, which is a brush cleaner and
it's also a palette cleaner. Sprinkle a little bit of that
on and then wipe it off.
8. Printing: Now I can move to
a different color. Let's say I want to
use, this is clear. I want to use some white. I'm going to I'm going to
put some white up here. Because I've actually
got a brush warming on the plate and I'm going
to use a brush and make some brushy marks. Then once I got that, I can go in with keep that warm, the paper towel or tips
or something else that makes marks and that down. Now I'm using my encaustic
flux. Cost flex. That's more subtle. See if
we can't add some more. Go. Warm that brush up. Caustic, everything
has to be warm. That does. I can put my hand down
and it's not too hot. That's what that looks like. That's nice. I can also
take a previous print and I can lay this down, let's do it on the bottom part. And I can start to layer. The longer you leave a piece of previously printed
paper on the hot plate, your wax that's already on the paper will start to offset. You might get some more
bleeding or different looks, so just be aware of that the
way that that might work. Then you can just keep
layering and layering, cleaning if you want to in
between in between area, get a little soy wax on there. I want to have that once. So we just sprinkle a
little of the soy wax. Then take our paper towel
and it acts like a cleaner. This is some clear medium, which will make it
more transparent. I can make sort of like a gray Grey tone. Then the more transparent
color you have, the more you're
going to see through and make the paper translucent, which I like because then I can layer it over other papers and the previous layer will show through or layered on
another encaustic painting, and it will show through. We could just keep layering
and layering, like I said, and then I'll show you some more techniques
that you can build on top of in a different way.
9. More techniques: You can see that the more
encaustic builds up, the less absorbent the surface. The first initial print transfer is going to be a little bit more true to what was put down. It will blur a little more as you build up those layers just because it's not
absorbing it as much. So We've done prints that were traditionally printed, let's say, face down and the pigment was
picked up onto the paper. Now let's try something
else where we put the paper down on hot plate because paper will be
fine at 200 degrees, it's not going to burn
or anything like that. What we can do is we
can warm this brush. We can actually paint
on the surface. We can get some of our pigment, the printing palette also
doubles as a palette. I I get my brush
full of pigment, I can actually paint on the front of the paper
because the paper is now warm, it will absorb into the encaustic paint will
absorb into the paper. I can even take my pastel
while it's still warm, and I can do some
drawing and it will fuse in as I'm drawing. Then if I wanted to do, let's say, That's funny. Let's say I wanted to do
some maybe add some white. Take my white brush. And start layering over. Just like a painting. But
you're doing it on paper. Let's pour out some
encaustic medium. You'll see the
translucent quality. Now when I paint over how it
gets clear and transparent. You just keep building this way on the plate until you're
ready to take it off. Then I hold it off the heat for a couple of seconds
before I place it down onto another surface because the back will also
have some wax. If you put it down onto a
surface, it might get stuck. But these are cool marks
that we can then maybe take and put on another one. You can see where
I'm going with this, how you can just keep
building and adding and layering until you
have a deep imagery. You can see how that
translucent use this one, how the paper starts
to show through. It gets really nice from laying.
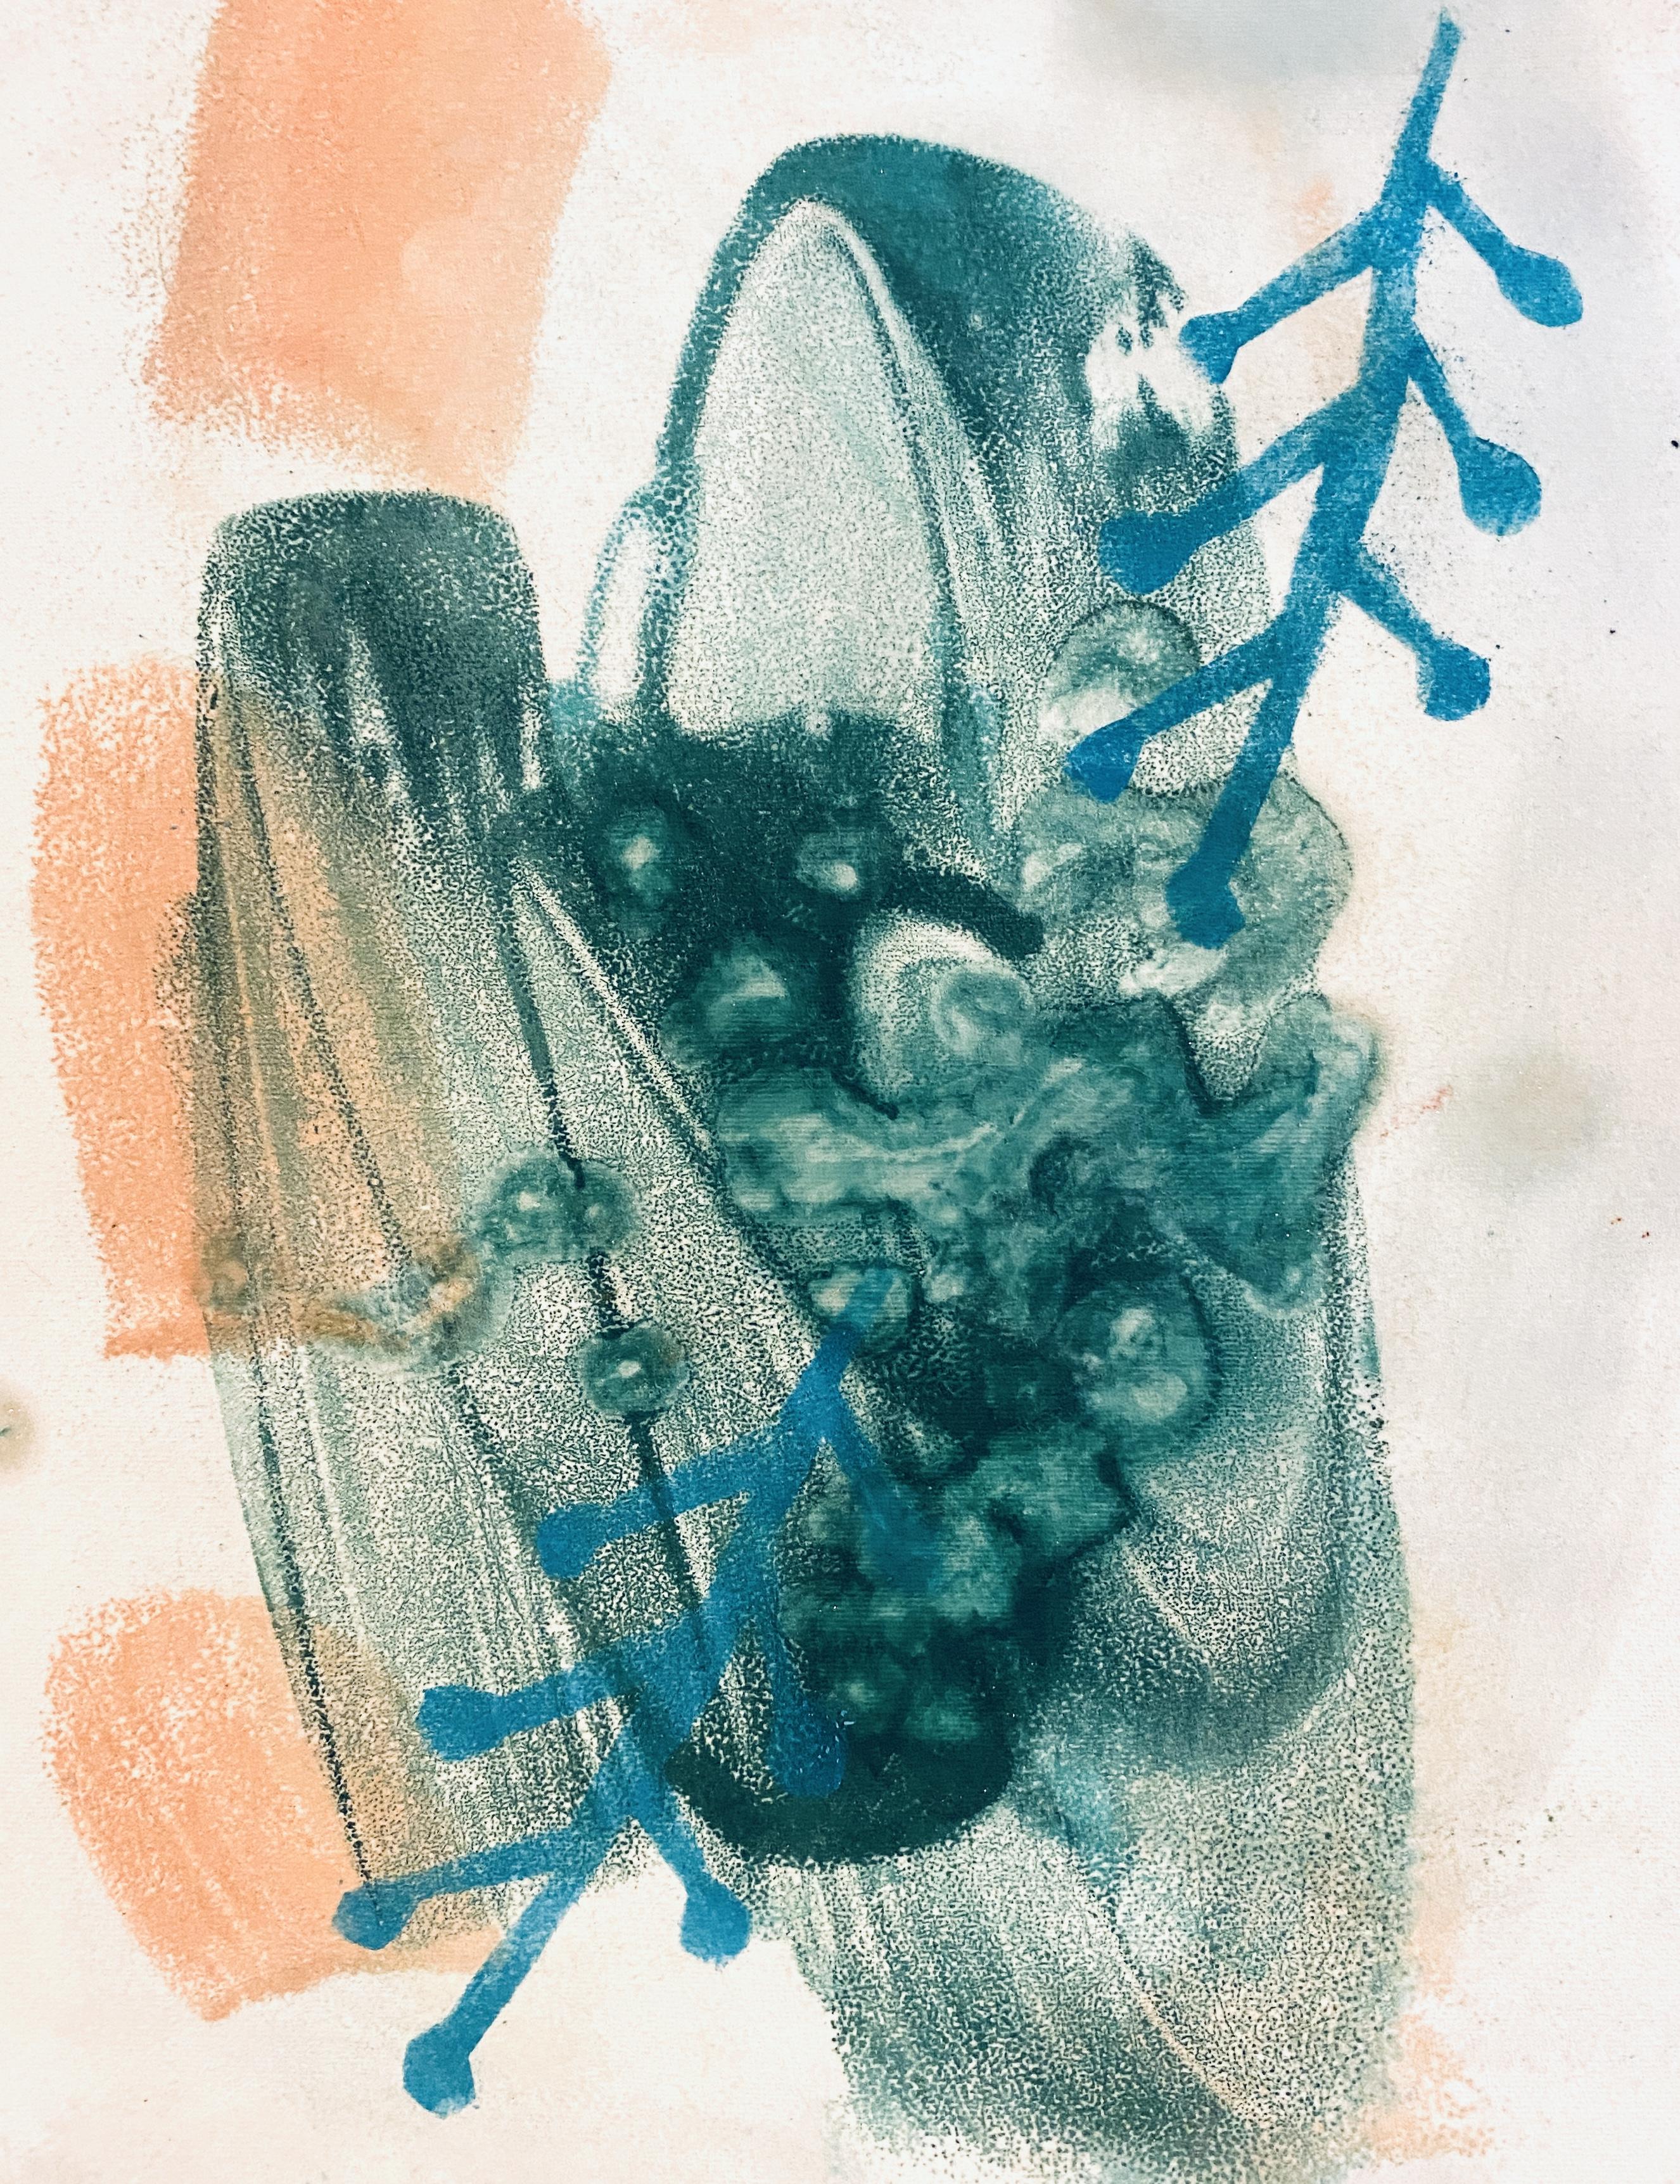
10. Monotype with stencils: Another fun way to add
depth and dimension and interest to your
caustic monotypes is with stencils
and pan pastels. You can put I do
this off the heat. It's not on the hot pad, but I take the Pam pastel. The stencil material,
like I said, is a durlar. It's a plastic, a
hard durable plastic. You can take a tip,
your finger, tissue, or a little makeup sponge and
hold down the stencil and then dab the color. Because the pastel
doesn't have any binder, you have to heat set
it onto the palette. The way I do that is
when you're done, lift up the stencil. It's really easy to
clean the stencils too. I'll show you that in a minute. Then just put it on the palette, face up for a couple seconds. Can use your to brace it, get it warm and you'll
start to feel it stick and it will
start to melt in. Then once it's melted in, then you can pull it off
and it won't rub off. Again, keep layering those up
and have fun with pencils. Then when you're
ready to clean it, you just take your
handy dandy paper towel and wipe it off. If you need to add a little
heat to it to get it off, you can also clean it on the hot plate too
and that'll help. Looks like that. Then you're
ready to switch colors.
11. Gelli Plate Additions: Alright, so in this video, I am showing you how to add jelly plate printing
to your monotype. The paper is sitting
on the hot plate, so it's warm at
about 180 degrees. And I've used an oil stick. In this case, I'm using
RNF oil paint sticks, which have some wax in them, and they have pigment
and some linseed oil. And I'm just drawing
directly on the gel plate. This is a little gel plate, commercially bought
purchased gel plate, and it's sitting
on the warm plate, and I'm just doing it
straight on the paper. The one thing to remember is if you're using
the oil stick, it's not wax pigment stick, so it's not encaustic medium. It's oil paint, and it
might stain your surface. So if you're using this method and you're using the
oil paint sticks, then you'll want to make sure that you're
doing it directly on the paper instead of putting it on the palette
and transferring it. Anything that you put
on the palette should be just the encaustic
medium or the wax. So now I'm adding
the encaustic paint, which is melting
on the hot plate. I'm adding that just by
painting directly onto the paper over the oil
stick, the gel print. Can see how it's
really compatible. So once you get it on the paper, because it's warm, it fuses in, and I'm doing this on
encostiflex paper, which is sort of
a fibrocy paper. It's kind of thick and
it's very durable. It handles a lot of layers of wax and just
kind of absorbs it. So that's sitting warm
on the hot plate. And I can put the oil stick. I can either draw on the paper directly on the paper while it's
sitting on the warm plate. But what I don't want
to do, like I said, is draw with the oil stick on the palette unless
you want it to stain. But it's really nice
for doing the transfer, the printmaking method
because it's very sort of malleable and juicy and
it has a lot of pigment, so you get a really nice look, sort of a different
look than you do with just the encaustic medium. So here I am now painting
just clear medium on top, and that's going to make
the print more transparent. It kind of softens
the look of some of the pigment that
I've already put down, and it helps to kind of build up another layer of transparency. You can use stencils through the gel print the gel plate
with either oil paint. You can paint through
them with oil paint, or I haven't tried pan pastels, but you could try pan
pastels on the gel plate. The cool thing about
the jelly plate is that you can make
multiple copies. So once you put down one print, a lot of the pigment
will be expended, but you can make multiple kind
of versions of the print, and it's a fun way to just
add a different texture, add a different look, and it just blends really
nicely into the print, as you can see. Okay.
12. Thank you: Well, I hope you enjoyed
our ncostic monotype class and got some inspiration for your next
PresslessPrintmking.
 Dana Seeger, Artist, printmaker, educator