Encaustic Transfer: Adding Photographic Images
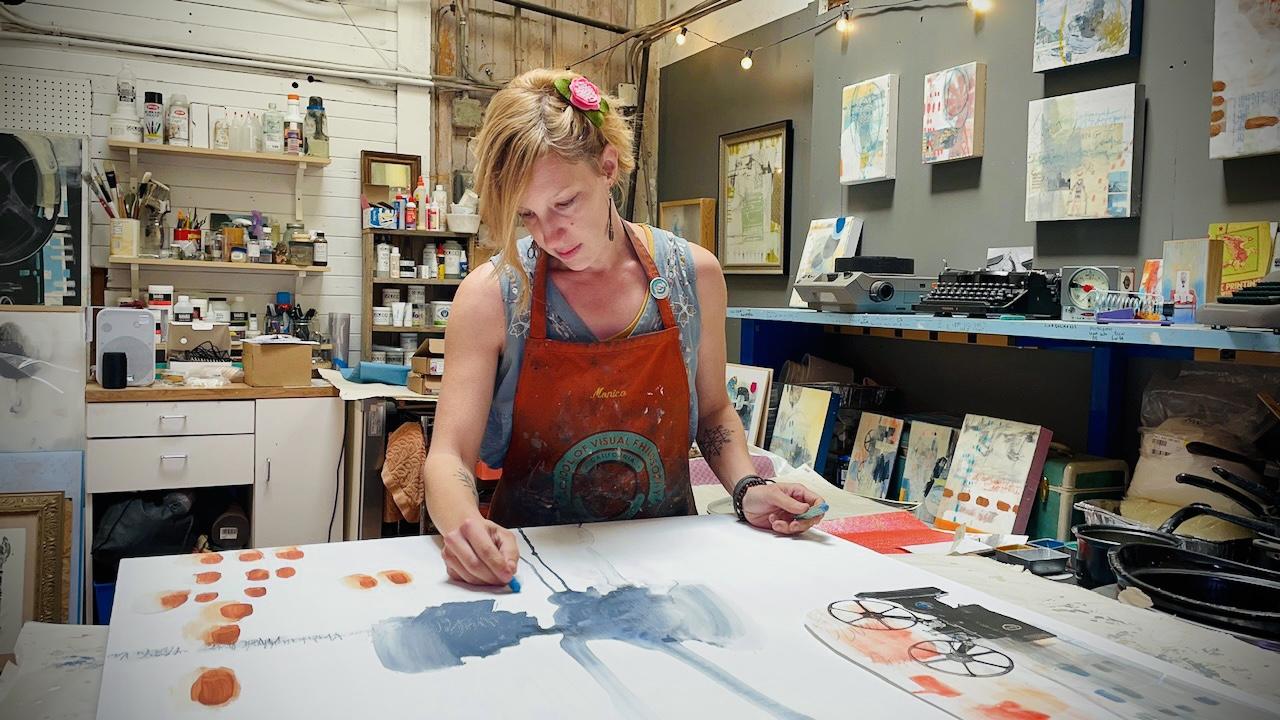
 Dana Seeger, Artist, printmaker, educator
Watch this class and thousands more
Watch this class and thousands more
Lessons in This Class
-
-
1.
Encaustic Transfer Introduction
0:59
-
2.
Proper Prints for Transferring
1:56
-
3.
Prepping the Surface
4:29
-
4.
Applying the paper
1:41
-
5.
Removing the paper
7:53
-
6.
Final Fusing
4:31
-
-
- --
- Beginner level
- Intermediate level
- Advanced level
- All levels
Community Generated
The level is determined by a majority opinion of students who have reviewed this class. The teacher's recommendation is shown until at least 5 student responses are collected.
117
Students
2
Projects
About This Class
Class Overview
This class will build upon what we learned in the Encaustic Basics Class. I don't go into great detail about proper application of encaustic medium or how to set up your panel prior to adding encaustic paint. That is all covered in the first class. Check that out if you are not already familiar with encaustic painting. Encaustic has been around as a painting medium for thousands of years. This method I will teach you of transferring a toner based image onto an encaustic painting is relatively new. It is fun to combine the traditional technique with a modern twist.
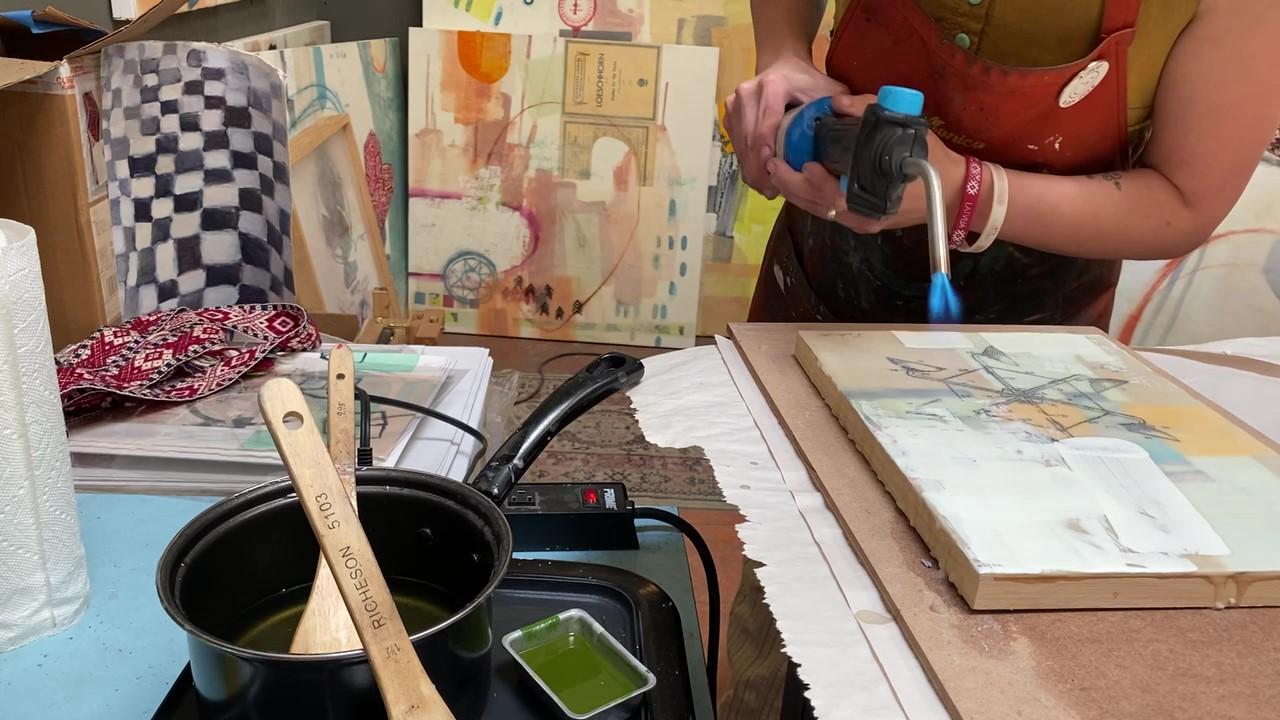
I will take you step by step through the process of transferring your toner image from a print out or copy on paper onto the encaustic painting. It is a great way to combine photographic images onto the fluid painterly look of encaustic. By the end of the class, you will have made your first encaustic toner transfer and learned some more advanced skills in this wonderful and versatile medium that is part of the fine art tradition. https://www.skillshare.com/browse/fine-art
What you will learn
In this class, you will learn
- how to prepare your encaustic painting to successfully transfer your image
- the correct type of print out necessary for transferring
- How to properly apply and remove the paper onto the painting
- Final finishing techniques to ensure your image stays put on your painting
Who should take this class
You need this class if you have been curious about encaustic techniques and you have some knowledge or experience with encaustic. Maybe you have already tried to transfer an image but were not successful because you didn’t have the correct information. Trust me when I say I have made every mistake you can do with this technique. You will get the value of my experience and you won't waste any more of your time failing!
I started out painting in encaustic all on my own. I read books and watched videos, and of course, made LOTS of mistakes with my own paintings along the way. Now it’s my turn to share what I have learned with you, so that you can develop the confidence to create your first encaustic painting with ease. To see my work and what other classes I offer, visit my website.
Why you should take this class
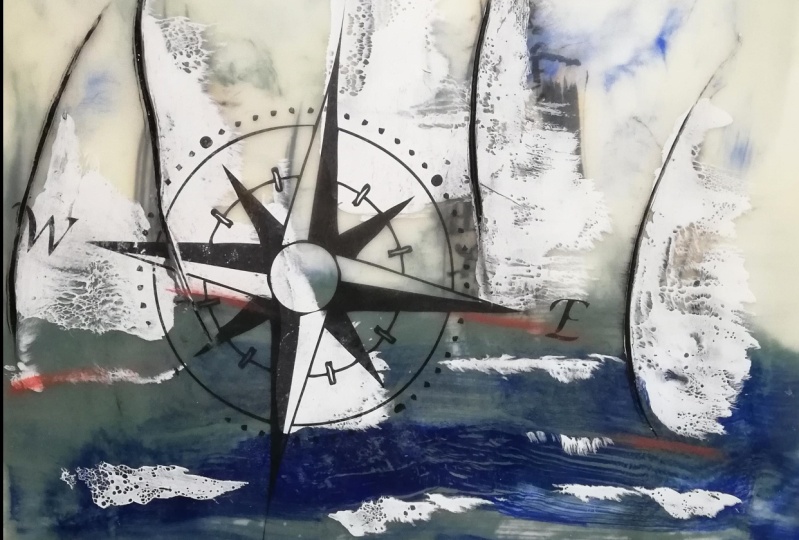
You should take this class because image transfers in encaustic will open up so many creative doors for you! This technique is super handy if you like the contrast between photographic images and more abstract imagery. It is also nice for those who don't like to draw realistically but want to include this type of imagery in their work because you can literally print out a photo and transfer that to the painting! I love it because of the transparency you can achieve to make the image look like it is literally floating on the surface of the paint. If I can save you time and frustration learning this beautiful and ethereal material, then it’s worth the hour or so you will spend watching videos and making your own encaustic painting.
Materials/Resources
Each lesson builds on the next, so we go in a linear order of how I work when I transfer an image onto an encaustic painting.
The basic materials necessary to your encaustic painting journey are these:
- One 8x10" cradles panel (or hard substrate like a masonite or 1/4" thick plywood board.
- 1 natural bristle "hake" brush about 2" wide
- Encaustic medium. You can either purchase pre-mixed "medium" or get bleached bee's wax and Damar Resin to make your own. I show you how in my Encaustic Basics Class!
- Hot plate like a pancake griddle
- Small propane torch with a trigger ignition OR an adjustable heat gun (from Ace Hardware)
- Toner based image like a photocopy or Laser print (make sure to reverse or "mirror" the image prior to printing out)
- Sponge or towel and container with plain tap water
- Metal spoon or burin to burnish the paper

Hands-on Class Project
For your Class Project, you will be creating an encaustic painting using an image transfer method. You can use a pre-created encaustic painting or you can create a fresh one for this lesson. All you need is a panel with some encaustic medium on it that is nice and smooth to get started and it's okay to keep it small. I suggest you get the following materials to complete this project:
- One 8x10" cradles panel (or hard substrate like a masonite or 1/4" thick plywood board.
- 1 natural bristle "hake" brush about 2" wide
- Encaustic medium. You can either purchase pre-mixed "medium" or get bleached bee's wax and Damar Resin to make your own. I show you how in my Encaustic Basics Class!
- Hot plate like a pancake griddle
- Small propane torch with a trigger ignition OR an adjustable heat gun (from Ace Hardware)
- Toner based image like a photocopy or Laser print (make sure to reverse or "mirror" the image prior to printing out)
- Sponge or towel and container with plain tap water
- Metal spoon or burin to burnish the paper
These are the absolute basics to get started. All of these materials (with the exception of the panel) are an investment that you will use again and again in your encaustic artwork. In future classes, we will be adding more fun materials to our arsenal.
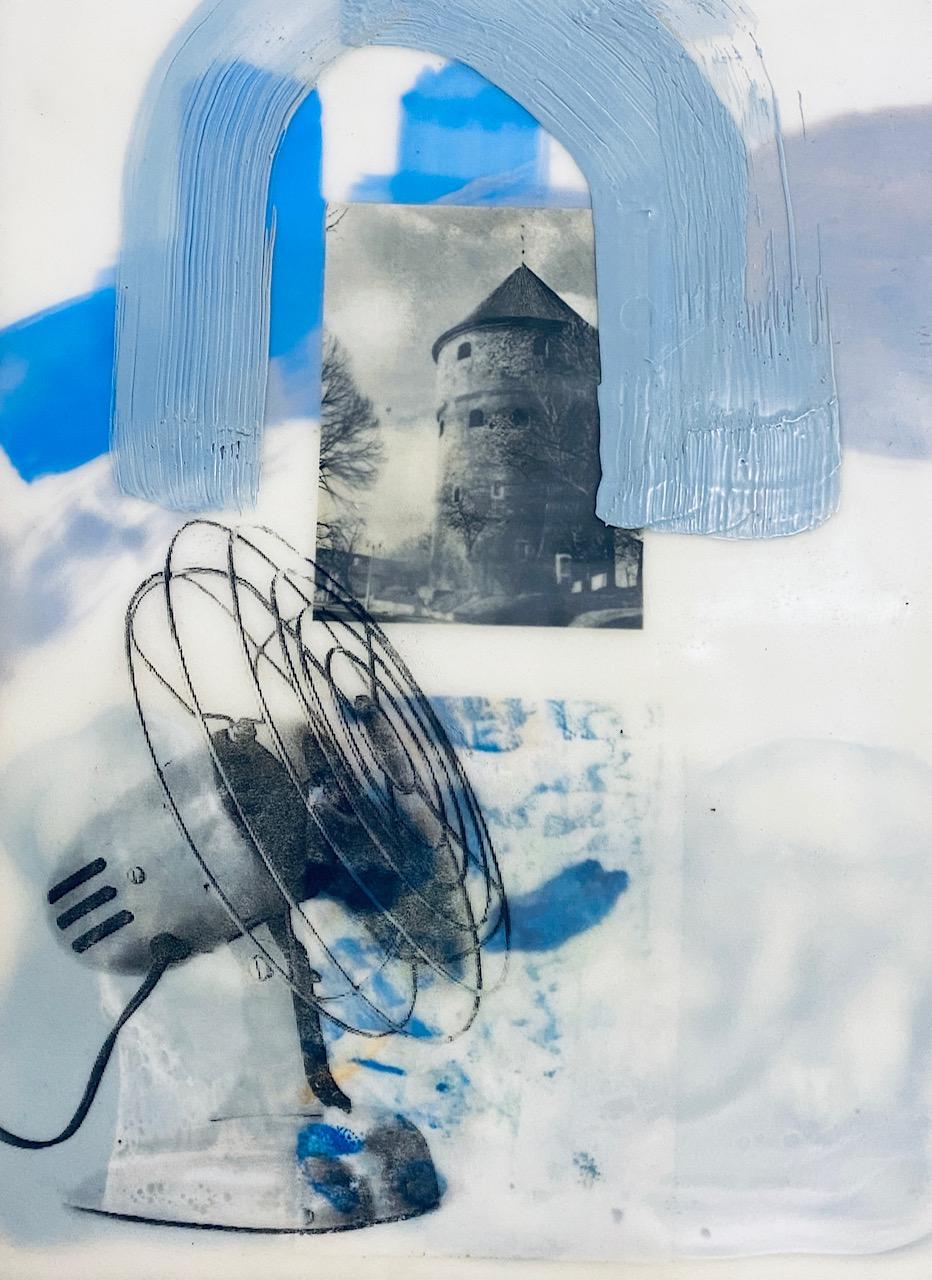
I encourage you to upload your finished project to the Projects section so we can all share our experiences, even if they don't turn out exactly as we expect! Below is my project with a finished size of 8x10". And now, let's get on with the class!

Class Ratings
Why Join Skillshare?
Take award-winning Skillshare Original Classes
Each class has short lessons, hands-on projects
Your membership supports Skillshare teachers
Learn From Anywhere
Take classes on the go with the Skillshare app. Stream or download to watch on the plane, the subway, or wherever you learn best.