Easy Holiday Greeting Card - Acrylic Painting For Beginners
 Alifya Plumber, Artist | Acrylics, Watercolors | Painter
Watch this class and thousands more
Watch this class and thousands more
Lessons in This Class
-
-
1.
Introduction
1:01
-
2.
Materials
0:54
-
3.
Brushwork
2:54
-
4.
Dimension & Form
4:26
-
5.
Painting Process 1 - Background
4:41
-
6.
Painting Process 2 - Tree Base
5:41
-
7.
Painting Process 3 - Building Layers
5:25
-
8.
Painting Process 4 - Layers & Dimension
7:35
-
9.
Painting Process 5 - Darks & Snow
4:57
-
10.
Final Details & Class Project
4:19
-
-
- --
- Beginner level
- Intermediate level
- Advanced level
- All levels
Community Generated
The level is determined by a majority opinion of students who have reviewed this class. The teacher's recommendation is shown until at least 5 student responses are collected.
394
Students
13
Projects
About This Class

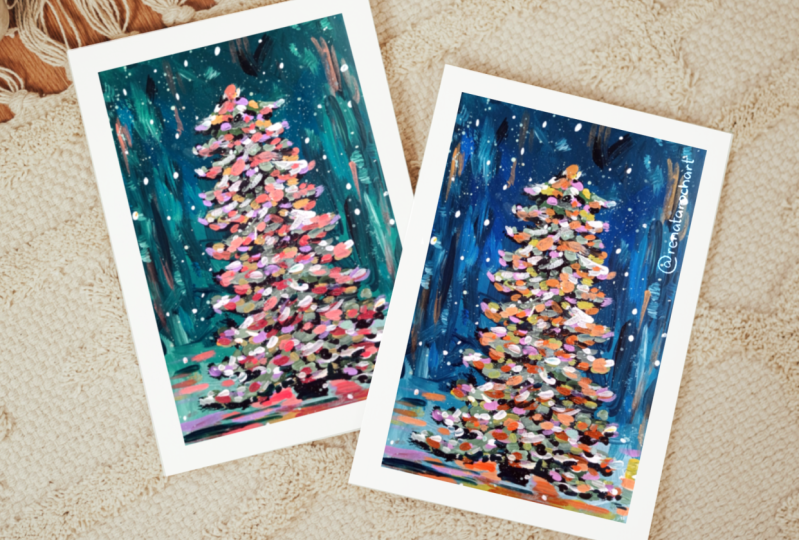
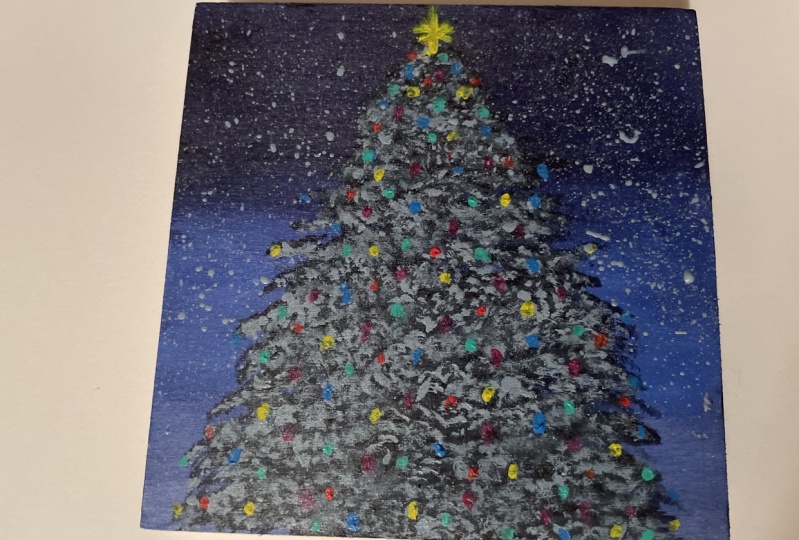
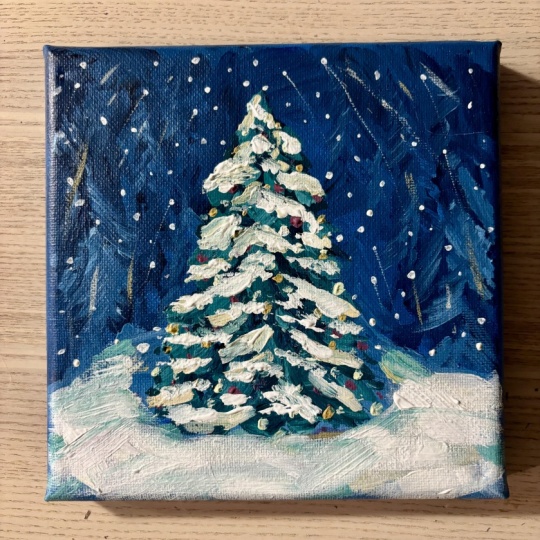
In this class, I will be teaching you how to paint a Loose Acrylic Christmas Tree Night Painting that can be used as a holiday Card! Will walk you through this painting step by step, this class is great for beginners.
A former art teacher and now an independent full-time artist, I am so excited to be teaching on Skillshare and I truly hope you find this corner of your space comforting, inspiring, and encouraging! Can't wait to connect with you all!
*** Follow this class up with another Winter LANDSCAPE - https://skl.sh/3310ldj
TOPICS I COVER:
- Prepping your canvas and materials – I will show you how to prep your canvas before painting and all the brushes and paints you will need for this project.
- Brush marks – I will demonstrate basic brush techniques that will be used in today’s class project.
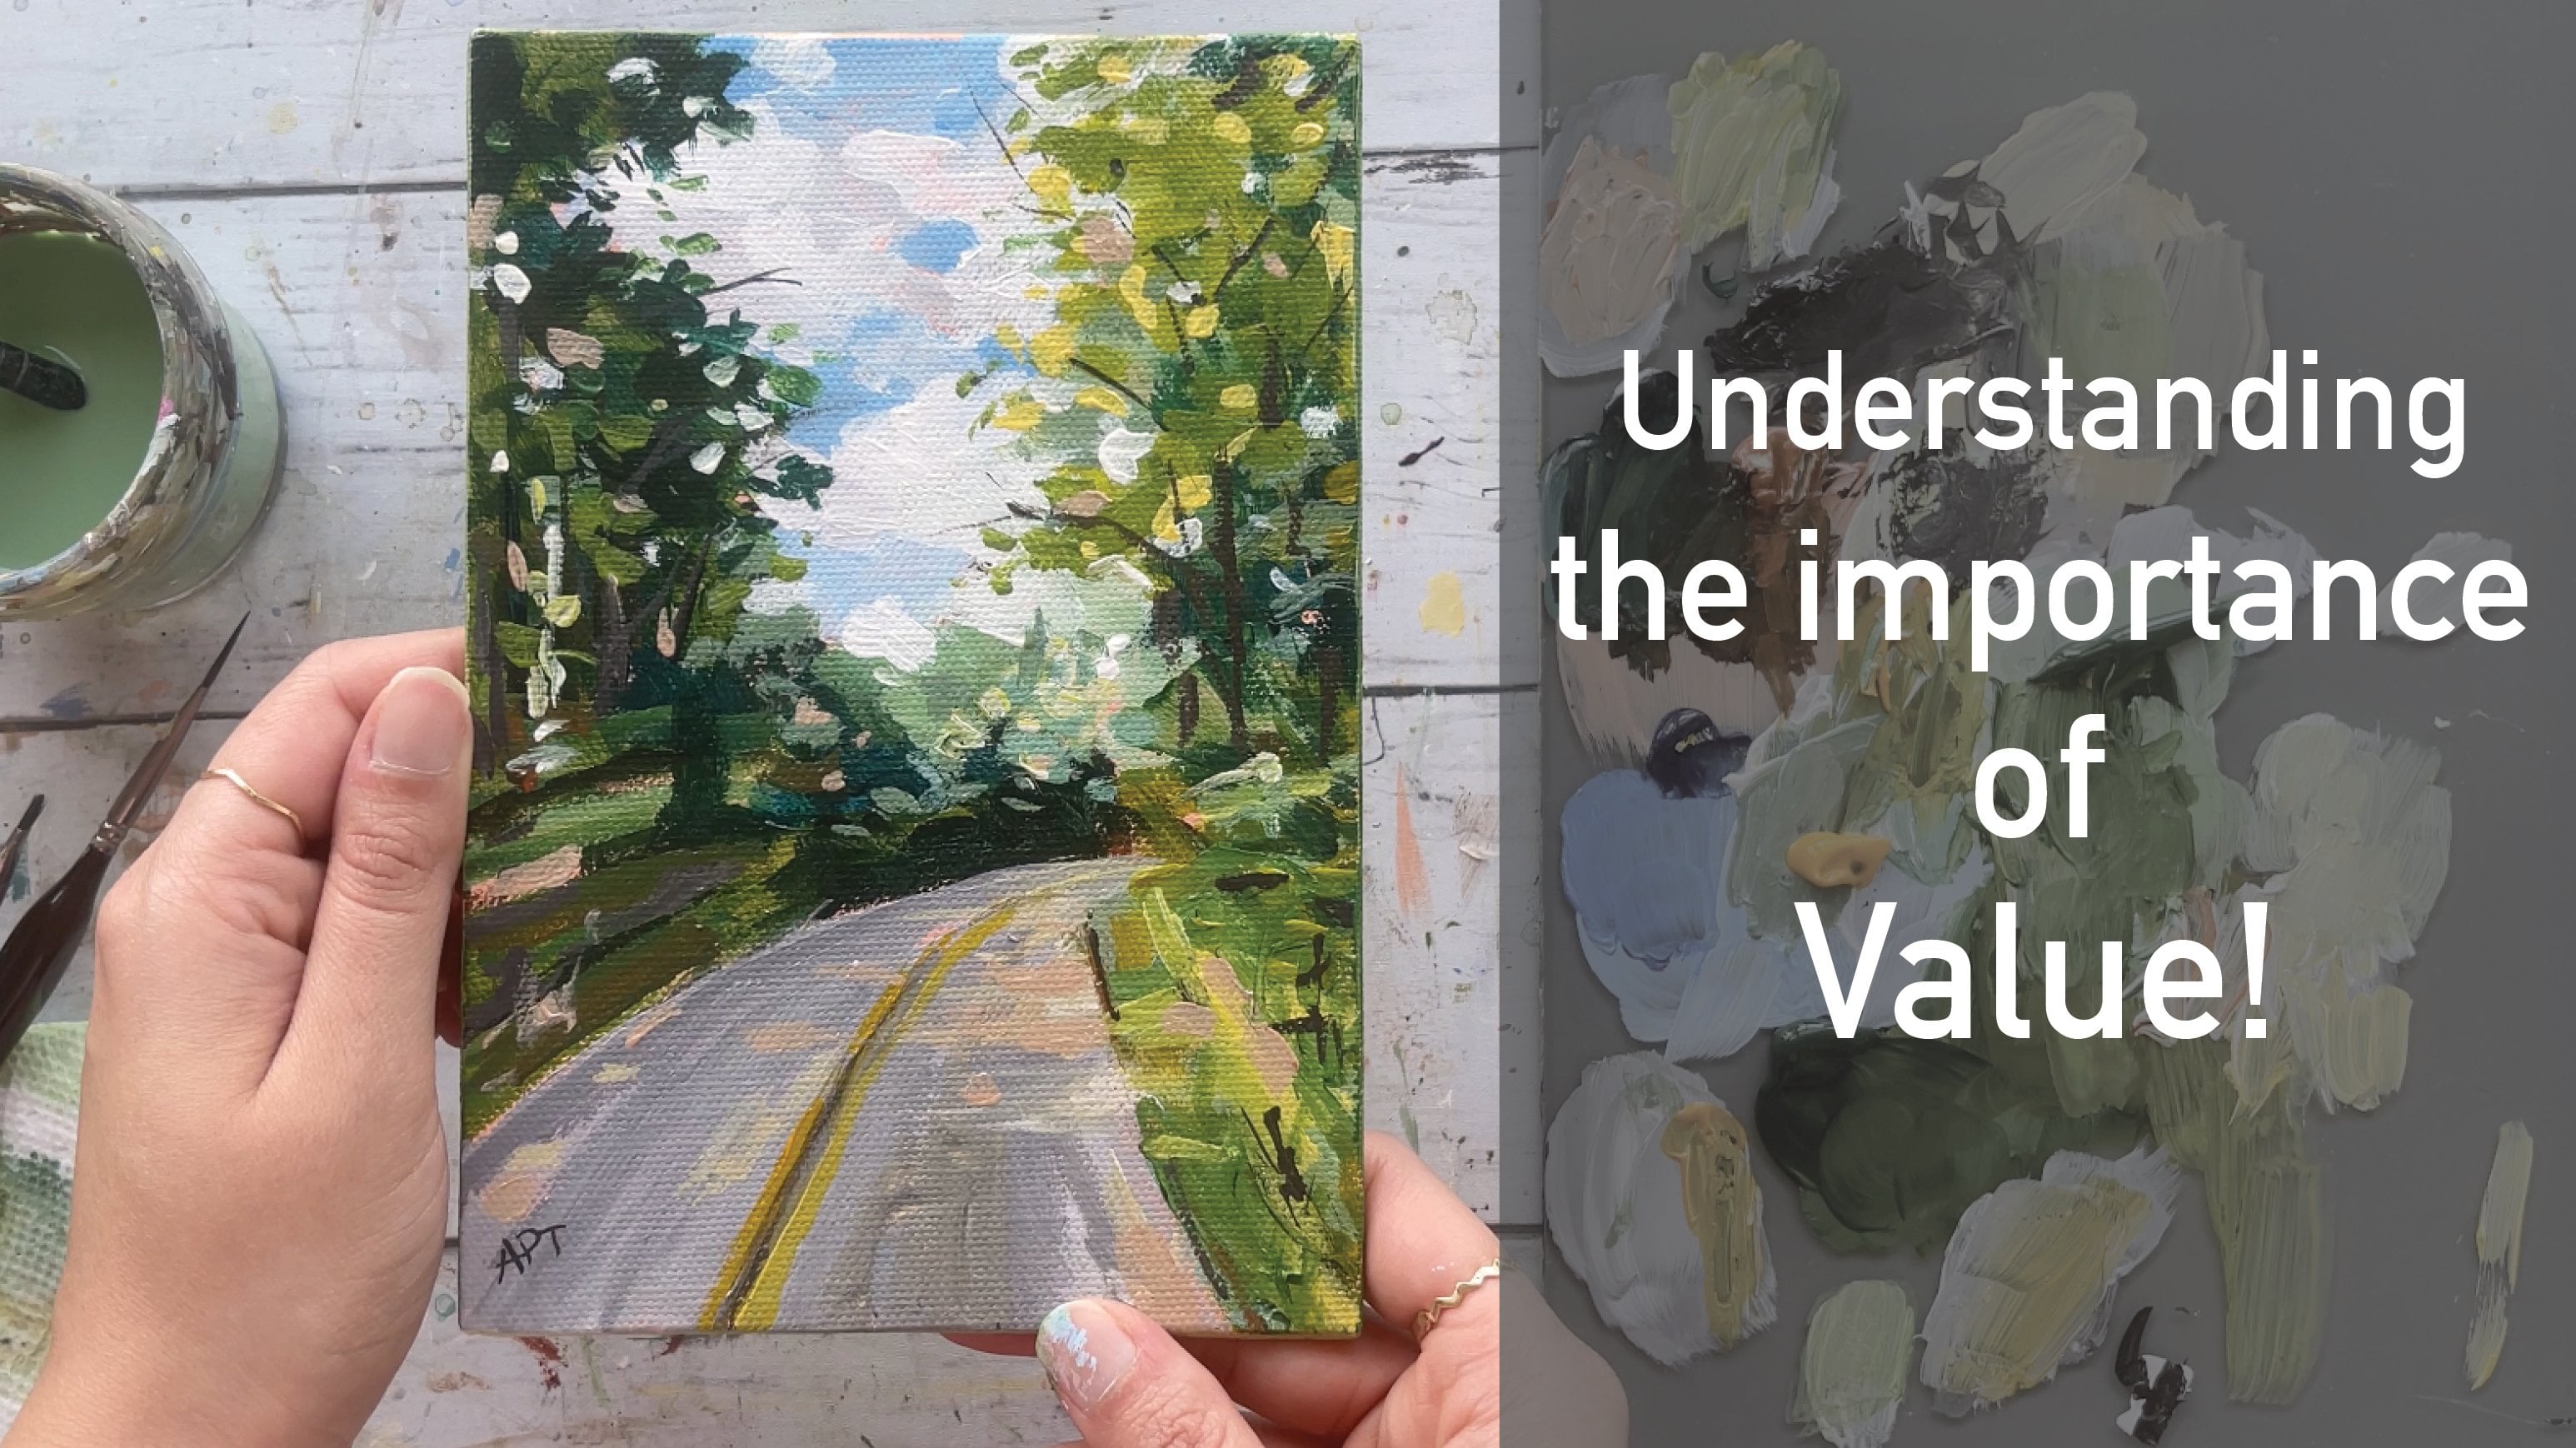
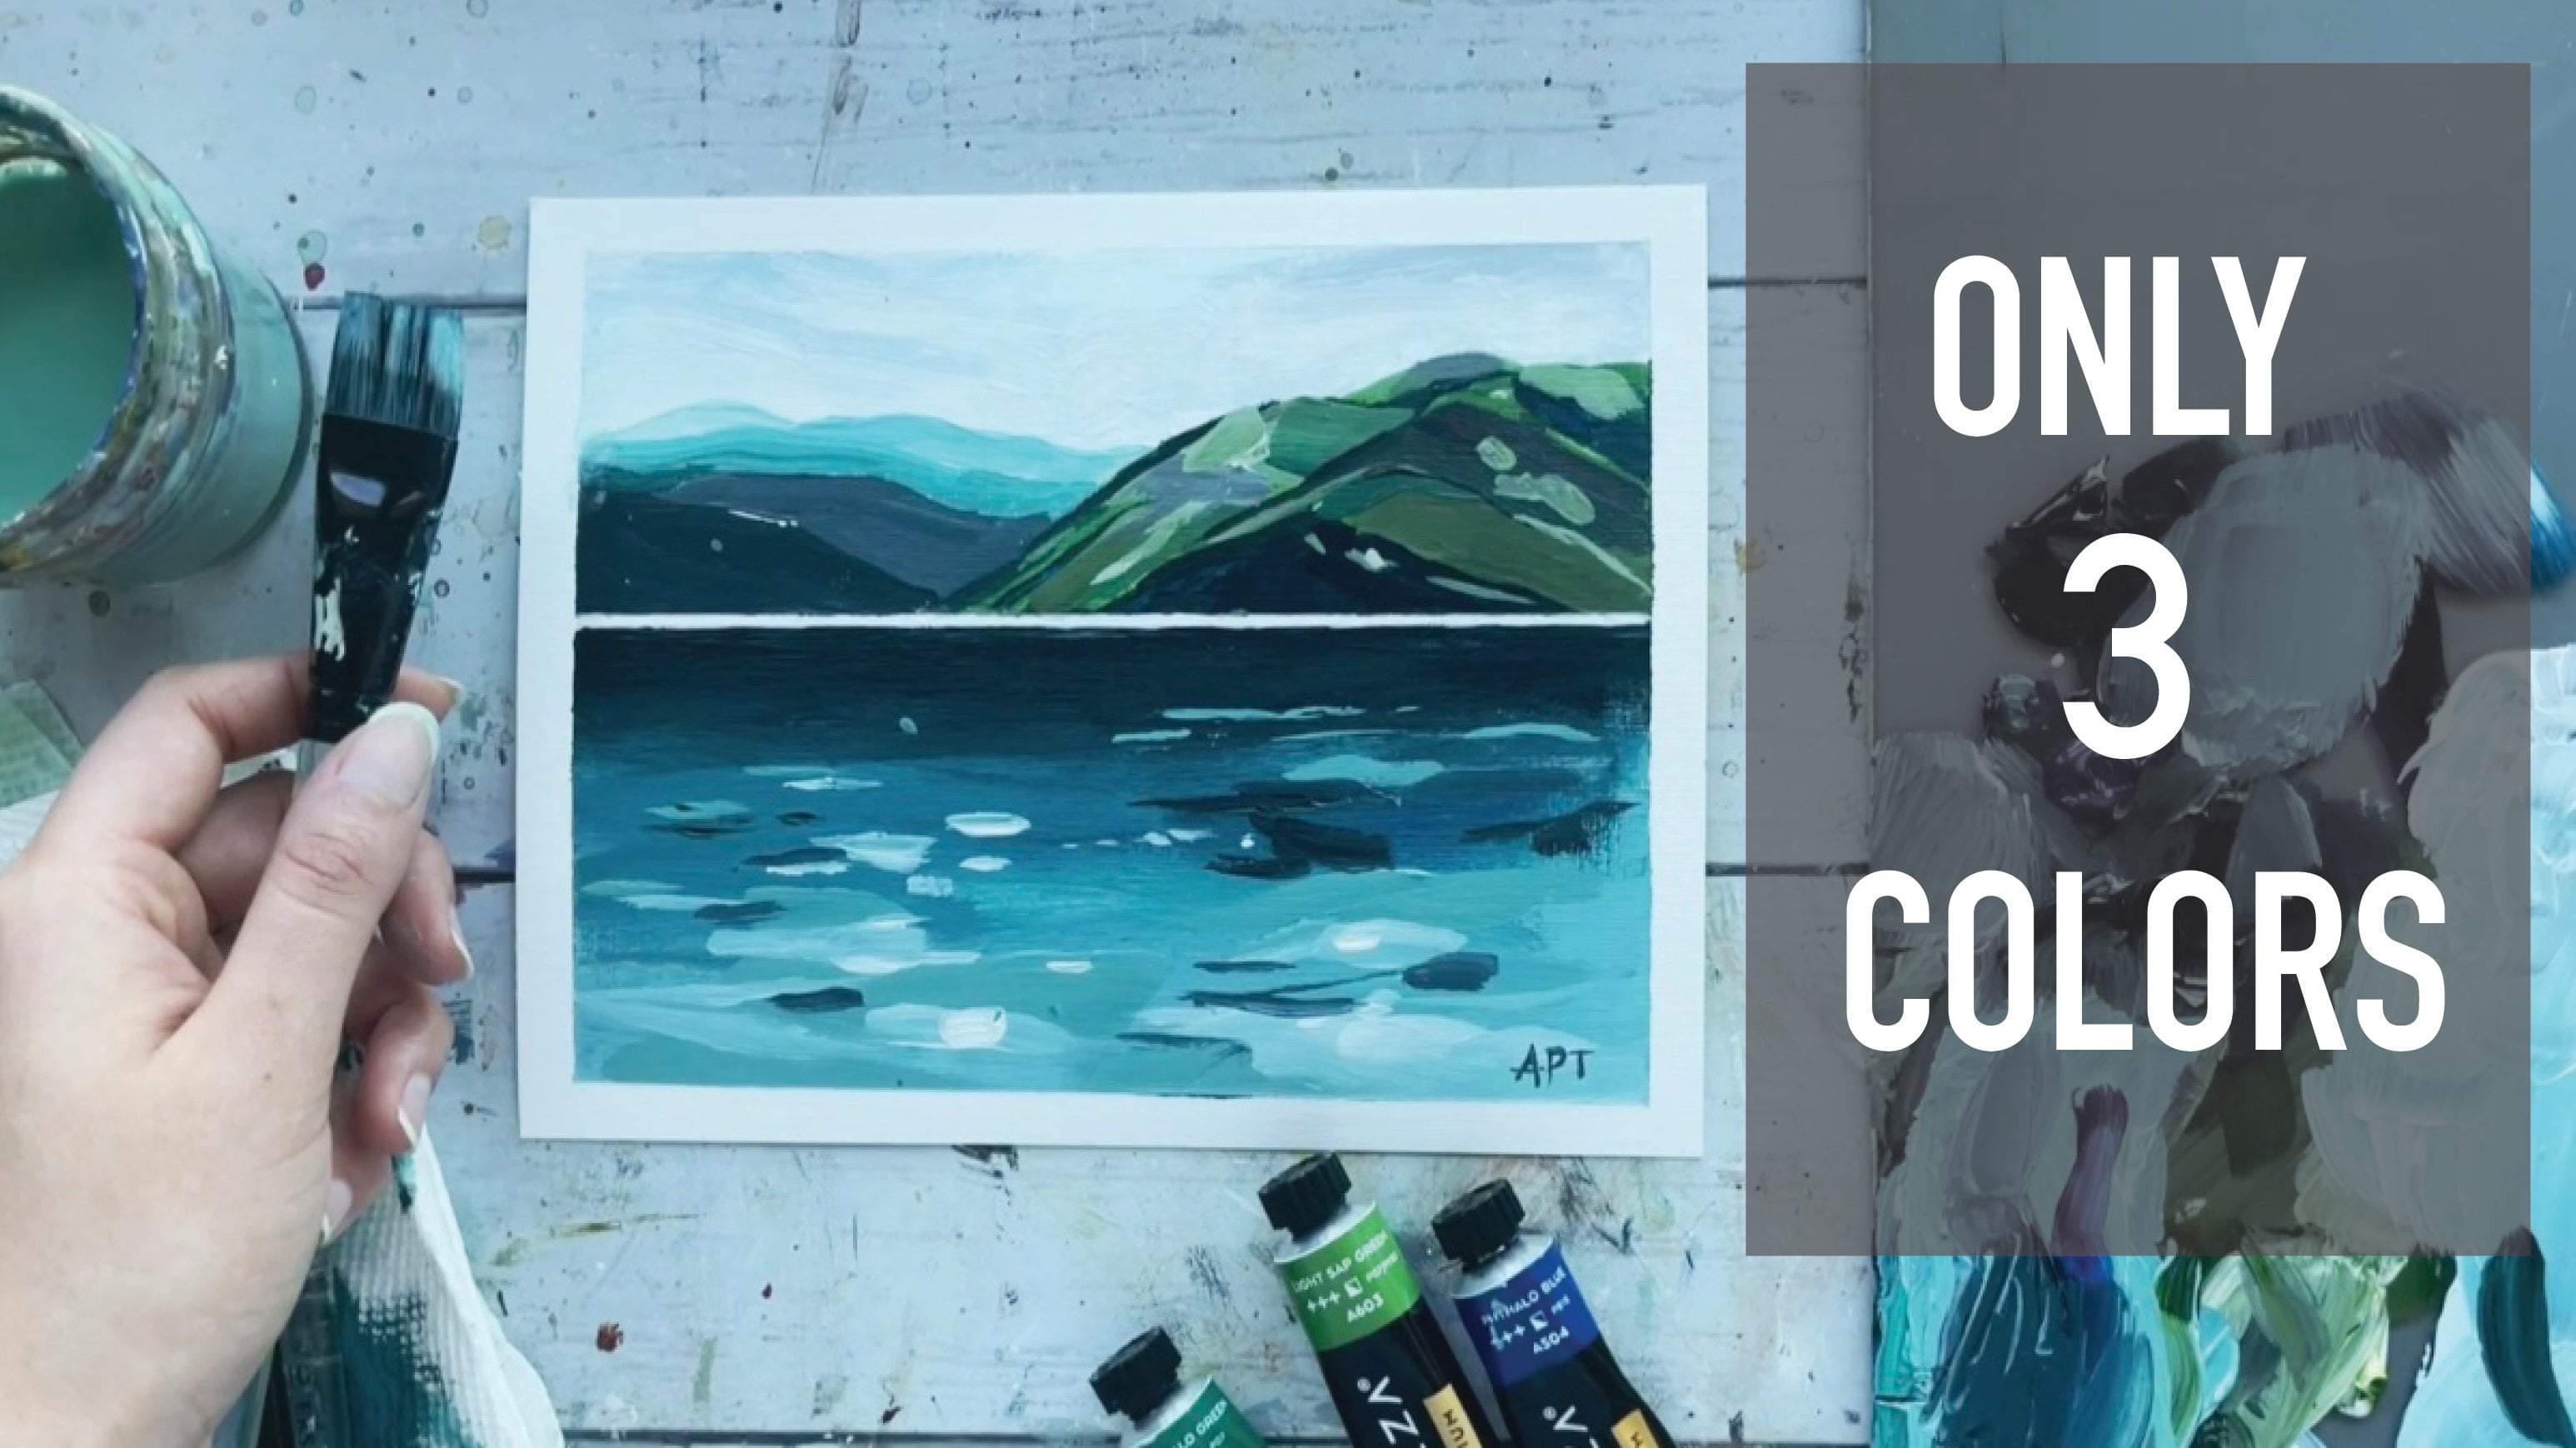
- Dimension / Form – I will teach you the basics of achieving form in any shape based on color and value.
- Painting process and details – I will teach you how you can layer and build your colors to add definition to you painting.
MATERIALS I USED (but use whatever you have available.)
1) Paints:
- Arteza Acrylic paints (premium 60 set) - https://bit.ly/3dhihCo – prussian blue, phthalo green, lemon yellow, rose, raw sienna, indian yellow, white & black
2) Brushes: 3/4 flat brush , 8 flat brush, 4 flat brush, 6 filbert brush, 0 filbert brush, 1 round brush, 2 round Princeton art rough brush, 6 rough brush
3) Strathmore Acrylic Paper (5x7")
5) Glass Palette - https://amzn.to/32w9BWI
6) Glass scraper - https://amzn.to/3mjIWo9
7) Bowl for water
8) Paper towel / rag
9) Gesso - https://amzn.to/3j48nXY
10) Artist Tape - https://amzn.to/2XAtPuI
*Disclosure: Some of the links above are affiliate links, meaning, at no extra cost to you, I will make a commission, if you click through and make a purchase. I only recommend products that I genuinely use on a regular basis!
SOCIALS
☆ Join my newsletter for 15% off to shop ☆ - http://eepurl.com/hKUHg5
W e b s i t e (Shop Art & Merch) - https://alifyalifestyle.co/
Instagram - get latest updates!
Art Facebook group (Paint With Me) - share your work, connect with art lovers, & monthly giveaways!
Youtube - more art inspo
Meet Your Teacher

Hello, I'm Alifya Plumber Tarwala, a Fine Artist from sunny California. A former art teacher and now an independent full-time artist. My classes here will be focused over Loose Landscapes and Florals in Acrylics and Watercolors. I am so excited to be teaching on Skillshare and I truly hope you find this corner of your space comforting, inspiring, and encouraging! Can't wait to connect with you all!
To keep up with snippets of my artist life, follow along on Instagram. I also have a Youtube channel for more art inspo! :)
Instagram - get latest updates!
Youtube - more art inspo
See full profileHands-on Class Project
Share your work! For your class project, paint this cozy Christmas tree with me! Once you are done take a picture of what you’ve created and share your projects with us here and upload it to the “Your Project” tab.
*** Ready to challenge yourself even more!? Follow this class up with another Winter LANDSCAPE - https://skl.sh/3310ldj

TOPICS I COVER:
- Prepping your canvas and materials – I will show you how to prep your canvas before painting and all the brushes and paints you will need for this project.
- Brush marks – I will demonstrate basic brush techniques that will be used in today’s class project.
- Dimension / Form – I will teach you the basics of achieving form in any shape based on color and value.
- Painting process and details – I will teach you how you can layer and build your colors to add definition to you painting.
MATERIALS I USED (but use whatever you have available.)
1) Paints:
- Arteza Acrylic paints (premium 60 set) - https://bit.ly/3dhihCo – prussian blue, phthalo green, lemon yellow, rose, raw sienna, indian yellow, white & black
2) Brushes: 3/4 flat brush , 8 flat brush, 4 flat brush, 6 filbert brush, 0 filbert brush, 1 round brush, 2 round Princeton art rough brush, 6 rough brush
3) Strathmore Acrylic Paper (5x7")
5) Glass Palette - https://amzn.to/32w9BWI
6) Glass scraper - https://amzn.to/3mjIWo9
7) Bowl for water
8) Paper towel / rag
9) Gesso - https://amzn.to/3j48nXY
10) Artist Tape - https://amzn.to/2XAtPuI
*Disclosure: Some of the links above are affiliate links, meaning, at no extra cost to you, I will make a commission, if you click through and make a purchase. I only recommend products that I genuinely use on a regular basis!
SOCIALS
☆ Join my newsletter for 15% off to shop ☆ - http://eepurl.com/hKUHg5
W e b s i t e (Shop Art & Merch) - https://alifyalifestyle.co/
Instagram - get latest updates!
Art Facebook group (Paint With Me) - share your work, connect with art lovers, & monthly giveaways!
Youtube - more art inspo

Class Ratings
Why Join Skillshare?
Take award-winning Skillshare Original Classes
Each class has short lessons, hands-on projects
Your membership supports Skillshare teachers
Learn From Anywhere
Take classes on the go with the Skillshare app. Stream or download to watch on the plane, the subway, or wherever you learn best.