Easy Handmade Patterns: Make a Fun Seamless Half-Drop Repeat | Chrissy Curtin | Skillshare
Search

Playback Speed


1.0x


  • 0.5x
  • 0.75x
  • 1x (Normal)
  • 1.25x
  • 1.5x
  • 1.75x
  • 2x

Easy Handmade Patterns: Make a Fun Seamless Half-Drop Repeat

teacher avatar Chrissy Curtin, Illustrator

Watch this class and thousands more

Get unlimited access to every class
Taught by industry leaders & working professionals
Topics include illustration, design, photography, and more

Watch this class and thousands more

Get unlimited access to every class
Taught by industry leaders & working professionals
Topics include illustration, design, photography, and more

Lessons in This Class

    • 1.

      Intro

      1:06

    • 2.

      Project

      1:34

    • 3.

      Making The Pattern

      4:35

    • 4.

      Wrap Up

      0:57

  • --
  • Beginner level
  • Intermediate level
  • Advanced level
  • All levels

Community Generated

The level is determined by a majority opinion of students who have reviewed this class. The teacher's recommendation is shown until at least 5 student responses are collected.

9

Students

1

Project

About This Class

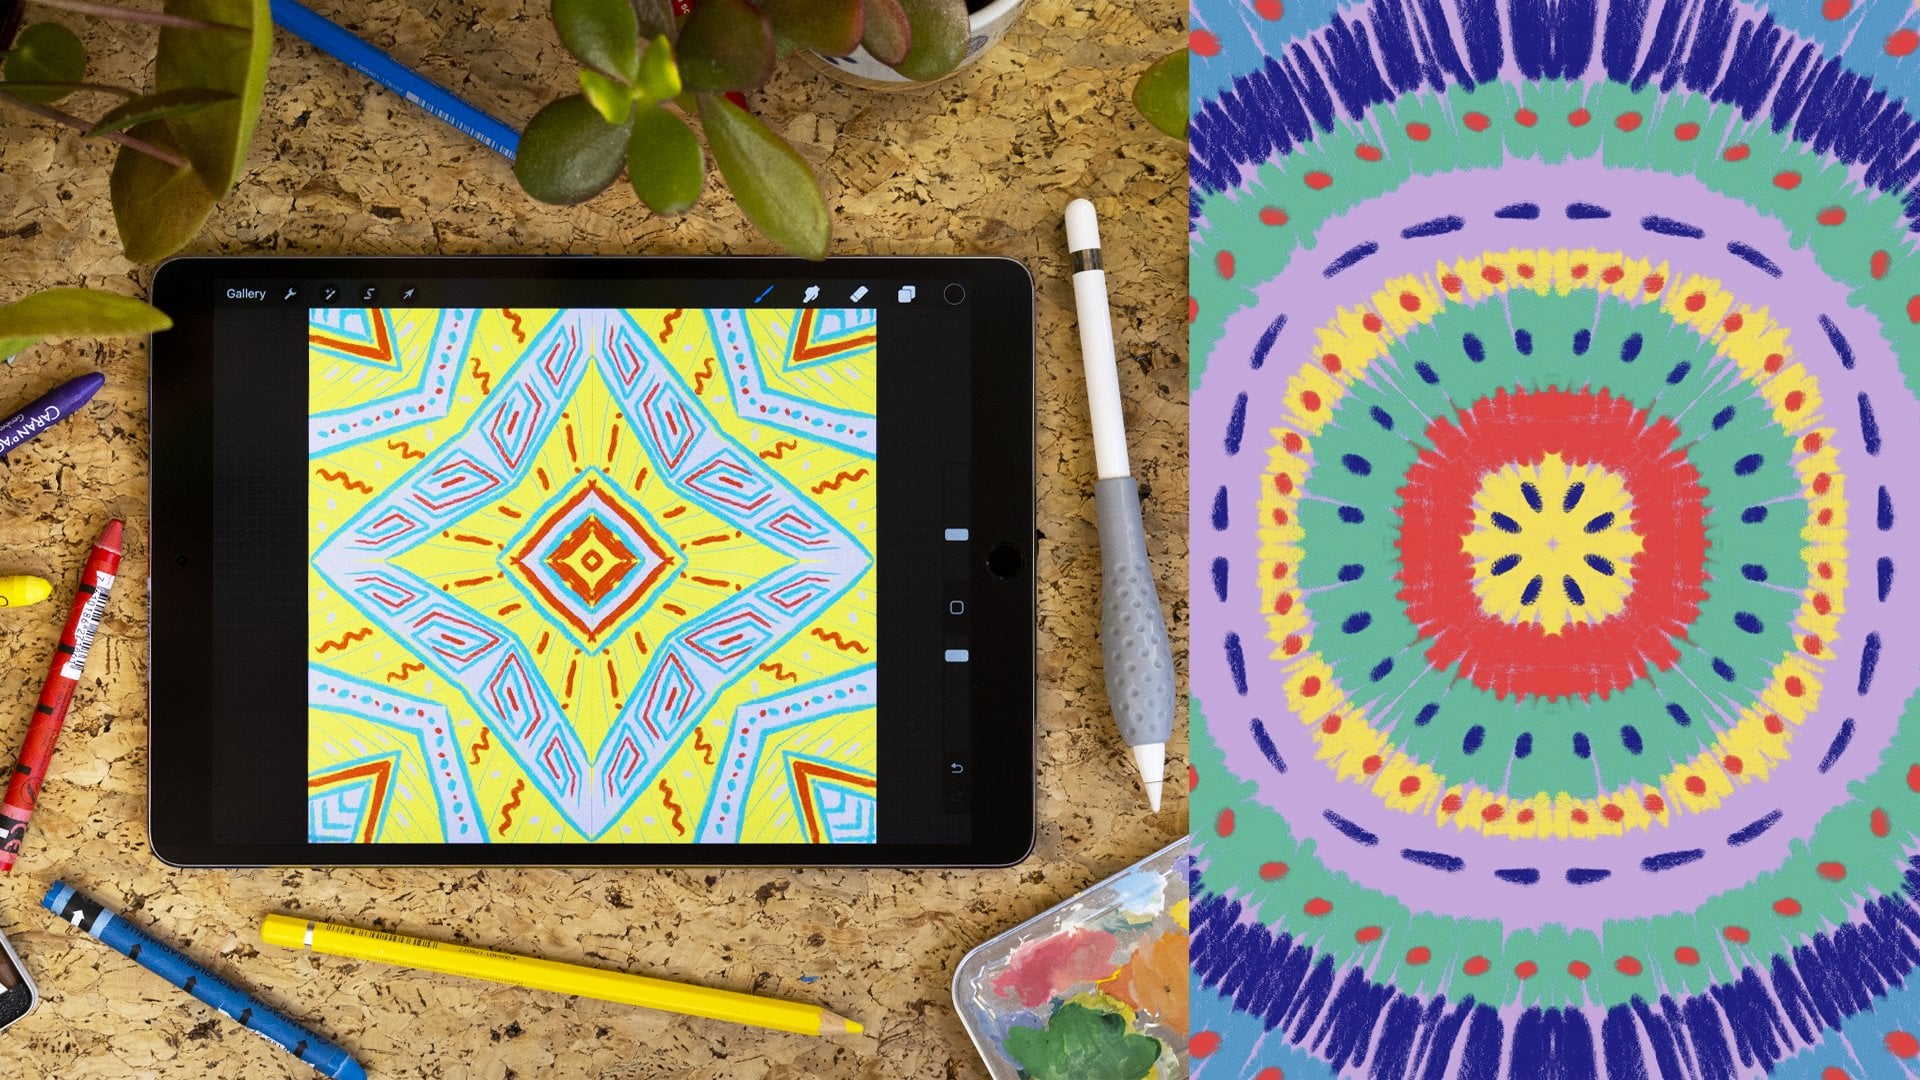
A new quick way to make patterns by hand that’s really fun! Come and draw a pattern with me and let’s learn together.

This short class will teach you the techniques to make a seamless half-drop repeat pattern by hand which you can use again and again for your pattern making in the future. With fun simple steps that are suitable for both adults and kids (just make sure to let an adult cut the paper). 

Throughout this class you’ll learn:

  • How to set-up for making a pattern
  • How to start your pattern
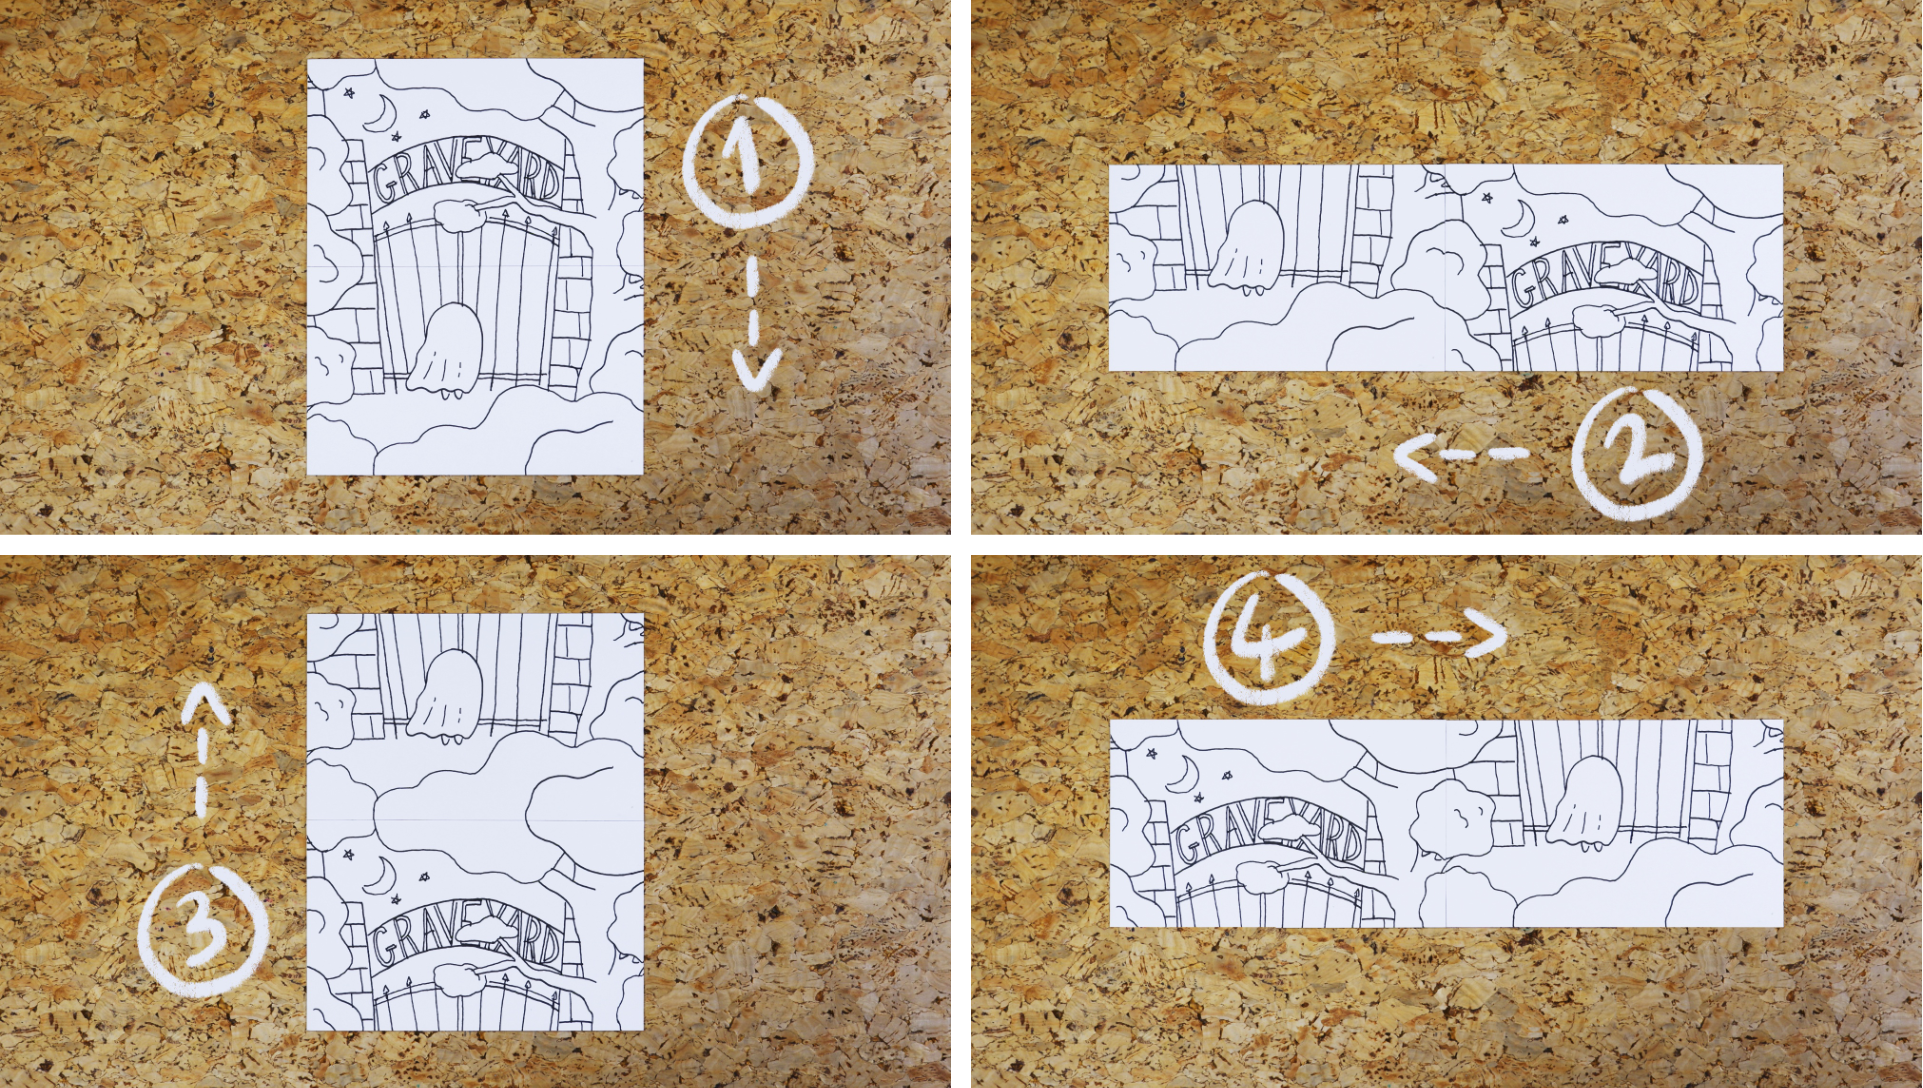
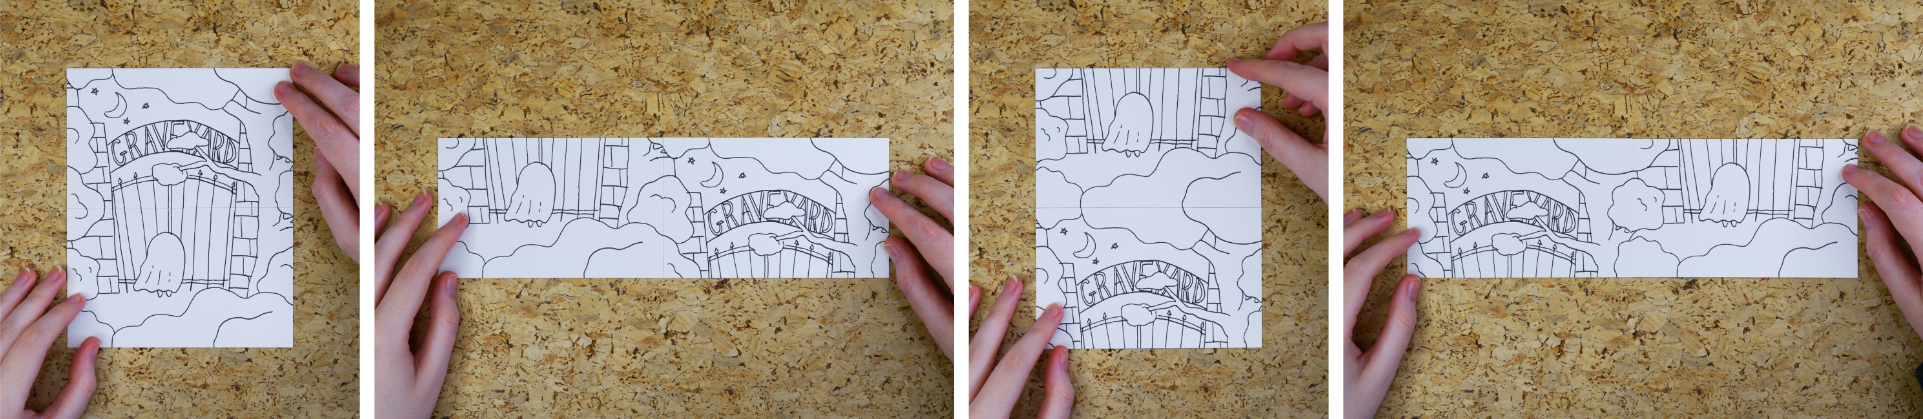
  • The steps to make a seamless half-drop repeat
  • How to check that your pattern is finished

What to expect:

  • A quick but comprehensive demo on how to make your pattern
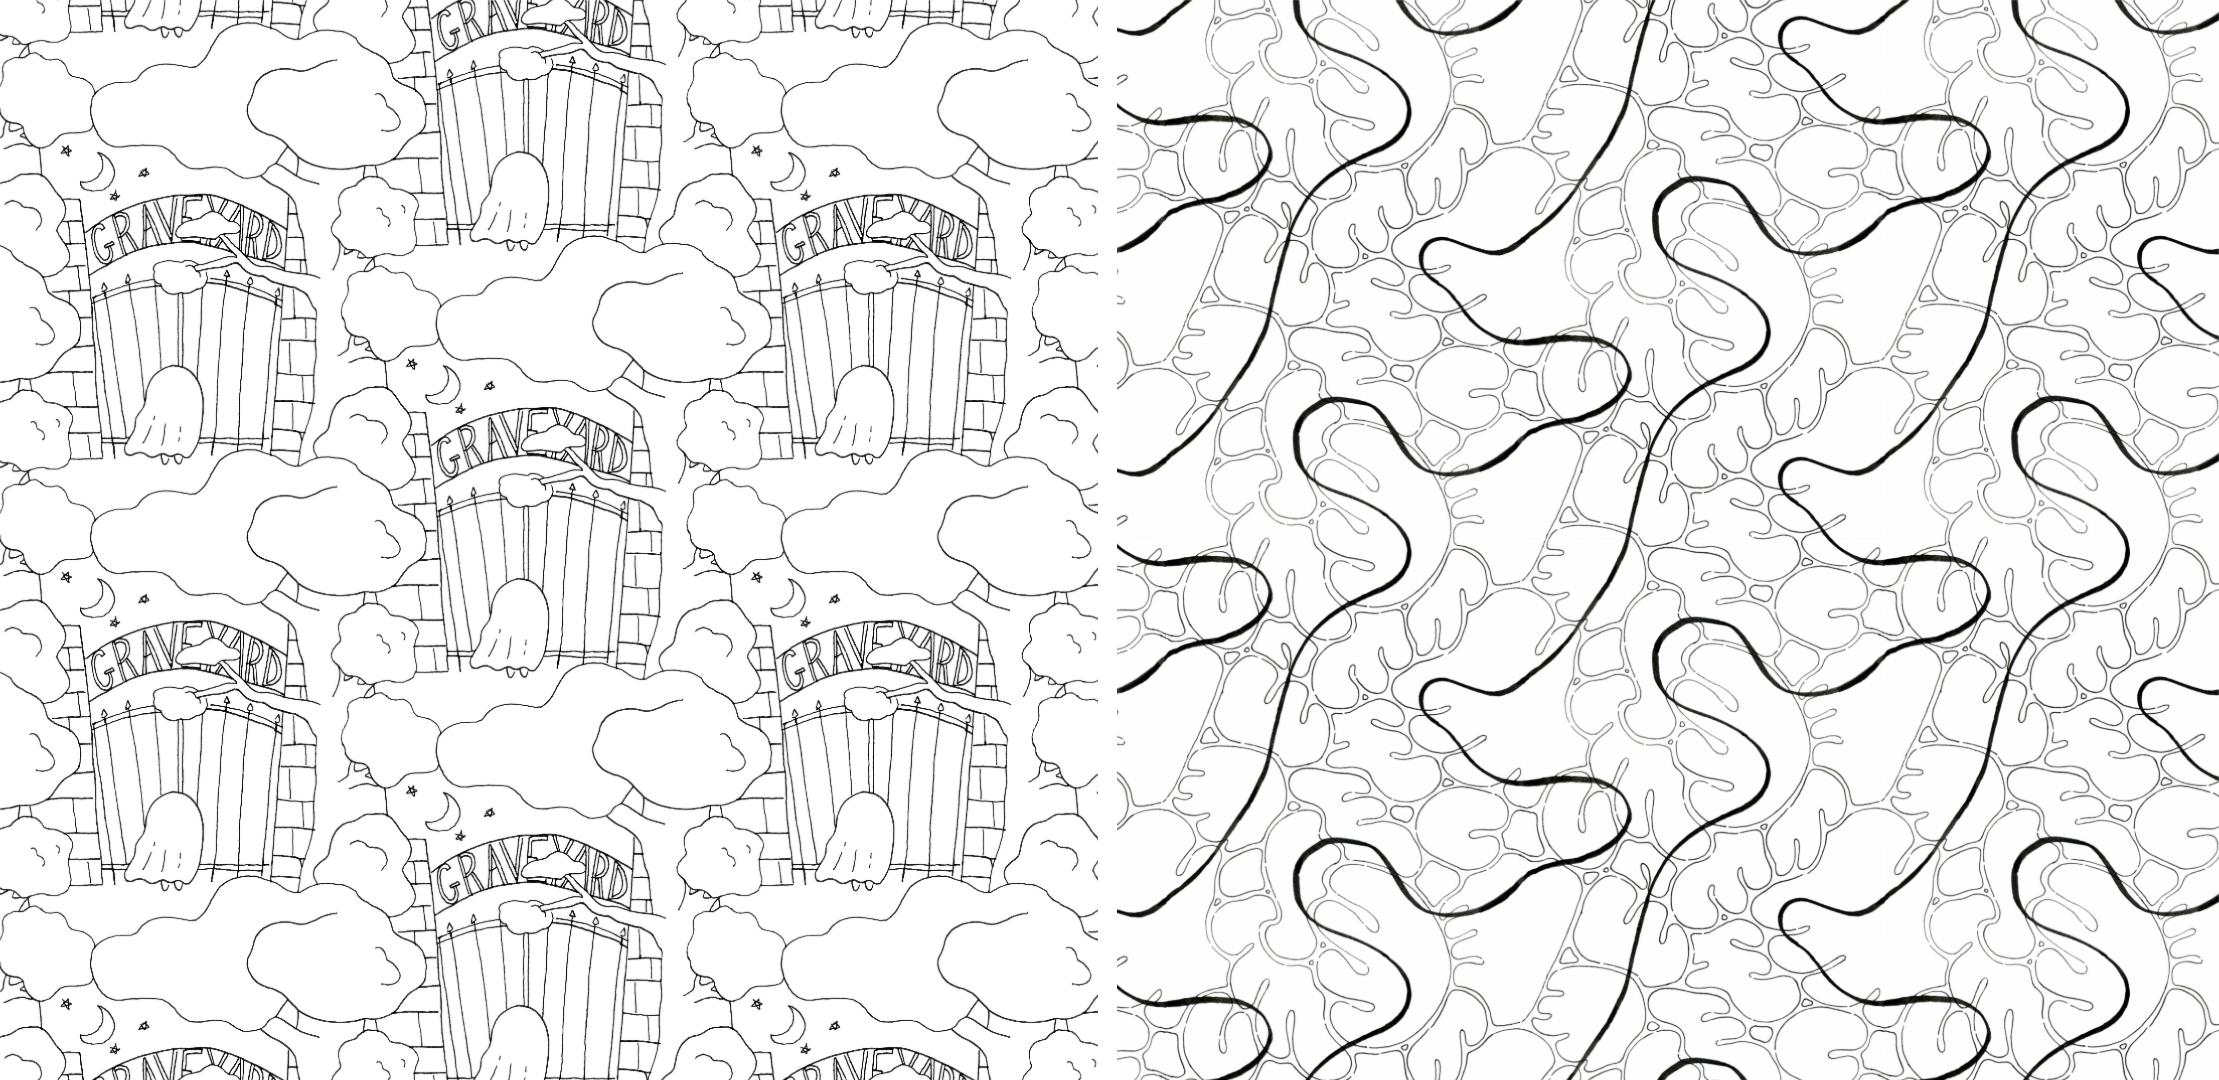
  • 2 Free Patterns to use as a reference for the class
  • Optional: My handy 15 page Guidebook with all the steps from class. Available to buy in the shop.

Who is this Class for:

This class is suitable for beginners, and people who want to learn more about patterns. You should take this class if you’re someone who loves patterns and is looking  for an easy little project for yourself or even a fun activity to do during the holidays with with friends, family and kids.

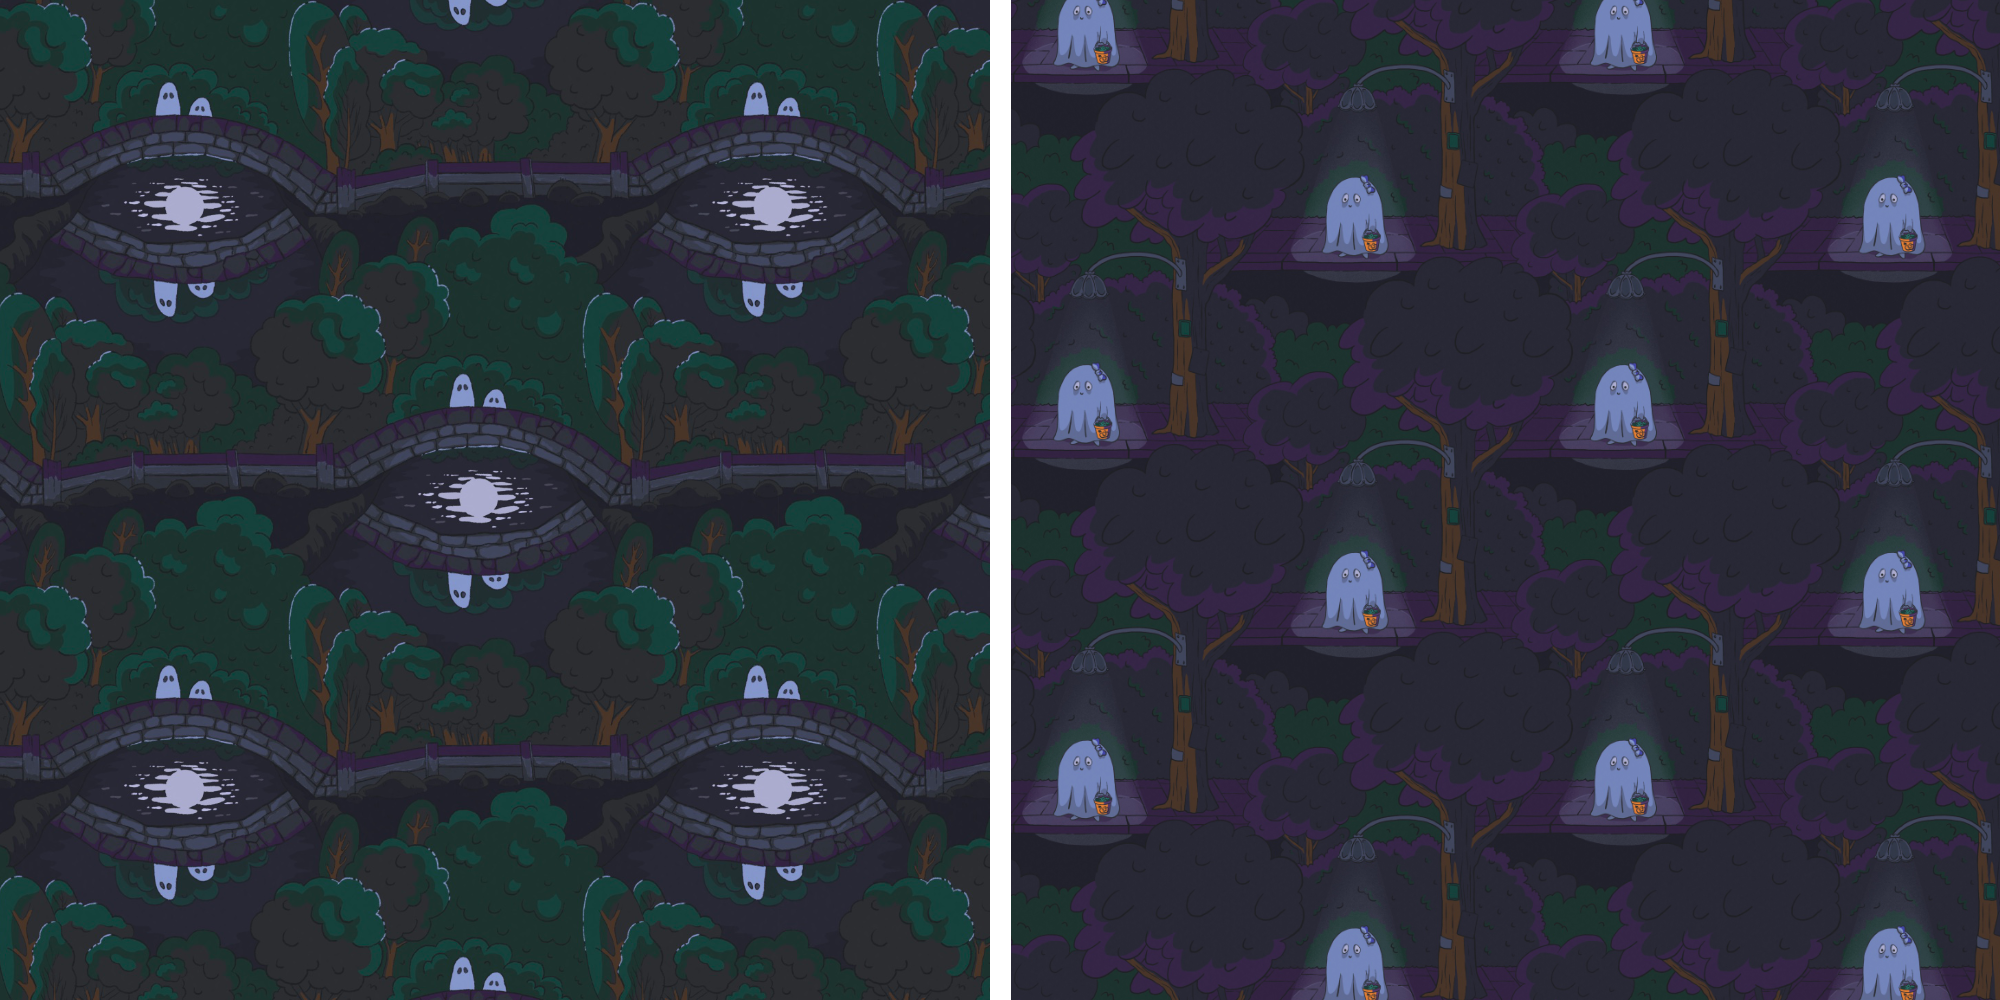
These two patterns (below) started off with the techniques from this class. So if you'd like to be able to make things like these then join me!

Materials: 

  • Paper
  • Pencil
  • Eraser
  • Scalpel or Scissors
  • Ruler
  • Cutting Mat or thick Cardboard to protect your table
  • Patterns for reference - see Resources section for downloads
  • Optional: The class Guidebook - All the steps from class in one simple place on sale in the Skillshare shop

See you in class!!! :)

Connect with me: Instagram / TikTok / BlueSky / Twitter / Website

Sign up to my Newsletter for news and updates on future classes!

Music Credits: Dar Golan

Meet Your Teacher

Teacher Profile Image

Chrissy Curtin

Illustrator

Teacher
Level: Beginner

Class Ratings

Expectations Met?
    Exceeded!
  • 0%
  • Yes
  • 0%
  • Somewhat
  • 0%
  • Not really
  • 0%

Why Join Skillshare?

Take award-winning Skillshare Original Classes

Each class has short lessons, hands-on projects

Your membership supports Skillshare teachers

Learn From Anywhere

Take classes on the go with the Skillshare app. Stream or download to watch on the plane, the subway, or wherever you learn best.

Transcripts

1. Intro: Do you want to go from this to this? Well, I've just found a new quick way to make patterns by hand. That's really fun. And I want to share it with you. Hi, I'm Chrissy and I'm a freelance illustrator from Ireland. I've made work for many clients over the years, but I just love to make work that is bold, colorful and fun. And I think I've said this 1 million times by now, but I love making patterns. I find it so satisfying when I get it right and it repeats seamlessly. So when I discovered this technique, I had to try it. In this super quick class, I'll teach you how to go from a sad, boring sheet of paper to a cool handmade pattern in just a few minutes. I'll let you know everything you need to get started and then just follow my simple demo all the way to Pattern town. And by the end of this class, you'll truly be as obsessed with patterns as I am. So if you're looking for a short project for yourself or something fun to do with kids, family or friends, then this is the class for you. So grab a pencil and paper and get ready to catch the pattern bug. 2. Project: 
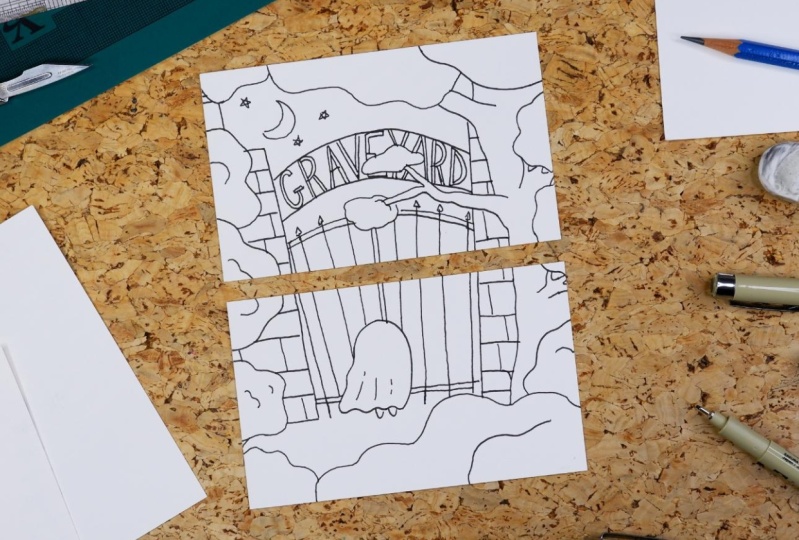
Our final project for this class is to make a pattern based on the simple steps in my demo and then upload pictures or a video showing off your final pattern in the project gallery. You'll need some paper, thicker paper or card as best, a pencil, a ruler. a scalpel or scissors and something to draw with, a pen or a pencil or paint if you're feeling brave. If you're using a scalpel, you'll also need a cutting mat or something like cardboard to protect your table from the blade. I've included two different patterns in resources for you to use as a reference for this class if you need. One is the pattern I make in the demo, and the other is an abstract one that might be easier for some people to start with. And if you want a list of the steps for all your future pattern making, I've illustrated a mini guide which is available in the Skillshare shop. This pattern making method makes a type of pattern called a half drop, which I teach about in my class Transform Your Art Into A Pattern. So check that out if you want a bit more background on patterns. When you've finished your pattern, upload your pictures or video to the project gallery. And if you have any questions, please post them in the discussions section below. So head on over to resources to download your reference, and I'll see you in the next lesson to start making our pattern. 3. Making The Pattern: Now that you have everything you need, let's make our pattern. Let's start by getting the paper ready. It can be any size or shape you like. We're going to take our paper and divide it in two on the longest side. So we'll cut right across here. Measure out the halfway point. And cut it in half. If you're using a scalpel, make sure you have something under the paper to protect the table. Right, now we have two sheets of paper that are the same size. Place the sheets of paper together like this and grab what you're going to draw. I'll be using this micron pen. I like to keep the sheets together at first so that I can see the overall composition of what we're drawing. You can start wherever, but I like to pick somewhere in the middle and draw out from there. I want to draw a little ghost character standing outside of a graveyard, so feel free to download the reference and follow along with me. But if you're new to patterns, it might be easier to try the abstract pattern until you get used to the process. Now I'm moving up to the other page to draw. Just be careful when going over the join so that the paper doesn't move. But if it does, just put it back together. At this stage, we're just working out the main part of the drawing. I'm sticking to the center and staying away from the edges. Make sure you don't draw all the way to the edges and leave a gap. Now we have this first bit done. We can swap around the sheets so that the top and bottom edges are touching. And now you can join any lines together or draw in some new elements. Now, move the sheets to the next edge and see what you can draw here. Again, don't draw to the edges unless they're joined. Then move the sheets to the last side and see what's left. The goal here is to fill up all the space with details. Now we can go back to the start and see how it looks. Join up any lines and finish any that are left dangling. Oh, see, here I found an unfinished bit, so I need to swap these back around to join the lines. So just study your drawing for any loose ends and swap the sheets around to finish them off if you need. It's easier to make it seamless this way, moving it around and gradually adding to it to finish the details. Then do a final check to see that you're happy with everything. And you're done. You've made a lovely handmade half drop pattern. Now you can have fun moving it around and wowing everyone with how it matches on all sides. It's such an interesting way to make a pattern, and it's quick and fun to do. If you'd like to take this pattern further and turn it into a repeat pattern like these, then check out my class, Transform Your Art Into A Pattern where I show you how to take an image and turn it into a half drop repeat pattern. And that's it. See you in the next lesson to wrap things up. 4. Wrap Up: Thank you so much for taking this class. Now you know how to make a cool half drop pattern by hand and will be able to make as many patterns as you like in the future. I hope you had as much fun making your patterns as I did. If you want to learn more about patterns, I have made other classes that you might like, where I go into more detail about patterns. So check those out. Don't forget to share your patterns in the project gallery. I can't wait to see them, and tag me if you share the project online. Use the class hashtag so I can check it out. For updates and info on future classes, check out my newsletter or follow me on social media. And please leave a review if you like the class. It really helps me out. Thanks so much again for taking this class. See you soon.