Transcripts
1. Intro: Do you like patterns? I do. When I first started
using Procreate, I made a lot of them. Then I learned about
the symmetry tool and I discovered a new relaxing
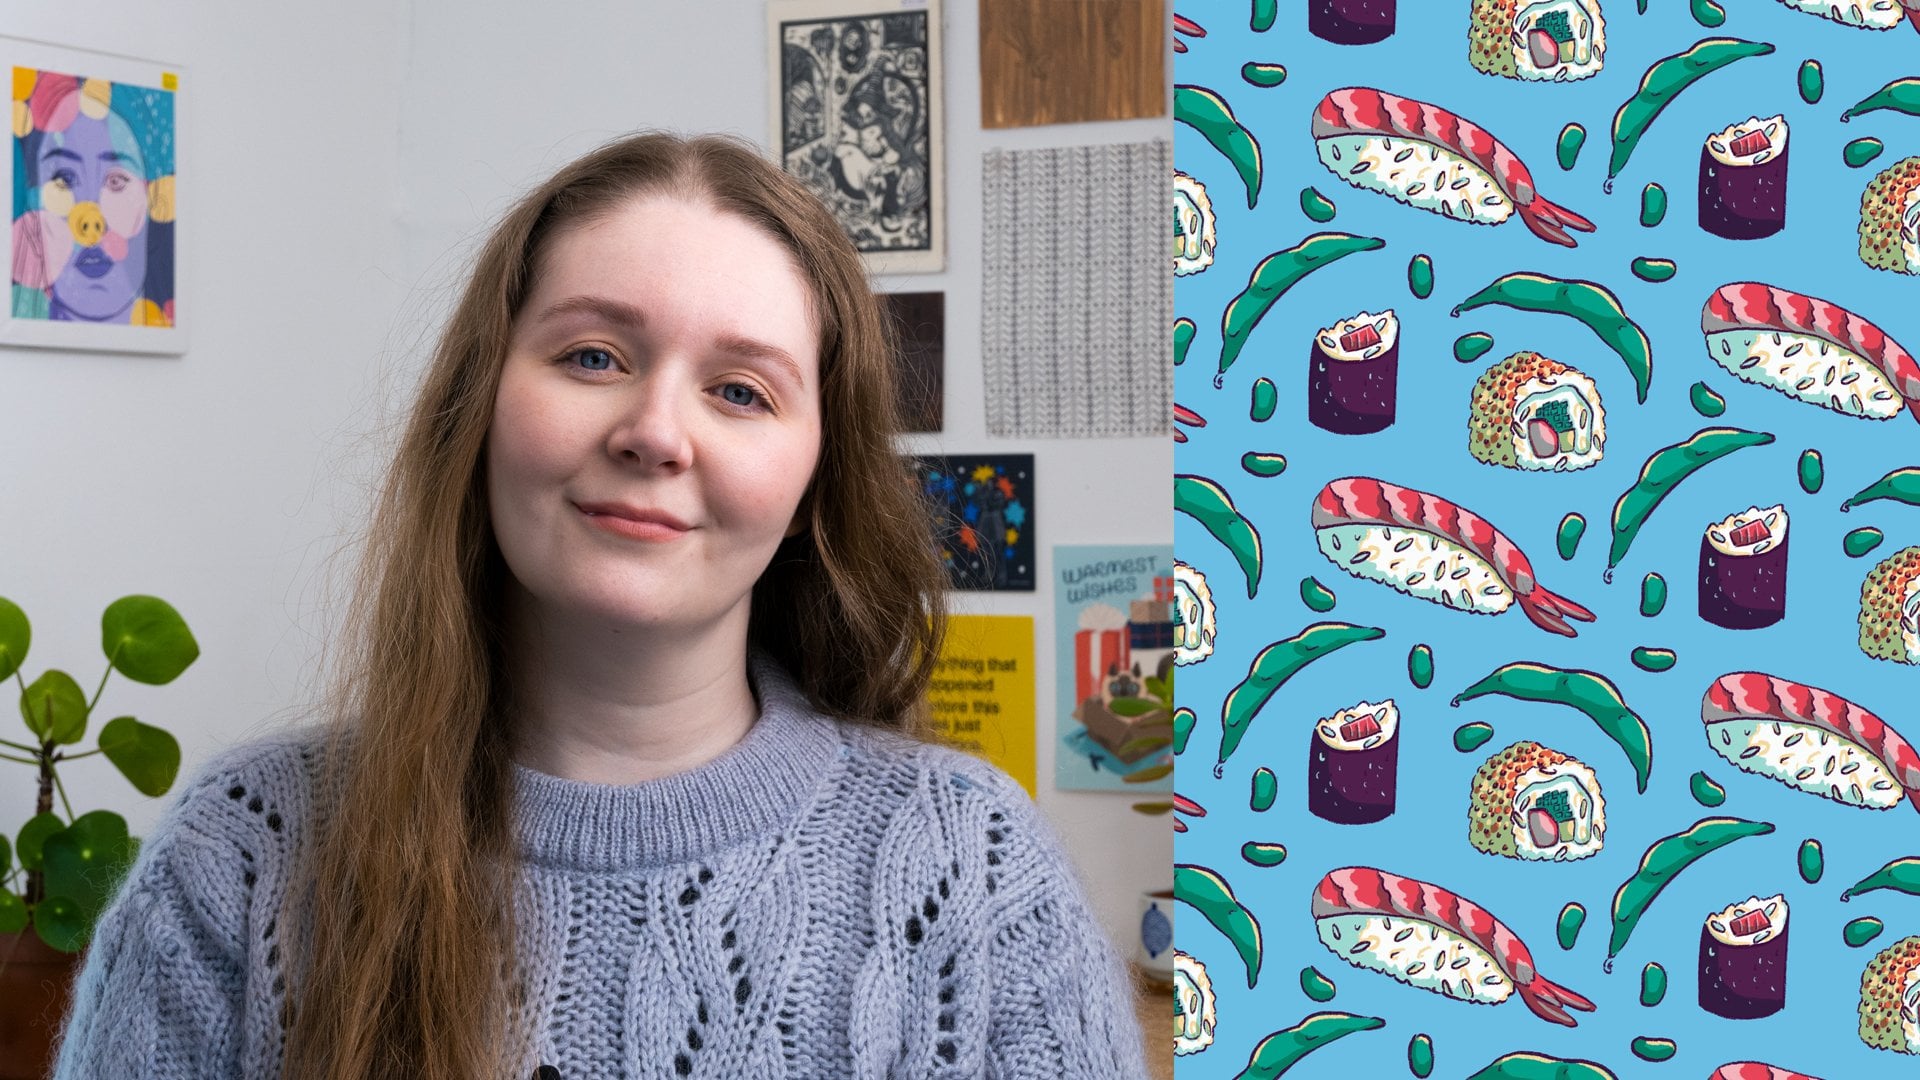
way to enjoy patterns. Hi, I'm Chrissy and I'm a freelance illustrator
from Ireland, making illustrations for
clients for over five years. I love to make work that is
bold, colorful, and fun. And what's more colorful
and fun than patterns. Whenever I'd finish
a pattern I'd always watch the
time-lapse back. And I found myself re-watching
some of them over and over again and getting lost
in the lines and colors. It was almost meditative and everyone needs a bit of
relaxation in their life. So I developed a way
to make sure that all your time-lapses are
relaxing and entrancing. In this class, we'll learn
my special method to create a meditative
time-lapse in Procreate. I'll guide you through
setting up our canvas, the basics of the symmetry tool. And I'll show you a
simple second way to make a very trippy
psychedelic pattern video. This class is for beginners
who are new to Procreate, but also has tips and tricks for anybody who wants to level
up their pattern skills. By the end of this class, you know two different ways
to make relaxing pattern videos that you can chill out to and re-watch again and again. So grab your iPad and let's go!
2. Final Project and Templates: Thanks for joining
me in this class our final project is to create two relaxing
pattern videos and upload them to
the project gallery. One meditative
symmetry time-lapse, one trippy psychedelic
pattern video. To get started, we'll do our prep lesson where I'll show you how to
setup your Canvas, the best settings
for your time-lapse and the basics of
the symmetry tool. And we'll do a small
practice exercise before we dive into
our final project. Then I'll guide you through a demonstration to make
each pattern video. You can spend however long
you want on each lesson, but it shouldn't take more
than 20 min for each. I've provided a
color palette that you can download
in the project and resources section, and templates for the meditative
symmetry lesson. To import your palette
into Procreate, open the color panel. Select palettes,
then click the Plus, choose new from file and navigate to where
you saved your file. Click on the file and it will automatically important
to Procreate. Then set it as a default. The template is our plan for making our time
lapses look good. I've included full and
simple versions of each. So choose whichever you prefer.
To use the full template, you just follow the arrows and draw in any
segment you like. But for the simple one, you need to stay within
that segment when drawing your pattern
to follow the plan. You'll need an iPad
with Procreate and an Apple pencil or Apple
compatible stylus. You'll also need screen
recording enabled on your iPad. To check if this is
enabled, go to Settings, Scroll down to the
control center, You'll see the controls
you've enabled on the right. If screen recording
isn't selected, just scroll down to find it and click the green
plus to add it. Then when you swipe down, the option to screen
record will be there. When you're done, upload
them to the project gallery. And I encourage you to include any notes about how
you found the process. And if you've any questions, please post them in the
discussions section below. So head on over to the
resources to download your palette and let's
relax with some patterns.
3. Prep: Canvas and Symmetry: Hey everyone. For
this first lesson, I'm going to take
you through all the basic preparation you'll need for the final
project for this class. I'll show you how to
set up your canvas, time-lapse settings
and guide you through an exercise to teach you all
about the symmetry tool. So let's go.
To start off, we're going to go
into Procreate, hit the Plus on the
top right corner and we're going to make our
new canvas. For the size we're going to have pixels
selected and you will make the canvas 2000 by 2000. The DPI is 300. For the color
profile we'll stay in RGB because this is
just for digital use. What's very important for this project is the
time-lapse settings. We need to set them
up to make sure that the playback
will be high-quality. So there's all these
settings here and we want to make sure
that it's in 1080p. And here we have more
video quality options. There's good-quality
but I'm going to pick studio-quality
because it will have a better playback for
what we want to do. And by the way, you'll
only be able to access these settings when you're
first setting up the Canvas. So if you want to change
any settings later, you'll have to start
again and make a new one. So when you're okay with all of your settings, name your Canvas. I'll call mine Pattern Canvas.
And then click Create. And it will automatically
save this as a template. If you want to use
this Canvas again, you can click the
Plus and scroll down to the bottom of your
pre-made canvases to find it. Now that our canvas is ready, I'm going to take you through the basics of the symmetry tool. To find the settings. Go to the wrench, select Canvas, moved down to turn on Drawing Guide and click
Edit Drawing Guide. There are all these
settings in here, but we're just going to deal
with this symmetry one. You can move this drawing
guide with the blue node. And you can move this green
node to rotate the guide. But I suggest sticking with
the default right now. So click on each node and press reset to get back
to where we started. And if you ever change
the guide by mistake, that's how you get
it back to default. So here we have our options. And the most important one is to have Assisted Drawing turned on. Because that means
anything you draw will be reflected on the other side,
kind of like a mirror. The first option is vertical, which splits the
canvas into two, so everything you draw
is reflected once. The second is horizontal. And that's very
similar to vertical, but it splits the canvas
horizontally instead, so everything is upside down. And I'm making a new layer
for each of these examples by the way.
Next is quadrant, which is a combination
of the first two and it's split into four. And the last one is radial, which splits it into eight, and everything is mirrored
four times 1, 2, 3, and 4. There's one last setting
called rotational symmetry. So I'm going to turn that on, go back to the vertical guide
and show you what it does. This one is kind of complicated, but it basically reflects and flips your
image at an angle. So we'll go through each of the rest to see how they look. And I'm making each example
on a different layer. See how the horizontal
one changes, and the quadrant. I think the radial symmetry
one is my favorite because things start to look
crazy complicated and fun. It's good to practice
and get used to it, and compare drawings from the different guides to
see how they differ. So as a practice exercise, I want you to play around with the four Guide
Options I showed you, just like I did here. Once with Rotational
Symmetry off. And once with it on.
Upload your drawings to the project gallery and let me know if you
have a favorite. You can check out mine
in the project gallery if you need an example. Get used to how it works, compare and see the differences. Or next lesson is the first
part of our final project, and we'll be using everything
we've learned here.
4. P1: Meditative Symmetry Timelapse: Welcome back everyone. So now that you're setup and
used to the symmetry tool, we're going to get
into the first part of our final project. I'll guide you through a demo, teaching you to make your
very own super relaxing and cool meditative
symmetry time-lapse. We're going to start off with
the same canvas we made, with all the same settings. I have a new layer
made and we're going to pick the symmetry
guide that we want. To keep it simple. I'm going to go with quadrant. And I have rotational symmetry off. Now, we'll draw a
sketch that we can follow as a template when
we're drawing our pattern. We're going to draw
some basic shapes that we can base our
pattern off of later. You can do circles, squares, wobbly lines,
whatever you want. Try to keep it simple
for now though, until you get used
to the process. Circles are very relaxing to me. So I'm going to make
mine circularly. You just want to map out
a simple shape and it doesn't have to be perfect because it's just
the guide for later. See, that was super easy! Now that we have this part done, we want to think about our
time-lapse a little bit. I'm going to show you how to organize and in what order to draw things so that when you
look back on the time-lapse, it's going to look really cool. I'm going to pick a
different color for my brush because
we're going to draw some arrows now to tell us which direction to draw our pattern in. And I want them to
be clearly visible. So we're going to
think about drawing our lines in one direction. And I'm going to draw the
arrows along the guides to keep everything
neat and organized. We're going to pick the
direction to draw the lines in. I always think it
looks good to draw from the center to the outside. And I'm drawing them in a
different color to the lines we just drew so that we
don't get confused. When we're drawing
our pattern later, we'll be reminding our
future selves to keep following these arrows
when drawing or lines. Then do the same for
the other arrows. This template won't be
in the final art, so don't worry about
what it looks like. If it's a bit
messy, that's okay. That's the first set of arrows. Now I'll change the
color of the brush again for these next arrows. This second set of
arrows is going to tell us what direction to
fill in our pattern. If you're finding this
a bit confusing now, don't worry, it will
all make sense later. Trust me. For the filling, I
want to draw from the center to the outside in layers and give each layer a direction to the
left or to the right. But we'll change up
the direction every second layer so that
when we watch back, each layer will go
back and forth. And that will make a
really cool effect. So this first layer,
we draw this way. And this next one the other way. You can mix it up and go the
same direction a few times. And it's completely up to you which direction
you want to pick. And that's our basic plan. Now if you're looking
at this and thinking, oh my God, it's too complicated! What have I just made?!! Don't worry, it's all right. I'm going to show you
a way to simplify it. What we'll do is
duplicate the layer, turn off the original layer, and erase the other
three segments so that you'll just be left with one, which you might
find easier to follow if this is looking
too overwhelming. First, we'll go back into the drawing guide options and
turn off assisted drawing. Then we go to the
selection tool, choose the rectangle selection, and then select
almost everything to the left and to the bottom. But make sure to leave
out the red arrows. Swipe down and choose
cut to delete it. Then we'll get the eraser and clean up the rest of
these little lines. Just make sure to keep
all of the arrows. So now we have one
simple segment of the template
that we can follow. Then we're going to save this to our photos so that we can
use it as a template. First off, we're
going to turn off the background because we
don't need it anymore. Then hit the wrench, choose Share, and we want
to export this as a PNG. Then select Save Image, and that will save it to
your photos automatically. And you can do the
exact same thing for the full templates if you
want to use that one instead. So turn off the
background, go to wrench, Share, PNG, Save
Image, and done. So before we move on, we're going to
group these layers, swipe left on each
layer to select them. Hit group and and name it. Then turn off the group because we don't
need that anymore. I'm going to show
you a good trick to use these templates, but not have them show
up in our time-lapse. First, we're going to
turn our background on and pick whatever
color you like. I'm going to pick white for now. And thanks to a cool
feature in Procreate, we can import an image into our Canvas as a private photo. Go back to the wrench, click Add, go down
to Insert a photo. But instead of clicking it, swipe left and choose
Insert or private photo, your photos app will pop up, and you just click the
templates you just saved. Pick whichever version of
the template you want. That'll import the image. And because it's a PNG it'll import
with no background, just like how we saved it. Lower the opacity of
the template layer so it's not super in our
face the whole time. And remember, I've made some templates for
you in the project and resources section. So check those out if you like. Right, so now that we have
our templates ready, we're going to make a new
layer and we're going to use the same symmetry settings
that we used for our template. So, we're going to open it up, go to Canvas, drawing guide, edit drawing guide, and make sure that it has
the same settings as the template you're using. For the first part of
this we'll be drawing lines and following
the template we made, I'm going to pick a
color from this palette and I've included it in the project and
resources section if you want to use it too. Then I'm going to change
the background color. I think the time-lapse
generally looks nicer if you pick a nice color for the background from
the beginning. And after you've done that, feel free to change
the opacity of the template if you
can't see it as well. Make sure you have the
correct layer selected. Now, very important, Procreate has been recording all of this preparation that
we've been doing. And we don't want that
in the final time-lapse, so we need to reset it. So go to wrench again. Click video and you'll see
the time-lapse settings. Turn off time lapse
recording and click purge. I know it looks like a big, scary red button at the moment, but don't be afraid. Then we'll go back into Settings and turn time-lapse
recording back on. And now we have a
fresh start and everything we draw from
now on will be recorded. And remember, because we have our template layer
on private photo, it's not going to show up at all even though you see it here. And that's the beauty
of the photo trick. We get to follow our
plan and the time lapse will look very nice and very
pretty in the end. And that's our setup done. So now we get to start
on the real thing. As I mentioned, we'll be
drawing the lines first. So we're going to start
from the inside and work our way out
following these arrows. Just draw along
the template lines from the inside to the outside. And make sure you follow the
direction of the arrows. Following these arrows just means that the
time-lapse will look cool because all
of the lines will flow from the center
to the outside. So remember to keep
checking in on your plan to see if
you're staying on track. I also just like to
draw the lines in the same direction because I think it looks cooler
when you watch it back. You can draw any
kind of lines, broken lines or dots,
or thicker lines. You don't need to follow
the template exactly, but it might be easier until you're more familiar
with the process. So that's our first little
layer of lines done. Make a new layer, and then name the layers color and line to make it easier to remember
where things are. And of course, we have to add symmetry settings
to this new layer. Make sure assisted
drawing is on. Pick another color. And for this next part, we'll start to add some color in. This time, we will follow
the other arrows while also still working from
the center to the outside. This will make the
time-lapse have an outward flow when
you're watching it back. I'm going to start
in the middle, following the arrow, draw
from this side down. I'm changing the color
for the next layer. This arrow is pointing upwards, so I'll fill in the
section in that direction. I'm drawing in the
direction of this arrow. And I'm lifting my
pencil every so often because Procreate records
every single stroke. So the more you
lift your pencil, the more strokes the
recording will capture, which will look better in this
kind of time-lapse we're making. You can color the sections
however you want. You can make a
textured or flat. And even if you
want it to be flat, keep lifting off the screen
to record more strokes. And the arrow says we
should draw this way. But notice that while
I'm drawing here, it's happening in all the
other segments as well. So you can draw in
whichever segment that feels comfy for your hand. Just follow the arrow in the segments you're drawing
in and it'll work out. So this one goes this way. So we'll drawn that direction. And this one goes this way. But if you're using
the simple template, this obviously won't
work because you won't have a guide in
the other segments. So you'll need to stick
to drawing in one segment. So keep that in mind when
you're choosing your template. Keep drawing until you've
filled in all the sections in the
directions of the arrows. Now that we have this
base layer done, I'll show you how to add
elements to it to make the time-lapse even more
cool and relaxing. Back, we go into the line layer. So we're going to add
more lines, textures, and details that will give another dimension
to this time-lapse. We're done with the
template at this point. But what I want
you to do is keep in mind the direction
that you're drawing. Anything that you undo or redo will still show up
in the final time-lapse. So be mindful of that.
But I mean, mistakes happen, so you know
don't be too worried about it. This is supposed to be a
fun and relaxing project. And the only one who knows what your pattern is supposed
to look like is you. So it will be okay. Let's get into it and
start adding bits. The more bitty lines you do, the longer your
time-lapse will be. You can draw different shapes. I'm drawing boxes and
lifting up after every line. I'm also drawing each one in the same direction
for consistency. Dots and lines are a
nice element to add. Add as many lines
and bits as you can. It doesn't have to be perfect. Here's a fun tip. We're going into the
drawing guide settings to turn off assisted
drawing on this layer. And we'll use that to
do a cool effect that makes the drawing spiral
around the canvas. I'm drawing some small lines, keeping in mind to go in
one direction all around. And each line doesn't
have to be perfect. It will still look good
in the time-lapse. Now, I'm going to turn
off assisted drawing in the color layer too
and do the same thing. Filling in shapes in
a spiral direction. And now I'll show
you how you can use the undo redo to your advantage. We'll just undo all that red and redo them all again by holding three
fingers down on the screen. Then undo again and redo
them all one last time. And trust me, that's
going to look really entrancing
in the time-lapse. Now with the assisted
drawing still turned off, we'll draw some more
dots into these shapes in that same anti-clockwise
direction as before. Now I'm ready to turn the
assisted drawing back on, on both layers and add
some final touches. Drawing some more
lines back-and-forth. The more lines the better
because it just looks cool. What can look nice is changing the background
color for a bit while you draw
some more details. You can do it as many
times as you want, but it's a good idea to draw a bunch of strokes
in-between changes or it could look really
jarring on playback. Then change it back again. Add some last details.
And I'm finished. When you feel done,
it's time to check our meditative time-lapse to see
if you're happy with it. Go to wrench, video and time-lapse replay
and have a little look. You can swipe along the bottom to speed it up and
get a quick look. Feel free to go back and draw some more lines
if you want to. But if you're happy with
it, you're finished. And now we can export it. Now that you're ready to export, we go to wrench, video and
export time-lapse video. I always choose full
length so that you can see all the details
in the time-lapse. Click Save video. If you like, you can also save a JPEG
of your final pattern. Just go to Share, select JPEG and save image. Go into your photos app by swiping up from the
bottom of your screen, you'll see your
time-lapse and images that you saved all
snug in there. And now it's time to bask. Make yourself a cup of tea, snuggle to a comfy
seat and watch your meditative
symmetry time-lapse. Let your eyes go blurry, sink into the feeling,
and relax. The first part of
your final project is to upload your
time-lapse video to the project gallery
and feel free to include notes on how
you found the process. Our next lesson is the second
part of the final project, where I'll show
you how to make a trippy psychedelic
pattern video.
5. P2: Trippy Psychedelic Pattern Video: Hey everyone. In this
lesson we'll be doing the second and final part
of our class project, I'll take you through
a demo on how to turn any pattern into a cool, trippy psychedelic
video that you can feast your eyes
on and relax into. I'll take you through
the steps to make another quick pattern first, but feel free to use
the pattern from the previous lesson or even
one you've made before. This method should
work with any pattern. To start, we'll use
the same canvas as last time with all
the same settings. And we're going to make
a quick pattern using the symmetry settings like we
did in our previous lesson. So make a new layer. Go into the drawing guide and
pick your symmetry setting. I'll try the radial
one this time and keep Rotational
Symmetry off. But you pick whatever
settings you want. Now I'm going to draw a
simple quick pattern. You can draw anything
really, be abstract. We don't need the
time-lapse for this one. So there's no need to think
about directions or anything. Just make a simple pattern. So I'm adding some
different line weights, some swirls and dots. And you can add any lines
or shapes you want, experiment and have fun. Then make a new layer
and put it under your line layer so we can add some colors underneath the line. Then we'll pick a
background color. And remember, I've
included a palette in the projects and
resources section for you if you need. Make sure
you have the new layer selected and pick another
color to fill in some bits. And just like our last lesson, make sure you add the same symmetry
settings to this layer too. And really quick continue to draw lines and fill in parts until you're
happy with your pattern. I'm making one last
layer to add in some different background
color to some sections. And making some last details. You can change the
colors around if you like I'm making this a lighter purple because they
think it looks better against the yellow. And that's the pattern done
really quick and easy. Now group your layers
and give it a name. Duplicate the group. Then turn off the original
and flatten the new one. I always like to keep
my original layers in a group in case I need
to make any edits later. Now make a new layer and fill it with your
background color. Then merge those two together. We need to have everything on one layer for this next step. And you could also
use the pattern from the previous lesson for
this instead if you like. Great. Now we're prepared to
move on to the next step. Go to adjustments
on the top menu. Pick hue saturation
and brightness. And you can see all these
settings along the bottom. You can use any of these
settings for this next bit. But I think it looks best
with just the hue setting. So I'm focusing on
that for this lesson. Play around with these
settings for a bit. But when you're done, undo and go back to the original colors. Now that you have a grasp
of the settings we're going to set up our iPad
to screen record. Swipe down from the top right
and turn on screen record. Turn on the hue saturation
and brightness adjustment. And we'll center
our canvas so that the menu isn't cutting
any of our pattern off. Now, like we practiced
a second ago, we'll just slide through the
hue setting very slowly. Go back and forth. Speed it up a bit, go through the full
range of colors, or just pick a small section. Do it for however long you like. And when you're
done, we'll swipe down and turn off screen record. Now. Swipe up to find
our photos app find our
saved screen recording and watch it back to see
if you like it, and feel free to make a new screen recording if you want to. When you're happy with your
screen recording, click Edit. And we're going to scrub
across the timeline on the bottom to cut off
the part of the video before I started changing
the hue, then we'll cut off anything at the end of the video that we
don't want to see, like menus popping up and
all that kind of stuff. Then on the left
click the Crop tool, set it to square on the bottom and crop it in as close as you can to get rid of
the background. When you're happy, click Done, and save video as new clip. Wait for it to process. It might take a bit
if your video is long. Watch the colorful glow. See all the colors change. Melt into the trippy
psychedelic-ness-ness. Let your eyes go fuzzy. All that good stuff
and enjoy. The second part of
your final project is to upload your
trippy video to the project gallery
and feel free to include notes on how
you found the process. And that's our final lesson
everyone. See you in the wrap-up
to finish up this class.
6. Wrap Up: Thanks for sticking with me
and finishing this class. Now you know a few
different ways to make beautiful relaxing
pattern videos, you know all
about creating canvases and the best settings to make all your time lapses look
great in the future. You're basically
a symmetry master now. Remember to upload both your pattern videos
to the project gallery. I can't wait to bask in
your relaxing patterns. I hope you enjoyed
making patterns this way and get as obsessed with
watching them as I am. Please share this class with
anyone you think would like it and leave a review if
you liked the class. It lets me know what
to improve on and helps me get my class
seen by more people. You can follow me
here on social media. And if you share
your project online, tag me and add the
class hashtag. Thanks again for
taking this class. Now go watch your
patterns and relax. See you soon.
 Chrissy Curtin, Illustrator