Transcripts
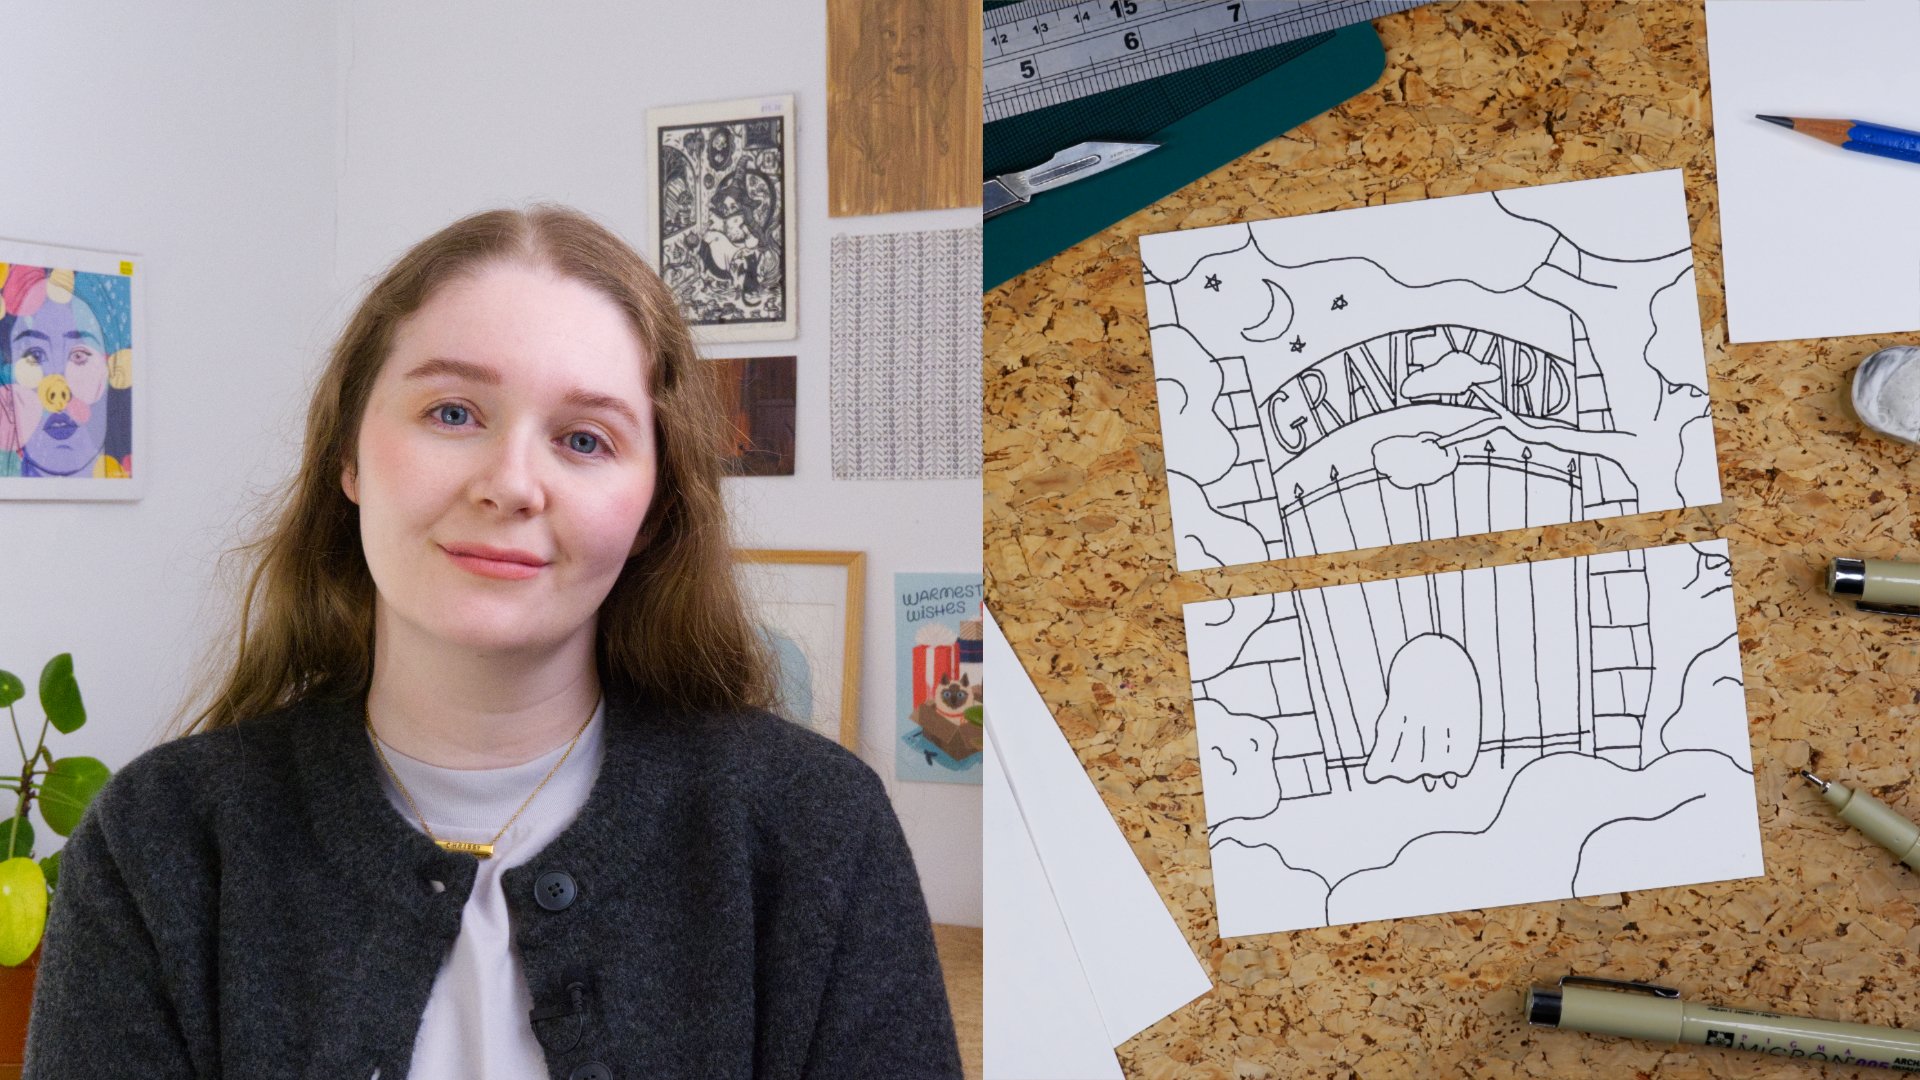
1. Intro: Hi, everyone. I'm Chrissy, and I'm a Freelance
Illustrator from Ireland. I make bold and fun
work for all kinds of clients from packaging
to editorial and more. I also love to make patterns. Patterns are so
fun and versatile. You can make them for
stationary or things like greeting cards,
products, or clothes. They can be as simple or as
complicated as you like in any theme that you
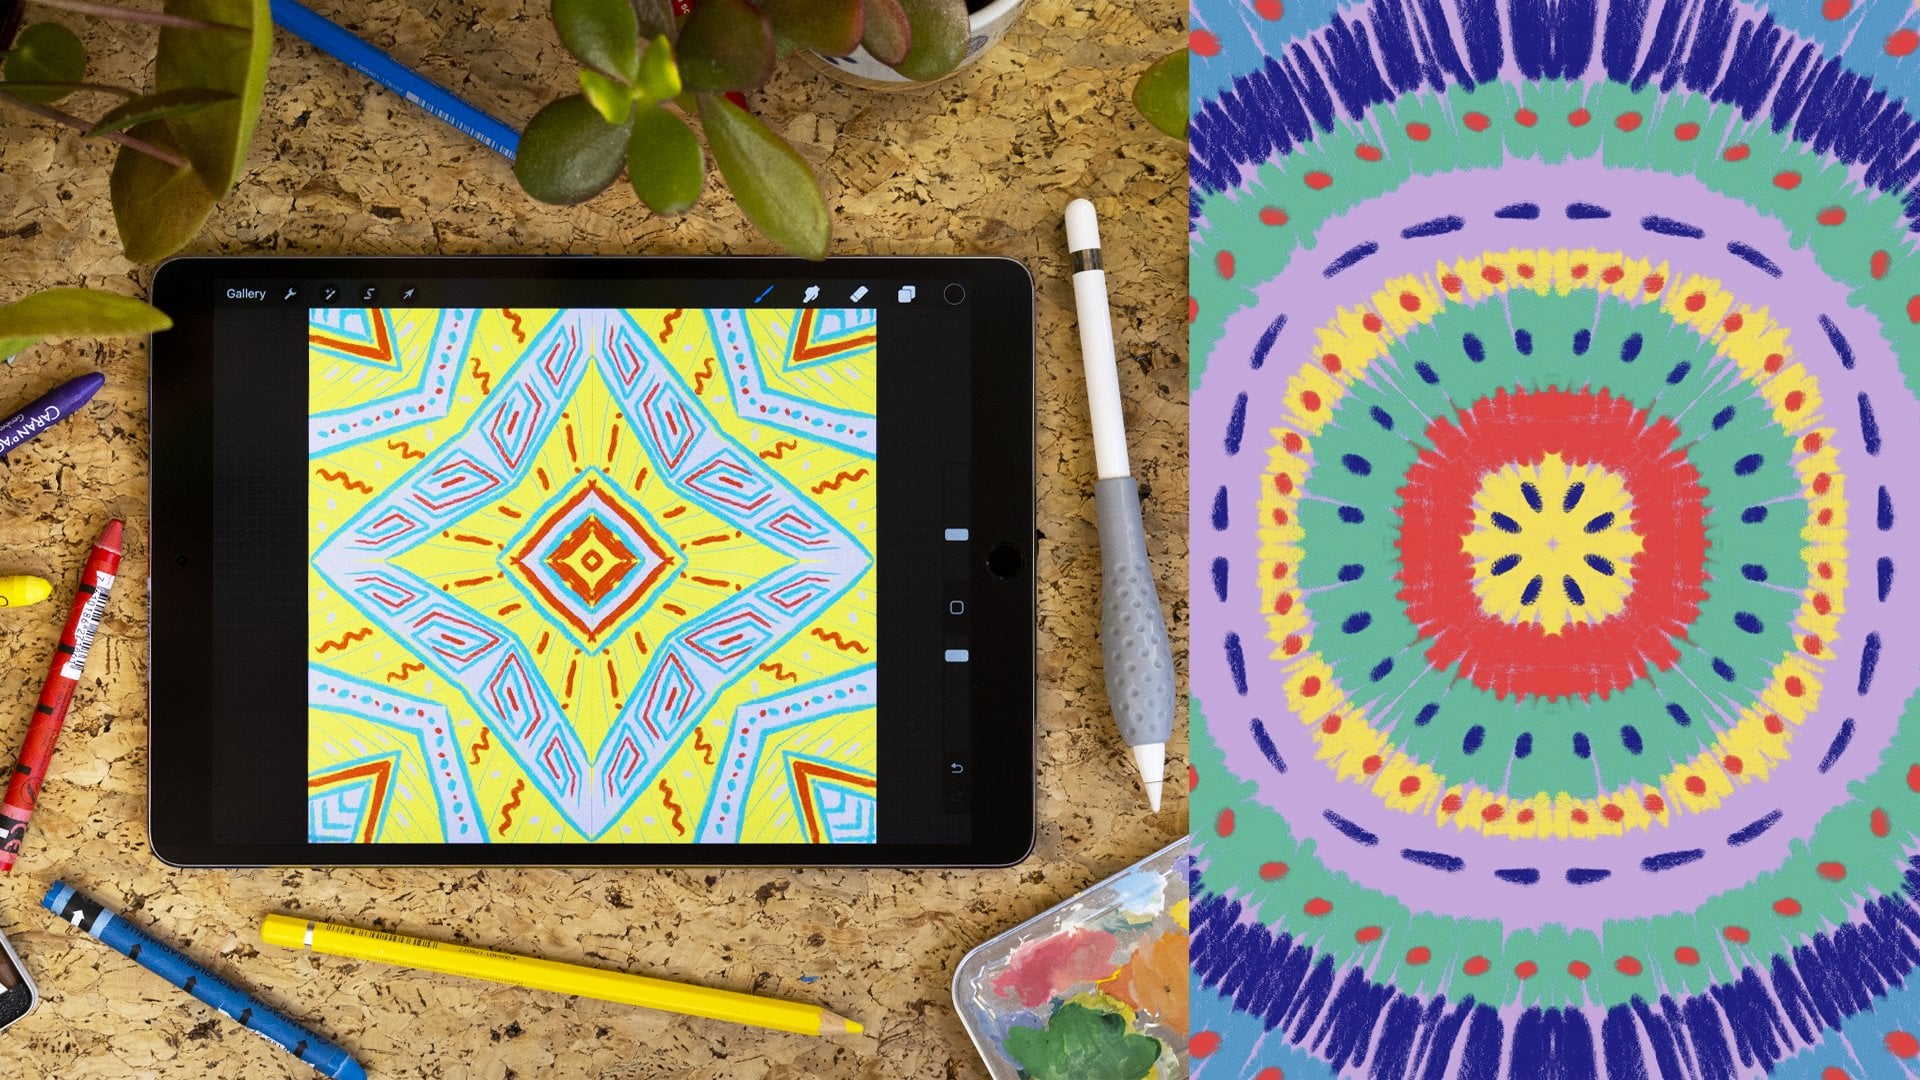
could possibly think of. They're just fun to do. So I developed this
class to show you how easy it is to create
Seamless Repeat Patterns. In this class, we'll focus on
two basic Pattern Repeats, a Block Repeat, and
a Half-Drop Repeat. First, we'll learn a
bit about each type, and then I'll guide you
through a demo of each one so that we end up with two
final Repeat Patterns. We'll learn what makes a
successful pattern. Tips to help you work
smoother on Procreate. I'll show you a little
Procreate Twist to make all your future
patterns more accurate. I've made Templates of my design if you want to follow
along with me. Or you can use work
you've already made and follow the steps to Transform
it into a Repeat Pattern. I've made a simple Guide that combines all the steps to make these patterns so you can have easy access to the
techniques anytime. All you need to get started
is an iPad with Procreate. This class is suitable for
beginners who are new to Procreate or for anyone who wants to improve their
pattern making skills. By the end of this class, you'll be able to use these
basic techniques to make all sorts of amazing
patterns for your portfolio, for clients, or for
your own products. The world is your oyster. So grab your iPad and let's
start making some patterns.
2. Our Project: Thanks for coming
along to this class. Our final project
will be to make two Repeat Patterns using the techniques that I
showed you in the demos. We'll be making one
Block Repeat Pattern Tile and one Half-Drop
Repeat Pattern Tile. To start, we'll learn a bit about each of the pattern
repeats we'll be using. Then I'll guide
you through demos showing you all the
steps to make each one. You can follow along with
my design or make your own. You'll need an
iPad with Procreate, and I recommend grabbing
a pencil, paper, scissors, and tape if
you want to follow along with the Practice Exercises,
but those are optional. I've made a few resources to help you with
your Final Project. You can find these in the
Projects and Resources section. These include a Color
Palette for the class, Templates of my design
for you to follow, and a simple Guide that combines all the steps
to make these patterns, so you can have easy access
to the techniques anytime. To import the Pallete
into Procreate, open the Color Panel,
select Palettes. Then click the plus. Choose New from file, and navigate to where
you saved your file. Click on the file, and it'll automatically import
into Procreate. Then set it as default. To use the Templates,
go to Wrench, Add, and Insert a photo, and you pick your template. Then go to Layers and use the slider to lower the
opacity of the layer, so it's not distracting
when you start to draw. When you've finished your Project, upload your Pattern Tiles
to the Project Gallery. And if you have any questions, please post them in the
Discussions section below. So head on over to
the Resources section to download everything you need, and I'll see you in
the first lesson to start making some patterns.
3. Let's Learn About Patterns: Hi, everyone. Before we dive
into the Class Project, I want to explain
the two types of Repeat Pattern we'll be
making in this class. A Block Repeat is the
simplest style of repeat. It has a simple grid
structure where the design is spaced
and aligned equally. Because of this, it's easy to plan out designs
in this style. It works well with abstract geometric and
symmetrical designs. To make a Block Repeat, you take your design and
cut it into quarters. Then swap the top row
with the bottom row. After that, swap the right
column with the left column. Then you have a Final
block Repeat Tile. When this is tiled
out, the pattern will look evenly
spaced and aligned. If you want to practice
this yourself, you can do these steps
with a sheet of paper, a pencil, scissors,
and some tape. This can help you
get used to how the different sections need to be arranged to make the pattern. Check out the Projects
and Resources section to download the easy Guide
that I made for you, which has all these
steps listed together. This is slightly more difficult to plan than a Block Repeat. A Half-Drop is when your
design is offset by half the width or height
every second row. It usually repeats
to the bottom with the right hand tile
being offset by half, so it looks like it's repeating
in a diagonal pattern, and it works well with complex
designs as it can disguise the repeat border which creates more of a
variation to the pattern. To make a Half-Drop Repeat, take your design and divide
it in half vertically. Swap the right column
with the left. Now, divide the new right
side in half horizontally. Swap the top with the bottom. And that's your
Half-Drop Repeat. You can practice this yourself
with a sheet of paper, scissors, and some tape and get used to how the
sections are arranged. And again, all these steps are in the Guide if you
want to download it. You can use these two styles of repeat to make all sorts
of other patterns. Now that you know the basics, let's dive in and
make our pattern.
4. Drawing The Base Design: Now that we know a little about the patterns we'll be
making in this class, let's get started by drawing our Base Design or
Motif for out pattern. If you want to use artwork
you've already made, you can skip to the next
lesson where we start to learn how to turn our design
into a Repeat Pattern. But if you want to follow me,
continue with this lesson. The first thing we're going
to do is set up our Canvas. Click the plus here. Then click this icon to create
your own Canvas. Then we'll make this Canvas
4,000 by 4,000 pixels. Make it the biggest size you can because you can
always size down, but you can't size up without
degrading the quality. I'm going to keep
this at 300 DPI. But keep an eye on how
many layers there is and pick a happy medium that
works for your project. In Color Profile, we're
going to keep it RGB. But if you're working
with a client, it's best to ask if they need
RGB or CMYK files first, and then you can work to
their specifications. That's all we need for now.
So, let's name our Canvas. Click Create. And now we
have our Canvas ready. Now, go to the Menu bar, hit the Wrench, go
to Canvas settings, and we'll turn on
the Drawing Guide. Click in to edit
it, go to Symmetry, and we're going to make
it a Quadrant grid. But make sure you turn
off Assisted Symmetry. You can change the color
of the grid if you like, but I'm just going to keep
it as it is. Then hit done. So, to start, we'll pick a
theme for our Design. I like to start by
doing a Brainstorm. Just pick any topic
you're interested in. I love food, so I'm going to brainstorm some of my favorite
kinds of Japanese foods. Write as many things as you can, because it will give you more
to choose from when we're deciding what elements to
draw in the design later. You could do something
floral or an 80s vibe, a seasonal one, animals,
or even a face. If you're ever having trouble coming up with ideas
for projects like this, then check out the lesson
Ideas For Getting Ideas in my Overcoming Burn Out
class where I go into all the ways I come up with
and keep track of my ideas. Now, look at your brainstorm and see if anything stands out. I'm getting drawn to the sushi, so I'm thinking maybe
I'll sketch a couple of my favorite and make a
design out of those. I think a pattern
where the elements are more uniform in size
will be good for this, but you can do
whatever you want. You can have one main element with smaller elements
for decoration, or a busy design with
lots of little things, a mix of different
size elements, or even a symmetrical design. If you want to use
symmetry for the design, then check out my class
Relaxing Patterns where I go into more detail about
how to use the Symmetry Tool. Now I'm going to sketch
out the Base Design. You can follow along
with me if you want and use the
Template in Resources, or you can make your own. If you want to use the
Template, then go to Wrench, then Add, click Insert a photo, go to where you've saved
it, and import it. I like to lower the
opacity of the layer, so it's not distracting. Then you can draw your
design on a new layer. If you're not
following my design, make sure that none of your
drawing touches the edges. Keep your drawing
in the center and have a clear border
around the edge. I've also made a Palette, which you can download from the Resources section if
you want to use it. So we've already
made a new layer, so now we're just going to draw. So that's the first one, and
now moving on to the rest. And now time for shrimp. I've made this one a bit bigger to vary the size in
the design a bit, but not too much
as I want to keep the Final Pattern more
uniform, like I said before. You don't have to follow
the Template exactly, you can make it your
own. Just remember to stay away from the
edges and you'll be fine. Now, turn off the Template
and the Line layer is done. You can delete the
Template layer now that we're finished with it. I'll be using the
Selection Tool to block out my drawing in greyscale
before I add color. You can also use the Color Fill instead of dragging the color
from the Color Calette. Now I'm going to
add some shadows. So that's our greyscale done. I did a quick Color
Test of the sketch using colors from the Palette
I made from this class. You don't have to do this, but feel free to make a Color
Test, too, if you like. I always think it helps. So I'm just going to use
that plan to color this now. So that's the Base Design
for our Pattern done. Head on over to
the next lesson to see how we'll turn it
into a Repeat Pattern.
5. Final Project 1: Block Repeat: Now that you have the
Base Design made, I'm going to show you two ways
to turn it into a Pattern. If you're using a design
you've made previously, the only thing you need
to watch out for is that none of the details
are touching the edges. So make sure to
have a blank border or plain flat color
around the edge. Now in this lesson, we'll start with a simple
Block Repeat Pattern. First, we're going
to come out of the Canvas and duplicate it. We'll call the original 'Artwork'. Then make a Stack by dragging one canvas
on top of the other. This will keep all our work for this project together
neatly in this folder. Call the new canvas
'Block Repeat', and this is the one
we'll be working in now, go into that canvas. And we're going to
merge our artwork layers together so that we
can do the next step. All we want is the
Base Design by itself, so we can go and delete
the other layers, it's okay to delete this
stuff here because we have a copy of all of this in the
original Artwork canvas. Now, we'll duplicate
the design layer. Name it 'Master' and turn it off. This is just in case we make a mistake and we need to
use this layer again. Now, on to making the Pattern. We're going to do the steps
that we talked about in Let's Learn About Patterns, but with a Procreate Twist. We're going to duplicate
this layer three times so that we
have four layers. One, two, three, and four. Then make a new layer and
fill it. Pick any color. I like to use white.
Duplicate that three more times so
you have four layers. And move them underneath
each Design layer. Now we have four pairs of each. So, now it's time for the
Procreate version of cutting your
design into four. Choose one pair,
select the arrow and go to Snapping and make sure magnetics
and snapping is on, and all of these Sliders
are turned all the way up. Then we'll move the first pair
up to the top left corner, using the Drawing Guide to see where we should move it to. Wait for the Yellow
Lines to show that it's aligned properly
and then let go. Then we'll do the same
for the next pair. Move it up to the right and
wait for the Yellow Lines. Then the third pair
to the bottom left, always looking for
the Yellow Line to make sure that they match up. And then the last one we
bring all the way down to the bottom right. And this is
what you're left with. Doing it this way is
actually easier and ends up more accurate than if you were to cut the design into four. Then we're going to select
the background layers and delete them because we
don't need them anymore. Merge the four Design
layers together, and we call that
our Block Repeat. And this is your finished
Block Repeat Pattern Tile. Now, we have to test the Pattern to make sure that it's
aligned properly. Duplicate the Block Repeat layer and turn it off to save
again just in case. Then select the arrow and size
it to fit the top corner. Again, waiting for
the Yellow Lines to show that it's
aligned correctly, and now we're going
to tile it out. Duplicate this layer and move it over to
the other corner. Then duplicate it again
and move it down. Duplicate one more time and
move it into the last corner. And zoom in all the way in to check that each tile is aligned, and there's no weirdness
going on where they join. And there you have it
our pattern's good to go. And now you can even
merge these layers together and tile it even
further to see how it looks. Zoom in and check around
to see that there aren't any brakes in the
art, and you're done. Then when you've
checked everything and know your Pattern works, you can turn off all
these test layers and turn back on the original Block Repeat layer so
that we can save it. Go to Wrench, hit Share, and save it as a JPG, a PNG
or whatever you want. Hit Save Image, and that's it. You have your very own
Block Repeat Pattern, and you can upload this tile to any pattern sites you want. Now, upload your tile to the Project Gallery with any questions or
comments you have. Block Repeats can often work
better with simple designs, and if you have a
more complex design, it might work better
with a Half-Drop. So continue on to
the next lesson and we'll learn to
turn our Design into a Half-Drop Repeat Pattern and see how it compares
to the Block Repeat.
6. Final Project 2: Half-Drop Repeat: It's time to learn
the second way to Turn Your Art Into A Pattern. A Half-Drop Repeat Pattern. We're done with
our Block Pattern, so we'll go back
out to the Gallery and duplicate this Canvas. Then call the new one
Half-Drop Repeat. Open it up, and we're just going to
delete the layers we don't need except for
the 'Master' layer. And we're going to start again with this as the Base Design. Or if it's your own design, remember that none
of the details should be touching the edges, like I mentioned
in the last class. To make it a Half-Drop. What we need to do is
duplicate the Master twice and turn off the original again to
save it just in case. Make a background layer, like for the Block Repeat. Duplicate it and put one under each of the Design layers
to make two pairs. Make sure all your settings and Snapping are selected like
in the previous lesson. Again, we're going to follow
the steps from our Let's Learn About Patterns lesson
with the Procreate Twist. Select a pair, drag
it to the left. And wait for the Yellow Lines. Take the second pair and drag
it to the opposite side. Now, we'll duplicate
the pair on the right. Move one of these up until
we can see that Yellow Line. And move the other pair down. Then zoom in to make
sure that you can't see any of the background
color coming through. This is why I like
to use white so that I can easily tell if the
tiles are matched up. When we're sure they're
aligned properly, we can delete the white layers. This is what the Pattern
looks like at this point. Now we're going to
draw more elements to the Pattern to fill in these
gaps and make it seamless. You can bring in
our Template for the Half-Drop Design
if you're using it. Go to Wrench, Add, Insert a photo and then bring
in your Half-Drop Template. I'm just going to
bring the layer to the top and bring the
opacity down a bit. Now, merge your Design layers together and call it
'Half-Drop Step 1'. Make a new layer, and we'll
start to draw in this one. And now, I'm going to
draw some edamame beans. I had this written
in my Brainstorm. So look through yours and see if there's anything you'd like
to add to your Design. The idea behind this next step is to fill in any
funny looking gaps, which is what makes
the Pattern seamless. Just remember when adding in these extra details that your drawing still
doesn't touch the edges. When you've done
the line, switch off the Template
layer and delete it. Then finish off drawing
any extra details. Then I'm going to
color these new bits the same way that I did before, selecting and filling
the flats in greyscale, and then coloring it like my Color Test from the
previous lesson. Adding a highlight to
finish. And that's done. The next step is to select our new Design layers
and group them. Then we'll duplicate that, turn it off and
call it 'Master 2'. Then move it down out of the way next to the
original 'Master' layer. Now, merge the other group and merge it again with our
'Half-Drop Step 1' layer. Now we're going to go
one step further than the practice example to make the Pattern
even more seamless. Make a new layer, fill
it with white again. And put it beneath the artwork. Duplicate it and
the design layer and make them into pairs again. For the last time, we'll
move one pair up, again, wait for the Yellow Line, and then we'll move the
second pair down. Oh, you can see here
now that's not right. So I'm going to do that
and try that again. Select the pair
again and move it up and keep an eye
on the Blue Nodes. Sometimes it can snap
to the wrong spot, so make sure that it's aligned
and has the Yellow Line. And the same with
the other pair. Keeping an eye on
those Nodes again, Now, when we zoom
in, there's no gap, so we know we've done it right. Delete the white
backgrounds again. And now, we'll merge our final two layers
together to make our Final Half-Drop Tile.
And now we test it. Duplicate the layer and turn one off for
safe keeping again. So take this layer, and
like with the Block Repeat, drag it to the top left corner. Duplicate it and drag
it to the right edge. But you can see here that
it doesn't match up. Because it's a Half-Drop, you need to move the tile down halfway, and see how
it's matching up now. That's why it's called a Half-
Drop. Duplicate that layer. Move it up, and again, wait for the Yellow Lines to know that it's
placed correctly. Then go back to
another full layer, duplicate that one
and move it down. Finally, duplicate the top left tile again and
drag it to the bottom. Then zoom in to check that
everything is aligned. Move it around and you can turn the layers on and off to see that they're
not overlapping. That's it. You've got
your Half-Drop Pattern. Now you can merge
all of these tiles. I'm calling it 'Half-Drop Pattern' to keep track of the layers. Duplicate it and turn
one off to save it. Like we did for
the Block Repeat, you can tile this version out further to see how it looks. What's interesting is once you've tied your Half-Drop once, it now acts like
the Block Repeat, and you don't need to
offset the Pattern anymore. So that makes it a bit
easier to tile out now. You can repeat this step as much as you want to see how it looks, and when you're
happy, we're done. Now to save it. Turn off all the extra layers and turn back on our
Half-Drop layer. Go to Wrench, Share and
Save as whatever you want. And you're done. Here's how it looks compared to the Block Repeat from
the previous lesson. You can test your
Pattern out both ways and see which
suits your art more. And now you know
two ways to make your art into a
Seamless Pattern. Upload your Final Tile to the Project Gallery so I
can see how you've done. Next up is a quick Bonus Lesson, where I'll show you
how you can set up your Patterns to print
your own Products.
7. Bonus: Print Your Own Products: If you want to print
out your Patterns to make Products yourself, here's how to set up
a file to do that. Make a new Canvas. So as an example, I want to print out a cover for
an A5 notebook. So I'm making this 306
by 158 millimeters. I always make the
Canvas slightly bigger than it needs to
be to include a Bleed. 'Bleed' is extra space allowance on the edge of your document, and that will be cut off during production to make a clean edge. Name it A5 notebook
cover and click. Go to Wrench. Add. Insert a photo and pick
your Pattern Tile. I'm going to show you the
Half-Drop Pattern Tile first. Then just size it down
however much you like. I'm going to stick
with this for now. Then just tile it out like we did in the
previous lessons. Remember, this one
is a Half-Drop, so you need to drop
each tile down halfway. Keep going and keep duplicating
until you fill the space. Also, I still have all
the Snapping settings on so it locks the tile
into place easily. Now we'll do the
Block Repeat Pattern. So go to Insert a
photo and this time, pick our Block Repeat Tile. Size it down however
much you like, but it's easier to stick to
where it locks into the grid. Then duplicate it
and tile it out. The Block Repeat is
a lot easier to do. And here, we have two options
for a notebook cover. Choose which one
you want and Save it as whatever file
you need for printing. Now you can print out
your own Patterns and make all the lovely
Products of your dreams.
8. Wrap Up: Thanks for hanging around to the end and finishing
this Class. By now, you know all about making Seamless Repeat Patterns. You know how to make a Block Repeat and Half-Drop Pattern, and you can use the techniques we learned to make your
very own Products. I hope you enjoyed
this class and make a bunch of fun stuff with
your new pattern knowledge. Remember to share your pattern tiles in the Project Gallery, and if you're sharing
your Project online, tag me and use the class
hashtag so I can get a peek. You can follow me here and on Social Media to get updates
about future classes. Please leave a Review
if you like the class. It really helps me get
seen by more people and lets me know what to
improve on for future classes. Thanks so much again for taking
this class. See you soon!
 Chrissy Curtin, Illustrator