Easy Gouache Bookmark: 15-Minute Nature-Inspired Scene for Beginners | Tina R | Skillshare

Playback Speed


1.0x


  • 0.5x
  • 0.75x
  • 1x (Normal)
  • 1.25x
  • 1.5x
  • 1.75x
  • 2x

Easy Gouache Bookmark: 15-Minute Nature-Inspired Scene for Beginners

teacher avatar Tina R, Gouache Artist | @artsyjournaler on IG

Watch this class and thousands more

Get unlimited access to every class
Taught by industry leaders & working professionals
Topics include illustration, design, photography, and more

Watch this class and thousands more

Get unlimited access to every class
Taught by industry leaders & working professionals
Topics include illustration, design, photography, and more

Lessons in This Class

    • 1.

      Welcome to My Class!

      1:54

    • 2.

      The Class Project

      0:46

    • 3.

      Gather Your Materials & Inspiration

      1:17

    • 4.

      Gouache: The Wonder Medium!

      1:12

    • 5.

      Early Morning in the City

      7:56

    • 6.

      Final Thoughts :)

      1:12

  • --
  • Beginner level
  • Intermediate level
  • Advanced level
  • All levels

Community Generated

The level is determined by a majority opinion of students who have reviewed this class. The teacher's recommendation is shown until at least 5 student responses are collected.

181

Students

5

Projects

About This Class

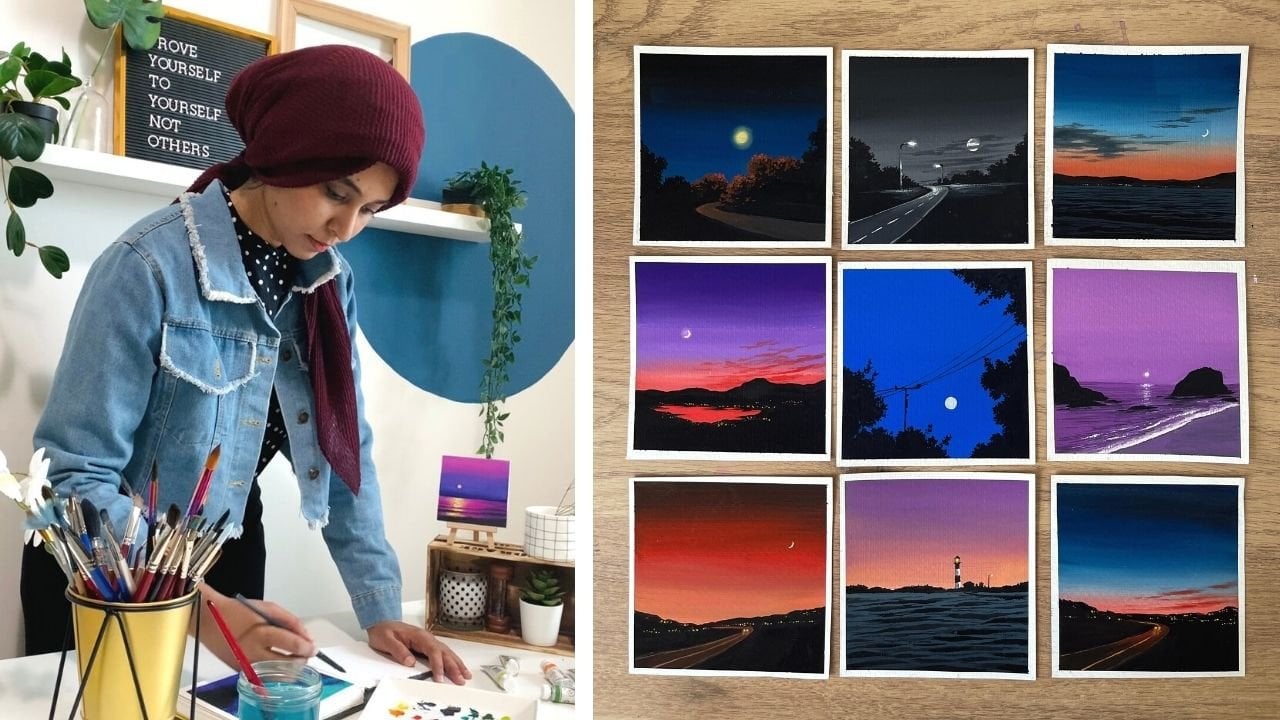
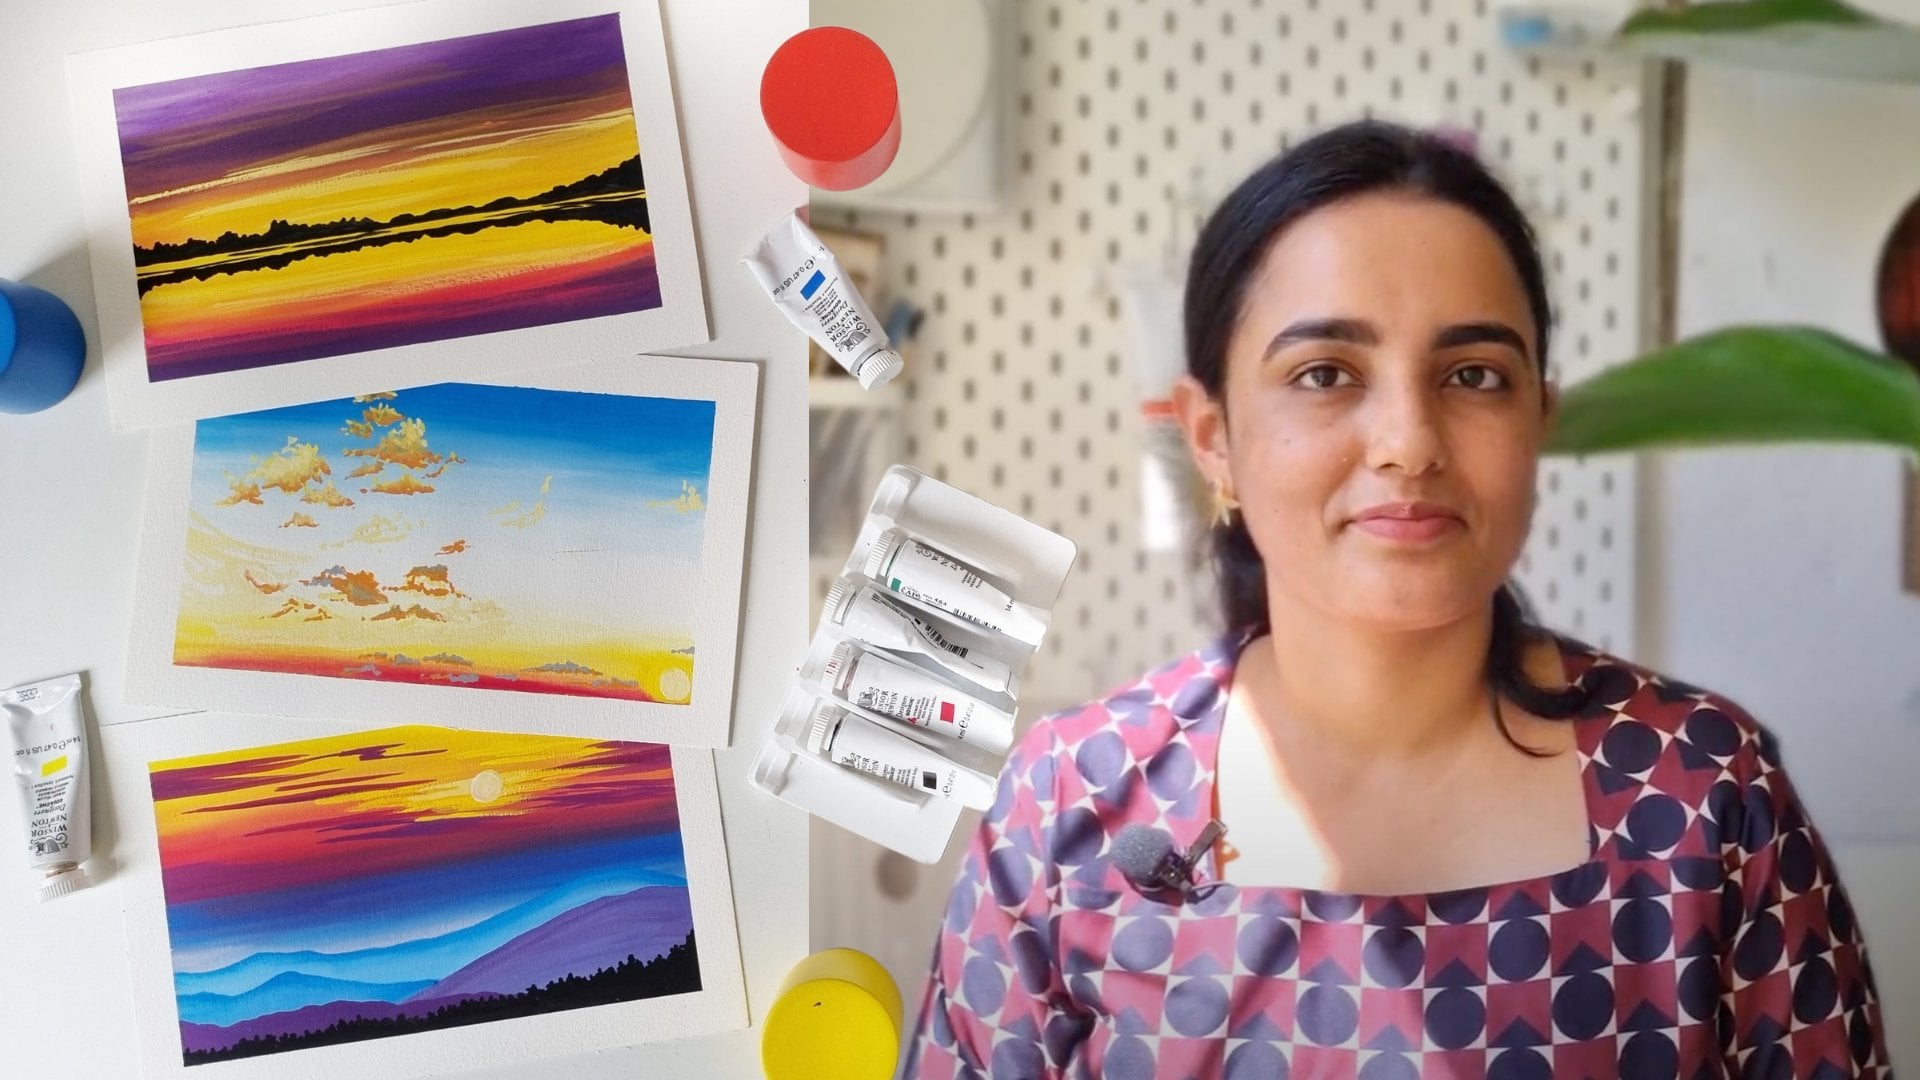
Hello there! Welcome to my very first class on Skillshare. This class is very special to me because it combines three of my favorite things - nature scenes, gouache painting, and bookmarks! :)

If you’re a reader like me or a lover of nature, a creative who likes to dabble in quick and easy art projects, or if you are a complete beginner when it comes to art or gouache, and would like to get familiar with this medium in no time, then look no further - this is the class for you!

In this class, you will learn how to:

  • Prepare the right consistency for working with gouache.
  • Paint beautifully smooth gradient backgrounds.
  • Layer colors to add shapes and details to your scene.
  • Combine simple techniques to create lovely nature-inspired bookmarks.

Through this class, my goal is to simplify the learning process for you and help you become confident about working with gouache quickly! 
So cozy up with a cup of your favorite beverage or snack and watch this class, then gather your paints, paper, brushes, etc. and start creating.

I'm so excited to see your paintings - do share your progress shots and final paintings in the Project Gallery so we can all ooh and ah over your creations! ^_^ 

Meet Your Teacher

Teacher Profile Image

Tina R

Gouache Artist | @artsyjournaler on IG

Teacher

Hello there, fellow creatives and artists!

I am so glad you decided to check out my profile and get to know me a bit. I’m Tina – a self-taught gouache artist, watercolor enthusiast, and digital designer/illustrator from India. I'm also a voracious reader with a passion for healthy yet scrumptious cooking who enjoys journaling occasionally!

When I first stumbled upon gouache a few years ago, I didn’t have access to guided step-by-step tutorials or detailed classes or a way to reach out to the artists for advice or answers. All I saw were tons and tons of beautiful finished artworks, and not the journey to get there.

So when I attempted to paint for myself, it was a lot of hit-and-trial. I made many mistakes and spent seve... See full profile

Level: Beginner

Class Ratings

Expectations Met?
    Exceeded!
  • 0%
  • Yes
  • 0%
  • Somewhat
  • 0%
  • Not really
  • 0%

Why Join Skillshare?

Take award-winning Skillshare Original Classes

Each class has short lessons, hands-on projects

Your membership supports Skillshare teachers

Learn From Anywhere

Take classes on the go with the Skillshare app. Stream or download to watch on the plane, the subway, or wherever you learn best.

Transcripts

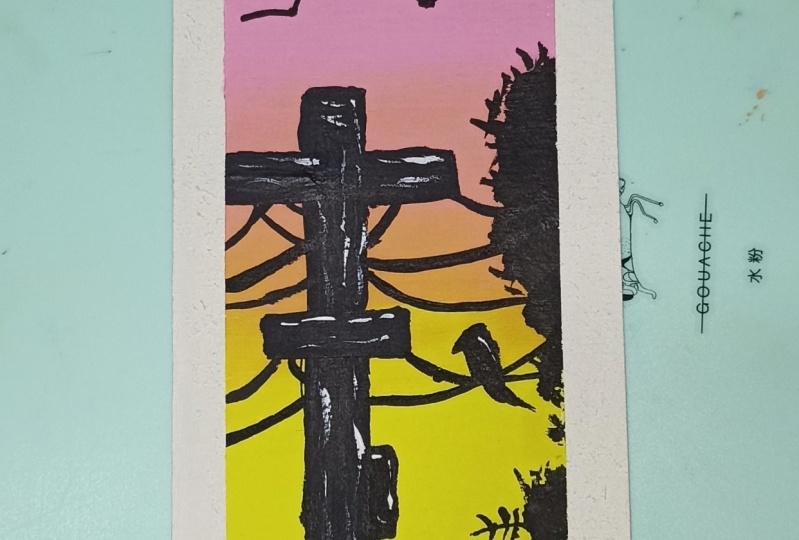
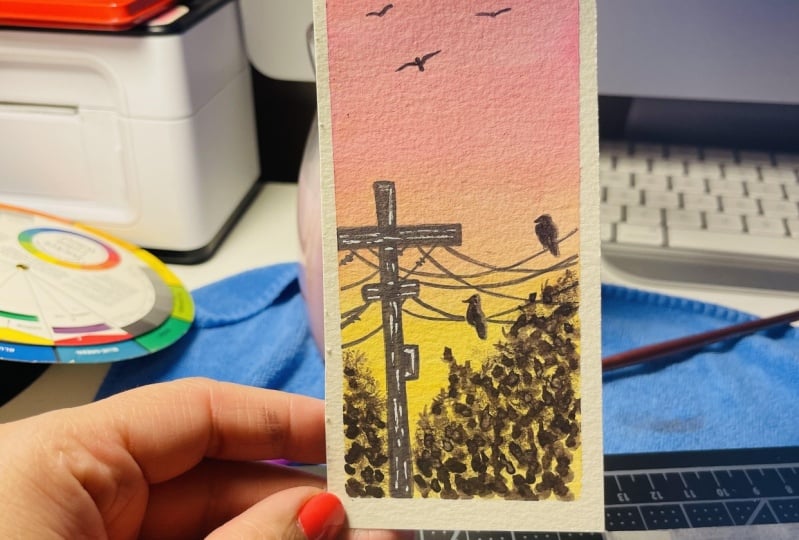
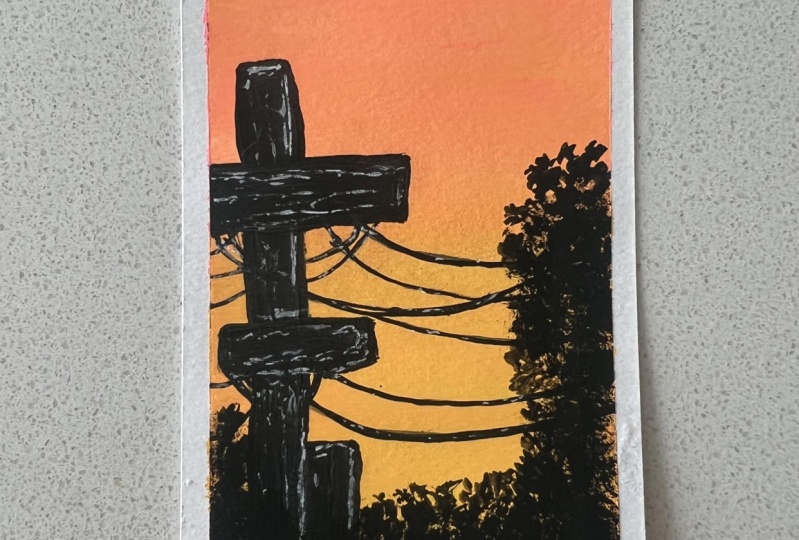
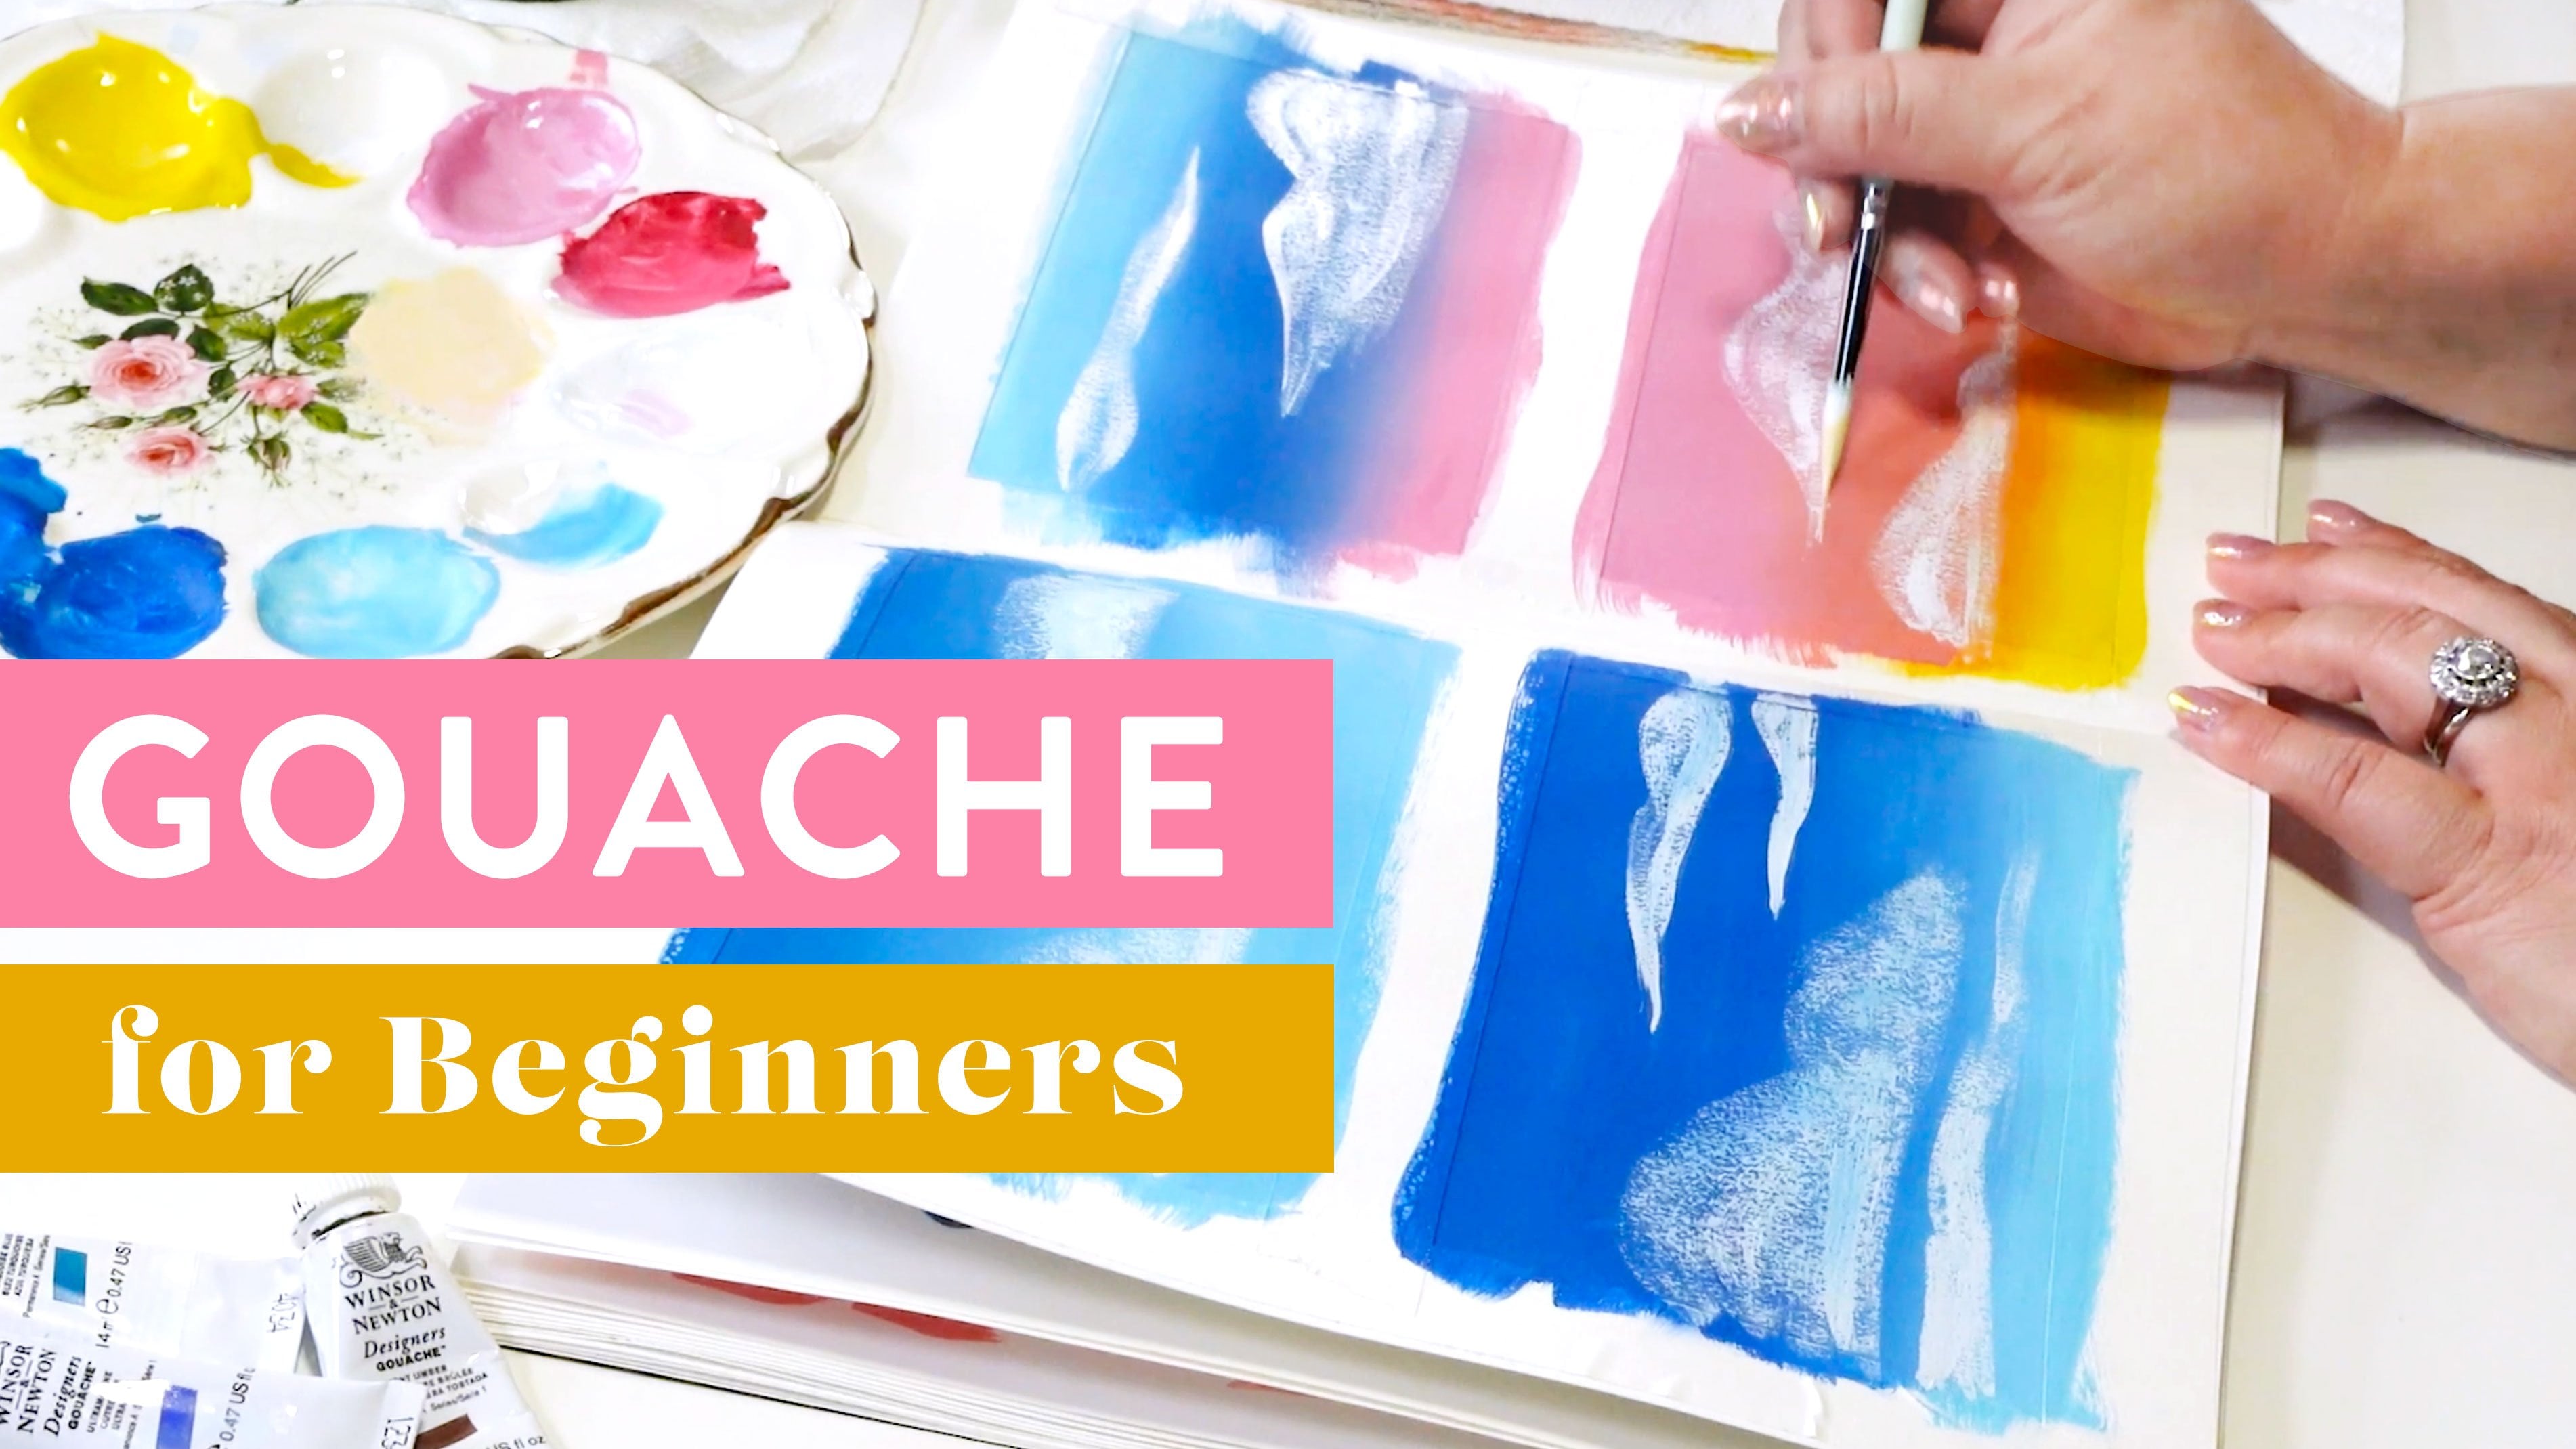
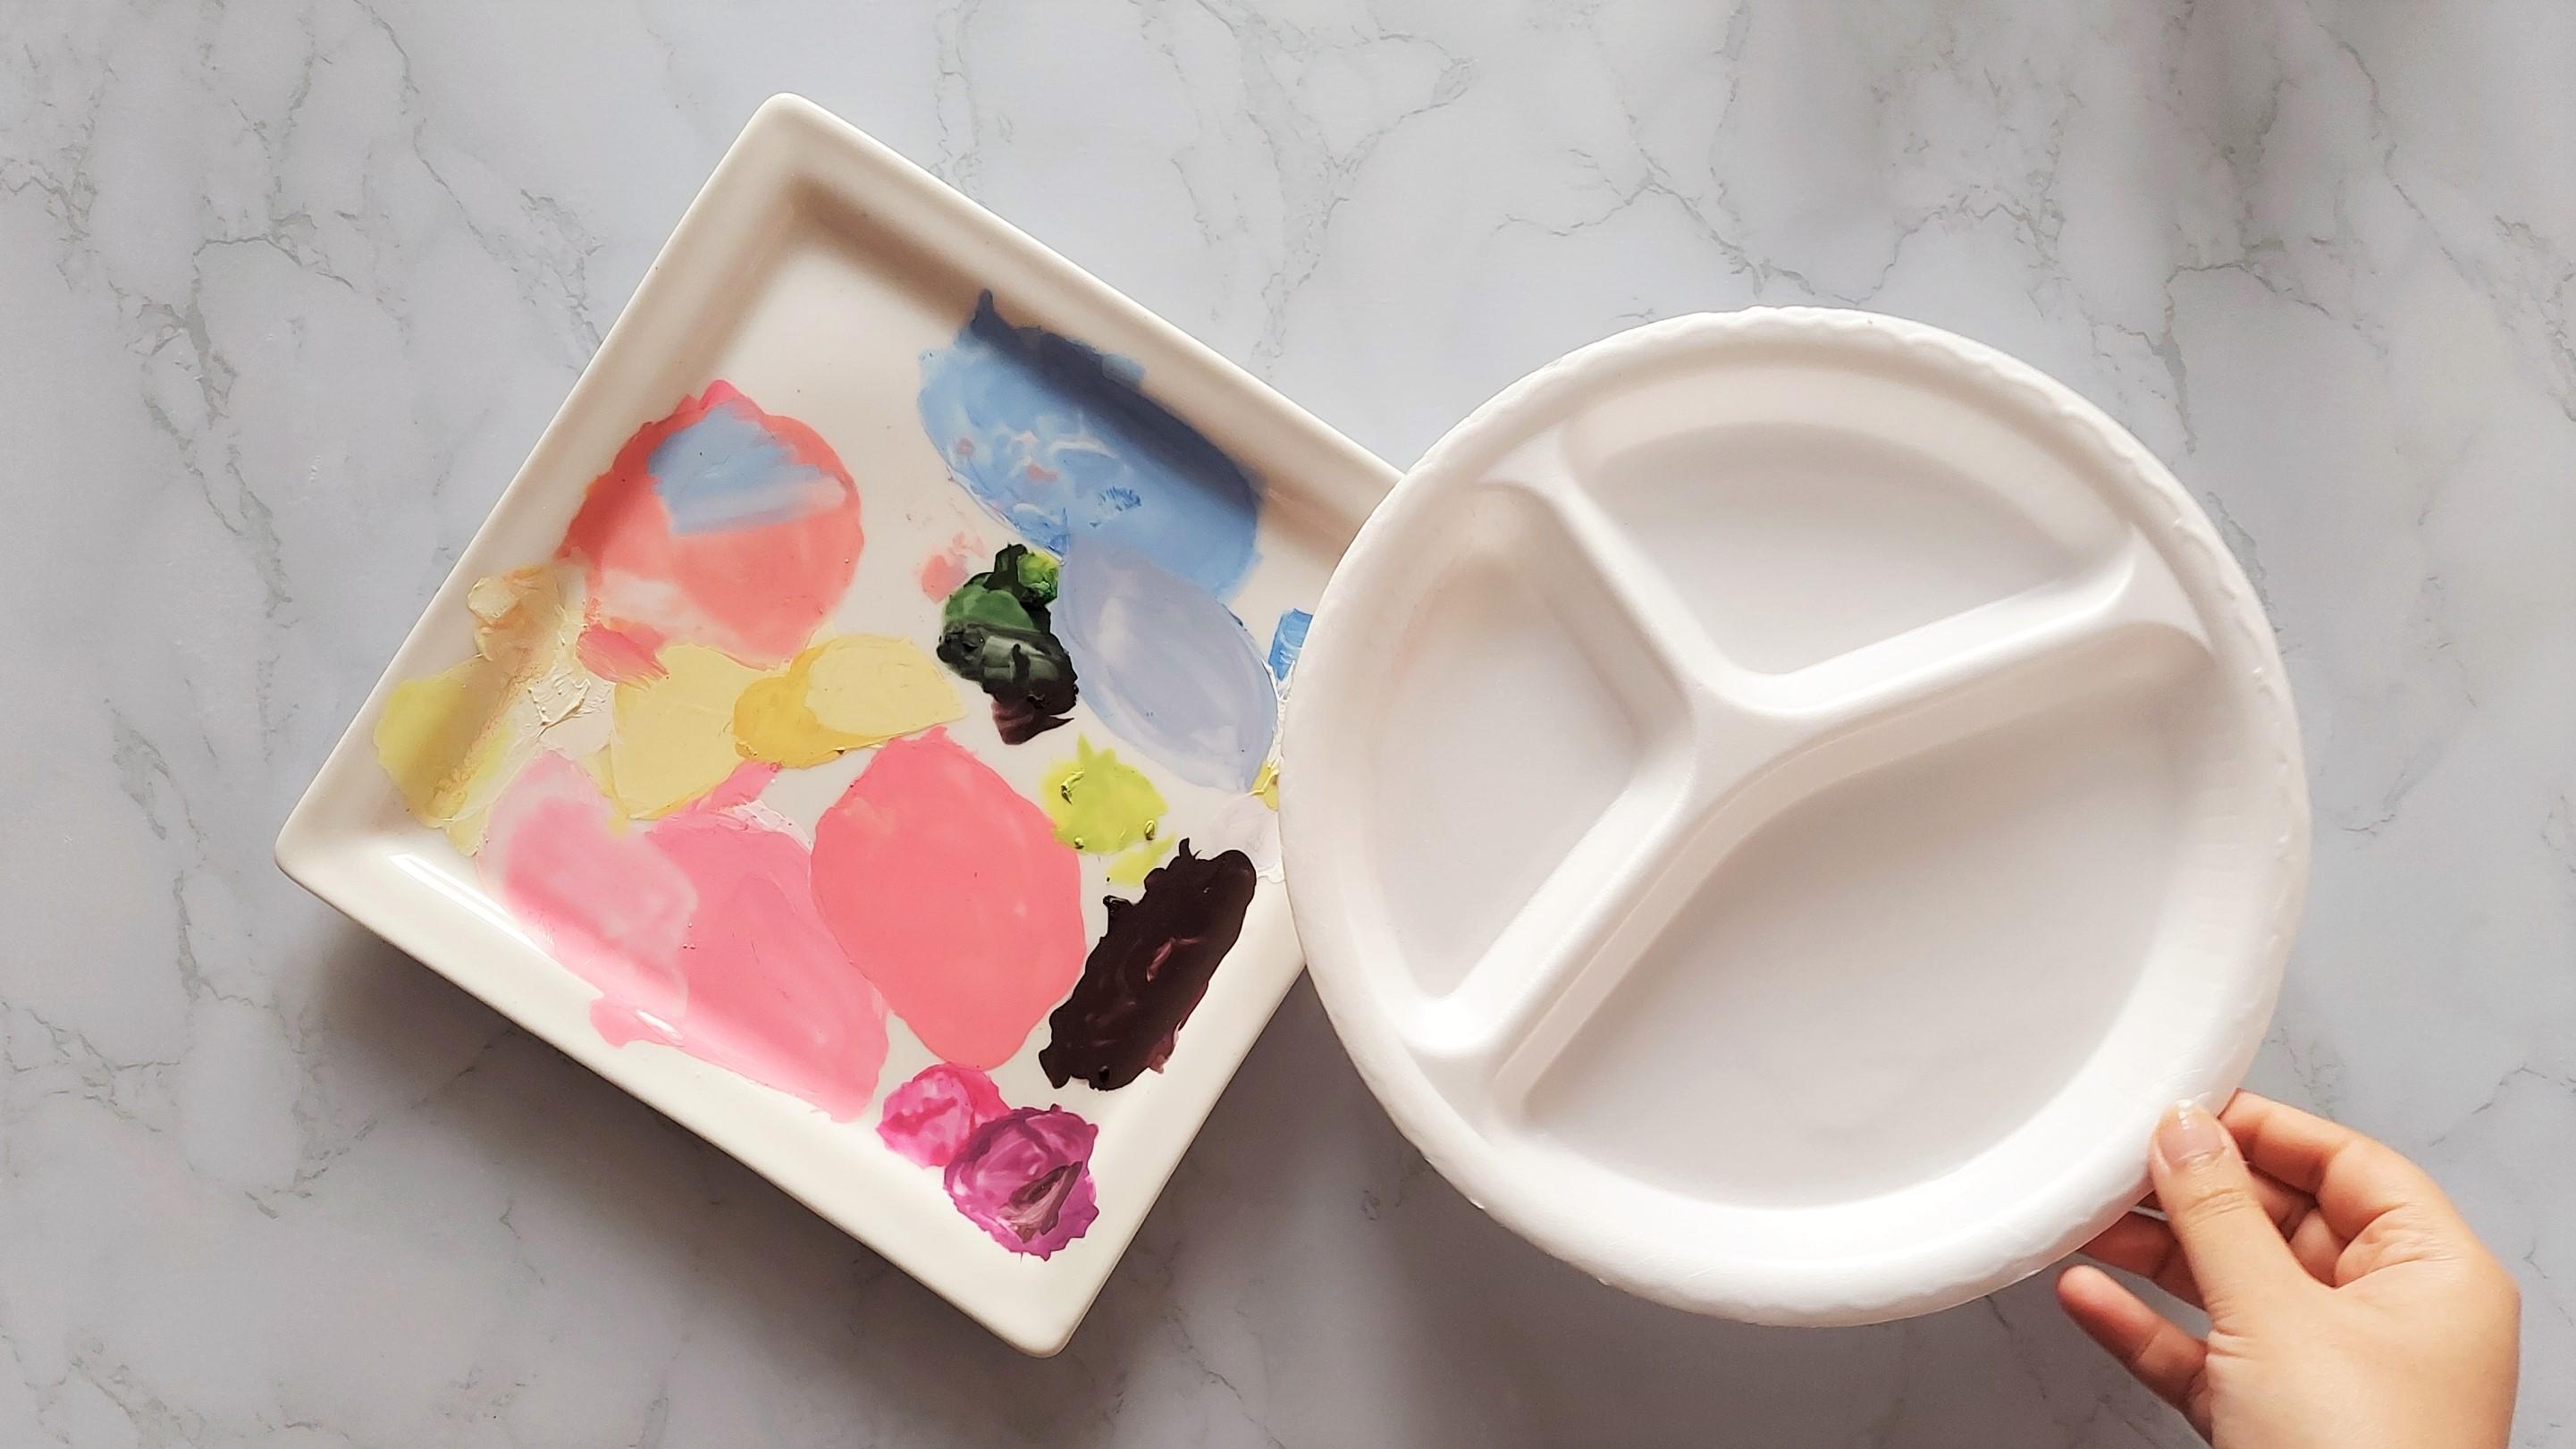
1. Welcome to My Class!: A picture is worth a thousand words. And an artwork is worth so much more. It contains within itself a piece of the artist's soul. Hi, there. Welcome to my very first class on Skillshare. I'm Tina. I'm a self-taught gouache artist, watercolor enthusiast, as well as a digital artist and illustrator. In this class, I'll be sharing with you my secrets of painting beautiful nature scenes with gouache. I'm not a very outdoorsy person, but I find nature to be soothing, charming, and endlessly inspiring. So it's no surprise that I derive most of my inspiration from nature, my immediate surroundings and my imagination. From dramatic skies to clear blue ones, stunning seascapes to mystical forests. Starry nights to... Well, everything on your screen Right now. It's such a joy to paint any scene, whether it takes two hours or twelve. In this class, you will learn the basics of painting with gouache, color mixing, blending, layering, detailing, and highlighting. Simple techniques that can be easily applied to create the most beautiful nature scenes every time. With this class, I hope you find joy in painting with Gouache, and feel inspired to create art every day. Are you ready to begin your Gouache journey with me? If so, I'll see you in the class! :) 2. The Class Project: Your class project is to paint a gorgeous nature-inspired bookmark. Whether you paint the scene that I'll be teaching in this class or something of your own choosing, it's all good as long as you apply the techniques that will be covered in this class. Remember to share your progress photos as well as your final creations to the Project Gallery for all of us to admire. I would love to see what you come up with and provide feedback as well. Let's see what materials we need in the next lesson. 3. Gather Your Materials & Inspiration: Here's what you need. At least 180 GSM Mixed Media paper I have already cut mine into Bookmarks. A couple of round and flat brushes with varying sizes. I'll also be using a couple of filbert brushes, but you can make do with round and flat brushes if you don't have those. A pencil and an eraser A white gel pen. Your gouache paints. A mixing palette. Ceramic palettes work best, but I'll be using some disposable plates. At least two cups or jars of clean water. A ruler, masking tape, tissues and a piece of cardboard. And here you can see how I set up my workspace. Be sure to keep your water jars out of the way while you're painting to avoid any accidental drips on the paper. Now for inspiration, I find Pinterest to be an excellent resource for beautiful references that spark my creativity and motivate me to pick up the brush no matter what day or time it is. That's it. See you in the next lesson! :) 4. Gouache: The Wonder Medium!: Let's learn a bit about Gouache! Or as I like to call it: the "Wonder" Medium. Are you familiar with watercolors, poster colors, or acrylics? They are all water-medium paints. But while watercolor flows and spreads, gouache just glides on with its buttery creamy consistency. It's more opaque than watercolors and affords the artist much more control over every stroke. As for acrylics, they can't be re-wet once dry. But gouache is so amazing. It can be re-wet, and used or layered and blended again and again. It can be used with a dry brush to create amazing textures or thinned down with enough water to behave like watercolors. Although gouache paints are best used with a creamy consistency, which is what causes it to glide on and give those smooth, vibrant blends. And another thing that you should know about gouache is that gouache dries pretty quickly. Now that we're a little more familiar with gouache, Let's paint a bookmark! 5. Early Morning in the City: For this class, I have chosen a very simple subject for us to paint. We're going to be painting a nice pink and yellow gradient for the early morning sky. Let's make the background colors first. For the bottom color, I'm taking White, a touch of Lemon Yellow and a bit of Mid-Yellow. And for the pink, we're just going to mix a bit of Hot Pink to some White. Start with a wet brush. And as you mix in the colors, make sure that the consistency remains smooth and creamy. Once you've prepared the colors to your liking, It's always a good idea to try them out on a rough piece of paper. Place the two colors a little further away from each other and then use one of the flat brushes and start working your way horizontally and gradually move up and down, mixing both the colors. Now let's paint the sky on our bookmark. The yellow is gliding on so smoothly. Sometimes you might need to go over it with another layer and that's alright. And then give it a couple minutes to dry. Now let's sketch out the electricity pole and the wires. Since I don't trust myself to freehand those with a brush. You could draw a street lamp. Maybe the silhouette of a telephone booth. When I paint silhouettes, I prefer to dilute The black with colors that I've already used in that painting so that the colors go well together. Here. I've taken a bit of Black and I'm mixing it with the light pink. And that's given it some - just a hint of pink in a very dark gray color. And this is a good time to practice your brush movements and strokes On your rough piece of paper. Now I'm just going to outline small parts of the sketch. and fill them in. You want to make short even strokes. I always struggle with the birds. That first bird did not turn out right. But that's alright because we're going to fix it in just a couple minutes. Wires are another thing that are a hit or a miss usually. If you want, you can go ahead and use a black gel pen or a sketch pen or marker with a very thin tip if you have one. Now we're going to paint some foliage. I've taken a bit of Crimson Red and mix that to the gray we had prepared earlier. That gives it a nice maroon-ish gray look. And now we're just going to dab the brush onto the paper. The trick here is to keep rotating your brush. You can use how flat brush, or a big-sized, round brush with less water to create the rough looking bushes. Because it is opaque, it gives you the opportunity to fix or cover up any mistakes that you might make in one layer, by painting it over with another layer. Then go in with a small round brush with a pointed tip, To create these small leaves on the edges. Make sure to leave some spots empty where the sun will shine through. Now we're going to add some texture and highlights. You can use a white gel pen or your white gouache like straight from the tube. We're almost done now. We're just going to paint some dainty little birds. So that's done. Now to slowly peel off the tape. You always want to pull the tape at an angle. So nice to see these sharp, clean edges around the painting. Gives it a very polished look, Don't you think? And there we have it. Our 'Early Morning in the City' scene is now ready! Let's take a closer look. Look at that smooth blend and those happy birds in the sky. ^_^ I'll see you in the next lesson for the final thoughts. :) 6. Final Thoughts :): Let's recap! First, we discussed all the materials you'll need to create your very own nature-inspired gouache bookmark. Then we learned a bit about gouache, the basics of painting with gouache, from color mixing to blending and layering colors for detailing and highlighting. And finally, we painted a beautiful early morning in the city scene with a nice pink, yellow smooth blend sky and some pretty birds. We even saw how to cover up a mistake, which is one of the best things about gouache, in my opinion. And I hope you feel a little more comfortable with this medium than when we started. If you enjoyed this class, please click that Follow button and consider leaving a review. If you have any questions or queries, do post them in the Discussions section and I will get back to you promptly. Please do share your progress shots as well as your final creations in the Project Gallery of the class. That's all for now. I'll see you in the next class. Take care and keep creating!! :)