Transcripts
1. Intro & Welcome: Have you ever wanted to create digital art that looks like
a real acrylic painting? Hi there creative. My
name is Shannon Lane. I'm an artist and
a hand letterer, and I love using digital tools to create art that has
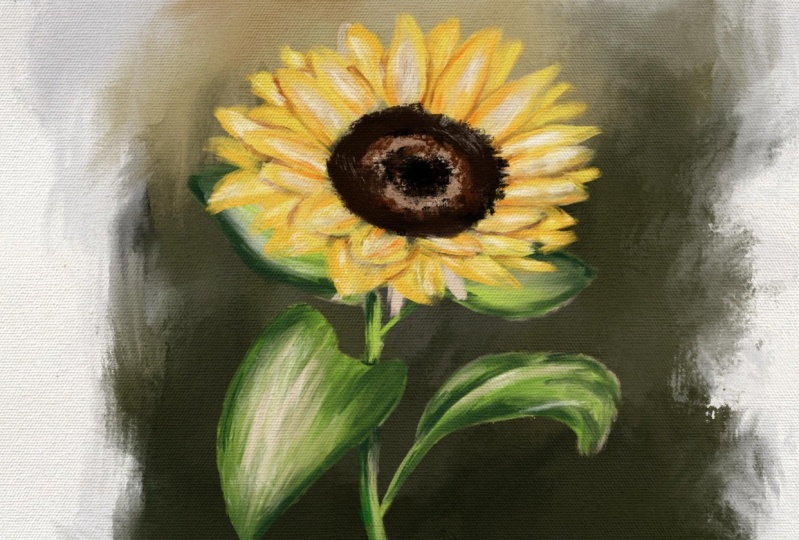
a traditional feel. In this class, I'll show you how to sketch out a sunflower, paint it with custom brushes, and then a texture to give it that acrylic look
so that by the end, you'll have a beautiful
sunflower illustration to share for your class project, along with some new
painting skills to use when you create
future artwork. This class is perfect for anyone with a basic
understanding of Procreate who wants a
fun low pressure project to practice digital painting. To follow along, you'll need
an iPad with Procreate, Apple Pencil, and
the free resources in the project section. Grab your supplies and
let's get started.
2. Class Resources: For this class, I've created a few acrylic brushes to help create that
acrylic style effect. The first brush is the
acrylic painter brush, which is going to be
used for added color as well as for blending them. This brush is pressure sensitive and it has a little bit
of smudginess to it. So when you apply
later pressure, you will get a lighter
value of color and you will be able to blend
it in a lot easier. When you apply full pressure, you're going to get
a darker value of your color and it's still
going to allow you to blend. As you use this brush, it works like a flat brush. You're going to try
to keep your strokes going in one direction just so that it
creates the effect of painting with a flat brush. The final brush
that you're going to use is the dry brush. So it's just going to add a little bit of texture
when you paint, and I'm mostly going to be using this at the end of the painting. Also included is an
acrylic paper texture, which we're going
to add at the end. I'll see you in the
next lesson where we start sketching
our sunflower.
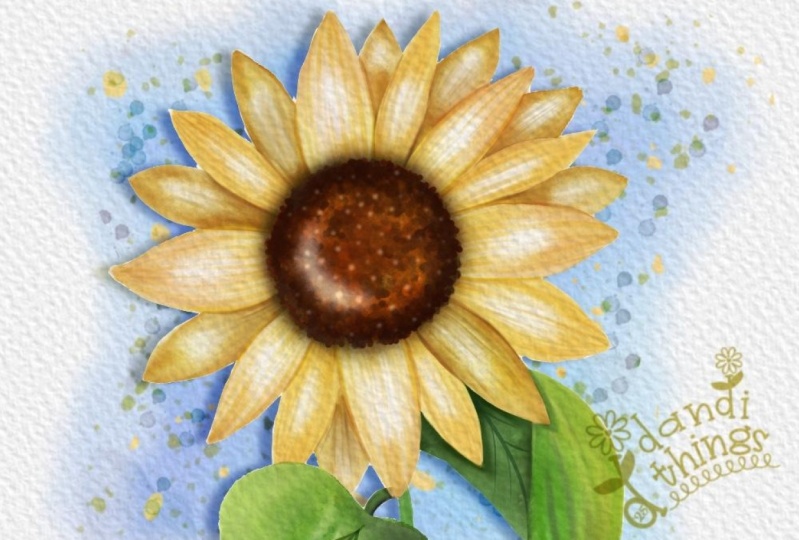
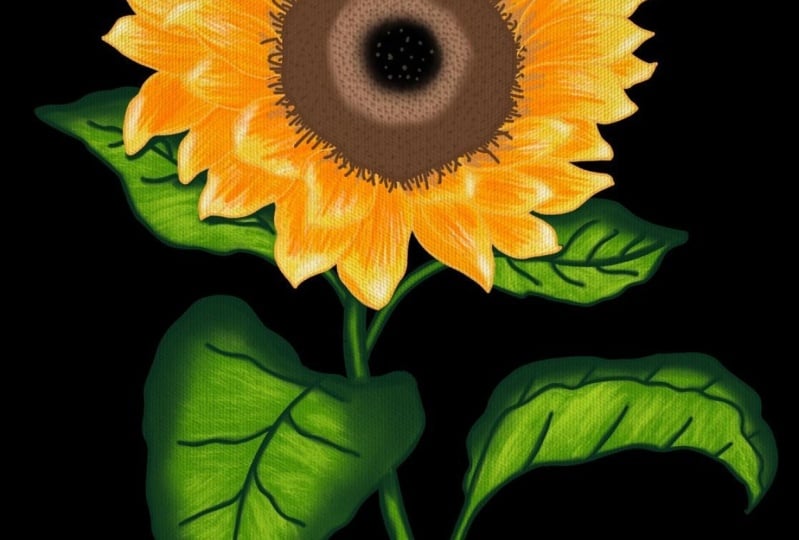
3. Sketching the Sunflower: To sketch out my sunflower, I'm using two images
for my references, and that is because I
want to include elements from both of these images
into my final sketch. After I've imported both images, I merge them together and then create a new
layer for our sketch. So with flowers, you can usually fit your petals
within a circle. So for the sunflower, I'm drawing a smaller circle for the center of the sunflower and a larger circle on the outside
that will fit our petals. Then for the leaves, I'm going to draw some triangles in the areas where I
want my leaves to be. When you're finished drawing out your shapes for the
leaves and the flowers, you can then lower the opacity of that layer and create
a new layer on top. And this is where we're
going to draw the flower. So I'm starting with the petals, and I'm just trying
to draw them around that inner circle and keep them contained within
the outer circle. We are going to
refine this later on, so you can just draw simple
shapes for these petals. When you are finished,
drawing your petals, you can then add a wavy line for the
center of the sunflower. And then for the stem, I added two curved lines, and then I sketch in
the shape of the leaves following the guide of that triangle that I
drew on the layer below. You can just continue
adding your leaves and any other details to make this
sunflower sketch complete. When you're finished adding
in all of your details, you can then reduce
the opacity of this layer and create
another sketch on top, where you just
refine and touch up any areas that you felt needed a little bit
more definition. And when you're finished
with this sketch, we can then move on
into the next lesson.
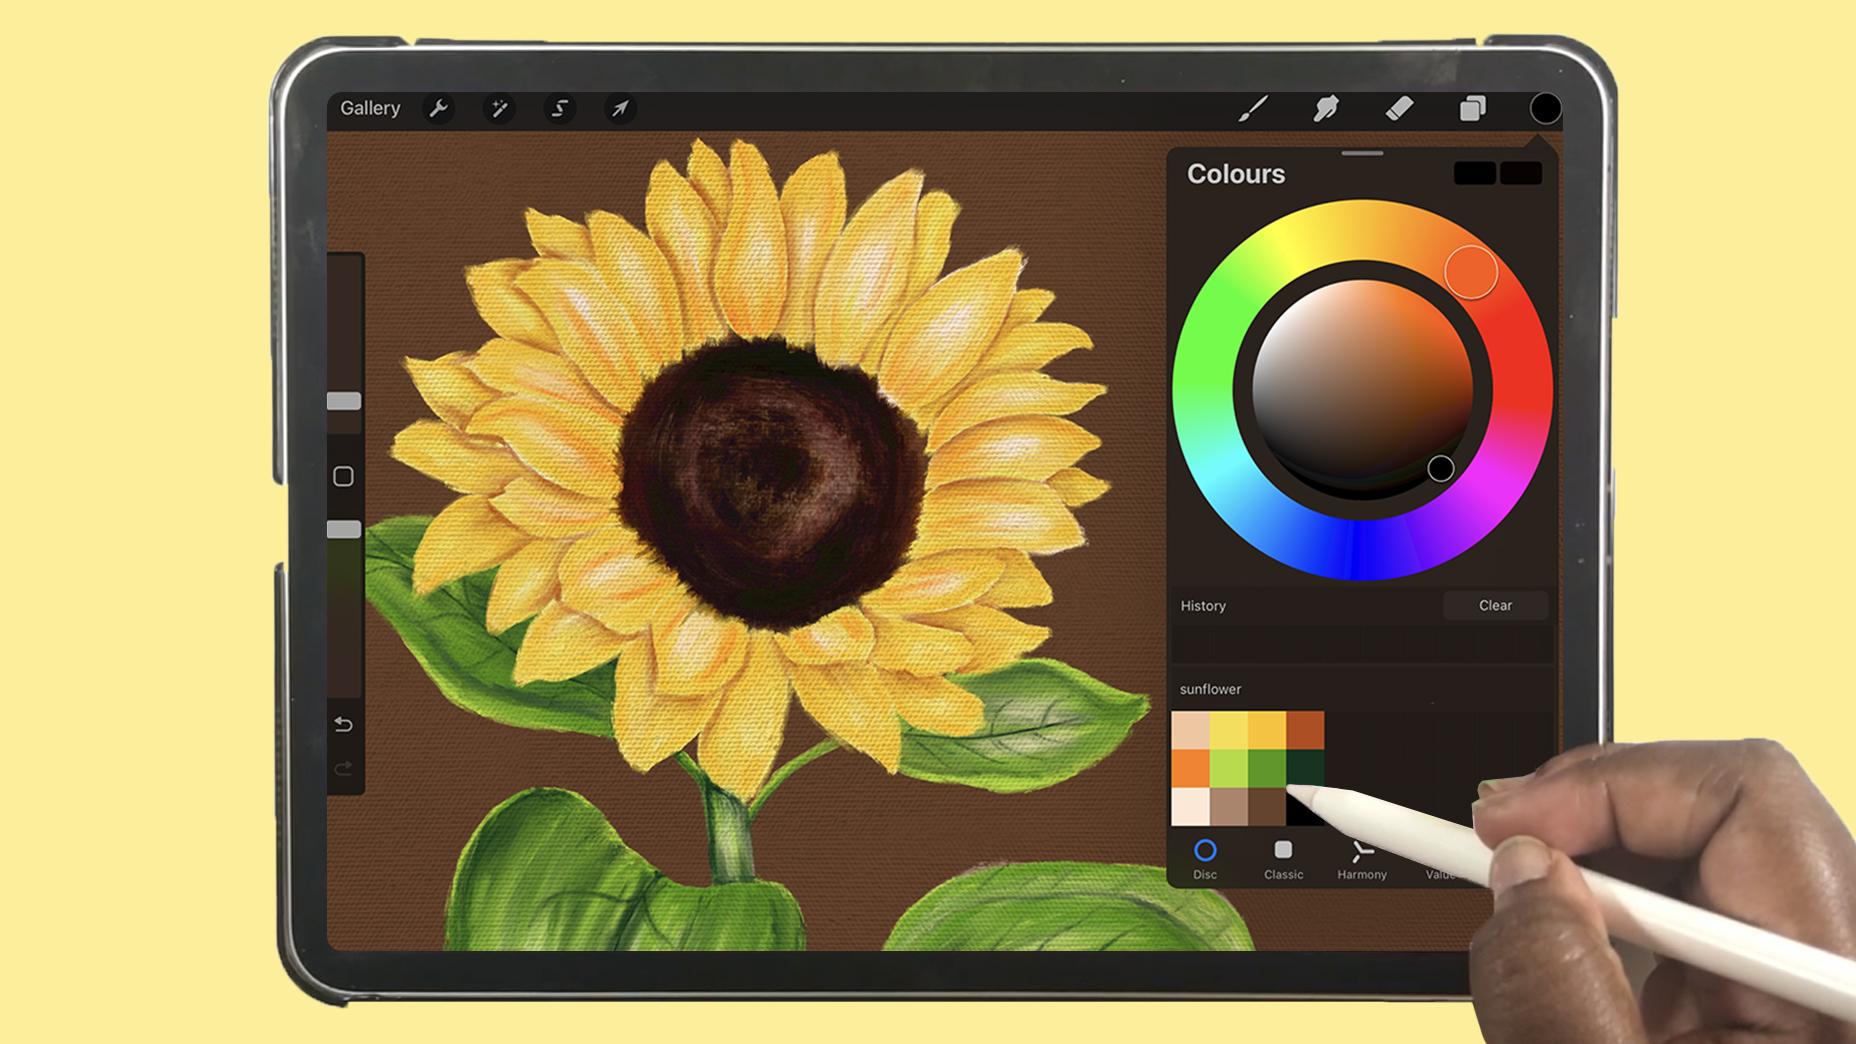
4. Painting the Petals: We're going to start by
lowering the opacity of our sketch and creating
a new layer underneath. I'm using the acrylic
painter brush and the light peach color to
start painting the petals. I know it's a little difficult to see what I'm doing right now, but I'm painting in an up and down motion following
the curve of the petals. Then you're going to
use a light yellow and that same up and down motion
to paint around the petal. This time, though, as you get closer to the center
of the petal, you're going to
use less pressure so that the light
peach shows through. And this will be the
highlight of the petal. Then I'm going to use a
darker yellow and paint it in that same motion all around
the edges of the petals. Make sure that when you're doing this that you don't color too much of those colors that
you've added previously. For the petals that
are in the back, you can skip the
lighter peach color and start by painting
the light yellow. Then add your darker
yellow around the edges. Since these are in
the background, there won't be much
light hitting them, so they will be darker. And this is how I'm
going to be painting the remaining petals all
around the sunflower. One thing to remember is
that when you're painting, you can zoom out to take in your painting as
a whole to see if any areas may need lightning or darkening and then just add
in the color that it needs. Brush has a little bit
of transparency to it, but it's mostly opaque. So you can add your light peach color to
any areas that you have missed without needing to go on a new layer or worrying
about it not showing up.
5. Adding the Shadows: So now we are going to start adding our
shadows to the petals. For the inner shadows, I've selected the light orange and lowered the
size of the brush, and I'm going to be adding a few lines coming
from the center of the sunflower towards
the tip of the petal. But I am adding
them very short and they're stopping before I get
to the middle of the petal. I'm also adding a
few lines to create the effect of the petal
being curled or folded over. So you're going to draw
your line of color, and then you are going to
blend it into the petal. For the outer shadow
separating each petal, I'm using a darker orange
to paint the shadow and then blend it into
the petal underneath. And as I was painting, the dash lights were just
so bright and painting this bright yellow sunflower was just really
difficult to see. So I changed the
background color a bit, and now you'll see
that it's much easier to notice all of the colors and the
textures and the details. So if you are having the same problem where
it's too bright, just simply change the
background color a bit. It doesn't have to
be a final color. It can just be something to help the painting process
move along easier. So to paint the center
of the sunflower, I used a default
round brush from the Procreate library to
create the shape of the middle And then I used the
Aquilt painter brush at a larger size to stamp some
texture onto that shape. I wasn't really liking
how this was looking, but I decided to
keep going until I found something that
started to look how I wanted. But I still didn't like how the center was
looking so it got rid of the shape that I drew with the round brush and continued
stamping some texture, and it was much happier
with how it turned out. So you can use this same
acrylic painter brush, or you can experiment with a few different brushes
in the Procreate library, specifically in the painting and in the artistic breast set. To have a lot of fun textures. So encourage you
to try those out when you're painting
this step and see which one creates the center of the sunflower in is
stuff that you like. And once you're finished, you can then move on to
painting the leaves.
6. Painting the Leaves: So we are going to jump right
into painting these leaves, create a new layer
below the petals, and you're gonna
paint the base of the stem in that
light peach color. Then you're going to add your light green leaving a few lighter areas
showing through. And then I'm going to
add my darker green to the left side of the stem
to create the shadow, and I'm going to add a little light peach to the right side to
create the highlight. If you have any color
from that stem, overlapping the leaf,
you can erase it and then repeat those same steps to build up the color
for the leaves. Start with your
light peach color. Then add your light
green and darken the edges of the leaves with
darker shades of green. Make sure that you're adding your strokes following
the shape of the leaf. When you're finished
adding your colors, you can use the
acrylic painter brush to lightly blend them together, and we don't want to get rid of the texture
that we painted. We just want these lines to lightly blend
into each other. And as you paint, you're going to add your shadows and
darken any areas where your leaves may be
folded or curled over or maybe they're over the stem like this
one in the front. So you're going to add all
your shadows underneath. When you are finished adding
your colors and blending, you can then add
your final details like the veins of the leaves. So you can use a
dark green to add those veins and then lightly
blend them into the leaves.
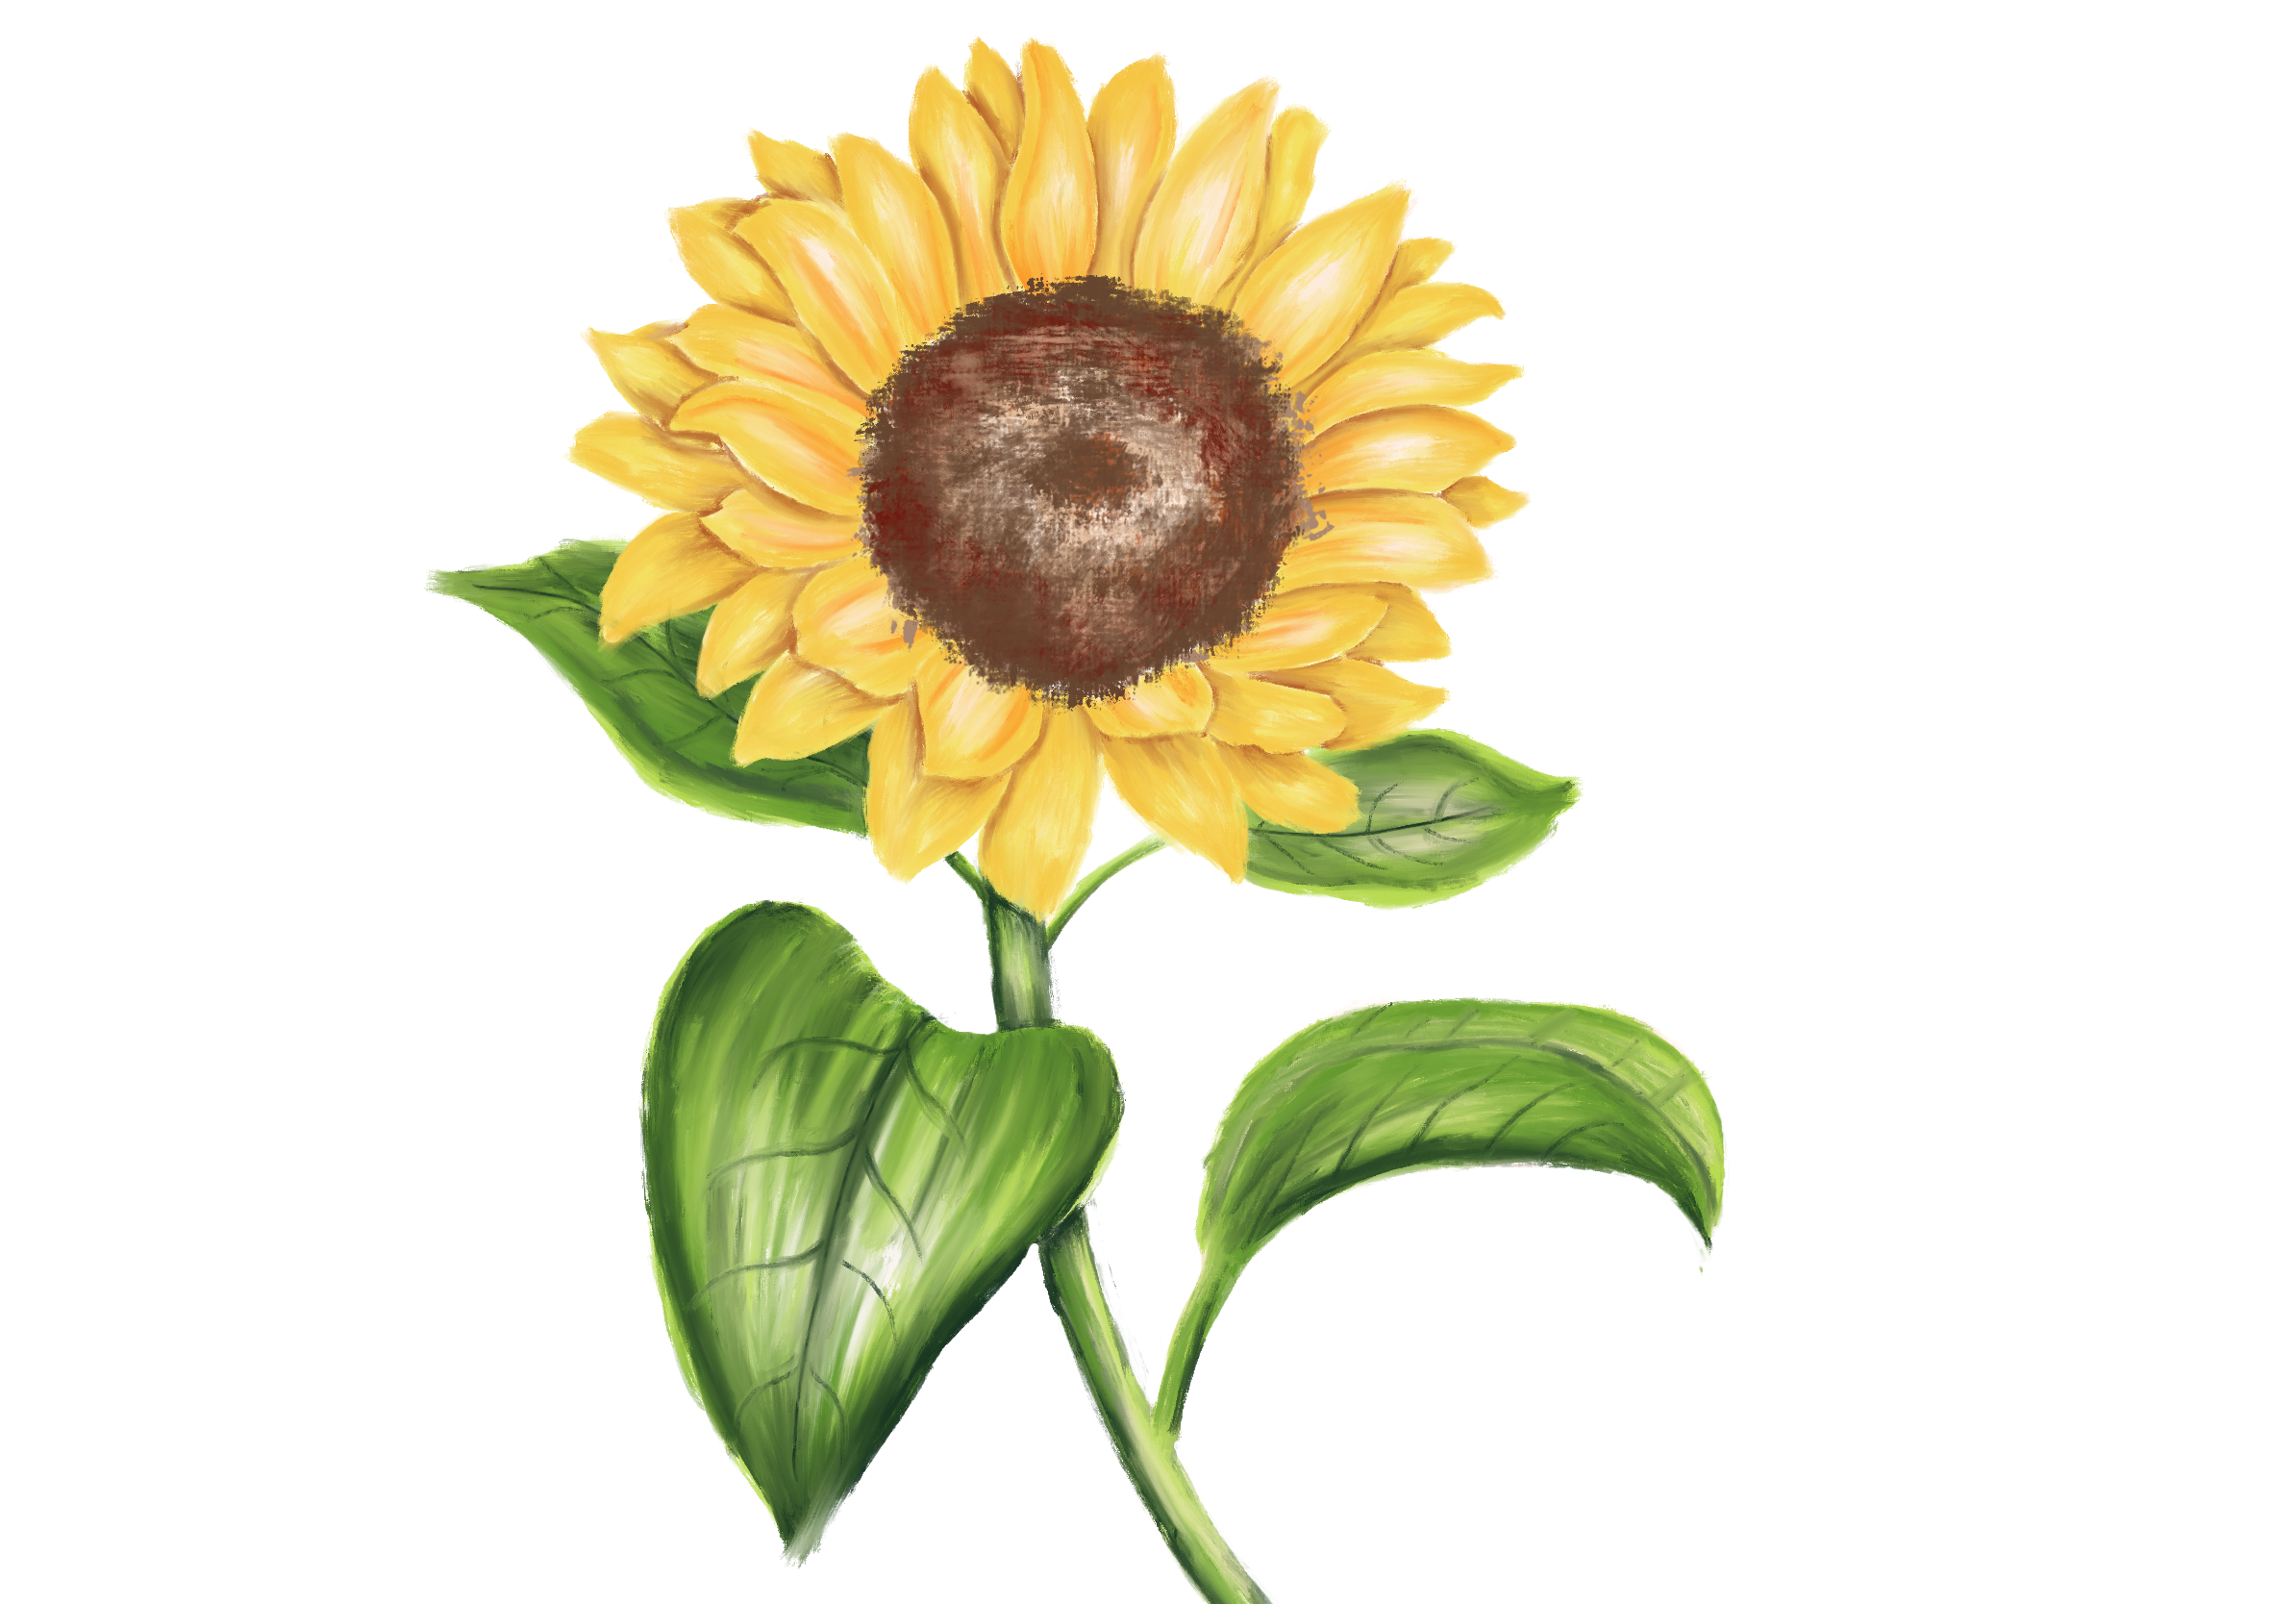
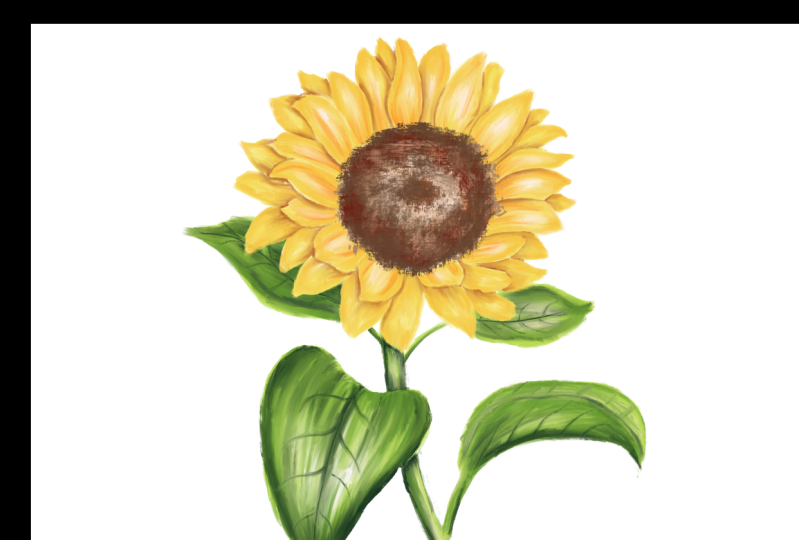
7. Adding final Details: So this step is
completely optional, but I want to add just a little bit more texture to my petals. So I'm creating a new layer above everything that
we've just done, and I'm using the dry brush
to add just a few lines across the petals and the
leaves of this flower. The final step to creating this painting is to
import your texture. So go to wherever you
have it stored on your iPad and import
it into this canvas. Then you're going to adjust the blend mode so that it
shows up onto your painting. Each blend mode has
a different effect, so you can choose the one
that you want to go with. I went with Divide and then
your painting is complete.
8. Wrap up: So we've made it till
the end of this class, and I'm very excited
to see your project. So head to the Projects and
Resources tab of this class and upload an image of your
work, then hit Publish. I also want to encourage
you to leave a review, sharing your thoughts on
this class so that others who may be interested
can know what to expect. Thank you so much for joining
me, and I'll see you soon.
 Shannon Layne, Lettering, Procreate & Art