Easy Chromatic Aberration (RGB Split) Effect in Adobe After Effects - Learn in Five
 Tyler Bennett, Motion Graphics Designer & Photographer
Watch this class and thousands more
Watch this class and thousands more
Lessons in This Class
-
-
1.
Introduction
0:22
-
2.
Getting Started
0:22
-
3.
The Main Lesson
3:39
-
4.
Outro
0:10
-
-
- --
- Beginner level
- Intermediate level
- Advanced level
- All levels
Community Generated
The level is determined by a majority opinion of students who have reviewed this class. The teacher's recommendation is shown until at least 5 student responses are collected.
3
Students
--
Projects
About This Class
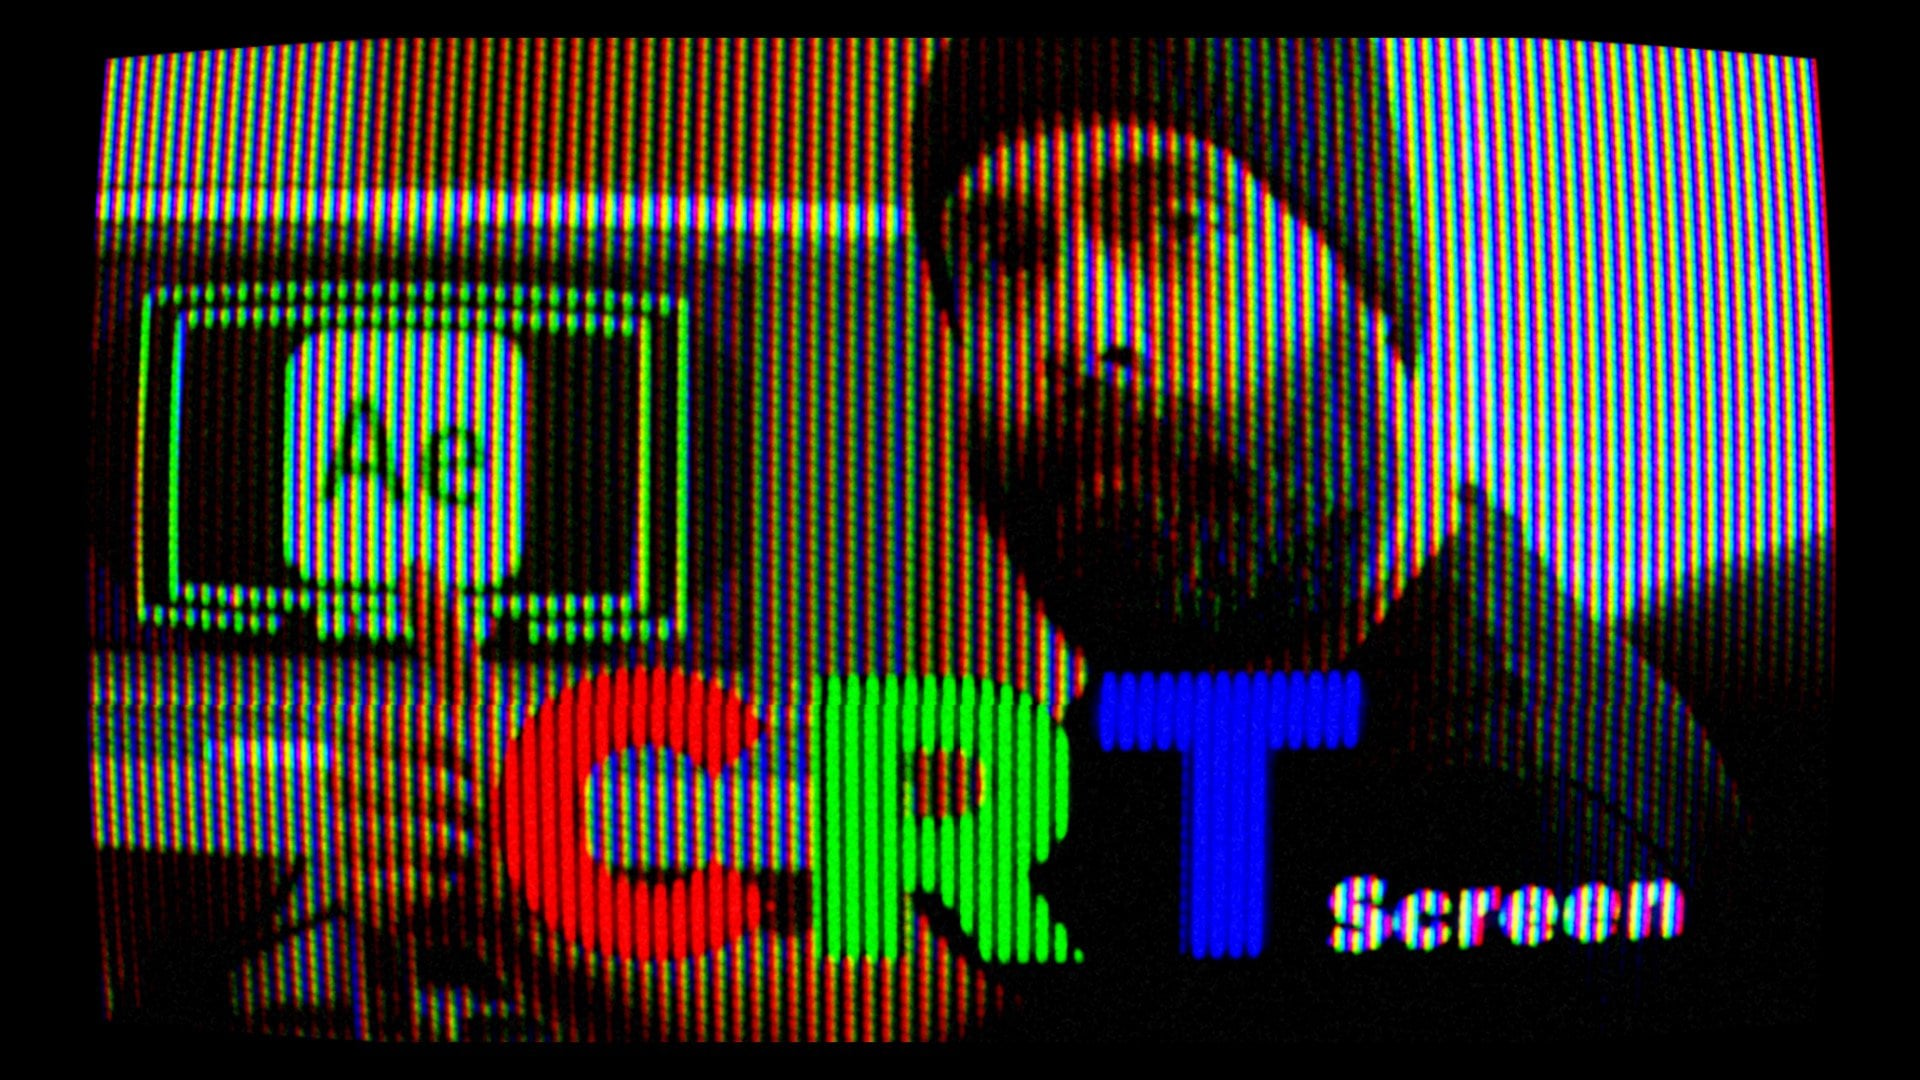
Learn how to create the popular chromatic aberration (RGB split) effect in Adobe After Effects!
In this short class, you’ll learn how to separate your colors to get that stylish look. Perfect for text, motion graphics, and video projects.
What you’ll learn:
-
How to easily split your video into Red, Green, and Blue layers.
-
Other tips & tricks to tie the composition together and get the aberration aesthetic
What you’ll be creating:
- Replicate the chromatic aberration look that we learn in this class and apply it to your own projects.
Adobe, After Effects, and Media Encoder are either registered trademarks or trademarks of Adobe Systems Incorporated in the United States and/or other countries.
Meet Your Teacher

Hello, I'm Tyler. I'm a motion designer & photographer based in Ottawa, Canada. I make simple and easy to follow classes for beginners.
You can find me at tylerbennettvideo.com/
Connect with me at @tytyttheguy or @learnmotionwithty
or on YouTube: @tylerbennett3601
See full profileHands-on Class Project
Your class project is to recreate the chromatic aberration look that we learn in this class and use it in your projects. You can download a completed version of the project file on the project and resources page, it will help you follow along with the lessons.
You can complete the class project by following these steps:
- Follow along with my video lessons
- Together we will create the chromatic aberration text look
What You Need:
- Adobe After Effects
To share your class project follow these steps:
Important note: For this class project, you have the option of submitting a video, or alternatively, you can take a screenshot of your composition and submit the photo, as this class focuses primarily on design rather than animation.
For video:
- Export your animation in mp4 format. If you are unsure how to export your animation, you can find exporting lessons in all my beginner level Adobe After Effects classes.
- Upload your video to a video-sharing platform such as YouTube or Vimeo. I suggest uploading your video using the "unlisted" option. That way your video will be private, but you will still be able to share it here.
- On the projects & resources page find the submit project button
- Share the link to your video
For photo/screenshot:
- You can simply take a screenshot of your After Effects composition using your computer's screenshot key
- On the projects & resources page find the submit project button
- Share your photo
Class Ratings
Why Join Skillshare?
Take award-winning Skillshare Original Classes
Each class has short lessons, hands-on projects
Your membership supports Skillshare teachers
Learn From Anywhere
Take classes on the go with the Skillshare app. Stream or download to watch on the plane, the subway, or wherever you learn best.