Transcripts
1. Welcome to another wonderful class: And welcome to another
beautiful painting course. In today's course,
you will learn how to make this wonderful landscape. This landscape painting is specifically designed
for beginners to understand the fundamentals of painting to learn how
to play with colors, textures, and perspective to
create a marvelous result. Hi, my name is
George, and I've been a professional artist
for over 11 years. Five years ago, I have fallen
in love with teaching, both online and in
person classes. With more than 20,000 students, both adults and children, I developed this
interesting way of teaching that focuses more
on the project on building a wealth of experience
in order to better understand the techniques and the theory behind
what you are doing. And there is one more
crucial component, and that is having fun. Whenever you are not having fun, learning becomes hard,
and we don't want that. You want a seamless
experience that leads you to a beautiful
result in the end. And you learn something in the process after you've
done the painting. This painting might
seem complicated, but you will get step
by step encouragement for each and every brush
mark that you make. By the end of the
class, you will not believe the result
that you will have. And now let's just
jump into the course.
2. Materials needed : So for this course,
you will need a 40 centimeter by
40 centimeters. Any square canvas can really
work for this design. You will need some paint. This is acrylic paint.
It's Amsterdam. By bigger jugs, so you have
a lot more paint so you can practice and play around
so you don't feel like you're always
running out of paint. This is white Amsterdam
acrylic paint, titanium white. This is brilliant blue. This is carmine red. This is Azo yellow medium. You can use lemon yellow, as well, and brown, also known as burnt umber. You will also need
some beautiful flat brushes, big flat brushes. This is a big flat brush, and this is a small flat brush. You might notice that these
brushes are quite large. And that's because
the larger the brush, the easier it is to cover
and do something very fast. And whenever you
feel like you're not really able to
do what you want, you don't feel comfortable
really painting that. You can go over to the
beautiful practice board, to the rehearsal board and try
it on the rehearsal board. Okay. You can also start on the rehearsal board and do the painting on the rehearsal
board in a fast manner, and then go back to the
painting on the bigger surface.
3. Rehearsal board: Before you go into this course, I would like to present to
you the rehearsal board. This is a simple canvas board that has a little
bit of a sticky pad. And this is your canvas. This is the same as a bigger
canvas just like this. But it's small because
this canvas is very durable and the wood
behind it the same, you can use this even 50 times. And I want you to get into the habit of playing
around with colors. Just add some colors. You don't need more
than three colors. Just play around with
some blue, some white, some yellow to understand
how these colors behave. And in this course, if you don't feel very comfortable
with something, you can go back to
your canvas board. It can be a piece of paper. It can be a cardboard, from a box. It can be anything. And just practice, like, for instance,
practice some leaves. Let's make a beautiful green. This is a very intense green. And you can practice
on this board, making small, beautiful leaves. And then you can really
make a bigger one. And once you've practiced the thing that you are
not comfortable with, you can just wipe it down. And start over. Let's say you want to go and make some beautiful
turquoise sky. You add the colors. Let's say it's until here, and notice what's going on. Notice how much water you
have, how much paint, how the colors behave when you put them together
onto the canvas, when you add this
white at the bottom, and then notice also
how much control you have over the fact that
you can add color over it. And let's say you've
added too much white. Well, what you can
do, even on canvases, even on this canvas
board or anything else, except maybe paper paper
doesn't really let you do that. Look at this. I'm wiping it off. And now let's add it
back over, so it's less. And then you can practice
making gradients, for instance, or you can just go a bit
more interesting and make the clouds and give a stormy
look to this wonderful sky. And then after you've
finished practicing, can go back and erase. So you don't feel
like it's precious. You are getting
over. At some point, it's going to have a tint, which is also good because
you can then practice to see what colors go
well over the blue, for instance, or over the
yellow or whatever color you have on the Canvas practice
board, the rehearsal board. It's a very interesting concept. It's borrowed from
the music industry, from musicians,
where they practice. But as painters, we want to always make the
perfect thing, but we don't have our
instrument that we can play over and over and
over to get better. It's such an interesting
and easy concept, and yet no one does it. You reduce the cost
of the materials. You reduce the cost of failure. You reduce the cost
of everything, and you feel free to experiment, and you feel really enticed
to just play with colors. Whenever you get new colors, you're going to find yourself spending hours on
just this one board, and then wiping it down, it's like a very interesting
way of painting. And you know that because
you're going to wipe it down, you give yourself
freedom to do anything.
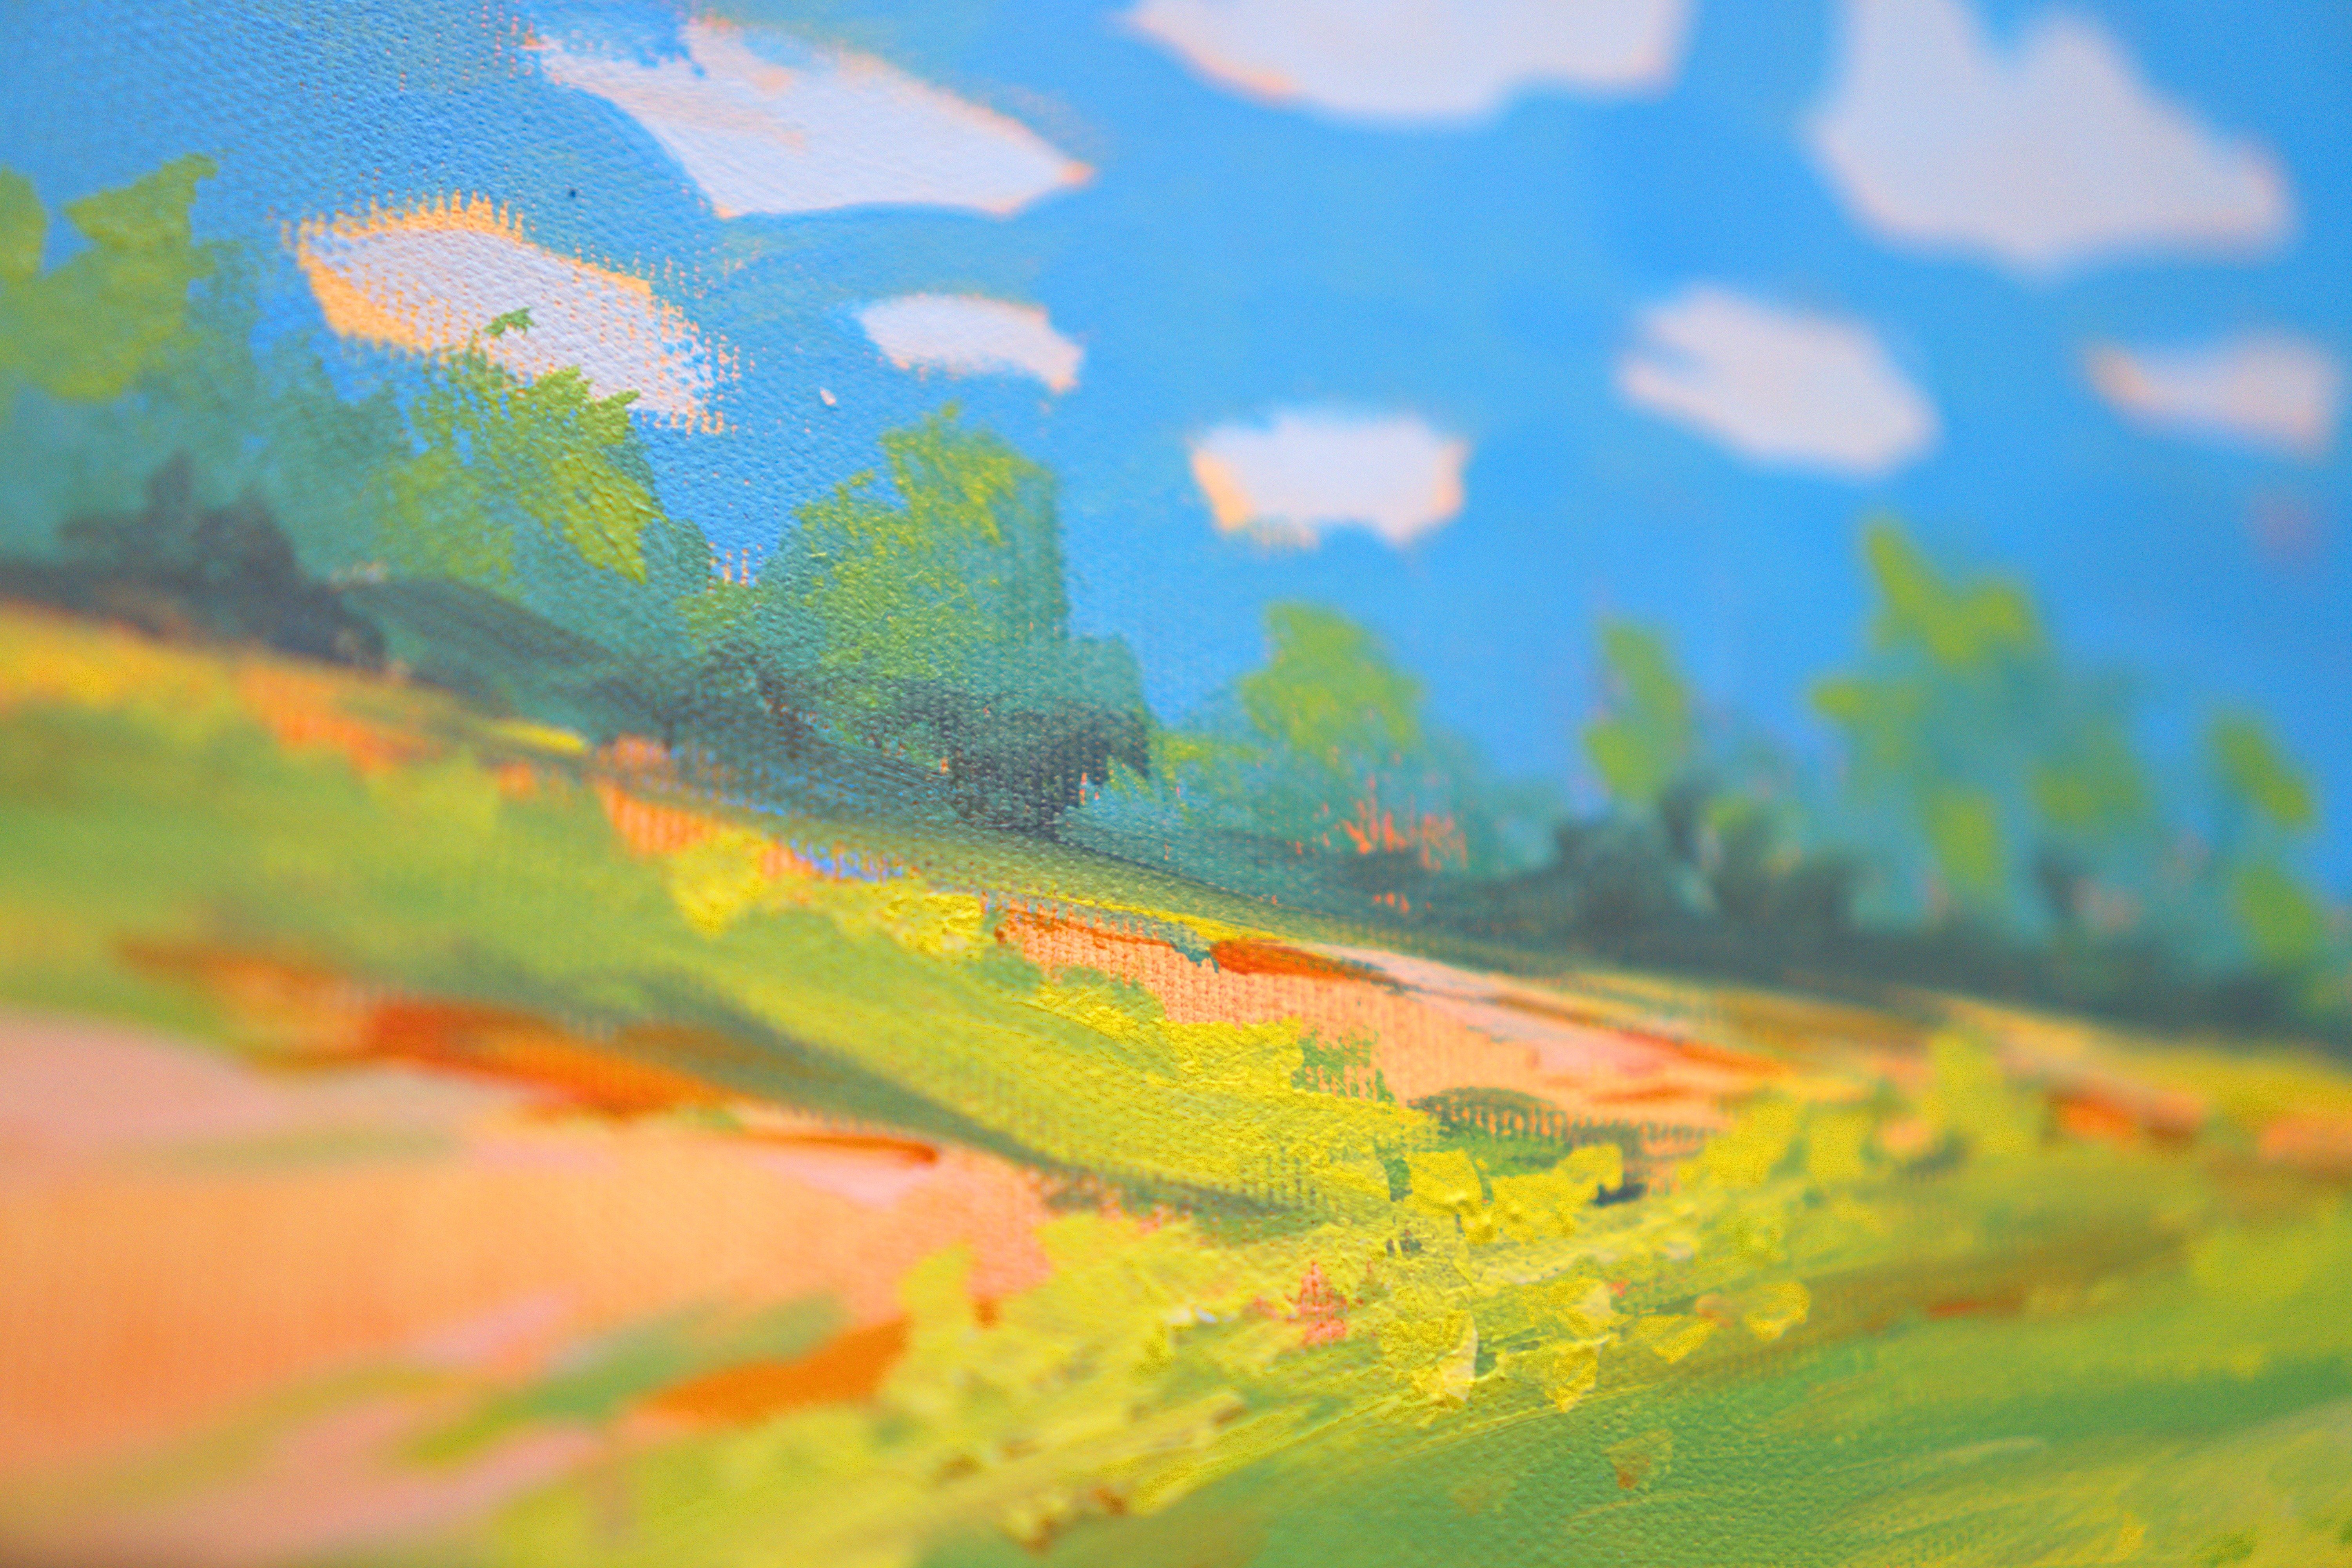
4. Sky gradient: We have here some white, some blue, and some yellow. With the big brush, let's start by making a
beautiful turquoise, very light turquoise
with some yellow, add some yellow to that blue
to make it more turquoise, to build this
beautiful sky color. And then you can
start to add it. Notice that it's very green. What can I do if it's too
green and I needed more blue? The answer is in the question. I need more blue. Don't be
afraid to mix on the canvas, especially on the
first layer of paint. Let's play around like you
play on the canvas board. It's still too green. So let's add more
blue directly onto the canvas and start
pressing down on this brush. We're going to put
some paint until here. If you have a large area like this where you're going
to fill in with color, you can always go add some of this color and practice
some brush strokes. Notice what your brush can do. It can do straight,
narrow, round cuts. It can do hairy, beautiful, abstract shapes just like that. Maybe this can become a flower. Look, just a flower. Just play around with your brush and understand what's going on, what kind of textures
it can create. And then you can go over
and fill in that area. You can have a practice
board just over here on the actual canvas. You can practice your
brush making abilities. Let's finish up this
beautiful color, and let's add more
blue at the top. If your color is not
really like this, you don't have to spend
too much time on fixing it or making it extremely accurate. This is just about
practicing and making a unique painting,
a unique landscape. Okay. Now let's add some white, just like you did on the
Canvas board in the beginning. Or if you didn't no different. You can just go in, add
some white. And fill it in. Just fill in the colors. It's like child's play. You're just filling
in the colors. But the difference is that you are noticing
what's going on. Like, look how beautiful this white just
became like a line. Like you are watching under
the beautiful clouds. So you can redo the same effect that you had here by just going over here. I know it looks
very, very white. But once you go
with the brush over it, you can start to see. If you turn this around, it might look like
a, like a seascape. Okay. You can also add some
blue just going in between
5. Playful gradient: You can try to see what's
going to happen if you go with lines like this. Maybe you don't like them, so you go back to
making lines like this. This is just about making a beautiful gradient in just
a few minutes, adding paint. And because the
brush is very big, well, not really big, but big enough, you can add
a lot of color very fast. But this is only possible
if you press down hard enough and if you have
enough color in the palette. Let's add more blue onto the corners to create
sort of like a vignette, just like it gets
darker on the corners. Just like the Earth
is round or flat, depending on what kind of
ideology you subscribe to, or just making it
round this time. I'm not saying it's round. We don't know yet. Of
course, it's just a joke. Let's add more blue. And now, maybe this can be divided just like
this with some more blue. Don't be afraid to go over some areas and once you feel happy with this
beautiful gradient, you can always go further
or retract or subtract. Like, it's the same as you
did on the canvas board. If you want, you can
just wipe it down. Just take a bit more pressing
down to take all the color, and then you can apply more. Can just apply back some color. It's simple. I didn't
have white here, so I didn't apply, but it's
fine. We're just playing. You're always playing
to see what's going on, to notice what's
happening on the canvas. You don't have to let
this gradient dry. Let's go over what
you did over here. You played with analogous
color contrast. You made a turquoise
blue and white, and you just played
with these colors. These colors are friends, and that's why they
blend together so well. That's why they can just
play around and have fun and party together
analogous colors. Simple and easy, you can just think of them as friends
they are very close by, so they have a friendship.
6. Grass color patches: Now let's just play
with a broken gradient. Grab your small brush. Add some green, some
yellow over the blue. Grab some water, just a
tiny bit of water just to lubricate this beautiful color. This is a very intense green. Let's add it here.
Let's add it here. Maybe here, we're
going to make it a bit different than this one. Okay. Let's add a
small one here. Let's make this one bigger. So we play on the idea of
big, medium and small. This should be a bit
smaller, but it's fine. Then you can add more yellow, and you are playing
with a gradient, but you're not going and
creating that gradient. You are placing
colors next to them. Like this. And then you can
add a bit more yellow if you don't have enough
color in your brush and make this brush
mark a bit smaller. And then over here, a small one. They don't need to
touch all the time. You can go over here as well. You can go outside of the
canvas with this one. And since this is a big shape, we can add a small one. Now we can go back to the color, the previous color, but
this time a bit changed. Maybe it's different. See? It's a bit in between. You're just playing with colors back and forth and back and forth and create these
beautiful shapes. Maybe this is a
land mass, a field. With greens, you can always make them more natural by
adding some brown. This will make them darker
and will reduce the chroma, we'll reduce the vibrancy, the power of the color. We don't want a painting that's
all powerful everywhere. It screams at us. You want a painting
that is balanced and that brilliance,
that vibrancy, it needs to sit on a place
where it's a bit more muted, so it really pops
the vibrant color.
7. Grass dark colors: So if you think about it, half of the painting is done on the palette because here you decide if you like
the color or not, and you can mix and
match and really go in until you feel
comfortable with the color. This is a very nice and
beautiful, earthy green. Okay, we have a nice and
beautiful earthy green. Once you put it
against the white, it might look dark. But once you fill in everything, it will look amazing. Let's add more blue and
some brown over it to make this wonderful
darker, bluish tone. It goes very well, and
it plays very well with green because it's basically a darker
version of this, because you've played with
the color over this area. So it has some of that green. And once you have
your brush like this, you can always go and clean it up on an area to
make a bigger shape. Maybe some of the turquoise
just comes out of the brush. You never know what's
going to happen, but you can notice And if
you don't like an area, as always, take some
napkins, scrape it out. Add some yellow. Let's add
some yellow over here. And you can add some of this
yellow just on this area. Acrylic paint and
canvases can take multiple revisits
with the napkin. The napkin. I had a joke in another course the
secret napkin technique. And now let's just fill
in these areas a bit more to really make
this foreground, field, whatever it is, a bit more interesting,
at the bottom, and then take some more yellow. And with this yellow, you can
go in the spaces like this. If it's too intense,
don't worry about it. You can always even if
you don't scrape it out, you can always
bring it down once the colors become a bit darker and you start
to have that green. You can go over it, just a tiny bit to cut that
wonderful color out. But still leave some
color over there. Notice that as you go
forward towards the middle, the lines become a bit thinner. You can really create
these lines just like going with the back of the brush and create them like this, if you want to have some
lines that are thinner. Don't be afraid to
put thick paint. You can always take it out. And let's fill in
this in this area. This is a very fast
and loose landscape. You're learning how to apply
paint and learning how to really focus on the brush.
8. Mountains in the distance: Now, it doesn't matter if
the sky is dry or not. You're just gonna go
and add some mountains. Well, I need to take this
hair out 'cause it made a little birdie here.
You can do two things. You can either add
mountains, which is nice, make them small, maybe then make a bigger one and connect
it with this one. Just going make a
line of mountains. Even if you're picking
up some of the white and blue of
the background, that's fine because
it creates distance. It makes these
beautiful mountains go further in the background. Because they have a
little bit of that white, so they blend in with the sky. Let's do a bit of intentionality and create those mountains. Notice that all the mountains
are very triangular. They just go like camel backs. What you can do in that case, you can also change the
color a bit at more blue. You can just break it down into more like calligraphy
style marks. You can really go into a more calligraphic
and graphical way and manner and add some ridges. Just go outside just 2
millimeters outside. Notice how much more interesting it looks
than if I did this. And I made a mountain
that goes like this. This is fine, as well.
We can leave it there. Let's finish this side. And then you can even go a bit into the grass and blend it in, so it's not such a harsh line. It just blurs as you go in the background.
It becomes fuzzy. Let's add more blue and go over here,
make some mountains. You need to go with the
side of the brush to create a beautiful nice edge so your
mountains don't look hairy, just like this one was
a few moments ago.
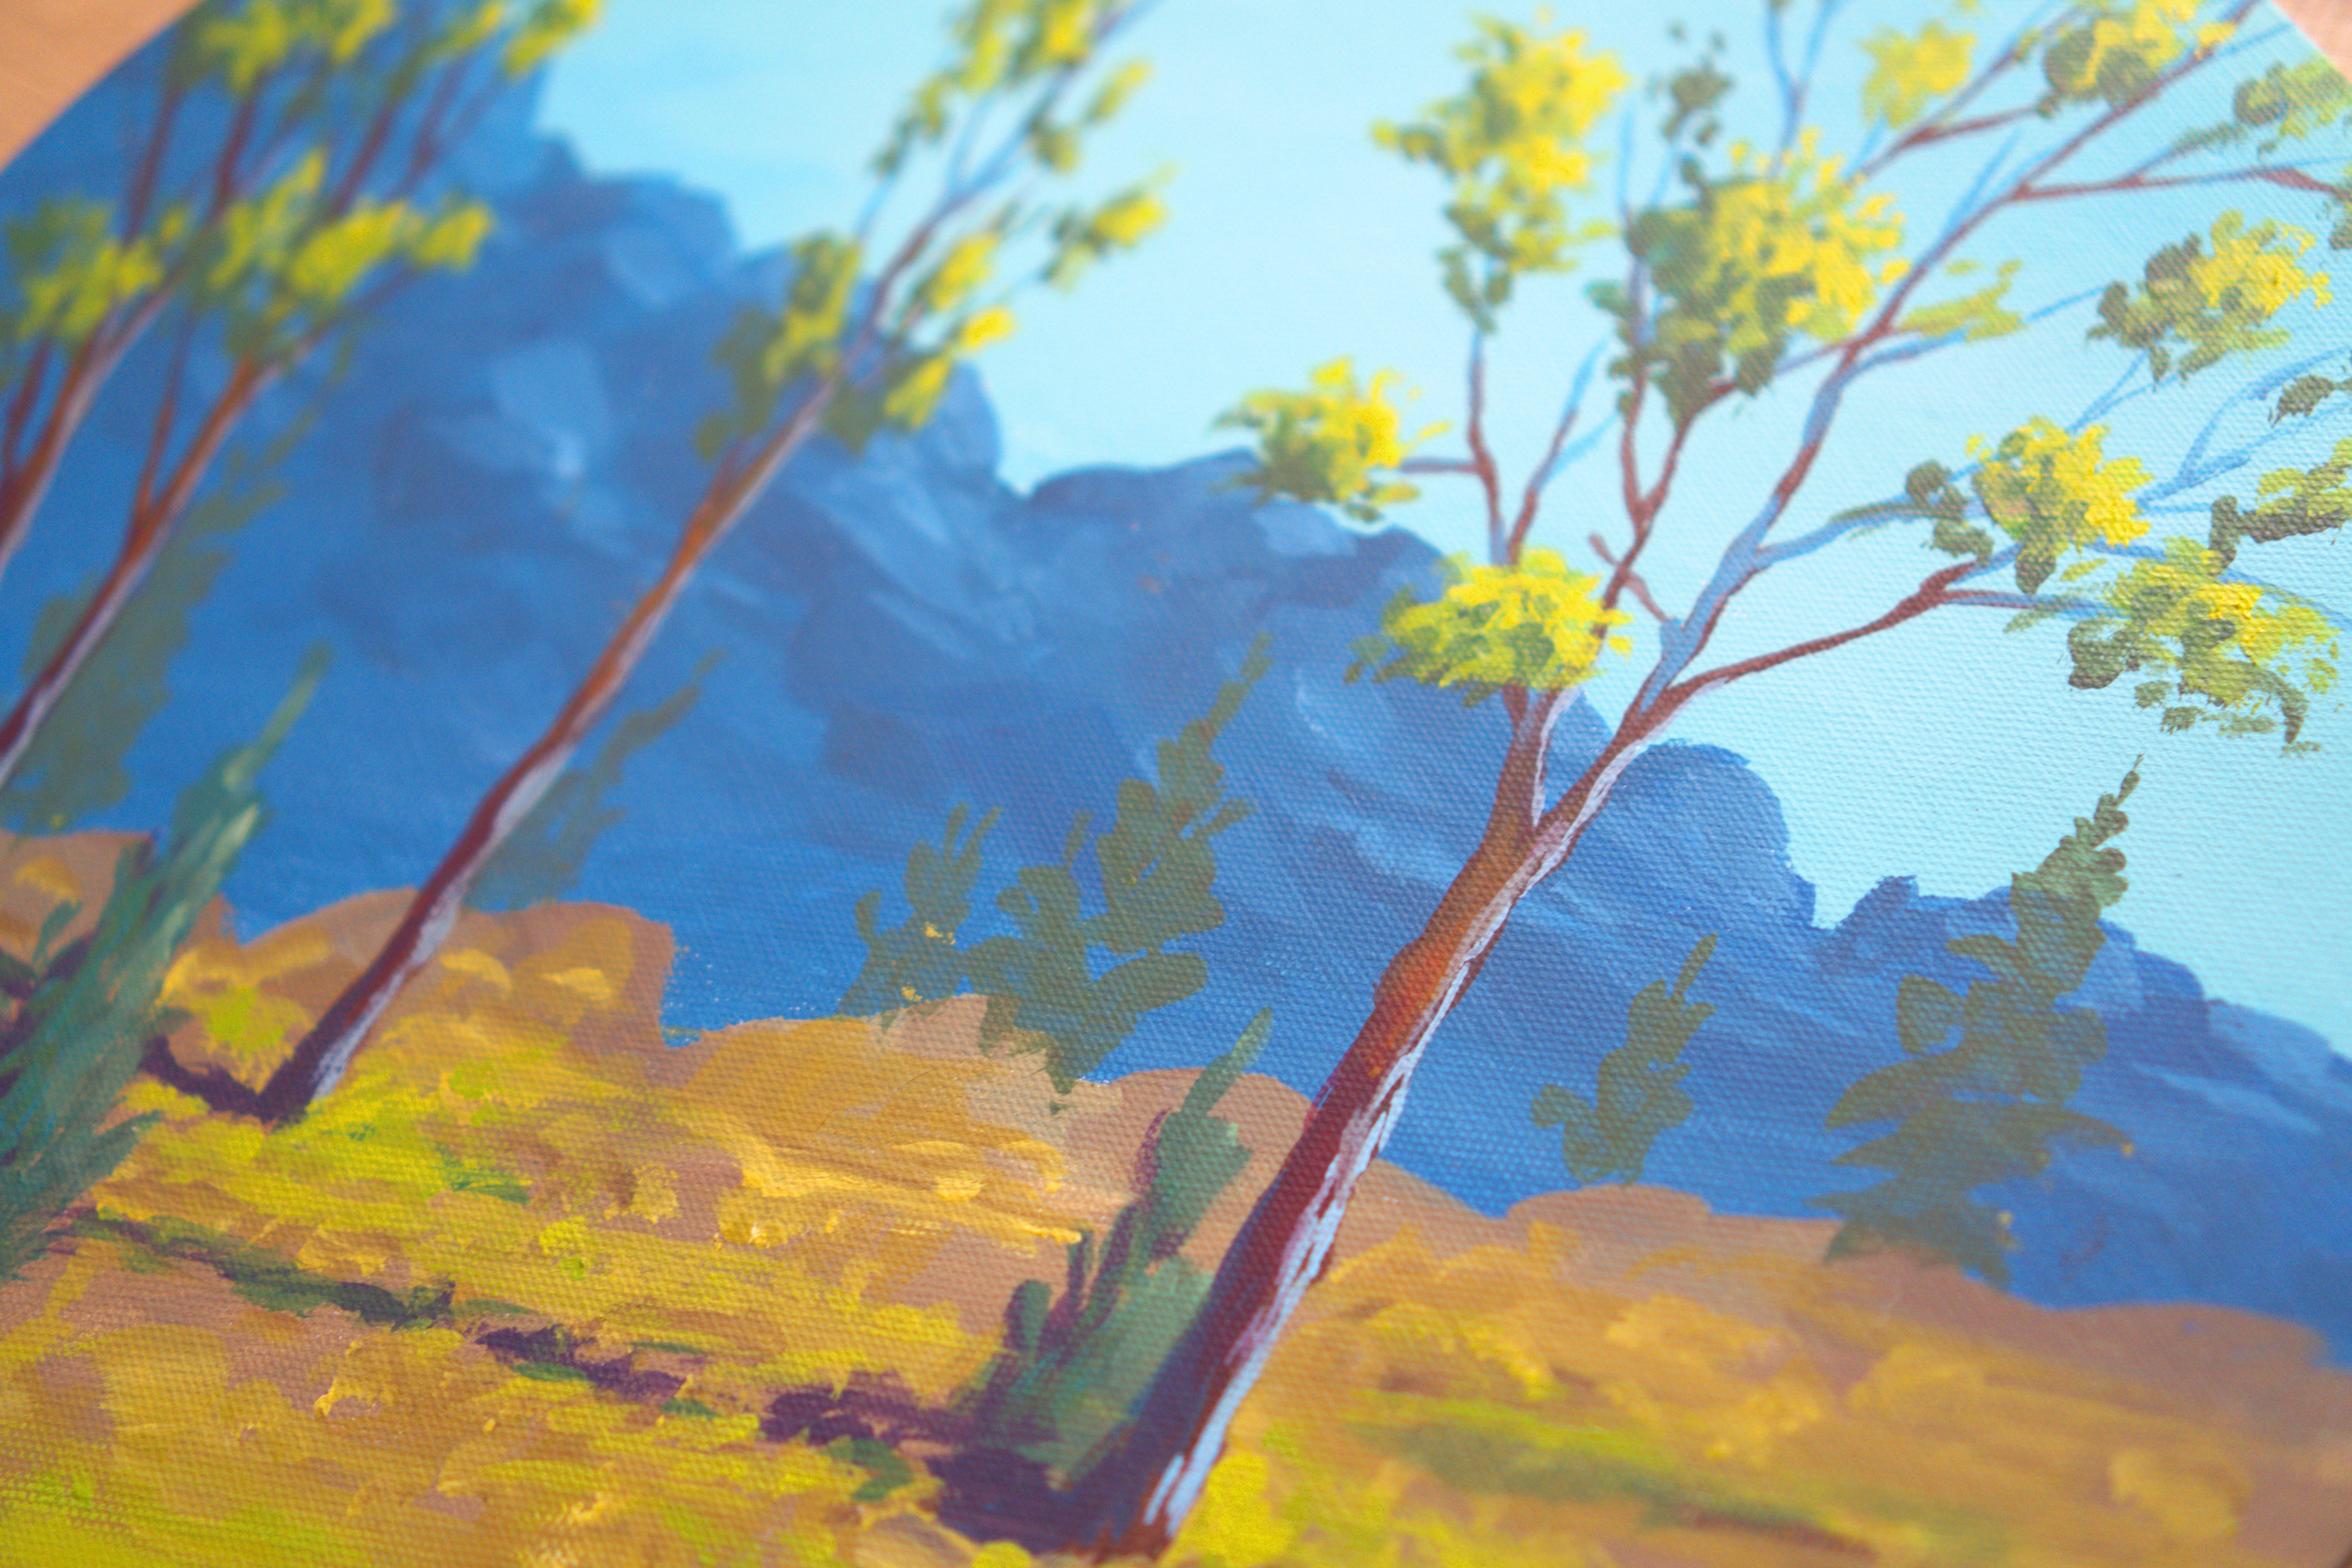
9. Trees in the distance: Okay. You can start
to see a puddle just over here, some nice grass. Let's add more of this
green into this blue and start adding something more
interesting, which are trees. With the corner of the brush, just go from here and add
a beautiful tree going up. And in this area, we can add more trees. This is like a little
beautiful forest. The key here with these trees is to leave some
spaces for the birds, and also don't make
them very round. Make them like, really crazy and frizzly like a cool 90s haircut. See? I just added a small
little arm to this tree. I can make it even bigger. And then it looks
beautiful and nice. You can go even
darker to add already some shadow and think
about light and darkness. So the way you do
that is you decide from what side does
the light come from. In this case, we're going
to add the dark side with some blue and some brown onto the right
side of the trees. Just add it. Don't
focus too much, just a few dabs. Oh just a few dabs of paint. And let's maybe make
a shadow for the tree itself with the same color
since you have it already, just go to a fine line
just going to the right. Notice that it
doesn't start really over here because
maybe this shadow, this part of the tree just puts a bit more
shadow onto the side. Maybe the shadow
is a bit behind. We don't know, so we don't start it from the middle specifically. I just looks a bit better. And you can always
erase it if you want, you can go like this and
erase it. Let's put it back. Let's put it back. Okay.
The finger technique. Yes. And let's let
this dry completely. We could do something else, which is accentuate
some more grassy areas, but I think this is
quite enough for a fast and very loose landscape. It looks quite well for now. Let's let it completely dry. You can have a hair dryer
to dry it very, very fast. Before you do that,
you can also go over some areas that are still white. Even with any kind of color
you have in the brush, maybe the shadow,
because it will create some more
interesting things. And if it's too dark, just go with the finger and
create some texture that way. Grab some yellow, add
some more textures. Super easy and simple. Just playing around with colors. So in this step,
you've learned how to create a beautiful field. You've created some mountains
in the background that blur because they are
very bluish in tint. You've learned how to
not make them hairy. You've also focused on
brush making by making a little bit more
caligraphic marks to add an edge that is more interesting
for the mountains. And you've also
learned that you can turn the brush on its side to create these beautiful
foliage for some trees. You've also played
with light and dark. Well, specifically just
dark because you made the shadow and the main
color of the tree. Over this main color, you're going to be able
to put some highlights, which will make the tree really stand out and
become beautiful. Let's get the hair dryer
and dry everything.
10. Highlights on field: Until now, you've
played only with wet over wet paint because this was the
first layer of paint. So you have created
wet into wet painting. You are creating whenever
you work this way, colors blend in together and they create beautiful nuances, especially if they are friends, if they are analogous colors. Now, if you want to
create more contrast, you need to let
the paint dry and go over it with some beautiful, fresh wet paint so that you have a clean color so it doesn't blend in the
background so much. To do that, you're going to create a beautiful light green. Let's take some yellow. Blue, we already have, but we also need some white. You might say to yourself,
What's lighter green? We already have this
one, maybe this one, but we haven't added any
white to these colors. So whenever we add
a different color, we change the hue and the color becomes way more different. Let's take a trusty,
rusty napkin. It already has paint on it. It has been used once. You can use them multiple
times if you let them dry. And then it already has
some of this color. You can start to see if I
paint here, so that's fine. It's going to unify this color
so it doesn't look alien. Let's spin the plate around a bit so you have a
cleaner area to work with. Never put your brushes
into the water. It damages the wood. These are plastic brushes so you can put
them in the water. That's why they say
never put your brushes in the water because
the wood gets damaged. It doesn't really affect
the brush itself. Let's add this blue
slowly to the side and then going in and adding more yellow as we go and then add some white gradually onto the side to see if we need more. It feels too lien,
but that's fine. We can still use it for
a few brush strokes, maybe some lines over
here and some over here. Creating these lines will create a little bit
of perspective. If you go with
thinner lines further away you are and bigger
lines over here, it will create perspective because this big this is small. It creates this plane that
goes towards the horizon. This is the horizon line. You already knew that.
Everybody knows that. And let's add some more
white and some more yellow and start to see how much more different
discolor feels and looks over even the
last color we've added. Notice that the white
also acts like the brown. It cuts the intensity
of the color. So you have to
keep that in mind. If you really want
the brightest color, you're going to do
a trick to paint white and then get with washes
of clean color over it. Washes its water
with acrylic paint. Just adding a few of these brush strokes over
here and over there, just filling in the composition. Let's get a bit more yellow. Well, a lot more yellow, and with a bit more paint. This time, a thicker
amount of paint. So we can do some
beautiful dabs, maybe some distant textures. You can also go
behind this shadow. Just to accentuate
that behind it, there is a little bit
of you can go into the mountains a bit if you want or if the
shadows are too high. This is a good time to also
edit a bit the shadows. So if they are too thick, you can go from the
outside in to edit them. Very simple. I'm just
going to go a bit slower. You can also dab
as you get closer, dab a bit harder, and then brush it a bit. At the bottom of the
dabs, like, right here. So you blend a little bit
of that color in the coal. Don't go overboard with
these type of effects. Just a few are enough.
You don't have to go. You just need to suggest
some texture somewhere. You can go as you go closer. You can also add some sticks like this and maybe
some texture over it. And over here, maybe
some sticks and go a bit more textury to create
some wonderful colors.
11. Highlights on trees and details: With this color, you can also add some highlights
onto the trees. Just a few of them. Like here and here, notice how light and how
not integrated they are. And ask yourself, why
are they so apparent? Why are they so light? Well, because they are not the
opposite, which is darker. The answer is almost
always in the question. So to blend them in a bit, you can either clean the brush
and start with a lighter, it's not clean enough. Let's clean it again. So, the more you dab,
you only did a few dabs. You don't have any paint here, but you're grabbing this paint. So you can blend them in by making them a bit
more transparent, or you can go in
with a darker color. I suggest doing both of these. Because you are creating a more interesting
color combination, and then an in between
color to create more color variation onto
the side of the trees. Don't stay only
inside of the tree. You can also go outside a bit
to create more fuzziness. Fuzzy business. Okay. And if you want, you can grab some brown onto the middle of the end and add a few
lines just like that, maybe here as well. Or if you have a
smaller brush which I don't have handy over here, but you can always do this, learn how to use these
tools in a different way. You can grab some
paint on the side as well and do some
lines like this. Notice you can do some
interesting things by going with the side
and then taking some more color and
adding it over them, so they are behind the foliage. Even if it picks up some of
that brown, that's fine. No one's going to look too
close to them as well. But you can make them
as perfect as you want. This is a very free
flowing video, and this is a very
free flowing course. So you can really get as
detailed as you want. Let's add a tiny bit of
white to this green, just so we change the hue a bit, so we have a different
highlight for the trees. So notice that you
change the hue of the tree like four
or five times. Don't feel like you can't go with this highlight color
onto the dark side. You can always go.
Some of the leaves might hit that side as well. Okay? It's simple and easy. Now, let's grab some more
yellow and some more white over this green
with some blue. And some more yellow to create even more texture
around this area. This is the middle
of the canvas. We're just dabbing, then caressing cutting those
edges, some of them. Don't go overboard, a few. Maybe as you go closer, you can add some more
interesting and bigger shapes. You can also create a lot of contrast if you go
over a dark area. Notice how really
impactful that was. Let's add more yellow to
show you even better. But be careful not
to cover everything. Also go from the outside in. Is a tiny bit, so the
composition opens up. Notice this brown, we
can fix it immediately. Creates a different
type of color. You can take some blue
and paint over it a bit. You can always play around. Let's take a lighter
shade of this. Let's add more white and more yellow to make a lighter
shade even still. Changing the hue of
a color that you like is so easy
once you understand that you only need to add
one color or white or brown, depending on what you need, you can question, do
I need a lighter? Do I need a darker? I just add a few dabs. Notice how light and
beautiful this is. Let's add them here and this
side. Let's add them here. Okay. Now, in the foreground, we're just going to try to
make something interesting. Maybe some bushes or maybe
a beautiful lake or river. If you like the
painting at any stage, you can just leave it like that. You don't have to finish
it. It's not required. If you like it enough to let
it like that and you feel proud of it and you
enjoyed the whole session, you can just leave the
painting like this. But if you want to add
more to it, it's simple. We're just going to add a beautiful river just
going down like this, even though we have a
lot of colors over here.
12. River main color: To create that river, we need, of course, some blue. We already have the white, but the brush has
a lot of yellow. So you need to clean it up, even though it still
has some of that green. Let's pick up some water. It's fine. It's just
going to integrate. And even if the colors
are not really dry, you are just
integrating that river, and in the second
layer of the river, you're just going to add a
different type of color. Let's start a bit darker. With some blue and some brown. And notice that as you
go to the horizon line, you need to go a bit thinner. So maybe the beautiful river starts like a little
line over here. Maybe it breaks over here, and then it starts
and it connects like a zigzag and it starts
to become bigger, and with rivers,
lines don't tend to become that much
bigger as with grass. They tend to stay very short. You can do some breaks
just like this, leave a little bit
of thinner paint, and let's finish this
river maybe this way, banking to the right side. Let's add some water. Water here is your friend because you are actually
painting water. Notice that this is a very
dark river right now, but that's good because you can play with You're just
changing the hue, and now let's make it a bit brighter by adding
some more blue, just a tiny amount to
change the hues around. Maybe this corner is too steep. Let's make it a bit bigger, so it fixes a bit of
that perspective. Small here, big here, fancy word called perspective. Let's add some blue and some white to change that blue a bit. Now, water will be your friend. Water, my friend. Be like water, my friend. And now let's start in
the beginning because you can always wipe this being
so close to the edge, you can just wipe it if you
don't like what you created. Like, for instance,
this color feels a bit too light, but it's fine. It's going to pick up
some of that blue. And that's another thing here. You can create
distance by contrast. So closer things tend to have more contrast,
more texture, and this way, if you
paint like this, wet and wet, as you go further, you might notice that
the blue starts to become all I'm doing right now is just cutting some lines on the river and
blending them in a bit.
13. River vibrancy: Now let's go lighter and bluer. I am adding blue
just so the color becomes way more bluish. Might say it's the same color. It's fine. Can add it further
away if you want and feel like it needs
some of that color. Okay. Let's add some more
onto the sides, maybe, accentuate some
of those corners. Maybe here. Even though I picked up some
green, that's fine. And now you can press
a bit harder over on this side to create
a more bluish color. Okay? Now, let's make it
even more light. Now, it doesn't feel so
light, does it? Anymore. Now, let's add some lines. Okay. Add some lines. Now we can start
to be a bit more caligraphic and start adding
some more clean lines. If you have a smaller brush, you can always use
a smaller brush. That's fine. Now, the trick is, you've added light over dark. Now you should add dark over
light to accentuate back the colors and the shadows to create this play
like it's water. Do that some blue,
touch a brown. Maybe too much brown. Let's take some more blue
and some more brown. Take some water. Water
lubricates paint. It's not always useful, but when you want to create flowy things and
more precise marks, you can just go and
take some water to make it a bit more flowing. You've already done this
for the sky, remember? So it's the same exact thing. In fact, the sky
is also reflecting in the beautiful river. Don't go overboard, just here and there,
just a few lines. And then we can let it dry because as you did
with the grass, you need now some stronger
and more beautiful colors that will really
make this river pop. It will make it very strong
and nice and beautiful. So remember, these are
wet and wet techniques, and then you can go back into wet on dry to create more
contrast, more colors. Now it just blends in, it integrated, and now we
want some beautiful effects. They are just going to be the
same lines you already did, but with different colors
and on a dry surface so that it creates
textures like this. Well, not really like
this because that would mean that the water is grassy. They're just going to be thin or thick lines as you go around. So you've learned that
you can use water to make these wavy directional
brush marks, and it blends in together. You've also worked from
dark to light and then went back to the dark to
accentuate the light. Without the dark, without dark shadows, you
do not have light. You do not have
colors that really pop because everything
would feel flat. So you've built this
beautiful substrate of colors of mixing of
interesting shades, and then you've put
some highlights and some darks to
create more variety and create diversity of color and texture and really
nicely play around.
14. River details: Before we go into
the painting part, you need to understand that
this painting was easy to do because 60% of it was
done really, really fast. You can always think about
paintings in this way. How can I paint only 40%
and let the other stuff be? How can I cheat a bit with making 60% of the
painting something and then adding something else? So notice how this is
just a beautiful wash, but it looks like a sky. And now I've noticed that
the line of the grass, the horizon line is crooked. It's crooked. So I need to take some of
this yellow green. It doesn't matter
and just add a bit of color just over here. Even though it has a lot
of water, doesn't matter. Just adding it a bit. Let's add it over
here on this side. And now let's clean
up a bit the brush. So that I teach you
a secret technique. It's called watery goodness. It's the secret technique
of watery goodness. And the way you do it is you
can use it to create a lot of vibrancy or to go
over some whites. I've already talked about it in the sense
that you can create these very vibrant colors without losing a
lot of that chroma. And the way you do
that is a lot of water splage will be made. We are making a mess, but it's very easy to clean
if you have a wooden surface. You can clean it
with a paper napkin. It's very simple or some
dish soap with a brush, and it's simple and easy. Notice that this
color is very watery. I can even put some dabs. And if I put it over, it will just become this beautiful film that will create as you
spread it around, maybe touch a bit of the paper napkin to
speed the process up. Can start to see this color can really be transparent and it brings up the
vibrancy of this lake. You can even paint
the lake straight up onto the grass like this. So, for instance, here, even though it's so green, if you go over with a wash, and then you put
some highlights, it will just become
part of the lake. Okay, be careful not to
cover all the dark parts. And then just touch up here and there where
you feel like there should be water and
chroma and vibrancy. These are just the same words. And now you can
add some white to this watery goodness,
a lot more white. And some water Okay. Brush it off a bit, so you don't have
a lot of water. You already you're already having a lot of water
onto the surface. So let's just brush
things around creating. They will start
to play together. The watery goodness
starts to play together. And as it dries, you can go over with the brush
if you don't like an area to clean it or
with a paper towel. Just going and
adding some more in the distance fewer and
fewer maybe too much. Okay. You can go with
the finger technique, the secret finger
technique that you only unlock once you have gloves. Okay, start to see
how beautiful it is. Another trick you can do is to go with the side of the brush with the
other side of the brush to create these
beautiful lines into the water and blend
those colors a bit more, creating some
nicer, finer lines. It's going to take
a while to dry. You cannot use the hair dryer on this because it's going to
spill and go everywhere.
15. Textured highlights on river Thank you: That's another type of painting. But you can also
do something else, clean up the brush, no water. Take some white quite a bit. Even though it's just white, because this is a
watery goodness, it will blend in quite nicely. Just notice the textures. If you have too many textures, go with the side of the brush
and clean them up a bit. Being very slow here
gives you more control. Just go barely
touching the canvas. And go back and go
forward and go back. And as you go further away, the color should be
less and less white. Okay? I think this is too much, so I'm just going
to take some of that color with the
side of the brush. Maybe I can just show you how the secret brushy brushy
napkin napkin works. It creates a little
bit of a fog. See? It blends things together, and it creates this beautiful
fog and over the fog, you can go back and
add some more light. At this stage, you can
leave it like this or you can just add a few more. And also it would be a great idea to make some
watery dark goodness. So let's clean up this white And now let's add some brown over
here and some blue, creating this water
down dark brown. Even though you still have
some white in your brush, you can still create
a dark color. And now you can go
over the whites slowly inching and creating
some beautiful colors. Okay. Notice that some of that beautiful turquoise blue has been lost in some areas. We can now add it back in with some watery, beautiful goodness. Let's add it over here. We already have a patch
of water over here, and we can add some more. Notice how beautiful
this color looks. It's a bit more bluish
than the first one. So you're changing
the hue again. And you can also go over
the darker blue on areas. So it's not only a
simple dark line. I now has a change in hue. Perfect. Now, let's cut this white a bit. Just grabbing it and
putting it somewhere else. Let's blend some of this edge. Okay. And maybe over here, it needs to have a bit
of a thicker white. Just grab some white because this is the
middle of the river. So maybe you want to have
the whitest part over here. Just the whitest,
nicest river texture. And now, if it's too much, you can always cut it and then apply another layer
over it just in the middle. It maybe a bit here
and maybe a bit here. Don't get carried away just
like I did to add too much. If you add it too much, you can always go
with the napkin, make an edge for the napkin, just edge it out. And just whoop whoop. You're scraping it not to
take all the paint away. You are scraping it just so
you can go back with some of the washes you already
have to accentuate it. Like over here, let's
take some water. And just going back over
it, just a tiny bit. Now we've created a
different texture, and we can go back
with the white. You can go 20 times like this until you
feel like it's perfect. I'm not going to do that.
I'm just going to do it once or twice. I think this is good enough. Let's add a bit of frizz. Maybe there is a bit
of a rock there. Let's even add the rock. The rock Johnson. Let's add some blue,
and some brown. Let's add a little bit
of a rock just over here and one over here and
blend it in a bit. And maybe here as
well. So nice lines. And that is all. This is the whole painting. In case this is too white, you can let it dry
and go over with a very thin film of blue over it to make it a bit
more integrated. But let it dry and see how it looks and if you
are happy with it.
 George-Daniel Tudorache, Together we will create amazing things.