Transcripts
1. Introduction: Hello, everyone. Welcome
to my Skillshare class. In this class, I will
tell you how you can easily create bouquets using
your handmade flowers, or you may use the
same technique to wrap the bouquets to wrap
up your real flowers. In this class, we
are also going to discuss how we can
pack the bouquets in different ways and
all the elements that we can use to elevate the look of
our wrap up bookez. Also, anyone who is
interested to learn this thing can join this class even without
any prior experience. In the next lesson, I will be discussing about the
material that I am going to use in this class and the material that you can
use to wrap your bookies. Also, at the end of this class, there is a project
work that you have to submit after the
completion of the class. I hope to see all there in the project section and
there in the class too. One more thing I
would like to add is, this is the third part of the
series, handmade flowers. Wrapping up the bouquets is
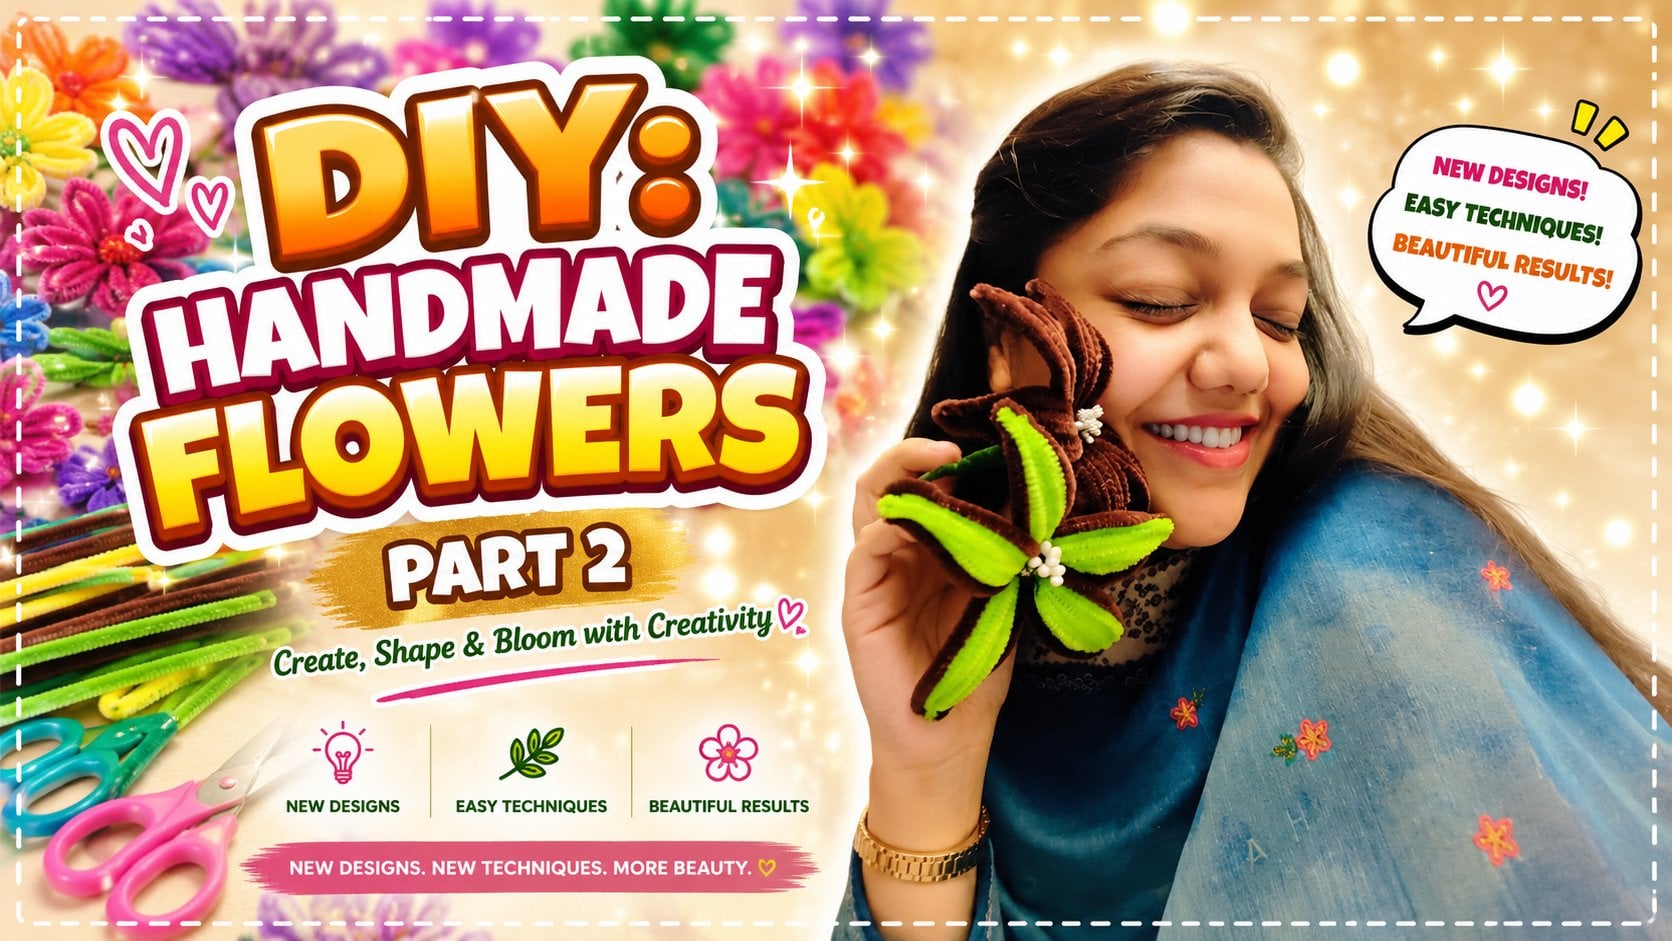
the third part of the series. In the first two classes, I have discussed about how you
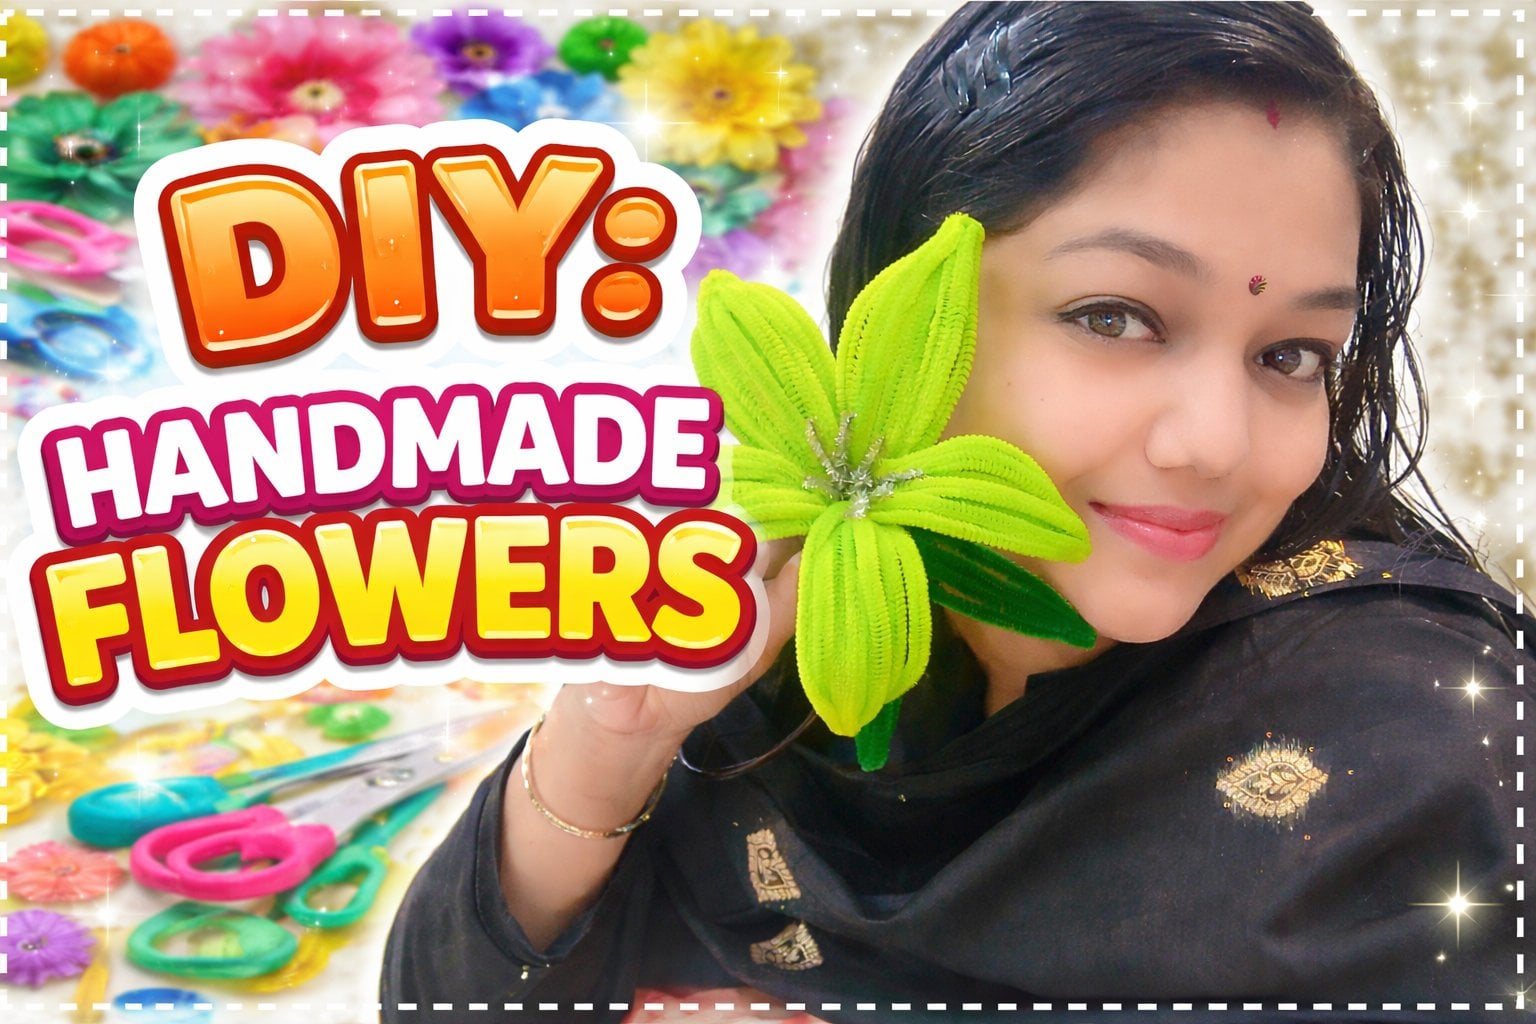
can make the flowers using the pipe cleaners on
your own, at your home. So if you are interested to learn how to make
flowers on your own, at home, you may
visit those classes. I have listed them
in my profile. If you want to have a quick look at what we are going to
learn in this class, you can jump up to the lesson of glimpses of handmade bookies to get the glimpses of all the bouquets that I have
created before this class. This was all for the
introduction from my side. Let's see you in the class now.
2. Material Required: While we come back, everyone. In this lesson, we are going
to talk about the material that we are going to
use for this class. Firstly, and the
foremost thing that we require is the
handmade flowers. So we need handmade
flowers of various colors, and the colors depends
upon your choice. Here, I'm going to
use in this class, most of the colors that
we have created in the last lesson and the last
classes of these series. That is brown, green, and the flowers that was
mixed as green and brown. Also, we are going to use these leaves sticks and a few more elements
that we are going to create along the
class so that we also learn how to create
them and how to use them. Also, if you want to use some other kind of flowers,
you can use them also. And you can use the same
technique of bouquet wrapping with the real
flowers also if you want. But for this specific class, I'm going with the
things that fits really best with the handmade flowers
of these kind of flowers. So let us move further. And the next thing that we
require is these sticks. These are wooden sticks, and these are a bit thicker than what we are using as
our flower sticks. So these are not wrapped green. You can wrap them
green according to the requirement because these are going to
be used when we are going to put something extra. And that extra will be discussed in the bonus
lesson of this class, so you have to wait till then. So these sticks are optional, and these are to
customize, basically. So these sticks, I'm going to use three or four sticks
out of these. Okay. We are also going
to use this plasis. These plastis are going
to be used to create the elements like a bit
small heart over it, some other elements over it
to elementize the bouquet, not just to add flowers onto it, but to add more
elements onto it, that we are going to
learn along the class. So we require three
or four like this, and you also require green tape in order
to cover the things. Next, you are going to require
these kind of super nets. These super nets are easily available in the market
at the stationery shops. So there are some
beads over here, some poles at the outline of it. So this is really beautiful kind of net that you can use to
decorate your bouquets. We can use these nets in
various various ways. You can cover the outer part
of the bouquet with this. You can cover the inner part
of the bouquet with this. You can add this as the
backdrop for the bouquet. So there are multiple
uses of this net, and small net piece of net is sufficient to
create one bouquet. Next, we need these
type of fillers. These type of
fillers are really, very easily available at the stationery shops or
the decoration shops, and this much amount is very
much enough for one, okay? We also require these
kind of Korean sheets. These Korean sheets are also easily available
in the market, and there are various colors as well as designs available. So you can choose
according to the color of your flaps so that they made a systematic complement of colors according to the booking. Okay, also, you require
these kind of sheets. These are heavy thick sheets, easily available at
the station shops required for the projects also. So I'm using the same
sheet over here. So these kind of sheets are used for decoration
of the bouquet. If you want to go for
high level decoration of the bouquets like this, you may require these. I'll be explaining both ways using this sheet and
without this sheet, use whichever suits
you the best. In this lesson, in this class, we are going to discuss
a few different methods that you can use to wrap up your bouquets and these flowers. You can choose whichever
suits the best.
3. Wrapping the bouquet: The basic requirement to wrap up the bouquet is this
green form block. This should be in the
rectangular shape so that we can add
flowers on the top of it, and this gives some length to the handle part
of the bouquet. Now, here on this side, we are going to put the flowers. So we'll hold the flowers properly the way we want
them to be wrapped, some flowers on the top, some flowers a bit
lower at height, and we have to adjust
them accordingly, the way we want
them to sneak out. After holding them properly, we have to twist them
along with themselves. Take one string or the other, and twist it over the
others so that everything gets tied up and the extra part, we will fold it like
this so that when the sticks are put into
the form, they look nice. They will not come out of the
form from the lower side. Now we have to put it here. This is very easy step. You gently have to push it into the form and this will
go smoothly inside it. This is the height that we have to keep it for the bouquet. We don't want it to
be very long outside the form so that it
will lose its balance. And if we are going to put everything very deep inside it, then this will not have any great look or
some bouquet look. This will then
become a pot a look. We have to keep both
the things in mind. It should not be
very much inside the form and not very
much outside the form. After adjusting it accordingly, we now going to take
the wrapping paper. Here are the various options. We are going to look at them, and then we are going to take the look after placing
the flowers on it, how it looks. This
is the black one. This is another
option that I have. There are so many options
available in the market. When you are going to ask
for the Korean paper sheets, then you just have to select
what choose the best, what suits the best
to your flowers. And this is also not very
much attractive to me, and this pink one looks nice. Let's move further
and check for more. This white one with polka dots of golden. This is also fine. I'm keeping all the
looks in my mind so that I can decide the
best works for me, what works the best for me. I like this golden
one. This looks really complimenting to this. Okay. So let's go
with this golden one, and let's take it out. We are going to use
one sheet to wrap it, take the one sheet
out, fold it into half diagonally the
way I'm doing it. But we are not supposed to
touch the diagonals properly. I'm going to leave some space and then I'm going to fold it. You can easily
notice here that I'm leaving some space
from side on the top. This is easy to fold. Not
a big deal to fold it. So you just have to fold it, press the part that
we have folded, make a crease, and then we are going to fold it like
this for the bouquet. Let's place the bouquet
in between this. Then we are going to make the crease properly so that
nothing moves here and there. After placing, you have to
take one thing in mind. You have to take a note
here that this should not touch the baseline of
the bouquet paper. Should have some gap. Notice here that
there is some gap at the bottom of
the packing paper. You have to keep
this gap with you. Now fold the paper like this from the side,
from both the sides. You have to fold it from
both the sides equally, and then try to hold
it with your hands, with your fingers properly
and you can mold it, you can take half of it,
you can take full of it. You can fold according to the size and shape
of your bouquet. I am folding it
according to mine. After folding one, I believe
we have space for one more, so I'm going to take one
more plate from the sides. I'm making two
plates from sides. Now, that is up to you whether you want to
make for two plates, want to make three
plates, that's up to you. This is the easiest
way to wrap up the bouquets, and that's it. There is one more plate now. Now, we are going to do the same thing on the
next side also. It is a bit tricky to hold the paper with
your fingers properly. So if the brick inside this green block inside
is smaller in size, it will be easier
for you to handle. I suggest you when you are starting wrapping
the first bouquet, go with the shorter
one and gradually you can increase the
size of the block and then increase the size
of your bouquets also. When you get in practice, this will become a really
easy step to fold up the paper in plates and
then hold them together. So it's not a big deal if
you are feeling a bit tricky here and you are not getting how to fold the
plate, how to do it. You just have to
need some practice and a bit of practice
can make wonders, can do wonders to it. So it is very easy
to wrap it up. Now, you have to
use a tape to hold everything together from each and every plate
to the back of it. So you just have to
use your fingers to hold it and then
put tape onto it. So it is simple. You now are going to tie up all the plates together
using the tape. Now, after sticking all
these things together, we have the next task to do. That is to cover the
front part of this que. This front part has to be
covered using the same paper, or you may use a
different paper, but here I am using the same. I have got one fourth
of the packing paper, and this one fourth, you can notice here there is golden line on two sides and
no golden line on two sides. I'm showing you if
you are not going to take the upper side like this, this will not show
any golden lines here and also it will not
cover the upper part. If you are going to
use it like this, even then there will be no
golden lines on the top of it, you can wrap it like
this if there is no issue in the
golden line with you. But I want to put some
golden lines here, so I'm going to
rotate this sheet and use the golden part
on the top part on the top side of it so that I can have a better
view of this bouquet. So now, this is how we
are going to wrap it. Just make a plate on one side and then hold it
together with your fingers, then use the sellotape
to tie it up. This looks much
better than what we are having a view with the
no golden lines on the top. So I suggest you
if you are having the Korean sheet of
these border designs, use those border designs
smartly and give the complete show of that
border to your bookcase. Now use the sellotape
to paste it. Make sure you are not
putting much of sellotape on the sides of the bouquet because the sides
are now visible. See if you want, you can leave the bottom part like this
only or you may fold it here. I'm folding it. But if you want, you can leave it loose also. That also looks really pretty. But here I'm showing you
how you can fold it also. So you just have to
make some creases from the back side and then
fold it properly, holding everything together,
and then putting a salute. You have to keep in mind
that everything looks really very neat and clean
from the front side. So now this basic packing
is done at fillers at this place so that
this green form is not visible and this will also elevate the look
of your bouquet. So you have to spread
it properly so that it covers the green portion completely and then
gives a good look. You can also fold this
from the front side, or you may also keep it on the floating side.
That is up to you. You may fold it here
and paste it using the crevicol or some tape,
small amount of tape. But if you go with
my suggestions, I would put it open like this only the
way we are having it. So it looks better to me. It depends on what kind
of sheet you are using, so you can use both ways. Now to this side on this
small pocket that we have, we can add some elements, some ready made elements, or you can also make
them on your own. I have these small elements. These are ready made
elements that I got from some gift inside a gift
or some decoration. I don't remember exactly. So I'm using those here. So these are variable in golden as well
as in silver color. So you can choose according to your wrapping paper whether the silver color or
the golden color goes. So if I have a look here, I believe I cannot put all here. This becomes very messy and want to create
a messy bouquet, so let's remove all
this and let's put one. But golden mixes
really well into it, so I don't want to mix it. I want to make it pop out. Let's use silver
colour, I believe. Silver colour will
look much better. This is just adding into it but not giving
any look to it. But silver color? Yes,
it is popping out. Also, the silver color
is matching with the pipeliner of the first
flower of the biggest flower, the pollen color of
the biggest flower. Also, you can add
some peels like this or some other
things that you believe. Are going to compliment a look. Here, I believe I should use this brown
ribbon because this complements well with the
flour that we are having here, so this will look good. Let us just tie here. Now after tying it, you must
be having really long ribbon so you can make a bow on it and then place
a bow on the front. But I'm not placing
the bow in the front. I have to just tie it up
and keep the front clean. I want to keep it clean. If you want to put bow on the
front, you may put a bow. Now you must be wondering
why I'm putting a knot here. If I don't want it to be here, now I will rotate it because
this is a bit difficult. If I just put the bouquet
upside down and then tie it up. This is the process
that I usually follow. Now to decorate it with the help of a pipe cleaner
also, we can do this. I'm using silver colour
because I believe silver is complementing
this bouquet really well. Now just measure it
and take it from the back and while it's done, we just have to twist it. Working with the
pipe len of flows, we all know how to handle
pie plens really well now. So we just have to twist it, and then it is done. This is a look. Now I
believe I should add a spiral over here because the flower is
going in this direction, the bouquet is going in
that direction also. So the spiral will come
out in this direction. So let us take a pencil
and a silver pie plener. Here, also, I'm using silver
pie plener and you can use whichever colour
suits you the well and here I suggest
you to use yellow. You can use yellow that
will also look good. So you just have to roll it
over the pencil like this, really close to each other. And after rolling it up, you have to squeeze
it together so that it comes out to
be a very good shape. Now, take it out of the
pencil very carefully, and now holding it
from both ends, you just have to
stretch it a bit. It turns out to be
like this, a spiral. This spiral design is really
very easy to make and is really good as an aliment
to add into a bouquet. So now you just have
to pick the stem of any flower or any leaf stick, and you have to turn it over it. So from the part
where I'm holding it, this much part I'm
going to use to wrap it up onto the stem
of the leaf stick. Simply twist it over the stick easily and smoothly,
it will be done. And now you have to adjust the direction of the spiral
according to the flowers. So this is done, put the spiral on one side and the book another.
Yeah, it's done. So this is the final look of the basic bouquet wrapping
that we have done till now. The next lesson, we are
going to know how we can go for customization,
high level packing. All these things will be included in the
following lessons and the elements that we have to learn how to create
them, how to add them. Everything will be in
the following lessons, hope to show you in
the next lessons.
4. Use of SuperNet: No, this beautiful
bouquet is ready. I hope you enjoyed it. Next, that we are going
to use is this super net. This super net can easily be used by simply placing it here. And then pasting it
from the backside. See how beautiful it looks? It will elevate the look of any, any bouquet trust you. And if you don't want to put this lace and this super net, the front side,
you can use it for the backside also. Let me show. You simply have to put
it here and then spread it according to this area that you want to
cover using this net. See? You can also stipple it using this stipplerO you can
also put a tape over here. I'm showing you by
holding it with my hands. So this is optional.
5. Bonus Lesson: Customisation: Now it's time to add the
customization to this book game. For customization, you can
simply add some chocolates. Here I'm going to show you
how you can add chocolates. So we are going to
use these sticks, the wooden sticks
that I talked to. These sticks are round
from here and are pointed from this side,
as you can see it. So this pointed thing
will go inside the form, the green form
that we have done, and from here, we are going
to paste the chocolates. So we have two options. If you want to add these
kind of chocolates, heavy chocolates, you can
add these chocolates, but if you don't want to make this really chocolate
oriented bouquet, you can go for these
cures and add them. I'll now tell you how
you can add them. From here, you can
just flip it and then put the upper part
of the steak over here, wrap it up again, and
then put the tape. Voila it's done. So it is
going to be done like this. So we are going to prepare
the next chocolate as well. Let's do it. Now, these two chocolates
are ready. Let's put them. From here, you can put
it here like this. One chocolate at a time. And other chocolate
from this side. You can add more
chocolates if you want. You can change the chocolates. You can go for some
other color of octs that suits your bouquet. I chose this golden
because there's a golden border at
the Korean sheet. So I'm choosing this
golden chocolate wrapper. Also, you can use these
Ferrera roches if you don't want to paste them
because if you're going to paste them,
you need a glue gun. If you are not going
to opt for a glue n, you can simply put them here at the starting at the
base of the booke. You can fill the base
of the bouquet using the Ferre ros. Like this. And you can simply add some tape or a bit of favicol to
place them correctly. You may remove this filler
from here to add chocolates. Now, simply add chocolates here and you can
paste them also. You can place like five
or six chocolates here. See? Also for customization, you can
do one more thing. These simple lights are
available in the market. You can wrap these lights around and then just put
this switch on. These will glow. Your flowers will glow, your
bouquet will glow. And this will give
a really cute and beautiful and a thoughtful
look to your bouquet. So this is really a
plus point for this. I'll show you some bouquets
in the last part of this class so that
you get an idea what these lights
actually look at. Also, if you want to customize these bouquets for some
anniversaries or some birthdays, you can go for pictures. So we are going to use these
text to add the pictures. You can use simple
pictures like this. These are passport size photos, and you can simply paste it here like this using a
tape or a fabrico, and then you can place these photographs
onto the bouquet. If you want to gift
it for a birthday, you can go for
some other kind of birthday celebration
kind of pictures. So that is also fine. You have to choose the pictures according to the occasion, and according to the person
you are gifting it too. So if you want, you can choose these kind of
pictures to put them. I am putting it for anniversary, so I'm going to put the picture
of the husband and wife, and you can choose
if it's for a kid. For some school going kid, you can go for summer holidays, memories or some
vacation memories, whatever you feel like. So the phos are now ready. Let's put them in the
bouquet. One by one. And then the second one. If you want to gift
it to a family on some family occasion, you can add more pictures
of the family members. Also, if you want to
add some banners, you can do so you can use some colorful papers
and some banners, start from here till here, put a banner like happy
anniversary, happy birthday, anything that helps you to
customize it according to the occasion on which you
are gifting it to anyone. So this was a bonus
lesson for you to customize the bouquets with three or four different types. I've told you three or
four different types, and you can use all these types to impress
the ones you are gifting in. No.
6. High Level Packing: Now in this lesson, we are going to
learn how we can add backgrounds and how we
can choose the paper. For example, here I'm
choosing this for the background because there is golden in this black sheet. Also because it is
black in color, it will make out all my colors
of the flowers pop out. First and the foremost thing, this is one fourth of
the packing sheet. If I'm going to use it as it is, it will cover up all the
back of the bouquet. We have to make some plates
or some designs into it. Here's the first
fold that we can do. As this is a Korean sheet, this will not be
like a normal paper, to make plates on it, so you have to move your
fingers accordingly. Move your fingers, pick one after the other plate to
make it look like a fan. Now, take a small amount of sellotape and tie
it all together. You can use a favicle
also to tie it up, or you can use a thread also. But here, the most
suitable thing that I can suggest to you
is to be a tape. Use a tape to tie
it up properly, and then you can put this
fan like structure or paper inside this bouquet
very, very easily. You just have to slip it down here at the back of the flowers, and then check its look. You find it's looking nice according to your
bouquet and the color, then you can prefer
this one or else, I'm going to show you
one more method that you can use for your
background paper. See, you can put this. Even now it is covering
the back of it. You can make a smaller one. You can make small fan out of it and then use it or
you can use it as it is. The choice of the
background paper actually going to tell you what kind of look it is giving. Now, again, if you don't want to cover the complete back of it, you can make a small
fan or else I'm here showing you another
way of wrapping it. This is how you are going to make a sheet of paper look like. You just have to
fold it like this, leave some space in between
and then just paste it. You have to paste
it using the tape. Use simple tape or you
can also use fabricol, but I would suggest that
these an sheets are very much easily tied up
using the allow tape. There is no need to add
favicol and I hope favical will take more time to
get dry up than the tape. Now this type of a cone, you can simply place it here. If you place it here, it will
cover the downside of it. If you want to cover
the upper side, you just have to put
tape over here and cover the upper side only and
not the lower side, so it depends where
you want to place it. The placing of the background
paper also depends on the flower size as well
as the flower color. The color of the
flower and the color of the background
must complement each other in order to give you a final look that is going
to attract your receiver. These were some options
using the Korean sheets. Now I'm going to show you what you can do without
the Korean sheets. It means you are going to
use these type of sheets. These are thick
heavy sheets that we also use for art project
works and drawings. You have these sheets
available in various colors. You can choose the
color according to the color of
your flowers here. I'm choosing this blue color
because this is really very different from what colors I'm
using till now in bouquet. I believe this will pop out. Simply have to create a
fan out of it, paper fan. You can use shortage
as well as long edge. I'm using long edge here to
create the fan because I want a long fan and
which I'm going to put half of it to
convert it into a fan, so I don't want a
really mini fan. I want just a small fan so
I'm using the long edge. You can use other kind of paper, also a chat paper or some other paper that is bigger in length or size so that you can make more big fans according to the size of your flowers
and the size of your bouquet. My bouquet size is a
medium size bouquet, I'm using a medium
size fan here, a normal sheet creating
from the long edge, I'm folding the sheet one over another to create a paper fan. Once done with the platings, we have to press it gently, and then we have to
fold it into half. After folding it into half, we have to press it once more gently and make sure
that all the lines, all the crises are
made perfectly. Now, this is the actual size of the fan that
I'm going to have. Now, from this inner side, we have to stick it
together using the favicle. I'm going to put
favicol on both sides. I'm just putting a line
of a favicll here. Now, simply fold it
back so that everything gets stick together
perfectly and neatly. Hold it together using
your fingers for about two to 3 seconds so that everything
sticks up perfectly. Now this fan is
ready to be used. Now we are going to
take our bouquet here and let's place it. You can place it from side as
well as at the background. Here, C, you can place
it diagonally also. You can place it at the center, from the center, and you
can cover the sides, also making smaller fans and put them at the side
of this bigger fan. This bigger fan
is at the center. You can put more fans
from the sides of it. You can cover the lower
side, upper side, front side, any side and you
can put it diagonally also. That also looks
really very good. You can make one more and
then put it here like this to make it balance
from the top to bottom. If you are using it for
the bottom side also, you may skip the decorations to the bottom side and simply
place it over there. You have to tie it up
using the ribbons, using the tape, using favicol whichever
suits you the best. This was a very
basic simple fan. Now I'm going to show
you how you can elevate the look of this fan all
by just one simple cut. D. For this, you just have to hold it
together properly and then place the scissors like
this and while it's done. Remove that extra
part, and when you are going to open up this fan,
this looks like this. How classy, elkin and beautiful. This will elevate the look of your bouquet way more
than the normal fan. So look at this. You can place it here like this. As you can rotate it and put the point downwards and the
vertex of this fan upwards. That is also a way to paste it and elevate the
look of your bouquet. And you can adjust multiple fans at multiple
heights also and adding multiple layers will
also look really beautiful and will elevate
the look of the bouquet. You can also place this
diagonally horizontally, vertically in any direction at the handle of
the bouquet also. This will also be in
correspondence with what you are adding as a layer as a background on the top
part of this bouquet. The lower part always must be complementing the
upper part of the bouquet.
7. Adding Elements: Welcome back. In this video, we are going to learn how
we can create the elements that we can use to
enhance our bouquets. Here I'm taking
the flower stick, only the green flower stick,
not the wooden sticks. These are already coated
with a green tape, and then I'm going to use
its upper portion only, and I'm starting rolling the
yellow pip liner over it. Make sure to roll it
very, very tightly. You can move the
pipe leaner or you may move the stick
as I am doing. After rolling it to some time, now we have to
create the design. Squeeze the pipe
leaner close to each other so that it
makes a dense look. Now, after rolling this much, we are going to use our
fingers to make the design. You just have to hold it from this side and make
a circular design. Make sure there are
no gaps in between. Use the finger and thumb
together to keep this intact, and then keep rolling it
till you reach the stick. This is we can say the
first part of this element. Now for the second part,
we are going to take one more pipe leinar and we are going to lock that
pipe leanar into it so that they
will not open up, and this is very
easy to lock it. Just put the pipe liner
from this side and lock it. It is very simple to lock
the pipe nars together. It will keep everything intact and we have less
chance to loosen up. Now again, you have to
start rolling it to cover the rest of the
part of this flow stick. After reaching to the top, you may notice that there
is a long pip liner left, so we are going to cut
it from here so that we can have a decent amount of we can say the decent length from the pip liner to roll
and make design of. You are again supposed to
use your index finger and your thumb to roll it up
to keep everything intact. You can also use a
glue gun if you want, and you are comfortable
with using a glue gun. You always use that. But here, the design is not very heavy so that there is not particularly necessarily a need of using a glue gun,
so it is up to you. Now to cover the rest part of this upper portion of
this plastic, again, use the cut portion of the
pipe lener that we cut earlier and now roll
it onto the top to make it a clean
and clear element. For the extra length
of the pipe cleaner, we are going to use the scissors and cut the extra part tongue. Now, if you want to make more of this design in this element, you just have to start
rolling the pipe cleaner from the bottom over the one that
was already rolled there. There is no difference of
adding more pie leners. This is just going to add some depth and some
clarity to your element. After rolling it
two to three times, you just have to check
how much length of the pip lena is required
to make another role. Then measure it and cut the extra part out
using the scissors. Now, roll it exactly the way
we roll the other two rolls. This is now done. Just press
the rolls, and if you want, you can add some glue to it to make it placed
like this exactly. But here, I have placed only very small
rolls as elements, so there is not much
need to add glue to it. If your rolls are
bigger in size, then you must add glue. Also to cover the rest part
of the stick flour stick, we just have to roll the extra
part that we cut out from the bip leaner to make it a
beautiful colorful element. So this element is ready. Let's see how it looks when I'm going to add it
into the bouquet. You just have to check which color suits your bouquet
and according to that, only you will choose the
color of the element. Simply slide it into the
form structure of this handle part of the bouquet
and it will be fixed here. It is very easy to add elements, but these elements
elevate the look of any bouquet just like magic. Now let's move further to see what next element we can create. Here, I'm using the
golden pip lena and one pinkish pip lena. With this, I'm going
to make a hot, and I will use golden
Bipnar also to make a hot. And we are going to mix
them and try out something. Simply fold it like this to make a heart and then tie it up. Now, use this red pink
piplno to roll it around it and make it exactly the
outline of this golden piplno. Use your fingers to give the
exact shape to this pipnar also and make it as an outline
of the golden pipelino. Now take the flaw stick and add this element
to the flastick. Simply place the
plastic here and starts rolling the
pipe lenars over it. For this, I'm going to use a
simple technique that will elevate the look of this element
from the bottom side of. Here, start rolling by both
the biplnars together. But after that, keep one pplenar steady and
one pip lener moving. With this, we can create a double layered outline or we can say a double layer
rolling over the leaf stick. See this element
looks really good. Now you can change
the colors also. Here I have used golden bipena, but if your bouquet suits, then you can use silver
patrina also or maybe white. That actually depends
upon the color of the flowers and your bouquet and the packing
that you are using. Now let us try to put it inside this and let's see how it looks. Just put slide it into the handle part of the
bouquet and here it is. It looks really beautiful to me. These are the small
elements that will elevate your bouquet for show. You can also create
other elements that are very easy to create. You have just
learned the process of creating the elements, so you can create more designs and other things that
you want to create. So this will be easy for you. Here, this is the final
look of this bouquet. This bouquet is very, very special because it
consists of high level packing. It consists of flowers, it consists of elements. Let's move on to
the next lesson to see some glimpses of
other handmade bouquets.
8. Glimpses of some Handmade Bouquets: Welcome back,
everyone. So here are some glimpses of the
handmade bouquets that we have made earlier. This first bouquet
uses the concept of supernt and have no
background color here. Here I have used only
one Korean sheet, two handmade flowers, and some small flowers
as an element. This supernt is bounded
using a colored ribbon, and the ribbon is also having
a design of polka dots. Here is the complete
look of this bouquet. Here is the second bouquet. Here I'm using same
supernt and same ribbon. Also, I'm using some spirals of silver colour and the background
as only the black color. The next one here have three small flowers and
three really tiny flowers. These tiny flowers here are
used as the elements and the background paper includes the pink color as
the quant sheet, as well as the project paper. You can relate this
to the lesson where I explained about the high
level pecking and also here, the ribbon shows the bow at the front side,
not at the back side. Also, you can see and notice
here the fillers that I have placed at the handle
part of this bouquet. You can also notice here
that in the blue flowers, I have placed small
pearls, white pearls. You can choose the
color of the pearls or the stones according to
the color of your flower. You can place some small stones also that is up to
you, decoration. And elements is according to the colors of the
flowers that we have made. Also, you can notice here, the two spirals that I have
created and join them at one end only and then they are moving in two
different directions. This kind of pecking comes under the heading of
high level pecking. Now let's have a look
at this cute one. In this bouquet,
you can notice that the wrapping paper height is almost according
to the flowers, and it is very low
heighted bouquet. Also, the super net
that I have been tied is from the outside
of the bouquet is covering the complete handle pad and also is placed in such a way that it is making a boundary of the flowers without
covering them. So this is another kind of
packing that you can go for. These type of small
bouquets look really, very beautiful on a dinner table while you're having a
candlelight dinner. Now, this bouquet
consists of sunflowers, the flowers that are the
symbol of friendship. Here, you can notice
as a project paper, I've used a cream color paper and I have meted plates in that. Also, the spirals are not
going in upside direction, but three spirals are coming
in the downside direction one spiral is coming up
out from the brown flower, there are three
leaves containing the alimins and also
I put some flowers. In this boquet, you can
see that I have added many flowers and the elements also some tiny flowers
as the background paper, as the project paper
of black colour, pink background looks perfect. Now, this one, the special one, this consists of a
toy in between and have a lot and lot of
flowers and silver colour, butterfly and a golden
colour butterfly with a symbol of happy
birthday in front of it, and the light is the highlight
part of this bouquet. It enhances the bouquet a lot. Next is again, the
sunflower boke in this, I have created a different
kind of Korean sheet, golden Korean sheet
with black background. In this book, I have used the background
saying, I love you. This is with a black
paper and I have written it everything using
the pipe cleaners only. This bouquet consists
of four sunflowers, a golden colour butterfly
or spiral, and fillers. Also, it has the bow made
using the golden pip liner. Next, this bouquet is really very special as it has
a hot as an element, and also many chocolates. This bouquet is
also consisting of chocolates and a small teddy
bear placed on a flow. This teddy bear is
also made up using the pipe cleaners and this can be used for teddy day or chocolate day or for
your Valentine's Week. These were some bouquets that
I have already prepared, and I have discussed many
things about this to you. I hope you liked it and you are going to submit
your project soon.
9. Project Work: Welcome back. I hope you enjoyed the class and learned
something fruitful out of it. So in this lesson, I'm going to tell you
about your project work. So your project work is to click a picture of the
handmade flowers, and it's bouquet that you
have created on your own. Click its picture and
a blow a picture in the project and so
section of this class. I'm eagerly waiting
to see what kind of flowers and what kind of
booket have you created. I would also like to request you to review my class so that I can make more classes about these pipe l flowers
and the bouquets. If you have any doubts
and any queries, you can reach out me using the discussion
section of this class, and I'll be happy
to help you out. Thank you so much for
joining my class. See you soon in the
next class. Bye bye.
 Jyoti Aggarwal, Art and Craft Teacher