Transcripts
1. Introduction to Class: Hello, everyone. If
you want to create these flowers on your
own with your own hands, then this class is for you. Hello. I'm Jo Theia Ger
val, and in this class, I'll be your coach to
help you to create these kind of flowers
easily on your own. Here I am promising you that
you will be easily going to create these flowers on your
own after joining my class, even if you have never ever done any crafts or arts before. Also, I've shared
the class project in the next liston
itself so that it'll be easier for you to
have an idea of the project that you have to
submit just after the class. You will be easily going
to create a flower in the class period only and then we'll be able to submit
the project work soon. This was all for
the introduction. Let's move on to the
next list and to see what it holds up for us. Oh
2. Project Work: Welcome back. Here is
your project work. For the project work,
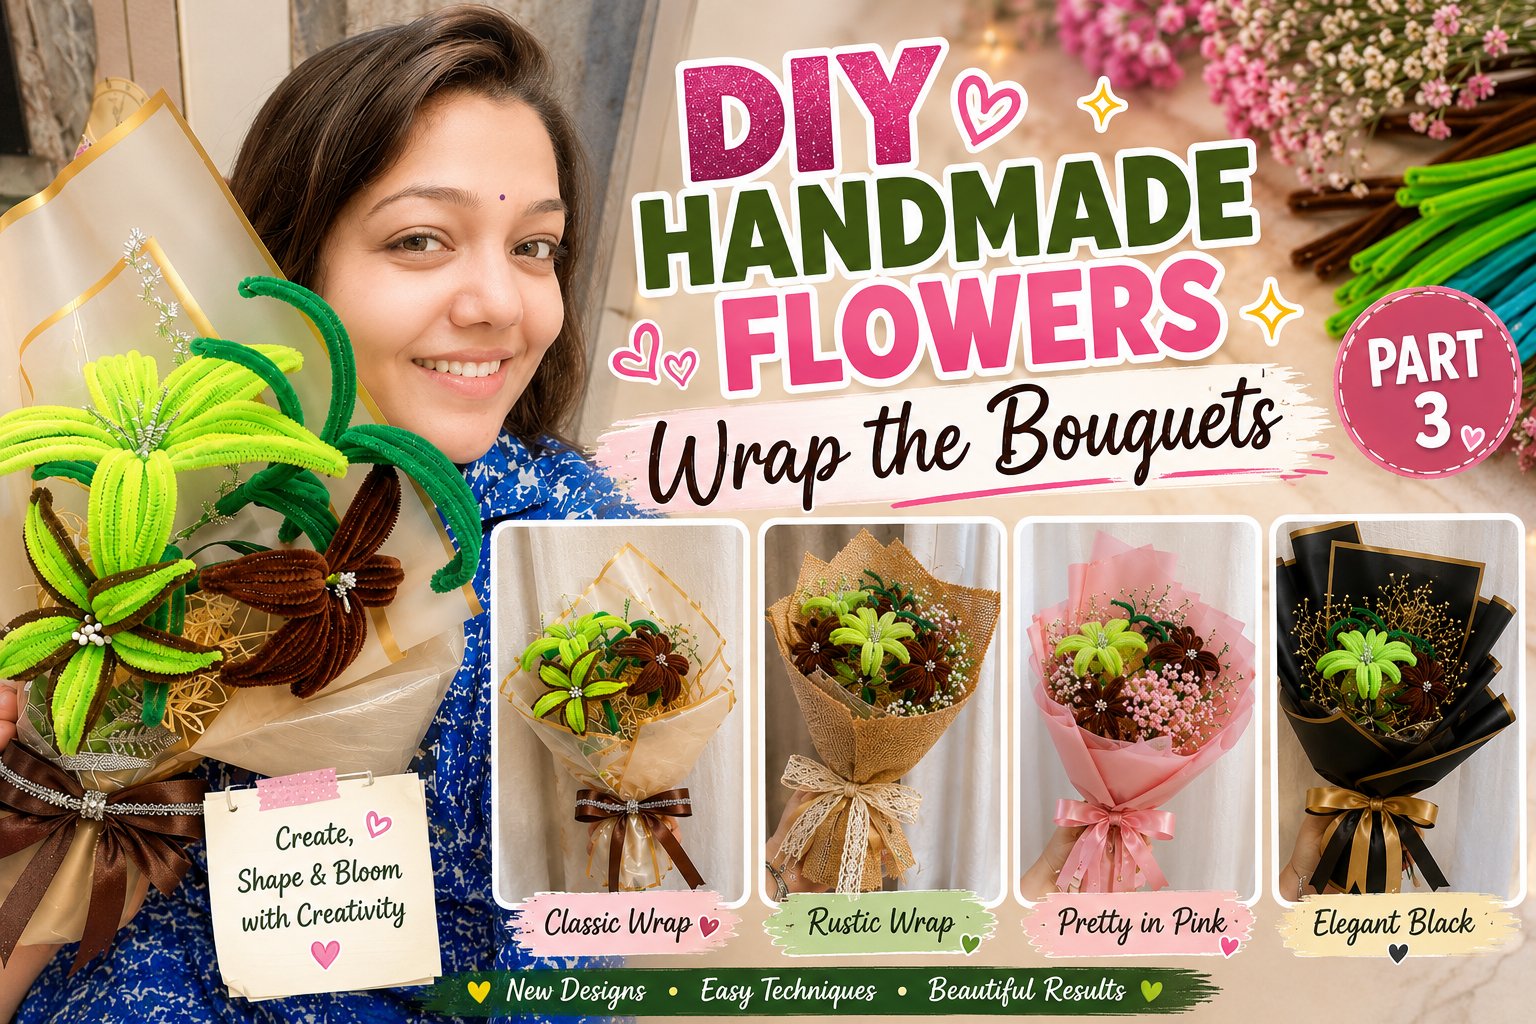
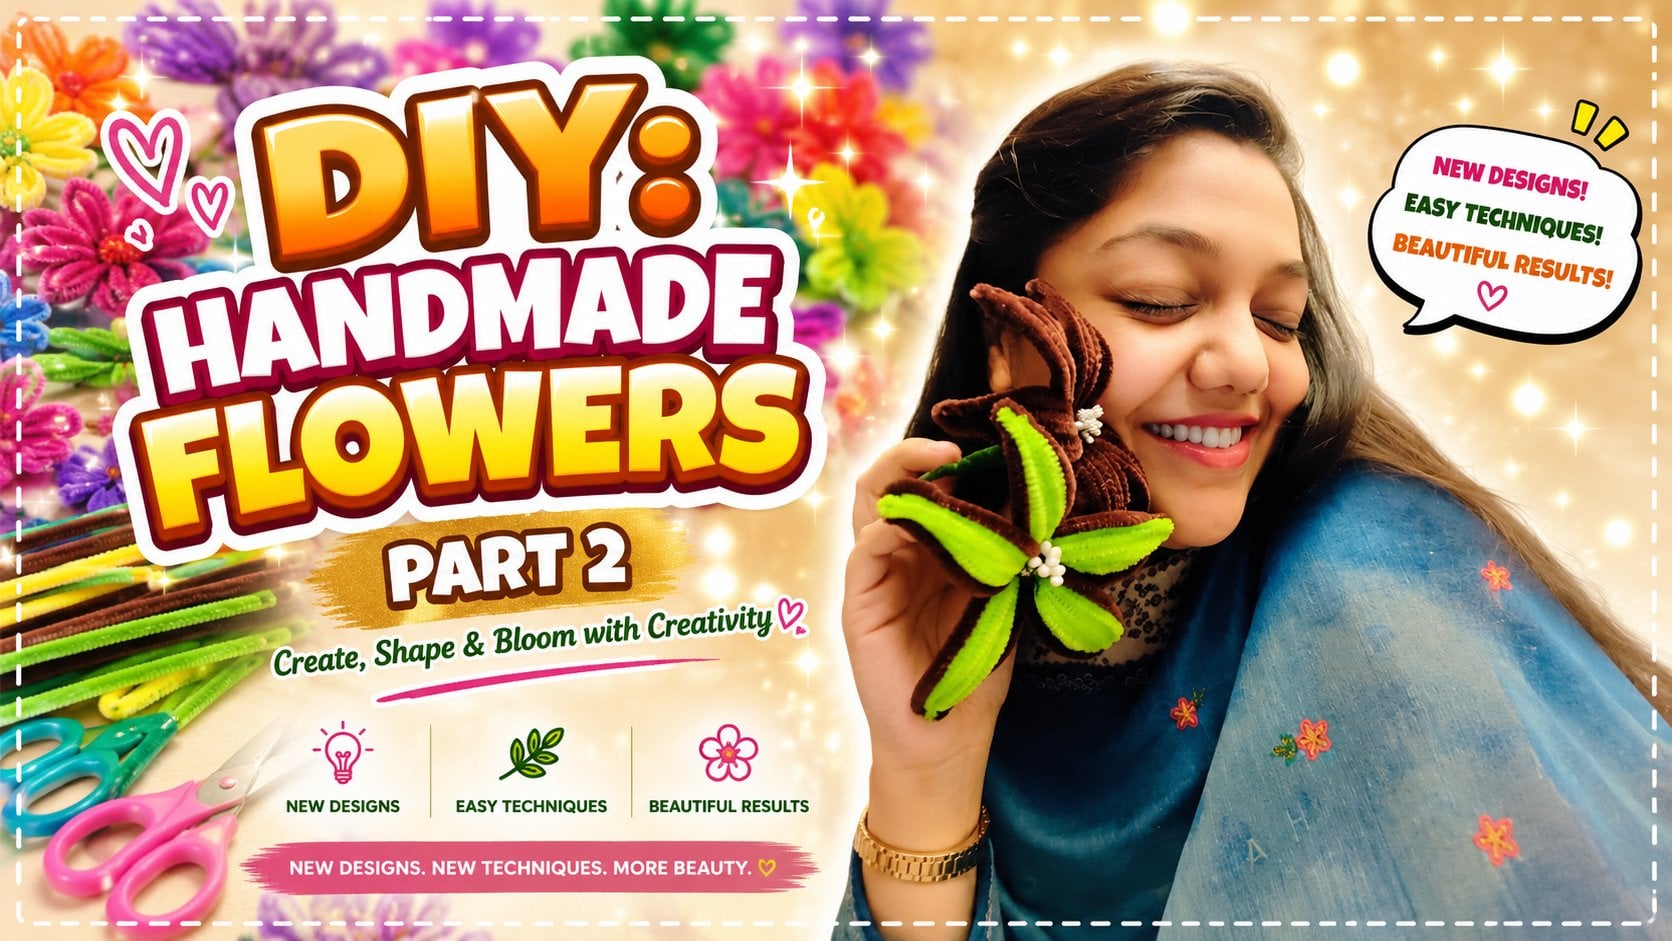
you just have to create a lily flower of any color
and some leaves around it. You can create one stick, having both the
things in one stick, or you can create two
different sticks, one for the leaves and one
for the flower and then join them to show as
a complete flower. In this class, I have used particular colors for flower
as well as for the leaf. But if you want to
show your creativity and want to try some
different combinations, you can easily do that
and that's up to you. After making that flower
and that leaf stick, you just have to
click it picture, a clear picture, and then upload that picture in project and resource section
of this class. I'll be waiting for
your project work, so I request you to
upload them soon. This was all for
your project work. Let's move on to
the next lesson to see what material we
need for this class.
3. Material Required: Hello, everyone. In this lesson, I'm going to tell you the material
that we are going to use in this class for
creating the piplnar flowers. First, the key ingredient for this biplna flower
is the pip leners. There are various
types of pip reners, various colors
available in pinars. For example, light green, dark green, yellow, brown color. Pink color, and many more. But in this lesson,
we are going to use only light green
and dark green because the flower that
I'm creating is of light green and the leaves around it will be of dark green color. You can choose the colors as per your choice and creativity. Also, we are going
to use these sticks. These are the flower sticks
that are artificial sticks that we use while creating
the artificial flowers. So if we talk about one stick,
this is really very thin. And if you look closely, this is covered
with a green tape. This green tape is
known as flares tape. This flares tape is green in color and has a very
less stick over it. So if you're going
to use these sticks, these are pre covered with the green tape and are available in the
market like this only. But if you are using some
other kind of a stick, any brown stick or you
may use a chopstick, then you use this tape to cover it and your stick will be red. Also, I'm going to use these kind of wires to
tie up the things together, but you can use a swing thread also if you want to tie the
things easily at your home. If these wires are
not available, you can easily use a swing
thread to tie your things. Next, I'm also going to use a glugen to paste
the flower petals together. You can use any
other adhesive also, but I suggest you to use
glugen only because this is a very clean and tidy method to tie the flower
petals together. One more thing that is very basic that we need in this class is a
pair of scissors. While cutting the pipe leaners, you can use cutters also. But these pipe leaners and also this metal wire that I've shown you to
tie up the things. These were the things you can cut easily using the scissors. So if you don't
want to use cutter, you can use scissors also. So this was all for
the material required. Let's move on to
the next lesson to see how we create
petals for our flowers.
4. Flower Petals: Welcome back, everyone. In this lesson, we are
going to make the leaves, the petals for our flower. For this, I'm using
parrot green or you can see light
green pipe cleaners. I'm taking five pipe cleaners, let us say strings. So I'm taking five strings here. For this, I'm keeping one string aside and using the
four strings first. You have to take four strings and take them together
from one corner and then make sure that they are at equal length and press them a bit so that they become
parallel to each other. You have to hold them very gently and then fold
them into half. Make this mark here
while making it half. Now, pick up the fifth string
and put it inside this like I have shown it in the video and then fold
that into half also. Also, you have to twist it
from the top so that they get logged in a way that
this will not move now. So this is the
corner of the petal, the outermost part of the petal. So you can tight it a bit by making one more
fold over here like this. And now you have to hold all
the strings very carefully. They should be
beside each other, parallel to each other. They must be
touching each other, not one over another, but one beside the another one. So you just have to
make sure you have to press them a little
using your fingers, do not put much pressure over it and do not leave them loose. You have to create
a balance between the both and then
use the two strings. The one that are made
by the fifth string, you have to set them
at the sides of these parallel strings and make them also parallel to this. These all together
make the leaf. Now at the bottom, Make sure to keep pressing them, and at the bottom, you have to take one corner
string and then roll it over the others to make
it a leaf to tie the leaf. This is the inner part of
the leaf that is going to be stick to the flower pollens. This creates one petal
of the complete flower. We have to create many petals. See, the count of petals depends upon the size of the
flower you want to create. Here, I'll make five petals, but you can make
six petals also. That also looks
really fine, to me, I want to create a flower of five petals, so I'll do that. Now after tying it properly, you just have to press it
and make a curve of it. As you can see here,
I pressed it in a form that it has made a curve, a simple slight bended leaf, or we can say the
petal of the flower. Also, you have to press this
from the outside and make it like a pointed petal so that
it looks more original. Notice here, the bend in the leaf or we can
say the petal. So our first petal is complete. Let's move on to the next petal. For this, we are again going
to grab our pipe cleaners, and then we are going to make
the another better again, taking five pipe cleaners,
folding the first one, and then folding the rest four. This time I'm not folding
all four strings together. I'm folding two
strings at a time, and then the other two strings. Rest hall procedure
will be seen. Why I'm doing so why there is a change in this because I just wanted to show you
that if you are not able to fold it equally. While doing the four
strings together, you can do it by two strings at a time and then
you can go for it. You can also go
for one string at a time that's also
very much fine, and I suggest you to go as per your fingers working on it because if you're doing
it for the very first time, you might require
some extra time to handle the pipe cleaners. The rest of the procedure
is exactly the same. You are again going
to hold them very, very nicely one beside the another one and making
a very symmetrical leaf, very closely packed leaf because we can't have much
gap between these strings. If there is going to be a
gap between these strings, then this will not
look good and you will not get a look of a
proper flour into it. So if you want to create a
very neat and clean flour, you just have to keep in
mind that there should be no gap between the strings
while you tie them. You can simply make
some corrections if you feel that this
is not tied properly, you can simply open it up again, and then tie them properly. Also, while using your fingers, you can also make
the bend clearly and also make the tip of
the petal clearly. Use your fingers to bend, use your fingers
to close the gap. That is the key in making the pipeline of flowers.
Here is a look. We have created two leaves
and these two leaves, let us keep them aside, and let's go for the third one. Four, third, fourth,
and fifth petals, I'm going to make this a
little fast forward because we are using the same process as we have done for
the first two petals. Our third leaf is also ready and is
looking really nice. Now this is complete. Let's take a look how it looks. When we hold three
of them together, I hope you are getting an idea of how this far
is going to look. So this is looking
really, very nice. And let's move on to
create our fourth petal. And let's see how
this turns out. Our fourth petal is also ready. Let's hold them together to see what kind of a flower
it is going to be. Okay. Not bad. Let's move on and
create the fifth one, and let's complete this. We have our fifth petal ready, and all the five
petals are now ready. Let's hold them together. Perfect. It looks perfect. Now let's move on to
the next lesson to see how we are going to turn
these petals into a flower.
5. Completing the Flower: Let us now prepare the
stick for the flour. This stick is already
covered with a green tape, but if you are using
any other stick, please cover it using
the flores tape. This is already covered,
so I'm using it as it is. Now here, it is a
ready meat pollen that is easily available
in the market. We just have to stick
it to the stick. Simply by rolling
its tail like this. You just have to twist
it a bit around it, and you can also stick
it with a glue gun, but we are not
using this pollen. This is I've shown it to you. That is an also option that
is available in the market. We are going to create
our own pollens. So for this, I'm using
a silver pipe cleaner. You can choose the color
according to the flower pattern, as colors are very much
available in pipe cleaner, so you may try
different combinations. To create the pollens, I'm folding this pipe cleaner into four parts and then cutting them in between so that it
turns out to be in two parts. Now let us hold them
together and see what lengths we get
according to our petal. So according to the petal, the length of the pollen
is still very high. So let's make one more fold and cut it from the top side only, not
from the bottom side, from this top side only because
we just want to loosen up the upper part as we have to attach the lower part
from the stick only, so there is no need to cut down. Now after cutting it, we just have to
twist a bit around the stick without
using much force. If we apply much force, then we are going to ruin the
shape of the pollens also. From the bottom only
we just have to stick it to the flour stick. Attach the pollens
to the stick by just twisting them a bit
and then we are going to use a metal wire to properly stick this
to the flour stick. Here is the metal wire. Just make one or
two rolls around the stick so that it holds
up the pollens properly. Cut the extra wire using
the pair of scissors. Now, take the first petal and
attach that to the stick. For this, we have to take
the help of a gluten, as well as the metallic wire. Firstly, put some glue at
the tying point of this petal where we have tied all the things and then
attach it to the stick. And hold it gently for at least 30 seconds so that
everything gets glued well. Don't worry about the
threads of the glue. These threads can be removed
easily afterwards also. Just make sure wherever
you put the glue gun, that should be done properly
and neatly because we will not be able to remove that stain from
the pipe cleaners. Now, use the metal wire
to wrap a circle or two circles around
the stick so that the flower petal gets
fixed with our stick. Oh. Take the next leaf and put glue on this side, so that will be easier
for you to paste them. At the side of the petal, I have applied glue and now we are putting
it here like this. You just have to
paste a petal with another petal from the side
only, not from the front. If you are going to put glue at the front or at the center, then this will not get pasted in a particular
circular manner, and you will not be able
to add five or six petals, then you will be able
to add only four. So if you want to
add five petals, then make sure that you paste
them from side to side. Now for the fifth petal, we are going to apply glue
to the sides as well as to the center because this is
the last leaf of the flour, so we have to complete the flour by pasting it
from the center also. Now, try adjusting the shape of the flour with your fingers and then take the metal wire again to wrap it
around the petals. Tying the petals
from this lower side helps us to secure the
flour to the stick only. Make sure to keep stretching it, to keep pulling the metal wire and then tie it very tightly. As you can see here, I'm also pulling it towards me
and then tying it very tightly and then roll it from upside to down so that it
covers all the pipe cleaners, all the leftover pipe
cleaners and take them all together so that we
can also wrap them easier. After wrapping this, cut
all the extra part from it. This extra metal wire, cut it, and then our flour
is almost ready. Now the next step is to cover the bottom
part of this flour, using the flour is step. To start with this, let
us take the flores tape. If we're going to cover this
part using the flores tape, and we put it like this,
as I've already said, there is a very less stick
in this floris tape. So if I'm going to tie this, this will come out very easily. So we have to put a few drops
of glue from the glue gun so that the floris tape
that we are going to start attaching to it
will stick here only. So put one end of
the glue tape here. And then stretch it. You have to keep on
stretching this flo tape. That is the hack to use this
to take the glue out of it. If you are not going
to stretch it enough, this will not be here on well. So you have to keep on stretching
it using your fingers, and then keep on rolling it
around by cleaner flour. You are not supposed
to stop here. You are supposed
to keep on moving. You cannot stop here. You have to cover the
whole stick using this. For your information,
I'm telling you this that it will be easier for you to roll the
green tape or we can say the florist tape to the bottom part as there
are no pipe liners, there is only this thin stick, it'll be easier for you to
cover more area easily. Then you just have to tear it out using your fingers only. There is no need to
use the scissors as the tape is very soft, you can cut it in your fingers and there
is no need to wrap it to the whole stick because the stick is already covered
with this tape only, you can just cut it down here. And this is the final
look of our flower. But actually, this is not
the complete final look because here is one more step that we have to
add leaves to it. So while adding leaves to it, we are going to give
more depth to it. But before that, let us cover this thick part using this
green pipe liner only. So I'm using the same color of the flower to cover
this part also so that it looks more pretty and attractive
and well finished also. So just put some glue drops from glue gun and then start
rolling it over it. So you just have to roll
the pipe cleaner over it just as you have
rolled the green tape. This will help us to make
our flour look well finished and a beautiful presentation
of a flower, we can see. Now at the end of
the pipe cleaner, you have to put glue
drops and then paste it. After this to cover
the rest of the area, we are going to use
another pipe cleaner of the same color to
show the continuity. Put some glue and
then start rolling the next pipe cleaner from the ending of the first
pipe cleaner only. At the end, put glue
and then paste. With two pipe cleaners, I've covered the whole
thick area of this flower. For the lower part of the flour, we are going to add leaves and then we are
going to cover it. So we are going to do
that in the next lesson. So this was all about the flour. Let's add some leaves
in the next lesson. We are going to see how we can create leaves and how we can decorate the whole flower and
give this a beautiful look. To decorate it, let's move on to the next lesson and see how we can do so.
6. Adding Leaves: Welcome back. In this lesson, we are going to add leaves to
the flat that we have made. To make these leaves, we are going to use
only two pipe cleaners, and we are going to
fold them like this. We just have to fold
them into half, then pass one string from another just as I have
shown in the video. Lock them tightly by just twisting the one
string to the other. Now keep them all side by side, just as we did while creating
the petals of the flour. We just have to keep
them side by side, and then from the bottom, we have to roll one pipe
cleaner onto the others, and then secure it. So this one leaf
is simply ready. And let's see how it looks when we are going to
join it with our flour. See, this looks perfect. We are going to add more leaves, and this flour will look really beautiful with
more and more leaves. Again, take two pip rinas and fold them together into half. Pass one string from another and lock
them by twisting it. Arrange the strings
and then tie them. Now, the second
reef is also ready. Both of these leaves are made
of two and two pipe tenors. You just have to put these leaves around the flower and tape them using
the florist tape. Let us also make one more string and make one more leaf
using the same process. Keep all the strings side by side and tie them at the bottom. It's now the time to add
these leaves to the flaw. For this, you just have
to get the angle ready, and also, you have to take
care of the floristp. To add floristape as earlier, we have to use the glugen for the starting
point of the floristp. But before that, let us
take the metallic wire to tie the first leaf
around the flower. After securing the leaf well
using the metallic wire, we have to add a drop of glue
from the glue gun and then start rolling or we can say wrapping it using
the floris stick. Put the flower tape on the glue spot and then
tie it, very tightly. You have to keep on
stretching the tape so that it gets the glue absorbed
to two or three layers, and also it gets attached to the flour and the flours
stick really well. There is a very slight
glue well present in this and we have to use that glue also
we have to stretch it. And now let's add the
next leaf for this, you just have to put the
leaf while rolling it. There is no need to cut
the tape and then restart. You just have to put the
leaf that you have to add in the direction where you want to add it and then start
rolling the tape again. Now, let us add the next leaf. Let us place it here and then start rolling the
tape around it. We have to make sure that while rolling the tape
around the leaf also, we have to keep on
stretching the tape and keep the leaf very steady and in a fixed position so
that it do not move here and there while
we roll the tape. After completing this, you just have to tear out the tape, the extra tape from it, using your fingertips only. There is no need
to use the pair of scissors here
because the tape is really very fragile and we can tear it out
using our fingers only. So let us tear it out and then
move on to the next step. The next step is to
cover the stick using the pipe cleaners only as we
did while making the flour. After making the flour, we did cover the lower part of the flour using
the pipe cleaner. The same process we are
going to follow here, we are going to
use pipe cleaners of dark green color only and we are going to cover the
stem of the flour with this. Add a drop of glue to start rolling the pipe
cleaner over the stick. Oh Now, roll the pip liner over the
stick very, very carefully. Why am saying so Because
while doing this, we are going to come
across the leaves that we have already added
to the flower stick. So we have to keep
in mind that we are not here to ruin their shapes. We have to take care of the
shape of those leaves only, and we have to cover
the stick also. So we have to do both things, keeping in mind that both
things are important. Here, why are we
covering this stick? We are covering
this stick to show and to add some strength
to the flour stick. Here, if you notice, the
flour is really very heavy as it is made up
of big pipe cleaners, and it turned out to be a really big flour as compared to the
thickness of the stick. So to add thickness
to the stick, as well as to give some
support to the stick. We are adding this pipe
cleaner as a overcver over it. And yes, when one
pipe cleaner ends, we have to make another pipe
cleaner joined to this. Simply put a drop of
glue from the glugen and start rolling the next pi cleaner to complete the process. Now, as you can see here, our flower is ready,
strong and beautiful. This flow in itself says a
lot about the pipina flowers. So this was all for this class. You in the next class
for more. Thank you.
7. A word with you: Welcome back, everyone. I hope you all are ready with this kind of flower
in your hand. Please click its picture
and upload the picture, project and resource
section of this class. I also encourage you
to review my class so that I can make more classes related to the pipe
cleaner flowers. This was all from my side. Thank you for joining. Bye.
 Jyoti Aggarwal, Art and Craft Teacher