Transcripts
1. Introduction: Hello, everyone. Welcome
back to my Skillshare class. In this class, we are going
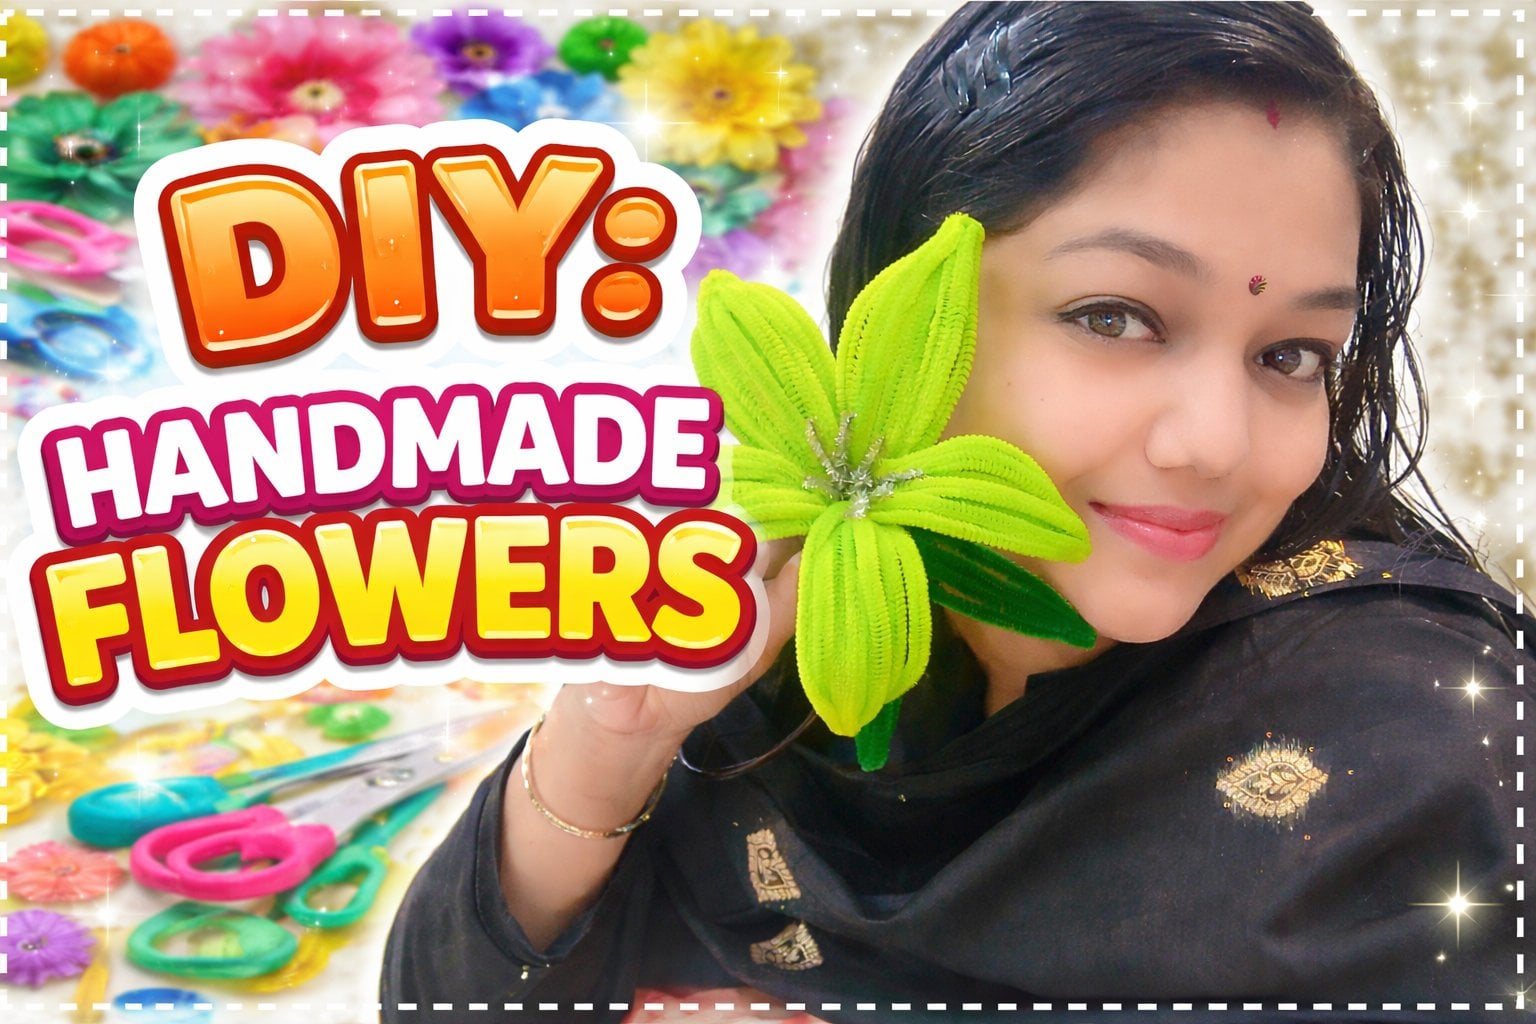
to learn how we can make white cleaner flowers
of this size. This is a smaller size of what we created
in our last class. Also, we're going to learn how we can create this
kind of a pattern in it. As you can see here,
this is a bit different. It is having green color inside
and brown as its outline. You can change the
colors and create the same pattern with
the pipe cleaners. Also, you are going to
learn how you can make this leaf stick in this class. You can use this leaf stick with these flowers as these
flowers are here, not attached with the leaf. These are used to create a heavy look
in the bouquet also. If you're going to pack
bouquets using these flowers, you can put these leaf sticks to it to make it look
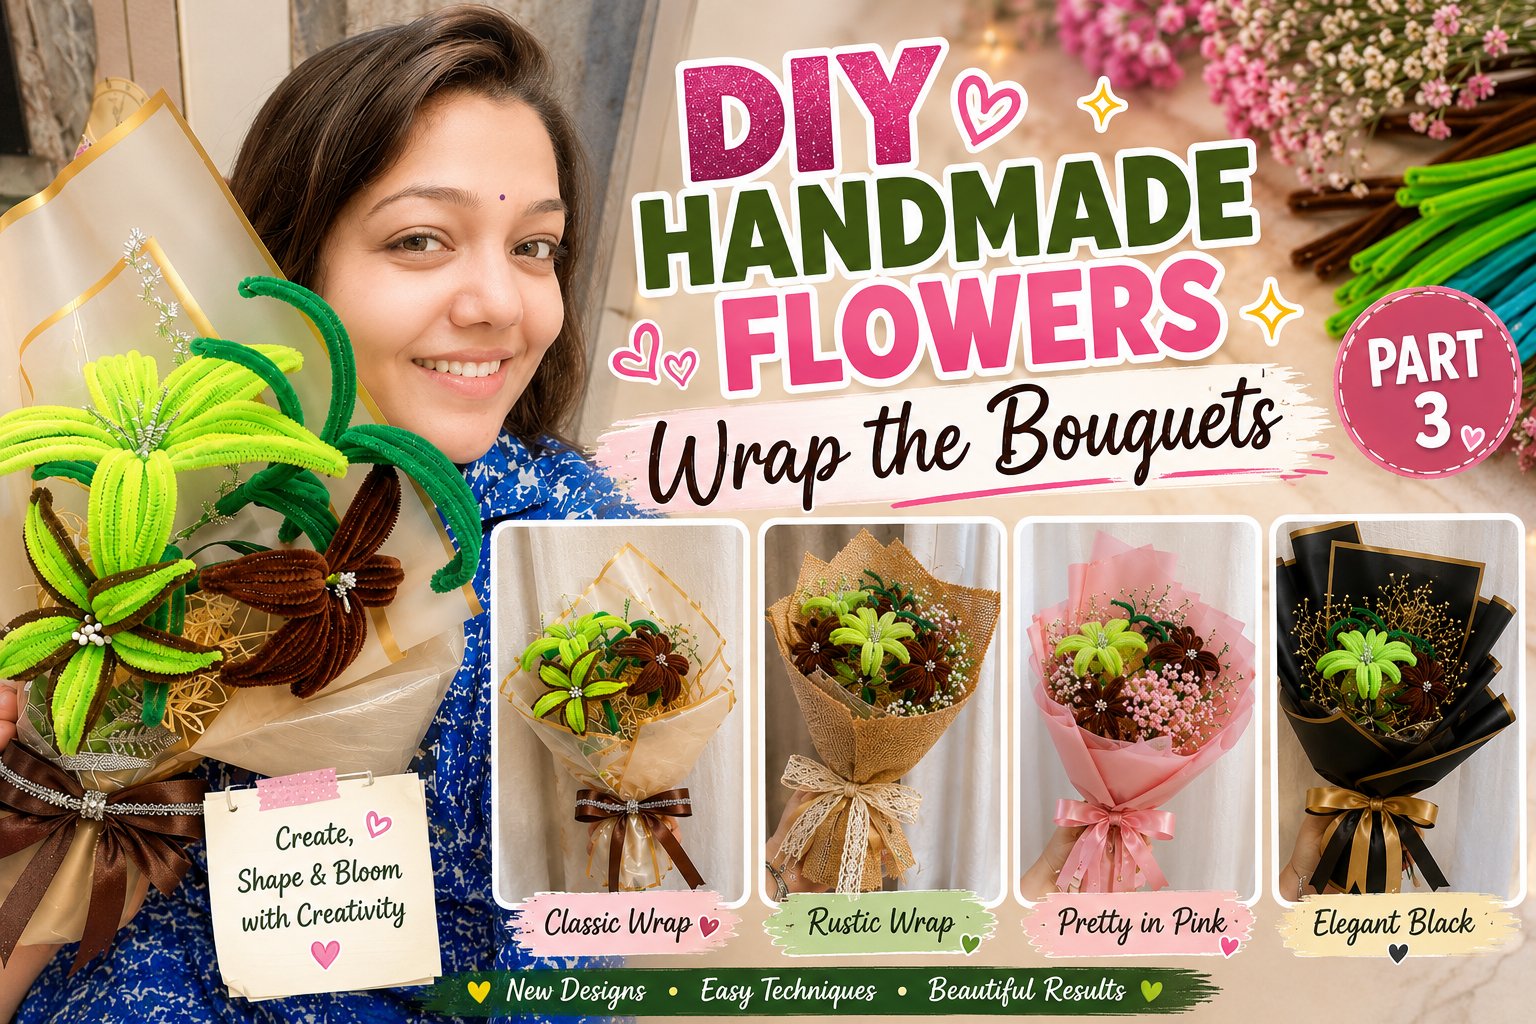
a heavy bouquet. In our future classes, we are going to make
the bouquet also, so this will help
you there also. Also, I'm going to show you the flower that we created
in our last class. I want you can start with
this class if you want to learn bitlinal flowers because this is
the bigger flower, so you will get a
better insight. But if you want to
start with this class, that is enough in itself. So if you want, you can start with this class
learning how to make a big flower along with so many leaves
attached to it. So I'm going to put
the cover page of this class onto the page so
that you can check it out. Also, if you want to start
with this class only, you can start with
this class and learn how to make these flowers. You're going to use somewhat of same technique that
we use in that one, there will be no much big difference to
make a big flower, small flower, the difference is the size of the
pipe cleaners, the size of the dimensions or we can say the thickness
of the leaves. That is the main difference
that you are going to see in that class
and this class. Also, you are going to add
colors at the boundary. So this is something that is extra that you're
going to learn. If you don't want to
go to that class, you can start learning
from this class. This class is self sufficient
to discuss everything. In the next lesson,
I'll tell you the material that we are
going to use in this class, so see you in the next lesson.
2. Material Required: Welcome back, everyone.
In this lesson, we are going to
discuss what material we need to create these flowers. Firstly, we are going
to use pipe cleaners. What kind of pipe cleaners we are going to use
the pipe cleaners? One for this solid color flower in which all the petals
are of same color, and the other one,
we are going to use the similar color to this that you want to complement
with the other flower. Here I'm creating two flowers. The outline of this flower
is matching to this flower. You can use the contrast colors or you may choose
the similar colors. That is up to you. You
need pipe cleaners for one solid flower and pipe reners for this flower that
have an outlining, as well as a different
color inside of the petals. Next, we are going to
need these pollens, pollens of white color, pollens of gray color or
whatever color you like, or you may also create
the pollens on your own by just rolling the
pipe leners onto it. So this is up to you, the color, the design, the shape
of the pollens, that is completely up to you. Next that we are going to
require is this plastic. This plastic is already
covered with a green tape, but to cover it from this side, we need a green tape also. This is also known
as the florist tape. So you need a florist tape also. As you can see here, I
have used some wire also, you need this wire also to
tie it up to tie the flowers. If you don't have any
wire metallic wire, you can simply go for a thread. Sewing thread. So you can use that thread
to wrap it around, and we are good to go. Next thing that we need is green pipe cleaners to
create a leaf stick. In this leaf stick, we
are creating leaves of small size because the flower
is also very small size. So we are creating
small size leaves. Here I'm using a different
kind of a green. You can use a different
kind of a green. But it should be green. I supposed to say that
it should be green so that you can create a look
of a leaf. Out of it. For the flowers, you
can use any color because the flowers
are of various colors, but leaves here, I would
suggest that go for only green. You may choose any
shade of green, but choose green and
while at the outset, we are going to use
glugen to paste them together, and
we are good to go. This was all material that
we need for this class. See you in the next lesson to start with that first flower.
3. Solid colour Flower: Welcome back everyone. So
to create these flowers, I'm using two pipe cleaners. These are small flowers, so using two pipe cleaners
is very much okay. First, we will fold one pipe cleaner and then
the other pipe cleaner. We will fold them
in equal halves. But the second pipe cleaner, we have to fold it again. It means we are going
to make four parts of it and from this side,
where it is joined. We have to cut this. Now use the bigger string to pass
across it like this. Now twist it a bit to lock
all these strings together. Hold the strings
very neatly side by side and then use the longer
strings to outline them. This is the basic
process that we did to make the
bigger flowers also. Now, just join them altogether and using
the longer strings, tie it, take the longer string from one side and turn
it over the other one. To give the shape to the leaf, press it using your fingers. At the end, we have to press it from the corner to make it a pointed leaf and we also have to give it a
curve using our fingers. This curve is really very important because
this is going to make the flower look really joyful or we can say it is blooming. So to give that kind effect, it is very important to add
this curve to the leaf. Now, next flower leaf, this is also to be made
using the same process. Just fold the strings,
cut them half, and pass one string
from the other one, rotate it, lock it, and then finally tie them. After tying them,
you have to give it a shape, a proper shape. For this, we are going
to use our fingers, press it from the
corners, and curve it. Our second strip is also ready, second leaf is also ready, same process with the third one. Now three leaves are ready. Let us hold them together
and see how it looks. Wow, it looks beautiful. Let us sweep them here, and let's move on to the next leaf. For our fourth leaf also, we are going to follow
the same process, fold the strings, cut it, pass the bigger strings
from the smaller strings, and then hold them side by side neatly and cleanly
and after that, outline them using
the bigger string, Hold them tightly, then
tie them properly. Time for this one last leaf to make our flour. Same process. All the leaves are now ready, all the petals of the
flour are now ready. Let's move on to the next step. For this, we are going
to start with a stick, the green stick, that
is the flower stick, and then add pollen so it. To add these pollens, we have to hold it together
with the height of the stick. Roll the pollens over the stick so that they stick
up properly to the stick, and then you can tie them
using a thread also, or you can put some glue. We are going to tie it after putting the
first petal around it. To add this first petal, I'm using all this excess string to roll it around the stick. This will give
volume to the stick, as well as it will help us to manage all the extra
strings of this leaf. There is no point or use to
cut the excess leaf strings. So I'm just adding them to the stick itself
so that they give a volume to the stick and also help us to
make a heavy flour. Now, use the wire to roll it around it so that everything
sticks together perfectly. Time to use the hot glue one, put a small amount of glue over the next leaf and then paste
it around the first one. Make sure that you're
pasting it from side by side and not
from the center to center because this
will help us to make the flour to be
in a proper shape, to be in a blooming shape. So keep on adding glue and keep on adding one leaf or
one petal at a time. It is very, very
important to paste the petals properly in order
to get the proper flour. While pasting the petals, use your fingers wisely to
keep the leaves in shape. If needed, then press the leaves again to get them
back into the shape. Now, arach them properly
and press the portion where we have applied glue so that everything
sticks together. To all the strings, the extra strings that are roaming here and
there around it, roll them around the stick. This will give a volume to the stick and will
give a great support. Now it's time to cover
it using the green tape. Oh put a small amount of glue around the
flour from the point where we have to start
with a green tape. Now, I'm rolling
it twice or thrice over that point so that every layer gets
stick to the glue. This is the key
to start rolling. If you're not going to
put the glue around it, everything will come
out eventually. That is the point
to add glue to it. Now keep on rolling it and keep adding the green tape to it. Keep on adding it layer. Now it is very easy
and a quick process, so we are almost done with it. I'm not covering it till the last portion because the
stick is already covered. Our main aim to cover it was to cover the upper
portion of the flour that was using these strings that was made using the strings. That was our main portion, that was our main concern. Now this flower is ready. Let's see in the next lesson to see what it holds
up next for us.
4. Leaf Stick: So to make a leaf stick, we require green piplenars. We will take first pip lener
and then fold it into half. Now, fold it once more
and press it lightly. Now, from this
side, we are going to cut it using the scissors, and then we are going to pass
one string from the other one and rotate this twist this. Now, hold them one beside
the other just like we did in petals and
then tie them up. Twist the extra string very
carefully and properly. Also, try to give the leaf
a shape with your fingers. Make it a bit curved and
pointed from one corner. Now, we're going to use this
shape in all our leaves. Similarly, we are going
to create more leaves. Here, I'm making a
stick of four leaves. I'm going to repeat
the same process four times to create four leaves. If you want to
create a leaf stick that is having more leaves, you can create that
leaf stick also. But here, to demonstrate to you, I am making only a leaf
stick with four leaves, repeating the
process three times. Two leaves are already ready. Let's move further
to create two more. Four leaves are now ready. Let's see what is the next step. Now, if you want, you can join these four leaves around the flower itself
as we did earlier, you can make a stick of
flour attached with leaves. But here I'm taking another
stick to make a leaf stick. Now, simply join the first
leaf at the top of this stick. Then you may join the next one a bit lower than that one in
the opposite direction. To tie these leaves together, I'm using the green tape or
we can say the florist tape. Make sure that when
you start rolling it, you take two or
three extra rounds at the starting just
to tie up it properly. If you're not going to
use the glove stick, this is the key that
you can use for leave stick because
leaves are very light. You can join them to the stick without using
the glove stick also. Now you are not supposed to cut it down while adding
the next stick. Next leaf to the stick, you just have to
place the leaf around the stick and then start
rolling the tape again over it. One single tape
will match it all, we'll attach all the
leaves together. Now, place the third leaf
in the opposite direction. You are not supposed to
put all the leaves in one direction that
will not look good. So place them according to their directions and then
start rolling the tape again. This will create a look of a natural leaf and then
add the fourth one. One thing that you have to keep in mind here is that whenever you are
adding a leaf to the stick, just make sure that you are putting two or three rounds of the tape over it to stick
it properly to the leaf. After adding the leaves, cover the leaf stick half with a tape because
this is already covered, so there is no need
to cover it entire. So this is our leaf
stick that is ready. Arrange the direction of the leaf with your
hands if needed. So this is a final
look of our leaftik. We can use this leaf
stick with the flower to give it a volumetric
look just like this. And this will also look good
while we are going to add these flowers and
the leaf sticks together into a bouquet. So this was all in this lesson. Let's move on to the next
lesson to see how we create a flower with outlining
of a different color. Also, if anyone wants, they can tape these two sticks together so that the stick
also looks volumetric, and the flour also
looks beautiful.
5. Outlined Petals: Welcome back, everyone.
In this lesson, we are going to learn how we can create outlined
petals for a flower. For this, I'm using the
color brown and green. We need only two pipe
cleaners for one petal. One is green and one is brown. You can choose the
colors accordingly. Here, I'm half folding it
and then folding it again. I'm folding green colour stick first because I want to put green colour inside and then give an outlining
of brown color. If you want to choose the colors, choose
them accordingly. Now when we are ready
with this green part, let's start with the brown part. Just fold it half
and it is ready. Now pass the brown string from these two small
green strings, twist it up, lock it properly, and then hold all the pipe
cleaners one beside the other. Parallel and close to each
other so that they don't overlap each other and they are not having any
gap between them, so this is the proper way
to hold them properly. Now, take the brown stick, brown string, and then roll it over the green and
the other brown sting. This will tie up the
leaves properly. Now, as you can see, all the strings are
parallel to each other. They are having no
gap between them, and also I'm using my fingers
to make the petal pointed, as well as I'm giving shape or curved shape to
it using my fingers. So this is one petal
for the flour. Let us create more. For this small flour, we need five flour petals. We are going to use
the same process, fold to the green one,
cut it from one side, and pass the brown
stick from it. If you want, you
can also cut down the brown string to half and then use only
the half string. But here I suggest you to use the complete string so that
you get a bitter extra string down that will help you to wrap it around
the stick also and that helps to bind the leaf
also, as you can see here. So this will help you only. That is the extra portion
that we are left with, but this will help in a long run when we are going to paste the
petals together. So three petals are now ready
and holding them together shows really beautiful look
of the flower. Four and five. All the five petals
are now ready, and the flour is looking
really beautiful and pretty. Let's hold them together onto a stick so that we get a better look of
what we are making. So take the pollens first. You can create the
pollens on your own also. But if you have the
readymade pollens, just stick them to the stick by simply rolling the extra part of this pollen onto the stick. I'll take the first petal and then join it near the pollen. Hold it tightly and also use the string or a
thread to tie them. After that, we are going to use glue gun to paste them together. Here I'm using the golden wire. If you have a wire,
then use the wire. If you don't have, then you can use the sewing thread also. Now, use the gluten to
put a small drop of a glue beside this and then
put the other leaf to it. Press the leaves
tightly together, and then this will be pasted. Now, next, put another drop of the gluenO the glue
from the glugum and paste the third
leaf around it. Make sure you are
pasting it side by side and not from
the middle of the leaf. Similarly, paste the fourth
leaf and then the final leaf. While pasting the final leaf, we put the glue at the center of the leaf because this is the
time to complete the flower. So we paste it from the center. We are now done
with the pasting of the petals to the
stick of the flour. Let's see what we have to do with the strings that
are left at the bottom. Simply twist them
around the leaf stick, and we are good to go. This will help us to get a better volume to the
stick of the flour. Now, put a drop
or two of glue at the point where we have to start covering it
using the green tape. Make sure to press the
green tape really tight over this glue drop so that
it remains pasted over it. Give two or three rounds
over it so that it gets pasted really well and stay
there for a really long time. Now keep on rolling
the tape downside slowly and carefully that
there is no gap left between. Roll the tape over the stick for about half of the stick because there is no need
to cover it completely, as I said many a times. So you can stop covering the tape or you can see
the stick here now. This is all and our flower
stick will be ready. See how beautiful the
flower turns out. You can arrange the leaves with your hands and make it look like a proper
blooming flower. This is the final
look of our flower. This was all from my side. See you in the next lesson.
6. Project Work: Hello, everyone. Welcome back. I hope you enjoyed the class and you are ready with your
project works section. So let's begin with
what you have to do for your project works. Here it is. You have to create
a flower that is a small size flower
and also have different colors at its boundary and at the center of the petal. So this is one thing, and if you are ready to create a
leaf, that will be great. Create a stick of
leaf so that you can use it later when we are
going to pack our bouquets. Also, you may create a
flower that is smaller in size and is matching to the
one that you have created. So this outline is
matching to this flower. So you can create contrast class and you can also create the similar colors.
That is up to you. So once you are done with it, once you are done with the
creation of the flowers, you just have to click
its picture and upload that picture to the project and resource section
of this class. I eagerly waiting for
your project works, I hope you are going
to upload them. See you soon in the project and resource section of this class. Also, I would like to request you to review my class so that I can make more classes related
to pipe cleaners for you. Thank you so much for
joining my class. Bye bye. Oh
 Jyoti Aggarwal, Art and Craft Teacher