Transcripts
1. Introduction: It's that magical time
of the year, e guy. When the lights start twinkling, trees go up and festive
spirit fills the air. Christmas brings with it
warmth of childhood memories, the joy of decorating
and the excitement of waiting for the Santa with
his bag full of surprises. It's a season of love, laughter and creating
moments that truly matter. This year, why not add a personal touch to
your celebrations? Let's make your
Christmas tree a little more special and unique
with handmade ornaments. Imagine crafting
beautiful decorations with your own hands, each piece carrying
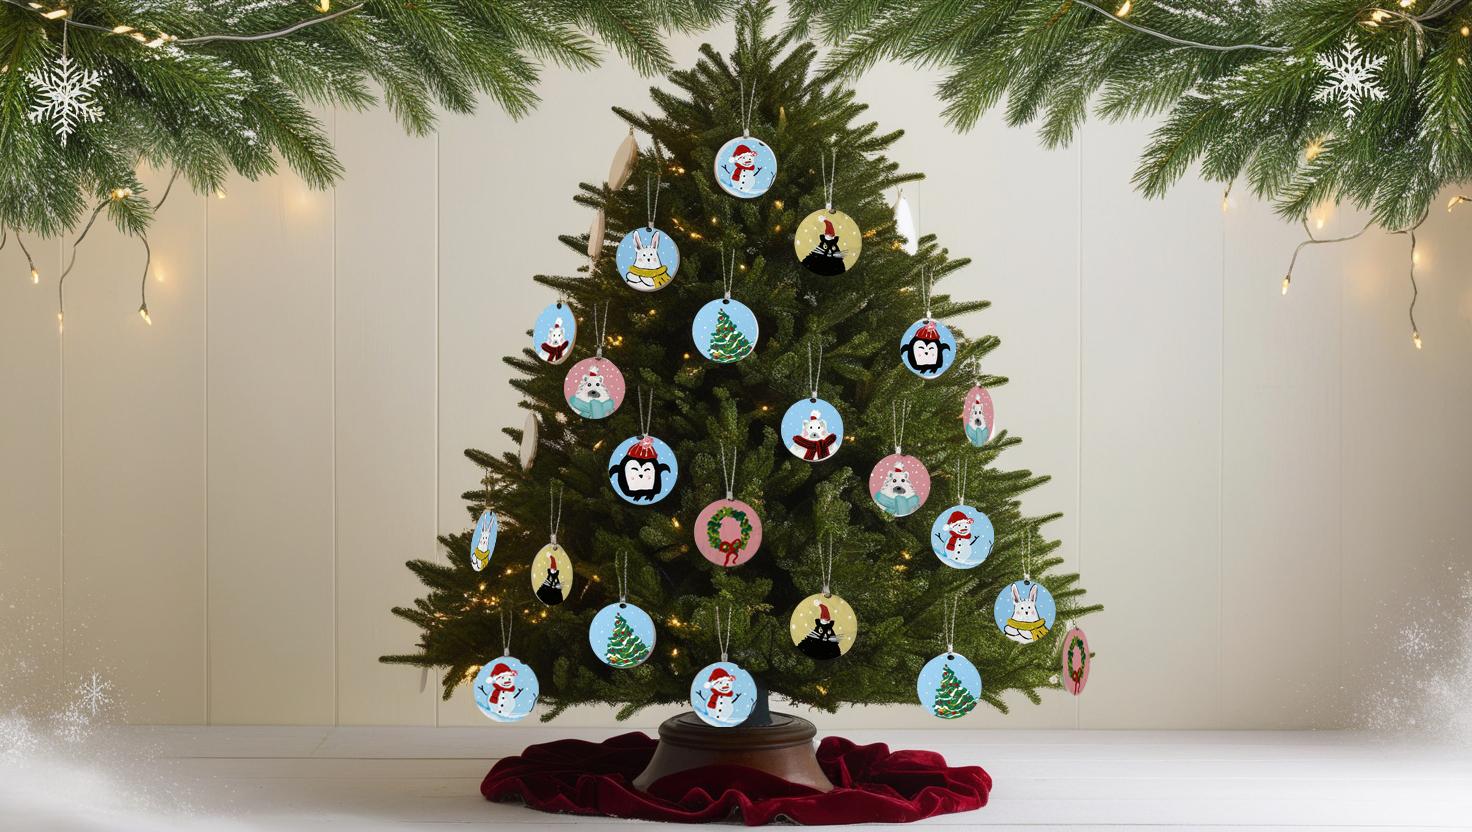
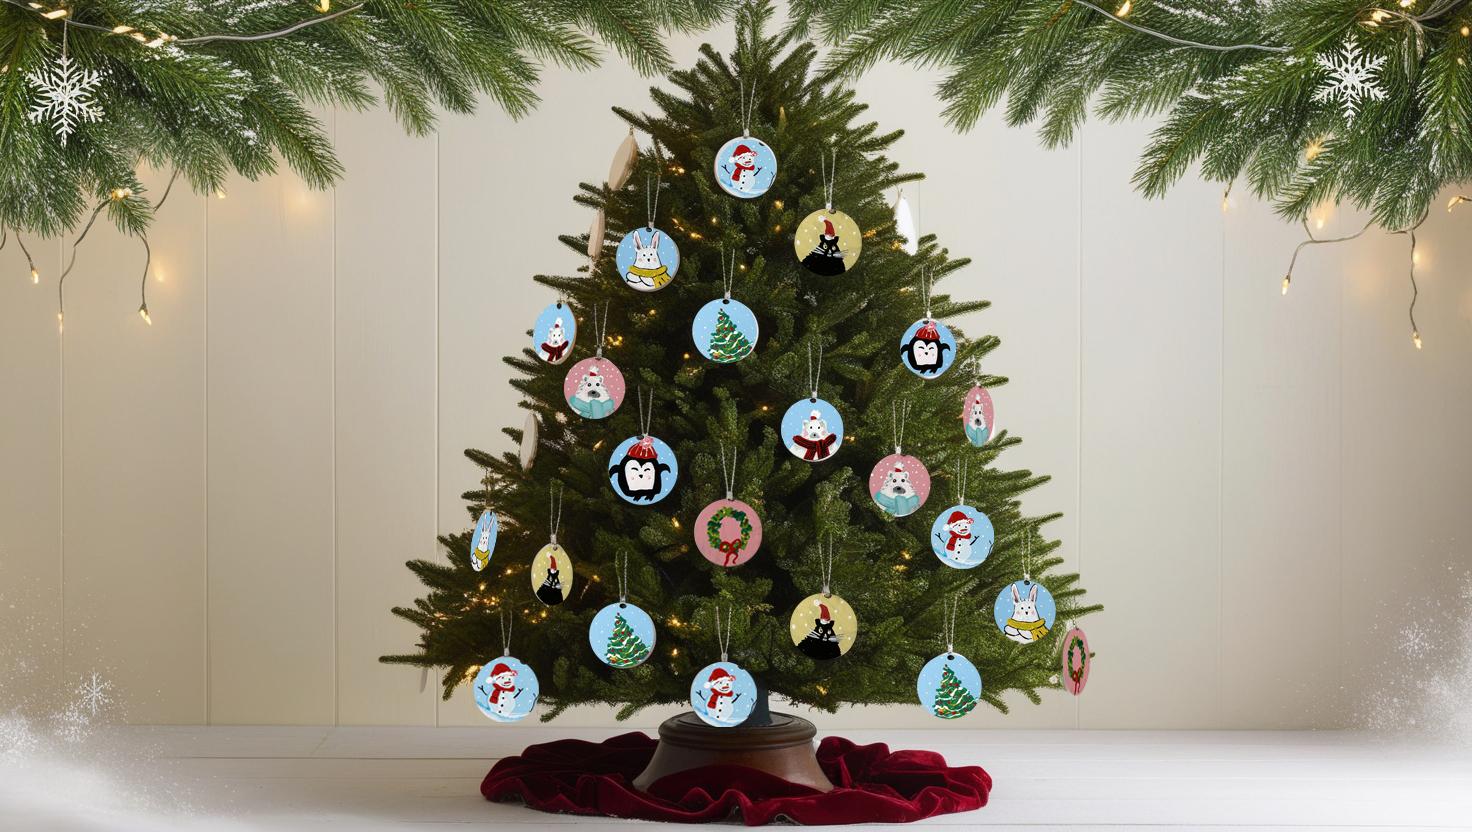
your personal signature and a jewelry to tell. Hello, everyone. Welcome to this fun and easy DI by hand painted Christmas
ornament class. I'm no Variga an artist and
architect based on India, who sento art ever
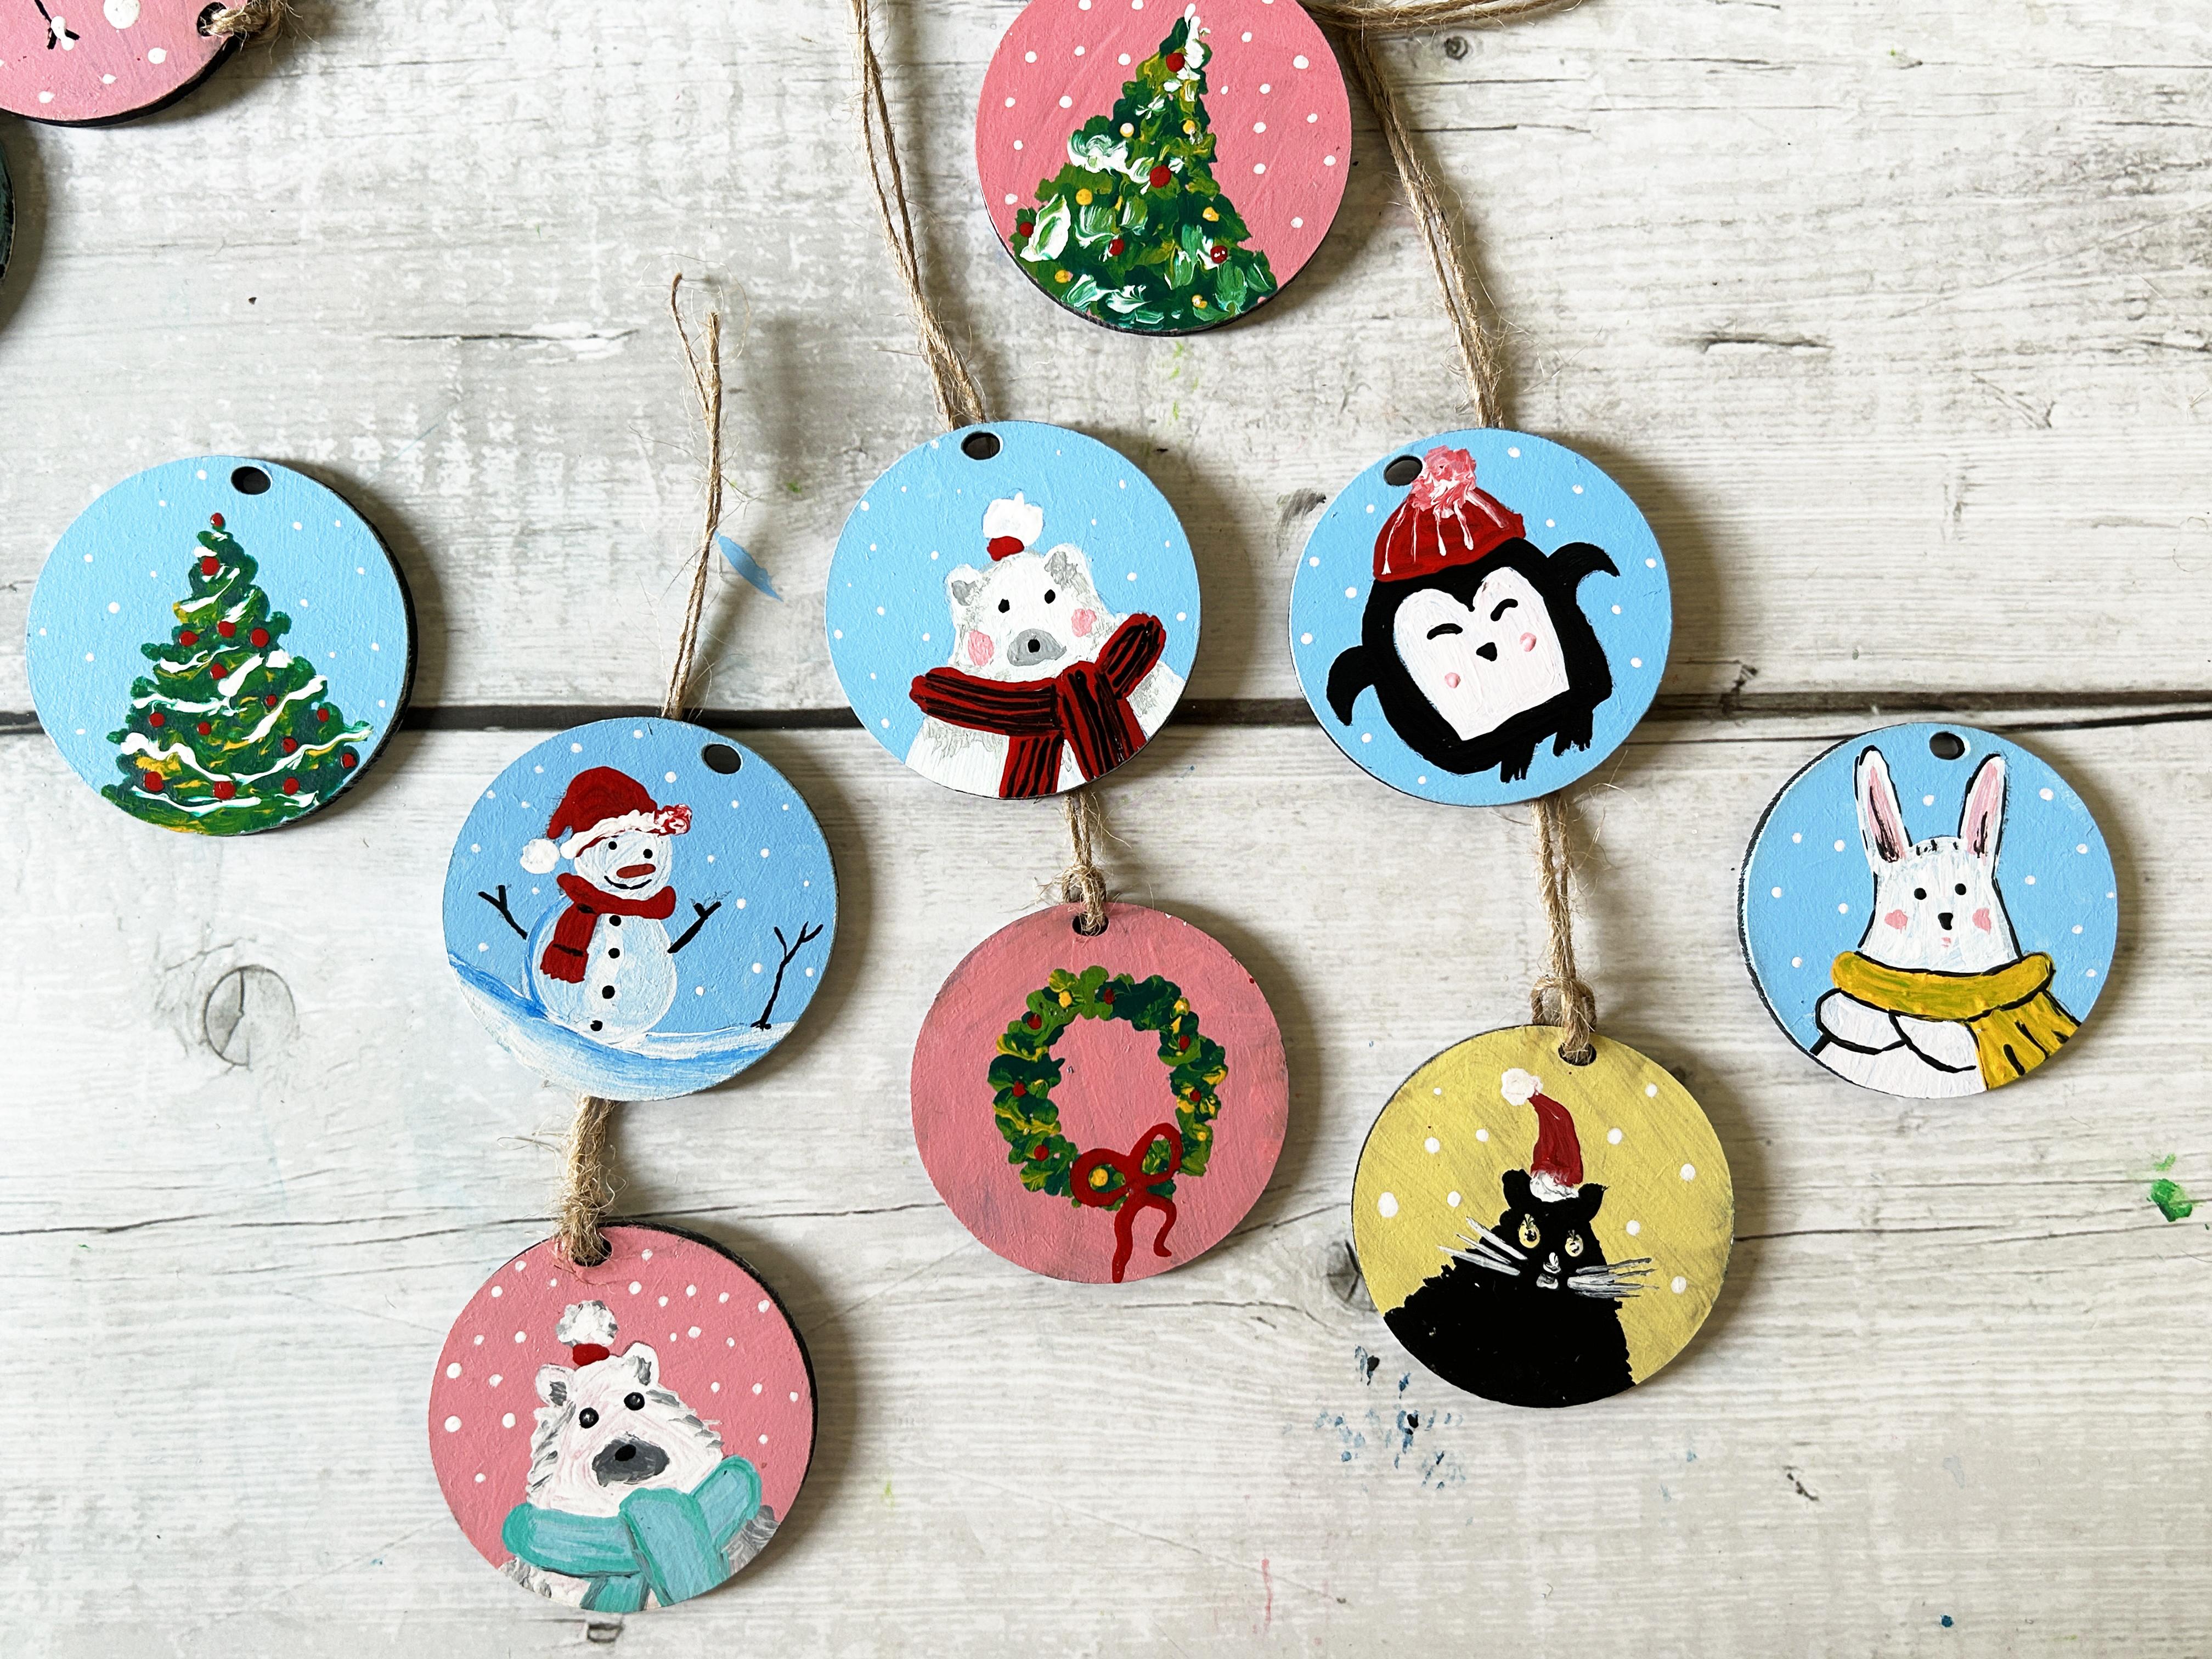
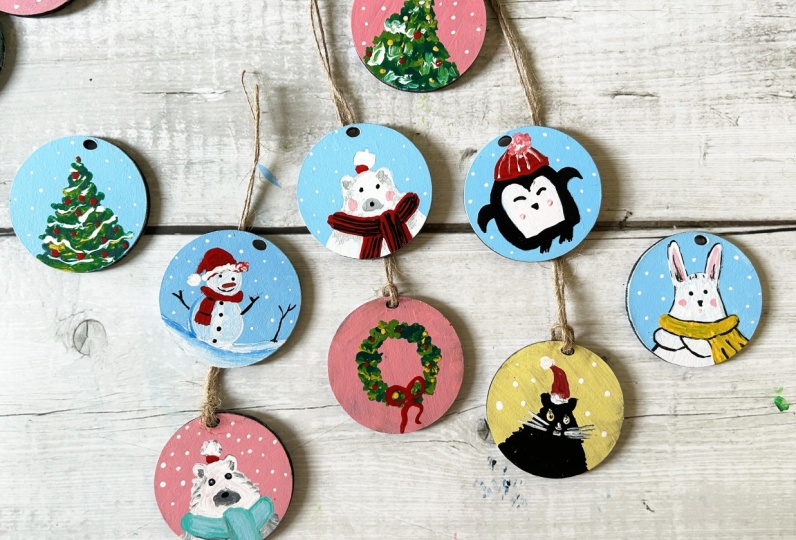
since I remember. Together, we will paint six ornament in six
different designs, each simple enough
to create chuckle while still adding charm and
character to your dream. These ornaments will bring special warmth to
your holiday decor, making your Christmas
truly wonderful night. You don't need any
experience to join in. Just bring your enthusiasm
and love for art. So grab your brushes, let your creativity flow, and let's make this
Christmas even more memorable with
handmade beauties. Let's get started.
2. Materials needed for the class: Hello, friends. I'm so
happy you have decided to join me in creating handmade
ornaments for Christmas. Isn't there something magical about crafting your
own decorations? Every piece become
a little treasure made with love and you
have personal touch. Before we jump into painting, let's talk about the materials you'll need for this class. Don't worry. It's simple, and I will walk you
through each item. Base for painting.
The first thing you will need is a
base to paint on. I am using these MDF boards. They are 2 " in diameter and comes with a small
hole on the top. Perfect for adding a
toy to hang them later. I got these online, but if they are not available, you can easily use the
alternatives like the card sheets, glued to a hardboard
for studies. Get creative and use
what you have at hand. Paints. Next, let's
talk about paints. I'm using acrylic paint, but you can also
use posted colors if that is what you have. For this class, you will
only need six basic colors, black, white, red,
blue, green and yellow. These are versatile enough to create all kinds of
beautiful designs. Palette. Now, you will need a
palette to mix your paints. This is my colorful,
well loved palette. It has been part of so many
creative projects and holds a lot of wonderful
stories. Brushes. For brushes, you will
need a flat brush for painting the base layer and a round brush
for adding details. If you don't have a
brush, don't worry. You can manage the basecat
with a round brush as well. Water and cloth. You will also need
two jars of matter, one jar for rinsing
pane of your brushes, and second is for giving
your brush a fine grain. And don't forget a cotton cloth or tissues to wipe your brushes. These are essential for
any painting activity. I also have a coin to hang the ornaments to
the tree at the end. Finishing touches.
Finally, let's talk about finishing materials. Varnish. This is optional. I use art varnish to give my ornaments a polished
professional finish. Then you can also use resin. This is also optional. If you would like a smooth, glossy finish, resin
is a great option. For UV resin, you will
need a UV to cure it. If you're using
the regular resin, you will need mixing tools, a dusty space, gloves and
masks to ensure safety. Remember, when
working with resin, always wear gloves
and masks to protect yourself and avoid
inhaling any fumes. And that's it. These are all the materials you'll
need for this class. Don't worry if you
don't have everything. There is always room to
flexibility and creat it. Alright. Let's move on
to the next section where we will start with some practice sketches
to get warmed up. I can't wait to see what
you create. See you there.
3. Lets Practice: Hello, love you people.
Are you ready to dive into some practice sketches before
we jump into painting? Let's warm up and get
those creativity flowing. These designs are simple, fun, and so easy to follow. So grab your pencils
and let's get started. First sketch the bunny. We will begin with a
cute little bunny. Start by drawing a circle the same size as your ornament page. This helps us to keep the
proportions just right. Now let's draw a mountain shape, similar to how you sketch
a Halloween ghost. Easy, right? Next, add a scarf around the neck using curved lines
for extra detail, sketch a small projection
on each side of the scarf. Now, let's give our
bunny some folded hatch, a few more simple curved lines. Moving on to the face, throw two eyes, a small nose, and a beauty spot
on either side. We are almost done. All
that's left are the ears. A two long ears on
either side of the head, and Vona our first
design is complete. Next up, we are sketching
an adorable penguin. Start with the same
circle as before. Draw an R, just over the
middle of the circle and extend it downward to
form the penguin's body. Now sketch its little legs at the bottom and wings
on either side. Inside the body, draw a smaller outline for the
face and add its details. Eyes, a tiny nose, and a beauty spots. Isn't it coming together
beautifully? Mm hmm. Now, let's add a cap to make him ready for the season.
And there you hut. Our penguin is ready to warden
into the holiday season. Time for a cuddly bear.
Start with your sub. And this time, draw a wider
mountain shape for the body. Yes, let's make it more
wider than the bunny. Add a stuff, just like
we did for the bunny. Mm. For the face, sketch a
half circle for the nose, and two dots for eyes. Now, add small round ears
on either side of the head. And here is a frontage. Give your bear a
little hair on top. So simple so adorable. Now, let's create
a classic Snowman. Draw two stoked circles, a larger one at the bottom, and a slightly smaller
one at the top. Sketch curve lines at the base
to represent snowy ground. Add the details two eyes, a carat nose, and a big
smile on the top circle. Throw buttons on
the lower circle, and, of course, a
Christmas care for top. Lastly, sketch symbol
lines for the arms. And there you have
a cheerful snowman ready for the festivities. For our final sketch, let's draw a Cosi snowy house. Start with a triangle
for the roof. Then draw another triangle
inside slightly opposite. Any circle for the bit later and sketch a few tile
betils or the walls. He. Finish it off with snow
patches on the roof. For these two designs, we don't need sketches. We can paint them
directly on the base. First, grab green
and yellow paints. Now, using a round brush are random strokes in
the shape of a tree, leaving blank spots in between. Now add yellow paint to these black areas and blend
them right on the base. This gives the tree a
beautiful mix of dart wet, light green and yellow, creating an amazing
texture and depth. For the Christmas wreath, use the same technique but paint a circlar shape instead
of a tree profile. Leave the blank spots,
adeno and blend. To make it more dynamic, add small projections around the circle to break
up the evenness. Oh Finally, let's add snow to the tree. Using white paint, create horizontal snow lines
of varying length. Do this step only after the
painting is dried completely. Otherwise, the colors
may get mixed up. For a festive touch, let's add red notes as ornaments
on the tree and the ed. Now it's time for a cute bow. Throw two owls facing
opposite directions or an infant sha and add
two lines hanging down. And that's it. We have
completed our Practice section. Everything looks fantastic, and I hope you are feeling
confident and spied. Now let's move on
to the next section and start working
on our Ona bits.
4. Preparing the base for painting: Hello friends, before
we dive into painting, let's take an important
step preparing our base. Trust me, this step make all the difference
in how vibrant and polished your ornaments
will look in the age. Why prime the base? First, let me tell
you why this is rose. Without a primer code, your painting might look dull or lack that bright
festive charm. I have skipped this
step in the past, and the difference is clear. Bases with a primer code look so much brighter and
more professional. Let's get started. Take your white paint
and a flat brush. Apply an even coat of white over the entire surface of
your ornament base. Work in smooth, consistent
stop for the best reason. A once you have
painted one side, let it dry completely, then flip it over and repeat the process
on the other side. This ensures your ornaments
look perfect from all angles. However, painting on the
back side is optional. If you allow the natural
look of the material, feel straight to leave it as it. Now that your
primer coat is dry, let's move on to the second dye, which is only for
the friend's eye. Here is where you
can get creative. Choose a background color that matches to your theme
of celebration. For me, I'm going with light, paste and blue this time. It is so versatile and works beautifully for a
wintry Christmas vie. Let's make the pastel shade. Start with a white pane and
just a tiny amount of blue. Mix it well until you get
the perfect pastel tone. If you want it darker, add more blue little by little. Once your color is ready, apply it evenly over
the primate surface. Make sure to go the entire area, keeping your brush strokes
smooth and consistent. Repeat this process for
all your ornament bases. And there you have it
your vases are died, painted and ready for sketching and adding
beautiful designs. In the next section, we will dive into sketching and painting your first
ornament design. I can't wait to see your
creativity come to life. Let's make some magic together.
5. Ornament 1 Christmas Tree: Hello, my creative friends. It's time to bring our ornaments to life with some vibrant paint. We are starting with a classic
Christmas tray design. This one is super simple and doesn't even
require a sketch. So let's dive into it. We will begin by creating trees, shape using dark tin paint. Using a round brush, make a profile of
the tree by adding random small small strokes as we practiced in
the practice section. Don't worry about perfection. Leave plenty of blank
spaces in between. We will make it into a dive and texture
tree in the next step. Once the profile is done, grab your yellow pine. Start filling in
the blank spaces between the green statoks, blending gently as you go. The mix of tarpin
and yellow give your tree beautiful depth
and a glowing effect. If the colours get too
blended, no problem. Just add a little more of whichever color is
lacking to balance it. Keep the stop light and natural and your tree
will look fantastic. Once it completely dry, now it's time to add a
touch of winter magic. Using white paint, create horizontal snow lines
across the tree, make them wavy and random, just like real snow
resting on the branches. These little details really
bring the tree to life. What's a Christmas tree
without technicians? Add tiny red dots across
the tree as ornaments. Place them randomly for a
playful and festive feel. To finish our ornaments, let's add some sparkle
using white paint. Let's make small
random dots around the tree as snowflakes. It's the perfect final touch. And there you have it. Our
first Christmas ornament is complete. Isn't it stunning? Let's set it aside
to try and get ready to move on to the second
ornament. Stay with me. We are just getting started.
6. Ornament 2 Christmas Wreath: Hello, friends, ready to
create the second ornament? Let's make a beautiful
Christmas tree that simple cute
and so charming. Like the tree painting, we don't need a sketch
for this one, though. Dab your down brush and
orific dark green bean. Now imagine the shape
of sub and start painting the wreath with
loose abstract strokes. Leave some blank
spaces in between. Don't dress too much
about perfection. Wreath are meant to have that
natural imperfect charm. Next, dip your brush
into yellow pine. Add this to those
blank spaces and gently blend the colors
together fried to ornament. This gives a gorgeous
gradient effect that makes the re pop
with depth and vibracy. If the colors get too
blended, no problem. Add a little more of whichever color is
lacking to ban sit out. Keep the strokes
light and natural. Now it's time for some details. Let's add some decorations. Using yellow and red paint, add small dots around the wreath to mimic
festive decorations. Place them randomly. It's all about adding
a playful touch. Finally, let's paint the bow, switch to red paint, and a brown blish to create a simple bow design at
the bottom of the wreath. And there you have it
standing Christmas tree, ornament, hand bed by you. Doesn't it look
absolutely gorgeous? We have now completed
two ornaments, and I'm so excited to see
how yours are turning out. Let's keep this momentum
going as we move on to the next section and create
more beautiful ornaments. See you on the next section.
7. Ornament 3 The Bear: Oh Hello, Gain, my friends, welcome back to the class. Let's dive into the
third ornament, our adorable Christmas bear. This one is super
fun and will add so much charm to
your holiday liquor. We have already practiced
sketching the bear, so now it's time to transfer that outline onto the MDF bowl. Start by sketching
the body outline, just like we did earlier. Next, add scarf around the
neck with those curved lights. Onto the face, draw the
nose as a half circle, add two dots for the eyes, small ears on top, and don't forget that cute
little hair do we practice. See? It's so easy to
follow along right. Now, let's bring this bear
to life with some color. First, paint the entire body, including the face and the
hair with white paint. You smooth, even stop
to cover the area. Once that's done, it's time to add some
dip and highlights. Mm hmm Mix a tiny bit of black punto white pad
to create a soft graing. Use this to add some gentle
strokes on the ears, nose, and hair for
a bit of texture. To give the bear a
more realistic touch, lightly blend some
gray yellow areas where shadows would
naturally fall out the body. Next, grab your black paint
and highlight eyes and nose. Look how these tiny details
make the bays freeze pop. Now, for the scarf, use bright red to
paint the scarf. And if you'd like, add a stripe designed
for a festive touch. Also paint the hair do portion. I'm alternating red
and black stripes, but you can keep it plain or get creative with
your own patted. I spent a lot of time for
the scarf to get the design. Finally, let's add
some beauty spots on the bear's cheeks with
a soft pink or red. To complete the ornament, sprinkle tiny stars around
the bear using white paint. This adds a magical, snowy feel to the design. And there you have our cute
Christmas bear ornament is all done. Isn't he just the cutest? I'm sure yours
look amazing, too. Let's set this little guy aside to try and move on to
the next ornament. Keep those brushes ready. We are just getting started. M
8. Ornament 4 Snowman: Hello, hello, my lovely artist. Welcome back. It's time to paint our next Christmas ornament. What could be more
iconic than a snowman? Let's get started with
this charming design. First, sketch the outline
as we practiced earlier, begin with two circles, one on top of the other. The smaller circle at the top
will be the snowban's head, and the larger head at the
bottom will be his body. In between, add a cozy scarf
to keep our snowman warm. Then sketch his was detail, a cheerful Christmas
cap on his head, and finally, his
tick like hands. Now, that I sketch yesterday. Let's bring him to
life with some colour. Start by painting bow circle and the ground area
with white paint. This will give us the
perfect snowy base. To add depth, take a small
amount of blue paint and blend it lightly into the down area where the
shadows would naturally fold. This little touch will
make scene more realistic. Next, grab your black
paint and carefully add Snowmansee,
buttons, and chickens. Don't worry if they
are a bit uneven. Remember, perfection
isn't the gold. Mm hmm For an extra touch, I'm adding a little
dried shrub behind him. It's a simple leafs plan, but it adds a lovely wintry e. Now I'm adding white
colour to the captials. Just like we
highlighted the ground, let's use a bit of blue to add soaked shadows
to snowman's body. Blend lightly for
a subtle effect. Now it's time to
paint his festive ya. Use sled paint to fill it and add a white trim for
that classic Christmas look. Et's finish the
details one by one. For the nose, mix red
and yellow to create a bright orange and paint
a cute little carrot nose. Then with black paint, draw his cheerful,
smiling mouth. Moving on to the scarf, use bright red paint for
a board pop of color. I added a simple black stripe along the bottom
for extra decay. But you can get creative here with patterns
or leave it a stray. Finally, let's add
some snowflakes around snowman to make the
scene feel magical. Use white paint to create tiny dots and starbuds
scattered around him. And there you have it. How Joly Little
Snowman is complete. Doesn't he look
absolutely delighted? Great job, everyone. Let's set him aside to try and move on to
our next ornament. Keep that festive
energy flowing. We are making beautiful
Christmas memories together.
9. Ornament 5 The Bunny: Hello, my dear friends. Welcome back to our ornament
painting Adventure. Now it's time to bring a cute and cozy bunny to
life on our next tournament. Doesn't that sound exciting,
Let's get started. As we practice Dana, begin by sketching the
bunny onto the ornament. It's a breeze just
simple curved lines. Start with the body, then add curve followed
by the folded hands, the face, and finally, those adorable low ears. Take your time and remember this is all about
enjoying the process. All right. Done
with the sketching. Let's dive into painting. I'm starting with white paint. Cover the entire bunny, except the scarf area with
a smooth cut of white. Mm. Once that's done, let's add some cheerful
colour to that scarf. For this one, I'm using yellow to keep it
vibrant and warm. We used red forest
snowman and bear, so yellow gives a fresh
touch to this ornament. Oh Next, take black paint to outline
your bunny's features. I started with a
scarf and hands, then move on to
the face and ears. While you are at it, add those tiny details like
the eyes and the nose. It's these mole touches that
brings the bunny to life. Now, let's add some
soft highlights. Use light pink to accentuate
the inner part of the ears, beauty spots on cheeks
and the mouth area. Doesn't that give our bony
a sweet and gentle look? Finally, using just
a hint of black, add a few subtle lines to highlight the ears
and give them deep. And for that final magic touch, add snowflakes around the bunny, use white paint to make
tiny dots scattered around. It will look like our bunny is sitting on a
winter water town. And there have how serious
little bunny is ready. Why does he look so serious? Maybe he's waiting for
some holiday trees. With this, we have completed
our five ornaments. Can you believe how
far we have come? Amazing work e one. Now, let's keep up the momentum and move on
to our final ornament. Let's go.
10. Ornament 6 The Penquin: Hello, everyone. Welcome
to the grand finale. Our last ornament painting. For this one, we are creating
an adorable winter penguin. Isn't it exciting? Let's jump right in. As we practiced earlier, start by sketching the penguin. We will do this quickly since
we are already pro artist. Begin with the outline, the round body, the
cap on his head. Wings on either side, and those cute little legs. Once the outline
details are done, move to the inside, stretch the face and add
facial features. And just like that, the
sketch is complete. Now it's time to bring our penguin to life
with some pain. Let's start with the face, grab your white paint, and fill in the face area. Take your time and make
it nice and smooth. Now, add the facial details. Start with beauty spots, then paint the eyes,
finally, the nose. Each tiny features makes
our penguin cuter. Next, it's time to paint
the body using black paint, carefully, fill in
the penguins body. Make sure they just are neat
and don't forget the wings. Now, the only part
left is the cap. Let's make it
bright and festive. Paint the cap in red, and to add bit of personality, I have included S type design. Feel free to get creative, use any patent or
design you like. Finally, for that
magical wintry vibe, add snowflakes around the
penguin using white paint, scatter tiny dots and watch
the charm come to live. And there you have our
delightful little penguins ready to waddle into holidays. Ya, that means we have
completed all six ornaments. What an incredible
job we have done. Now, let's move on to the next section where we will finish everything with
a protective varnish. Stay tuned and let's keep
the excitement going.
11. Finishing touches: Hello, everyone. Welcome to the final and most
exciting stage of ornament making journey
the finishing touch. This step is all about sealing and
protecting your artwork, ensuring it looks stunning and lasts for many holiday
season to come. They look so adorable together. Let's finish these
ornaments by painting the edges with black.
This is only optional. You need to be careful
while doing it. I slightly distorted my
Christmas tree painting while finishing
with black paint. You can also use permanent
markers for this purpose. Let's talk about varnish. I'm using a water based heart varnish for
these ornaments, which is super
easy to work with. Before applying it, make sure your ornaments are
completely dry. This is crucial.
Otherwise, the paint may spread and restore your art. I have poured a little
varnish onto my palette, and using a flat brush, I will gently apply it
over each ornament. Work in thin even layers, ensuring you cover
every part of surface. The varnish not only
protect the paint, but also given ornaments
a beautiful soft shin. One by one, I'm painting
the varnish onto our painting and setting
them aside to dry. The best part sits
its water base. The cleaning brush
afterward is a breeze. Now for something bit extra, we are finishing our penguin
ornament with UV resin. Resin gives a gorgeous
glossy glass like finish that takes the ornament to the next level. Let's begin. First, make sure your workspace is prepared and don't forget to use safety measures like blouse and a well ventilated area
while working with resin. I have placed the penguin
ornament on the stable surface, and I'm now pouring the
resin directly onto it. Gently spread the resin across the entire surface ensuring every corner is evenly coated. Next, we need to remove any
bubbles that may have form. A uc pass with lighter or
the surface does the trick. Be thorough and check for
any remaining bubbles. Once it is bubble free, let the resin settle for a few minutes before
curing it with their UVli. Now it's time to cure, place the UVLit over the ornament and let
it work its magic. The curing time will depend on your lights properties.
So be patient. Once said, let's
check the result. Wow, look at that finish. The glossy shine is absolutely
stunning. I'm loving it. Finally, let's add the twine. Thread it through the coal in the ornament, tie it securely, and wow our pinkine ready to shine on
your Christmas tree. If you don't like to keep the backside free,
here is an idea. You can write something
of the backside. Simple messages of
Christmas like peace, love, or no, or you can fill the
backside with stars or dots. And that's it. We have completed all our ornaments with
a fabulous finish, and they are all ready to
hang up onto the tray. Let's meet in the
next section to wrap up this creative journey
together. See you there. He
12. Conclusion: Hello, my dear friends. What a wonderful section we just had creating these beautiful
ornaments together. Each one is so
unique and special, and I absolutely love
how they are taned down. I hope this year, your
Christmas will feel even more magical with these
handmade pressures adorning your tree. They are not just decorations. They are little pieces
of your creativity and love making your celebrations
truly wonderful kind. I would like to see all the amazing ornaments
you have created. Please share them on the project section or
tag me on social media. I really, really want to
see your beautiful works. It brings me so much
joy to see how you have added your personal touch
to the designs we explore. I hope you had as
much as fun creating these ornaments as I did guiding
you through the process. Thank you so much for joining
me on this festive journey. Don't forget to follow me for updates and more
creative adventures. Wishing you all a very happy, cozy, and joyful holiday season. Have a fantastic
time, and I will see you soon in another
exciting session. Take care and happy painting.
 Anu Varikattu, Artist l Gouache & Acrylic Instructor