Transcripts
1. Introduction: Hi, guys. Hello, everyone.
My name is Zina. I am freelance illustrator, and I have been
painting for 15 years. So I have a little
bit of experience of painting digitally and
in traditional way. And I'm obsessed with procret, magical themes, watercolor,
and cute stuff. And during my classes, I constantly share the knowledge that I have about Procrit. I show how to create lovely watercolor
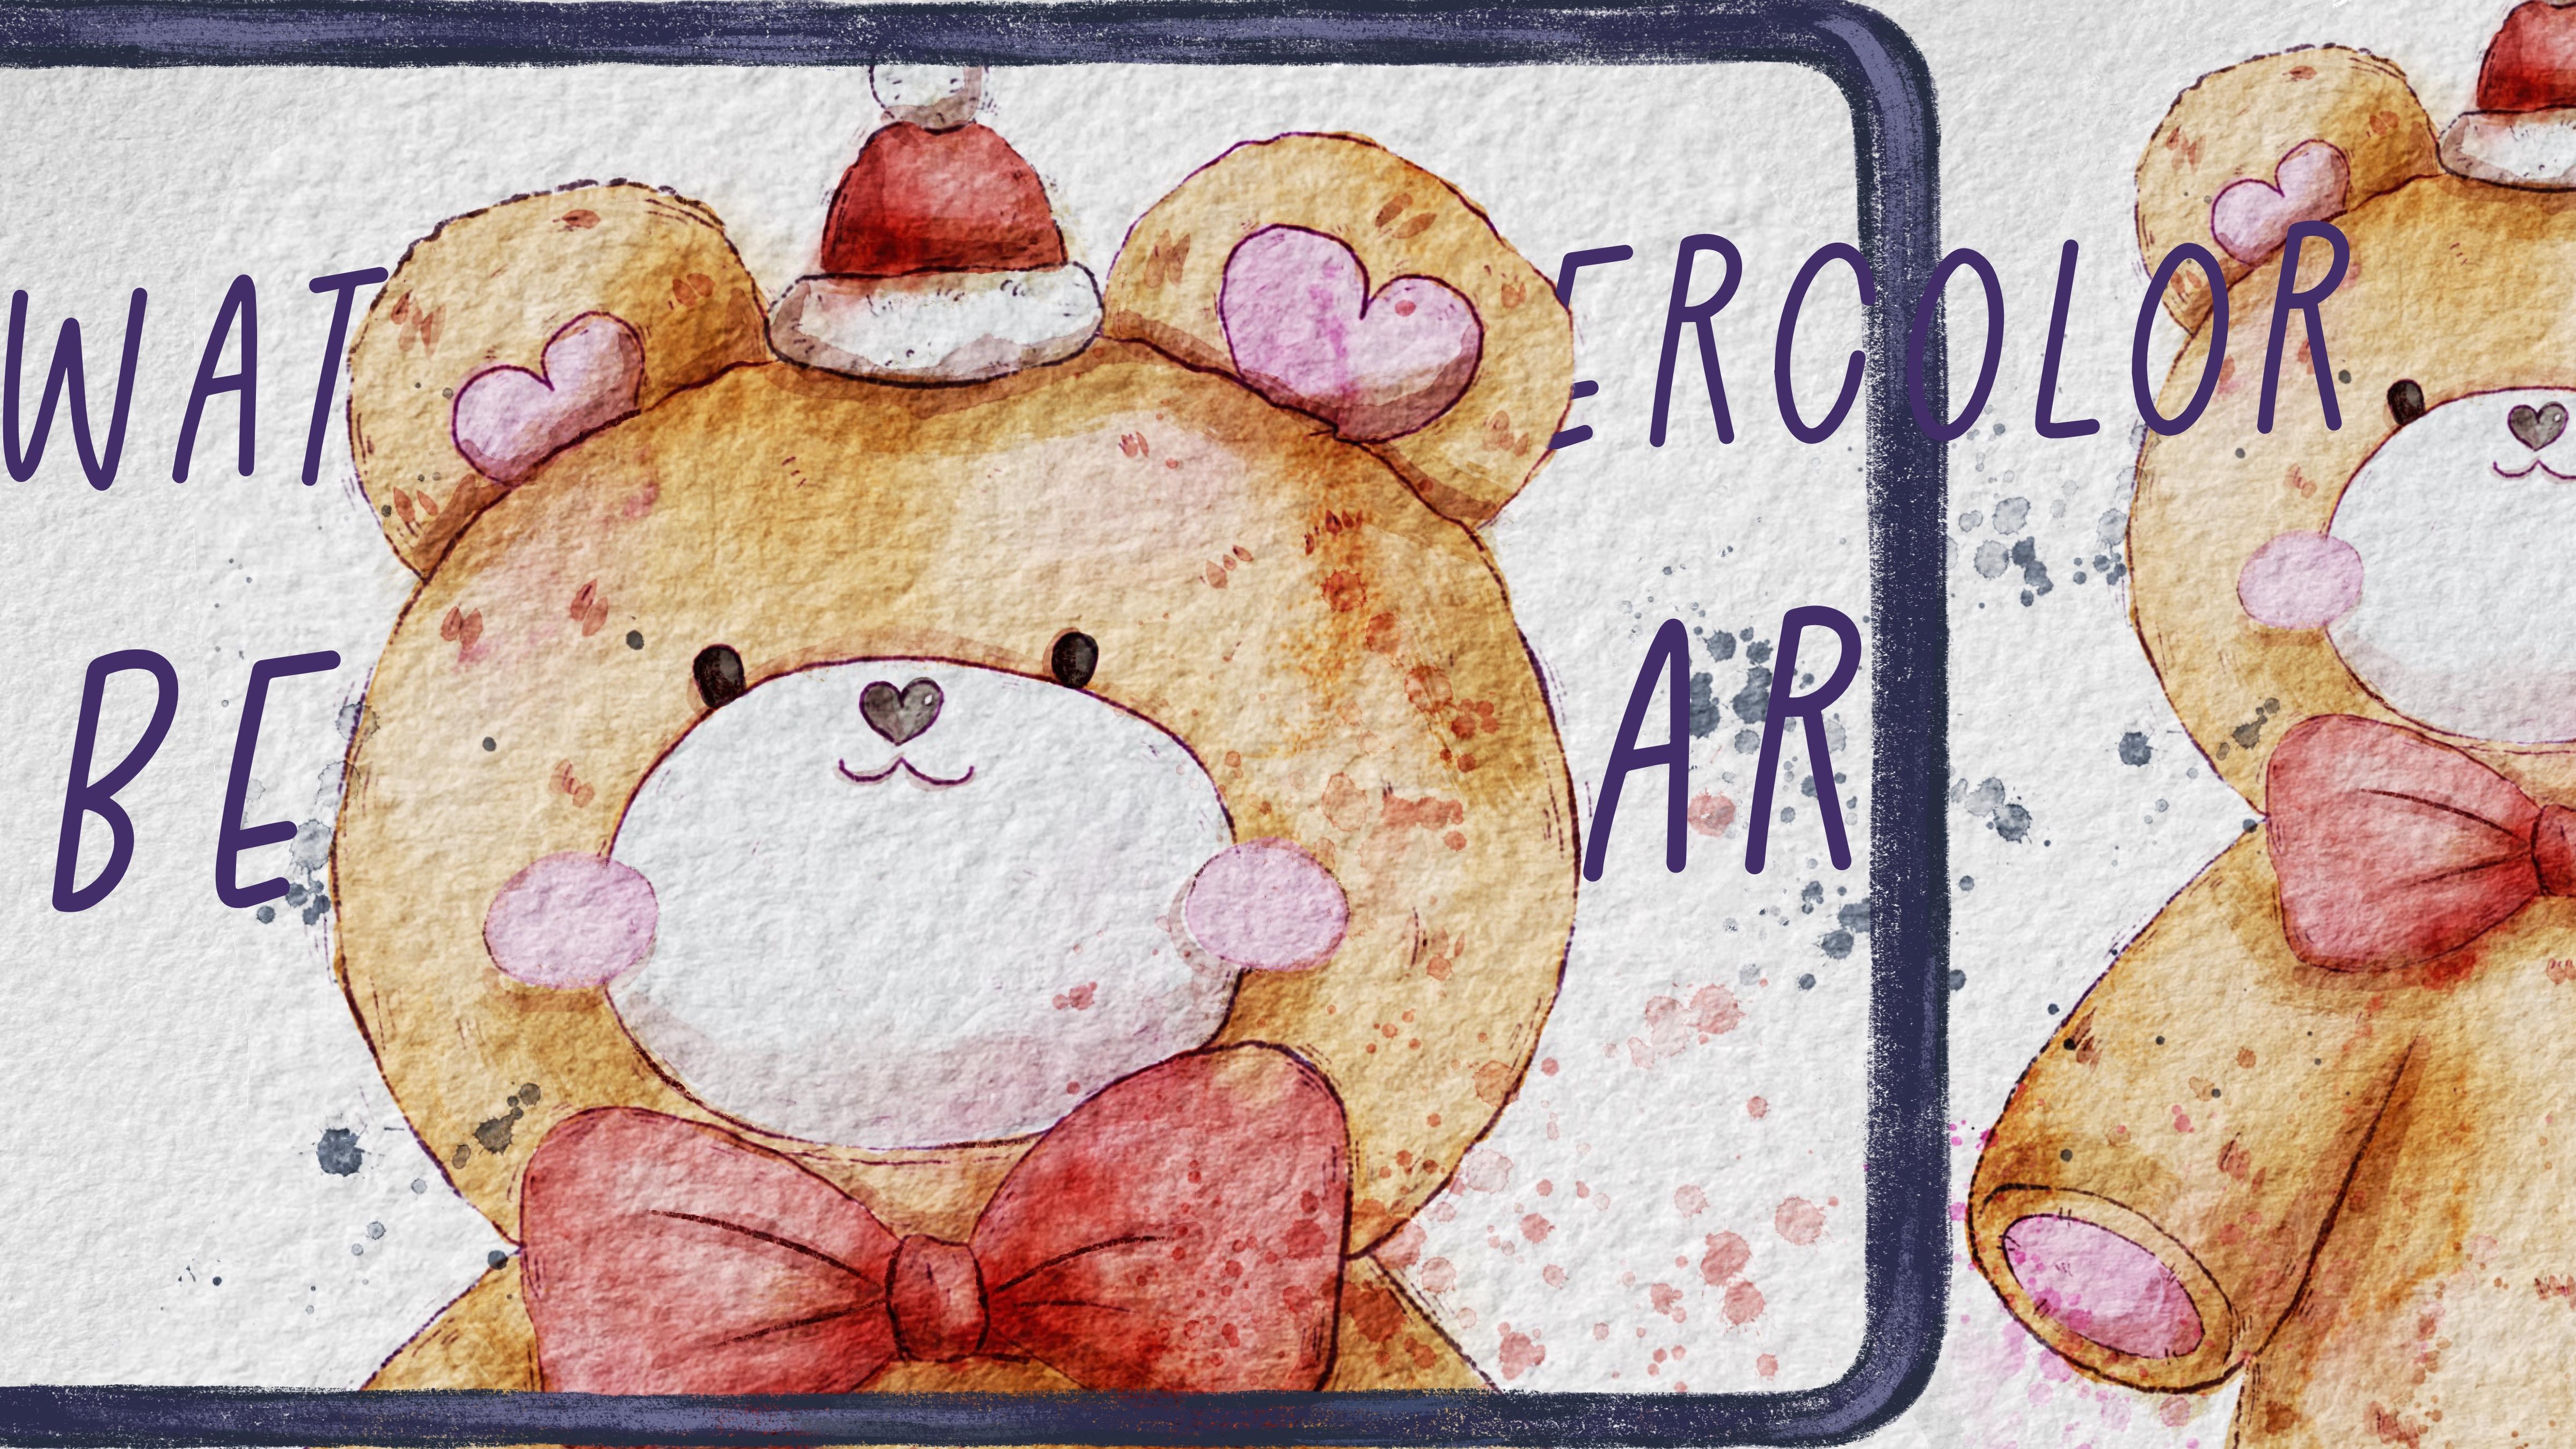
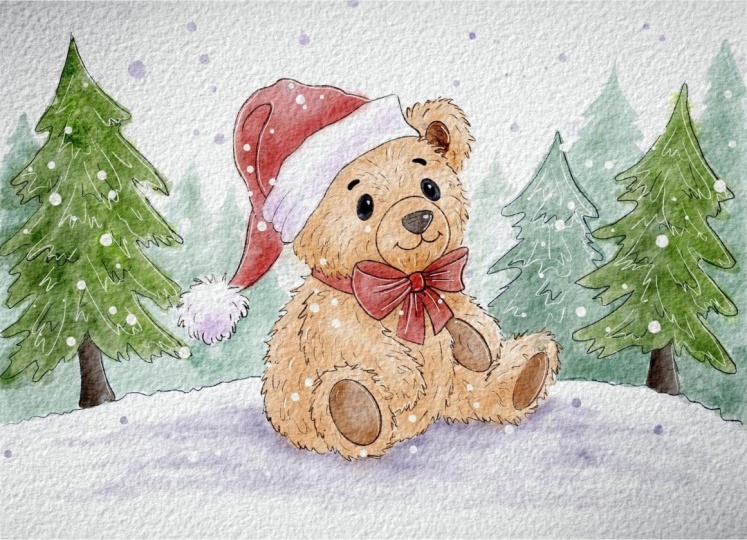
illustrations digitally. So welcome back to my class. And let's dive into watercolor art and paint
cute bear digitally. I will show you the easiest
way how to do that, and I hope you will
enjoy my today's class. So it's almost Christmas. You can see it from my head, and I'll be thinking
about the topics that might be interesting for everyone from beginning
to some advanced artist, especially if you like
animals and cute art. So in my today's class, I try to combine those
two topics together. I decided not to create
something too difficult, so we will not spend a lot
of time of explanation, how to create bear.
No, we won't do that. We already have the sketch, but of course, feel free to use your own sketch
if you want to. We just want to learn how to create lovely watercolor
illustration digitally. So when someone will
look at your art, they will not see the difference
and they will question, is it really digital art? Because it looks so real. So if you are aiming
to get SOS results, my today's class is for you. At the end of my class, you will learn more
about the procreate, especially how to use
layers, clipping mask. We won't spend too much time
of creating texture paper. I already will add
it to the freebies. So what you need to do
is just download it and input into the
procreate and that's it. And I will show
you how to create volume and plor
variations to your art. And the most important,
I will show you how to create watercolor art of cute bear digitally using digital watercolor
brushes in a fun, fast and simple way. I will show you my whole process from the start till finish. So first of all, I will tell you where to find all the freebies. Then I will explain how to
import it into the procreate. Next step we'll start
adding colors like immediately without any
further preparations. So if you want to paint, my class is very much for you. So during today's class, we will not dive too deep in some complicated
explanations. Our aim is to have
fun and learn how to create watercolor
illustrations easily. So our today's bear will
help us with this task. And as a bonus, I will show
you my own custom brushes, already created texture paper, my color palette, my own
pictures that I created, feel free to use them
for your purposes. This class is great
for beginners, actually for anyone
who is interested in digital watercolor
art and cute bears. I think they are really cool. One more thing that I want
to mention your opinion and your feedback are
super important to me. So don't hesitate and tell
me what you think about my class in discussion
or review section. Of course, don't hesitate to share with me your own pictures. I will be glad to give
you my own opinion. My dear, art fellows, I can't wait to
start this class, and definitely I can't wait to see what you blow
to project section. Let's not wait, grab your
iPad with Apple pencil, and let's paint together.
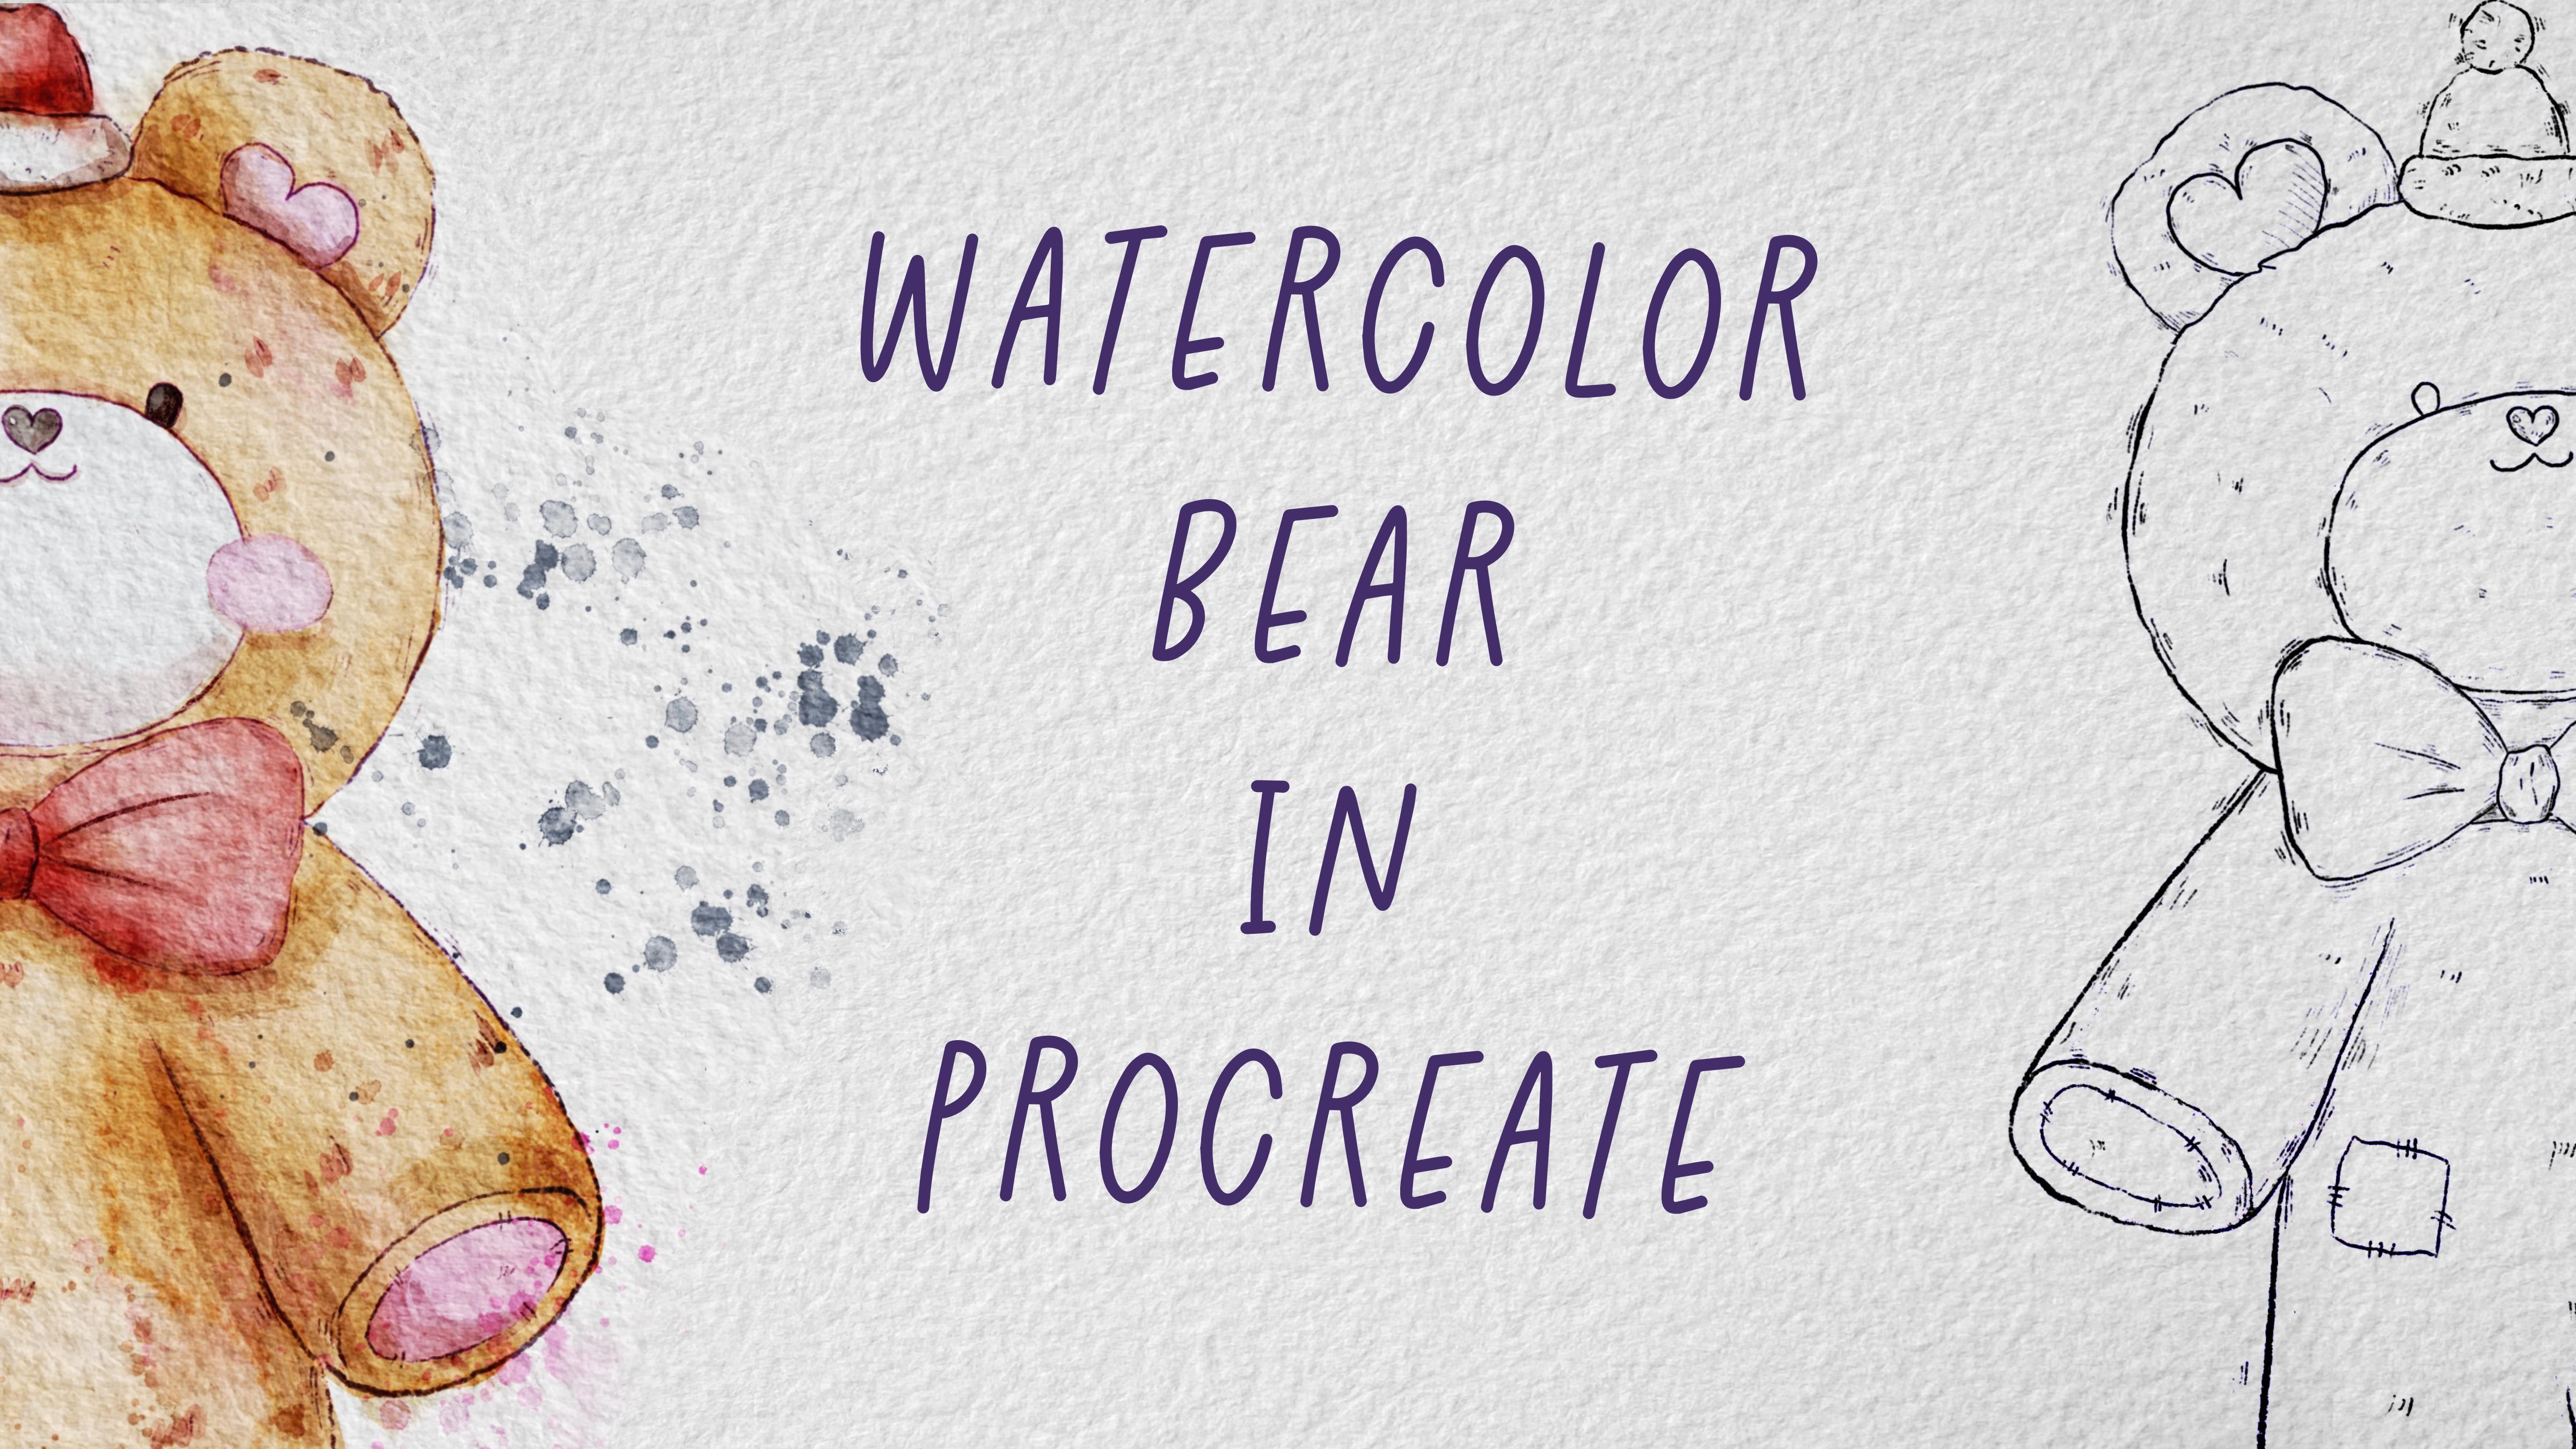
2. About Class Project: To your class project
will be next. Let's create cute
bear illustration in watercolor style
digitally in Procreate, feel free to use
procreate as I do. Or if you don't want, of course, you can use any other tools
that can help you to paint, or you can even use real
watercolor paper and paints. So the most important is to use the tips that I gave you
during my today's class. And again, if you don't
want to draw bear, it can be anything else, some other animals or even
human or maybe even an object. So what we need to do is to have fun during
our today's class.
3. About Freebies & Textured Paper: In this part of our class, I
will show you where to find freebies and how to import
them into the procreate. Like I said, I try to make our painting process
as easy as possible, so I already prepared
for your texture paper. So what you need is
just to import it into the procreate and paint
under the paper layer. Lovely it share community. I think we are ready
to get started. And once again, what I want
to tell you is that, Oh, class will be super short, and I will show you how to paint bear in watercolor style. So what technique I'm using, how to make our watercolor bear, like, really water color. So in this case, no one will see the
difference whether you are painting digitally or
with real watercolor media. So let's start. And
as you might see, before we start
painting process, let me show you where
to find freebies. And what are our freebies. So you need to open
my class in browser. It can be Home or Safari. Why browser? Because if you
do it at Skillshare app, my freebies might
not be visible. So you go to browser and then go to Project and
Resources section, and in the right corner under
the headline resources, you can find all the freebies. So you download them
and among the freebies, you will see Procreate format, file, and that's how
texture paper, this one. We can rename it and
write bear This one. You already have watercolor
texture paper here. You see paper is
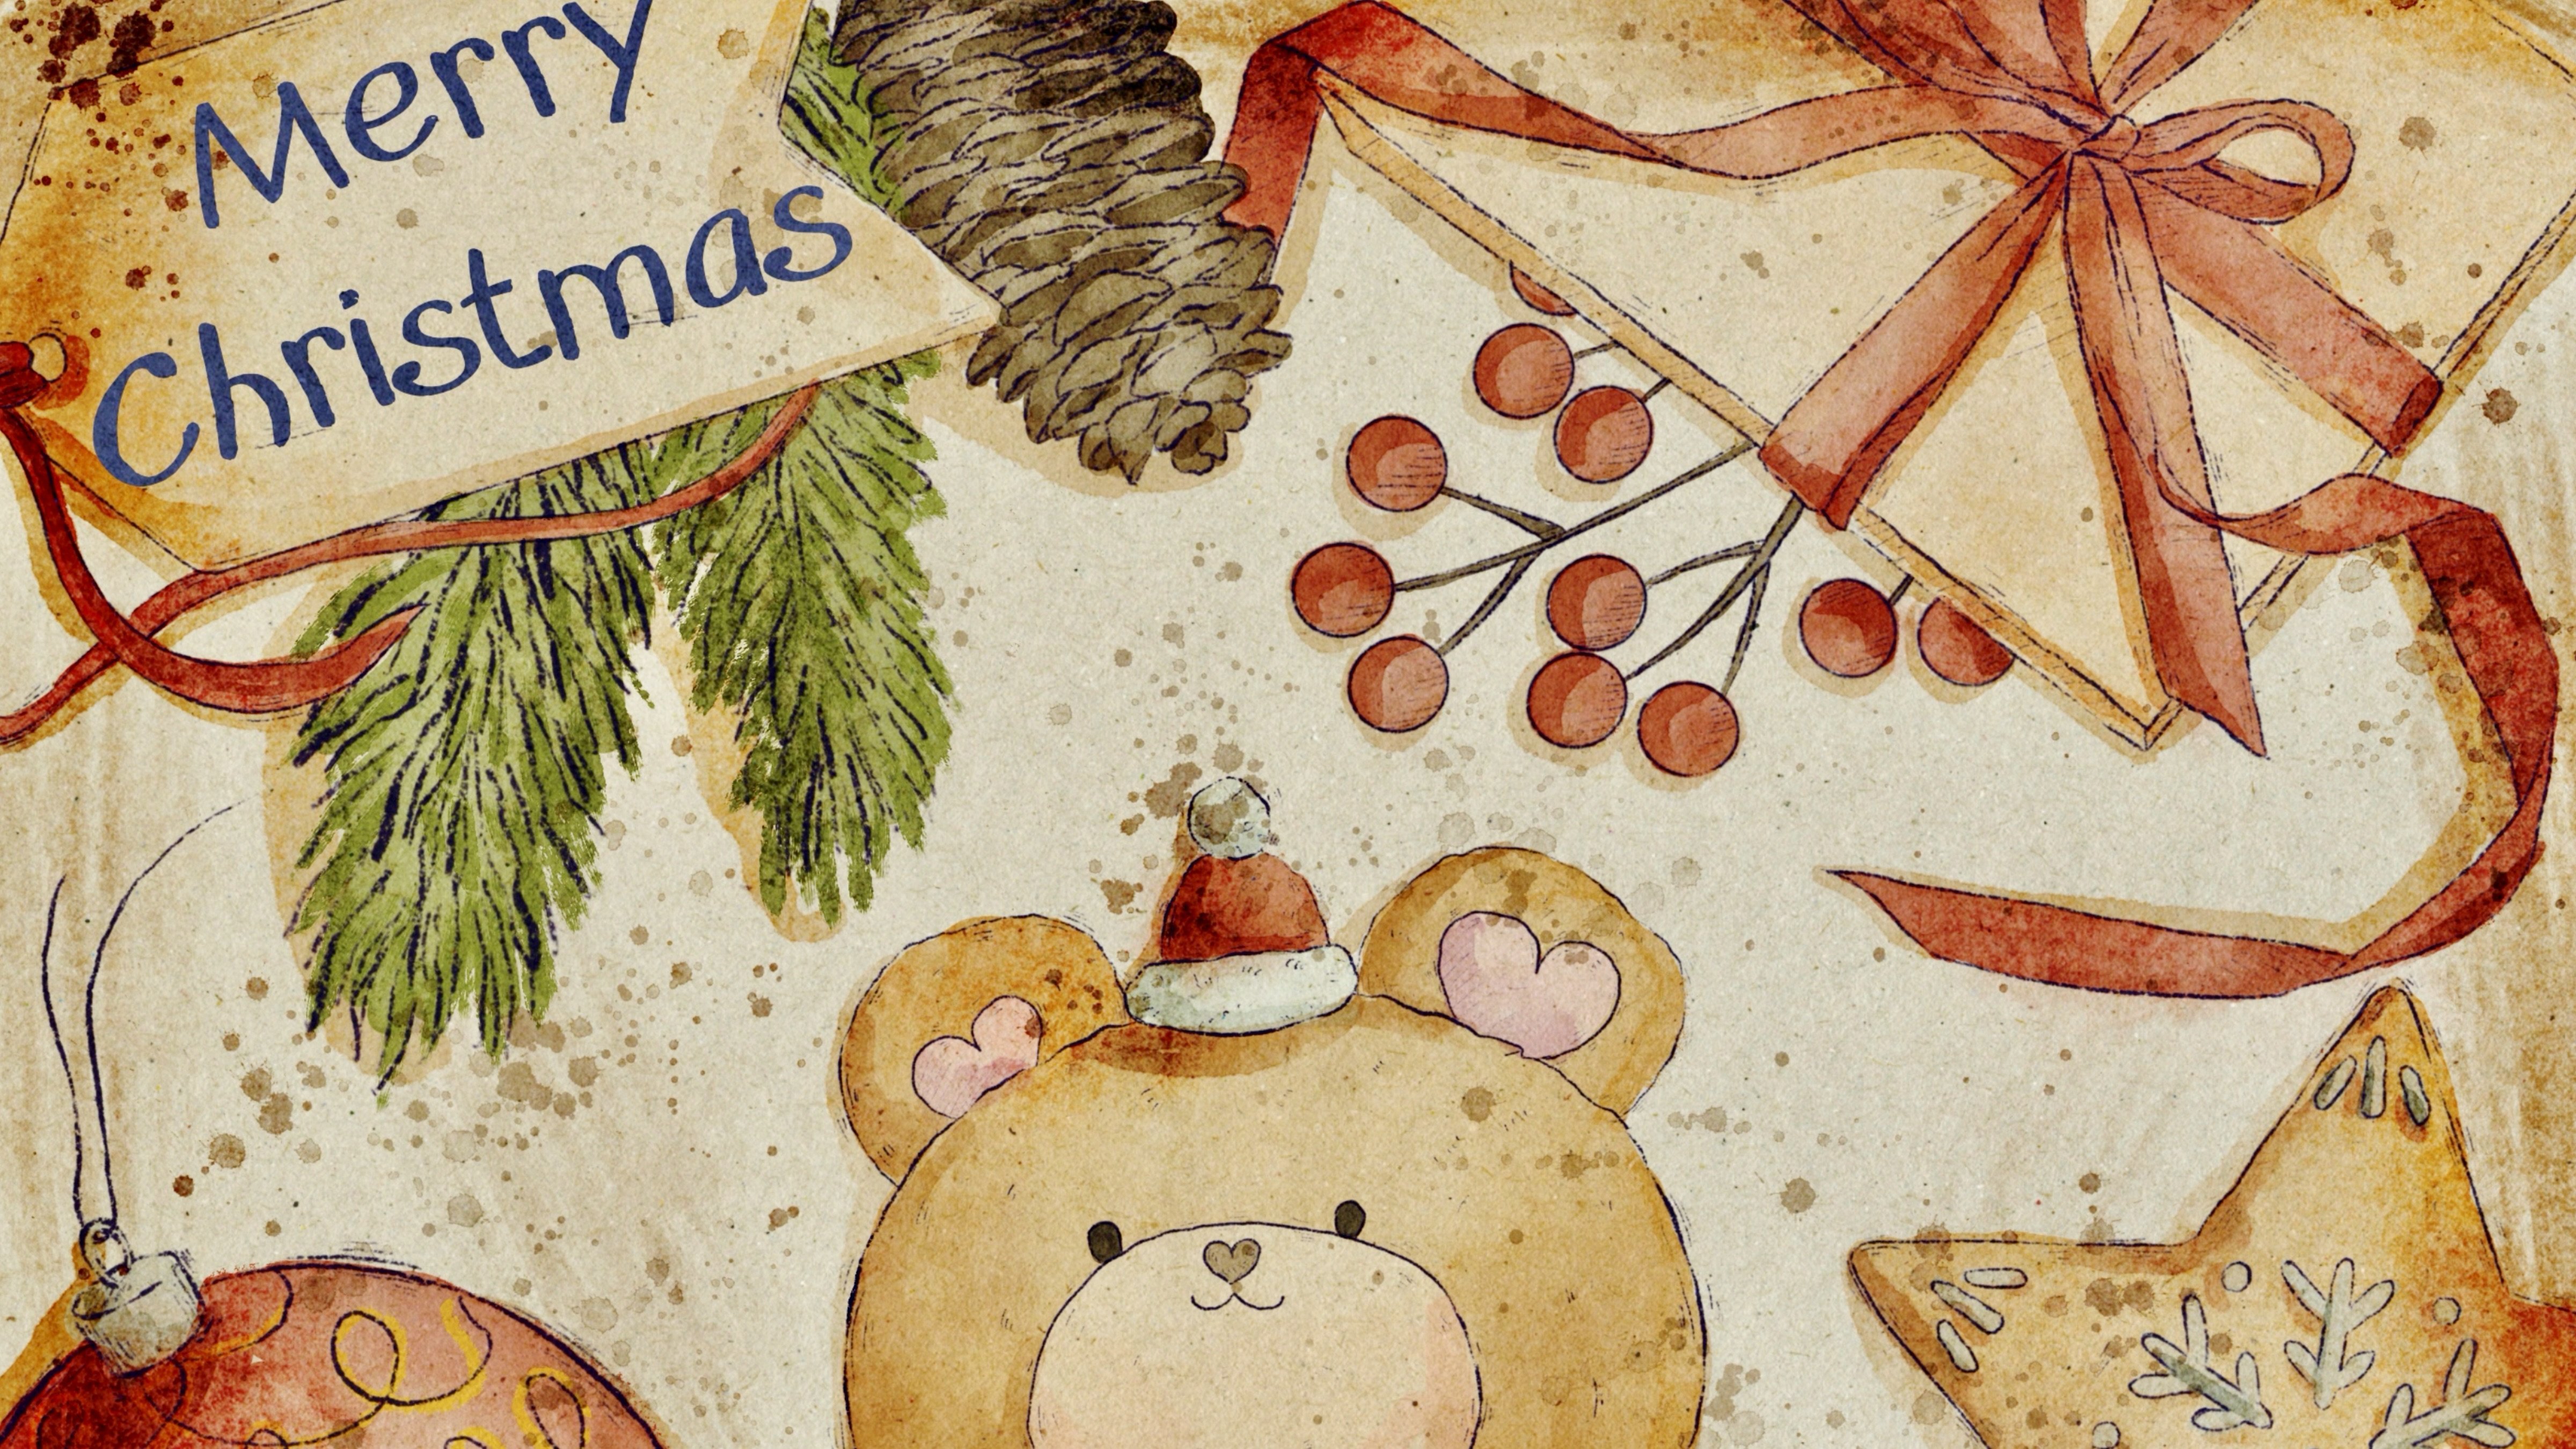
very watercolor. We have cute bears sketch, Christmas bears watches, and Christmas bear brush
set, this one. You just need to tap them and
then open with procreate. Just tap tab, then we
have share option here. You need to press it and here
we have procreate version. So you need to tap it and it will be imported
into the procreate. About the color palette. So when you import color
palette into the procreate, here you have the option
set as a default. So three dots in the
right corner and then you need to tap
set as a default. About the brushes, we have Christmas bear brush
set here like a set, and here we have native procreate
brush six B compressed. That one then we have
60 pencil brush, Blue oriental, dry brush, Blue opal, Blue, dark, watercolor edges, Blue
watercolor background, Bu lapis lazoly and natural
stains brush blenter. This brush you're going to
use as a blender brush. How to make this brush
work as a blender, we need to select it
as our main brush and then go to the blending
tool and own tap. And now we're going to use
this brush as blender. So then we can use six B pencil. We have Christmas bear as our main color
palette go to disc, and here we have Christmas bear. Then we will go to
dark blue color. And first thing that you can do, you can create your own
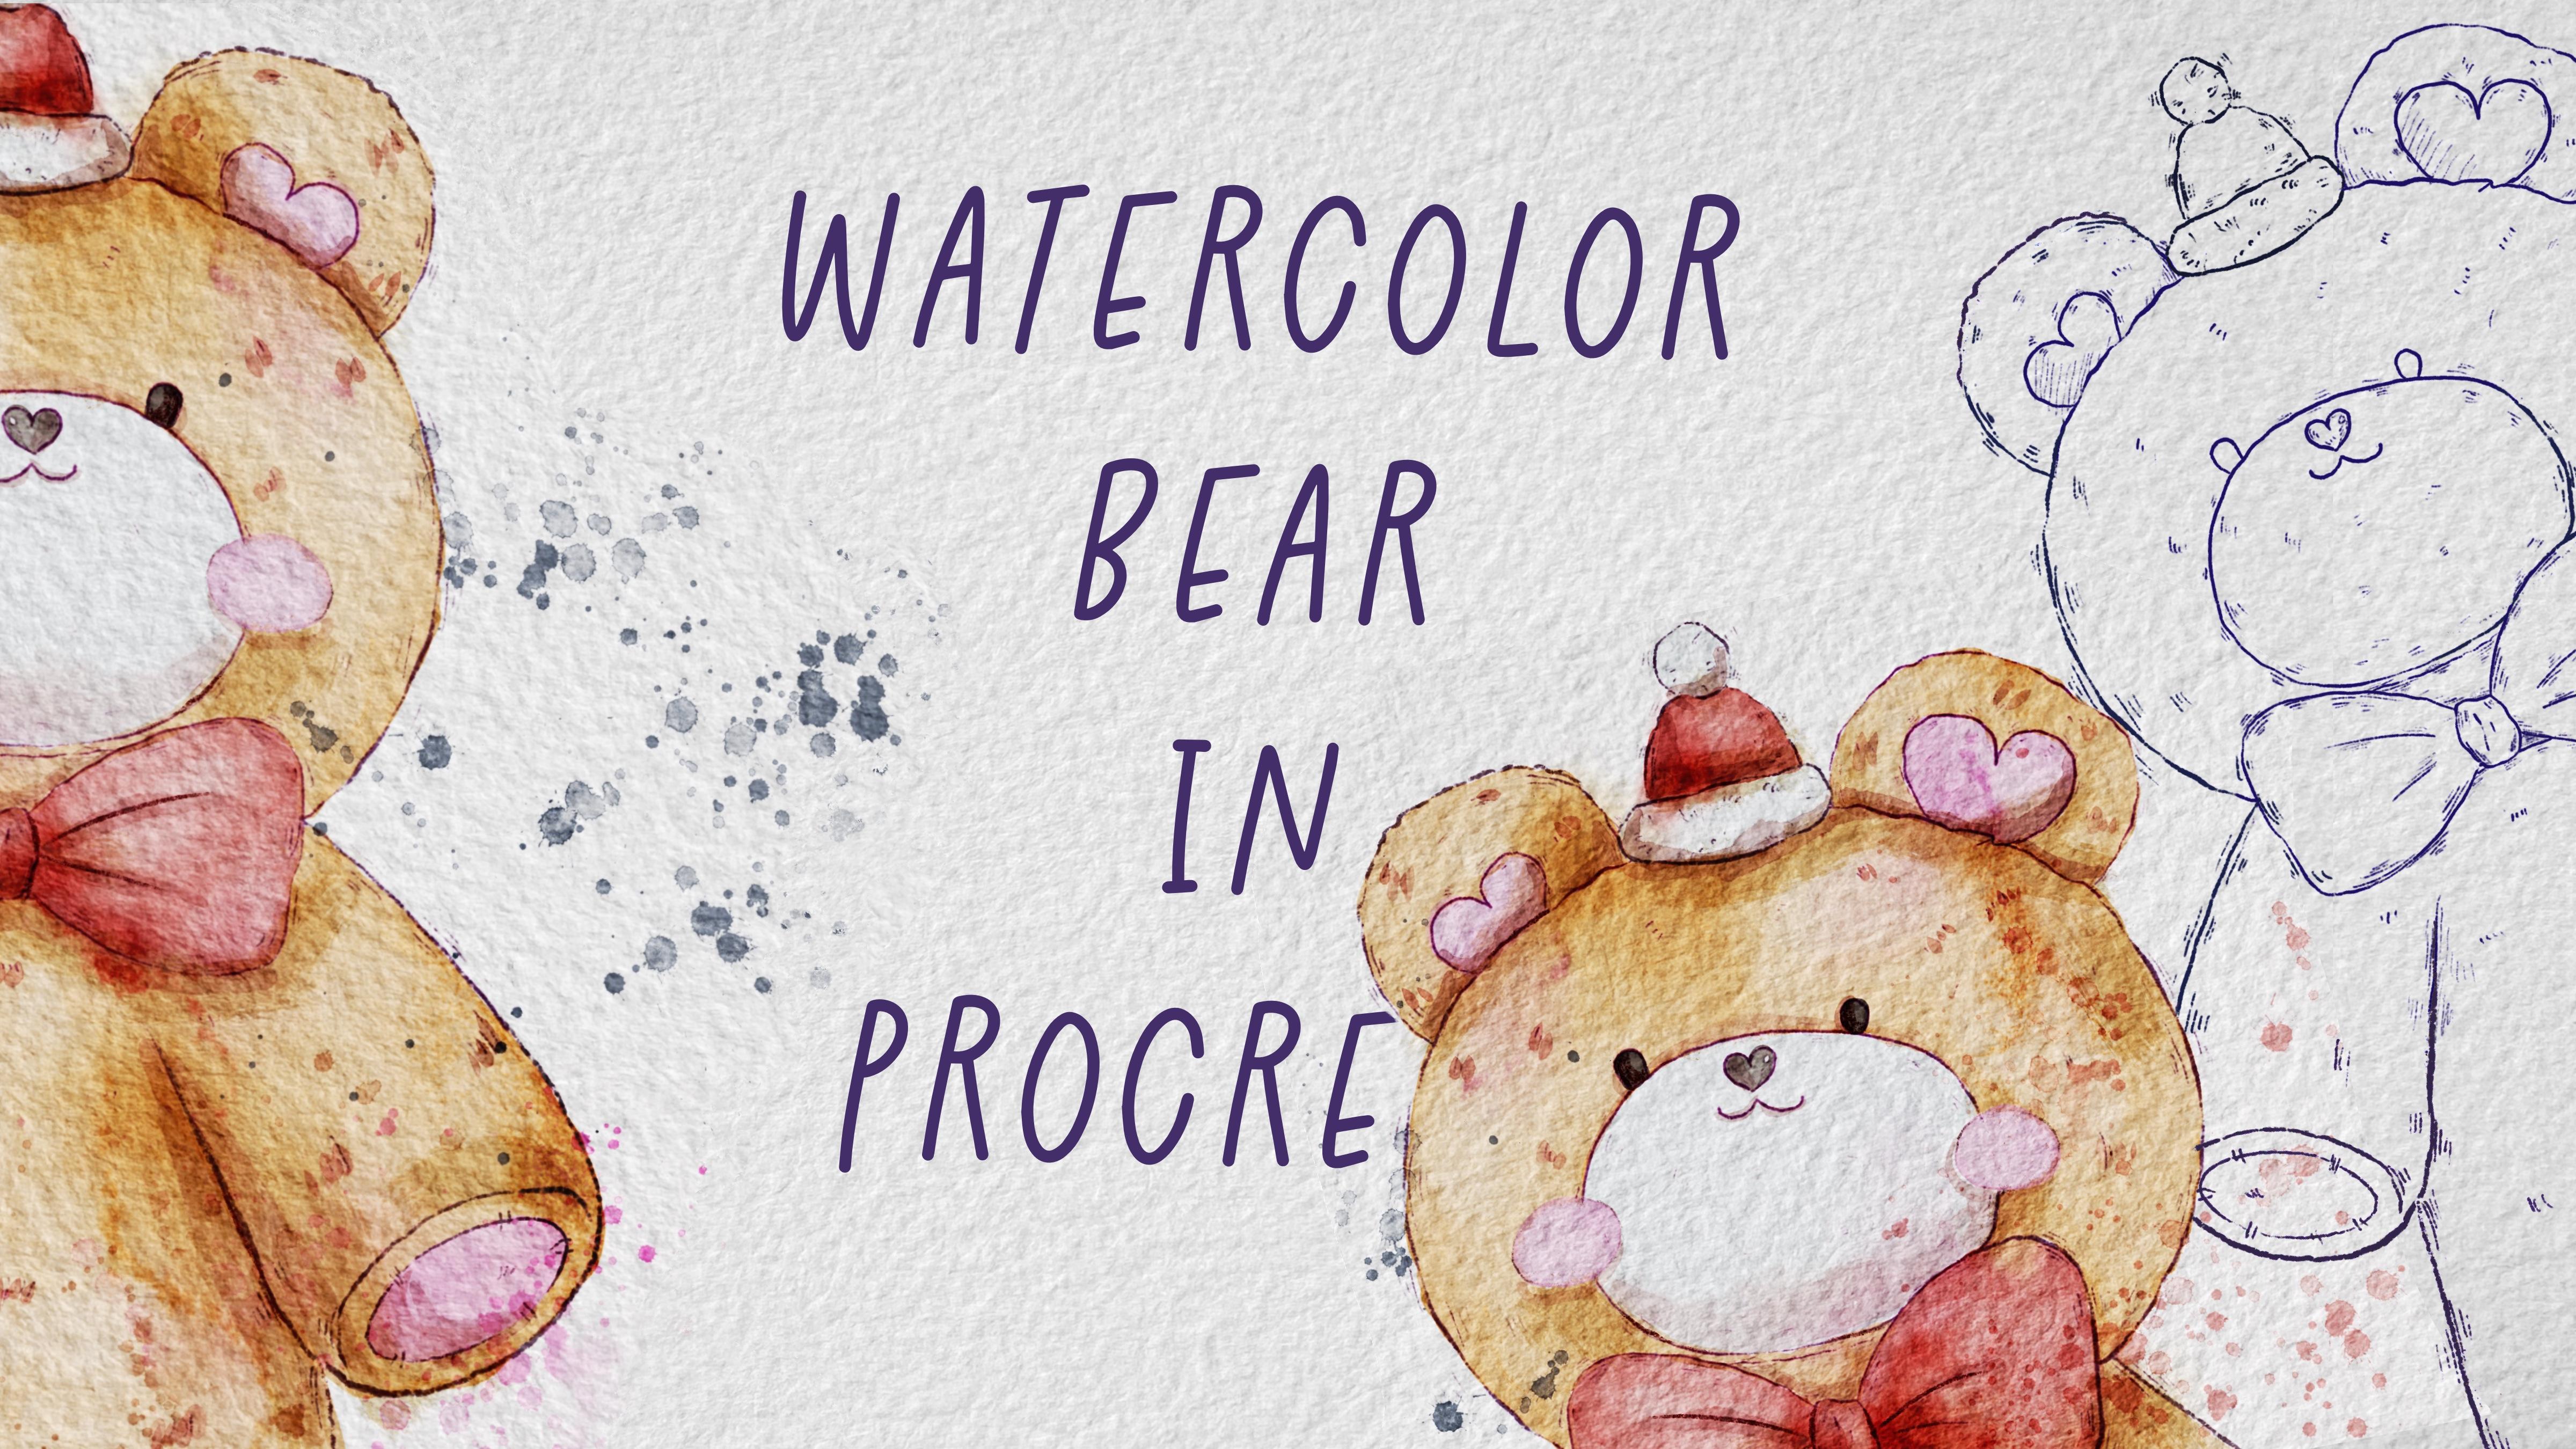
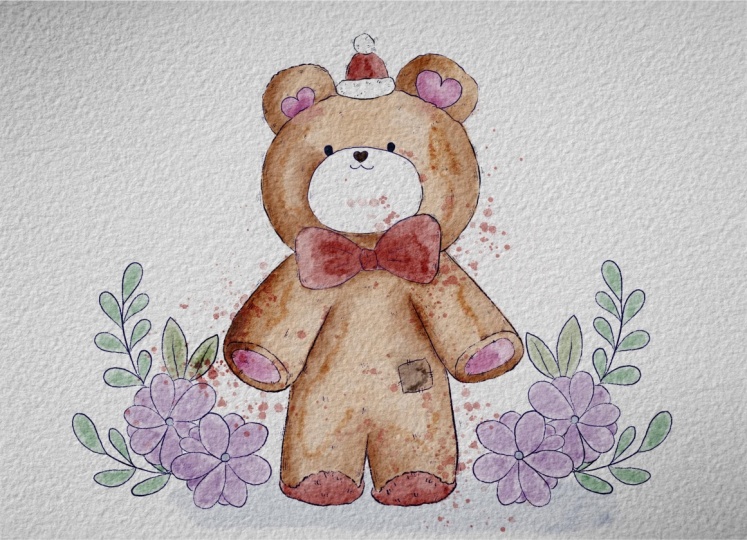
sketch or another thing, let's just importe
cute bear sketch. It's PNG file with
transparent background. So when we import, we don't have any other colors
except for our sketch. So if you want to consume
it a little bit like that, that's our bear, and I also added a little bit
of floral wreath. Let's just separate it
from our bear layer. Let's just go grab
selection tool free hand, select our flower. Then three fingers down, ting and press, cut and paste. Now our flalso new layer. Why? Because I'm going to use those flower as
a background elements. So here we have the
bear and I will just write bear sketch. Then here flowers. In my suggestion, you
can play with flowers. You can think where
you would like to place them because
I think they will be very nice
addition to our bear to create beautiful floral background composition
like this. You can create illustration,
something like that. Then you select
two flower layers and merge them together. Then go grab eraser and you
can just erase overlapping. Or we have another option. Let's go to the
selection tool again, grab free hand and then
just select the parts that are overlapping with
our lovely teddy bear. So we selected and
made a circle. Then again, what
we did previously, three fingers down, and then before we were
using cut and paste. But now we just need to use cut Just make sure that you don't have any
overlap and enter them. That's our background elements. But again, if you want, you can play around and create some other
floral composition. I was playing a little
bit with the flowers as a background and
another way, this one. Later, you will see which
style you like more.
4. Painting Process: In this part of the class, we're finally ready
to start painting. We're going to do
it in a few steps, and like I said, our first
step will be adding color. So let's not hesitate and start our painted
process together. Next step, we need to go to the blending layer mode and change it from
normal to multiply. Why I did it that way because when you use multiply
blending layer mode, when we paint on a layer, it seems like the
color bleeds into the paper and because we need to reach authentic watercolor look, that's why we need to change
blending layer mode too. Because in real watercolor, when we draw on a paper, it creates very good
feeling of blending. Okay, we have bear sketch. Then we have pain here layer, so we need to draw under
the bear sketch layer. And here I will
rename this layer, and I will write shades. And then let's go lower. And then I will add main color. Like that. And we're going to go
to paint here layer, all rename, and I will
write flower color. That will be for our
background color. When we decide to
add color to flower, we're going to use this layer. Now we need to go to main color. So are staying on a new layer. We need to go and select brush. Here my suggestion,
you have two options. You can grab Bu opal brush or Bu dark watercolor edges
brush as your main brush. Grab the almost orange
color, and here look, depending on style that
you like and you have, you can select different brush. This color is a little bit more opaque and it has
some water color shades. If you decide to use opal brush, this brush is lighter
and it's really a good base if you want
to add first basic layer, and second, if you want to
keep adding shades later. Like that. But I think I would like to go
with the first brush. It's totally okay if
one of the pes of bear is a little bit
darker and another is lighter because like I said, in watercolor, it's really
sometimes hard to control watercolor pigment and
some parts can be darker, some parts can be lighter. The first step is,
let's just fill our bare body with
some special color. If you have some overlapping,
it's not a big deal. Later, we can just
use blending brush. If you press harder, you will have darker shade. Try not to go beyond the line. God. Now let's add
color to bear head. Also, try not to lift your
Apple pencil from the screen. Otherwise, you will
have some overlappings. Be watercolor is
semi transparent. That's why you will see the
brush strokes very obviously. So if you have some
of the overlappings, you can erase it. This is the first option. Another option, you might
not remove the overlappings. It's also fine,
and later it will just add a little bit
messy watercolor filling. Here overlappings,
grab, blending two. Now I will lower the size
of the brush a little bit and add some color to years. Cool. Now, let me show you some magical tricks how to
add colors to our ears. You see the heart shaped
and another way how to change this part
of teddy bear pose. So we have two
different techniques. First one is pretty simple, which is change the color, and I will go with a pink color. So I carefully fill this area with another color,
another shade. Okay, let's do same here. Sometimes overlapping
actually can help you to get a little bit more
authentic what color look. This is the first option
what you can do with ears. Another one, you can go
to the selection tool, grab free hand tool, and follow the sketching
lines carefully. You selected this circle
and then press at. Let's go to the second pole and let's select second circle here. Also press at. Then those two
circles are selected. The next thing that we need to go is to go to adjustments, press hue saturation
and brightness. Here my suggestion, increase
the brightness a little bit. Also, you can increase
the saturation. You see the color is already different and try to switch
to the colors that you like. Again, because I have watercolor
ears with pink color, I want to have the same
color for teddy bears. Pose two. Maybe it's a
little bit too bright, so I will lower the
shades a little bit, and I desaturated some part. Thing. So here are those two ways
how you can color just by using another color and
by using selection tool. Then let's paint
this lovely ribbon. And here we can go
with red color. If you want, you can add
color on a new layer. You might do it in case if
you want in the future, change the color of ribbon, or maybe use clipping mask or alpha lock and you don't want
to affect Teddy bear's fur. But in today's class, I don't want to dive too deep, so I will just show you pretty basic and simple
watercolor techniques that will help you to
reach watercolor look without too much effort. That's why I will paint everything just on
the same layer. So carefully, don't go
beyond the lines. Thing. And still, if you go beyond
the line, it's fine. We have blending tool. If you press harder
with this brush, you will have more
transparent look, you see. Thing Blend this part. Blend this part. And here. Just tiny bit, so I just want this pink pigment go to
the teddy bear's fur. I think it will look
very realistic. Tinting, ding, here you
see we have overlapping. Dinging control the blending. The size of blending brush. Like that. And if you want, you can
just go a little bit, push the fur color a
little bit to the ribbon. Also, it will create very
realistic look like that. You see? The color is a
little bit more brownish. Next, we have teddy bear's head, and let's just make it red. What about this
part? Brown color, maybe a little bit brighter. Slippers and about the
color of the heat, I think it will be almost white. If you want, you
can make the color of the slippers pink too. Let's make nose brown. And this tiny dot, and eyes will be super dark. D that's our cute teddy bear. And the next step of our class will be adding colors to
the background flower.
5. Adding Colors to Background : As you T, I switch
blending layer mode of our flower
sketch to multiply, and then I'm on flower color. And here let's go to Blue
Opal brush and let's grab this pretty beautiful
light violet color. And here I will show
you one magic trick. What we need to do is just
to add color to one part of the background flower that really can help us
to save some time. And then let's go
with darker shade, maybe even bluish and paint
the heart with blue color. Then we will go with light
green color for these petals, not petals for the leaves. If you want, you can
even go to bluish shade. In this case, the warmth of the green color
will be different. This one is a little bit
to the colder tones. I think the illustration will
be even better in this way. Dad. As you might see, the texture paper is very water color because if you turn off our
paper layer group, you see, we will lose
this watercolor feeling. When we turn on, we see
that the paper actually bleeds into the color actually colorles into the
paper naturally. Now, about the magic
trick that I was talking, if we want to save some time and we don't want to
paint something here, we can just duplicate
this layer, then go to the
transform tool and flip horizontal and just try
to adjust our watercolor. To the sketching layer. We added color to our
background flowers. Then if you like everything, just merge together
our flower color. And my suggestion, let's just lower the
pasity a little bit. In this case, about teddy pair will be a little
bit more vibrant. Next part of the class we'll be adding shades and some texture.
6. Adding Shades & Texture: In this part of the class, we're going to add shades and highlights and a
little bit of texture. So like I said, it will
not take a lot of time, and if you are ready, let's
dive into painting process. Another steps that I
can suggest you to do. If you want, of course, let's go to six B compressed brush. They can grab this blue color, maybe a little bit
lighter and we are on a new layer that is
under all the layers, and we just need to do
something like that. I think that's cool.
Here, my suggestion, let's just erase
the overlapping. You can use the same
brush as eraser. Then you can go to distort
or free form tool. I think I will go
to free form tool. Same. Try to avoid
sharp edge lines. Avoid overlappings. And if you want to change the
color, you still can do it. First of all, we can go and play with
Bland in layer mode. Multiply looks
actually very good. What about difference? Looks
also pretty good. I like it. So I'm going to keep
the difference layer. And if you want, you can lower the opacity
slightly. Like that. So I'm going to
keep it that way. So the next step is, let's just go to
the shades layer and change plant and
layer mode multiply. My suggestion duplicate
it already two times. So go to the lower layer. And here we need to
change the brush. And my suggestion, go to
B watercolor background. So here, what you can do is let's go to a little
bit darker shade. You can adjust the
size and add in some areas you see
some of the blooms. And I would like to take
pink color and show, some of the color just bleeds
from the ear, for example, and maybe on the
teddy bear face, maybe here too, and
maybe some brown color. I will show some ink shade here from the florals,
from the background. Like that. What about red color? Add some reddish shade
to the ribbon and hat. Okay. So we've done
with this brush, but we have so many
other brushes. And here my suggestion. You can also use natural
stains brush blender, because you also can use
this brush as a brush, and you can just be
careful with the size. Maybe it can be a
little bit darker. And you see this brush
is very good if you want to show some bleeding
from the water like that. Try to experiment and
see what you would like to add like this. You see? For example, we have a lot of water
and when the water dries on a surface of the paper, where we have darker pigment
and where we had the water, we're going to have this gap, this brush can actually show
you this gap naturally. Or we can show the gap here. Like that. It's very useful tool. Another suggestion you can
grab oriental dry brush, and let's just duplicate
shade layer again. I don't want to
affect sauce layers. By the way, if you want
to exaggerate the colors, the shades or make them
a little bit brighter, you can go and
play with opacity. You can make it
darker by changing blending layer mode
from multiply to, for example, color burn
or even linear burn. Or another option, we can go to the adjustment press curse. And here, by using the curves, you can add more saturated
sheds or less saturated, play with the colors. Whatever would suit you,
I would keep it this way. Another suggestion, like I said, we need to create
one molaribve grab this a little bit
brownish shade, B oriental dry brush,
increase the size, and we can try to show
some dry brush strokes. Try to imitate this dry on dry or wet on dry
painting technique. And this technique
can help us to show the shade from the objects. What we need to know
about the shades. When two objects are
next to each other, we're going to have the
shade in this area. Don't worry now, you might think this is too dark, but it's okay. I will adjust the opacity later. Then when we've done
with everything, maybe here a little bit. And then you can go and lower up acity of
the shades like that. If you want, you can go to
hue saturation and brightness and just the color of the
shade make it brighter, lighter, more
saturated, or muted. If you still don't like
some of the areas, you can just erase. N. The last thing that
I want to tell you, because I want to
keep our teddy bear in the center of our attention. I want to make our background
color a little bit lighter. Let's go to our
color and then go to curves here you can actually
make it slightly lighter. You can saturate it or on the contrary desaturate
in this case, our background color, our flowers will not be in
the center of attention. Also, you can lower the
opacity of this sketch too. But also can help us to emphasize the importance
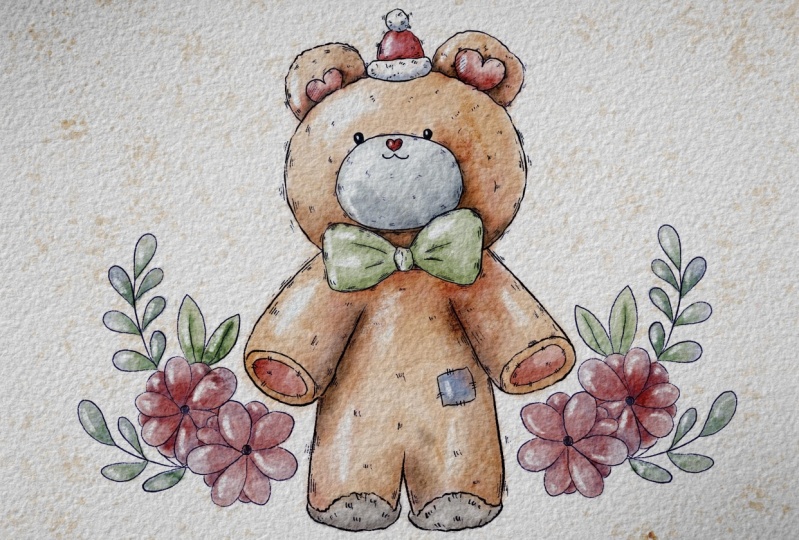
of our teddy pair. So like I said, last step, we'll go to last shade layer, and I would like to grab
let me think reddish color. Laps lously color,
and let's just add a little bit of the splatters
like Christmas styled ones. This is the end
of today's class, and I hope you enjoyed our
painting process a lot and you'll learn some information about the procreate,
its main features. You learn how to use
layers, clipping mask, and now you're
more familiar with watercolor painting
process in procreate. And like I said, the most
important is you learn how to create lovely watercolor
illustration digitally, and I hope your watercolor
bear is very cute. I will be glad to see all your paintings and you can leave them in project section, and I will be glad
to reply to you. Let's see Jazz in
next class. Bye bye.
 Inga Yoon, Digital illustrator and teacher