Transcripts
1. Introduction: Hello, everyone. My
name is Zim von. I'm an artist,
prudence Illustrator, and I'm obsessed with procreate, magical things, and cute stuff. And I like to paint
in procreate, and I like watercolor. I'm trying to combine watercolor
and procreate together. And my today's class
is pretty special. I decided to record a short
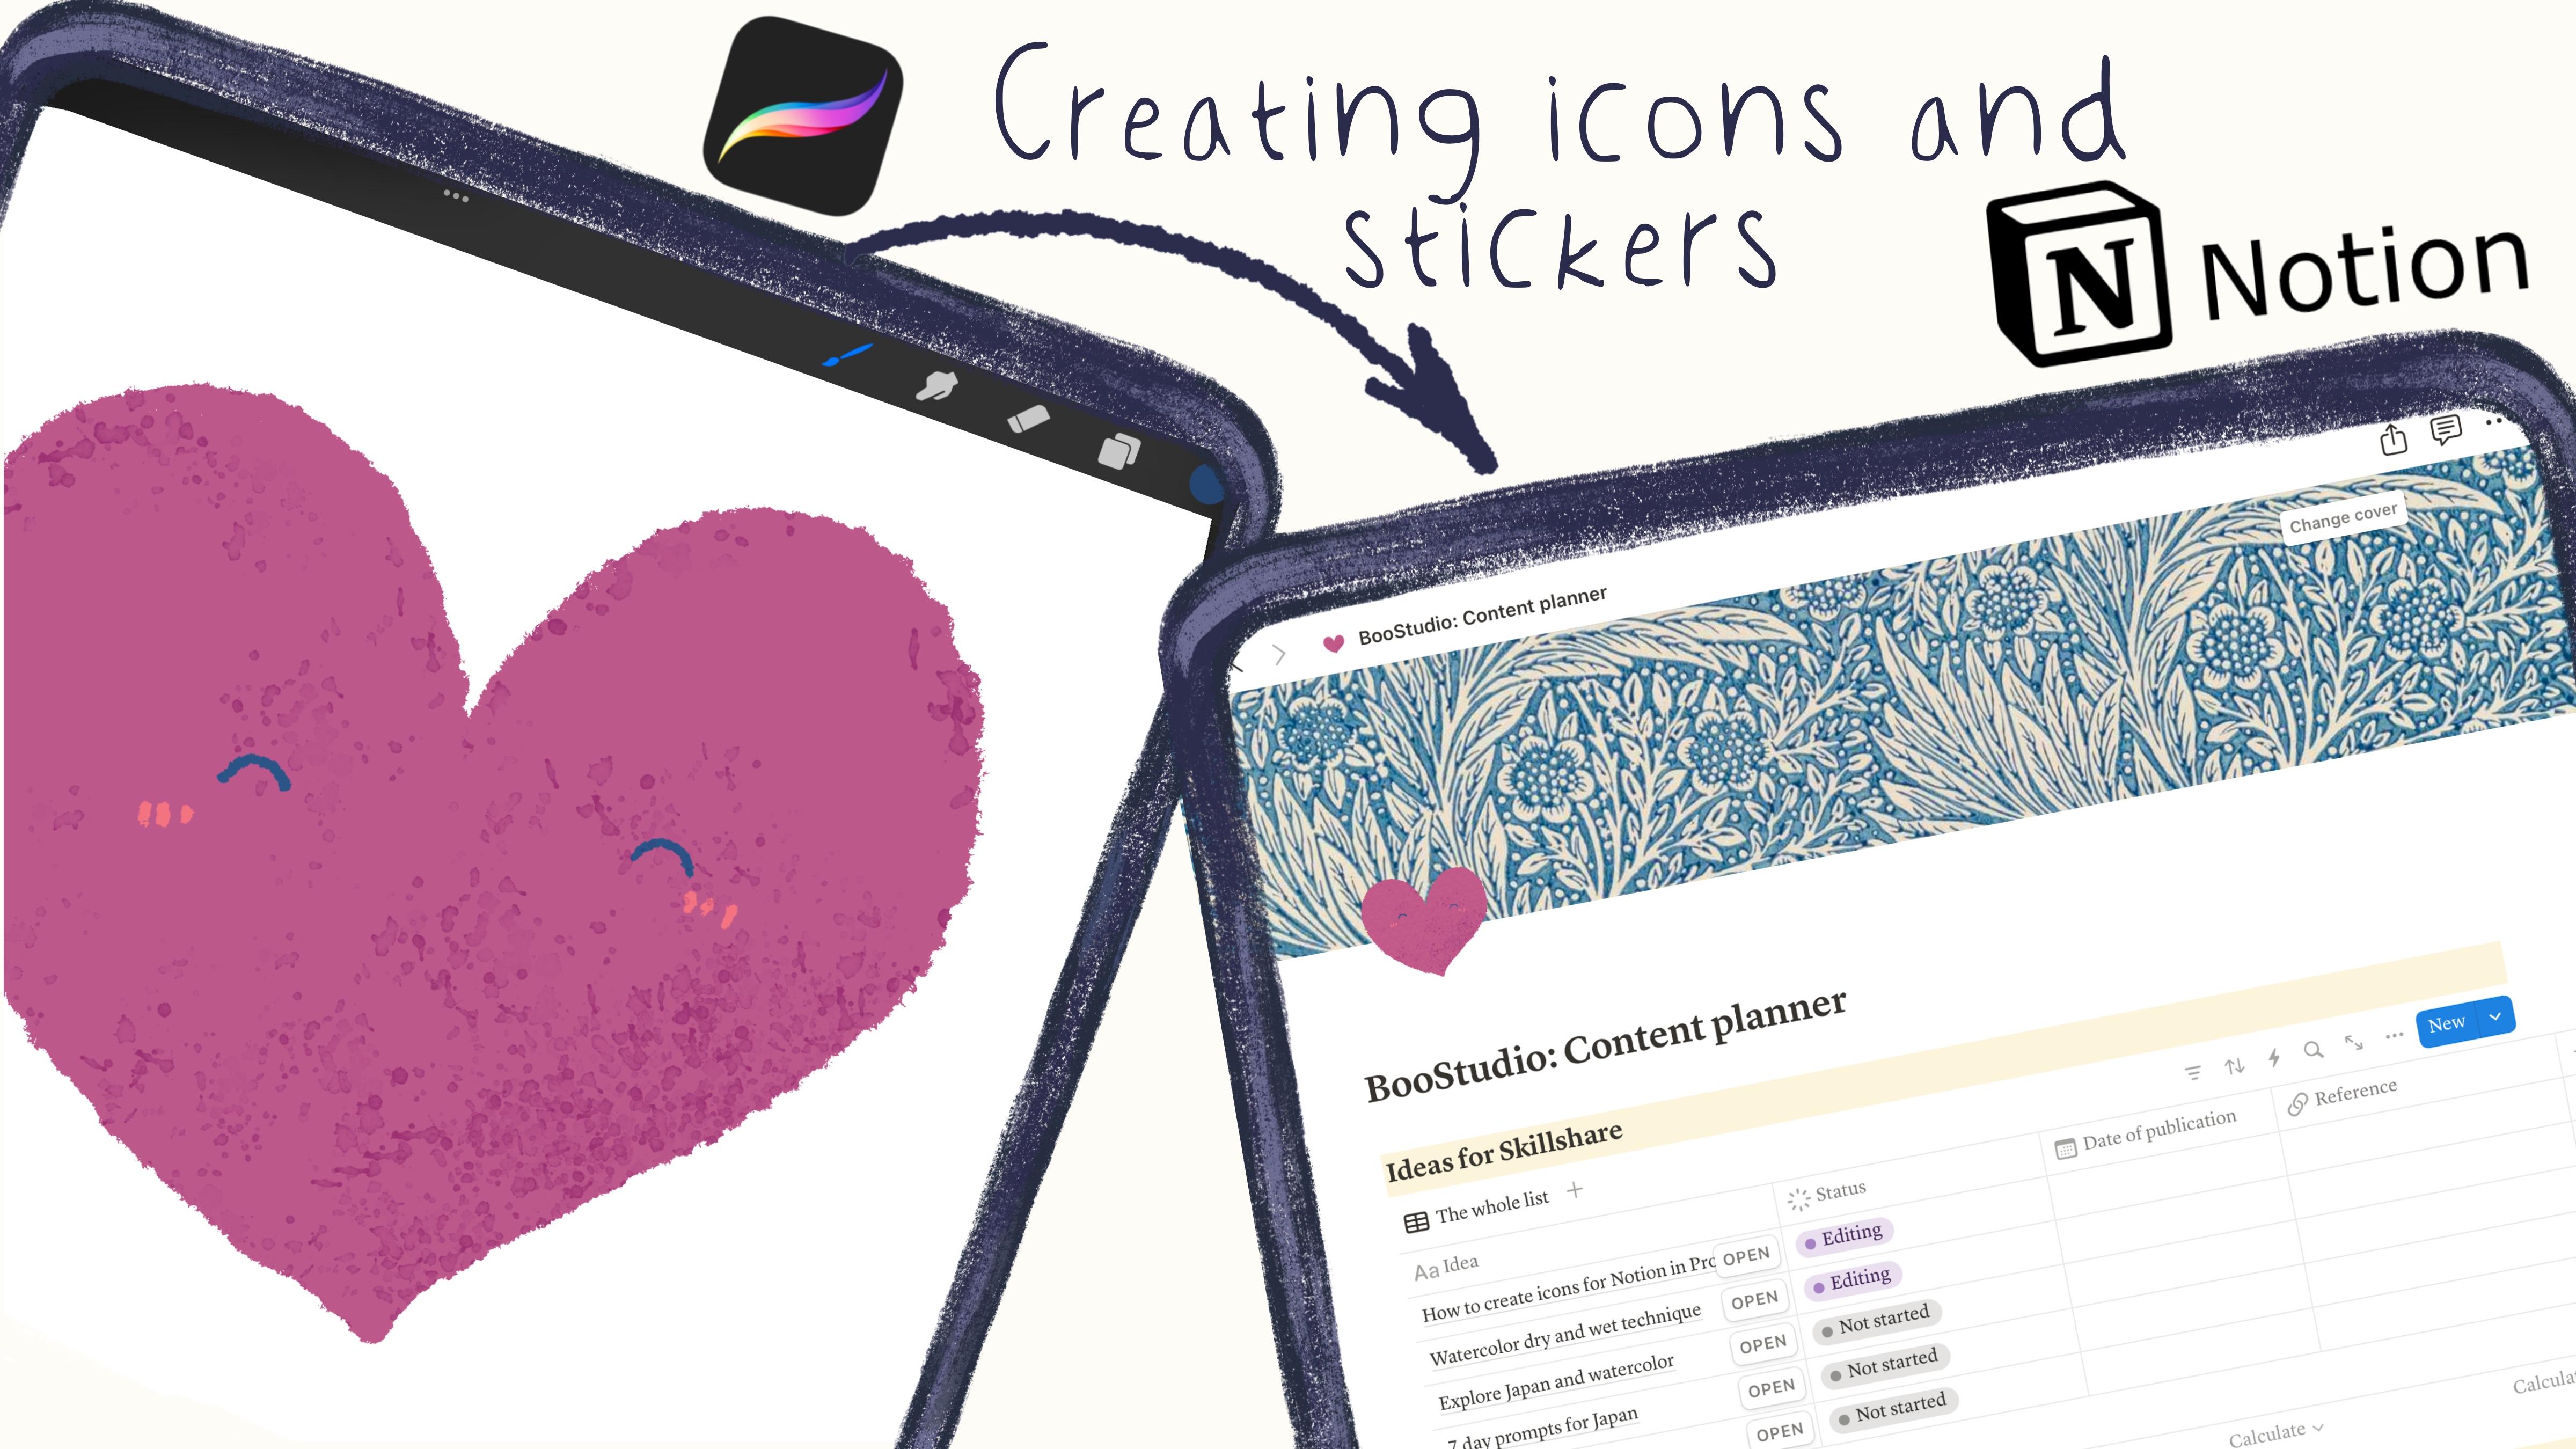
class where I'm going to tell you how to create stickers in Procreate and use
them in Notion app. So welcome back to my class, and let's dive into Procreate
and Notion together. First of all, I will
show you how to get ready for the
painting process. After that, we're
going to create canvas and we will be ready
for painting process, adding color shades and
highlights to our lovely art. We will create pingi stickers
and then move it to gif. Our second illustration
will be in motion. After that, we will transfer all our stickers to Notion app, and as final touch, I will show you how to transfer your traditional painting into digital and make a
notion icon from it as. As a bonus, I will share
with you my color palette, my own brush sets
that I created. Feel free to use it for
your own painting purposes, or if you want, you can use procreate brushes or
your own brushes. Guys, this class is great
for intermediate level. As can be useful for beginners, if you have some basic
understanding of procreate tools and if
you like Notion app. My dear art fellows, about today's final project,
it will be the same. Try to create one
or two stickers and then transfer it into
Notion or Good Notes app. Or if you don't want to transfer it to some
other apps, it's fine. Let's just paint
together in Procreate. And one more thing that
I want to mention, your opinion and your feedback
are very important to me. So feel free to tell me
what you think about my class in discussion
or review section, and I will be glad
to reply to you. So let's not hesitate
if you are ready, grab your iVad, Apple pencil, and let's paint all together.
2. Let’s Start: Hello, my lovely
Skillshare community. Mis class is pretty special
because it's a short class, and I decided to share with you some tricks that I
learned recently, and maybe it will be
useful for you, too. I decided to structure my life, and I dived into the Notion
app, and I really like it. And what I discovered is
that when we create page, and then we can add an icon. And as for me, we
have some stickers. We also have some icons
like black and white icons. They can be colorful,
but still and I realize it's a little
bit boring for me, so I wanted to add
my personal touch. So in this case, I would think maybe I can create my own icons and use
them in Notion app, and it really worked. We have the third part,
which is upload button here. We're going to talk about
that a little bit later, but thanks to this third option, we can create our own icons, our own stickers and transfer
them into the Notion app. And as you see, I already
customized some of my pages, and I used my own logo here. And also, I was trying to add
some of the lovely flowers. Also, I paint some clock. That's what we're
gonna paint today. I think it looks better when I edit something that
I created by myself. For those people
who I use notion, who wanted to make it a
little bit more personal, I think my today's
class is for you.
3. Procreate: Creating Stickers: So, first of all, before we
start our painting process, of course, we need
to create a canvas. And here we need to
go to Procreate, then we need to tap Plus button, and then we can just
select square option. This we will not use texture paper as what we
usually do because again, this is pretty
short class and we will not paint in
watercolor style. I'm going to use some ink
brushes for out days class, a little bit of
watercolor splatters to add some lovely feeling. And if you need it
also can use pencil. But I will start with
Purani inker brush. Next, we're going to create lovely stickers and then we're
going to turn into icon. And the second
part of the class, I will show you how
to create gift, how to create animated sticker, and also you can also add
it to the Notion app. You can follow my steps and
create the same stickers that I'm going to create or you can create something
totally different. It's up to you. The most important is to
understand the process of creating stickers and then
using them as icons in notion. And that will be
our final project. Let's create some sticker and then turn it into
the icon in notion. Or if you don't use notion, you also can use good
notes if you use this app, and in good notes, you actually can use those
stickers as stickers. You also can use
stickers in notion, too, but I think it's a
little bit hard to put them to some specific location and it's hard to
adjust the size, so I decided to use
it as just icons. But of course, I will show you later how to use it
as a sticker as well. So we have this
rectangle shaped canvas. The next step is we have
our lovely color palette. It's not a big one, like I said, because we will not use too many colors and we will
not add too many details. For icons, it should be
as simple as possible. Next thing, we need to tap
twice and get white color. And then let's turn off
background color like that. And the next step, again, you can use Burani inner for small details and Buron
inner big for big details. It's so hard to see where
I am right now here. First, what I'm going
to draw is clock. Something like that. Then you need to create one more layer. First, we're going to
write like background. And here we will
have our main layer. So main color, for example. Then we'll go to
yellow color and say I'm still using Buron
in your big brush. Like that. Let's just
rotate it this way. Now let's go to the
background color. This one, and then let
me show you magic trick. Let's go to the adjustments
and press lik Wifi. Then we're going to increase
the size a little bit and we will push this white color to the edges of our yellow
outline. Like that. That's why I painted
on different layers. Let's come back to main color. And then let me think I'm going
to use a dark blue color, and I will go with Buron inker. And in the middle, I'm gonna drop a button Lexis and thin, thin, thin and thin. That's my little
bit smaller lions. Oh. And then let's create one
layer in between for arrows. Then I'm going to go with this lovely beige color beige pinky beige
color Bur crypto, show some arrows maybe
here. Thank you. Why we painted on a new layer
under our main color layer? Because you see some of
the lines arrow lines, they should be underneath
of this main button. I don't want to have
those interference. L it. That's why I painted
on a ne layer. Then let's merge together
arrows and main color. Let's just write main
color layer again. Like this. If you
like everything, let's merge together main
color and background together. And then we have our
lovely first sticker. This is clock, and
let's save it. Once again, remember our
background is turned off, and then be caref while
saving that picture, it should be saved as PNG. In this case, we're going to save it with
transparent background, and then when we transfer
it to the notion, we will not have this white
background behind the clock. So now let's go to
Actions, Share, and then we have PNG option
and save it to the files. Clock, and then save.
4. Procreate: Creating GIF: Second step, let's turn
off our clock or name. And then let's create one
layer and write heart. You're going to
duplicate it a couple of times L six times would be fine. So hard one, hard two,
hard one, hard two, hard one, hard two, hard one, heard two. I think
it's enough for me. Let's just play.
Thing ting, ting. And it looks very good. If you want, we can turn on the background color for
now and turn off clock. Let's go to the heart layer. Now we will switch
to pink color, and we're going to have
Purani in car And, guys, in this part of the class, we're going to
create animated gif. So how to do that? First of all, we need to create a heart in a way, for
example, like that. Done. Okay. Next step. So what are we going to do next is go to the dark blue colour. Burn in small, and I'm
going to add some ice. Then we're going to have
the spright pink color. And let's create one
layer and write details. And I'm going to play
blush on a new layer. Okay, very well. So the next step, I will
duplicate heart layer twice and then lower the opacity of our first heard
layer, this one. I lower the opacity till 50. Then I go to the second one, the one that we created, and then I will lower
the size a little bit, make sure that you have uniform. I will lower the size. So because we made
the first layer a little bit transparent, thanks to that, we're going to see clearly what is going on. So now let's just try to put
the edges to the same line. Bikes. Okay, wonderful. Lower
heart is bigger. Let's just write
hard one, heart two. Hard. Let's case the size of
the first heart, this one. The next step that
we need to do, we have our details here. We also need to duplicate it. Now I want to lower
the opacity of the first blush and
then the second blush, we need to change
the orientation a little bit to
the left or right. Let's just tilt it. Let's go to the free hand and then select this blush part and then
rotate it till you see 3%, something like that,
just a little bit. Maybe five, three, 5%. I like it. Let's turn
off the selection. Let's turn on selection again and then select
another blush. Then let's go to the
arrow and also we need to rotate it till 5% to the right. First blush, we selected
and rotated to the left till percent five degrees. Then we turn off the selection and then turn on the
selection again and selected the second
blush and rotated it to the right side
also on five degrees. Then turn off selection. Now what we need to do is return the visibility
of the first blush. The difference is not that big. I can show you. But still, when we create an animated gif, it
will be visible. Now we're going to take
first detail and merge it together with our bigger hearts
this one. Merge together. Now let's go to the
second heart smaller one and let's merge it
together with another plush. Now we have two hearts
that are very similar. Now what we can do is, let's create one layer above, and I want to add
some splatters. In this case, let's press
clipping mask and change the blending layer mode to
multiply and write splatters. Same here. Let's go to
our smaller hearts, this one and rename
it to splatters. As we need to press clipping mask and
change it to multiply. Why it's important
because when we use clipping mask and when
we draw, let me show you. I go to this purplish color and then I go to Busalt brush. Then when I draw, you see, I don't go beyond the
lines like a little bit. If you want, you also can
play with opacity and see what blend and layer
mode you like most. Can be brighter lighter. I actually like darken more because it's not set by
brand. That's what I wanted. Now let's turn off
hard two and turn on hard one and choose
blendler mode to darken. Like that. Tiny bit. And now let's merge together
heart and splatters, first one, and then turn on hard two and merge together
with splatters layer. Now we have just hard one
and hard two layers turn on. Make sure that your
clock layer is off. Now let me show you
this magic trick. We're going to go
to action button, then we will go to Canvas, and then we need to go and
press animation assist. Now let's see what
we have. Play. You see, it's too fast. In this case, we need to go to settings and we have
frames per second. We can make three and you can choose with pin
bonk, one shot or loop. Two is too slow
for it's too fast, three is perfect, like that. Now heart is a little bit bigger and our splatters
are different, too. So another thing
is if you want to extend the duration of the gift, you can just duplicate
the layers one by one. So let's just duplicate hard and move it above
of the hard two. Duplicate hard two, and
move it above of heart one, above of heard two, and a hard two, above of
hard one. So make an order. You see, you can duplicate it like six times would be fine. So hard one, hard two,
hard one, hard two, hard one, hard two, hard one, heard two. I think
it's enough for me. Let's just play. Ting
ting ting, ting. And it looks very cute. Again, if you want
to save this gift with transparent background,
we need to do the same. Let's turn off our
background color. Then we need to go
to action button, press share and then
we have animated gif. Also you can save as MBG. But again, we can use
give option in notion. It's how we look like. Still here, you can make
some changes if you want. This is Max resolution. If you want, you can lower
the size of your sticker. But in this case, the collage also will be a little bit worse. Expert. Hard save. Part with procreate is done. Let's just move to notion L.
5. Notion: Creating Icon: Okay, so an ocean is
here, and my suggestion, what I would like you to do is let's just create one
more page. This one. Let's just remove the sticker. Now here you can
make some changes. You can add cover, for example, like maybe this
lovely beige color. Also, you can add comment, you can add some boards, you can add some calendars, whatever you want, some links. So what I want you to do
is just to add icon first. And here we have the
name of the whole page. It's called I Add I name
it as How to add icons. And here we need
to press at icon. Here we have so
many other options, MOG icons and the last one is upload is what
we need to use. And then you can
upload an image, and here you can use the
source where it's located. I save it to the Files app, so I will use Choose
Files option. And here we have some options. And let's go to our
clock first one. And here you have an
option how it will look like if it's dark
or light version. Obviously, mine is light now, and I will press
Save the didn't. Now let's just wait. Then you probably can see
it very clearly. So, and here we can
keep customizing. Or maybe you can write, like, for example, write tasks. Like my Sedro. And so on. Behold. And so. And keep creating Yo bore. Okay, another thing is, for example, my goals. In 2025 year. And now, for example, I want to
change it to animated gif. And let's do the same.
Let's go to applaud. Then let's go upload image, Choose File, and then
let's select Hart. Safe. And now let's
see how it will work. And you see it looks so pretty. Now it's animated, so
it will work like this. Even here you can see the
movement of the heart. And now, thanks to the
icons that you created, it can really help you to
make your page more personal. So, guys, I hope you enjoyed this short today's class and you learned the new way how to
create your own stickers, your own icons, and
transfer them to notion. Also can do the same with the good notes app and
use them as stickers. By the way, like I
promised to you, I will show you how to use those lovely stickers as actual stickers in
notion. Let me show you. Here I need to split the
screen into two parts, and you just need
to go and drag and drop it into the notion. Because of the size, it's a
little bit too big and that's what I didn't actually
like about it like that. But if you want, of course,
go ahead and do it.
6. Bonus: Traditional into Digital: Guys, this is a
bonus video where I want to show you
how I transferred, the seal here, like the physical stamp into the
digital one over there. What are the steps that I
followed in order to get it? If you have your own seal, if you have your own signature and you don't have
it in digital shape, I'll show you how to
actually make it digital. I have a big collection of
seals, let me show you. This is my first seal. This is my name written in
Chinese in ancient way. And this is another seal also. This is another way of writing. A very big collection. And my Chinese friend, Bess, she carved the
seals all by herself. Let me show you this one. This is how it looks
like over there. So here my name is
written in English. And because I like bamboo trees, she also carved bamboo
tree for me, too. And it's very beautiful, and it takes a lot
of time to carve it. And here, there are some
wishes called safe and Joy. This is also almost stems. So seals have very,
like, sacred meaning, and that's why I
decided to use them as my signature stems because I
think because I like Asia, and I think it really has
very deep meaning behind it. So one Mussin Okay. As you see, I have big
collection of seals over there, and let me show
you the way how to transfer them from real paper
version into digital one. For that, you also
need to have some ink. You have red ink over there. This is a seal that
you already saw, so maybe we can use another one. And then we need to
have some paper. What about here if
this paper is fine. Okay, let's use safe
and sound seal first. Now I will need to use some ink. And save it. Just wait. More ink. Like this,
okay, mo better. And this, you know, this old vintage wife. Maybe this seal. O there. This is the second one. And let's try the third one. And my last seal is over there. You see all of them, they have different shapes,
different meaning here. So this is the one
that you saw Notion. And the next step, if you have scanner, you
can just scan it. Simpler way is just
take photo like that. Just go ahead,
take any phone you have and take a
photo, like that. If you have iPhone, I will show you another way. So you need to go to nodes, and then you have this option and you need
to press scan documents. Then you position it
the way you like. And the easier thing, I like it. So when you scan it, it's already quality is
already so good. Then you just need to
go and press done. And then press safe. Now it's in your notes. Okay. When you are
happy with everything, just send it to iPad or
just wait a little bit, and through the icloud, it
will be just automatically saved to notes so you
can open it in iPad. Let's do it. Okay, as you see, I took two pictures
just in case. And now if you are
happy with everything, just zoom it a little bit. And the next time
that you can do is just take a screenshot. Likes it. And then transfer the screenshot
into the brokering. Select over the heart screen. Grid on there, and we
see in the photo, dm. Now let's decide which
stamp we're going to use. I already use this one.
So what about this stamp? I think it looks great. I just zoom it. As you see. The next step, what
you need to do is I need to go grab selection tool, select our seal, and then
write copy and paste. Next, let's just delete the rest and turn off
the background color. Now what we need to do is to remove this white
background over there. You can make the whole
seal transparent or keep this white color
inside, it's up to you. What I'm going to do is I
will go to the adjustments, and then I will go to curves. And I want to make it a little bit more vibrant, like this. Thanks to curves, I made
the colors more realistic. The next step, if
you like everything, let's turn off animation
Cs. We don't need it. We need to go to the
selection tool and press automatic and
tap on white color. Thing. And white
color is selected. We need to move three
fingers down and write cut. We also have this white
color over there, selection tool, tap again, three fingers down, cut. And now we have our stamp separately from the white
background, as you see. So if you want, you can change the color to anyone you like, and the stamp will
stay like that, and it looks just perfect. What I'm going to do
next is I will turn off the background
color again and I'm going to save it as PNG file. Action share, save PNG,
and I will write seal. You can have your signature so let's go to my goals where
we have our lovely heart, tap it, and then applaud, applaud image, choose file, and select our seal. And brass safe. This is our
seal it looks very beautiful. We have our heart, and
this is a way how we can transfer our paper version
seal into digital one. And let's teach as
the next class. Bye bye. This is the
end for O dates class, and I hope you enjoy
the short class, and you learned a lot
about Notion app, about Procreate and how to
create stickers for notion. Yes, I will be glad to see
all of your lovely paintings. I will be glad to give
my own feedback on them. And after my class,
I hope you also learn something new
about the Procreate, about the animation assist tool, and you have some inspiration about creating
your own stickers. Again, you don't need to
follow exactly my steps. You can create
your own stickers, follow your own heart, and I will be glad to
see all your paintings. And let's see each other
next class. Bye bye.
 Inga Yoon, Digital illustrator and teacher