Digital Painting: A Non-Destructive Workflow for Procreate | Milan Glozić | Skillshare

Playback Speed


1.0x


  • 0.5x
  • 0.75x
  • 1x (Normal)
  • 1.25x
  • 1.5x
  • 1.75x
  • 2x

Digital Painting: A Non-Destructive Workflow for Procreate

teacher avatar Milan Glozić, Painter, illustrator, Designer

Watch this class and thousands more

Get unlimited access to every class
Taught by industry leaders & working professionals
Topics include illustration, design, photography, and more

Watch this class and thousands more

Get unlimited access to every class
Taught by industry leaders & working professionals
Topics include illustration, design, photography, and more

Lessons in This Class

    • 1.

      Class introduction

      1:18

    • 2.

      Adjustment layers in Procreate

      7:50

    • 3.

      Beyond the basics

      3:07

    • 4.

      Class project

      2:48

  • --
  • Beginner level
  • Intermediate level
  • Advanced level
  • All levels

Community Generated

The level is determined by a majority opinion of students who have reviewed this class. The teacher's recommendation is shown until at least 5 student responses are collected.

130

Students

1

Project

About This Class

Hello everyone,

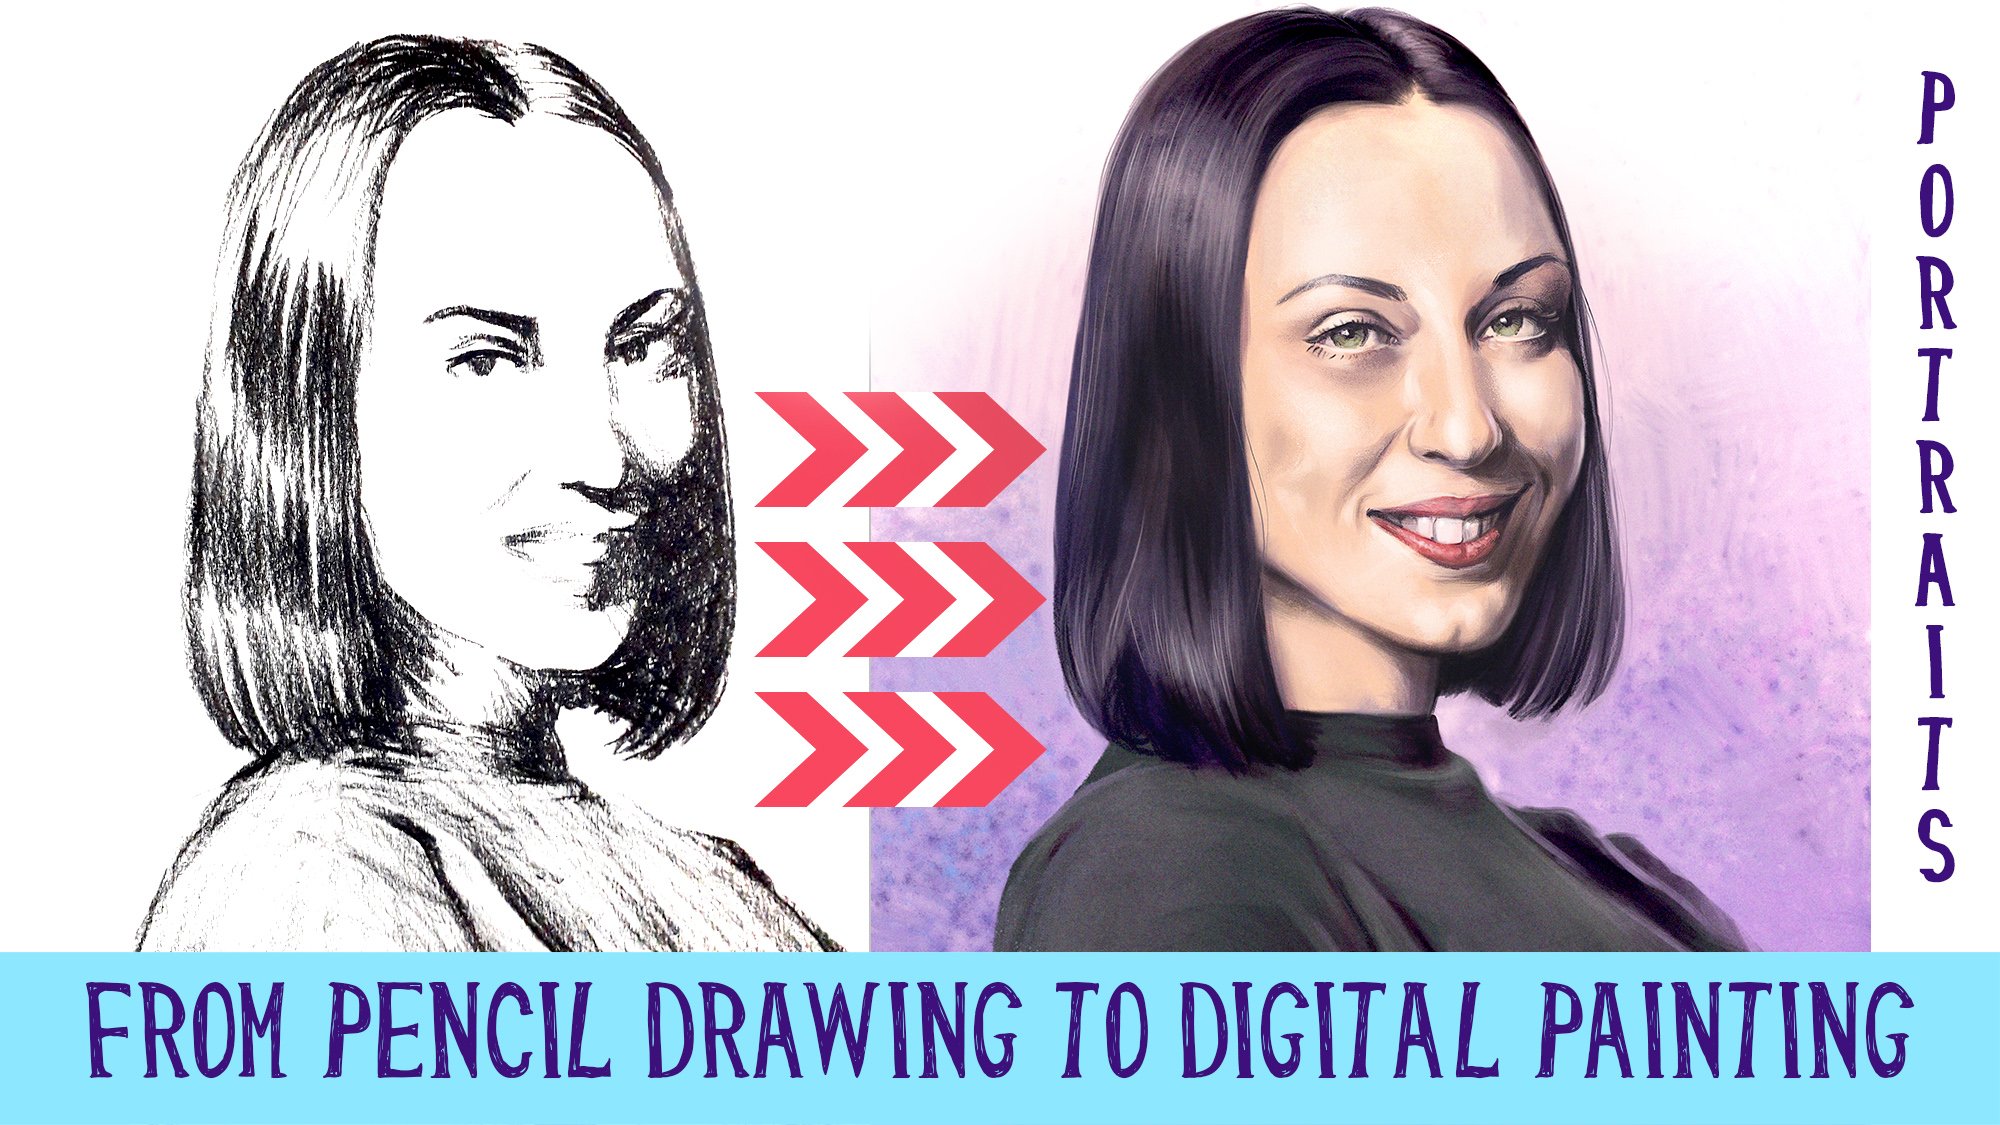
Are you interested in learning one of the fastest and simplest ways to bring life to your colors in Procreate? By the end of this class, you’ll have the skills to do exactly that.

This is a short, straight-to-the-point Procreate course. You’ll create two illustrations or use examples from this class. As a bonus, throughout this class, you’ll learn tips & tricks on how to optimize your workflow.

Most importantly, it is a fun and quick guide on using Procreate's incredible tools to enhance your artwork's lighting, shadows, and colors, rather than a formal introductory class.

You'll Need:

Who this class is for:

Beginners:

  • If you have never used this platform, we will start from the beginning so you can keep up and learn.

Experienced illustrators:

  • If you’ve dabbled with Procreate but want to learn some time-saving tricks and professional tips, this class is also for you.

Additional Resources:

Ready for the next step? Then, join me in the project section, create your project, and receive and give feedback. That is the fastest way to improve your work!

One last thing: The SkillShare project 002 file was too big, and to upload it to this class, I had to lower the resolution and pixel size. I hope that is not inconvenient for any of you. Please let me know if you would like the full-size illustration.

Good luck with your work. Keep on creating. :)

Meet Your Teacher

Teacher Profile Image

Milan Glozić

Painter, illustrator, Designer

Teacher

Milan was born in Pozarevac, Serbia in 1979. From a very early age, he got interested in drawing comics, painting nature, and inventing games that he could then play with his brother and sister. He graduated from the University of Fine and Applied Arts in Belgrade in 2003.

He works predominantly in the medium of traditional painting, but his art includes digital illustrations and book covers. He has had solo and group shows in Belgrade at the Progress Gallery, the National Gallery in Pozarevac, "In the Face Labyrinth" exhibition in Amsterdam at Arps and Co Gallery, and many more. Also, he is a Top-level designer at the 99Design platform where he made various book covers and illustrations for publishers and clients across the world.

and here you can read rev... See full profile

Level: Intermediate

Class Ratings

Expectations Met?
    Exceeded!
  • 0%
  • Yes
  • 0%
  • Somewhat
  • 0%
  • Not really
  • 0%

Why Join Skillshare?

Take award-winning Skillshare Original Classes

Each class has short lessons, hands-on projects

Your membership supports Skillshare teachers

Learn From Anywhere

Take classes on the go with the Skillshare app. Stream or download to watch on the plane, the subway, or wherever you learn best.

Transcripts

1. Class introduction: Procreate is very powerful program and offers you many solutions for your digital painting needs. And in this class, I'll show you one of the ways that you can color a flat layer of color like this into something like this. And then quickly change the lightning and make something like this. Or this and have that all in one file. So whenever you for your own personal needs or for your client change, you can quickly go from one color setup, one light and shadow setup to another without worrying too much if you destroy the previous work that you've already created. And of course, if you are interested, you can download all the files that I've been working on this class. You can have it on the project section of this class and try to see the layers that I've used and all that I talked about. You will have those for yourself and see how I did it. And that will help you with all the explanation that I'll do in this class. So if you find this topic interesting, let's jump into the class and see what will be the final result. 2. Adjustment layers in Procreate: Thank you for joining class, and I hope it will be beneficial for your work in Procreate. And let's start right away. Like you see here, we have two files that I will be showing you and going through how you can non destructively paint in Procreate, like you could always do in Foshop. In fact, that was my inspiration when going to make this class is to make something similar to For shop where you can use adjustment layers and have that flow of work non destructive, meaning that you preserve the layer that is beneath and work on subsequent layers and then make changes on the go. That is very work. That kind of work is very good when you need to have options or if your client wants different things that want try it or for yourself, your personal project when you want to have, let's say, different versions and create them fast. So what we have here is a basic color layer and a line layer that sits on top of all these other changes. And as you can see, I've created groups for each of these things. So it is easier to see what we're going on. So this is the first example. Some of my lines are not so perfect, but in the end, you don't need them there are just here for your guidelines. So we have here, this, this and this answer you can see every time we have this base color layer and changes that we make are not impacting this base color, but how we can do it. If we take a look at one example here and see we have duplicate layers of our base color, and we just use masks to add shadow and light, like you see here. So how we go about it. For example, let's create a new layer here and hide every else. I'll be using, let's say some recent brushes that I have used. Let's say this watercolor brush, add some color. This is just an example, and you will see what I mean by all this. So just adding a few colors, nothing fancy. You will see the results later on. So when you have this kind of any kind of layer that you added color, all you have to do to make it work like adjustment layer is to duplicate it. Remember to not interfere with this one below. So it's a good idea to lock it. And in this layer that's above, then you can use hue saturation. You can change the color a bit. You can change the situation, let's say, for shadows, add drop the situation a bit. And that's it. And the final step for making this work is to make a mask on top with, but you see, nothing is changing because the layer mask is, like you see here, white, and in order to hide everything, you need to turn it to black, and easiest way is to invert. And now you see all this layer here is hidden by the mask. And by using white, we can reveal the layer that is beneath. As you can see here on and off. And if again, we want to hide something to draw shadow, we can use again, black and hide that thing without ever touching our base color layer. So that's a good thing. So we can do that for adding light to our scene. Sorry, this is some sometimes tricky. Again, we have this duplicate layer. Let's unlock it. And now we can change again. Let's make it lighter, add more saturation, maybe just touch here and repeat the step. Make the mask, invert the mask, and now we see the layer beneath. And if we want to paint the light, we have to go to white and just add and if you don't like it, you can quickly translate, turn it into black. Use previous color and remove. That is an easy way to change the front ground and background color. Just swipe three fingers down and choose previous color. If you don't have this quick menu, you can quickly make it. So you go quick menu, and let's say, for example, choose something like this. Quick menu eight, and you see here different options that you have. And you can create by holding your Apple pencil. Longer and choosing the right action that you want to have on your quick menu. So just by swiping with three fingers, you can quickly decide what action you can do do flip horizontal flip vertical, previous color copy or something like that. I will quickly go back to my. And you can make as many quick menus that you like. For different needs. So I usually have this on merge, previous color, flip horizontal, flip vertical, fill layer, new layer, and everything that you need. So here we have one situation. Let's turn back on the drawing, but I don't think we need it. This is one situation with like second third. And if we expand our group menus, you'll see that we have all the same. So duplicating the base layer, making color adjustments usually with hue saturation and brightness, then creating a mask. That layer, inverting it to black, and then painting with your favorite brush white to remove, to show that layer or with black to hide it. So that's all there is to this technique. I think it's not very complicated, and it is very beneficial when you want to share different iterations and have all this work in one file. But as you will see in the next example, that is not all. You can always go further. 3. Beyond the basics: Here is the second painting that I made for this class. And both of these files will be in a separate in folder in the project section of this class, and that will be part of your assignment and to create your own versions and experiment with this technique and see if it's something that works for you. For this example, I created this drawing, and this is, let's say that base color layer. Base layer for this painting here is created in two layers. So we have background and front. And that way, I can add additional effects. So when I say base color, I added a bit more because I also included occlusion, so we can have on whichever situation light we have, we should have some deeper parts and light in crevices and lighter parts in some areas that are more exposed to light. In addition to separate the ground from the front ground. I added the guard rays they'll call that way to separate further, but you can also delete that and try different lighting scenario. Here, we have our basic light and shadow. So duplicated the layer, made the adjustment, made it darker, in this case, made it lighter, added mask, inverted, and then painted the shadows. So these are our two layers with masks. But like I said, you don't need to stop there to make it more interesting. I added mist and other lightning effects on this layer and then put it to vivid light and also made a gray layer with additional light, but I didn't want it everywhere. So I put it just on these trees here in front. Let's see, like that. If we change that, we'll see because now we have this atmospheric depth. All the parts that are closer to us are more rivid and have deeper shadows. And as we go further away, the shadows are lighter, lighter and lighter. So now we see how we can use in these two cases, how we can learn how to use the adjustment layers, sorts of adjustment layers in Procreate, and how we can push it even further by using layers upon layers and adding different effects. So I hope this was useful for you and you find it interesting. And now for the final video, let's talk about your project. 4. Class project: When it comes to the project for this class, you can use these two files, download them from the project section of this class, and then try, first of all, you can hide this and try to paint your own light and shadow layer using the masks. Or you can create stuff on your own. You can delete them, whatever, it's part of your project, and then send it to me. Noah Bradley is one of my favorite artists that creates a lot of references, and I used one of a few of his references for painting this three variations. So you can check it out on his website. The link for those things will be in the project section of this class, and I hope you will find it useful for your work as well. So you don't have to think about how should the light. But if you do, that's even better. You can put a few objects of your choosing, then point light to it and paint what you see by using this method. And, of course, then send it to our project section of this class. And when you feel ready, you can use this file hide all of these things and then try to make a different light setup for this example here. Or, like I said, it's not mandatory, but it might be easier to have already base color in line. So you can use that. You can even delete all these things, merge if you like, or if you merge these two base color layers, or if you like, you can leave them so you can have more freedom. Remember always to put in groups all the stuff that you did, so it can be a lot easier for you to change and make other variations. So I hope you found this class useful and hope it will benefit your work. I look forward really to seeing what will you create with this and see if it's something that works for you. So without any further delay, see you in the project section of the class or in some other classes that I have here on platform about drawing, painting, traditionally, digitally, and stuff like that. So have a great day and keep drawing and painting.