Transcripts
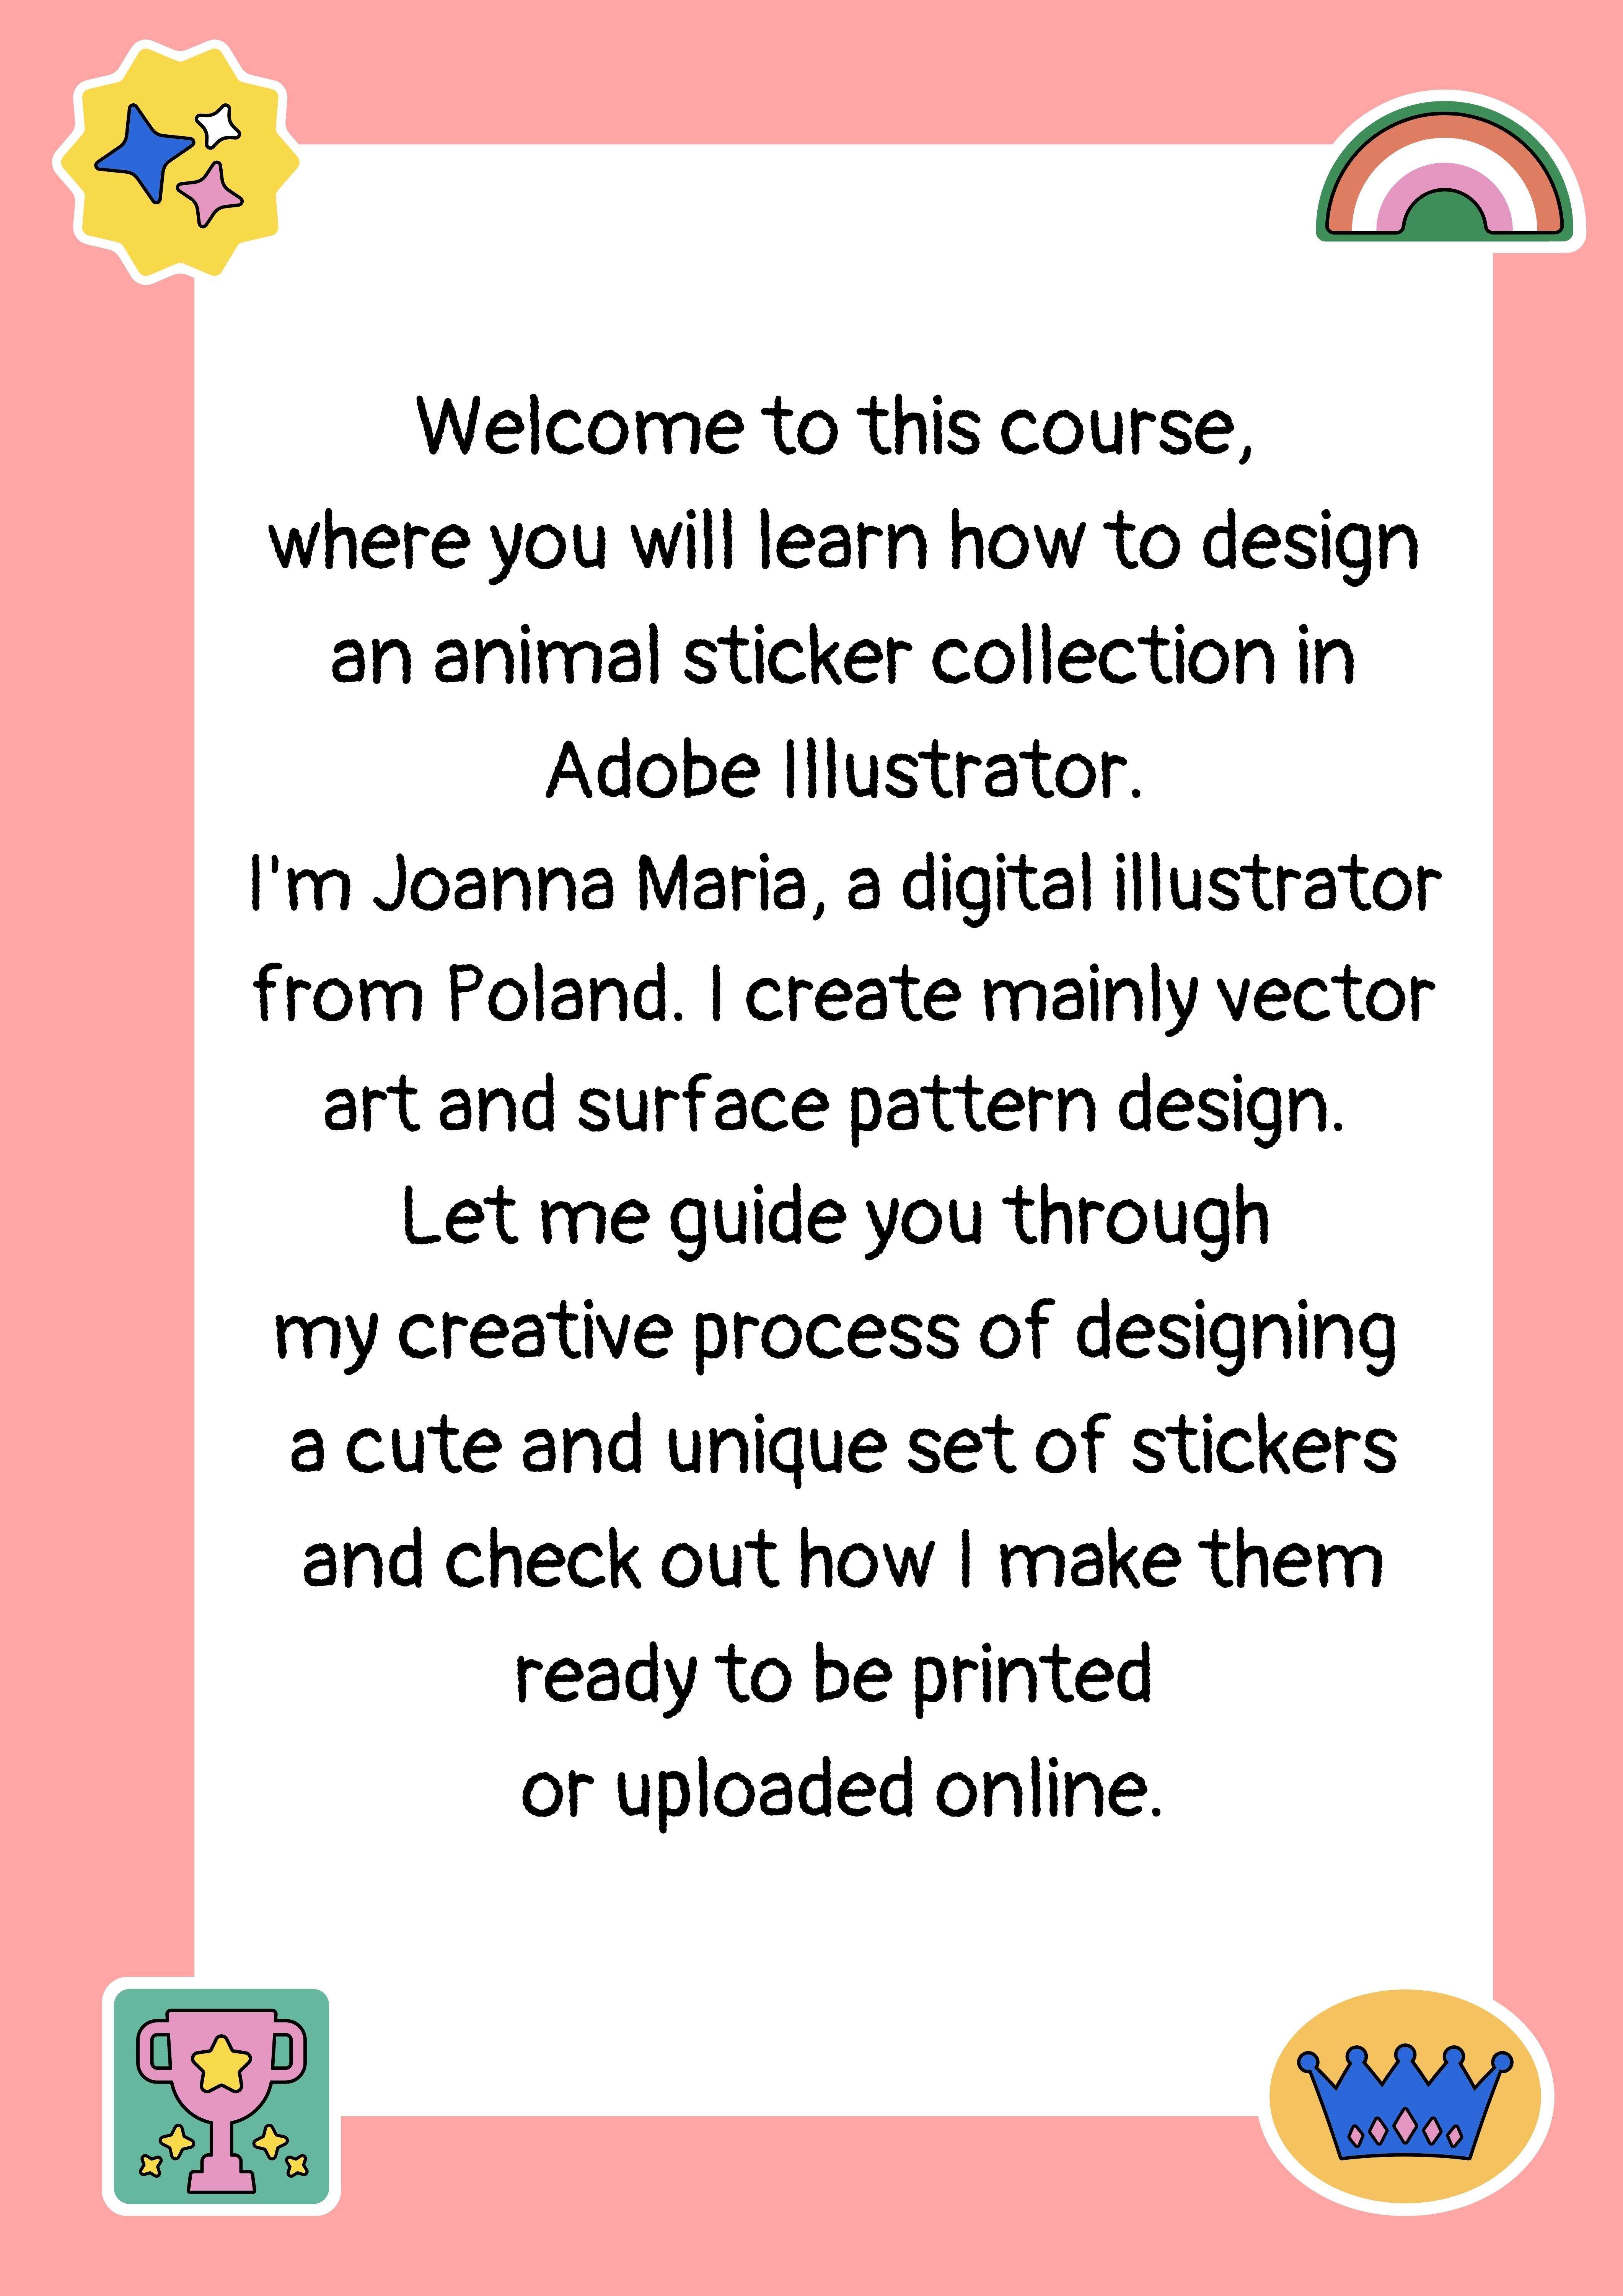
1. Introduction & Class Project: Hello and welcome
to this course, where you will
learn how to design an animal sneaker collection
in Adobe Illustrator. I'm young pneumonia at digital
illustrator from Poland. I creates mainly vector art
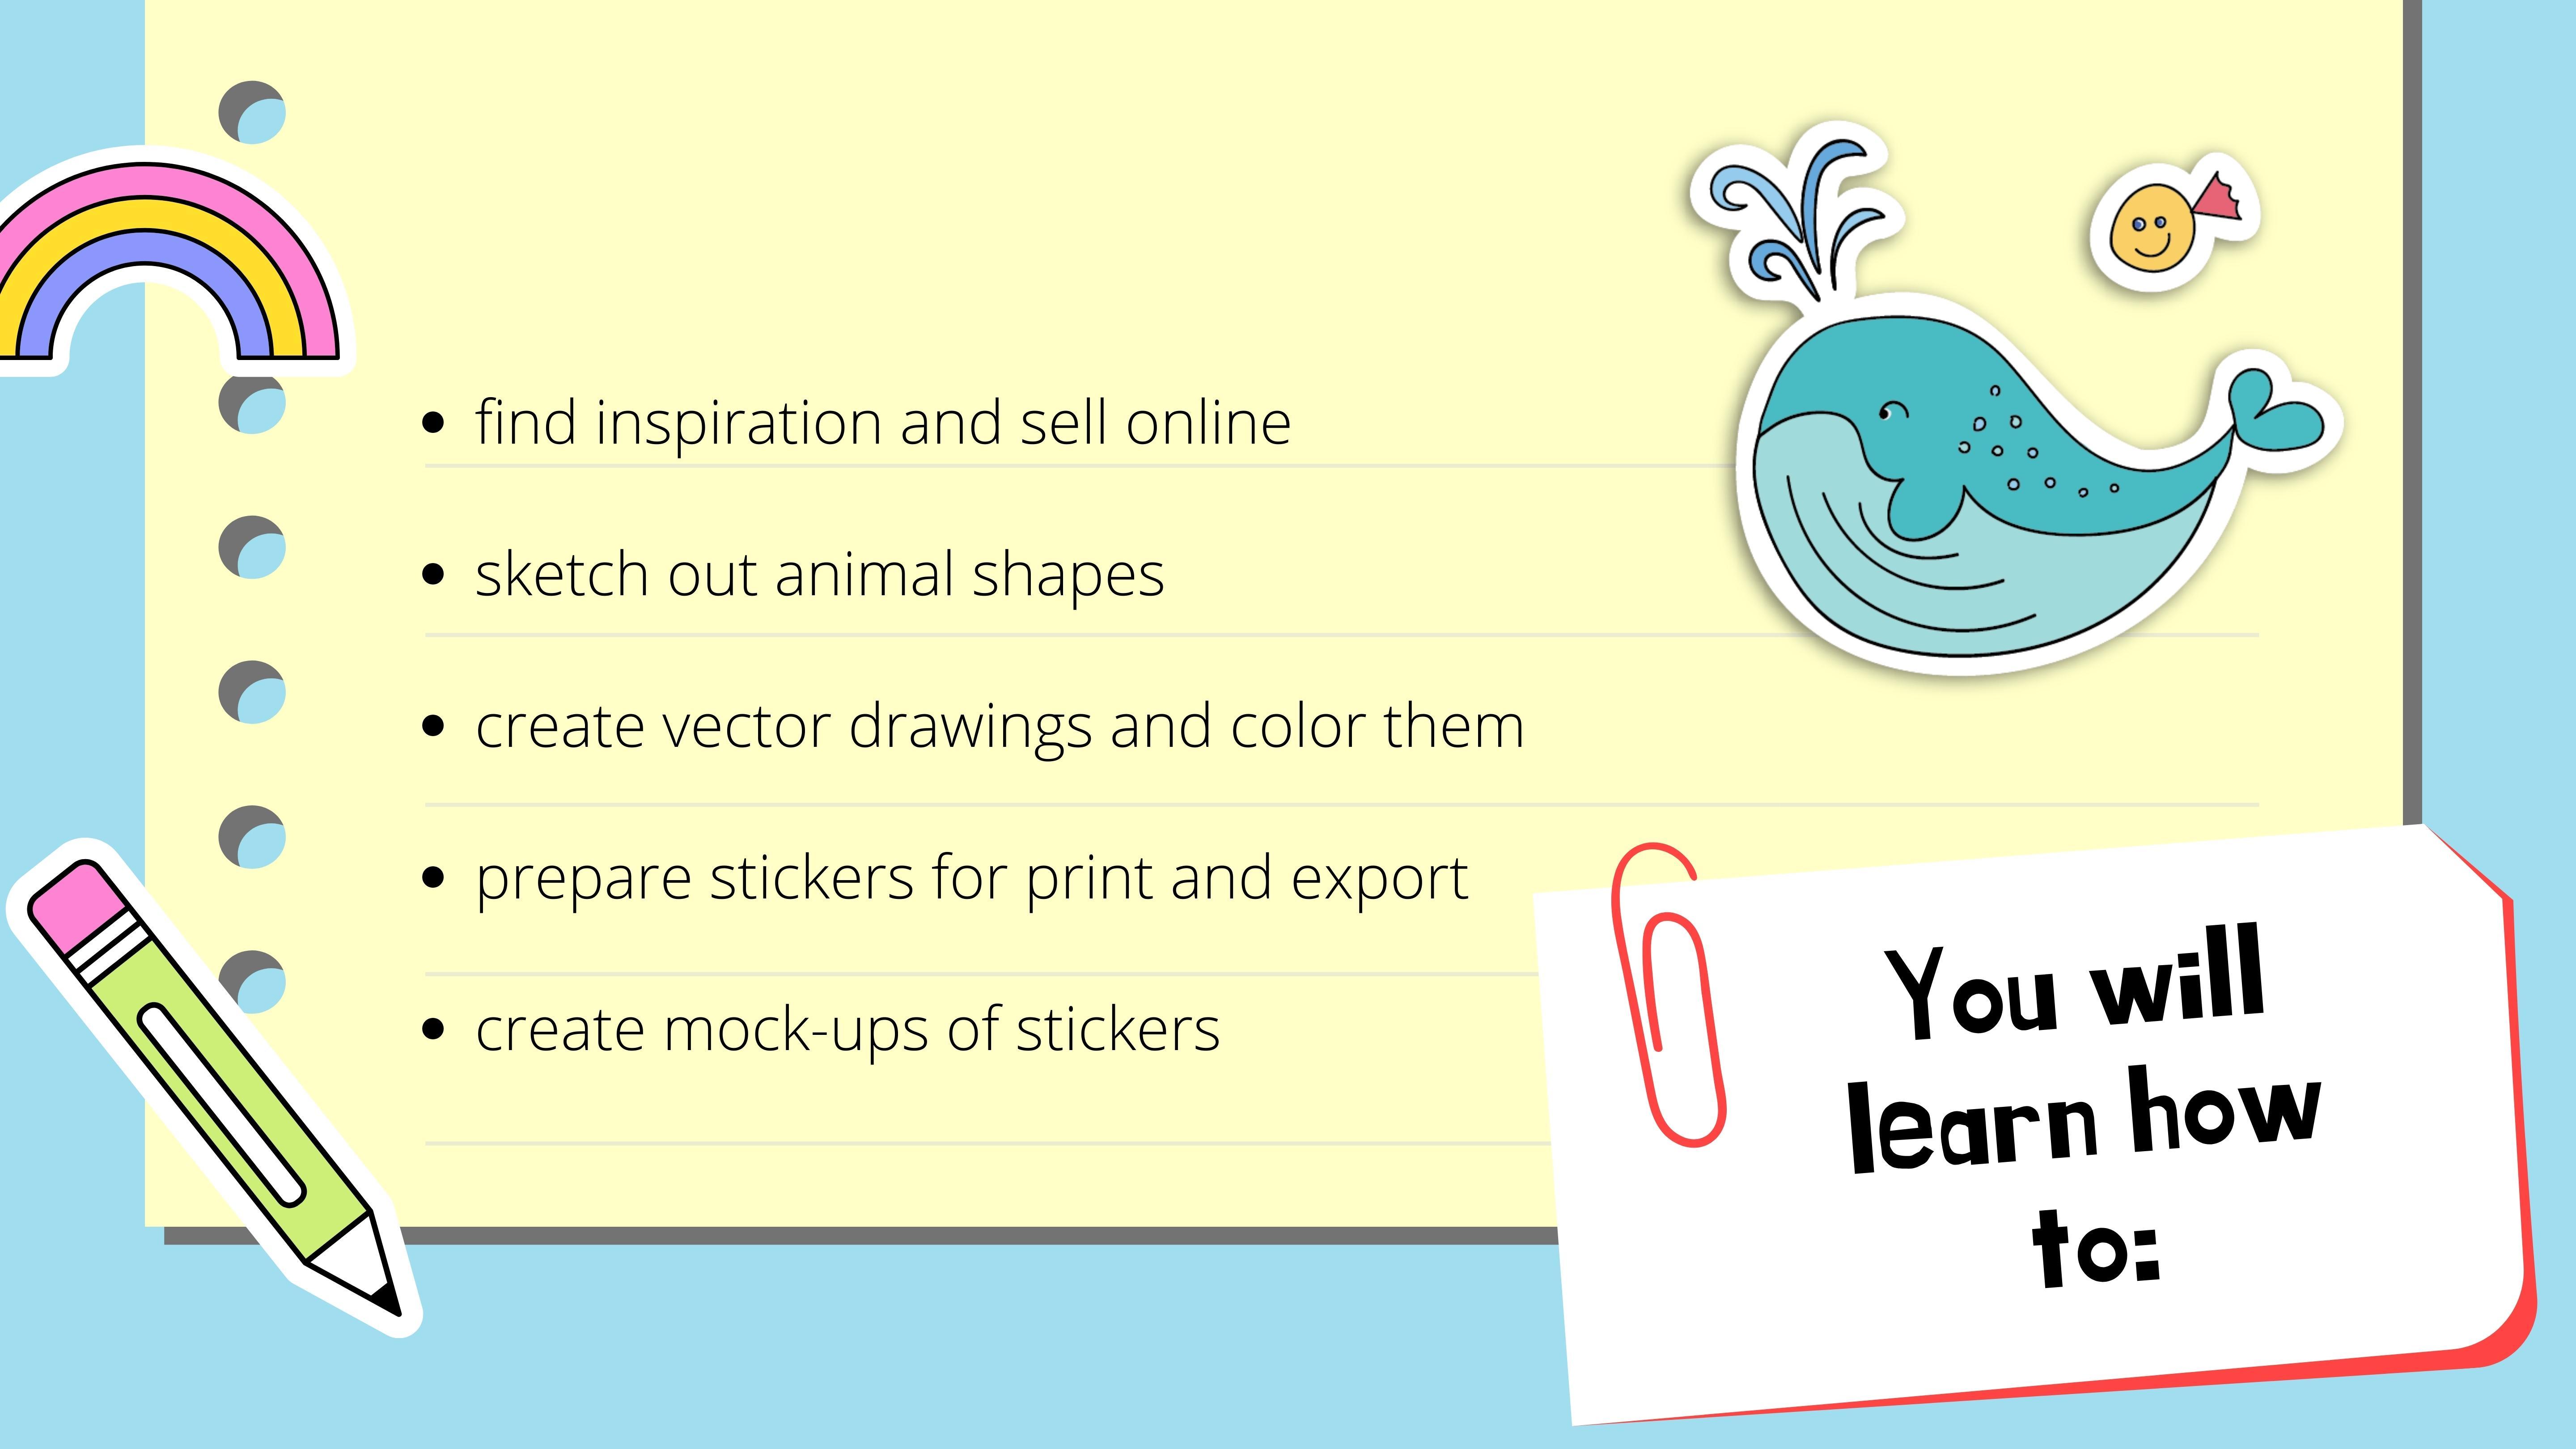
and surface pattern design. For out this course, you will learn how to look for inspiration and seller
collection online. Sketch out cute and
unique animal shapes. Create the vector drawings
in Adobe Illustrator, as well as color Damn,
using different tools. Prepare your stickers
for print and export in various formats. You will also learn how to create realistic
mockups of stickers. Jacob, the list of my favorite shortcuts that I've prepared for you in
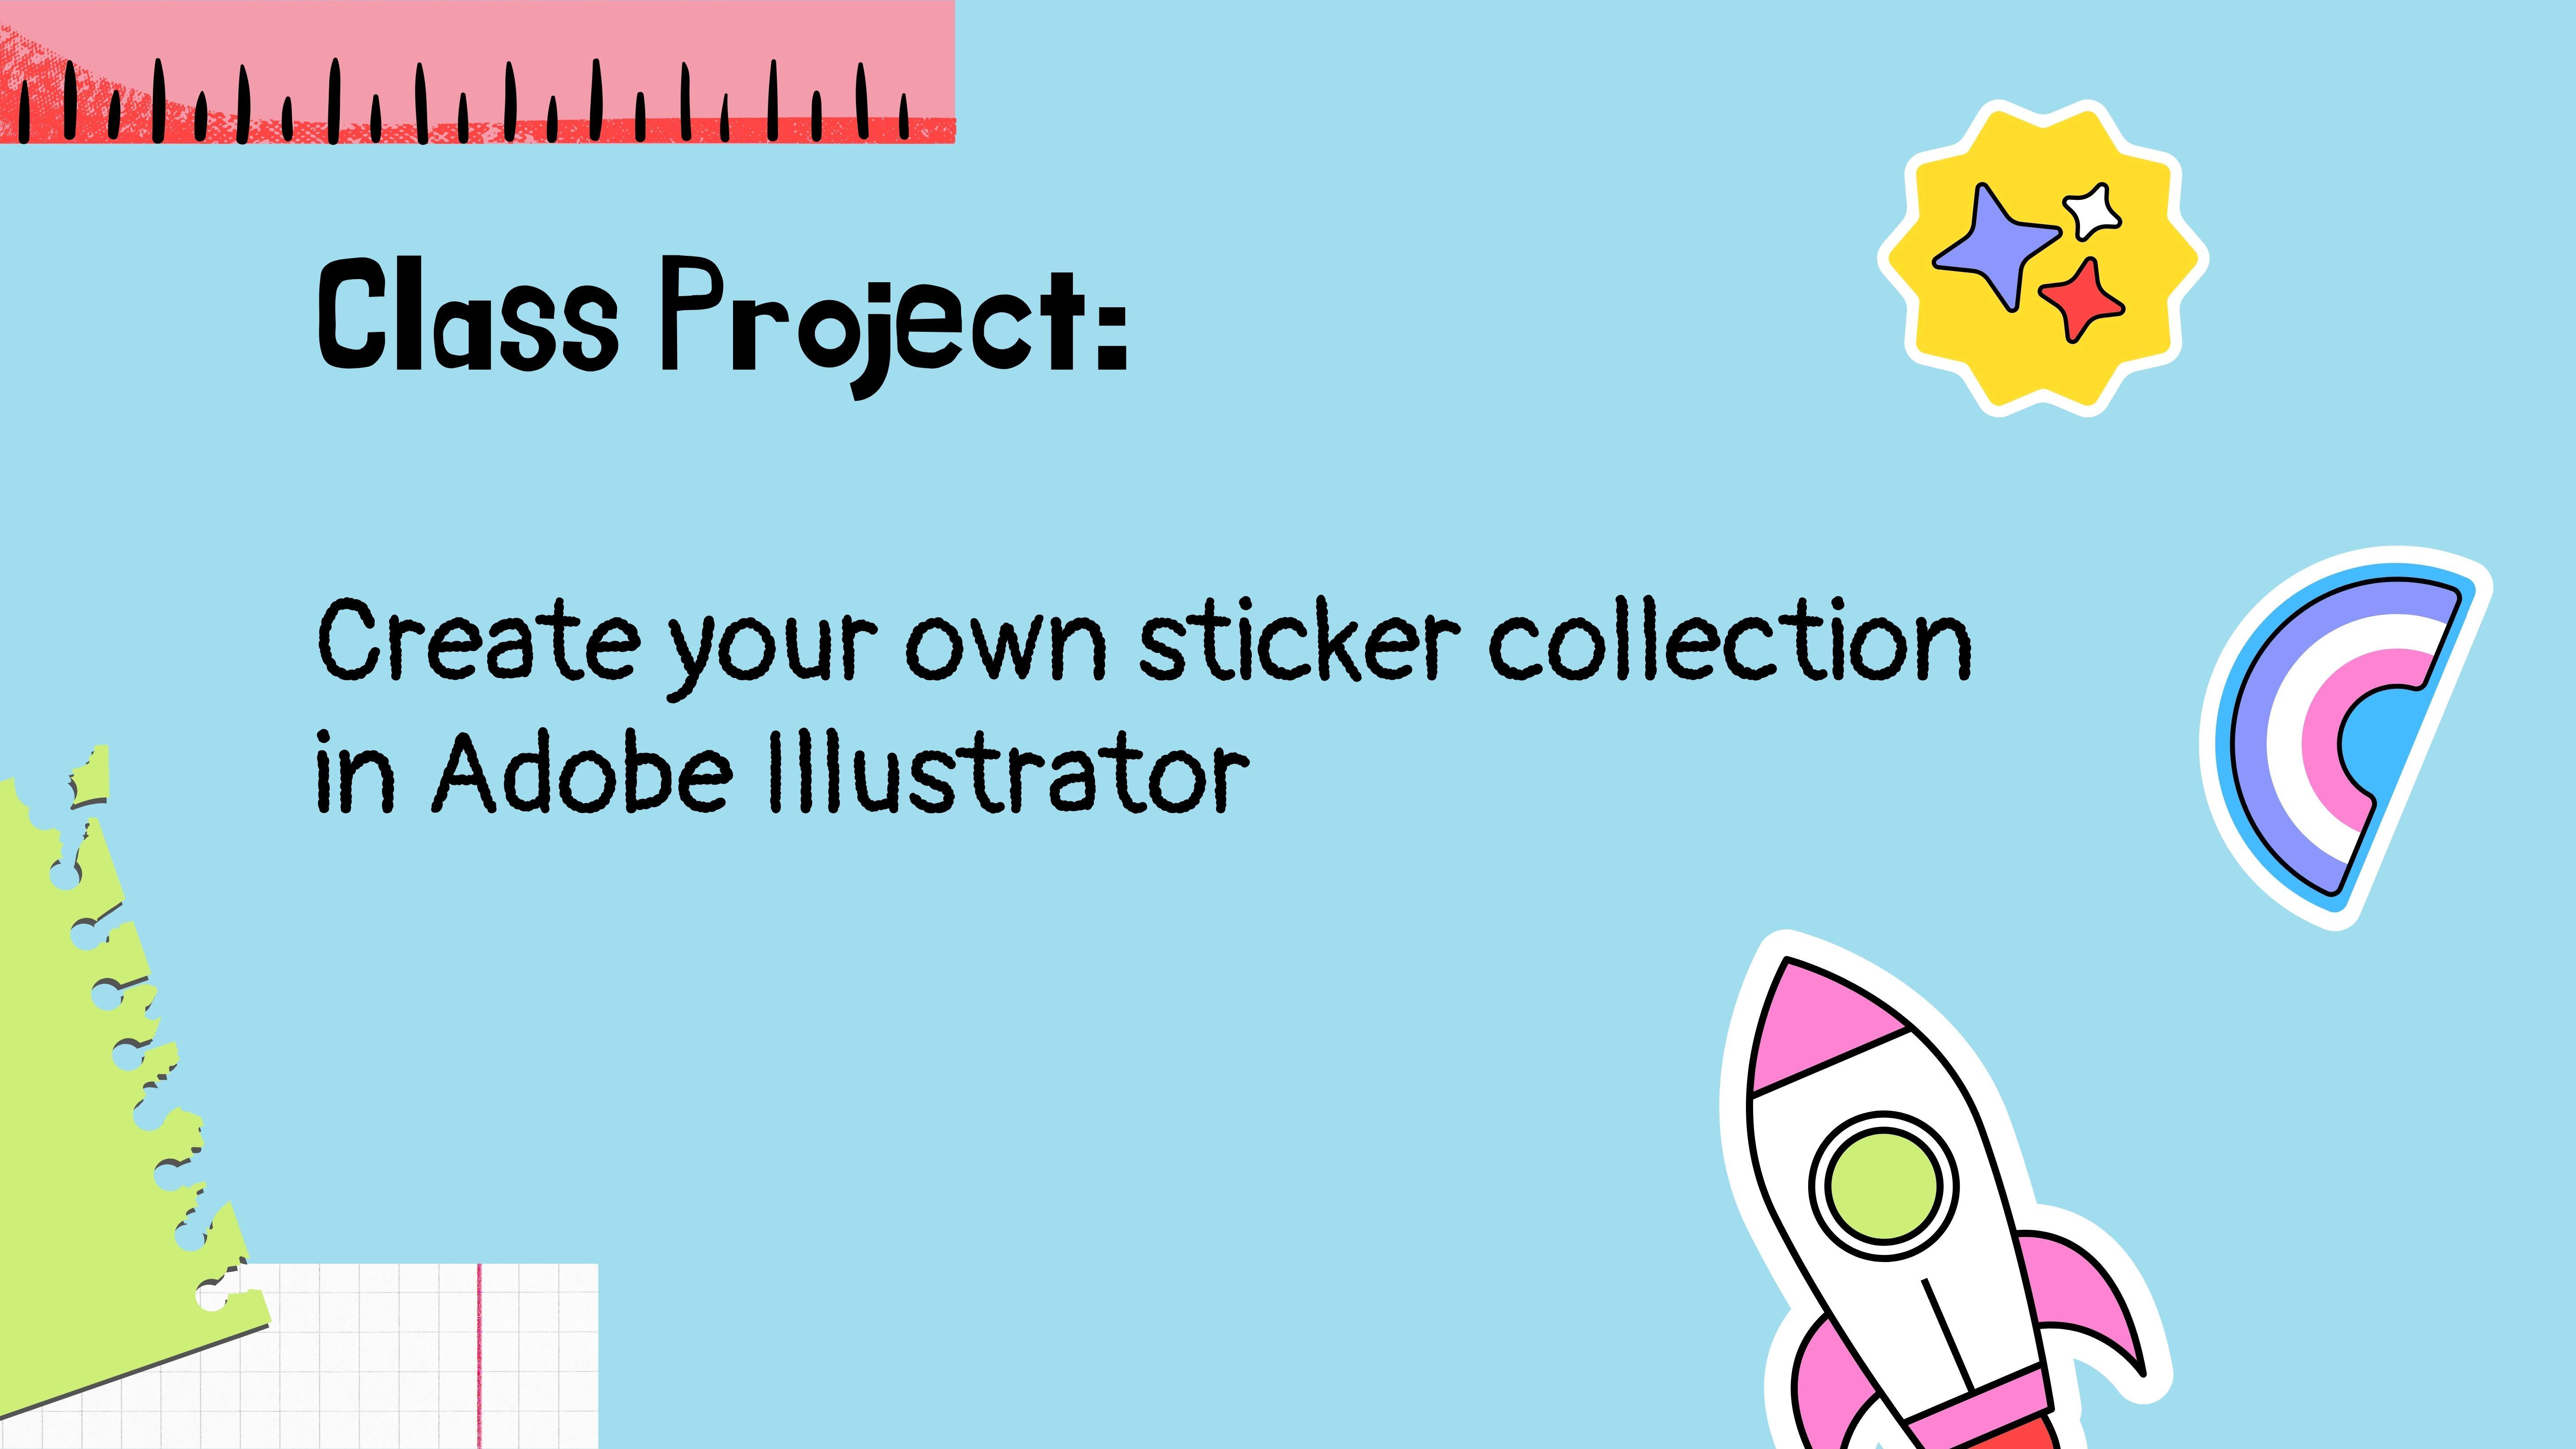
the class resources. As IT project, you will create your very own animal
sneaker collection in Adobe Illustrator. When you're ready, save it in JPEG format and uploaded
in the project gallery. I can't wait to see what
you've come up with. Without further ado, let's
jump into the first class.
2. Inspiration: First, let's look for
some inspiration online. The most of this choice is at C, where you can find a variety of handmade and digital products
by independent artists. I will type animal stickers
in the search bar. The most popular
tags are for kids. Pack, water bottle, for
integral, well and vandals. This gives you some idea
what people are looking for. Search or animal
stickers gives us almost 200 thousand results. I'm going to select the cartoon animals because they're most relevant
to our course. You can see how the artists decide is to present their work. Mendez seekers side-by-side, as well as one sticker
on their laptop. The seconds popular website where you can sell
your stickers, instrument bubble
when selling combat. So you have to take care of the printing and shipment. Here. On the other hand, the website does it for you, which of course means that
you might earn slightly less. That popular tags in the animal stickers
category includes pet, cartoon, wildlife,
adorable, happy. And here you can see the
best-selling animals stickers. They include both single
stickers and the bundles. When you upload your
project to the website into PNG format with
transparent background. It automatically creates
the mockups for you. You can see what the
stickers will look like on the water
bottle or laptop. Here's the example. You can select the size of stickers from small
to extra large. At the bottom of
each product page. There are some
popular sticker tags, as well as tags just
specifically for this product. Let's see the results
for Zeus tickers. Some of them are
vector drawings. Some are clearly painted
or drawn without software or by mimicking the
paper feel in Procreate. Some also include
words or phrases. Now let's have a look
at the B humps and Adobe website where artists can share their
most recent work. On the most sticker tag gives
us the following results. And here are some of the
most stickers, emojis, and parts from projects. We have links to
Adobe Stock images. As you can see, the einmal sticker
category is quite broad and it's not all the results are
relevant to our search. I will try Zeus stickers, which narrows it down a bit. And so vector makes this
search even more accurate. Here the examples of
Behance projects. Some artists include links to the website where they're
clue parts can be purchased, or links to their social media. This project is clearly
a sticker design, which you can recognize
by the white outline. Probably the most
inspiring website for me and many other
creative says Pinterest. You can save every
image that draws your attention to
irrelevant, more important. Rent bubble artists also
advertised or work here. Clicking on the image or the link will take you
to their product page. The website W should
definitely check out when you consider
selling digital arts. Not just stickers,
is Creative Market. In those stickers category, the most popular products are bundles that include
multiple stickers. This sticker set includes
Safari on the most, that are most probably
vector images. The artists also
decided to include three patterns that can be used, for example, on textiles
are wrapping paper. The stickers are presented both US clip art ends in a more
attractive mocked up form.
3. Create a Sketch: When you have picked
your favorite animals, it's time to sketch them out. This can be rough sketches. Later smooth them out
in Adobe Illustrator. When we drove the
actual vector shapes. I picked 12 animals for my collection and decided to first draw them in Photoshop. You can of course, do
that on a sheet of paper and later scan or
photograph your drawings. What I did was open a new blank document and create a new layer above
the background layer. Then I sketch it out to
the animals with a brush. Maybe we can can actual pencil, which was a standard
pencil number four from Retro Supply
standard pencil pack. It's great when such a brush
is pressure sensitive. Because then it
almost seems like drawing on an actual sheet of paper works only when
you draw on the tablet. In my case, we are coming to us. I don't recommend
drawing with a mouse. When there wasn't happy
with what I've just drawn, I simply press Control Z
or just the eraser tool. I wanted to ever animal
to have a distinct look. Of course, all of the
drawings are simplified. We don't want to draw
your realistic portraits. That's rather
exaggerate the features that made it the
animal's unique. To make them look cute, It's good to give them closed
ice in an inverted U-shape. This smile. Hydro or some animals
facing the viewer, the others in profile
to get a variety. The first time you mold
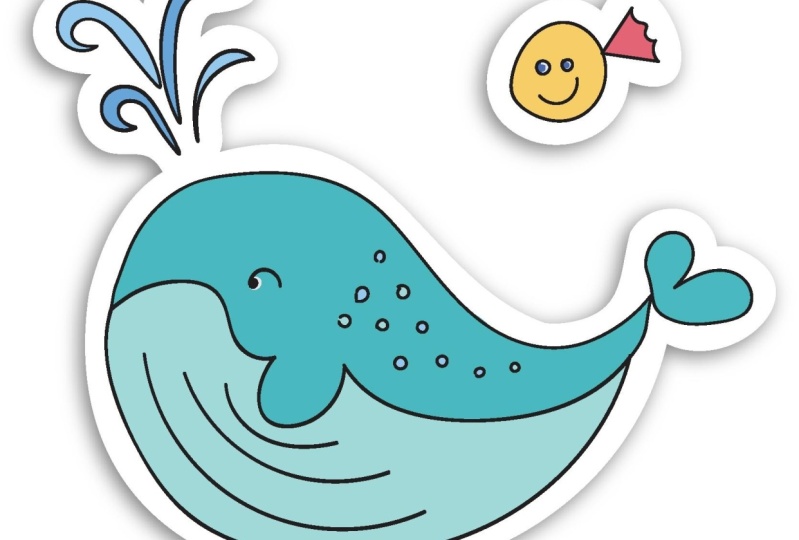
that I drew was a whale. I gave it an extra
splash of water. The two ken received
an edgy haircut. The octopus was the first one to have a cute smile
and rosy cheeks. The rabbit go to large
cart as an accessory. I also gave it a flapped ear. The crocodile received around belly and characteristic
sharp pointy teeth. The elephant got a
splash of water, as well as a striped trunk. I drew a turtle. Even though turtles
don't have visible ears. I gave mine too little
ears to make it look cute. Deny my demo a little smaller. Giraffe received spots and hard, unlike elements on its head. Notice that exaggerated,
rounded legs, normal day are much
thinner, sharper. Then I draw a dolphin. I gave it a larger
than normal knows. I made its flippers
look like little hands. Lie on the received. My new kink like a sunflower, some freckles on its face. I gave this seal haircut, looking a bit like
a little crown. Notice how it's noticed resembles there one of the
rabbit and the lie on. The last animal that
I drew was a monkey. I gave it to accessories and banana and a branch to sit on. Finally, I drew
some extra elements to complement the
main characters. They included fish,
birds, algae, leaves, grass, water swirls, a branch
at three, and a puddle. For the next lesson, we will move on straight
to Adobe Illustrator. If you have been working with
Photoshop on their sketch, now it's time to export the
file in the JPEG format.
4. Draw Vector Shapes: This is the part
when we are going to become best friends
with Adobe Illustrator. Let's open a new file, 10000 by 10000 pixels
with one artboard. The color mode that
I selected as CMYK, because I want to later
prints my stickers. If you want to use digital
stickers, select RGB mode. The resolution will be 300 ppi. Remember that you can later
change the color mode from RGB to CMYK and
other way around. Drawing into that document. Then I create a template and a new layer in
which we will travel. We select a brush
with low fidelity, almost as smooth brush. Remember to have a black
stroke and no fill. The stroke will be T2. And depression that we're
going to use is around the brush tool and start
drawing with the brush tool. Look how to program smooths
out the edges in our drawing. When they want to undo. Some think I select
Control Z or I can, that direct selection tool to move the objects are
also regulates them. You can turn on and off delay or visibility in the layers panel. I select the whole shape with
the direct selection tool, and then I use the eraser to delete the unnecessary points. And then there are two
lists curvature tool, you can select one
anchor points with it. Hence move it. Select everything
and drove to shape. I will name it whale. Hence, I will do the same
with every app little grouping of shapes reduces
the size of the document, and that makes the layers upon it will look much more tidy. It can improve the
shapes with Control G. Remember that to have all of the shortcuts in the shortcut cheat sheet that I have created
for this course, you can find it in
the class resources. I preferred to draw
two lines with the brush tool instead of the
pen tool for such drawings. Until will work really nicely for filling that
shapes with color. It's also great for a
more geometric shapes. Not so much for doubt gun
shapes that we had hit. I'm going to do with these
elements of the EEOC, took this with an ellipse tool. To copy them. I select each and everyone and I dragged
with an Alt key. I use this curvature. Hello, vessel elasticity
move to which will reduce the amount
of anchor points. Instead of using
the smooth tool, we can simplify the shape by right-clicking and
selecting simplify. When the work was the
curvature sentence, you have to convert coroner E2 occurs or the
other way around too, to adapt, you have
to press Alt and click on that unquote
point t1 to change. I tried to group and
claim the shapes as I go. I'm using the eraser tool. Remember to have the shape selected that's
willing to work with. You don't have to stick
to the original sketch. You can always change your mind. Hello, I'm holding Alt and dragging this really
nice for a tweet, copy off DLM use. For the shapes of the curves. Back, I will change the brush to reflect and to work
with it's tail. I will copy and paste
the line in front. Then I will go to effect, distort and transform zig-zag, change the size as well
as ridges per segment. Make sure that you have
the corner selected. I will adjust the line with the curvature tool. Let's create. Zack home the turtle's shell. But this time I will select
smooth instead of coordinate. So now we can go to
Window appearance and change the size as well
as for just pretty segment. Hello, make the
lines less smooth. Patches and giraffes back. And I'm going to create some hair for it again
loves exact tool. To adjust this exact, we can go to Appearance again and to reduce the amount
of ridges per segment. You can reduce the amount of anchor points with the
smooth tool and the Pen tool by clicking on one of the anchor points when you
sit a minus bi the top. Sometimes using the
Lasso tool is actually better for selecting the shapes down to the direct
selection tool. I'm going to create
another layer to add the rest of the drawing. Like before. I'm going to
group the elements each time. Remember that with
the curvature tool, you can click on the
anchor point tool if an old key change it into
a corner or a curve, which is really useful. Trying to create closed
shapes wherever possible, then it will be
easier to color them.
5. Arrange the Elements: Now that we have drawn
the vector shapes, we can adjust their size and arrange a coherent composition. First, we're going to separate the animals from
their accessories. And who will make some of the shapes bigger
and sound smiling. In the preparatory soprano. Make sure Deb, to have to alert on you have got to call the roller brackets
to their desire to place from the top and
from the left side. Now I will place their
objects next to the animals. And to have their
direct selection tool, I will change their size. Who rearrange the object
squared necessary? Now what kind of goes
onto working with color?
6. Create a Color Palette: Creating a color
palette is a step that I never omit when I
start a new project. I like to go on Pinterest and find some pilots
there to begin with. Then I select the colors, dots who work nicely together. I searched for Preston core
products and copays and upload the images into my
Adobe Illustrator document. Then they created a rectangle, a hundred, twenty,
one hundred pixels. We've got this trope and
put the coloured silk. Then I pick the rectangle when pulling holds,
constructing it. Then I repeat the
process with Control Z. To change the color
of the rectangle, simply select the
eyedropper tool and click color
image that you like. I start with the blues. Then I move on to yellows, oranges and brown
color and the greens. To create triangles, I
just click hold and drag. In the meantime, I
arranged them to groups. We want to track both
warm and cool tones, as well as light and dark tones. I tried to keep in mind
drawing on the most, so the colors should
be close to nature. Let's go to the swatches
and holding Shift, select all of the
swatches and delete them. Then I select the colors and
create a new color group. To save all of this fortress. I go to the Swatches, going to read and
saved swatches. Now if I can use them for
other documents as well.
7. Color the Shapes: It's time for the fun part. I think life to our drawings would change the
view to outline, to see the lines in the
drawing exactly as they are. Now using the curvature tool, we can join the dots. The shapes are closed. To check if the shape is close, we'd go to the
Shape Builder tool. And apparently, as you can see, not all of the
shapes are closed. Some of the dots
aren't connected. We have to close the shape. Using the curvature tool again. We can move the anchor points. We changed the
preview to GPU again. Do you suggest stroke? Click on the shape
to make it whole. Now what we can change
the fill color, it's important to select
the right shape in the layers panel are directly
using the selection tool. Change the stroke color to
fill color and vice versa. You can do Shift plus x. Just clicking from X, you switch between the
fill and the stroke. As you can see, I use the
curvature tool a lot, especially to close the shapes. Alright, just the lines. I created a new layer, coat color and I copy and
drag that shape stare. It will be easier
for me later on to edit the color separately. I'm going to lock
the stroke layer so that the stroke doesn't
move along with the color. Another way to fill
the shape with colors is the pen tool that they
use to draw a new shape. The pen tool works with
direction handles when you wanted to create a curve and 21 to create a straight line, you just click to
remove the handle. You'll click on the
last anchor point. When it has finished her shape. And you hover over the path. Having to Pen tool selected, you will be able to
delete the anchor points to pen tool with change automatically to Delete
Anchor Point tall. I look into unlock
the shapes as I go. Once you've mastered
the pen tool, you will find that it's
actually very easy to work with and very useful. Remember to name the mode
shapes so I don't mix them up. Into meantime, I
changed the colors and I will do it a few
more times for Mobley. When you work with
the curvature tool, you can click on the
anchor point holding Alt to change between
corner and curve. Remember to create a
triangle using the pen tool. You can just click to do the straight lines without
using the handles. Sometimes it's easier to use randomized shapes
like the Ellipse tool. I also grew up the elements that are in pairs like ice or teeth. Another way to color, or at the most, is
with the blob brush. When you select the same color, it's creates one shape. You can make it bigger
or smaller using left and tried square brackets on your keyboard
den to adjust it, you can simply do
it with an eraser. Another useful tool here
is the pencil tool. I will combine them with
the shape builder tool. The effect is that I can draw the shapes and
combine different paths. I can also delete
some shapes when they click on the shape
and hold Alt key. To move the object up or down. You have two options. You can do it either
in the layers panel. You can click on Control left bracket to move the object down. Our control right
bracket to move it up. When you click on Control
Shift left bracket, it goes completely
to the bottom. And it's Control
Shift right bracket, you move it up to the top. Nice to combine different tools for the pencil tool
with the pen tool. Use the shape builder
tool to join the shapes. Remember that the
shape builder tool only works when the
shapes are closed. I like to drop the
elements because later on, interchange
certain color. Sometimes it's faster to work with the pen
tool, with the shame. There. But some shapes would require only a
few things like Swift, the shape of their total. You want to see what
works best for you. I combined both the blob
brush and defend tool, and I joined the shapes wherever
the shape builder tool, by selecting all those
shapes in one color. Try to avoid having too
many anchor points. You can always simplify
the shape or you can use the Smooth tool to fight. When you work with the
Shape Builder Tool. Remember two has selected
only rarely found two shapes. To have more than one
shape selected to come. I use the lasso tool. You can use that direct selection
tool and holding Shift, click on more than one shape. I add two more allies. The lion's mane. I decided
to establish pen tool. Remember it, that's when you
double-click on the shape. You 30 isolation mode. You can justice one
particular shape. It dung into our index and
will affect the other shapes. Adds dimension or shadows. I use a similar color, which is slightly
darker, desaturated. Lasso tool is very useful for selecting shapes which are
close to other shapes. And Direct Selection tool
might not work there as well. Magic Wand Tool works great when you wanted to sell the
same or similar color, you have to edit the margin. It's been tough, too many
similar colors selected. Another way is to go to
Select Same Fill Color. These lines download
the same outline print, preview because we used as
exactly effect on them. Now we have colored all off to the most styling to
make some adjustments.
8. Make Adjustments: Let's make some adjustments. First, I wanted to change
the ice on the animals. I do it using the blob
brush tool, for example. It's easiest to do it in the isolation mode with
double-clicking on the shape. I have the eyes grouped, so I have both of them selected. Another thing that I do, it changed the color
using the color picker. I also changed the size
of the crocodile Steve. I wanted to make them smaller. I do it in the
isolation mode again. To edit the shape, sometimes it's easy
to ungroup them. Do it with Command or Control, Shift G to group them again, you click on Control G
can transform the shape, for example, reflected
horizontally or vertically. As I did with this fish, I reflected it 90 degrees.
Correct to click. When they went to edit both
the stroke color layer, remember to unlock
it and to have them both selected with
the direct selection tool. Changing the color. I don't care much about using
the same colors that I did. This swatches in
my swatches panel. I just don't want to
make the changes too drastic so that the color
palette is still coherence.
9. Prepare for Print and Export: Now that we have created
and colored animal shapes, It's time to prepare
them for print. I grew up the animals
dark color layer and this stroke layer. I create a new file. Remember to use CMYK mode, the profile will be printed, the size is A4, their resolution is high, 300s. It's I'm going to scale the animals. Scale both this stroke and fill. And I move it by dragging
gets to the new file. Now I'm going to
scale down animals. Again, transform scale in ten, scale strokes and effects
and scale corners. It's important to make this
tense between shapes a bit bigger because we will expand
this trunk of the shapes. What we're doing now
may not be enough. Probably have to make the
distance even bigger. Let's start with Their Way. I changed the stroke to two. Then I go to Object,
Expand Appearance. Then they go to the Pathfinder. Debtor can also find the window. And I select Unite. Now it's time to go to
Object Path, Offset Path. I will make my offset
two millimeters. This is what it
looks like for now. Now we want to delete the unnecessary elements by dragging it into the bin
and clicking Delete. Changed the outline. Now, having the stroke
color selected, I select blue for the line
that is closer to the shape. And magenta for lined up has
more space from the shape. I'm going to explain
it in a moment. We'll change that to
interject view again. As you can see, we have the trim and ablate that
dream is obligatory. Doublet, not necessarily. Trim is the final, the size of the sticker
after it has been cut. So the BlueLine, magenta line, the bleed is the extra margin. It's useful when stickers
have colorful outline. It's not required when the outline is white
as we have here. The bleed is so-called
wiggle room to avoid the extra white edges when the machine trims the stickers. I created a new layer called
offset and the bleed. I copied o of the animal shapes. Do they all sit
under oblique layer? And I locked the artwork layer To make it even faster. I will select multiple animals. Then they will change
the stroke to tip. For all of them to go to object expand appearance for
all of them as well. I use the Pathfinder tool
for every animal separately. As you can see with the
juror, for example, that this dance is
still too small. Twins the shapes, so
we have to change it. Look at those lines. It doesn't need them shares. I'm going to repeat the process
of having a very offset. I will increase the
distance and I will also delete the unnecessary shapes with the direct selection tool. I found it actually
more practical to create that trim line first, go into Object Path, Offset Path than editing. And creating the second
offset from there. I mean the bleed. If the magenta color. I added some of the lines
with the curvature tool. Now we're going to
actually make sure Dad, we have the right margin
on the sides of the page. I also wanted to ask the
title to our sticker sheets. We added the text. I have my own fonts that I have developed which is
suitable for this project. Make a sticker from the texts to have to create outline first. With the other stickers. Go to Path Offset, Path, Pathfinder Unite, then
creates the bleed. Get simplified the lines. Again, I'm using
the curvature tool. Most some anchor points. Asked for the local.
We have to do the image trace
first, then expand. Now we have a vector shape. We repeat the steps that do
we handle of the animals. Remember to have created a
copy of the shape first. Now we're going to create the second art board that's only with trim lines and
bleed to death. We go to the Artboard
tool and holding Alt, drag the first art board, the right to delete
the animal shapes. So we have to make sure that we have only the red
shapes selected. It's best when you have a
separate layer for them. I use the lasso
tool to delete some of the unnecessary shapes dads. I didn't notice before. I go to expert export as a JPEG. I can also go to print. They have the option
Microsoft print to PDF, check the summary if you have all of the
settings that you want. And now we go to print. And here's a proof of our
PDFs lift as stickers. This is the format in which you usually send us to
the printing company, not the JPEG or PNG. Their crop marks in the corners indicate where to trim the
paper. It is optional.
10. BONUS: Create a Sticker Mockup: It's nice to create a preview. Our mockup of the
stickers will look like I renamed the shapes on the second art
boards and I lock it. Now, I unlocked the
artwork and stay officer tends to bleed
in the first art board. I select same Stroke
Color and I deleted them, bleed lines, we don't meet them. I select the trim lines
and go to Effect stylize. Drop shadow. Mode that I have is multiply. I changed the offset, the x offset and y offset, as well as the blur. I can change it later
on in the appearance. Change the fill color and
also tend to bleed to white. As I said in the
appearance I changed the offset of the drop shadow. I don't like what does
stroke looks like? So I simply do it. I change it to none. So we only have the fill
color and the shadow to expert does shapes I go to collect for export
as single asset. I can do it both in
the PNG and JPEG. With PNG, I will have a transparent background
and with daybreak, I will have a white background. We can select all of the shapes. Were also click on there, collect for export
as single assets. And we'll repeat the
process this time. I will deal with
inventory apec format. I can also change the scale. This is our final result.
 Joanna Maria, graphic designer and illustrator