Transcripts
1. Introduction & Class Project: Welcome to this
Skillshare class, where you will
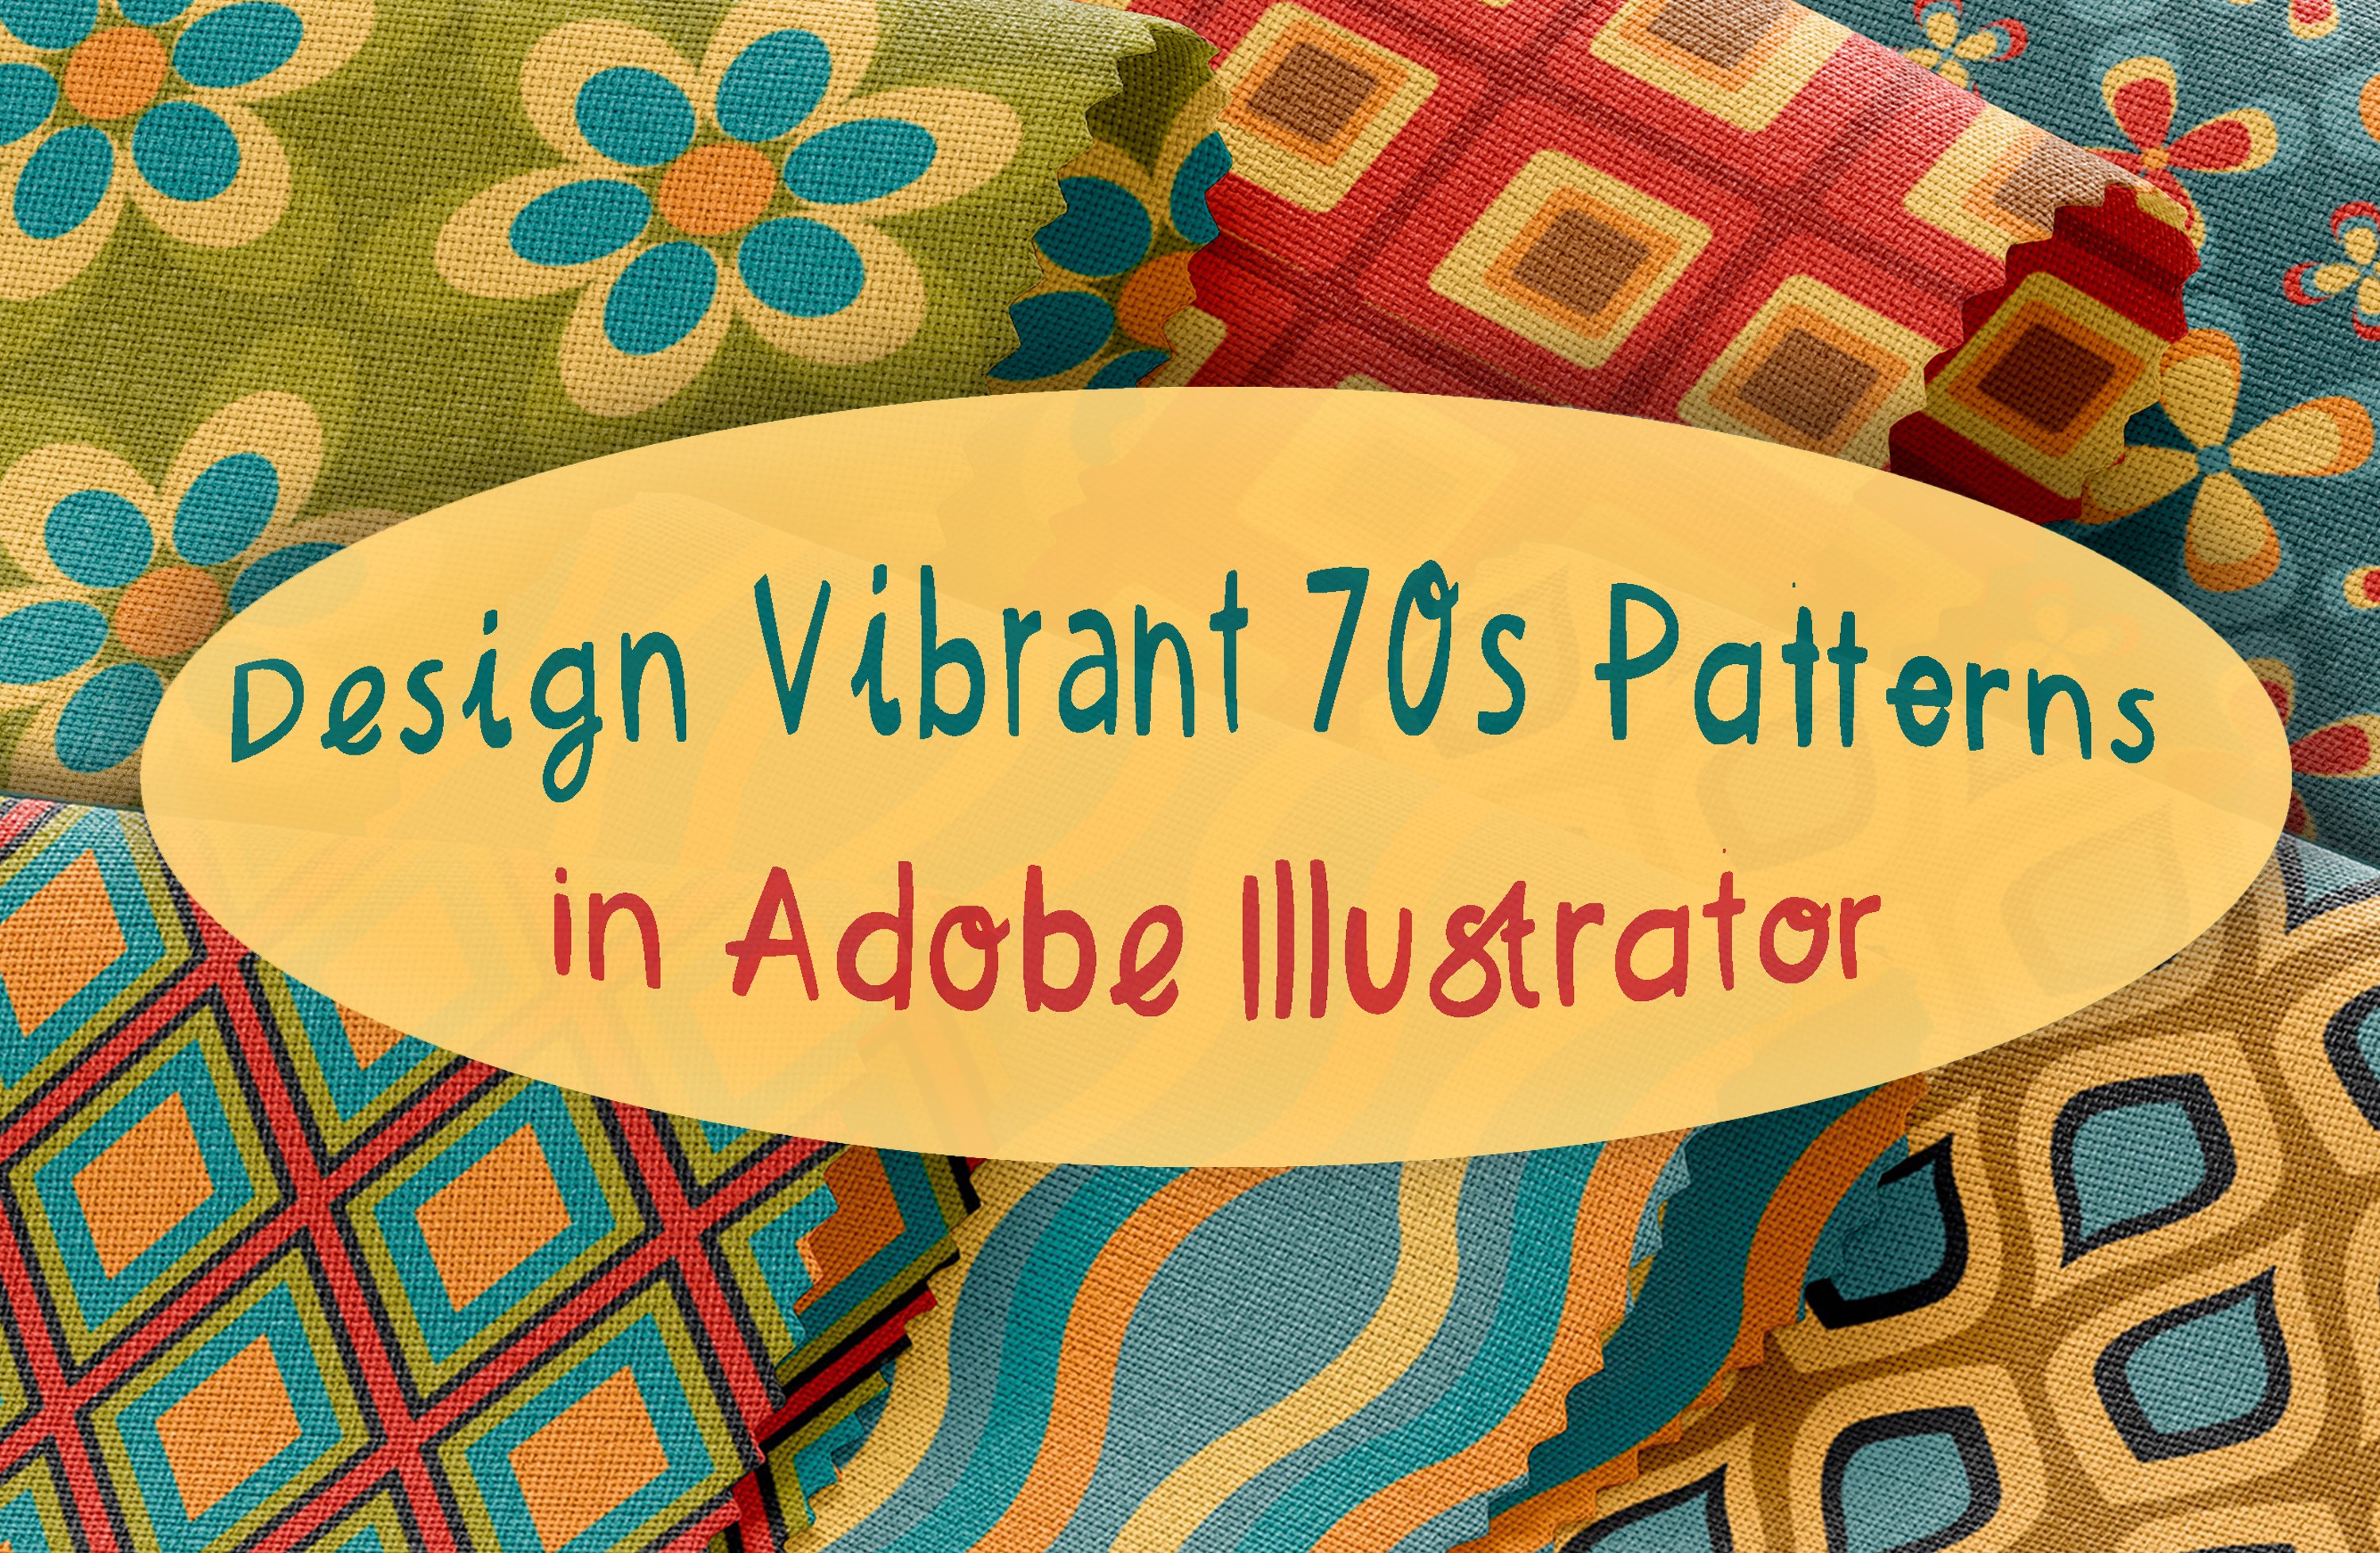
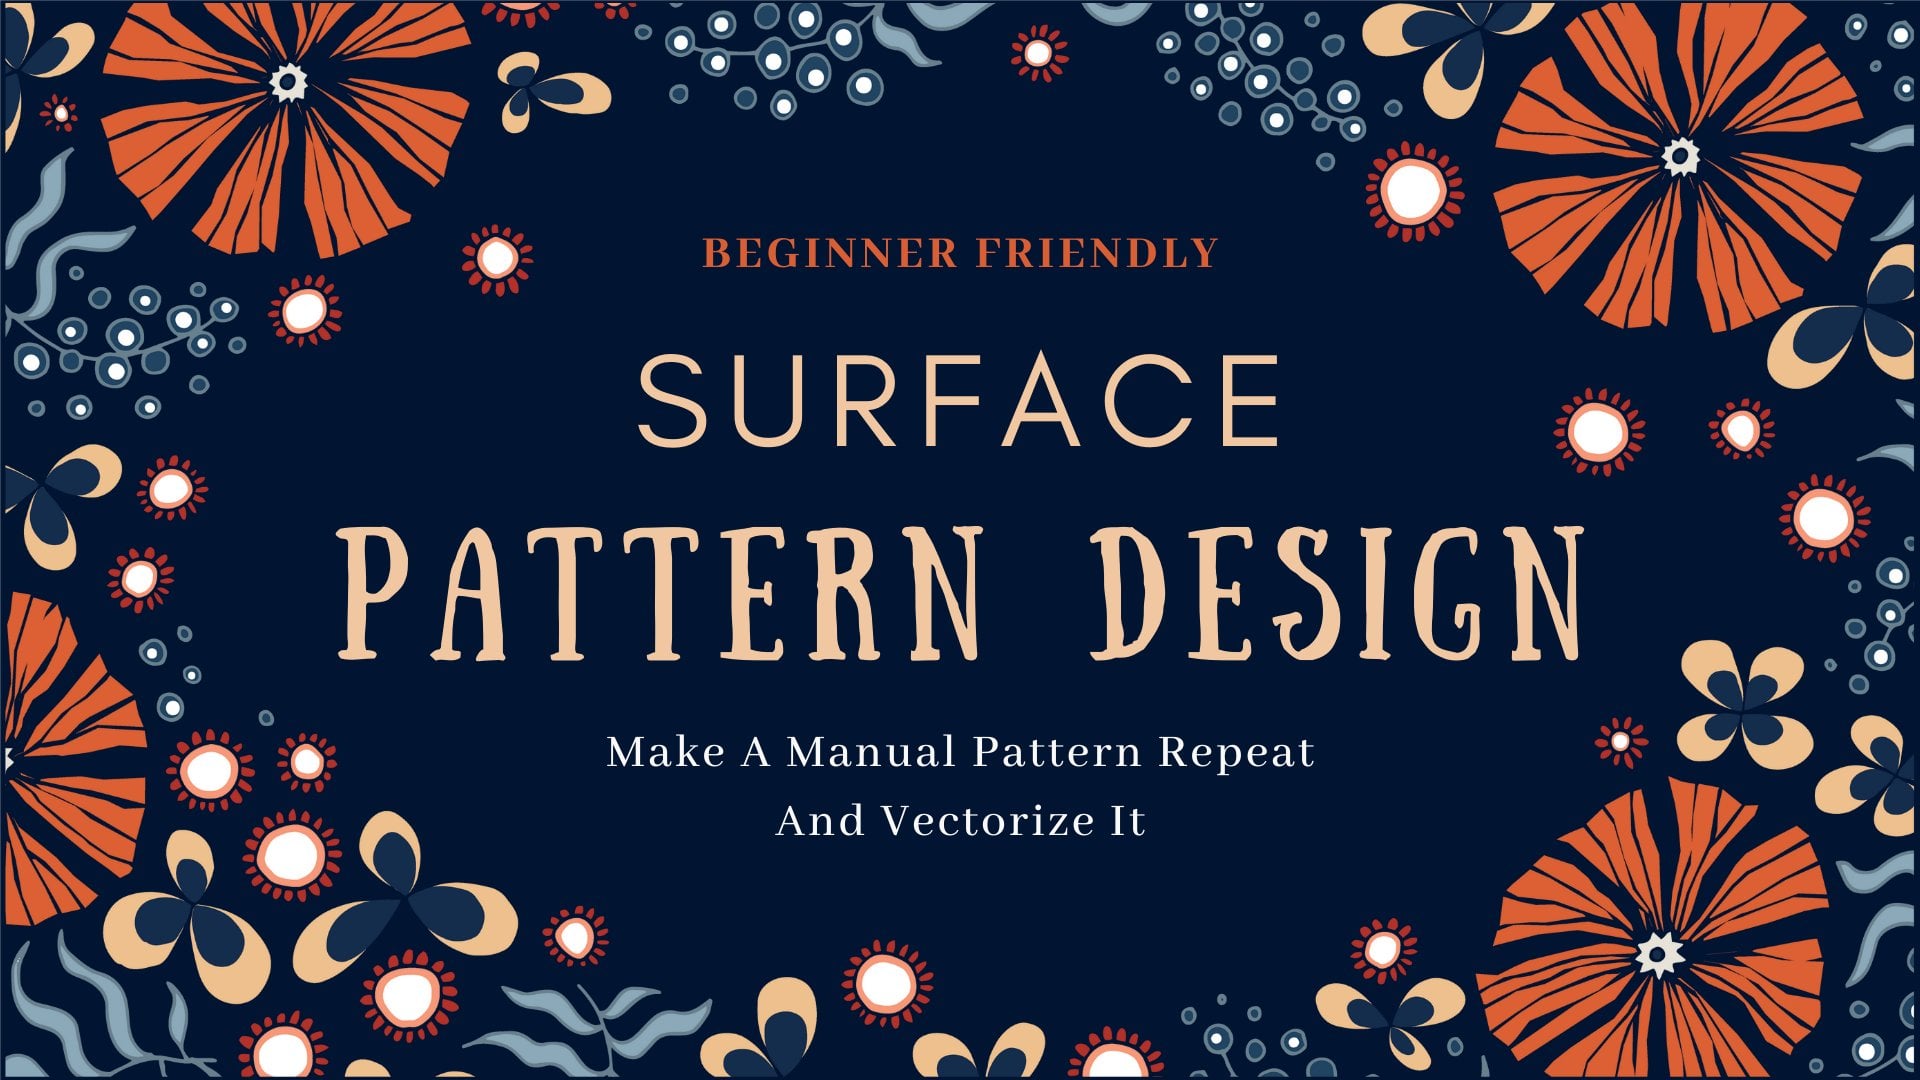
learn how to create retro geometric patterns
in Adobe Illustrator. I'm Yana Maria, and digital illustrator and
graphic designer from Poland. I create mainly vector
arts and surface design. I will teach you which colors work best
together and how to create a pattern that will be both original and the versatile, suitable for different purposes, different products which you
can later cell in our shop, you will learn how to create elaborate patterns
from simple shapes. And you will also learn how
to use different settings and shortcuts that will
improve your workflow in Adobe Illustrator
as a project, you will create their own
surface pattern using geometric shapes and retro color palettes
in Adobe Illustrator, I highly encourage
you to publish your work in the class projects
section of this course. Without further ado, let's
jump into the first class.
2. Color Inspiration: I want to show you my favorite way to explore colors that doesn't involve Pinterest. We'd go to Color Adobe website explore, and we can look for different tags. Let's start with retro. We can see different color themes. I am going to open the first one. I would download it in A-S-E format as well as the JPEG format. Let's see some more examples. Given DO Darrieus the same tag, this color themes are quite different from one another. I'm going to download this one as well in both formats. Let's explore some other texts from, for example, the sixties. Many of them seem too vibrant. My pattern. So I'm going to look for some others. Okay, Let's do this one too. Let's start with that. I'm going to check out this mid-century. This should fit our thing. They are all inspired by mid-century modern design. And scroll down. Okay, I like this one quite a lot. You can also explore vintage or a fifth. Next. Another option is to create your own color theme from an existing picture. You can adjust the colors to your liking. 10, you add this theme to your library. Click on save and open their libraries. Time. I saved it in the first one and I'm going to download it the same. I say that with the previous color things. So here are my thermostats I have downloaded. I decided not to use the last one. So the first three look quite similar. And that's why I'm going to get three dove. The second and the third one just lived a leaf depth-first one. Okay, So these are in the JPEG format, and I want them in a essay format. So I open the downloads, I opened the files that I want, and then I can save them to my swatches. Here's the second term, and finally the last one. Okay, so we have to click on the folder icon so we can see that the swatches appear on the right side. Okay. Now holding Shift, we can select are all free folders. And we'd go to libraries, save swatches. We save it's in Adobe Illustrator format.
3. Circular Pattern: Our first pattern is based on rectangles and ellipses. We start with creating a new file in Adobe Illustrator. 10 thousand pixels on 10 thousand pixels, RGB color mode, free hundreds ppi resolution. If you want to create something that will be printed, I highly recommend to start with CMYK color mode. Rgb is for screen mode. We create a rectangle with a rectangle to pre hundreds on 300 pixels. The next step is to create an ellipsis that will be 600. On 600 pixels. We change the fill and stroke to one. Then the way move the ellipsis to fit the corners to make sure that they're aligned perfectly would go to view, outline. And we can move ellipses slightly. So if it's perfect day, then we change the view to GPU. Now we can move our ellipsis for that corner. We go to Transform Move. So we have to move it free, hundreds pixels to the right and 300 pixels down, and then click on Copy. So we create the new ellipses. Now we select everything with that direct selection tool, sorry, with the selection tool. And it's now would go Shape Builder tool. And holding hold. We deletes the shapes that we don't want and just clicking Quaid create new shapes. Now we select everything and change the fill to black and stroke. Tonight, we go to the swatches panel. If you don't see it, you can go to Window and swatches. Let's see what colors we have to use. Have to create far rectangles. As you can see, with a darker fill. So we have three shapes that we have to recolor. We select the first one, now the middle part. And the third one. Now we'll click the right move. We move it 300 pixels horizontally. And 300 play a family company holding Shift and select tool. We can change the colors of Martin won the shape. Now we selected all three shapes on their rights. And we will move down now to the left. Again, the move. Now we added a minus because we want to move it horizontally to the left. And we don't move very quickly, so we leave it on 0. Now we can reflect the shapes around the object's center, 0.90 degrees point change the colors accordingly. We have last element left. We have to move it again. When I'm over. It's both horizontally free hundreds pixels and vertically free hundreds of pixels. Now that we have our shapes ready, we can move on to creating the pattern. Looks nice. We select everything with the selection tool and drag it to the swatches panel. Now, we double-click on the swatch. And as you consider different options, the default one is a great option. We can also do a Brick by Row or Brick by Column. And we'll leave the brick offset on 1.5. Let's test out our pattern. So it should be more or less a few 1000 pixels wide. And if you had 1000 pixels height. Okay, looks good to me. So what's commonly done now, we can scale our planetary. Again, right-click scale. And we just leave its own transform patterns and uniform. So you can scale it up or scaling down. And it's up to you. And then they're feeding that, That's weekend to move nuts to whole shape, but just the pattern and go vertically and horizontally to adjust it to our liking. Okay, now let's see how we can export this pattern. We have two options. Various ones in a single asset will right-click. So we export the whole the whole rectangle filled with upturn in the JPEG format. And click on experts. We can also just copy or just export it as a single tile of the pattern, which we can later use in another project, for example, in Adobe Photoshop, to save the swatch, to use a lighter in Adobe Illustrator, we go to swatches, swatches library Menu, and then save swatches.
4. Cubic Pattern: Our second pattern is based on squares. We rip into first step. So it creates a rectangle that is 300, 300 pixels. Now we go to Line Segment tool, with which it can create a straight line. By clicking once we open a window where we can adjust the length and angle of the lines. It's not the right place for it, so we have to move it. We're going to move it 150 to the right and 300 pixels down. I will copy the line because I will use the other one as well. We have to move it to math. We will also change the angle so it can rotate it 90 degrees. Looks good. We have to create a square inside a square. So holding the Shift key, we will create a line in 45 degrees angle who have to add frame our lines to the square. So we move the first one horizontally and vertically. We rotate the second line 90 degrees. Now we're a moment, 150 to the left. So we add n minus 3, 450. Let's add the last one. Now we add the minus 250. Now we can move on to our shape builder tool. By dragging, we create one shape from many shapes. And by simply clicking Create, we create separate shapes. Let's change the fill color to black. So you can see we created five different shapes. Now it's time to change their color. Finally, let's have a look at our pattern. We have two different squares. So we will start with the first one and move on to the other one. Will remove it 300 pixels horizontally and 0 pixels vertically, and copy. Now it's time to change the colors of the second square, which has a yellow center. Let's drag both coerce to the swatches panel. Never click, which is the option break by a row and one for break-off set. Let's test out the pattern. We create a square, 5000 and 5000 pixels. Maybe let's scale it up a bit. So right-click scale and transform patterns.
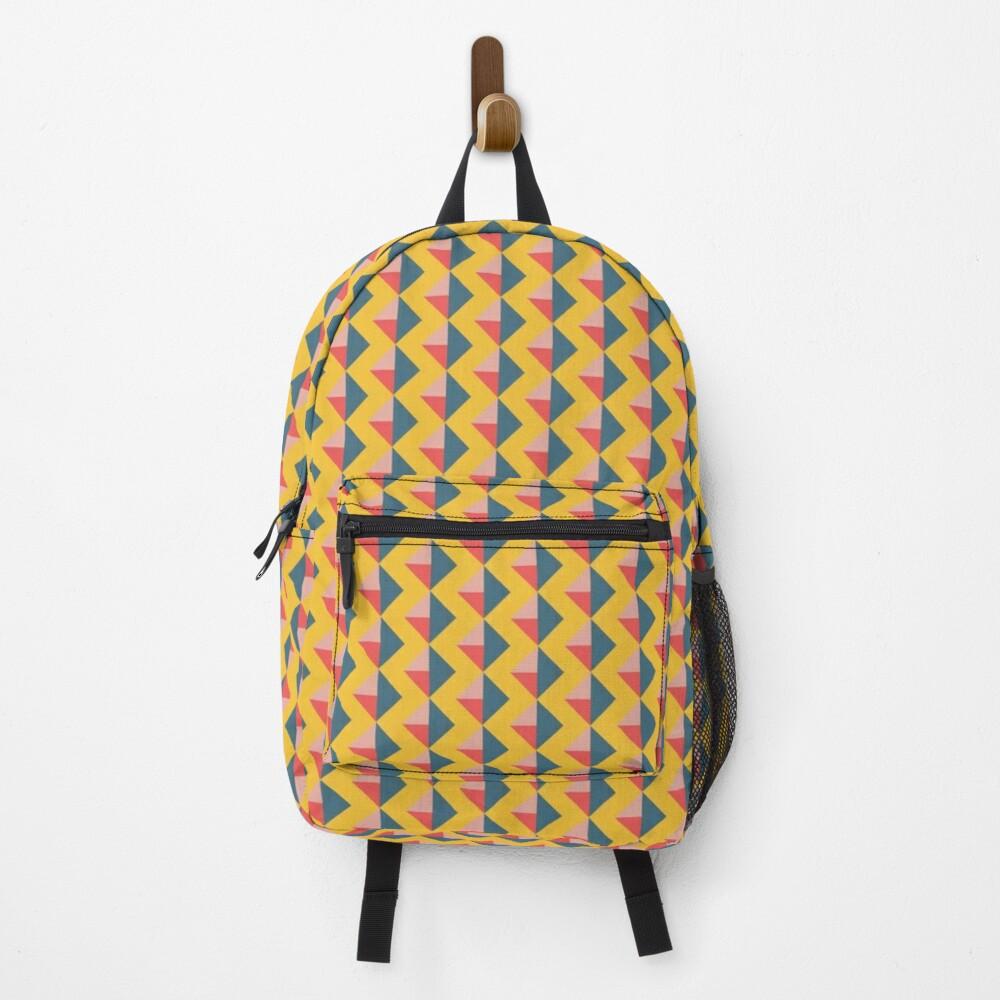
5. Linear Flow Pattern: The third pattern, unlike the first second 1, has a linear flow. We start similarly by creating a rectangle, F3 hundreds on 300 pixels. Then we'll move on to the line segment tool. We create a vertical line, which we place in the center of the square. Then I will add two more lines. I'm not sure about the exact angles, so I'm going to change it lighter with the selection tool. Hey, it's perfectly aligned. Let's copy the line and move it to the right, a 150 pixels. Now we move on to our shape builder tool. And we create three separate shapes. This pattern is based on two squares. So first we will color the one on the left ends down and move onto the one on the right. Track with pattern number two. We've come to this class of 300 pixels horizontally. Let's change the colors of the other one. Now we can drag this to our swatches panel that will cleave to access. And to choose the option Brick by Row 104. And we choose the option sales Size Tile to Art. Let's test out the pattern.
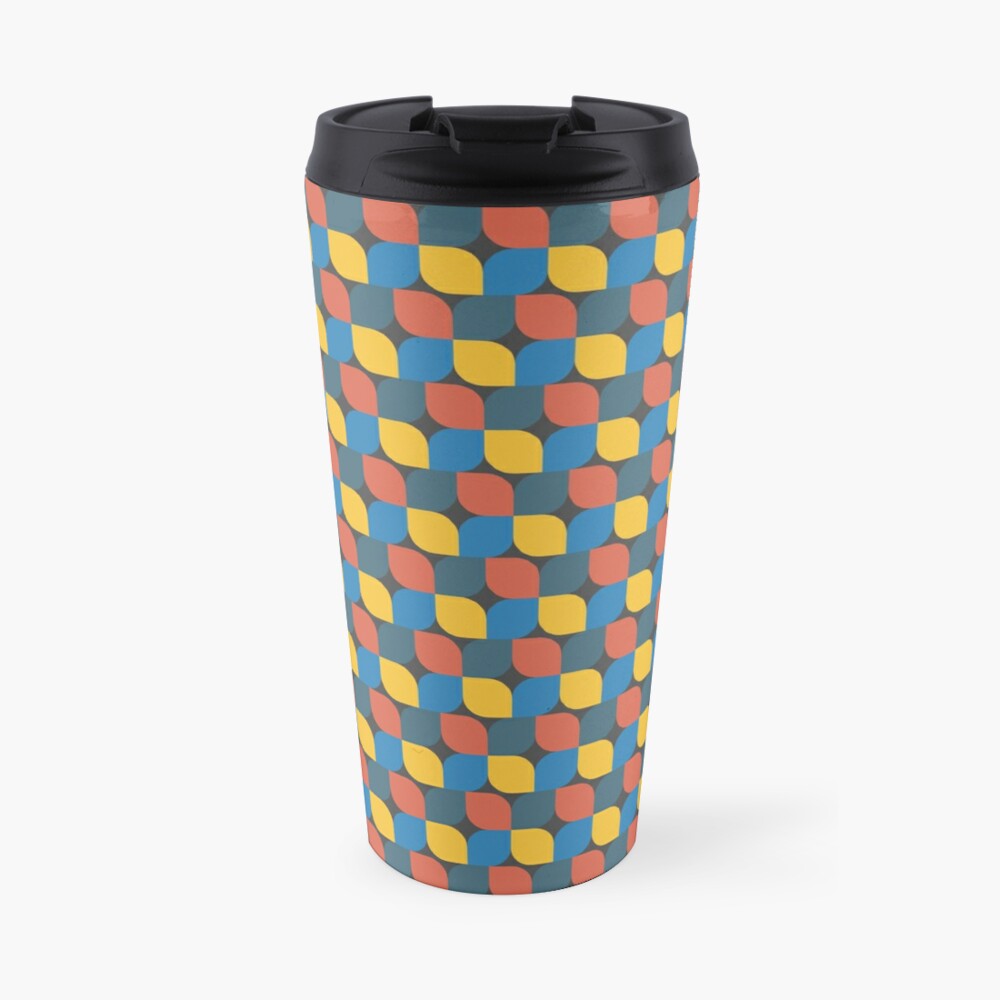
6. Braided Pattern: For our first pattern, we will use both circles and squares. Like with every other pattern, we start by creating a rectangle, 300 and 300 pixels. Now it can create a circle that will be 300 pixels wide. Let's adjust its position. It has to be perfectly aligned. Now we can go to our shape builder tool. Create free separate shapes. Let's double-check. Okay? This pattern is built similarly to the first one. So it consists of four squares. So we repeat the exact steps that we did for the first time. We move and rotate the square. Now I can edit the pattern. Let's select the option Brick by Row. One force.
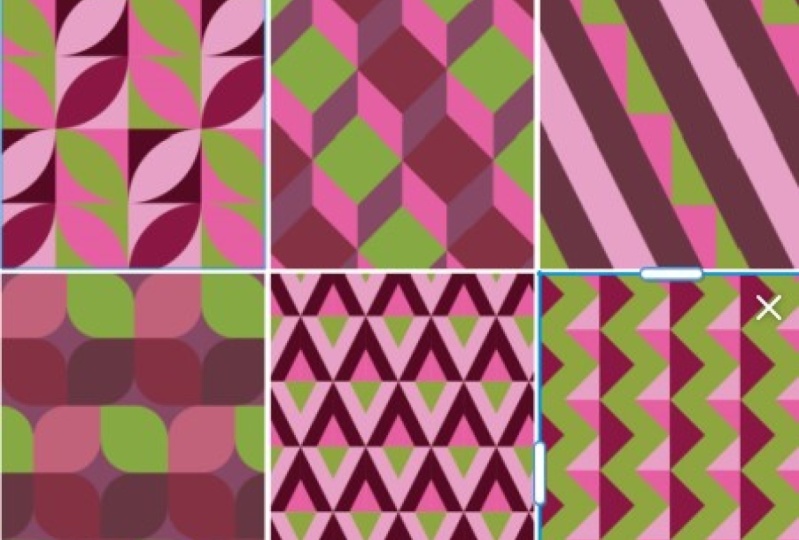
7. Diamond Shapes Pattern: But through number 5 is based on diamond shapes that can never add their example. We start by creating a rectangle for hundreds and 300. Then we go to the line segments tools. And so we create a straight line that this 300 pixels long. We're going to place it in the center of our squaring. Let's copy it and translated. The angle will be 270 decrease. As you can see, we have to create six months lines. Creates symmetry within the square. So the three lines on the left will be reflected on the right side. I'm guessing dangle are we adjusted later on with the selection tool? Remember dot-dot-dot lines have to be aligned perfectly, otherwise the pattern ones work. So let's move it vertically, hands or 250 pixels. And now we're going to do the reflection of these two lines. And who moved them to the right? We have two more lines to go. It has to be placed 1 fourth to the right horizontally, so 75 pixels. Then we can reflect it. Let's work with the Shape Builder Tool. Remember that by holding the mouse and dragging, we can combine different elements and to watch shape. By holding the Alt key and clicking on tracking, we delete the elements that we don't want. Let's see if we got all of the shapes. Painless. Good. Now let's add the color to our shapes. It would be just three colors. So yellow, dark blue, and gray. With this pattern and Mary working just with one square. So we can move it to the swatches panel. Double-click. To access the pattern. We are going to choose brick by row. And 1.5 plus creates a bigger square to see if it's working. Hi.
8. 3D Squares Pattern: Pattern number 6 uses a freely effect. Similarly to pattern number two, we start as usual with a rectangle, 300 by 300 pixels. Now fills trunk one stroke 1. Then we create a cross inside of the square. After dads who we create diagonal lines inside of each square. They have to be aligned perfectly and come from one corner to another. We can that we can do it with. They use the selection tool. Let's move it's 150 pixels to the right. Then we can reflect both lines. Now, using the shape builder tool, we can create separate shapes. Let's switch colors we have to use for this bathroom. So altogether there will be four colors. Blue, yellow, orange, Tourette's and pinkish. Let's recolor the shapes. Now that we have everything, we can go to editing the pattern. This time we are going to select brick by column and 1.5. Now we can test our pattern in the bigger rectangle.
9. BONUS: Recolor Tool: As a bonus, I will show you how to use the recolor tool in Adobe Illustrator. We go to Properties and three color. This really comes in handy when you lack inspiration or you want to test out different color options. So first of all, we can change the prominence of colors. So for example, we want to have more yellow in our pattern and less gray. All we can randomly change the order of colors. We can also play a bit with the color wheel to get some really crazy results that we probably want to use. But we can see what it is Of. As you can see, all of the prominent colors have changed. When they're nuts, happy with the result, you can always click on Reset. And then their fingers we can use is brightness and saturation. We can also do it randomly. Let's try the same thing with the second spots are, Let's say I want to have a bit of the blue color, the dark blue and light blue. And them I'm just change the brightness and saturation randomly. For defense pattern, I'm going to go to Advanced Options. Here. I can change each color separately. We can change the hue, saturation, and brightness. For the first pattern, we will reduce the amount of colors. Let's try with just one color. So first of all, we changed it here. Then the saturation and brightness. We can have two colors. It's creates a really interesting result. This time, I will play with color hormone. They switch a confined on top of the recolor tool. Let's check out different options. Shades us probably my favorite. I will only adjust the brightness and saturation. Let's play with the hue a little bit. For the last one, I will also play with color harmonies. Let's check out them on a chromatic mode. We have to default options. Here we are testing out analogous colors. They also come into default options. The last thing about the recolor tool that they want to talk about this, the Color Theme Picker. You can on different artworks to borrow the color theme from them and dragging. You can select more than one. Then you can of course, change the color order randomly.
 Joanna Maria, graphic designer and illustrator