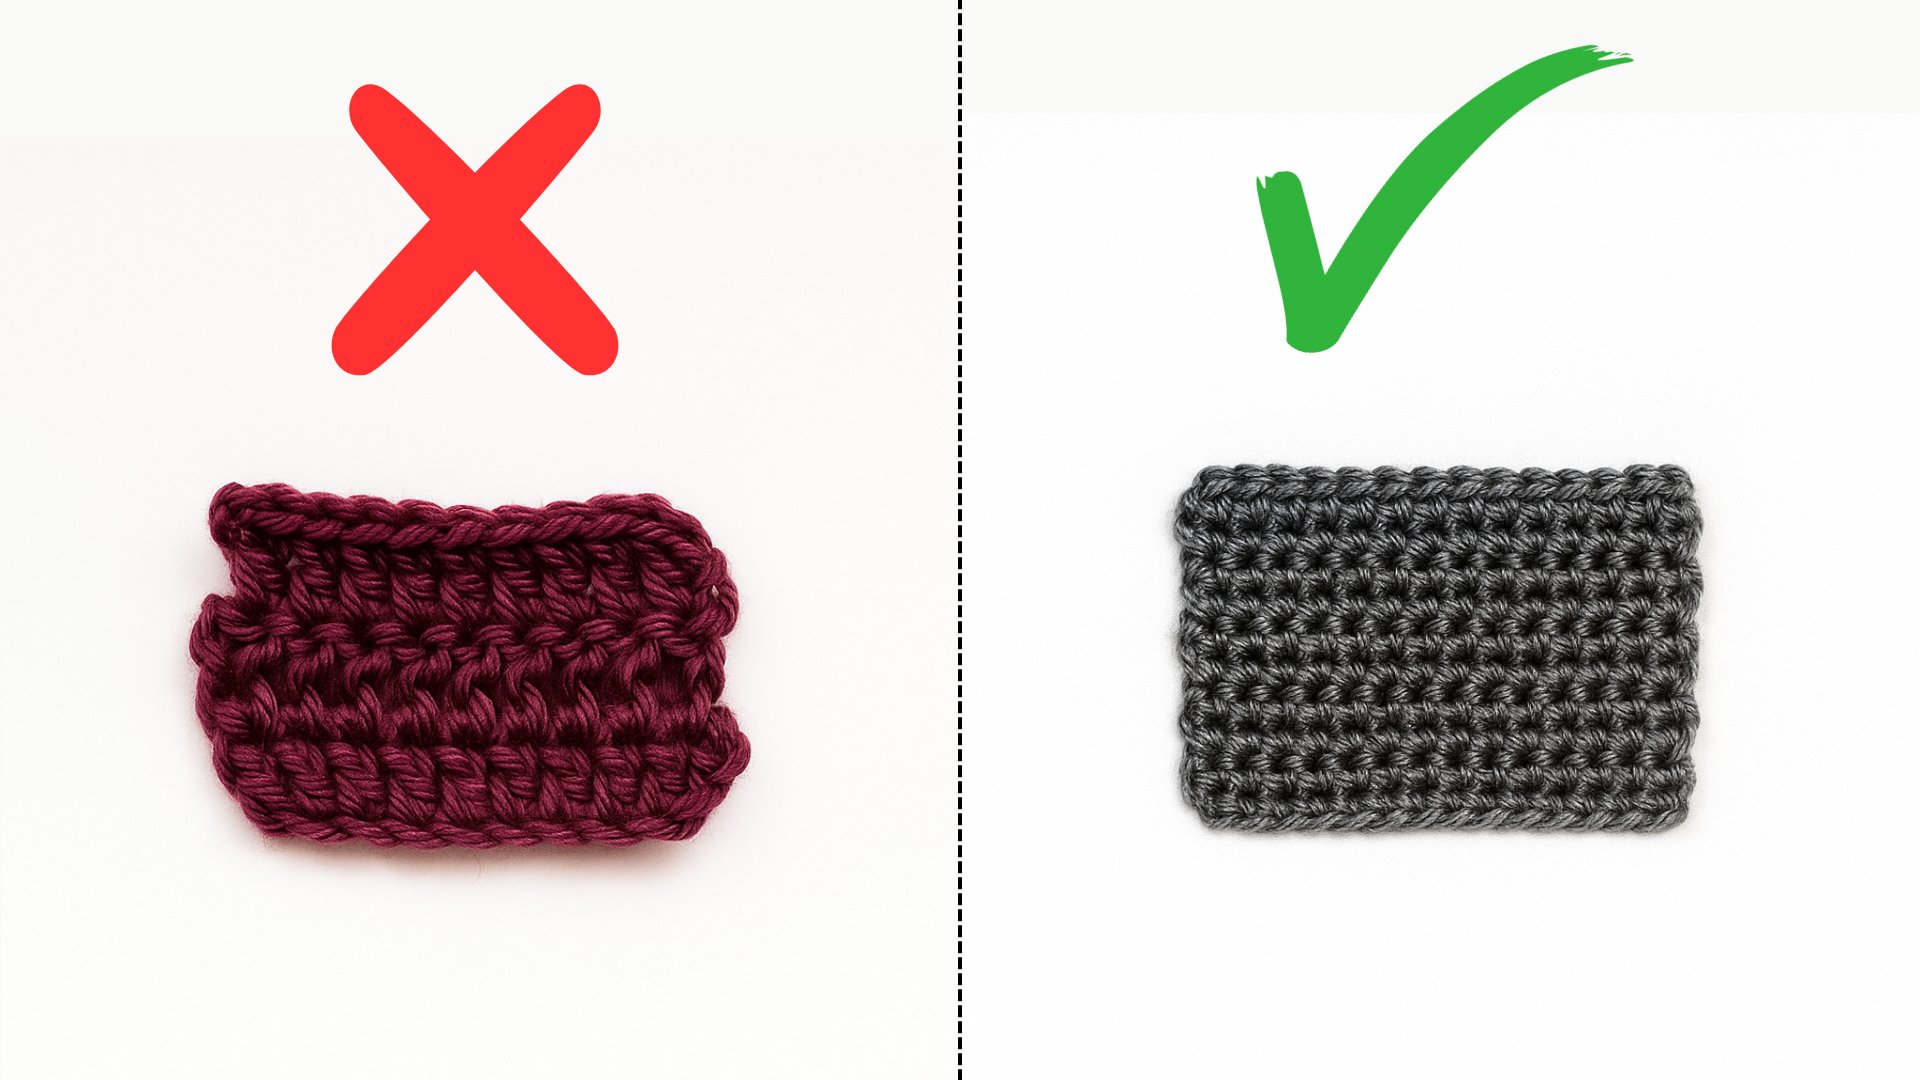
Transcripts
1. Introduction: Hi, everyone, and
welcome to this class. Today we are going to make a super cute crochet candy cane. This is a perfect little
project for the holiday season. Whether you want to decorate
your Christmas tree, add something handmade
to your gifts, or just enjoy creating
something quick and fun. In this class, I will start by showing you all the
materials you will need. Don't worry. The
list is very simple. Just some yarn, hook, and a few basic rules. After that, we will begin
crocheting step by step. I will walk you through
every stitch slowly. So, even if you are a beginner, you will be able to
follow along easily. By the end of this class, you will have your own
handmade crochet candy can that you can
use as an ornament, decoration or a
cute little gift. So grab your yarn and hook
and let's get started.
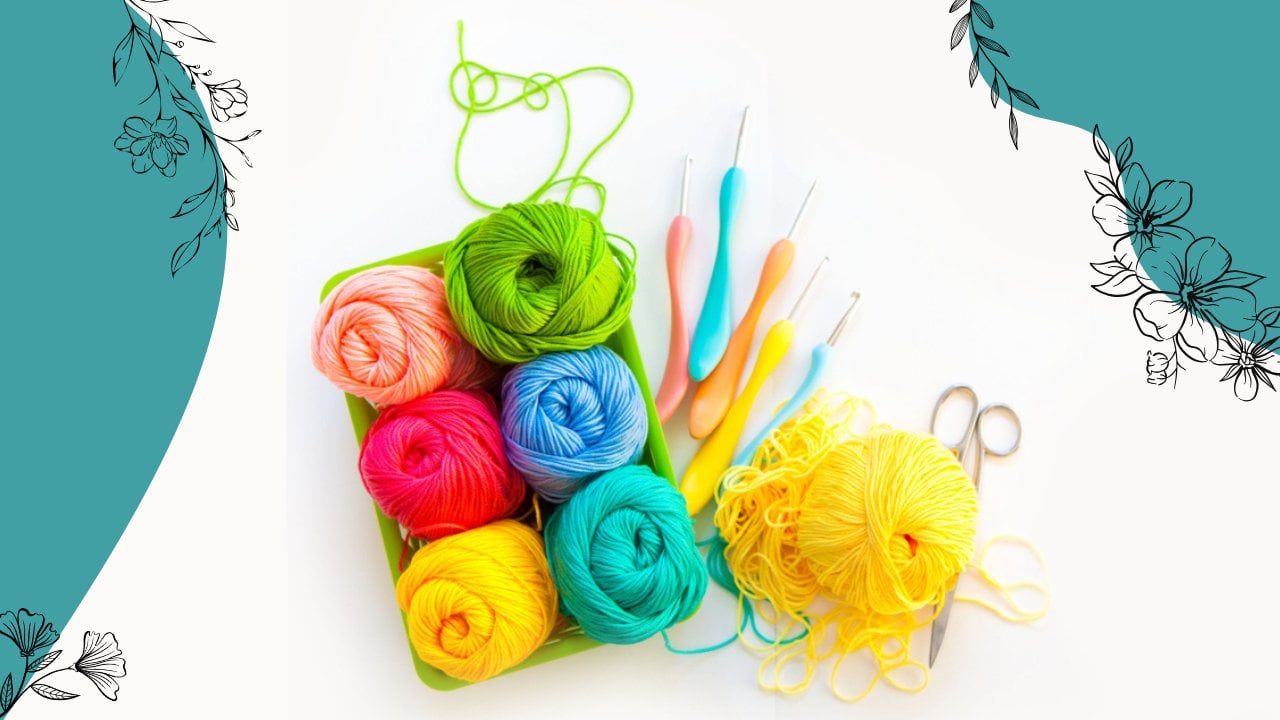
2. Material Needed for Candy Cane: This lesson, I'm
going to show you the materials you will need
to make this pretty candy. First of all, you will need
lightweight yarn in white. You can use either
cotton or acrylic yarn. Next, you will need
lightweight yarn in red. You will also need a
two MM crochet hook. Have a pair of scissors
to cut the yarn. You will need some
stitch markers and a piece of raft wire, approximately six to 7 " long. Applier will be used
for bending the wire. You will also need
some cotton for stuffing and a measuring tape to measure the
length of candy can. So these are all the materials you will need to
make your candy can.
3. Candy Cane Part 1: This lesson, we are going to start making our
beautiful candy can. So let's get started. We will begin by
making a magic ring. Let me show you how to make one. Take the yarn and wrap it around your index finger
and middle fingers. Like this. Now insert
the hook under this strand and pull the
other strand through. Insert the hook
under that strand again and gently pull it
through the loop on the hook. This forms a magic ring. Next, we are going to make six single crochet
into the ring, insert the hook, yarn
over and pull through. Yarn over again, and pull
through both loops on the hook. That is our first
single crochet. Make five more in the same way. That's two, three, four, five and six. Now we are going to pull this tail end to
tighten the ring. So gently pull this yarn end. If you find it difficult
to make a magic ring, let me show you another
method to start. Begin by making a slip note. I hope you know how to make one. Once your slip note is ready, in two, yarn over
and pull through. That's one and two. Now make six single crochet
into the first stitch. Insert the hook, yarn
over and pull through, yarn over again, and pull
through both loops on the hook. Make five more in the same way. So I have made six
single crochets. Pull the tail end to
tighten this stitch, you can start with whichever
method is easier for you. Let's continue. Since we will be working
in continuous rounds, so instead of joining
with a slip stitch, we will make a single crochet directly into the
first single crochet. Insert the hook into the first statch making sure
to go under both loops. Yarn over and pull through. Yarn over again and pull
through both loops on the hook. Insert a stitch marker into this stitch as we will
be working in rounds, so this helps us know
where each round begins. Since we will be increasing
stitches in this round, the stitch marker shows where
the previous round ends. For this round, we will make two single crochet
into each stitch, so make another single crochet
into that same stitch. Now insert the hook
into the next stage. But instead of using
the white yarn, we are going to
attach the red yarn. Take the red yarn, place it on the hook and
pull it through the loop. Yarn over and pull through
both loops on the hook. Then make another single
crochet into the same stitch. Next, insert the hook into
the following stitch. Take the white yarn. Place it on the hook and
pull it through the loop. Yarn over and pull
through both loops. Make another single crochet
into the same stitch. We are going to make two
single crochets with white yarn and two
single crochets with red yarn alternately. Insert the hook into
the next stitch. Place the ration on the hook. And pull it through. Yarn over and pull through
both loops on the hook. Make a single crochet
into that same stitch. Insert the hook into
the following stitch. Take the white yarn. And pull it through. Yarn over and pull
through both loops. If the stitch feels loose, gently pull the previous
yarn to tighten it. Make a single crochet
into the same stitch. Insert the hook into
the next stitch. Place the red yarn on the hook. And pull it through. Yarn over and pull
through both loops. Make a single crochet
into that same stitch. Now that the round is complete, remove the stitch marker. You will notice
three stitches here. Skip the first stitch and insert the hook
into the next one. Take the white on. Place it on the hook
and pull it through. Yarn over and pull
through both loops. This time, instead of making another single crochet
into the same stitch, make one into the next stitch. In the previous round, we increase stitches by making two single crochets
in each stitch. This round, we will make one single crochet in each stitch. Insert the hook into
the next stitch. Yarn over and pull through. Yarn over and pull
through both loops. Now insert the hook
into the next stache. Take the yarn. Place it on the hook
and pull it through. Yarn over and pull through
both loops on the hook. Make a single crochet into
the following stitch. Insert the hook into
the next stage. Pull up the white yarn, yarn over and pull
through both loops. Make a single crochet
into the next stage. Continue in the same way, making two single crochets with red and white yarn alternately. As this is the wrong side, let's turn it inside out. Now we are on the right
side of the candy. Let's continue working
in the same pattern. Insert the hook into
the next stage. Take the white yarn
and pull it through. Yarn over and pull through
both loops on the hook. Make a single crochet
into the next stage. You can now see the
strip pattern forming. Continue working in
the same way until your piece measures
about four to 5 " long. How
4. Candy Cane Part 2: So let's continue
with our candy cane. As you can see, I
have completed mine, and now let's mire its length. Take a mi uring tape. It meures about 5 " long. This length is perfect. Now let's finish it off. We are going to cut these yarns, but before that, make one chain. Then take your casars
and cut both yarns, leaving a few
centimeters of air. Pull this yarn all the
way through to secure it. Pull the other yarn as well. Next, we will add
the craft wire. Take a piece of wire
about 7 " long. Fold one end of the wire. Like this. Now take your candy can and carefully
insert the wire inside it. Once it is inserted, fold the remaining end of
the wide using a player. And then push that hand
back inside the candy can. Now we are going to fill
it with some cotton. I. I have filled mine completely. Just make sure not
to overfill it as too much cotton will make it difficult to bend
the can nicely. Once it is filled, let's close the open end. Skip one stage, insert the
hook into the next stage, and pull the yarn end through. Repeat this. Skip one stage and pull the yarn
through the next. Continue until the
end is closed. Now pull the Yant ad gently to tighten and
close the opening. Let's hide this Yarte as well. And trim any extra yarn. And our candy can is ready. Fold one end slightly to give
it that classic candy can shape. And that's it.
5. Outro: Thank you so much for
joining this class. I hope you enjoyed making your crochet candy can and learn something
new along the way. You can use this candy cane to decorate your Christmas tree, turn it into a cute kitchen or add something
handmade to your gifts. Don't forget to upload your
project in the class section. I would love to see your candy
can and how you style it. If you like this class, make sure to follow me for more simple and fun
crochet projects. Thanks again for watching, and I will see you
in the next class.
 Nida Younas, It's me :)