Transcripts
1. Introduction : Just because it looks hard
does not mean it's impossible. Hi there. I'm Elena
Charity of San Crochet, and I'm a crochet
teacher and designer. So Stan Crochet started a
few years back on YouTube, which has now progressed
to teaching how to crochet for the
absolute beginner and, of course, writing
crochet patterns. As to date, I have
published one book, which is a compilation of all my crochet cardigans,
and following up, is another book which
will be a compilation of all my crochet sweaters, and all of these are
absolute beginner friendly. Today, we're learning
a few crochet tips and tricks that should help ease
up your crochet journey. And this will range
from how to make a very long crochet chain to how to master the magic ring. This class is for anybody with
an interest in crocheting, whether you need to crochet
or you're coming back to crocheting after taking
a very, very long break. So I hope that by the
end of this class, crocheting will not be as challenging as you thought
it was at the beginning. So, let's get started.
2. Make long chains without re-counting: The first tip that
I'm going to show you is what you
guys should do when you are crocheting big projects that call for very,
very long chains. So for example, I am
crocheting a blanket, and I had to make a very
long chain for this. So imagine you're
having to chain 2300 and then you're not sure if you missed a chain
or if you added a new chain, and you have to go
back and count 300. And you don't even
know if you missed a chain again when recounting. So there's a trick that I learned when you're making
very, very long chains. It's going to call
for stitch markers. So make sure you have
stitch markers close by. You're going to begin
by making a chain. And I will keep this in fives. Okay? So you're going to
make a chain of five. Since five is a
very small number, it could be ten if you want,
but I'm going to do five. Five is a very short
number, small number. So I'm going to
make five chains. So that's one, two, three, four and five. Into that fifth chain, I'm going to take your
stitch marker. And insert in chain number five. If you're working a bigger
project, obviously, if you do tens or ties, it's even much
better because the five will call for a
lot of stitch markers. After you've done
your five, you're going to start for one again. One, two, three, four, and five, grab another stitch marker, and I'm going to place it right into that fifth
chain that I just made. There we go. That's that last
chain I just made. Then I will insert my hook
again and count five again. One, two, three, four and five, get my stitch marker and place it into that last
chain that I just made. In this case, what
this means is, obviously, I'm not going
to advise you to do fives. I'm going to advise
you to do ties, even 30s, if you can do it. Just make sure when you're
chaining, you are paying very, very close attention, assuming these are 30s or these are tens. When you're done
with your chain, and you could even be absent minded when you do this
as long as you're keeping track of your fives
or tens or 20s or however many
changes you're making. You're done, you don't have
to start counting from one. You're now just going to
count the stitch marker. So in this case,
I was doing five, so I'm going to
do five, ten, 15. I know that there's
15 chains right here. There's no need to start going
counting chain by chain. It's very tedious and
it's very annoying. And this way, at least you
know that there's no mistakes made in your crochet in
your foundation chain. So if you didn't know that
one, that's a new trick. And one thing that this calls for is a lot of stitch markers. So be sure you have a
lot of stitch markers. If you do not have
any stitch markers, you can always use a
different color yarn or something I learned
recently, bobby pins. If you've got bobby
pins on the house, you can always take them. They tend to stay. They do not easily move out. So you can just stick a bobby
pin into that stitch and other stitches in your fives or tens or fifteens or 20s or
whatever number you choose.
3. Changing yarn color mid row: 2 methods : Imagine you crocheting and the pattern for for you to
use two different colors, and by that I mean,
you have to switch from one color to
another mid row. So some people will tell
you to cut off the old yarn and connect by tying a
knot to the new yarn. You don't want to
do that. It's going to look really messy, it's going to look really weird. So there's two methods
that I have come to learn when it comes to
changing colors mid row. One of them is my favorite. Another one is quite new, but obviously, you will pick whichever
one you like first. I will show you the one I have been using for the
past few years. So what you do, I'm using a
single crochet, in this case, you will insert your hook
and pull up your loop just like you're making a
normal single crochet. As always, when we're
doing a single crochet, we finish off the
robe by yarning over and pulling through, right? So in the case that you are trying to transition
to the new color, and the new color
is going to be in the next stitch right here. You are not going to finish
off with the same color. You are going to bring through that new
color that you want, and you're going to finish off that single crochet
with a new color. Just like so. So now the
working color that you had, you can always bring
it to the front, assuming that when you're
coming back the row, you have to pick it up again. But otherwise, if this is the only row that you're
changing colors with, you can just leave
it where it is and you can cut it off later on. But if you're going to go
with a new color and then come back and switch
back to the old color, I would say bring
that working yarn and leave it in front. Now with that new color, you want to hold on to that tail so that we
can work over it, and you're going to proceed with whatever color is
that you're working. So keep in mind, watch how I am working over the tail so that when you see
it from behind, it doesn't show. Okay. And you're going
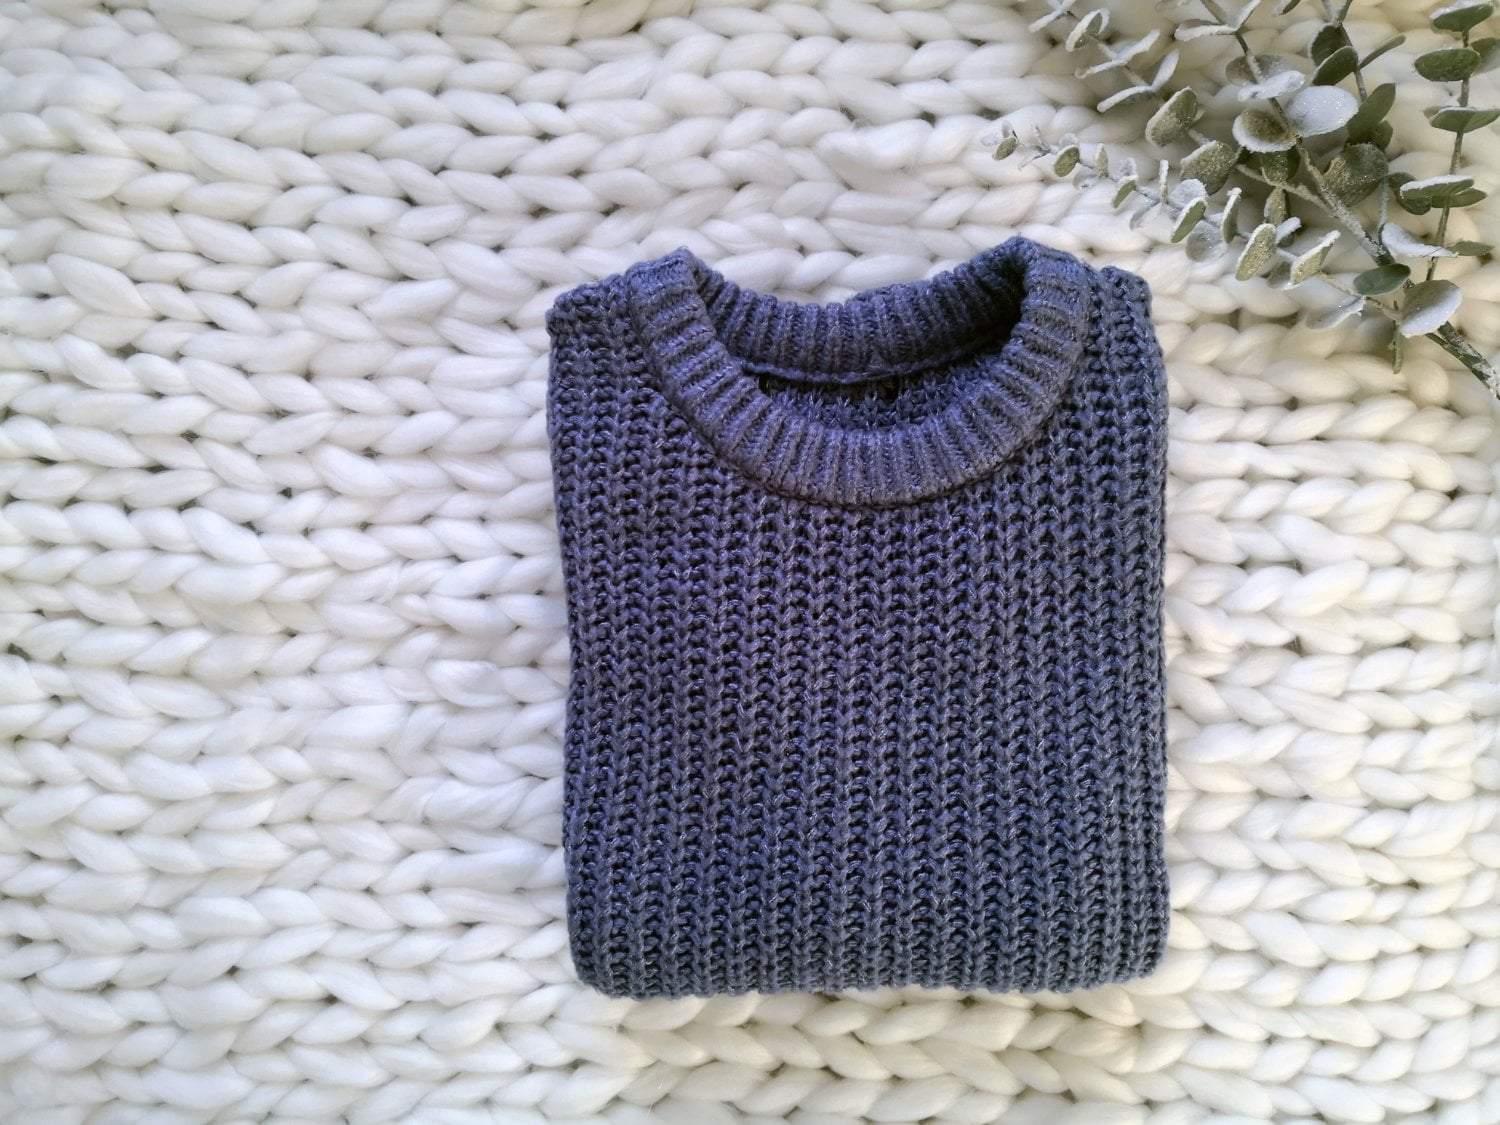
to proceed and go on working in that new color. Just like so, I have used this method for
a lot of my projects, especially I made a
sweater a few years back, and I had to keep changing colors or I had to change from, I think it was gray or black or blue because it was
three colored sweater. I was so pretty. And I used this exact method
that I showed you. So I assume now I'm going
to change one and turn. Assume that you're
changing colors again, and I'm going to now show you this new method I just
recently learned it, and I find it to be so, so cool. So let me just reach to that sitch where
we changed colors. Assuming that you're, you know, using the second method
and you want to change colors of the yarn,
what do you do? Right. So remember before, I said you came to that
last stitch of the pink, in this case, you start and then you finish
off with a new color. In this case, you will finish off with the same color
that you're doing. You just pull out a loop, and now this is the part I
want you to pay attention. Okay? You you will get your hook and you will insert your hook through this loop right here. The loops that we're
looking at are this one and this
one right here. Not the two that
you see down here, but the one at the top and the one furthest,
which is this one. You will insert your
hook through those two, just like so. You will bring you grab that new color that you want
to change to yarn over, and you will pull through. Let me just do that again, okay? This is the last
stitch of the pink. We want to change back
to the blue, right? So you will get your
hook insert it into that first string
you see right there, that loop, you insert
your hook into there, and then you go into this one right here
the furthest from you. You grab your color, your new color, Yanova
and pull through. Then you make your
next single crochet in the blue. And
then so the pink. Obviously, we're not going to leave this standing right here. You can now grab that
working color you had, and when you pull it through, it just disappears
just like that. Personally, I like this because somehow it looks neat
or it's just cool. When you pull you would think that it's going to come apart, but it really
doesn't. It doesn't. So remember how when we
finish the previous row, we left this blue
yarn at the back. It's so easy to pick
up just like we did. And that's all
you're going to do. You can either use my method
or the second method. Personally, I think I like
both. They're equally fine. Just that the second one I just showed you is so involving. The other one, the
one that I'm used to is so much faster. And just like that, you're gonna continue
working your way, and I'm just going to show
you my method one more time. So I've got one more in blue. I bring my yarn to the front. I pick the pink. Now, do
you see what happens. The method that I
just showed you, the second one is leaving
that on in front. I prefer that on
to be at the back. So anyway, you pick that yarn and you use it
to finish off the work. Now, what this does now
is it's left you with that yarn looking more weird
and funny in the front. And you cannot uns it. Do you see what I mean?
It's right there. So, personally, if you ask me, I prefer my method
than the one where you the one I just showed you recently where you get
to pull out the urn. So at the same
time, like I said, if this little string
doesn't bother you, you can choose whichever
method you want, either the first one
or the second one. But that is how we change colors when we're crocheting dw.
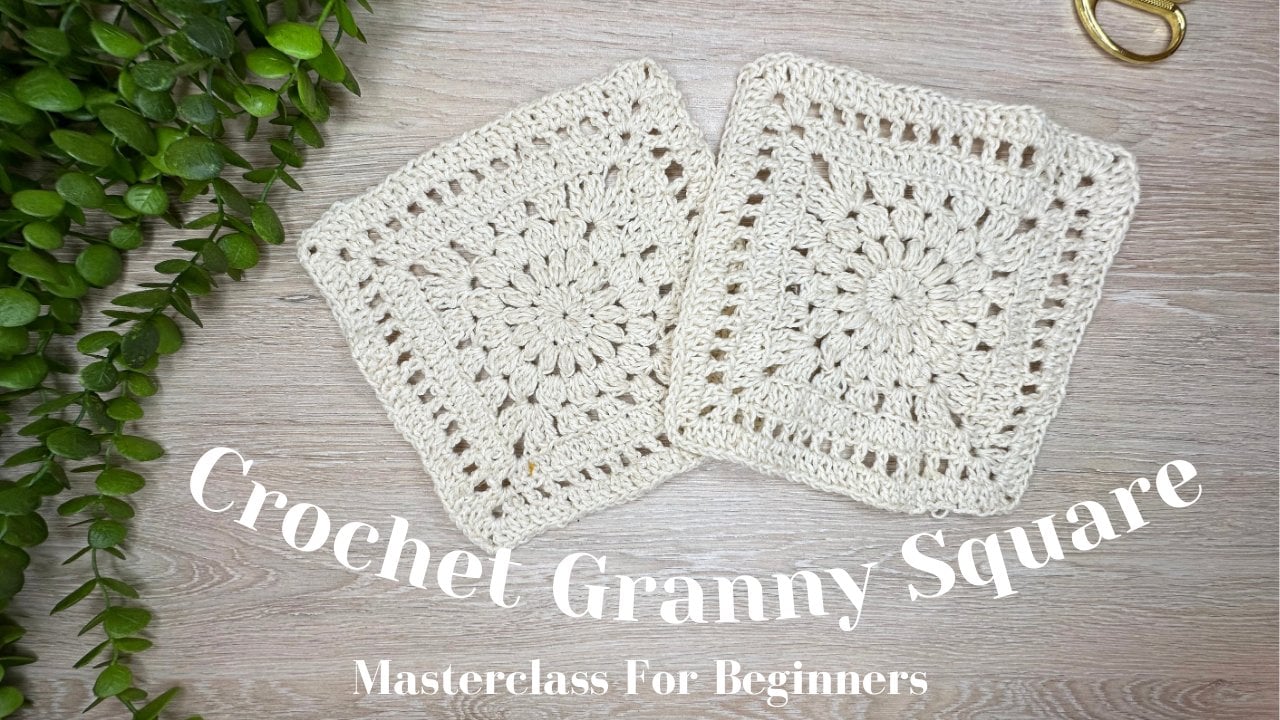
4. How to crochet straight edges without skipping stitches in between: So the next lesson is
going to be how to crochet straight edges without skipping any stitches at the end
or in between your work. I have these two
swatches in front of me. Both of these have the
same foundation chains, and they're worked
with the same hook, same yarn, same size
yarn, and same stitch. However, on this
one, I was skipping and increasing in some areas on purpose because I
know as a beginner, there are times when you tend to skip or add an extra stitch and your work may look a bit like this when you want it to
actually look like this. So to remedy this, you're going to need a few
stitch markers. So I'm going to be
using a small watch, but in this case, I will
be using two methods. One is one of them will be the first one
that I taught you, where when you're making
a very long chain, you keep stitch
markers with you. So in this case, we're going
to incorporate that one, and what I'm going to
teach you as well. So in this case,
we're going to treat the top row as our
foundation chain. So I assume you have made
your foundation chain. In this case, I made 16 to
have a total of 15 stitches. You're going to I'll be
using a half double crochet. So you're going to n over
and insert your hook. And make your first stitch. So before you go into
the next stitch, you want to grab
a stitch marker, right so, and you want to place it on top of your first stitch. So if your work is long, assuming you're making a
blanket or something like that. So if your work is long, you're going to do what we
did in that first lesson where you're going to be doing
about ten or 20 stitches, and then you're going to
place a stitch marker. And as you do that, you
want to be counting, making sure you're correct,
so you do not skip. However, if your switch is as short as mine or
something like that, you're going to place a stitch
marker on that first one, and then you want
to make sure that let me just unwind my bow. You want to make
sure that as you go, along your project, you are counting because it's so
easy to miss a stitch. Okay, so I know
that I changed 16, and therefore, one of
them was a turning chin, so I have a total of 15. So that was one, and that's
two and three for five. If you are a beginner,
you don't want to, you know, be in a very
loud environment. You want to crochet where
there is some peace and quiet. I mean, if you like to listen to some car music,
then you can do so. But then I tend when
you're crocheting, when there are people talking, and you're part of
that conversation, you tend to lose count. And this is even for
advanced crochets, okay? So we're towards
the end of the row. So I've got one more to
make and at that last one. In this case, that would
be your last chain. So before you turn or chain one, you want to just place a stitch marker into that last one. What you have done is
you have marked the first and the last
stitch because the first and the very last stitch are what we usually
miss as beginners. Somewhere in the meadow,
it's not as easy to miss. However, the last ones, it's very easy to miss those
because it's hard to see. So you're going to make
your next chain and turn. As a beginner, this was one
thing I struggled with. After I turned, I didn't
know because this always looks like a chain and then you're not sure if
this is the one. So that stitch marker
is going to help you. You're just going to remove it. And where that
stitch marker was, that's where your first
stitch is supposed to be. Then you want to
take that stitch marker and put it back in that first stitch and then you're going to go
ahead and keep crocheting. And that's what you'll
be doing. So remember, if your project is
long, like a blanket, for example, you're going
to play stitch markers in every ten or 20th stitch.
That way you will know. And if you happen to see
it going a bit wonky, it's easier for you
to audit or go back and see that, where did I miss? But if you're doing a blanket, so you have about
two or 300 chains, you want to make sure
you have a stitch marker in every tenth or 20th. So what you're going to
do, assuming this was 20, and then you place your stitch marker,
before you proceed, just go back and double check that I really do have my 20. And so it's going
to take a while, but until you get used to it, until you get the hang of it, it's going to be so much easier. You won't even need the
stitch markers anymore. And in this case, where you see that the stitches
are going in here, in this case, it's because I skipped the very last stitch. If you can see that's a stitch. Then there are
instesens where you can see some holes in my work, and that's because there's
skipped stitch right here. Then there's this part
here is we skipped stitch. If you happen to see
big holes in your work, it could be that you
skipped a stitch. Then there this instesins
where it's getting wider and bigger and that's because there were stitches
where like this one, for example, in this stitch, there was two have to bo crochets placed in one
place in this one as well. When you do that, it's like
you're increasing your work. So you tend to increase
without knowing without plan. Like this one, there's
a skip stitch down here and then increase up here. It looks like cheese. Your work tends to
look like cheese. But yeah, use stitch markers to sure and make sure you're
counting as you crochet. And with that, your work will
be as straight as a wall.
5. How to join yarn : Working and you find
yourself that you have come to the
end of your yarn, but your project
is not finished. What do you do? In this lesson, I'm going to show you
how you can connect yarn from a strand
that's finished. What I've usually been
doing over the past years, let's say these two other
strands is the same color. I'm using different colors
for easier demonstrations. What I've been doing
is making a knot. With both strands,
the old and the new, I would just tie them, like so. So obviously, I can
proceed with my work. But obviously, I'm not
gonna leave this like this. So I usually just get
a pair of scissors. And since I have tightened
this as much as I can, I will come as close to
the knot as possible, and I just snipped that off. Just like that. So
what this leaves me is it leaves me with
something like this. However, the bad thing about my method is you'll now
have this little bump. I mean, when you're crocheting,
if you crochet right, you can get it within
your stitches, and it may not show, but sometimes this
might be a bother. If you're a perfectionist,
this might be a bother. So I have made this other one. With what we call magic loop. You can also see the
knot, of course, but then it's not as
much as my method. I'm going to hold
them side by side. So you see the
difference, you see? This one is more
conspicuous than this one. Clearly. So I'm going to show you how
to do the magic knot method. So let me just cut
the strand of n. There we go. So set that aside. We're going to assume this is
the yarn that has run out. So this method will not work if you are left with a little
strand of yarn like this. So you want to make
sure that you've got about a few inches, say this long of yarn left
for this method to work. So the pink will
be our new yarn, this yellow would
be our old yarn. So you're going
to get your yarn. All you're doing
is making a loop. Like so start again. So I'm just going to go between my pinky and my ring finger. I guess that's where
I put the yarn, and then we're going to
make a loop, just like so. And then the tail end, you're going to
bring it underneath. So you're just going
to pull that loop through, but you're
not going to finish. Okay, I'm going
to do that again. So you're going to get
your working yarn. This is the yarn that
you've run out of. Yeah. And then you're going to
just make a little loop, just like so nothing fancy. You're going to go
underneath, grab that tail and bring it through. You want to finish it? So you're just going to lay
it down like this. Now, you take your new
working yarn, okay? You will enter it into
that loop, the yellow one. Okay? Just like so. You bring it underneath
that yellow. So you're going to pull
in a bit of a tail. You bring it underneath
that yellow, and then you want to bring
it over and under the pink. Right? What not done? Stay with me. Over
and under the pink. Then you're going
to take that tail and put it through the pink. Don't worry I'm going to
do the second at the end. So now what we've done is
we've got loops, two loops. And both of them, the yellow has the
pink going through it, the pink has the yellow
going through it. Okay, so you're
just going to take that short end of the pink and tighten it together with
the same with the yellow, take the short end of
the yellow, tighten it. Not too tight, tight enough. Now, you see what
we've done, right? You're going to take the
long tail of the yellow, then that's connected to
your working project, and then you pink. So the longer tail, and you
just want to pull them. Now that's where this is
where the magic happens. And when they come
together, you can now tighten them as
much as possible. When you pull on
the shorter tails, you are undoing what
you've just done. So let me just undo
this if I can so that I can show you
may definitely not. So I will cut the yarn and I'll make will do this again
together on came on. So obviously after you've
tightened them like that, this is where you get
your scissors and you will cut the yarn as close to the knot as you
can, because your knot. Oh, it's very much secured. I got a new pair of scissors. My husband got me a
new pair of scissors, but I do not like this
one. I don't know. I think I'm not used to it yet. So you're gonna do the
same thing with the short tail of the pink. Oh, there we go. Now, what
you have, can you see that? It's not going anywhere.
This is what you have. This is what you have.
So I'm just going to cut both strands so we can
do that one more time. I know it's a bit confusing. When I was learning it, I
was losing my cool as well. So, your yellow is
your working and. It's the one attached
your project, okay? You're gonna take that yellow between the pinky
and the ring finger. You're gonna pull
out a bit of a loop. Then you just want to bend
over itself like that, okay? Loop it, just like that. Then you want to take that short tail and just pull it through. Like you're tying a
knot, as simple as that, but you're not gonna
finish that knot. You're gonna set it aside. Okay, are we together? Now, you take your new yarn, and you insert it through
that loop. Just like that. Now, you're going to
take that pink yarn, the new yarn this. You're gonna put it under the
yellow, so it goes under, then it's gonna come
over the yellow and under itself, just like so. We're not done. We're
gonna take the same yarn, and we're going to put
it through the pink loop that we've just made right here. And you're going to close
the pink or the new yarn, and you're going to do the
same thing to the yellow. Now you're just going to
hold the two longer sides, and you're gonna so
I'm not going to make this as tight because obviously,
I'm going to undo this. You're going to pull
the longer tails, and you will watch
the magic happen. So they'll come
together just like so and then you're going to tighten that as
much as possible. Grab your scissors, cut
off the shoulder tails, and you will proceed with your crochet project like
nothing ever happened.
6. How to thicken yarn: This jam right here is
a decay weigh yarn. I assume that you have
found yourself a project, a pattern that calls
for a thick yarn, and you do not
have a thick yarn. But the yarn that it calls
for, say, it's a cotton yarn, you have a decay
weighed cotton yarn, don't worry, I will show you how you can thicken
up your yarn. Okay. Currently, actually, I am knitting with
fingering wet yarn, and this is the method
I'm using to turn into a wasted wet yarn because I
do not have wasted weight. Where I am, it's very hard
to find access to wasted. I wasted war I have to buy either for machine or
order outside the country. So this method has
saved my life for the past three or four years
that I've been crocheting. Okay? So what we do is you
will take your yarn, right? And I like to just
bend in half, like so. As you can see, so let
me make that smaller. So it's all on camera. So this is my urn.
I'll just bend it just like so now you're
gonna grab this end. Okay? So the beginning
of that urn and the mid strip of the other yarn, you want to just grab
that and bend it again. So now you've got
three strips. Okay. Now, let me grab
my crochet hook. So this is a five
millimeter crochet hook. Actually, let me
get a bigger hook. So I have grabbed a 6.5 millimeter hook and I
will make my slip knot. Already, I have a thicker
yarn, as you can see. We have gone from having
this yarn to this yarn. So if you're not a fan
of combining yarns, this method might
not be for you. But personally, almost all
the projects I work with, I am working with two or three strands of yarn held together, and I'm just so used to it,
I don't even notice it. So you start to crochet. Okay. So obviously,
where we've reached, we have run out of
our thick yarn. What do you do? You'll find that you have
got this little loop, right? You've got one, two, three, go to call it three, but
really this is just a loop. What you're going
to do to make it to elongate your thick yarn. You're going to go through
that loop just like so. So through that loop, just like so, and you're
going to grab one to that. Let me do it so you can see. You put your two fingers
through this loop, and you will grab
this longer tail, and you will just
pull it through. Okay. You would just pull
it through like that. And then as you continue, you will see that you
still have three loops. Then when you come to
the end of that as well, you're just going to
do the same thing. Your two fingers through grab that longer single yarn and pull it through.
Just like so. I mean, it's annoying as you go because you have to
keep on doing this. I like to just do
it for the length or for the whole bowl of yarn, and then I'll like to make a
little bow and set it aside. So that means when
I'm crocheting, I have a much thicker
yarn, as you can see. Just like that. So I
could even go higher to a seven millimeter crochet hook if I wanted to
because look at that. I now have a thick yarn. I now have a jumbo yarn. Look at me, make
a single crochet. So I would admit that it
looks a bit different from the actual jumbo yarn. But like I said, if this
stuff doesn't bother, you get to go. Look at that. Just one row of a single
crochet looks like a decay weight yarn row of double crochet,
can you imagine? So if you want a project
that's going to work so fast, but you do not have that jumbo
yarn, this is your method. Okay. And if you want to
undo everything, you just go through
what you did. You will pull that
yarn just like that, and then you will
continue to pull it. And it just pulls through that
little loop that you had, and before you know
it, you're back to your decay weight yarn or
fingering weight yarn. So I hope I hope this has
made a difference, Swe.
7. How to make a magic ring (2 methods): So for this one, I'm going to show you how you can keep
your work from unraveling. Okay? Assume personally, what
I do when I'm crocheting, I like to just leave a hook
in my project like so. So when I know the
hook is right there, I know that the work
will not go undone because I can move
around when I want. It's not going to fall
out. It's stuck in there. But then I assume
that you're working two or three projects at the same time and two of those
are using the same hook. So obviously my method
is not going to work. Another one can be
always to just leave a long tail and go
about your way. But obviously, if you have pets and they happen to
tag onto the working, which they probably will, it's going to come undone,
and you don't want that. So this is a project that
I'm currently working on. And I will show you how I
like to keep projects undone. So I've got one more
statge to make, and I will do that
just like that. So now I will remove my
hook in case I need it, and I will bring in
a stitch marker. So you want to make sure
it's these safety pin stitch markers because the
other ones the other one, the circ one seems I always
lose that in my projects, and you won't see me
crochet with that one. You want to put it
into your loop, this yarn that you
left on the hook. So you took off
your crochet hook. Okay. You don't even chain one. I just made that last stitch, so it's a haftable
crochet for me. I'm just going to
take out the hook, bring my stitch marker, and I'm going to put
it in there and close. So now what this means is
your work is completely safe. It's going to come
out all at once. I can go in all at once.
It is not going anywhere. And this is exactly how
I kept my work safe. And even if it happens to
do something like this, it gets very tight down here. You just pull onto
that safety pin, that stitch marker, and you
have your loop once again. You take it off and you
continue to crochet. Just like that, that simple.
8. How to keep your WIP from unraveling : So for this one, I'm going to show you how you can keep
your work from unraveling. Okay? Assume personally, what
I do when I'm crocheting, I like to just leave a hook
in my project like so. So when I know the
hook is right there, I know that the work
will not go undone because I can move
around when I want. It's not going to fall
out. It's stuck in there. But then I assume
that you're working two or three projects at the same time and two of those
are using the same hook. So obviously my method
is not going to work. Another one can be
always to just leave a long tail and go
about your way. But obviously, if you have pets and they happen to
tag onto the working, which they probably will, it's going to come undone,
and you don't want that. So this is a project that
I'm currently working on. And I will show you how I
like to keep projects undone. So I've got one more
statge to make, and I will do that
just like that. So now I will remove my
hook in case I need it, and I will bring in
a stitch marker. So you want to make sure
it's these safety pin stitch markers because the
other ones the other one, the circ one seems I always
lose that in my projects, and you won't see me
crochet with that one. You want to put it
into your loop, this yarn that you
left on the hook. So you took off
your crochet hook. Okay. You don't even chain one. I just made that last stitch, so it's a haftable
crochet for me. I'm just going to
take out the hook, bring my stitch marker, and I'm going to put
it in there and close. So now what this means is
your work is completely safe. It's going to come
out all at once. I can go in all at once.
It is not going anywhere. And this is exactly how
I kept my work safe. And even if it happens to
do something like this, it gets very tight down here. You just pull onto
that safety pin, that stitch marker, and you
have your loop once again. You take it off and you
continue to crochet. Just like that, that simple.
9. Outro: It's the end of
our cache course. It was a very,
very short course, but I hope that
it has taught you a few tips and tricks that maybe you were
struggling with. So remember, if you
have any challenges, then there's this
discussion area where you can raise out any
challenges that you've been facing or add an extra tip or trick to help out
the other students.
 Charity Limbithu, Modern Crochet Designer