Transcripts
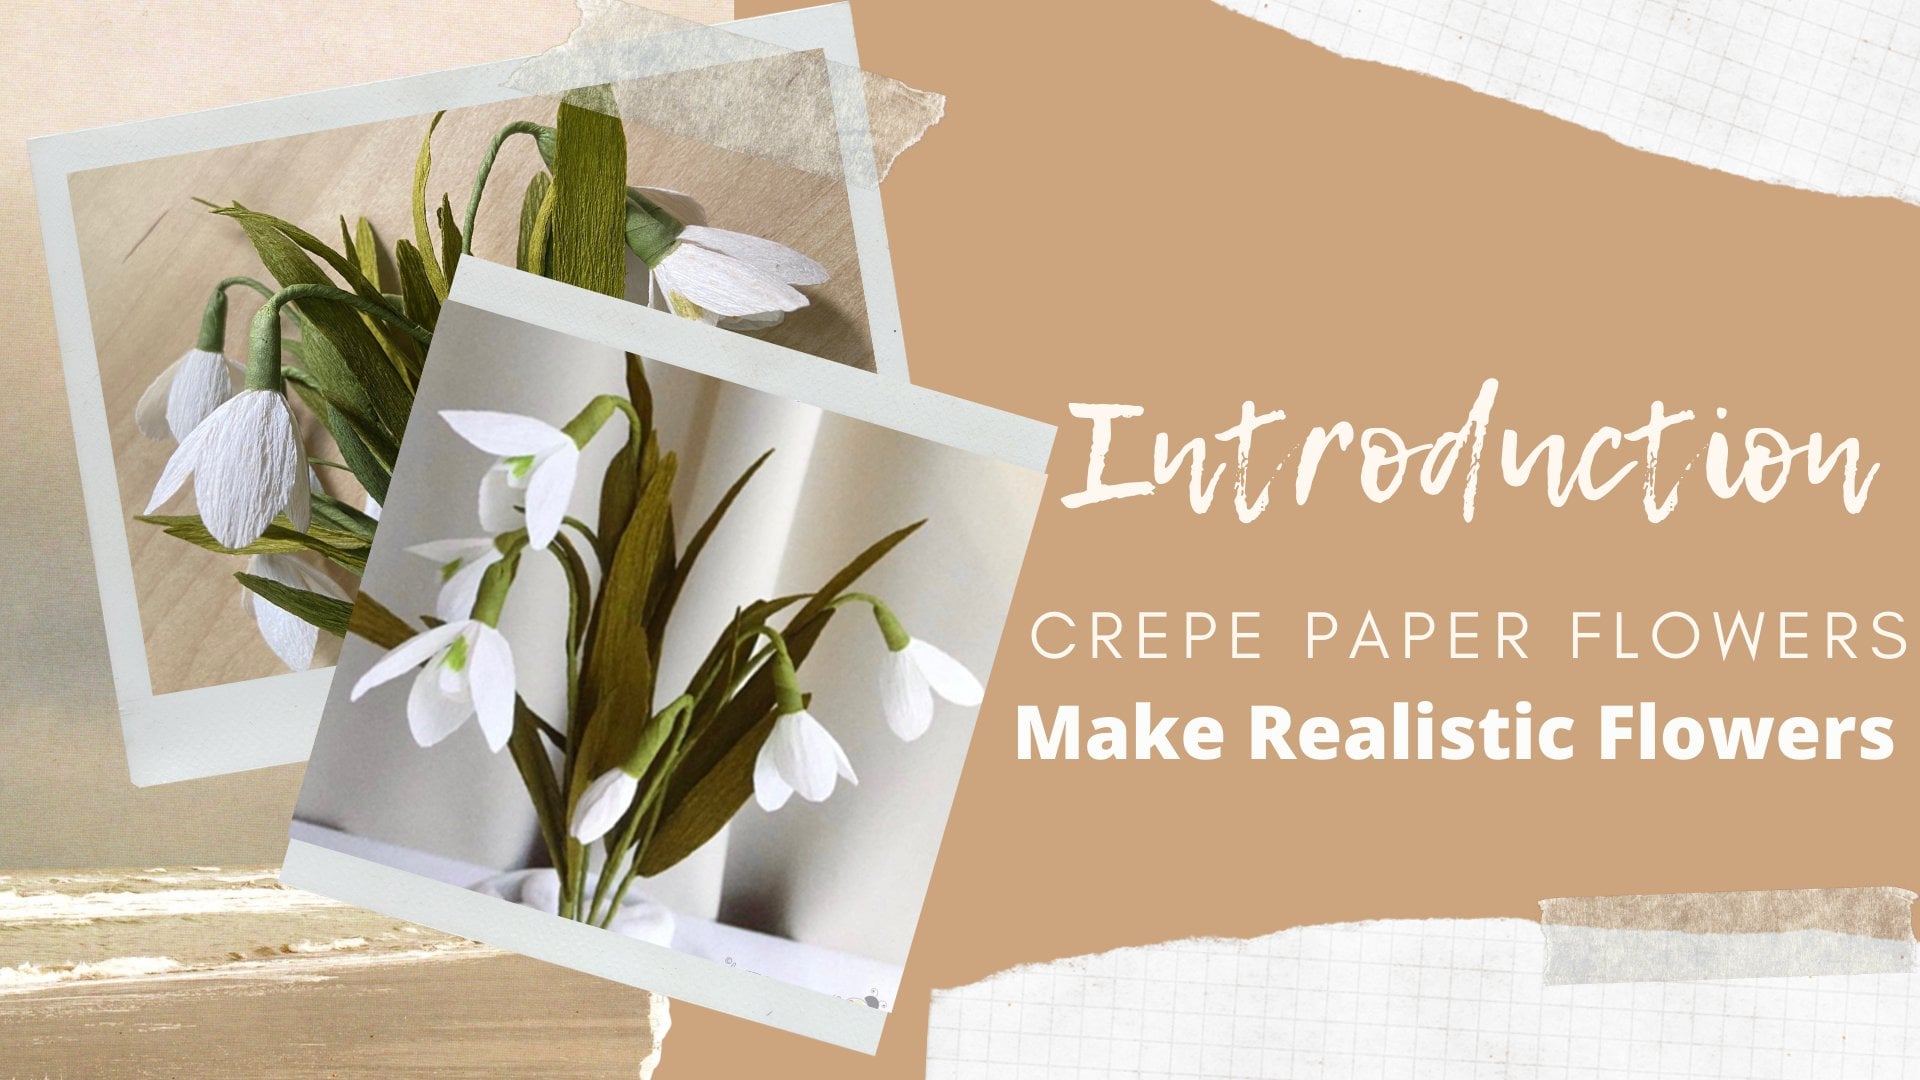
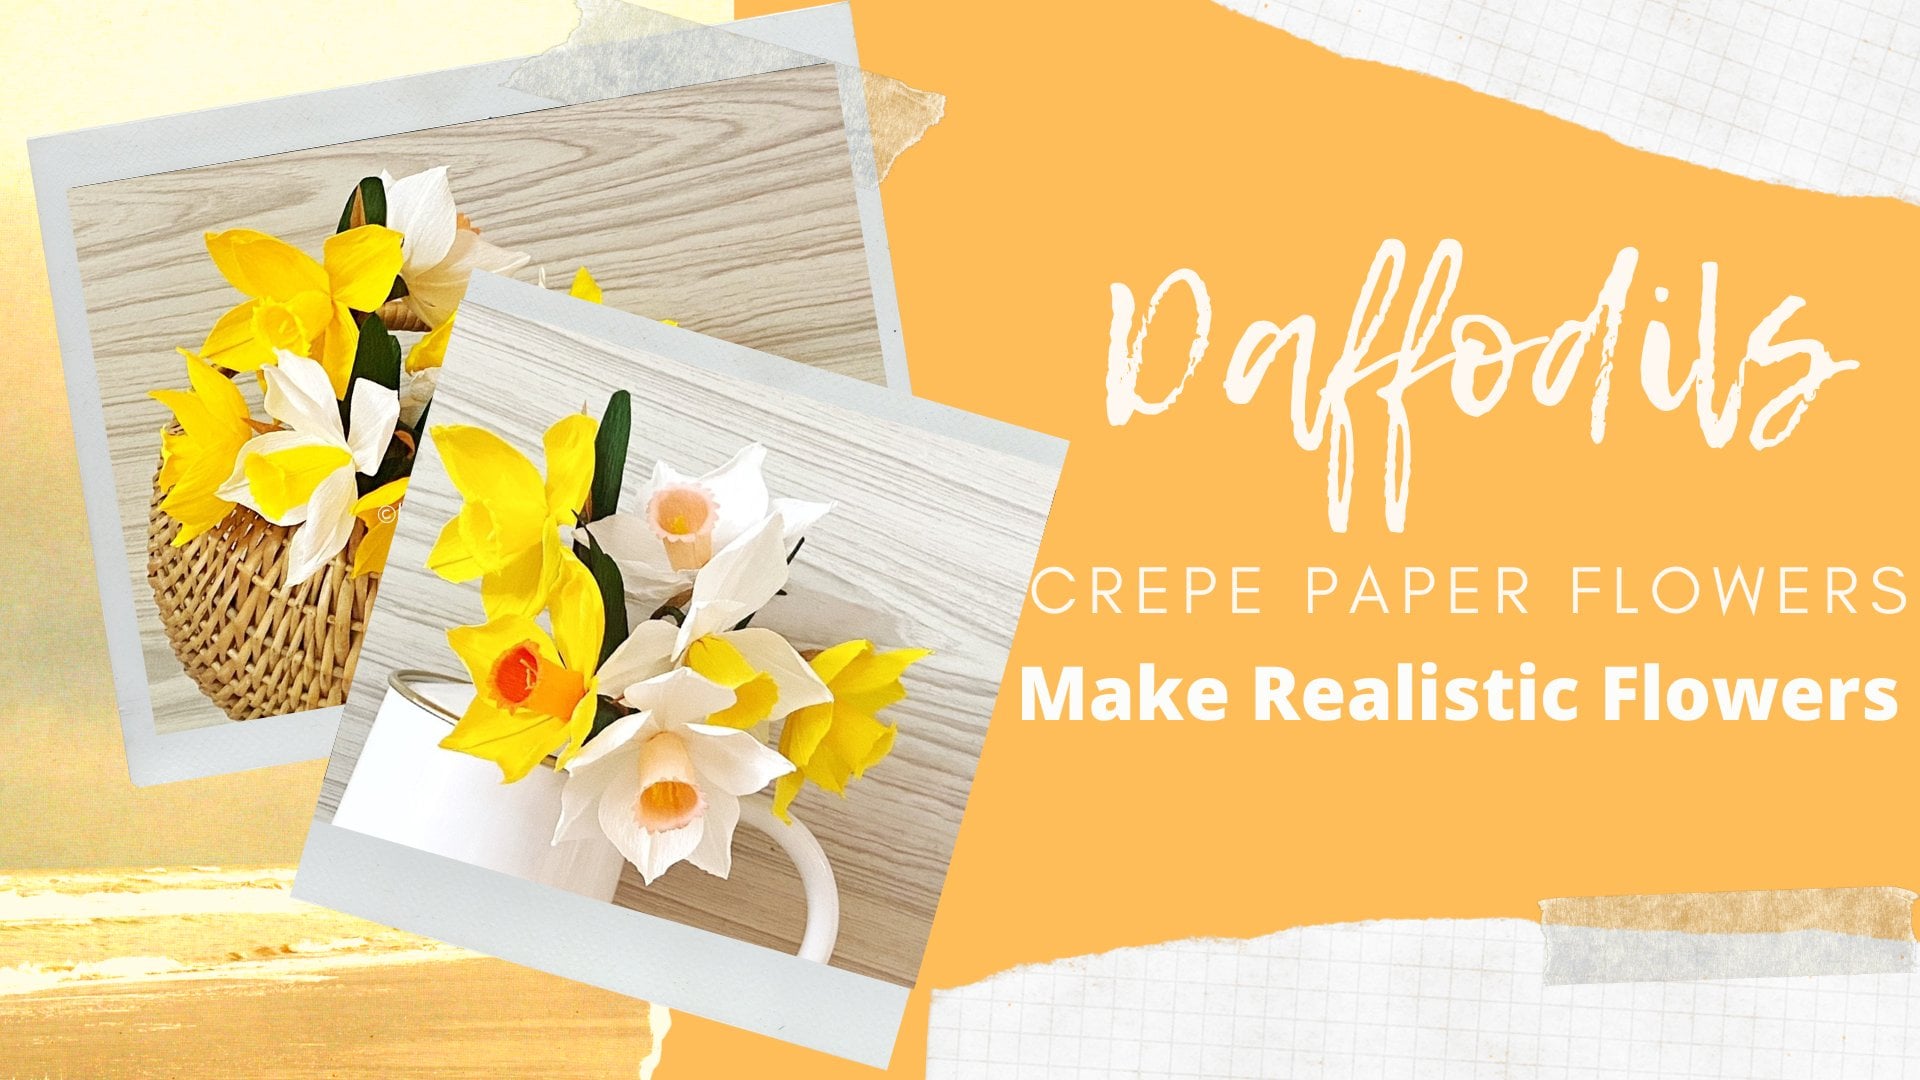
1. Introduction: I love flies in general, and that's where my love for paper floss comes from. I've been making floss in the past 20 years now. Hi everyone. This is make a founder are distinct tutor at by the art book dick online and offline art and craft classes at gradient spread forms led to design patterns by referring to the re-edit flowers and plants. I like to pay attention even to the minute details from matching colors, mostly for getting the shape right, getting the folds right. And that is why I like to observe and study my reference variables. Besides making class, I also love to do watercolors and maybe some other graphs. If you would like to see more of my room to the visit my website, which is by the AICPA.com. Or you can also visit in my Instagram images by the same name, by the artwork. In fact, all my online presence is Bye bye. Funding for becoming a full-time artist. I was a college professor and I've always loved teaching. In today's class, we are going to learn how to make this beautiful fan family. So if you want, you can make, do all three of these, all of these look very beautiful if you put just a single leaf electron was. And you can also mix this with other flowers and create beautiful bouquets arrangements. And the next video we are going to have a look at what other materials you'll need to make this.
2. Supplies: Let's have a look at all the materials that you would need. Crepe paper, glue, Y0, a pair of scissors, and a ruler if you really need to measure annotate. And then I just do know that this is a clip paper which is not very fine-grain. It is a kind of medium green paper. And as I've explained in my previous classes, that you have to be careful with the white glue because sometimes it came this stain the paper and leave a very bad faded mark. So to test this, you can always do a batch does take a little clue applied on your people and leave it overnight and then you check it back, back the next day, See if it doesn't left any kind of Marx didn't fit the paper, then yeah, you are good to go. So this might take a bit of trial and error. Always use a very sharp scissors so that you get to meet God. And it looks pretty. Can use the floral wire. And as you can see, I'm using a bit thicker one because the palm leaves have a thicker stem as compared to the thin ones. So this is most likely like then gauge or pilgrimage Article 1. And if you don't have thicker one, you can always combine three or four, 10 ones and then just join them together. So when we let that deep, you'll have at least four or five vials instead of this one or two. So you can use the blank that also. And you can also use the Green Day because since I all my y's already gone werden ring, Dave, I will not be using it, but if you don't have a y which is covered and you can use this green tape to wrap your stem. Finally, also, if you're using three or four wires to make your stemless pinna sorry ticker. Then also you will need to screen tape to happened. So the next video we'll talk about the template, how to got it, how to prepare it, and how to use it.
3. Template: This is the template that you can find in the Resources section. And since it is a big template, I had to do it in pieces. So this is like a puzzle that you have to put together, but don't worry, everything is written, heal what all you have to do. And it's very simple. Just print it out on an A4 sheet. Don't try to change the size or anything, just leave it as is and simply printed out because you follow the instructions and put it together, glue adopt got dead. It's going to look like this. Then comes the final BOD, which is sculpting onto this line to make our final leaf. This is her family lived. Don't worry about this. Don't worry about this. Uneven edges. All you have to do is align this properly so that you get this nice kind of cosine. So kind of a shape is a sliding vector, so-called soon doesn't have to be perfect. Main is to get this shape, this kind of be kind of a shape, a pencil. The next video we are going to see how we are going to arrange this and got it on our grid paper.
4. Cutting: So here's the role. So you have to remember that you are not going to cut it like this, in which the grains are like this. What? We're going to turn it like this. Because in our final leaf, we want these greens to be what collect this. So for now, you have to turn it horizontal edge. This is your template on your paper. All you have to do is just cut out the specific shape. Now, if your role is a little bit smaller than this, It's okay. You can always reduce it by cutting it from here equally. Just got equal amount of a strip from all the sites so that they do that. The only difference is your leaf is going to be slightly smaller. So that doesn't make a lot of different section. Again, this doesn't have to be very perfect because eventually we are just going to cut this all off. All you need is just a basic shape. If you are. Okay, you can also go ahead and just cut, reshape our phone to bend the tangent also. Just like this, till it's going to control this a little bit. And then here is the basic template with which we are one. And the next video we're going to talk about how are we going to shape this so that the stones into our beautiful family.
5. Shaping: I'll do mega leave. We have to fall this paper, the grid paper, into a guardian side. And we'll start with holding like this. Not at the rounded side, at the flat bottom like this. And you have to measure if you want, you can measure it has to be along those endemic does not to do rather than this or not very 10, this will be just perfectly. So all you have to do is make this falls nicely. And then just like this, keep in mind that these are uniform. So that's an NADH is done. You can see we have got this nice shape. You can reinforce decreases. Because once we put that torch and a final shape, you don't let alone, then you won't be able to do this. So it's a good idea to do it. Now, if you look at the real leaves, these are quite sharp and slow. That is what fields you want to do. Okay? Next step is to find the center of this. So when you are going to fall, remember this flat side, the bottom buck that does what we're willing to put together. So you hold it like this. And then this is the bottom part, flatland. And this is the realm of bark. And you're going to bring it together like this. So this medical via good just mug you have to match this. Let this year if the bolt and then that's this bottom. My sleep. Okay. Now we have to insert this via hill. So you can either use this while here in the center. And this isn't working, then you can use any other shop thing that you have available with you. So that could be small scissor like this. They are small scissors like this. This, otherwise you can just use the wire and just donate of who translate this and then it will come through in all the members. This is for bounded site which we had hill. This is where the stem will come like this and the flat one will go up here. So remember that this is the flat body joined together. So we'll get to insert your biofilm hill here. You can just come here like on this BAD about an inch and a half. And then you see these two flaps. So we have to glue these two together. And this is going to be the backside of our leaf. And so this, we have to blow together like this. And then you also have to put some glue here so that this falls also get stuck together. So we sought with these holes. Don't put too much off the wheel. You can see I'm just putting us into lines like this. Then the spot. So you need to glue the whole thing. You only have to put glue on a very thin line on this edge. Just like this. And you can then, you can just put that via that we put up also here so that it's not visible from the front. And you gently bring it together. And then you have to leave this for crying before you start with the gut thinking. Less this so that the folds also gets stuck together. Now since I already have a green wire, I'm not going to use any floral tape on this and just leave it as is. But if you don't have a green wire, then you can always go ahead and delivery date, which is the green tape like this and you can just wrap it on this to cover the wire if it does like a silver and the other column. So I just show you once. If you don't have a collision while. So before you leave this for dying, and just talk from your end. And then the field demonstrate this. And then at an angle you just pull it slightly with your hand. And then you just keep it happy. So it's like this, and this will also be needed if you don't have a very thick wire and if you're using a thin wire and if you're combining four or five buyers together, then also you're going to need this in the days. The leavers doesn't stain like this that can apocalypse and capital so that it doesn't lose its shape.
6. Trimming: Once you leave his drive, you have to start cutting it. So again, if I do this, so you can see this long pointed things we have to get from this. So first step is to cut these folds which are below, not these ones which are on the top, top dog up here. All this, not these ones. And these ones, which you can see below. So we'll start from here. So all of them won't have to be equal. Mc like this. Little less than half, a few. That less than this. Make sure that you've got them on the fold only. Open. This one is the one which we can loop before. So for this, we have Buddhists got this whole thing off in this case. And then at the back, you just calculate this trimodality bit node. So we just continue with this. So next is you've got these points. Since you can only start at one corner. And then you hold it like this. And from the top, just remove this triangular box like this. See this is the tip. Just got at an angle. Not all the way through. Like about two inches. Okay. You might need to trim them all a little bit later. So point will be as if from here and then so that's the cup up this menu, find this off This whole point. And then we just particle. This can be a bit tricky. The one which we glued in the same person is you make new adjusted a little bit. Now let me see this coming into shape. Synthesis done. Once you finish cutting this, have a look at it once again. See if it looks more rounded, then you just get triangular again. So here they should be sharp triangles like this. So don't worry too much about it. Just go ahead and start. All we want is a nice one. Delete c. Now you can see, so this is what we are looking for, this kind of a shift. So here also we need a little bit. And the state also. You can gently open this. See at the back you can put two fingers like this until VNET. See this one doesn't have a point, so we need to make a point here. And this is a rounded, we wanted to make it sharp. Again, this is not shaped properties, so we'll just go ahead and cut this also. Show this one needs a little bit of shaping Hill. Actually. This one just needs some shaping it on without changing your world to do this. So that's it. We are done with the cutting and the next video we'll just see how to shape these and give some final that district.
7. Final Touches: We are live is almost ready. The only thing left is this pointy thing that we have to look to the leads have the top. So we will start with the garment. And you just pull this apart between your thumb and your index finger and just load it slightly. So that's what we're going to do with all the leaves. And you can done them a little bit late. This one can go to this site scandalous side so they will look more natural. Sometimes. When you are. So you can touch up these foils. Who only have to do is plan your meals over like this. Then just to reinforce the pieces. And so that's why your leaf is not done.
8. Class Project: So for your class project, I want you to make one of these leaves. And you can put it in a doll was, or you can decorate it as you like. And I just wanted to see the amazing pictures and amazing ones that you made. You can even do rounds. You can use brown color or other shades of green like a darker green or a bluish green and make it flip these effect veto. So that's all for today. And if you have liked my class and in your voice, other classes of mine, I would request you to go ahead and even new for me as it helps me a lot and motivates me to keep creating more glasses like this for you all. Also, if you want to see my other words, my watercolors or what else I do. You can always visit my website, my Instagram, my vendors, every way you can find me as by the art, but not gone. So until next time. Take care and thank you. Buh-bye.
 Dr Megha Cassandra, Art Therapy Coach, Watercolor, Handwriting Expert