Transcripts
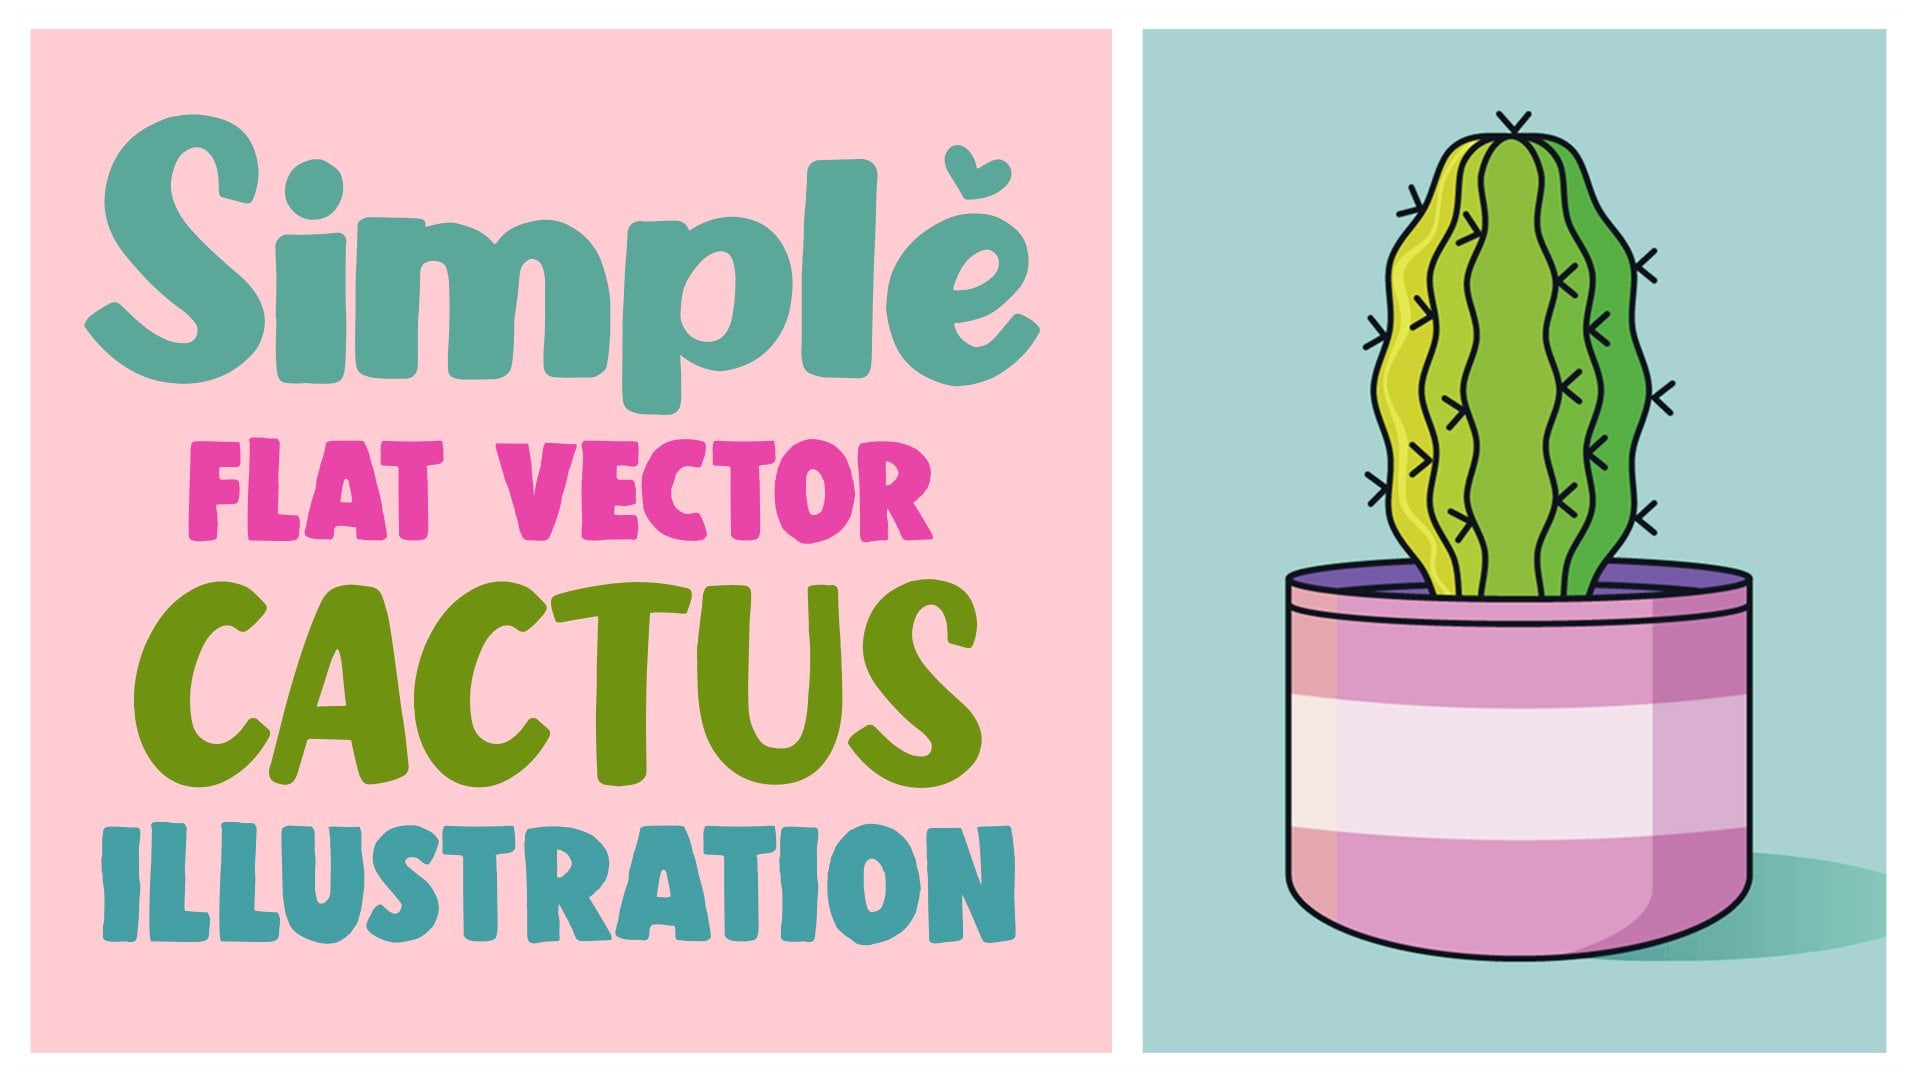
1. Introduction : Hello everyone. My name is Cynthia and I'm an illustrator and graphic designer. In today's class, we are going to create a nice flat landscape illustration. In Adobe Illustrator, we'll use the simple shapes, a few tools and one effect to create a nice-looking picture. As a result, you'll get an image that might be used as a sticker, postcard, some digital product for whatever you want. So if you are ready to launch your software, mp, Let's begin.
2. Ground & Major background: It has been said before. Today we're going to be creating a simple landscape illustration. So to start with it, Let's go and create a new document. We'll go to the tab art and illustration, and we will select the presses A4 into depressant details. We need to check out the orientation is horizontal and into the advanced options, we need to set the color mode to RGB and said their roster ethics too high or 300 PPI. Also, while we're here, we need to remember these numbers. 14, the width is 297 millimeters and one for the high, it's 210 millimeters when a so setup, let's click Create. So here's our new documents, and let's hit control minus on our keyboards to unzoom our Canvas. When it's all done, we need to find our color scheme. You can find it in a project and resources tab and you can open it into your Adobe Illustrator. So when you open it, you will see that we have a bunch of switches that will help us to create today's illustration. So let's go to our left toolbar and we will select the Selection tool. So with the selection, so we will hover over our swatches and click on them with the left mouse button that will select them. And we can hold down our left mouse button and drag them to our new document. Let's place them somewhere near our canvas. So when we have our swatches on our new documents, we can start creating our illustration. So we'll start by creating the major bank round for our illustration, we will go to our left toolbar and select the rectangle tool. With the rectangle tool, we can hover over our Canvas and click on it with the left mouse button. When you did it, we will have a little window where we need to put down our numbers that we remember it. So for the width, we are putting down 297 millimeters and for the high, we're writing down 210 millimeters. Make sure that you are working with the millimeters, not with the pixels or points or centimeters or something like that. So when it's all written down and when you are sure you're working with the millimeters, Let's click. Okay. Now you can see that we have a new shape and it's placed in correctly. We needed to be right in the middle of our canvas. So let's go to the align panel. And if you don't have the align panel, we will go to the Window Align and into the align panel, we need to go to the bottom right and click on this icon into the drop-down menu. We need to select align to art boards. When it's all selected, we need to go to the Align objects area and we need to do the following. Firstly, we need to click on the middle icon that is called Horizontal Align Center. When it's done, Let's go to the right and click on the middle icon here, it is called vertical align center. Now you can see that our rectangle is placed correctly. And the next thing that we need to do is to play with the color book says. So we need to click on the icon stroke and bring it forward. And after that, we need to click on this icon that is called num. And now we don't have the stroke for our rectangle, and now we can change the color of the fill box. So firstly, let's click on it once with the left mouse button. Now we will select the eyedropper tool. And with the eyedropper CSU, we will hover over this yellowish swatch and click on it with the left mouse button. You will see that your X angle changed it color. So now for convenience and to protect our background from moving, we will go to that step object and we will click look into the log drop-down menu. We will choose selection. Now you can see that there is no bounding box for these objects. And that means that it is locked and we can't work with it until we unlock it. So when we have a major background, we can start making our illustration. So we will start by creating the line for the ground. Go to the left toolbar and select the eyedropper tool with the eyedropper CSU, we will hover over these watch that has only the stroke and click on it with the left mouse button. You can see that it changed our color boxes. And the next thing that we need to take is the line segment two with a line segment. So we will create some kind of the ground. Let's hold our Shift key. Let's hold down my left mouse button and drag it to the right until we are satisfied with the size of the line. So when you're satisfied and hold your left mouse button and hold the Shift key on your keyboards. So when we have the ground line, we can beautified Justice Alito. So we will go to our left toolbar and hover over the icon with an eraser to click on it with the right mouse button and choose Scissors tool. With the scissors tool, we will create the segments from our line. So let's zoom out canvas by hitting Control plus a few times, we will go to the left side and we will do the following. We will hover over our line with the scissors tool until we see the little title path. So when you see it, you just click on it with the left mouse button. So now you can see that we have a segment. Let's go to our Lyft, Uber, and let's select the Direct Selection tool. With the direct selection tool, we will select these little segments. So you can see that we have two anchor points. Let's go to the right one and select it with the direct selection. So now if we go to our keyboard and if we use our site arrow keys, you will see that we can change the line. So click on it a few times until you see that you have a gap between these two lines. Let's unzoom our canvas and let's do the same to our right side, heat controlled glass, if you times and go to the right sides, get back to this scissors to hover over the line until you see the little titled path and click on it with the left mouse button. Now you can see that this anchor point is selected and we don't really need to go to our left toolbar and select the Direct Selection. So we already can use our arrow keys on the keyboard. So in that case, let's hit the right arrow key on the keyboard when you're satisfied with the result, let's get back to our selection tool and click on some blink area on our Canvas to deselect the segments. So now when we have something like that, we can play a bit with the segments. We can select and replace them. If you need to change something, you are welcome to do it now. So when you're satisfied with your line, Let's do two more of them. So we'll again get back to our line segment tool and we'll create a smaller line on the board exam. Don't forget that you need to hold down the Shift key on your keyboard to make a straight line. So when it's done, let's create one more line somewhere on the right. Cool down the Shift key and create the line. Now from that line we will cut a segment. So get back to this users to let zoom out Canvas and let's hover over the line. When you see the little title path, just click on it with the left mouse button. And let's move the anchor point to the right. If you're not satisfied with the placement of your lines, you can select them all and move them in accordance with your vision. If you want to resize the lines, grab the Direct Selection Tool, select the anchor points, and use the arrow keys on your keyboard. Now, let's select everything with the selection tool and hit Control G on our keyboard to make the group.
3. Minor background: So when we have all of these lines, we can start making our actual illustration. And we will start by creating a little background for our illustration. So let's go to our left Uber and click on the rectangle tool with the right mouse button into the drop-down menu, we will select the rounded rectangle tool. So when it's selected, let's start making our backgrounds. So we will create the rounded rectangle and we will need to change the appearance of this rectangle by going to the left. So Uber and by selecting the eyedropper tool, with the eyedropper tool, we will select these blues watch. Now, let's get back to our rounded rectangle tool. If you take a look at our rectangle, you will see that we have a little targets in the corners of this rectangle. So let's hover over our leftOp targets, and let's hold on our left mouse button. Now, drag it diagonally down. You can see that our corners are changing and you can see that we can adjust its curvature. So for this time, we need to create super rounded corners. When you're satisfied with your corners, lunges and hold your left mouse button. So when we have this shape, we need to create a nice cut on the top. And we will do it by creating one more rounded rectangle. So we will create a bit smaller rectangle and we will start somewhere here. So hold down your left mouse button and create the sheep adjusted if it's needed. Now hover over one of the targets and make the corners rounded. Now, let's replace this shape until we have a nice curvature for the cards. When it's done, we need to select both of these shapes. And we need to go to our left toolbar and select the Shape Builder tool. With the shape builder tool, you can hover over your objects and you will see that they are starting to look select sets. So when you see that it is selected, we need to hold down the Alt key on our keyboard. You will see a little Minus icon near the arrow, click on the top area with the left mouse button. And you will see that we got rid of it and we need to do the same for the inner parts. So hold down the Alt key and click on it with the left mouse button. Now we have a nice shape and the last thing that we need to do with the shape is to create a nice curvature on the left. So again, let's go to our left toolbar and let's select the rounded rectangle so we can zoom out Canvas and we need to make sure that we are working on the same path. So let's hover over the shape until we see the little size opacity. From here, we will create a new rectangle by going down to the left, make sure that you are following your smart guides on the bottom. That will mean that we are creating the same size on the rectangle with this shape. So when you're satisfied with the rectangle, Let's unfold your left mouse button. Now we need to go to our left Uber and we will select the direct selection tool. With the direct selection tool, we will need to make just one corner around that. So we will precisely click on the top-left targets and selected. When you see that it's selected, we can hold down our left mouse button and drag it diagonally down. Now we have a nice shape and let's just move it a little bit to the right to create a better shape in January. So by using the arrow keys on the keyboard, we will move this shape to the right. Also, we need to make the corner on the bottom left sharp. So select this target with the direct selection tool. And when it's selected, just drag it diagonally down. Now we need to get rid of the extra part that weeds on needs. So with the selection tool will select all of our objects. We will go to our lifts Uber. And again, we will select the Shape Builder tool with the shape builder tool. And by holding down the Alt key, we will hover over this extra part and click on it with the left mouse button. When we got rid of the extra part, we need to connect these three shapes together. And we will do it by drawing the line with the shape builder tool for all of these shapes. So hold down your left mouse button and start making the line until you see that all three shapes are selected when it's all done just on hold your left mouse button. So now we have a nice shape and we can replace it just a little in accordance with our lines for the grounds. So by using the arrow keys on your keyboard to move it to the right.
4. Bushes: When they have something like that, we can move on to making our objects. And we will start creating our objects by making some bushes. So let's go to our left toolbar and select the ellipse Sue. So hoover over rounded rectangle tool, click on it with the right mouse button and select the ellipse tool. With the ellipse tool, we will create the circle. So just start making the circle on some random area on our artboards. So hold down your left mouse button, hold down the Shift key on your keyboard and drag it diagonally down when you're satisfied with the size, Let's just unquote our left mouse button and also on hold the Shift key on our keyboard. Now we need to change the appearance of this shape. So let's go to our left toolbar and select the eyedropper tool. With the eyedropper tool, we will hover over this middle swatch and we will click on it with the left mouse button. Now you can see that our shape change its color and its appearance in general. So now what we need to do is to get rid of the bottom part of the circle. So again, let's go to our left. So let's hover over the Ellipse tool and let's select the rectangle tool. Let's zoom out Canvas firstly ends with the rectangle tool. We need to create a rectangle right in the middle of the circle. You need to make sure that the new shape is going through the site anchor points of the circle. So when it's done, when we have these two shapes, we need to select them together. We again need to go to our left toolbar and select the Shape Builder tool. With the shape builder tool, we will hover over our bottom parts and we will start getting rid of these two shapes. You can do it separately. We can draw the line going through two shapes. Don't forget that to get rid of the parts, you need to hold down the Alt key on your keyboards. So when these two shapes are selected, Let's on-hold our left mouse button. You can see that we have a needed shape and we can start placing it on our illustration. So let's go to our left toolbar and select the selection tool. With the selection tool, drag the object to the illustration area and make sure that you are intersecting the line of the ground. So here's our first object and let's create some more of them. So for all of our bushes, we're going to be using these simple shape, but we can make a few variations of the bushes. So for now, let's just make one copy of these elements. So we will hold down the Alt and control keys on our keyboard. We will hover over this shape and by holding down our leftmost button, we will direct the new copy somewhere on top. So when you have the copy, we can create more copies of that and combine these elements together. So let's again hold down the Alt and Control key on our keyboard and create one more copy. Or you can also hold down the Shift key to make sure that you are making it on one line. So you can read just these shapes. So for example, we will make it a bit smaller. So hold down the Shift key on your keyboards and drag it diagonally down. We can see that the stroke of this element changed and it's not what we need. So let's again go to our left toolbar and select the eyedropper tool. With the eyedropper tool, we will hover over our first element and we will just copy the appearance of that. So when you change the appearance of this shape, Let's just move it a bit to the left. Now we have the nice shape here and we need to connect it together. So let's again select both of the shapes. Let's go to our left toolbar and select the shape, build it so. You already know what to do and how to connect these two shapes together. So legis holds on our left mouse button and draw a line, thereby connecting two elements together. So when you have something like that, Let's place it somewhere on our line so we can adjust in the way we want. But for now, let's just put it on our line, make sure that you are intersecting the line. Now let's create two more bushes and again, we will make a copy all of these elements. Let's copy the shape by holding down the Control and Alt keys on the keyboard and by dragging the shape to the top. So when we have the copy of this element, Let's make it a bit bigger. And also we will create some more copies of these elements. So again, we're selecting it and we are holding down the Alt and control keys on our keyboard and making the copy on the site, we will create a smaller version of this shape, so please it on the line. And let's make one more copy of these elements. So hold down the Alt and control keys and make a copy on the left. Let's take a look at the whole picture and figure out how we can beautify it. So let's go to our right elements and let's make it just a little bit bigger. Hold down the Alt and Shift key on your keyboard and drag the top corner to the right. Let's place it correctly on one line, and let's select all the objects and grab the eyedropper tool with the entrepot Sue, we will copy the appearance of our original elements to make all the elements look similar. Now we need to place them correctly so we're finding the intersection of the lines. Also, we can adjust the placement of the elements when we have something like that, Let's select all three elements and let's grab the shape builder tool. With the shape builder tool, we will connect these three shapes together. So when it's done, Let's place it somewhere on our artwork. Make sure that you are combining the lines together. Now we need one more element. So let's just create a copy of this large one by holding down the Alt and control keys and by dragging the shapes somewhere on top, we will make it bigger by holding down the Shift key and then place it on our composition. When we have all of these elements, it's time to adjust them. Let's say that the largest element will be on the backgrounds. So it will be the furthest elements on our artwork. So we will send it backwards. We will go to our keyboard, hold down the Control key, and we're going to be hitting the left square bracket a few times until we see that the shape is in the background. Now it's time for some beautification such as replacing enterocytes in our objects. So by holding down the Shift key, Let's resize this object. By using the arrow keys on your keyboard. You can replace your objects and continue making the shapes that you want. Now, let's select this shape on the right, and let's click on it with the right mouse button into the drop-down menu, we will choose Transform, Reflect. You can check the preview box to see what you are doing. You need to make sure that the axis is vertical. And when you're happy with the result, let's just click. Okay, so when it's done, Let's again resize it. You can use the Shift key to make the objects smaller, and you can use the arrow keys on your keyboard to replace it. So let's just continue adjusting our elements. When you're satisfied with your placement, Let's start there recoloring process. We're going to be selecting each object one by one, and recoloring them by using the eyedropper tool. So let's select the largest shape, go to the left toolbar and select the eyedropper tool for this shape. We're going to be using these lights watch. Let's continue doing it by selecting each object one by one entry color in it. Let's select the next shape. Go to the left toolbar, select the Eyedropper tool and select the darker color. And we'll repeat these steps for the smaller shape. When you have this result, it already looks pretty nice, but let's readjust the background shape. So we will select the shape and we will make it just a little bit bigger. So hold down the Alt and Shift keys on your keyboard and move the top anchor points to the right. When you have something like that, you can see that we have a little problem. Our big round shape is overlapping the line. So let's do the following. We will select these blue shape, click on it with the right mouse button and choose arrange, send to back. Now you can see that it is under our li with a major background and we need to arrange it one layer forward. So just hold down the Control key on your keyboard and just click once on the right square brackets. Now you can see that it brought our background elements one way of forwards, knowledge, Zoom, Canvas, and readjust our elements by positioning them all on one ground line. Select the shape and use the arrow keys on your keyboard to readjust its placements. So when it's all done, let's create two more bushes. For these bushes, we're going to be using just the triangles. So we'll go to the left toolbar into the rectangle folder. So click on it with the right mouse button and choose the polygon to start making your object by holding down the Shift key, hold down your left mouse button and create this shape. You can not just that, it is not the triangle, but we can play with the numbers of corners by using the up and down keys on our keyboards. So to create the triangle, we need to hit the down arrow key a few times. So when you're satisfied with the triangle, and hold your left mouse button and also, and hold the Shift key on your keyboards. Now we have the triangle and we will beautified just a little bit. So hover over the bottom anchor point and drag it down until you have a nice cone shape. Let's place it to our composition and let's resize it if it's needed. Adjust its placement and let's make one more copy, hold down the Alt and control keys and drag it to the sites. Also, you can hold down the Shift key to make sure that you are doing it on one line. Now, let's resize it a bit and let's check its placement. Now we need to make the coastline similar to the lines that we already have on our picture. So let's select the first one. Let's go to the left toolbar. Select the Eyedropper Tool and quotidian appearance of some object that we already have on our picture. Let's select the second cone and copy the appearance of another objects. Now play with the placement and arrangement of the elements. Let's continue registering our elements. Let's select the bush on the right and put an EBIT upfront. We'll select it and click on it with the right mouse button into the drop-down menu, we'll select, Arrange, Bring to Front. So when you're satisfied with the placements and with all of your bushes in general, let's select all of them and let's make the group. So select the first element, hold down the Shift key on your keyboard and let's select the rest of the bushes. So when they are all selected, let's hit Control G on our keyboard. Now you can work with a group and place it right in the center.
5. Trees: Now we're going to be creating the trees. So let's start creating our first tree. By creating the tree trunk, we will go to our left Uber and we will select that line segment. So with the line segment tool, we will create the first vertical line, hold down the Shift key to create a straight line. When the line is done, we need to copy the appearance of the strokes. Watch to apply the same stroke weight as other elements on the picture half. So let's go to our left toolbar and select the eyedropper tool. With the eyedropper tool, we will copy the appearance of these watch. So when we have our tree trunk, we can start creating the leaves. Let's go to our left toolbar and select the rounded rectangle. With the rounded rectangle tool, we will create a vertical rectangle, a jazz the corners, adjust the size of the tree crown and position it nicely by using the arrow keys on your keyboards. So when you're satisfied with its placement, Let's go to our left Silber and let's select the eyedropper tool. With the eyedropper tool, we will copy the appearance of the first swatch. Now we can see that it's upfront outreach run and it's not what we need. We need to hold down the Control key on the keyboard and we will use the left square brackets. So when we have something like that, Let's add two additional lines for our tree. That will be the branches. So just create the diagonal lines and readjust its placement by using the arrow keys on your keyboards. So when we have the base of the tree, let's create the shadow for the leaves. So the first thing is to zoom out Canvas and we'll create two copies of this shape. So let's hit Control C, Control Shift V, and let's do it once again. Now we have three copies of our leaves. So what we need to do now is to go to our left toolbar and select the eyedropper tool with the anthropic. So we will copy the appearance of these watch. When the appearance of our shape changed, we can move it a bean diagonally up, and we also need to apply the same color swatch to the back elements. Let's go to the left toolbar, select the Eyedropper tool and select the swatch. So now we need to select these two copies. Go to our left toolbar and select the Shape Builder CSU. With the shape builder tool, we will hover over the bottom left elements and just click on it with the left mouse button. Now we have the separated shapes and let's start getting rid of the useless ones. So let's select that soap shape and let's hit Delete. Now you can see that we have two more shapes and for our shadow, we don't need the one on the right's, so let's select it and hit the Delete key. Now you can see that we have that tree with a shadow. Now let's select all the three elements and let's make the group from them. So when all of them are selected, let's hit Control G on our keyboards. So when we have the first tree, let's create one more tree on the site. So again, let's go to the left toolbar, select the Eyedropper Tool and copy the appearance of these watch. Now get back to the left toolbar and select the Line Segment tool with a line segment. So we will start making the tree trunk. Hold down the Shift key to create a straight line. So when the tree trunk is done, Let's go to the left toolbar and select the ellipse tool. With the ellipse tool, we will create this circle. So let's hold down shift key on the keyboard and create the circle. Let's place it right in the middle of our tree trunk. Then go to the left toolbar, select the eyedropper CSU and copy the appearance of these orange swatch. When we have our ellipse, we need to send it one layer backward to bring the tree trunk line up fronts. So select the shape and hidden the control plus left square bracket once. Now let's create the additional element for our tree trunk, that will be the branch. So we will go to our left toolbar, select the eyedropper CSU, and copy the appearance of the branch on the left. So go again to our left toolbar, select the Line Segment tool and create the diagonal line. Now, let's readjust its placement by using the arrow keys on your keyboard. Also, we can play with the size of this line, that is our tree trunk. So with the direct selection tool, select the top anchor points and by using your arrow keys on your keyboard, adjust the size of the tree trunk. You can also play with the placement of the ground of the tree. So when you're satisfied with your tree, let's create the shadow for these tree as well. So again, we will select our circle and we will make two copies. So hit Control C, Control Shift V on your keyboard two times. Now when we have two copies, let's start making our shadow. So when the first element is selected, Let's go to our left toolbar and select the eyedropper tool. We will copy the appearance of these watch by using the selection tool and by holding down our left mouse button, we will drag it up. Now we need to change the appearance of the second copy as well. So we will select it. We will go to our left toolbar, select the eyedropper tool. Again, copy the appearance of the same swatch. When we have something like that, we need to select that so corpus that we just created, go to the left toolbar and select the Shape Builder tool, hover over the bottom elements and click on it with the left mouse button. Now let's get rid of all the useless parts. So start from the top element selected and hit the Delete key on your keyboards. And here you can see that we have two separate shapes and we don't really need that top one. So let's select it and let's hit Delete on our keyboards. Now we have a pretty shades. And let's do the following. We need to select all the elements that belong to that tree and make the group from them. Now, let's rearrange our trees and put the orange one backwards when it's selected, let's hit Control Plus left square bracket until we see the needed results. When we have a needed arrangement, let's reposition the trees to inscribe them. Better. Ones are our composition. Also, if you zoom your Canvas, you will see that the shadow on the leaf is all relating this stroke, thereby creating the College de France. So let's fix this problem. We will select our object and click on it twice to get into the group. Let's select the main elements and let's make a copy. So hit Control C, Control Shift V. Now we'll go to the left Zuber and we'll get rid of the fill color. So select the fill color and click none. Now, if we zoom out, Canvas will see that we have a solid color for the stroke. Now let's select that tree trunk and send it to the front. We will hit the Control plus right square bracket until we see that the shadow isn't overlapping the line. When you are done with this tree, go to the left top corner and hit twice on the back one layer arrow. When we're back to our main document, Let's repeat the same steps with the second tree. So selected click on it twice and get into the group. Select the rectangle, make a copy by clicking Control C, Control Shift V, go to the left toolbar and get rid of the fill box. Select the tree trunk, hit the Control plus right square bracket to send a line to the front. When you're satisfied with the result, go to the left top corner and click twice on the arrow that will get you back to the main documents. Now take a look at the whole picture in general and see whether you want to change any fan. If everything looks fine, Let's go and create one additional elements. We will go to the left toolbar and select the rectangle tool. With the rectangle tool, we will create a little square. So hold down the Shift key to make a square. So now when you have the rectangle, Let's go to the left toolbar and select the eyedropper tool. With the eyedropper tool, we will select just these white color. When you change the appearance of the square, will move it to a blue background elements and we'll do the following. We will click on it with the right mouse button and we will choose transform rats ate into this little window. We will write down 45 degrees. You can click on the preview box to see the difference. And when you are satisfied, Let's click. Okay, now let's go and make the diamond shape a bit more sparkle alike. Let's go to the tab Effect, Distort and Transform pucker and bloat. So hit the preview checkbox and incidence Windsor weekend change the appearance of our selected shape. If you move the slider to the left, it will balk at the shape. If you move it to the right, it will bloat it and make epic us sheep. So we will go to the left and we will create some sparkle when you're satisfied with this shape, Let's click. Okay, now we need to go to the tab object and we need to expand the appearance of these elements. When you have this result, we can resize the elements and make a few copies for a nicer effects. So firstly, let's resize it by holding down the Shift key and by dragging the corner to the bottom left. Let's make a copy by holding down out and control keys on the keyboard. Let's place it diagonally down and let's resize it. Now will make one more copy of the smaller shape. So repeat the coping step and drag the shape somewhat to the left. Let's readjust the shapes. Let's replace them and let's just make them look nice. So when you have these results, Let's just select all the shapes that we have, and let's hit Control G to group our elements. So when we have the group, we can go and place it right in the middle of our picture. We are going to the Align panel and we're making sure that we are aligning in everything to the art boards. Now we need to click on both horizontal and vertical align center. And that's it for our illustration. I hope you found this class helpful and if you liked this, bleach it out, the other classes given follow and leave your review and thanks for watching.
 Xenia Sorokina, Illustrator & Graphic designer