Transcripts
1. Introduction to the class: Hi, and welcome to my
class. I'm Carrie. I'm an independent
artist who creates vector art using
Adobe Illustrator. If you've ever been somebody who said that they
couldn't draw, then this class is
definitely for you because I was in that
same boat until I opened up Adobe Illustrator
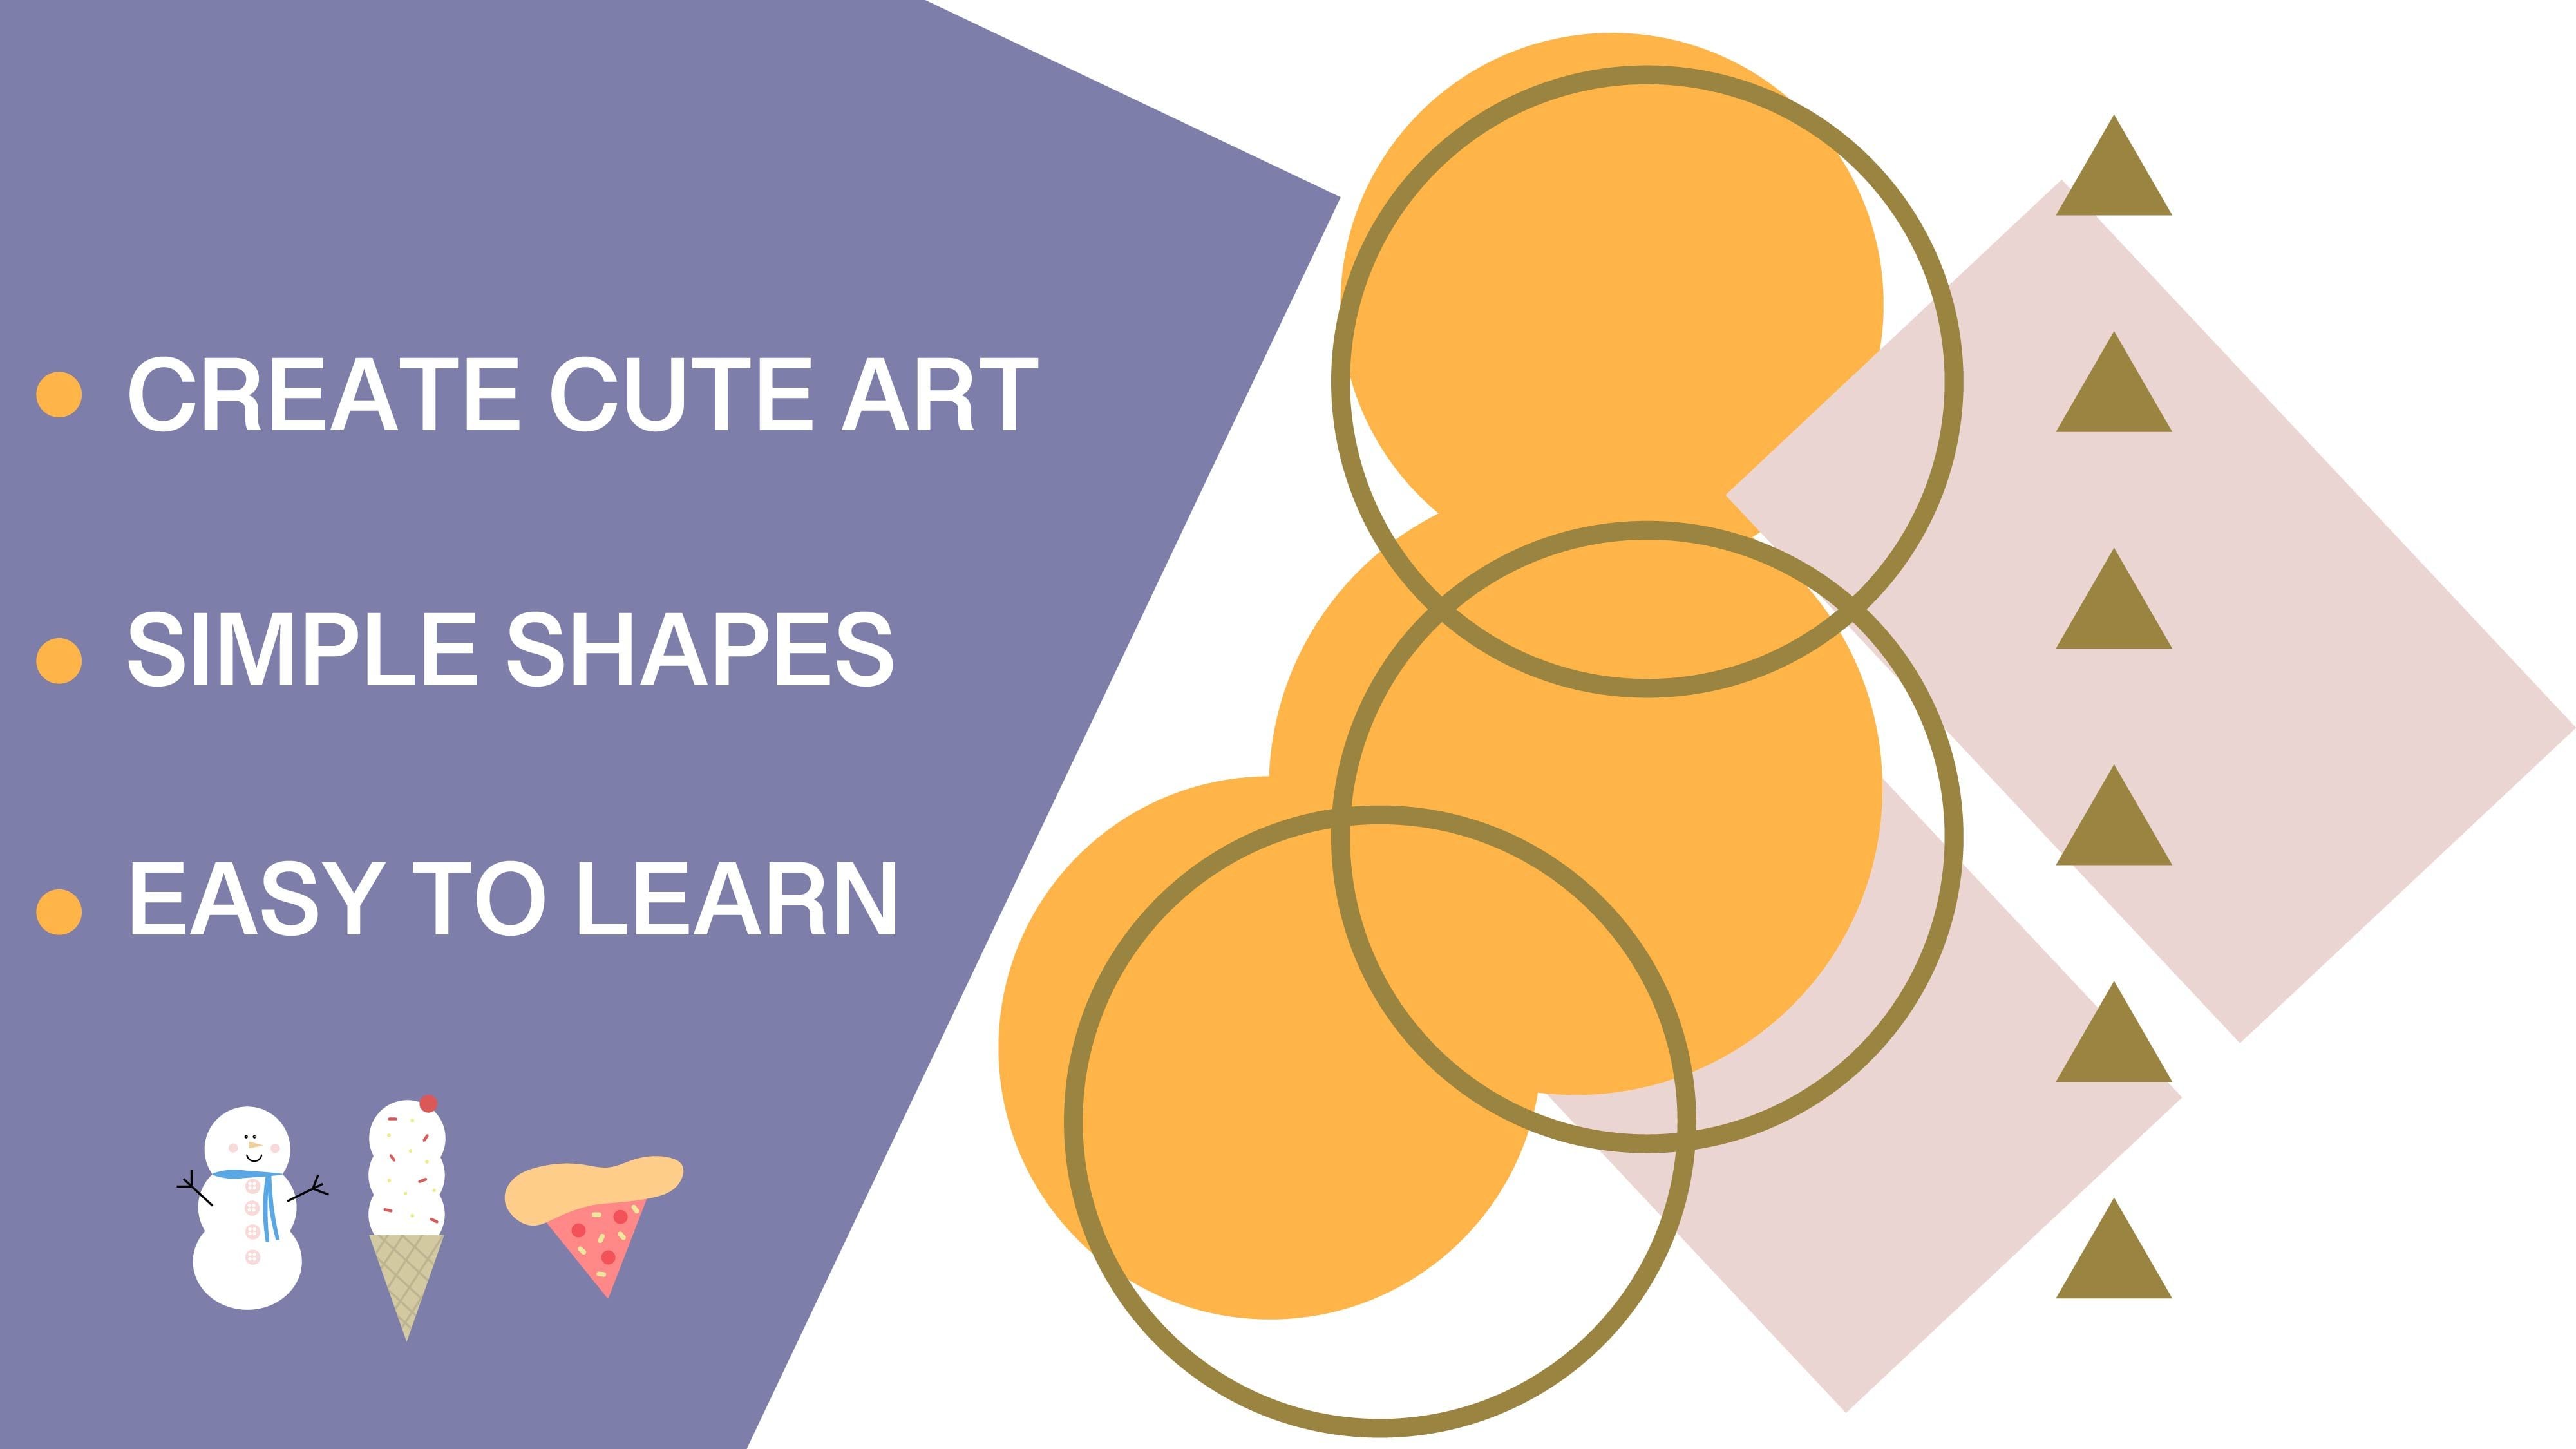
and found out that with simple shapes such as circles
and squares and triangles, you can make really cute art
and put them into patterns. For an example, here's some cute little half suns
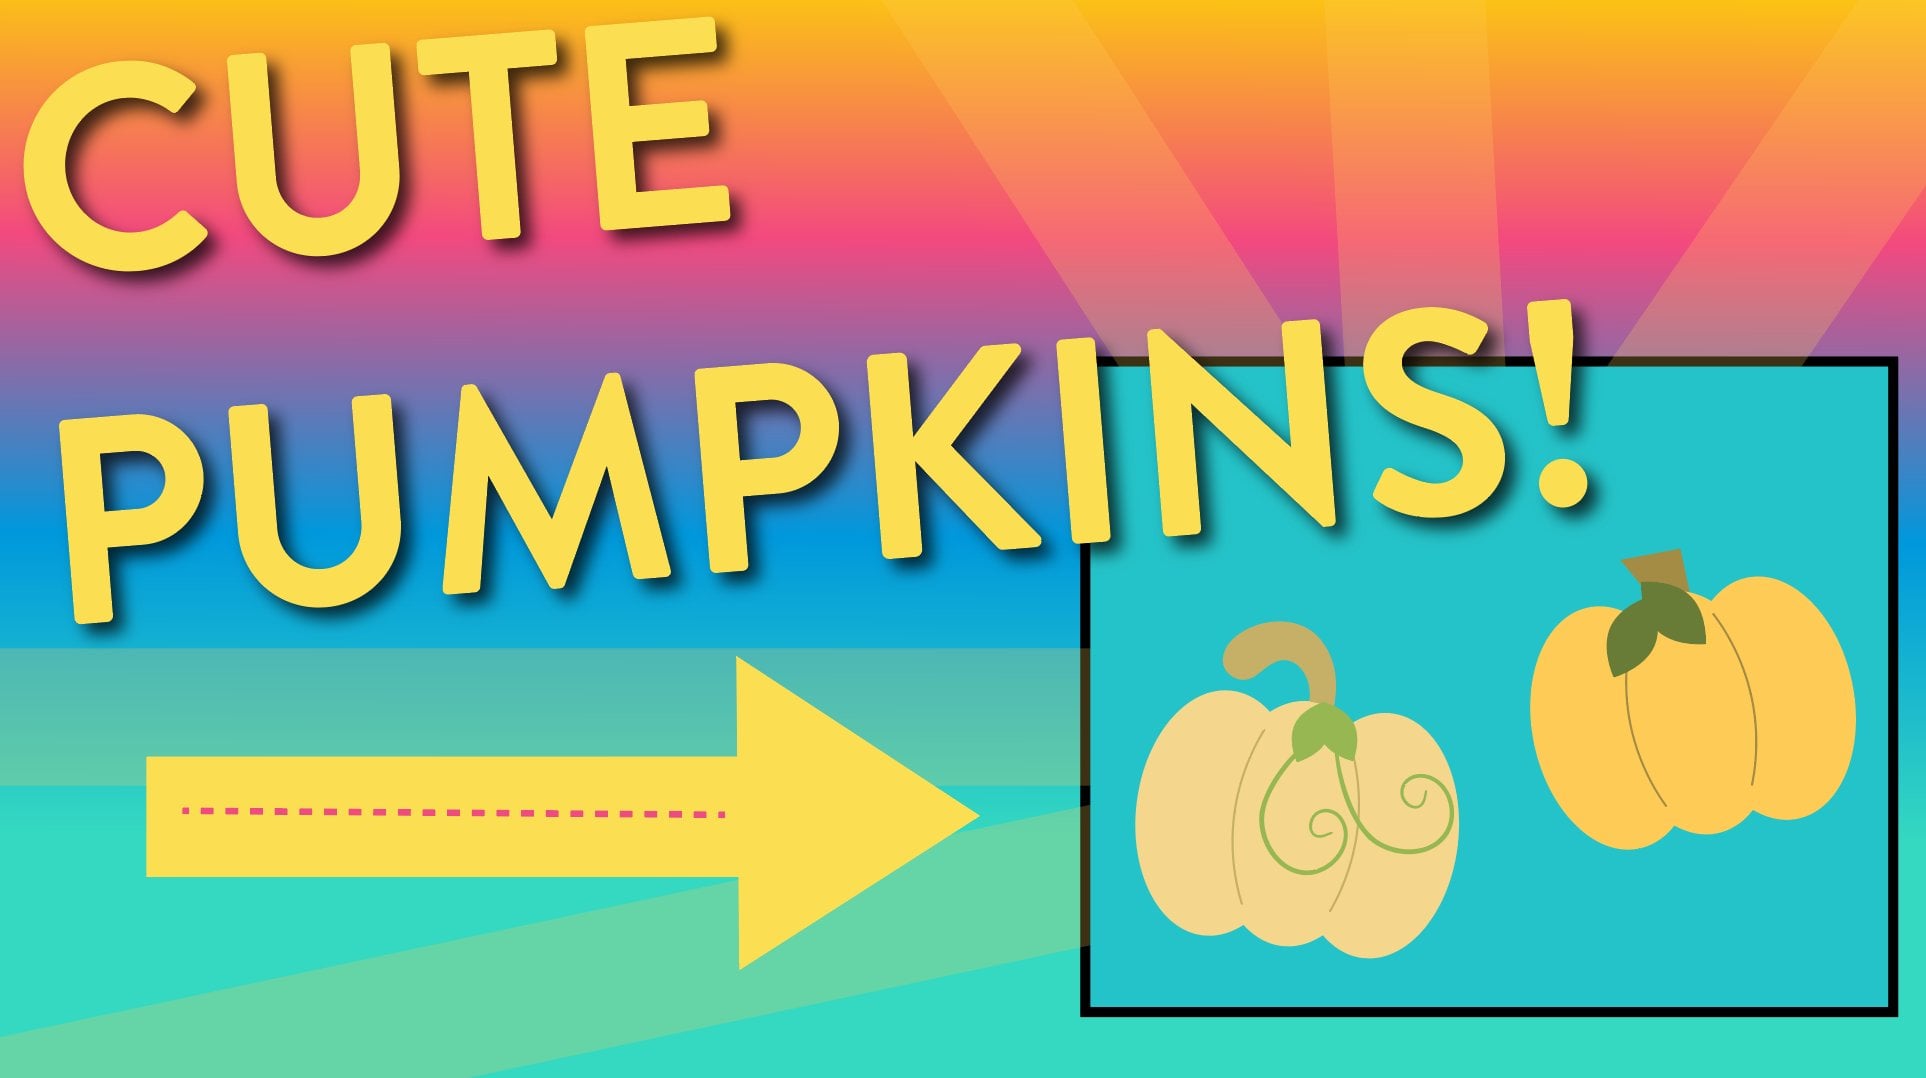
that I've done in the past. Using circles, I created these cute little pumpkins
with the little dots. If you're a sewer or quilter and you've ever wanted to see
your designs on fabric, then this is exactly
what I did here. Join me in this class as we create the cutest
little Ghost designs.
2. How to create your first project: Let's create our
first project file with Illustrator open. Come over here to the
left where you see the button that says New
file and click there. This brings up a dialogue box. In this dialog box, it shows you a lot of different presets that
you can choose from. For now, we want to
make this simple, so we're going to click on
web we're going to pick this option here for web
large 1920 by 1080 pixels. You can see over here on
the right, it says width 1920 height, 1080 pixels. Come down a little bit further. It gives us our color mode, we want to set ours to what it is set at now, the RGB color. There's also an option
for CMYK color. That would be great if
you were going to print. We want ours to show
great on the web, so we're going to keep
ours on RGB color. And then our raster effects, we want to set that
to high 300 PPI. That gives us a high
quality resolution file. Now click Create.
3. Setting up the workspace: As you get to earn
W Illustrator, you'll find that they have a lot of different
tools and options. Over here on the left,
there's a toolbar that we'll be using a lot of course
up here at the top. And then over here on the right, there's also some
toolbars and some icons. And if you click in each one of those icons, it has options. We want to keep it simple, so we're going to
come up here to the top toolbar and
click on Window. Come down here to workspace, and we're going to
set our workspace to Essentials Classic. You can see that that changed the toolbar over here so we can see all of our different tools that we can use a
little bit easier. And then on the right here, it changed things just a little. It gives me an option
for my layers. Also, if you start moving
things around because you can click and drag some of these off up there if you want. But if you want to put
it back the way it was, you can always come
over here to Windows, workspace, and reset
Essentials Classic.
4. Creating a background for the artboard: Project file opens,
Adobe creates this artboard for us to
create our illustrations on. I want to go ahead in this video and create a background
for this artboard. So to do that, we want
to come over here to the toolbar on the left and
come down to this tool here, which is the rectangle tool. So you'll click that then come over here to your
artboard and click, and that will
create a dialog box that will come up with
a width and a height. We want to change our width to it will be the
same as the artboard. So 1920, and then we
press the tab key, and then the height, if
you remember, was 1080, so 1080. And then we press Okay. Now we want to align this
background to our artboard. So to do that, there
are two different ways. The first up here at the top, you'll see there's an
option called Window. So we click on Window, and then we come
down here to a line. And then where it
says Align Objects, you want to click on
Horizontal Align Center, and then come over here and
click Vertical Align Center. Then we click the X so that
that is no longer there. Then the other option is just right here up
on the tool bar, you could have clicked it
here Horizontal Align Center, and then here Vertical
Align Center. Next, let's give our
rectangle some color. So on the toolbar
here on the left, come down to where you see the white fill and
the black stroke. Click on the black stroke, and then right here is an
option that says none. And if you click on that,
it will remove the stroke. So now you can see you have
a white fill and no stroke. So let's go ahead and
double click on the fill. And then this brings
up your color picker. And if you click and drag, you can go through the
different color arrangements. I'm going to click up till
it gets to the purples, and then I'm going
to select a color. I'll select a darker purple. And click Okay, and that creates the color
for our background. Now we want to make sure that
the background won't move. On the toolbar on the left, if you click up here on your selection tool and then you click on
your background, you can move it back and
forth as you would like. But if you don't want
it to move at all, you can come over
here to Object, and lock selection, and that will lock the
background for you. If you come over here
to the right where your layers panel is, you can see that we
have one rectangle and that it's right here, you can see that it's locked. You can unlock it
from here and lock it from here if you
would like, or again, do the object unlock
object lock selection.
5. Creating the first Ghost: Let's create our
first cute ghost. On the toolbar on the left, we want to go to
the rectangle tool, right click and
choose the lips tool. Then click and drag to make
the shape of our first ghost. Next, we want to come over
to the toolbar on the left, come down to the curvature tool. And then when we click
on the curvature tool, you can see that
it creates these dots which are called points. And where you don't see a dot, you can create one by clicking. So we're going to
click right here, and then we're going
to click and drag that new point that
we just created so that it creates a rounded
shape for our ghost. Then we'll click this point that was already created
and click and drag. Now we want to create
another new points, so we're going to come
down here and click, and then we're going to
drag it in just like so. And then we'll do the same
thing with this point here, click it and drag
just like that. Now, you can keep your ghost just like
that if you would like, or you can smooth
it out a little. So to smooth it out, you come over here to the
toolbar on the left. Down to your Shape Builder tool, and then you can right click
and go to the Smooth Tool. Now, you'll want
to make sure that your ghost is selected
when you do this. So if you remember up here
is your selection tool, so you can click on
the selection tool, select your Ghost, and then come down to the
Smooth tool and click. And then that creates
these little blue points. So now you know
that you're ready, that you can adjust the shape of your ghost just as
you would like it there. And that creates the very
beginning of our ghost. Now if you look to the
toolbar on the left, you will see that your
ghost has a white fill and a black stroke
and we want to go ahead and get rid of
that black stroke. So how you do that is
you come over here to the top and click on
the selection tool. Then click onto your Ghost, so it highlights your ghost. Then you come back down to
the toolbar on the left and click on your stroke, and then you'll
press this little button right here
that says none. And now you can
see that you have no stroke and a white fill. Now let's create the
eyes for our Ghost. To do that, you come over to
the toolbar on the left and you come up here to where
it has the lips tool. Then click and drag inside your Ghost where you would
like your eye to be. But now you can see
that your eye has a white fill and no stroke, and we want our eye
to be a darker color, so we will double
click into the fill, go to our select color, click and drag until
you get the six zeros, and then you can click Okay, and that creates your first eye. You can create a duplicate
of that I by coming over here to the toolbar on the left and pressing on
the selection key. Then come and select your I, press Option or Alt
on your keyboard, click and drag, and that creates your second
eye just like that. To create a smile
for your ghost, you come over to the
toolbar on the left. This time, we want to select
the line segment tool. Come back over to our ghost and press Shift on your keyboard. Click and Drag, and that will create the
perfect line for you. But as you can see, you
have no fill and no stroke. I'm going to show you
another way to add color. So if you come over here to the right and you come
to your swatches panel, you can see there's a lot
of different colors in here and we want to go ahead
and pick the black swatch, so we'll click that right there. Now you can see what it did over here on the toolbar on the left, I created a black
fill and no stroke, and we want to change that. So we want it to be a
black stroke and no fill. If you see this right here, this button right here, it
says swap fill and stroke. If you click that, now you'll have a black stroke and no fill. Now we want to come up
here to the stroke points, and we want to make
it four points. Now we want to come over
here to the toolbar on the left and click on
the Curvature tool, and we'll click
right in the center. That creates that point, and we can click and drag
to make a cute smiley face. Then if you come over here to the toolbar on the left again and click on your Zoom
tool and zoom in, you can see that
this is not rounded, but we want to go ahead
and have a rounded edge. So how we do that is
we come over here to window and come down to stroke. And you want your cap to be rounded cap and your
corner to be rounded join. And that creates a rounded edge. Then you can click
on your Zoom again. And if you press Option
or Alt on your keyboard, you can see how it changes
it from a plus to a minus, and then you can click and that zooms you back out so
you can see your ghost. If you come over to the Layers
panel here on the right, you can click this button
here to see all the objects. You have your background,
which is locked, and if we want to
double click in there, you can change that name from
rectangle to background. Press the tab key. Then if you click on
the one right above it, you can see it will highlight, and that is your body. So let's rename it Body. Next, we can come up and
see that we have an I, so we can say I one. Go up again to the other
one, and it highlights it. And you can say I two. And come up to the top one, and that's your smiley face, and you can say smile. That creates a name for
each one of your objects. However, if you want to group these two eyes together,
you can highlight one, press Shift on your keyboard,
highlight the other, then come up here to
object and group. And now you can see it
created a name called group, so you could double
click in there and change that to group eyes. Or you could just
say Is if you want. And if you click into it, then you can see
both of your eyes are in that individual group. If you want to have your smile in with your eyes, you
can do that as well. Highlight the smile,
then highlight your eyes and then come up
here to object and group. You can also right click and say ungroup or right
click and say group. I adds the eyes and the
smile in a one group. So now you have
your group eyes and your smile all in this group, which you can rename face. What this allows
you to do if you highlight that entire face group now with your selection key selected over here
at the top left, it allows you to move the face wherever you would like
it all as one group. And then if you want to highlight or if you want
to group everything, you can highlight that,
press your shift key, highlight the body, right click, group now your ghost it
is all in one group. So if you make sure you
got your selection, now the entire ghost is grouped together so you can move it wherever you would like.
6. Creating the second ghost: Now that our ghost
is in one group, let's move him so that we
can create a second ghost. On the toolbar on the left, choose your selection tool. Come over to your ghost,
click and drag to the right. For our next ghost,
we want to go ahead and use the
Line Segment tool. So on the toolbar
here on the left, click on Line Segment. Press the shift key
on your keyboard, click and drag, and that creates no fill and
a black stroke. We want to change that color, so we'll come over here
to our swatches panel, and we'll choose the white. Next, we want to come
up here to the top, make sure our stroke
is set to four points. Then we can come
up here to effect, distort, and zig zag. I have mine set to
size ten and my ridges per section or segment set to four, and I'm
going to click Okay. Next, I want to go
up here to object. And expand appearance. Now we'll come over here to
the toolbar on the left, go to our lips tool. If you remember, when
we had it set before, it was set to the rectangle, and we right clicked and
went to the Lips tool. Then we'll click and drag. Just like that on our artboard. Next, we want to go to
our selection tool. We want to click and drag
both the Oval and the line. Then we'll come over here
to our Shape Builder tool. Now when you come over to
the Shape Builder tool, you'll see that there's
a little plus symbol. And if you press Option
or Alt on your keyboard, it'll change it to a minus, and it highlights in red what's
getting ready to delete. So go ahead and click
there to delete that. Then on the other side,
we'll delete that. And at the bottom,
we will delete that. Go back to your selection tool and you can move
your ghost around. You can adjust its setting, so it's a little bit
longer if you would like. You can also then check
the layers panel over here on the right and check
what layers you have. It looks like we
have two layers. We have layer one, which is the body, and then we have layer two, which is a little line
piece that it kept. So we can remove that
so you highlight it, and you remove it there. And that leaves us
just with our ghost. Next, we want to change this so that it is a white
fill and no stroke. So you can press this swap
fill and stroke here. And now you have
a ghost that has a white fill and no stroke. You can come back over to
your toolbar on the left. We can go to our smooth tool. And smooth it out. So it creates a more smooth
look here at the bottom. For the eyes on our Ghosts, let's go ahead and go to
the toolbar on the left, click on our Ellipse tool. Then you can click and drag about where you'd like the eye. It creates a white
fill and no stroke. So you can come over
here to the right. Go to your swatches panel. Click on the black to
create your first eye. Then you can come back over to the toolbar on the
left and click on the selection tool so then
you can select your eye, press Option or Alt
on your keyboard, click and drag, and that
makes your second eye. Now you can click the first
eye and the second eye, then come back up
here to where you see your alignment tools and
you can say align to top. And then you can also just move them exactly where you
want them just like that. Let's go ahead and create
a cute little mouth. So we will just go back to
the ellipse tool and then click and drag just like that to create a
cute mouth for our ghost. Now let's group all the items
for our Ghost together. Make sure that you have
the selection tool selected from the
toolbar on the left, then select everything that
you want to group together. Then you can right
click and select group.
7. Creating the third ghost: For next Ghost, I want to have a little fun using
the curvature tool. So on the toolbar on the left, we're going to come over
here to the Curvature tool, and you come over to the
artboard and then you click, and then you click
another point, and you just keep clicking
and making fun shapes. To make a ghost, and
then you come back to the beginning where you just started your point
and click again, and that creates
your own ghost shape just using the curvature tool. And, of course, we want to
make this a different color. So currently, we have a
black fill and no stroke. So we want to come over
here to our swatches panel, we want to change this to white, fill and no stroke. And then we can
make sure that we have our ghost highlighted here, and then we can come
over to the Smooth tool, and we can use it to adjust it, make it just a little
smoother, just like that. Next, we want to go
ahead and give it some e. So we'll
come over here to the lips tool, click and drag. And that created a white
fill and no stroke. So let's come over here to our swatches again and
change that to black. Then we can come over
to our selection tool, and then we can select our e, press Option or Alt
on our keyboard, click and drag, just like that. Next, we can highlight both of our eyes by pressing
Shift on our keyboard. So it selects both these eyes. Then we can come over
here to our line. We want to vertical line top. Now you can change the size of the ghost by coming over here
to the toolbar on the left, making sure your
selection tool is selected, clicking
on your Ghost, then you can grab one of these
square points right here, press the shift
on your keyboard, and then click and drag it
creates a smaller shape, and then you can move it into place alongside the
other two ghosts.
8. Creating a pattern: Now that we've created
three cute Ghosts, let's create a pattern. To begin, come over to
the toolbar on the left, make sure you have your
selection tool selected. Come over to your
artboard and click and then drag over all three Ghosts. Then press Shift
on your keyboard. Come over to this
corner point here, click and drag, and that allows you to make your ghost
just a little bit smaller. Now you can press Option
or Alt on your keyboard, click and drag to make
a duplicate copy. Then come over to the corner. Again, press Shift
on your keyboard, and then click and drag. And that will allow you to
rotate your little ghost. We'll set them up just
like that for now. Now let's create a star for our pattern on the
toolbar on the left, where your rectangle tool is, right click and go
to the star tool. Then on your Artboard, click and drag to make a star. You'll notice here in the
toolbar on the left that that has a black stroke
and a white fill. We want to get rid
of the black stroke, so we will click right
here where it says none. Then we can go to our fill and double click and choose
a color for our star. I want to choose a
light purple for mine and click Okay.
Just like that. Next, we're going to go to
our Direct Selection tool. This creates these little dots, and if you click and drag them, it will allow you to make
rounded edges on your star. Next, we want to come over to the selection tool and select it and go to Object
and expand appearance. Now we can press Shift
on our keyboard. Click on one of the points
here and click and drag down to make the star a little smaller and put it into place. Then we can press Option
or Alt on our keyboard, click and drag to make
another star, just like so. Now we want to
create our pattern. From the toolbar on the left, click your selection tool. Then on the artboard, click and drag over the stars
and the Ghost. Come over here to the
top toolbar and click on Object, Pattern M. Now, you can see here that we have white Ghost on
a white artboard, so it makes it really
difficult to see. So how you can fix that is you
can press Shift Command D, if you have a MAC
or Shift Control D, if you have a PC, and that will make your
artboard transparent. Next, we can change the Zoom if you come over
here to your toolbar and click on the
Zoom and then press Option and then click
a couple times, so you can see more
of your artboard. Then the next thing we can
do under pattern options, copies, we can
change that to 7.5, and that shows more copies of our pattern to give
us an idea of what our pattern will look
like when we're done. From here, you can
choose tile type. Right now it's on grid. You can go to brick by row. You can change it
to brick by column. Hex by column. And hex by Row and then change the icons and their views depending on which one
you like the best. I'm going to stick with Brick
by Row, as I like that one. And then I will just make a
few changes here to my icons. So I'll come over here to
the toolbar on the left, and I'm going to click
on my selection. Then I can come over here
to my ghost and move him. I needed, I can move
the stars around. I can move one of the stars
over here if I'd like. I can move this
ghost and this one. And I can move this star like so we can add another
star if you'd like from here. You can click on the
star that you have, press Option or Alt
on your keyboard, and then click and drag where you would like
the other star to be, and you can rotate this
star by coming over to the edge and then
rotating the star. To put it into
place just like so. And then when
you're finally done and you're happy
with your design, you come up here to
the top where it says done and click Done. Now, to see your design, what you can do is come over
here to these objects here. We want to get those
out of the way. So we make sure we have our
selection tool selected, click and drag over all of them, and then move them
off the artboard. Next, we can create a rectangle. So we come over here
to the toolbar on the left, choose our rectangle. Click inside the
artboard and click once. And remember, our Artboard
is 19 by 20 by 1080, so that's correct.
So we click Okay. Now we can move this into place. We can come over here to horizontal line Center
and vertical line Center. Next, we want to make
sure on the toolbar on the left that the fill
is selected, and it is. Now we can come over here
to our swatches panel. If it's not open, it's
right here, swatches. Come over here to where
our Ghost is, and click. And now you have a pattern.
9. Bonus Pattern: This is a bonus video for me
to show you how I prepare my backgrounds to be put onto website so I can add
my patterns to fabric. Over here on the left,
click on New File. Come over to web web
Large 1920 by 1080. We're going to
change our width to 400 and our height to 400. We will come down here
to color mode and make sure it's set to RGB color, and then we will change
our raster effects to the high 300 PPI
and click Create. Now let's create our ghost
on the toolbar on the left, click on your Ellipse Tool. Then click and drag. We'll come over here
to our curvature tool. Click about right there
and then click up and drag these points to make
a rounded at the top, create a new point here,
and then click and drag in. And then last, we'll
click this point and click just like that. Then we can come over
here to our smooth tool and smooth it out just
a little bit like that. Now we'll move it off the whiteboard so we can see
it a little bit better here. Then I'm going to
come over here to our EllipsTol click and
drag to make our first I. Then we can click
this button here, and that gives you
the default of a white fill and a black stroke. Then we can click
SWAP fill for stroke. So now we have a black
fill and a white stroke. And then on the stroke, since it's selected
here, we'll hit none. And that creates I. Now we can come back here to
selection and click on Ri, press the Option or
Alt on your keyboard, click and drag to
create a second I. You can highlight the first de, then press Shift
on your keyboard, highlight the second I, then come up here to
vertical line top just to make sure that they
are in the same place. And then we can make sure
our selection tool is selected and then click and drag over both the
eyes and the ghost. Then you come up here
to object and group. Next, we want to make the
ghost a little smaller, so we're going to click and
drag down just like that. And then we can come up here to object and pattern and make. To be able to see
our ghost better, we need to change the
transparency on our artboard. To do that, you can press Command Shift D on a Mac or Control shifte
on a Windows machine. Then come over here to
the pattern options. You have a tile type of grid. I'm going to go ahead and
change mine to brick by column. Next, I want to set the
width and the height. Right now, you can see this
button here means that both the width and the height will change at the same time. If I click it off, then you can just change the width or you
can just change the height. Going to go ahead
and leave mine on. I'm going to click
inside the width, and then I'll hit
the up arrow on my keyboard a few
times just like that. Next, when I'm done,
I'm going to come up here and click on Done. Now that you've clicked done, Illustrator puts your
pattern under the swatches. So if you go to swatches
and then come down here, you'll see that you have a
new pattern of your ghost. So if you click and drag
it onto your artboard, it will show you what
the pattern looks like. Next, you come over
here to your layers, and you can see that
this one's highlighted. So we want to click in there. We want to come down
to this last option that says path that looks like a rectangle or square,
and you want to click it. And so it highlights that. And then you come
up here to object, artboard and fit to
selected art, like so. Next, you want to
come up here to file and export Export As. You'll give it a
name. Ghost pattern. Format is JPEG, and
we'll say export. I will say color mode. We want ours to set RGB
and a resolution high, 300 PPI and click Okay.
10. Bonus Swatches cleanup: I wanted to make a bonus video
about the Swatches panel. In the Swatches panel, you
have your new pattern, but you also have some patterns
that you didn't create. So if you don't
want to see those patterns or these colors, there's different ways
that you can remove those. If in the color swatches, if it has this
folder right here, you can highlight
the folder and then click this delete swatch. I'll ask you if you want
to delete the selection, say yes, and it will
get rid of everything. You can also highlight the first swatch and then
highlight the last swatch that you want to remove and then click on the trash
can and then say yes, delete the swatch selection, and it will get rid of
everything but your pattern. I also wanted to
show you, though, that you can come up here to these three lines here and
click on Select All Unused. This selects everything
including your pattern. So you only want to do this if you want to get
rid of absolutely every one of these
colors and your pattern, and then you can click on
the trash can and say yes, and it will remove everything. Usually removes everything, but you're white
and you're black.
11. Class Project: For your class project, go ahead and try to make a cute ghost and
even a new pattern. And don't forget to check
out the resources page where I have some coloring
pages and a helpful guide.
 Kerrie Hensley, Surface Pattern Design