Transcripts
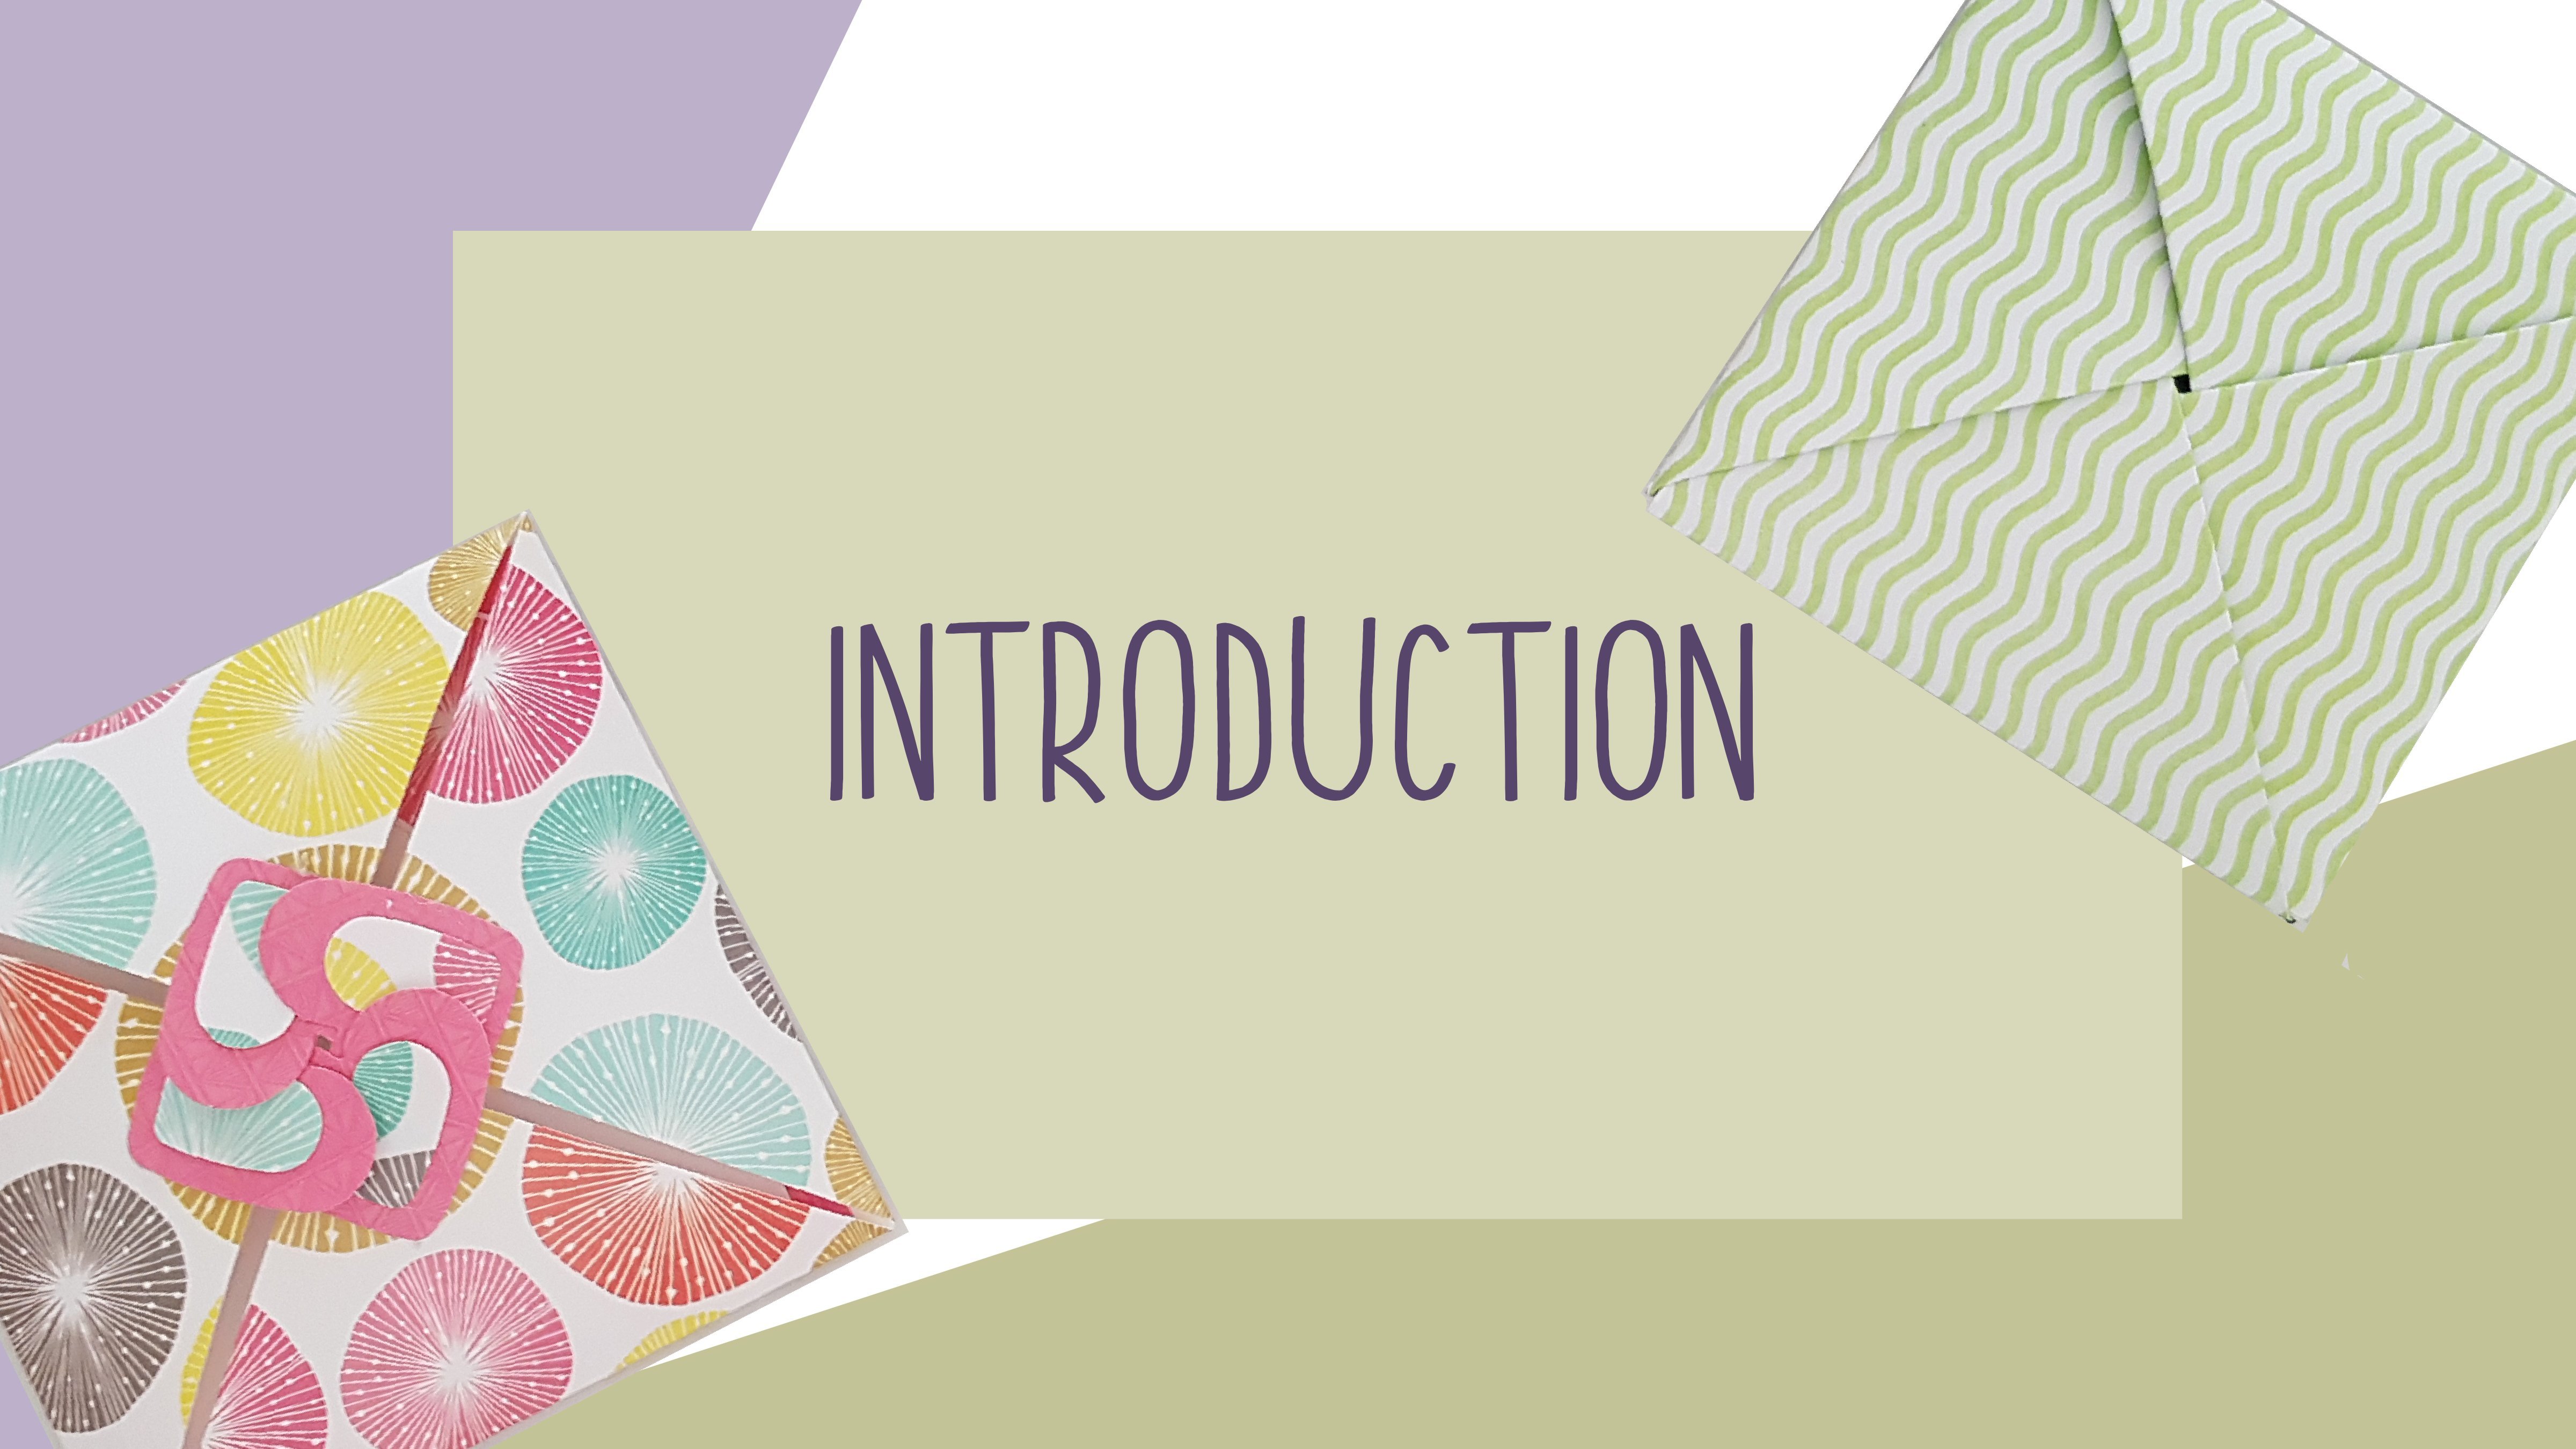
1. Introduction: Welcome to my tutorial on how to make origami baskets. This is what we're going to be making. I'm going to be showing you how to use different techniques to create the embellishments. The basket, it sound is made from one shape to 12 by 12 paper. You need some white car handle, and then we're going to learn to do embellishments using a cricket machine. If you have one, um, hand cut. Or if you don't have any sisters, I'm gonna show you how to make these as well. You'll need a glue gun for state you certainly to go for this. You can use double sided tape as well. So this about use. I've used these as a party favor bags before. Now on the kids are decorated. It is part of the party Easter Egg hunt baskets really good for that? You can get quite a lot in there. You can make smaller ones as well. So you have a go with with size, things like that. Your class project will be to try and create your own. You could. You don't have to use all the different techniques, you know, use whatever technique you want to use. You could decorate all the handle. None of a handle. You know, You could even use ribbon for the handle if you wanted to. Love to see how creative you could bay. Andi, I really hope you enjoy this tutorial. Thank you for taking part.
2. materials: so equipment you will need to make your origami basket. You will need a 12 by 12 sheet of scrap of paper. This is 100 and 50 GSM, and it's singles are single sided. Pattern wise. You can use double sided. You can use thicker paper as well. I suggest you don't go over 250 GSM. I also have a piece of card. This is just a four on dit is 220 GSM state. Plus, you can use Brad's instead if you would rather. But a stapler will be sufficient for today on then a Paris's is as well. You may also wish to have a ruler if you want to. On a scoring bone folding tool that is not necessary, you can use the back your finger, but that is an optional extra. So those of materials we're going to need for now we will later on need scraps of decorative paper. Uh, if you wish to
3. Making the body of the basket: right, Step one. So we're going to construct the basic basket now, so turn your paper pattern side down on. We are going to fold the paper in half. This is the point. You can use a bone folder if you wish to always start from the middle working out. If you do open it up and then they are going to fold it the other way and open it out. Patents side up and we are going to go diagonal to diagonal again. Open it up on the meal, going to go diagonal to diagonal again. So now when you open it up, your piece of paper has to being divided into eight sections, Right? The next bits is a little bit tricky to explain. So I'm hoping, or NPR to see it. Take your thumb and put them in the valley. Folds on the opposite sides off the patterned side of the paper, and you were going to push them together like that so they meet in the middle on what happens is you end up with a square on top square underneath. So if I show you again, so put your phones on opposite corners on the diagonal on the pattern side, and then you are going to push them together like that. So they joined in the middle, and then you're going to flatten it. And here you will see that you've got a square you need to turn square so that the openings are facing you. Next, you're going to take the right hand side. Not that it matters, but we're going to start with the right hand side on this edge here so that the top section this edge here is going to go flush with this crease fold down the middle. Okay, And this is a good time to use that bone folder. You could also use a lollypop stick. She's a top tip if you wish to. Now we're going to do the opposite side. We're gonna fold that into the middle to on what you'll find is that you have created sort of kite effect on the front. Now we're going to turn over the whole piece and repeat the same on the other side. So we're gonna take the right hand side line up with that central central fold. So and then we're going to do the same on the other side. I know I'm rotating the paper a bit, but at all times, all the open ends are at this end rather than this send. This is still the folded and right, So once you've done that, second step is we're going to open up one side. That, and you're going to run your finger along this line all the way to the points like so and then you're going to slowly push the top heart down, but like a good and you're going to make sure that this fold here, this crease matches with this cruise here. So you've made a mini kite shape. We're going to repeat that on this side. So open it up. You're going to run your finger along the inside crease right to the end and then pushing on top of your finger. You're going to come back down making sure that this cruise here matches this crease here. There you go. Now we're going to turn the piece over and repeat it on the other side. Se finger up to the point and pushing down, matching the graces. There we go. So now you have something. Look, sir, a little bit length to kites on that side. And on that side front, next job is to we're going to start making that the the lead to the But we're not the leader. The opening to the basket now, So this is going to be the bottom. Eventually on this is going to be the opening. So taking Have your piece flat in front of you with the openings facing towards you and you'll notice that on the front here, we've got a triangle and we need it to fold so that the fold here goes against the two points where the pattern side meets. So if I do want and I will show you, so if you can see it folds strike across there and it just touches these two points here on , you'll also notice that the crease goes all the way up. So from this point here, there is a crease that goes all the way down. Now, Tony, peace over, and we're going to repeat it again and we go. So we've done that on both sides now and now we've got two little bits here. So what we going to do is we're going to take the right hand side filled it right over like so in. Turn the piece over. Take the right hand side. Fold it over. So we have this unusual six sided shape now. So with the opening still facing towards you, can you see there is a crease from where you creased earlier on and we're just gonna fold that back like that. So taking the right hand side again. Oh, look, we've got this kite shape again. Then on this side, we are going to do the same. They were good. So it looks despite the fact that there's a gap here, it looks the same as the pattern we made before. So now let's turn it around, do the same again and you'll notice that we have these little white triangles like we did before. So we're gonna fold them up so that they follow the line, the crease in the middle, and then again on the other side. So now we've created something a bit like an abbot's hats. You see, it's got four sides on each side has that white triangle sticking up now, and this is don't be The Littles is slightly tricky. Bit what you want to do is you want to open slightly and pop your fingers in. What you're going to do is start pushing from the bottom. We want to flatten the bottom out, so using your fingers, what I do is I wrote my finger on the crease line and it's slowly pushes it out. So this is the basis for our our basket. You can leave it like this. You can put things in it like this. If you want to, you could decorate it like that. We can do all sorts, different things with these bits as well. We could curl them. We could fold them. What we're going to do for the minute is just putting that to one side, and they were going to start working on the embellishments on the handoff.
4. Making the handle: in this section we are going to make the handle is very quick section. If you wish to use a ruler you can do, you don't have to. I believe in being up to use the minimum amount of materials as possible. So what I'm going to do is I am going to fold using the ends. Good right angles of the ends as my guide Mike, say no, Open it up and now you'll notice I've got a line to cut A long. I think I will actually do, though for extra stability is rather than cutting it down here. I'm going to use this edge as my guide from, and I'm going to do a double thickness handle so carefully using the edges of guides. I've now made my handle. So there we go. That's the handle section sorted in a minute. What we will do is be are going to attach it to the basket
5. Creating embellishments with a printer and scissors: as part of your course, you'll get a template. This is an image that you can print up so first. Well, we're going to work on our embellishments as printed, then cuts embellishments, and then we're going to try use in the cricket to do the same. And then we're going to do freehand. So first of all, get your photo. Ah, that is included with your package, you need to print it, select the prints that you wanted to print, too, and print so once printed out like that, we can use this as a template to cut out from scraps of paper. Now, I've got some different pieces of paper here that would compliment what I'm doing. These from these from the same set. This is from a different piece of paper that I would like to cut out some nice green leaves on what you'll do. Using your scissors, cut out roughly one of the shapes on. I recommend using a staple here to do several layers, line up your templates, then uses date plan just to secure it. You'll notice that I haven't put the staples inside the center on there. I'm going to use my scissors to start cutting it out. You want to leave the sections with the staples in to the ends images. I'm not being overly careful. It doesn't matter so much because we can distress this afterwards and do a few techniques to try and make it slightly more interesting. You'll also notice that plants in the wild Stenz tend to have absolutely perfect edges. There we go. So I left that staple in their told the very end so that it wouldn't move. So now I have to. I usually cut flowers, so I'm going to do that with all the other bits on, and then we can start on the next bit. - It's
6. Creating embellishments with a cricut: - next thing we want to do is we want to put our images that we've just ordered or crickets designs based on to the project we working at. So down in the bottom left hand corner, there's something that says image with a plus sign. Press that and you'll find all the images you just put in. You can select them all click insert, and there they all are nothing. I'm just gonna spread them out. Just said that you couldn't NC like that. The next step is to load our Matt with all the different paints. A tip for using the cricket cutting mats. This is a light grip cause he mat and I find that's more than enough. In fact, sometimes it's a little bit too grippy. As soon as I get to new Matt, I either right on it, this way up or I add stickers so that I know that this side always has to be facing up. It helps reduce the amount of grime, and that's that you find in the match. The next job is to get some of the paper what we had before. I'm just going to tear a few bits. I think and put them on the mat. So having the, uh and then green as well every guy now mine, Matt is loaded and ready, so I then need to go back into design space. So now you've got everything on your campus. The next thing you're going to want to do is reduce the size of everything. So it's going to fit inside your 12 by 12. Just to be a little bit bigger, I think. Okay. Hoping I can get who. Next thing we're going to do is I've shrunk all the images down, so they're gonna fit on my Mac quite easily. Now I'm going to select them all, click action down the bottom here and kicked duplicate hurts. And I'm gonna move them over because I want to be able to use at least two of each one. So my next job is to click, make it at the bottom, then we go, and it's currently on the um I just played like that, but I don't want it like that. I want to do it on the snap, Matt. So if I click snap Matt well enough to step away from the camera for a minute? I'm afraid so. Here is my mats already. I need to You can see on here. This guy's here. And this guide here They tell you whether you were level a bit like a spirit level on you can see also there is you see it or not, there's a little image of a triangle there. This is to be Ratched up with this. I need to move it quite a way up, though. So if you bear with me a second and then hopefully it will be right. Here we go. It is surprise takes a surprising about time to get it to line up. So here we go. Here is my mats. This is the one. I want to use this how it's all set up. And now I need to try and move the items that I want to be cut out of each paper. So I would like a big flower out of each one, like so I'm going to try and do it so that I can save as much space as possible. And then I want my leaves to be in here. I think I might actually No, I think that's fine. There we go. So now I want to click. Continue. Oh, helps if I connect my advice up. Sorry. You in a sec. It's just warming up. I select my device there. And then what I need to do is load this Matt into my machine. So I'm gonna move the camera now so you can see what it's. The next thing I need to do is I need to select the material. Now. This is quite thick paper. It's not quite as thinkers craft board. So I'm just going to go into my material section on. I'm going to choose. I'm not 100 cents short of thickness. I want a probably Posterboard will be fine on. I don't want it to an extra part and that's it. So now I'm going to go over to here and then goes press. And then when this starts to light up, I'm going to press it so hopefully it will know Where are the different papers? A little part of the shapes. This is a great way of using up scrap papers. Actually, it's a shame you can't use it on the laptop any any works tablet that it is a fantastic way of using up your scraps. Hey, would you could see it. Okay, thank finished cutting. I actually found the poster board was a bit too thick, so it started doing the double cut. So it's just worth knowing in future. I should have set up my settings beforehand. And as you can see, please don't kill him away. They have constant was shapes. Beautifully. Go now to get them off the board. You'll notice when I peel those off. They all curled. Of course, if I'm gonna be using these again, which I intend to, I should have peeled them off in a different way. One tip you could do is bend the board. Not so that you get a crease in the bald, but just enough so you can pull only a shape self. Okay, Thank you. There we go. There we have all our shapes, and then we can do a similar sort of thing that we did before. You can notice that these are slightly smaller than the other ones. I could have made them bigger if I wanted to. So using my finger again, I could just curl up the edges. Um, Abed, I mentioned on and do the same with the little flowers like so So there we go. Well, that she rather do is do it so that the colors are there isn't the same pattern on the same pattern, So I'm just going to that one. Then put that one on this. There's a nice contrast. Arms the leaves again. Perfect for just folding like that. So the next job is trying to make flowers and embellishments without a printer, without scissors and without a cricket.
7. Creating embellishments without tools: she had to make a couple of flowers without using any scissors. Without using the cricket or a printer, you will need some glue. I suggest a glue gun, making sure it's charged and ready to go. So the first thing you'll need to do a scrap of paper and you want to tear it into a circle , I say Suit, circle. In the loosest sense, of course. And then what we're going to do is we're going to do a spiral. I'm going to keep going on our spiral all the way to the middle like that of open up. You can see you made a spiral on. What going to do is we're going to roll now the first time you do This is a little bit tricky, but you do get the hang of it. So it starts with the outside edge, and what we're going to do is going to who roll around, making sure that the bottom bits flat. This outer age is gonna be all jiggle d. That's fine. You can see the flare is starting to form. Keep going along the way to the end. Like say, can loosen its slightly and then What we're going to do is we are going to put some glue on the base there. I want to hear so sorry, my glue gun is being a bit of pain. Here we go, just like that and you just need to keep it. Keep in place until it is dry. And there's a little flower that you made without scissors. All the printer, right? We could make another one. This time we're going to do a leaf on. I suggest holding folding in half and look it harder to tear this one on the energy. Half a teardrop opening up. And there's your leaf shape just like that. So that's how we can do those.
8. Constructing your basket: So now it's time to start constructing your decorating a basket. So we've got our basket base that we've worked on. We've got our hands or we'll need the stapler for this. If you have brats, you could use Brad's and use them to decorate the center of the flowers as well. I can show that in a minute. Now there are various different ways you can do this. Let your imagination run away with you. I personally like to fold up so that the crease matches the crease there and the point goes to the top there. And then I like to slot my handle in their ads to of instability and then, using your state pluck, you need to do it so that the soft they saw the smooth part of the state plot will be on the inside. This is particularly important if you've got Children on, they're going to put in the hands in and out the basket, because what happens is that if you do it the other way around, you might have sort appointees sections that go inside. So I would like to give it a couple of staples. Don't worry. I know that looks butt ugly, but it is going to be fine. And they were gonna do the same on the other side, like so state around if you were going to use brats. What you can do is sorry. The staple didn't go quite quite in. What you can do is glue gun like this, um, or a state. Plus, I appreciate with used it for here. Or you can use anything glue wise. Really? So PV a you would have toe clip it until it's set. You could even you super glow. You could use her. Brad's, like I suggested earlier. Or, um, double sided tape would be probably the preferable option. So what could we do with this? We could if you find a pen, you can roll it like so So that it hangs up so sticks up like that. Or you can stay Plett like you did the other ones, like, say something. I'm going to staple them because I want the emphasis to be on the flowers. We go, You see inside I've got the flat edge each time. Now I just need to cover up thes rather unpleasant staples. So I'm just gonna turn my glue gun on toe heat. Andi, I will just demonstrate to you the different techniques that we have used. So this was the handmade one has got his rough tourney edges. And that's the flower that we made. So I'm going Teoh, put the leaf on first and then the flower so you could do that all the way around. You could also do it all the way over the handle if you wanted to. The other option we had was when we cut it out by hand so you could see this is sort of a little bit in perfect. And then what? I need the central one upper spit blue in the middle, going to get one of my most folded leaves, Tiny bit glue like. So if you have yellow paper, girl was made little inserts. So there you go. So that's using the printing and cutting technique on Next up is using the cricket. So we had I have perfectly cut out flour using the crickets on and go, and there's the little insert. And here is the leaf. You can say that I'd cut this one out smaller. You can at least tell the difference which is good. So I'm gonna put my leaf on frenilla and my little flower. You could layer up several different layers. You could also use coordinating cards. So rather than pattern paper, you could pick out the colors that are in the in the paper so we could have a nice block of pink purple on using block green instead of patterns green. The last thing I'm going to do is for a bit of a contrast, because well, the other flowers are quite big. Is I'm just going to rotate this around again, using the my nail, give it some extra dimension, and then I'm going to use the little Andi instead off. Sorry if I just get the scissors. I am just going to snip down towards the center like that and a little bit of glue, just the you'll notice. What I've done is I've made a bit of a cone like that, and then I can just glue that into the center of this flower like, say, Papa Flatley's form that I might do a couple of leaves on this one, like so you on the back. Every girl that's another type of fire with a look. And there you go. That is our finished flower. A finished basket. Sorry. This could be any color you like. Doesn't have to be white. The thin of the paper, the more time she folded over. So it's more stable on bond. I have been assured that you can fit probably for about eight little mini strikes in there . Um, that's also the things you could put inside, but it is a great little bag, So I really hope you enjoyed making it. You could try making smaller ones. I wouldn't go smaller than a six by six sheet of paper purely because it gets harder and harder to get your fingers in. This was a 12 by 12 and it makes a really nice size. Thank you for watching.
9. Thank you: Thank you ever so much for watching land tutorial. I really love to see what projects you've created, so please do upload them on Bond. Good luck. Have fun. Bye.
 Jenny Cole