Transcripts
1. Intro: Hello, and welcome
to this class. My name is Julia, and
I'm a teacher and self taught illustrator from lovely Oldenburg,
Northern Germany. In this class, we
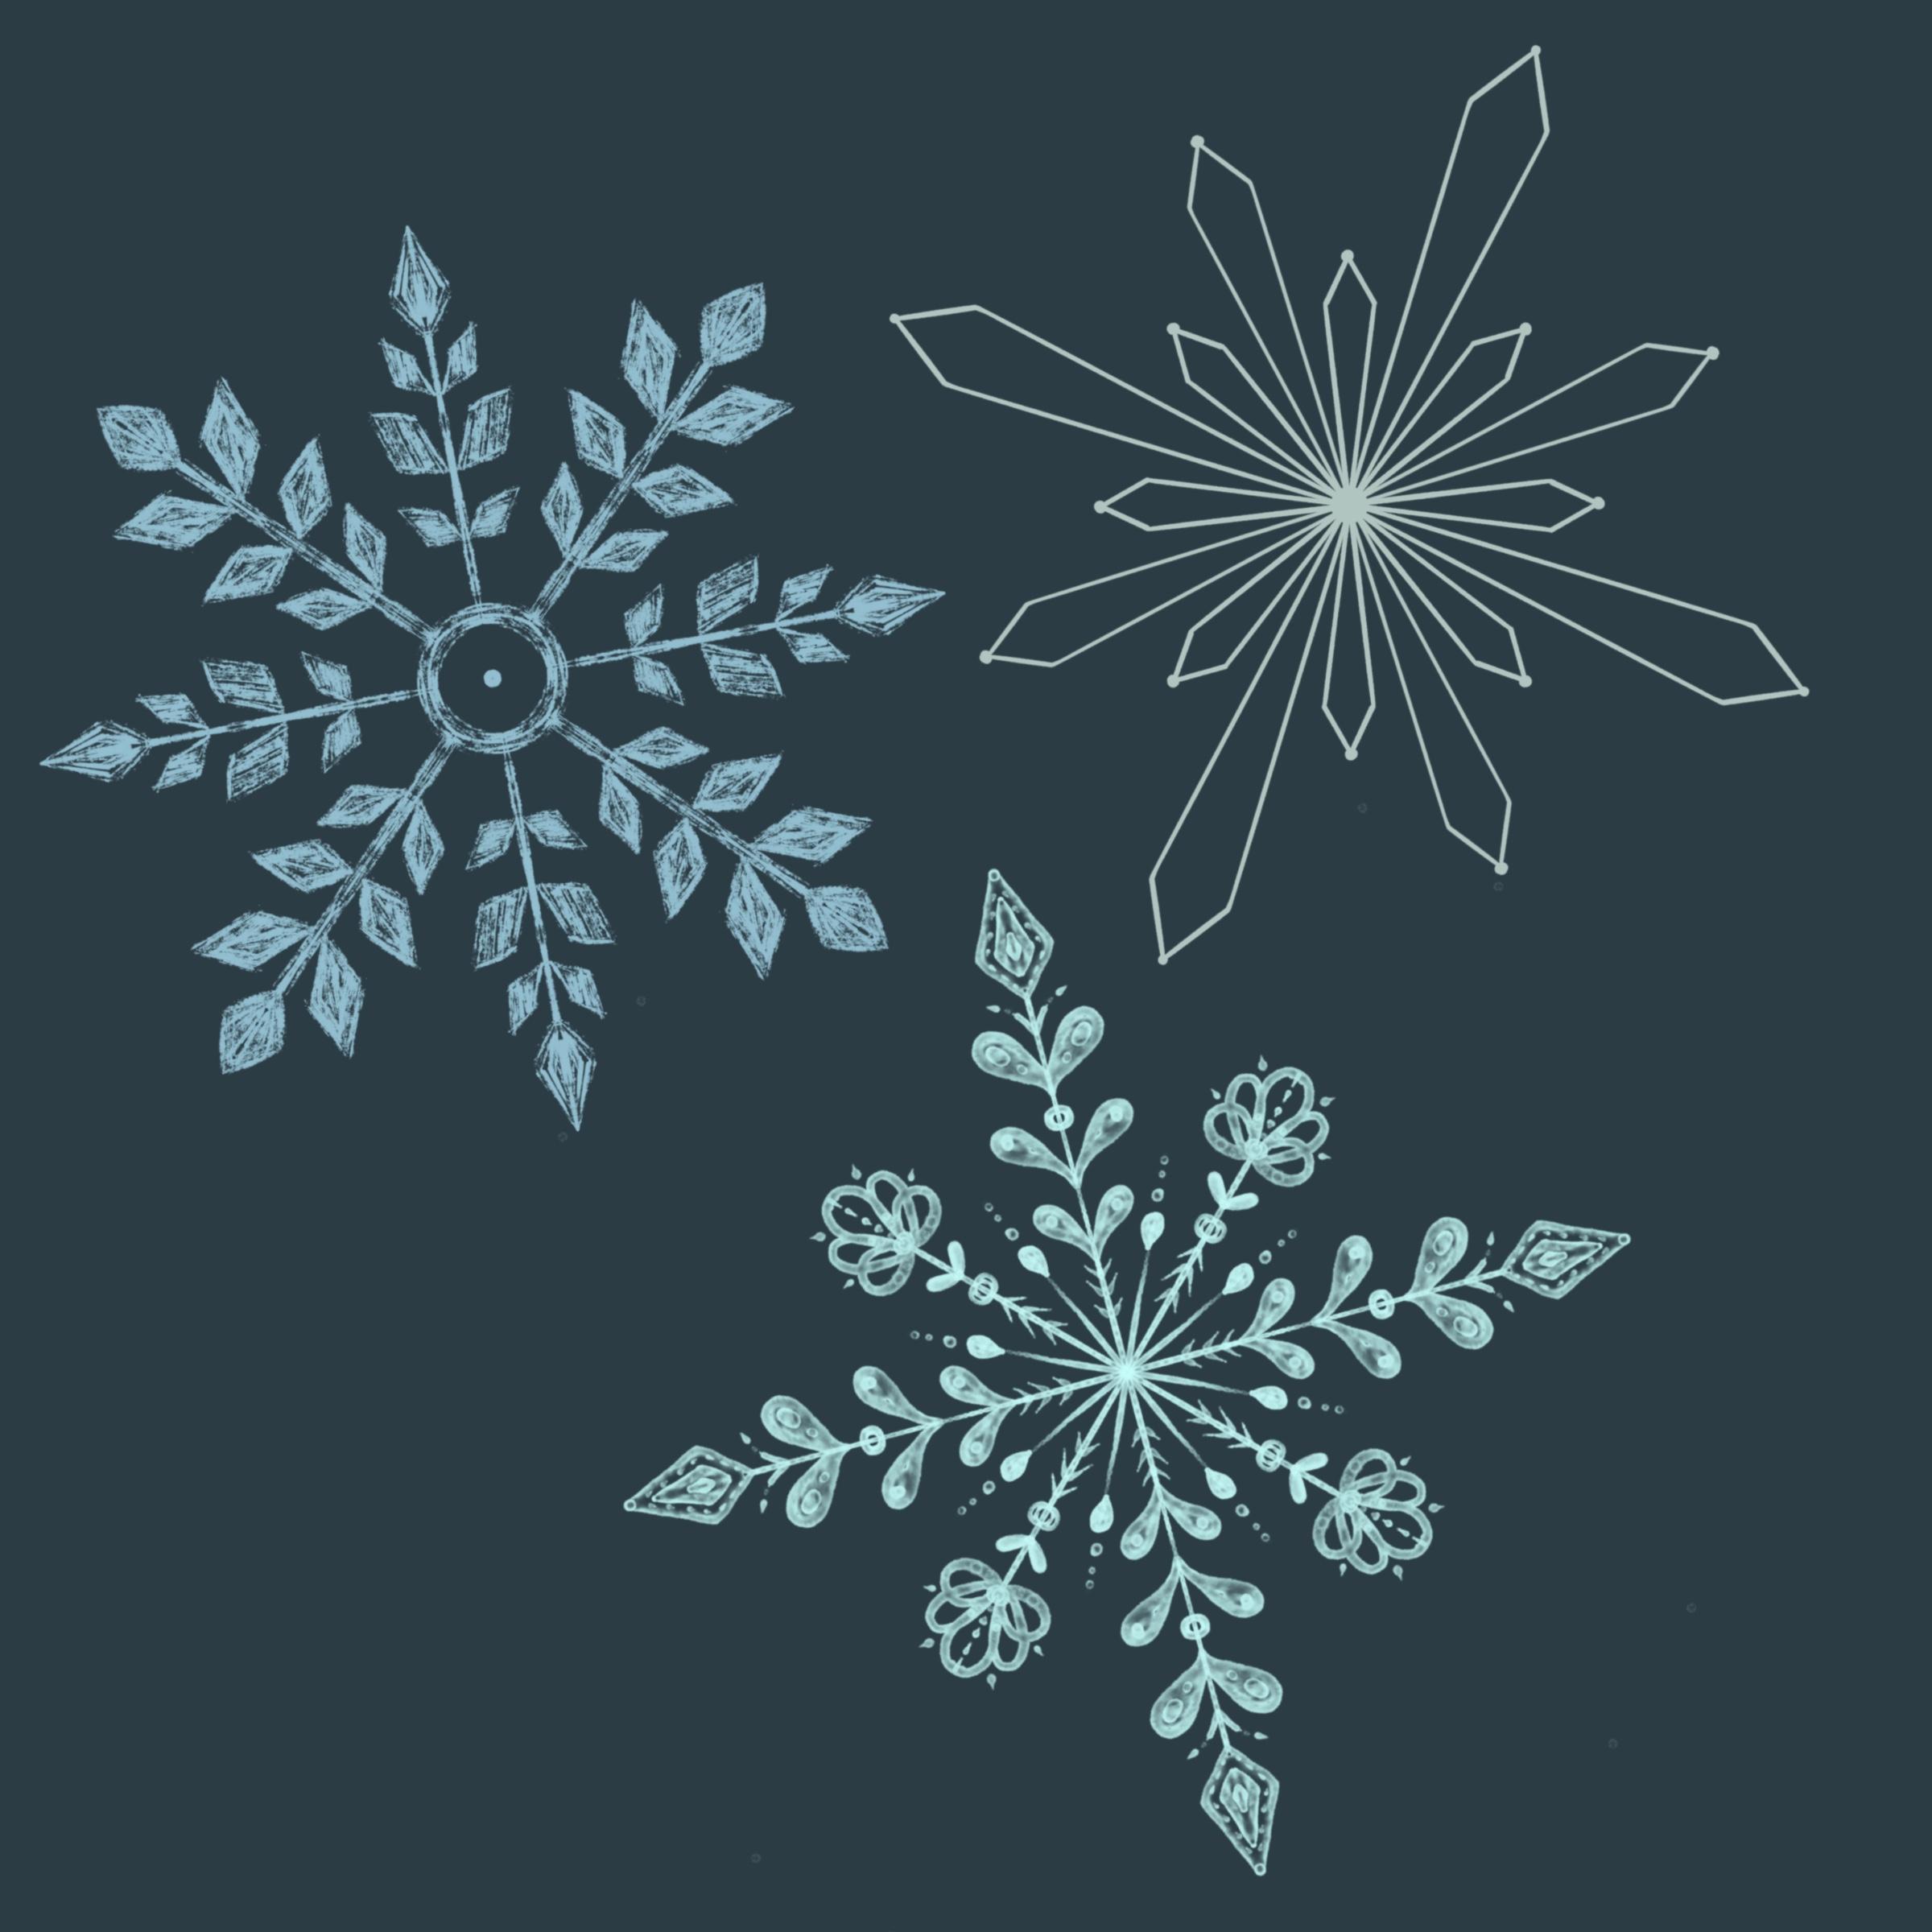
will be creating three easy snowflakes designs
using the app Procreate. In Procreate, you can
use drawing guides to create perfectly
symmetrical snowflakes, which using the right brushes can still have a hand
drawn look to them. We will then use
these snowflakes and turn them into
Procreate stems, which will allow
you to quickly add snowflakes to all of your
designs and illustrations. For the class, I provide
a small brush set which you can download in
the resources section. And please make sure to upload your project to the
class project section, since I love seeing
what students create out of the prompts
and techniques I provide. So, I hope to see
you in class. Bye.
2. Setting Up The Canvas In Procreate: Hello, and welcome
to this lesson. So the first thing you
need to do is to set up your canvas and you do that
by tapping the plus sign, and then you go to
this symbol here, and I will create a
canvas which is eight by 8 " And in general, I think it really doesn't matter how large your canvas is. It shouldn't be too
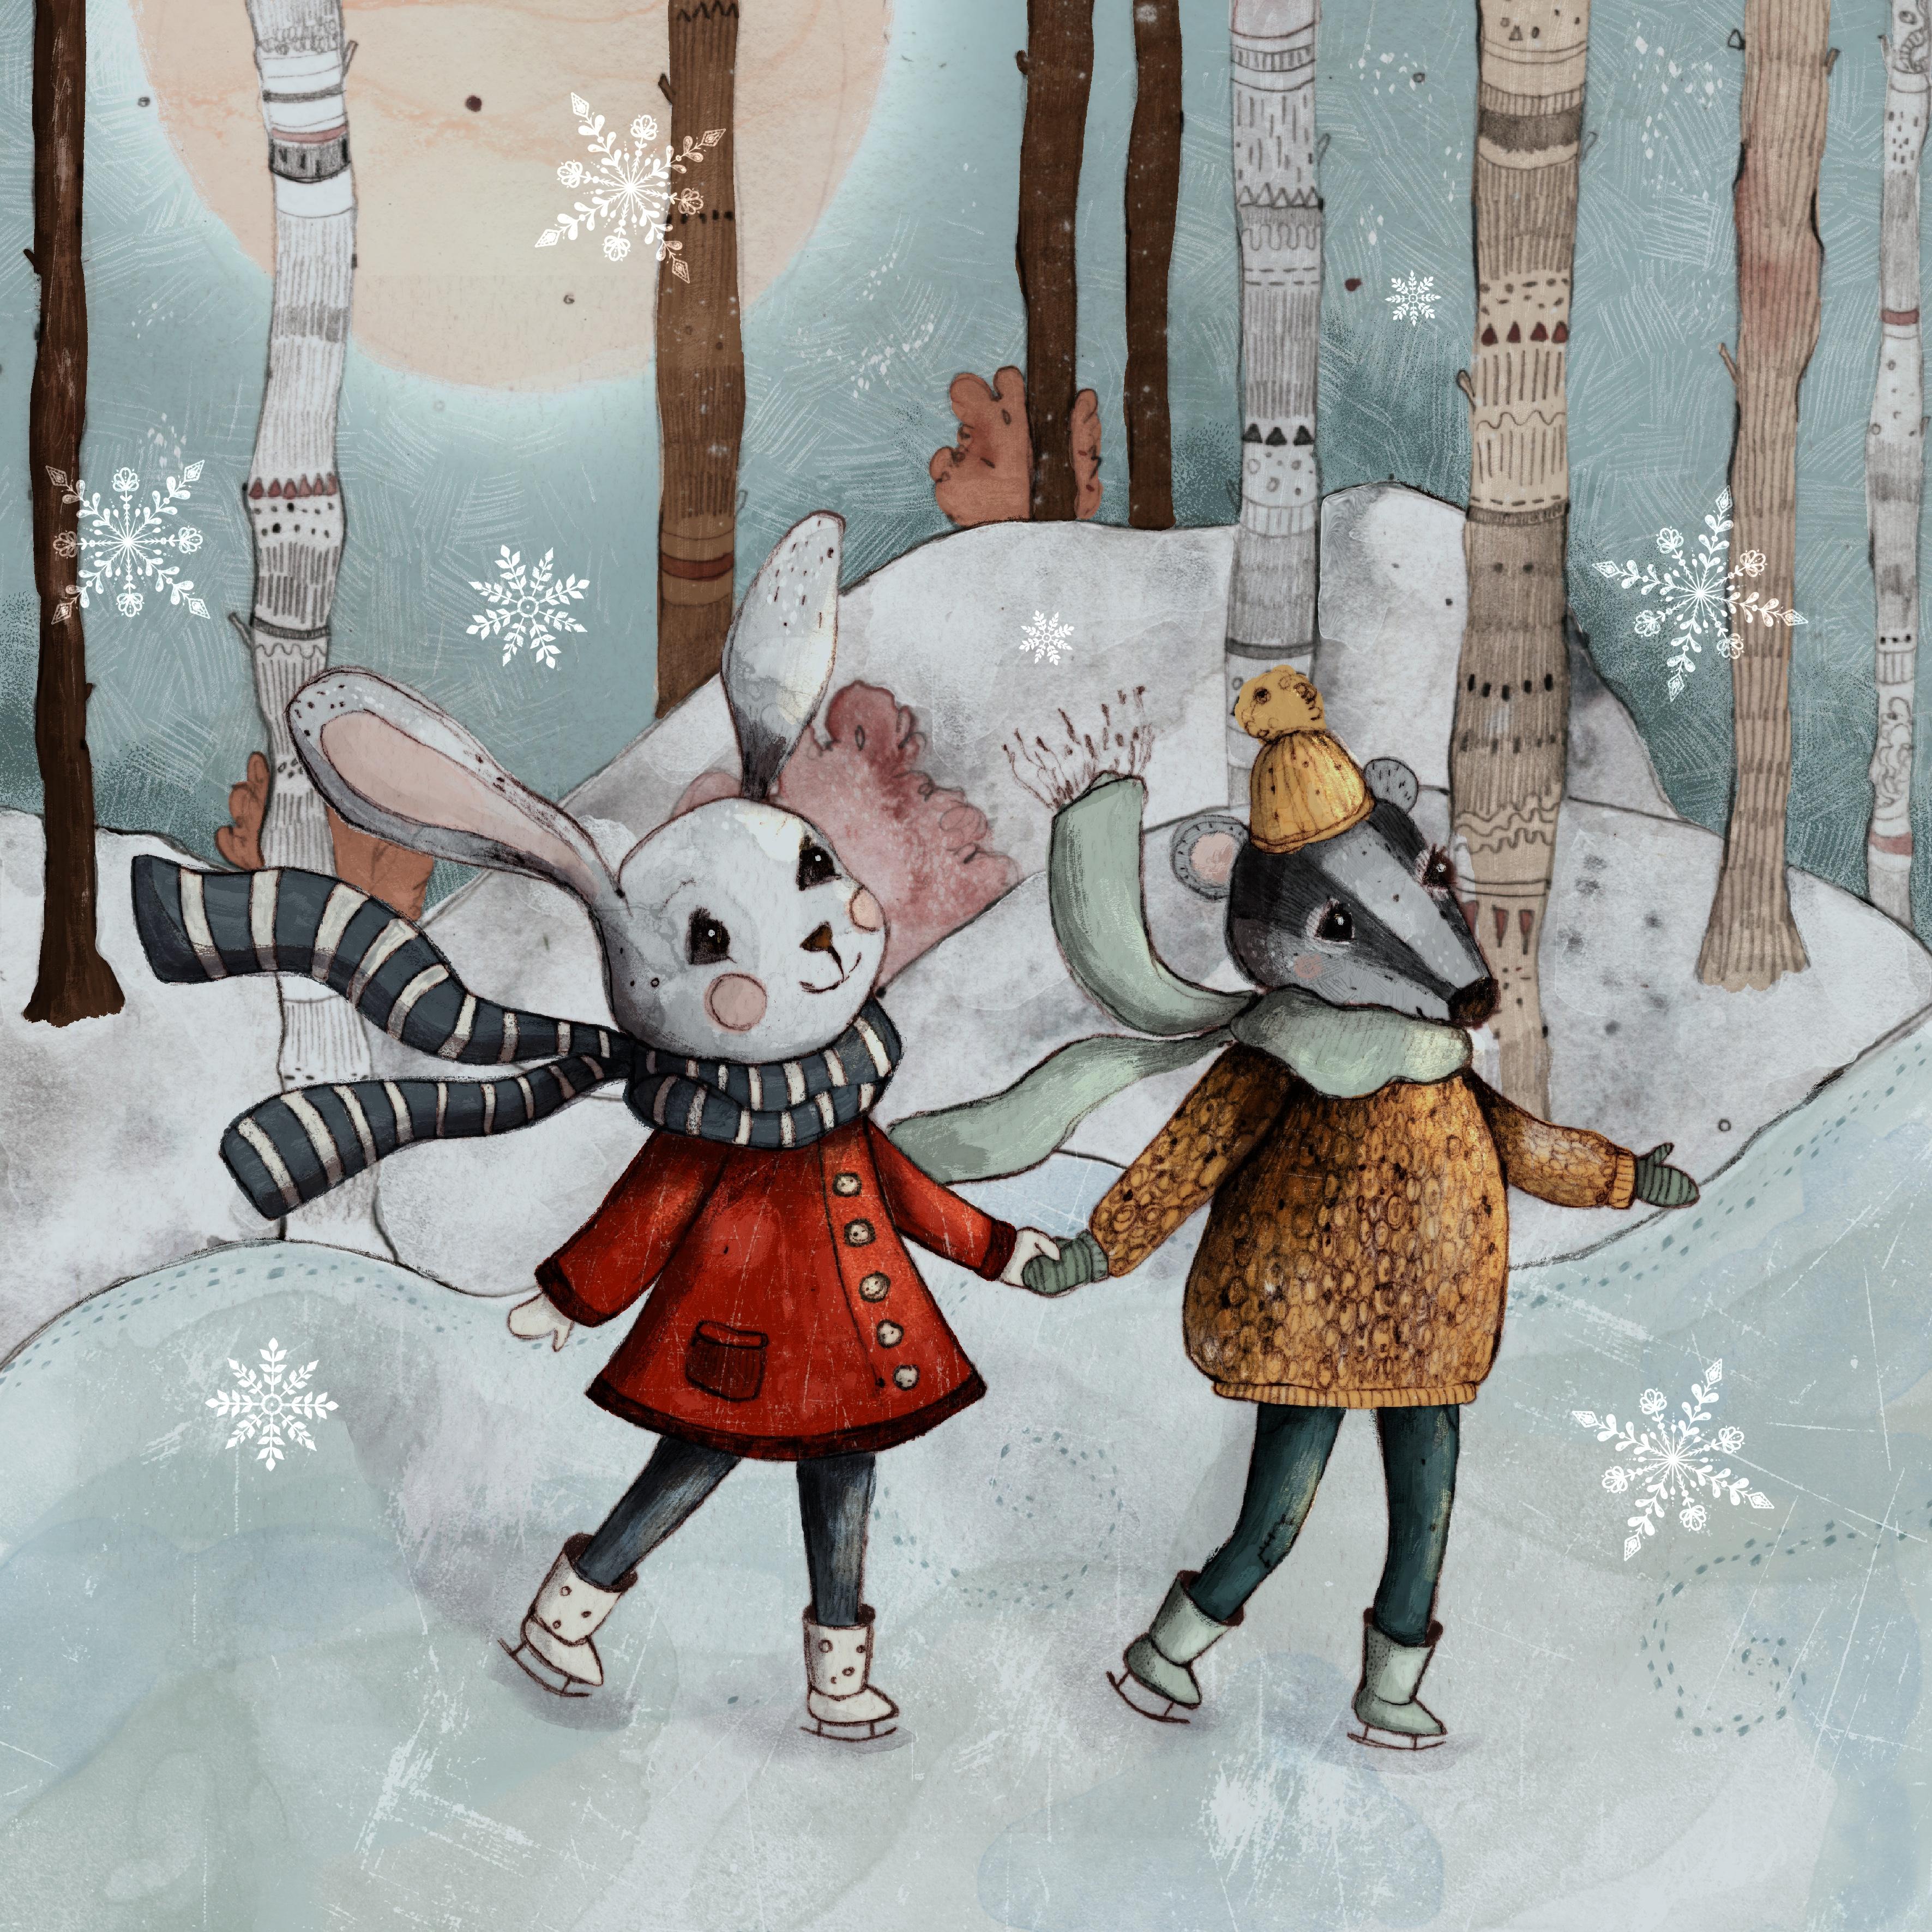
small, obviously. But since you will
probably be using your snowflakes just as little tiny snowflakes
in your illustrations, I think you will
definitely be fine by using an eight by
eight inch canvas. You could go bigger, but that's what I would be using
for this course. Okay, so then I hit
Create. And here it is. Now, you have to tap
the wrench icon, then you toggle
on drawing guide, and then you go to Edit Drawing
Guide and go to symmetry. And now here you've
got the options. And for a snowflake, I'd like to go with
the radial symmetry, and then I will just hit Done. What sometimes happens at this stage is that I
tap somewhere here, and then you can see the
guidelines get white. So if you can't
see them anymore, this might have happened. So I will just go back here
and then tap done from here. So, if you look at
this layer, it says, assisted and that's what you
will need for this class. So what I do is because I know I will create
several snowflakes, I will duplicate some of these layers already,
so I've got enough. If I were to just
create a new layer, it wouldn't be on assisted, but what I can do here is to tap that layer and go
to drawing assist, and then it will be an
assisted layer as well. Okay, so in the next lesson, I want to show you how to create your first
snowflake. See you there.
3. Basic Starshaped Snowflake: Okay, you welcome
back to this lesson. For the first snowflake, I will be using a marker brush, and that's a procreate
native brush that I just put into this little brush set I created for the class
and the only thing I've altered is to bump
up the streamline a bit. I will be using this brush, but obviously, feel free to
use any other brush you like. I also make sure to
have a perfect black for creating the stamps
later on because that way, I will make sure that my
stamps are completely opaque. If my brush is opaque, with a watercolor brush here, I will be using black as well. But since the brush is
translucent, obviously, the snowflake will be
translucent as well, and then the stamp will
be a bit translucent. To get a perfect black, you just have to double tap
that here and it should have snapped it did to
a perfect black. Then let me see, I'm
on the marker brush. One tool I want to
show you before I go into creating the first snow
flag is the quick shape, and what that basically
does in our case, where we are creating lines is to make the lines
perfectly straight. So if I were to draw a line, which is not perfectly straight, and then I hold down the pencil, it will create a perfect line, which I could also
edit if I wanted to. For instance, make it
smaller or bigger. If that doesn't work for you, you have to check whether your
quick shape is turned on, go to the wrench icon, go to prefs, and then you
go to gesture controls. And this has to be
toggled on here. You are in quick shape and then the draw and hold has
to be toggled on, and if that is toggled
on, this should work. Sometimes this
might be bummed up, so it takes a bit longer for the shape to
actually appear. If you feel it takes too long, just make that a
bit quicker here. So this is, I think
you say 0.64 seconds, then it will be a bit more quicker for you to get
the perfect shape. I will just delete that and make sure I'm on a layer
that says assisted. Will make my brush
a bit smaller. I think, I'm working
with 4% brush now, and I will now zoom in a bit. And then I will try
to start as close to the pink in my case, pink drawing guide, I can just draw this and
hold my line down, and this is nearly
already perfect. I will just make sure to
erase that a bit here. I've got this triangle
here and then I will start here and again draw a
line and go down here. Again, you can see it
created this perfect line, and if I hold it down, I could do all kinds of
stuff with that line. But I will just do
is to try to make it meet here in the
middle and it did. Again, I feel I want to
correct that a bit here. Okay. Now you've got
basically two options. You could either go in and draw the other parts
of the snowflake. For instance, go in here
and I want that to be a bit smaller and maybe
also a bit broader. I again go there, close that here, and
then go down here. So that's one option.
Another option I have is to just
use the first one, double tapping here
to undo that is to use the first one
I've already created and just duplicate that and then go to this little arrow here. If I now tap on
that green kd here, I can type in an angle
that I want and I want this to rotate about 45 degrees. I will just type in 45. Now you can see it
just turned around the duplicate about 45 degrees. Now I want that to be a bit
smaller and that's the point where I will be probably
leaving the center a bit. But that doesn't really matter. If I've got magnetics
and snapping enabled, I can just try to
drag that back. I still have to be on the arrow here and can just drag it. I always feel it's a bit tricky. But now I think you can see I've got these two orange
lines here and just very quickly raise my pen to make sure that
it stays like this. I'm already happy with that, I will be merging
these two layers by pitching them together. For the last part which
I want to draw in here, I've got again two options. I could just eyeball that now. I don't have a drawing
guide here, obviously, but I could just eyeball
the middle and then again, I want that to be a bit smaller. So I will just be
drawing one, two, three, four lines in here, and then my snowflake
is already done. I feel that these
are a bit too small, so to make it fit
with the bigger part, I will just make that
also a bit smaller here. Again, drag that and
try to find the middle. I don't know if you
just could see that, but when I moved up
the upper pencil, the snowflake moved
a bit downwards. Again, I tried to
find the middle here. Now it is state where
I wanted it to be. I talked about two options. If you don't want to
eyeball that and feel like, now, I can see that here, this space is a bit
smaller than this one. What you could do is so let
me just clear that layer, tap the layer and clear. I will just draw a
little guide for myself, and what I will do is to draw
a little black dot here. Oh. Now, like I said, you can tap the nod and rotate that to any
kind of angle you like. We'll just tap that and use half of 45 degrees, and that's 22.5. And so now on this layer, I know where the perfect middle between these two lines is. I could just on a new layer now create this last part
of the snowflake again, like this and like this and like this and like this. Now and then I can
delete this guide here. Let me see so I can delete that. And yes, that's basically how I can create a
snowflake like this. Now if I wanted to, I could also embellish that further
by, I don't know, maybe adding some little
circles here on the tops, maybe adding a little
circle here or here. So that's just up to you what you want to do
with this snowflake. Hope to see you in
the next lesson where we will be creating a more textured snowflake with a six B pencil.
See you there. Oh.
4. Textured Snowflake: Welcome back to this lesson. So while preparing
for this lesson, I had a little change of heart, and I actually decided to not use the six B
pencil from Procreate, but to use the sticks brush, which is a Procreate
native brush as well. I found that one in
the drawing section, I think, or maybe have a lock. Where is it? Yes, in
the drawing section. And instead of the six B pencil that you saw in
the lesson before, you will get the stick brush here to create the
second snowflake. But obviously, if
you like to use the six B pencil or any other kind of brush,
you can do that as well. I changed to the sticks brush because it has a
really nice texture, and that's the look I wanted to go for with the snowflake. So again, I will be using black. I toggled of the visibility of my snowflake from
the first lesson, and I will start out this
snowflake with the brush size, maybe let's set it to six
with a little circle. And I will do that just very lightly painting
in a circle here. Okay, and maybe just a small
dot here in the middle. And then I will just go up
and maybe make the brush a bit bigger and just
draw a line here, make it a bit smaller again, and then I will draw a diamond
shape here on the top. I don't like that it's
so close to the edge, so just make that a
bit smaller here. I don't know if you can
see it, but I'm really not pressing down onto
the canvas too hard and making these small
movements to really get out a lot of the lovely
texture of this brush. Okay, so I then go on and
I will start down here. So one thing you have
to be careful with this snow flag is that you
have to leave a little bit of space here because otherwise
the elements might touch later on if you duplicate this snow flag and
rotate it to the side. I will just draw let's see, maybe also make that
a bit more like this. I will just draw a
diamond shape here, not too happy with that one, so one more try. I want that one
to look up a bit, but also not be too close to the stem, whatever
you might call it. Again, draw in the color
with light strokes. That's the first one, then
I will do a second one, which I will put up and maybe, let's see, make that one a
bit more tilted to this side. So with this snowflake, what I feel is important is
the texture and the kind of imperfections you get
with that because I really feel that it makes it look much more interesting. Then I will do one last here, and I try to make
that a bit bigger. And now you could just rotate this quickly
show you duplicate it, and then tap the arrow, tap the green knot, do 45, and then you've
already got your snowflake. That's one way to do
it. The other way would be to draw in
the rest by hand. Then you've got more
variation to it. I will create a new layer,
tap drawing assist. I will just draw in
that stem here as well. And then maybe I will
make it a bit smaller. Also make my brush smaller here, and again, go for a diamond
shape here at the top. And then one diamond shape. Here. And another one. Down here. And a smaller one down here. And I feel that's a bit too
dark, so it stands out. So I just have to redo that here. Okay. So yes, that's better. Now, what I will now do is I will just get rid
of this duplicate. I don't need that.
Look, delete, delete. And I will just merge these. And now I've got my second
lovely textured snowflake. In the next lesson,
I want to create a lovely watercolor snowflake
with you. See you there.
5. Watercolour Snowflake: Welcome back to the
last Snowflake lesson. As I said, I will be using a watercolor brush which I created specifically
for this class. And I will just quickly
show you the way this brush works is
if you draw lightly, the line would look like this. And if I were to
press down harder, it would get lighter
in the middle and then just have this dark
edge on the outside. And what I will do later on if I will be drawing
these tiny leaves, I will just do that in one
go and not lift my pencil. Because if I were to
lift the pencil and say, just I draw that and then I
lift that and go over it, I've got these edges, which I feel don't
look very nice. I could smudge these, but smudging often gets rid
of the inbuilt texture. I try to avoid that
as much as possible. Let me quickly show you if
I were to smudge this with some kind of maybe just
with the same brush. Then I think the magic
of this gets lost. So like I said, I
would advise you to do a leaf or something
like that in one swoop. And if you press down harder, it will get lighter. Okay, let's just
quickly get rid of that here by tapping the
layer and hitting clear. I will start out this
snowflake with a line again, just hold that and like this. Then I will be drawing in
a diamond shape without lifting my pencil and
by pressing down hard, I will make that quite light. And then I deliberately add
a second shape, which again, I try to make a bit lighter by pressing down harder and maybe
also a third shape here. I could also add a
little circle here. Now, I feel especially
with this brush, you can go on for
hours and embellish your snowflake by adding little
details like these dots. I will then go on and add the leaves and I think I
might make it a bit bigger. My size is 15 now. Must have been something
like 12 or 13 before. I will just draw in a leaf here, color that in and draw in
some embellishments and then draw in a second leaf
and a third one here. And again, add some circles. The more I add, the
darker it gets. Now, I won't be
duplicating this here because I want to do
different elements as well, like a little flour. I will just turn
that because it's easier for me to draw like this and I will just
draw another line, not too high up, maybe like this I feel
it's a bit too thick. I've got my brush
size still at 15, make that 12 here again. And then that's better. Now, we'll just try to draw
some kind of flour here by doing these kind of circles. And maybe I will draw in
a little dot here and again embellish the
flour by drawing some dots here and
maybe also here. And then I will be
drawing in some leaves, trying to make them
a bit darker here and maybe just some
kind of circle. Again, some leaves. Here you could just see me doing something I advise you not
to do lifting up the pencil, but it looks nice anyways, so I think that's no problem. Otherwise, you can always undo that's the
magic of Procreate. I will be adding a bit more texture by just drawing in some
more dots here. And I think that looks
already quite nice. But I want to add one
last element here, and I think I might have to get rid of the leaves down here. Let me just quickly erase this one and
also this one. I've got a textured
brush here as an eraser, probably the dry ink, yes. So that's why you
can still see some of the little dark dots there. Okay, so what I want to add
here is just some line again, maybe like this and I might
add another sco here and maybe just let that taper out by adding two
more smaller ones. And let's see, maybe make that maybe add something
like this here. Now I will add
another leaf here. Don't lift up pencil. And yes, I really like that. Now, like I said,
especially with this one, I could go on for hours and just add a few more details
here or there, maybe like this or
another circle like this. I feel it works very nicely with this type of
watercolor snowflake, whereas with the others, I like that they are
quite simple and clean. So like you can see, you can do quite a lot of these and the
possibilities are endless. Okay, so in the next lesson, I will be showing you
how to create the stamp, and then you can
use them in all of your designs and
lovely illustrations. See you there. Bye.
6. Creating The Stamp: So welcome back to
the last lesson where you will learn how to create the actual stamp
from your snowflake design. Now, the first
thing I will do is to just create a new brush set, and I will do that by
tapping the plus sign here. And then I will call that rename I will call
that Snowflake stamp. And then I will create
just one generic brush, which will be the base for my snowflake brush in a minute. So I will just hit the plus
sign and then tap done here. Now what you have
to do is to copy this canvas, copy canvas. And then you go into the brush, and the first thing I
will do is to go to shape and then go to edit, go to import and paste. And then you have
to do a double tap because you have to
invert this here. And then you hit done. So this is already
your snowflake, but what you have to
do to make it a stamp is to bump up the spacing, and here you can already see
your individual snowflakes. Hit done? Oh, sorry,
no, go back in. Now, some more things I will do. Now, if I tap that like this, my snowflakes they
are very small here, but they are all in
the same direction, and I actually don't want that. So what you can do is to bump up the rotation here and
also the scatter, and I feel that already
does quite a lot. So every time I tap
with my Apple pencil, I will get the snowflake
pointing into a new direction. Now what still happens and I
don't necessarily want that. If I tap on very lightly, I get a very
translucent snowflake. So to get rid of that, I will just go to the
Apple pencil and then bump down the opacity and that makes all of your
snowflakes look the same, even if you just tap
on very lightly. Now, that's nearly about it. Let me have a look. I will
just go to properties, and then I use stamp preview and also
bump up preview size at. Maybe make that 50. I will just look in a
minute how it looks. Then about this brush, I always like to give it a name. So let's call that
watercolor snowflake. Snowflake and made by Julia could just sign
that here as well. This always looks a
bit off, I think. And then tap done, and here it already is.
I forgot one thing. You also have to bump up
the maximum size a bit. If you don't want your
snowflake to be too small, I will just go with, let's say, 400% Now, on a new layer, I will just quickly show
you how the stem works. We'll just tap and here
is my lovely snowflake. Now, instead of doing all that over and over again for each and
every snowflake, let me just get rid of that. I will just do a duplicate
of this snowflake here. And then I will get my next
design, this one here. I will again copy the
canvas and now I will just switch the shape for
the shape I just copied, go to import and paste and it's already inverted
so I can just tap done. Here I've got my
new snowflake and I will call that. Let's see. I don't know,
textured Snowflake. And then here it is. And I could do that for
the third one, as well. Again, go to copy Canvas and
then just change the shape, add it, import, paste. Here it is. And I think I might have to make
that actually a bit bigger since it's a
smaller snowflake. Let's bump that up
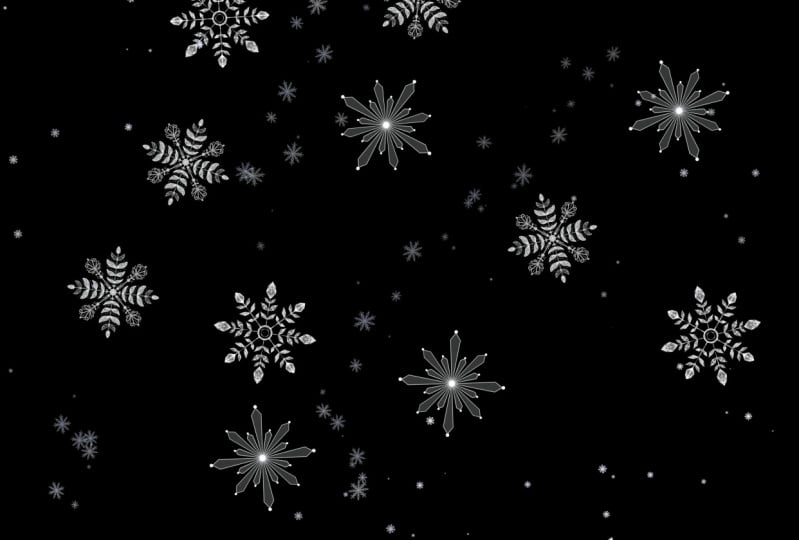
here and then call it. Really don't have a clue. Star Snowflake maybe. Okay, so now I've got stems
of my three snowflakes, which I can very quickly use in any design that I
want to use them in. Okay, so I really hope
you enjoyed this class. And please make sure to upload your lovely snowflakes to the class project
section because I really like to see
your work and what you created out of the prompts
that I gave to you. Hope to see you. Have a
nice winter and create lots of lovely snowflakes
and procreate. Bye.
 Julia Ulferts,