Transcripts
1. Introduction: Hi. Answering. Honestly.
Are you tired of the fact that you hope it
doesn't bring you any coins? I understand you. You've probably all been in such a situation when you
work like in a factory. And in the end you get
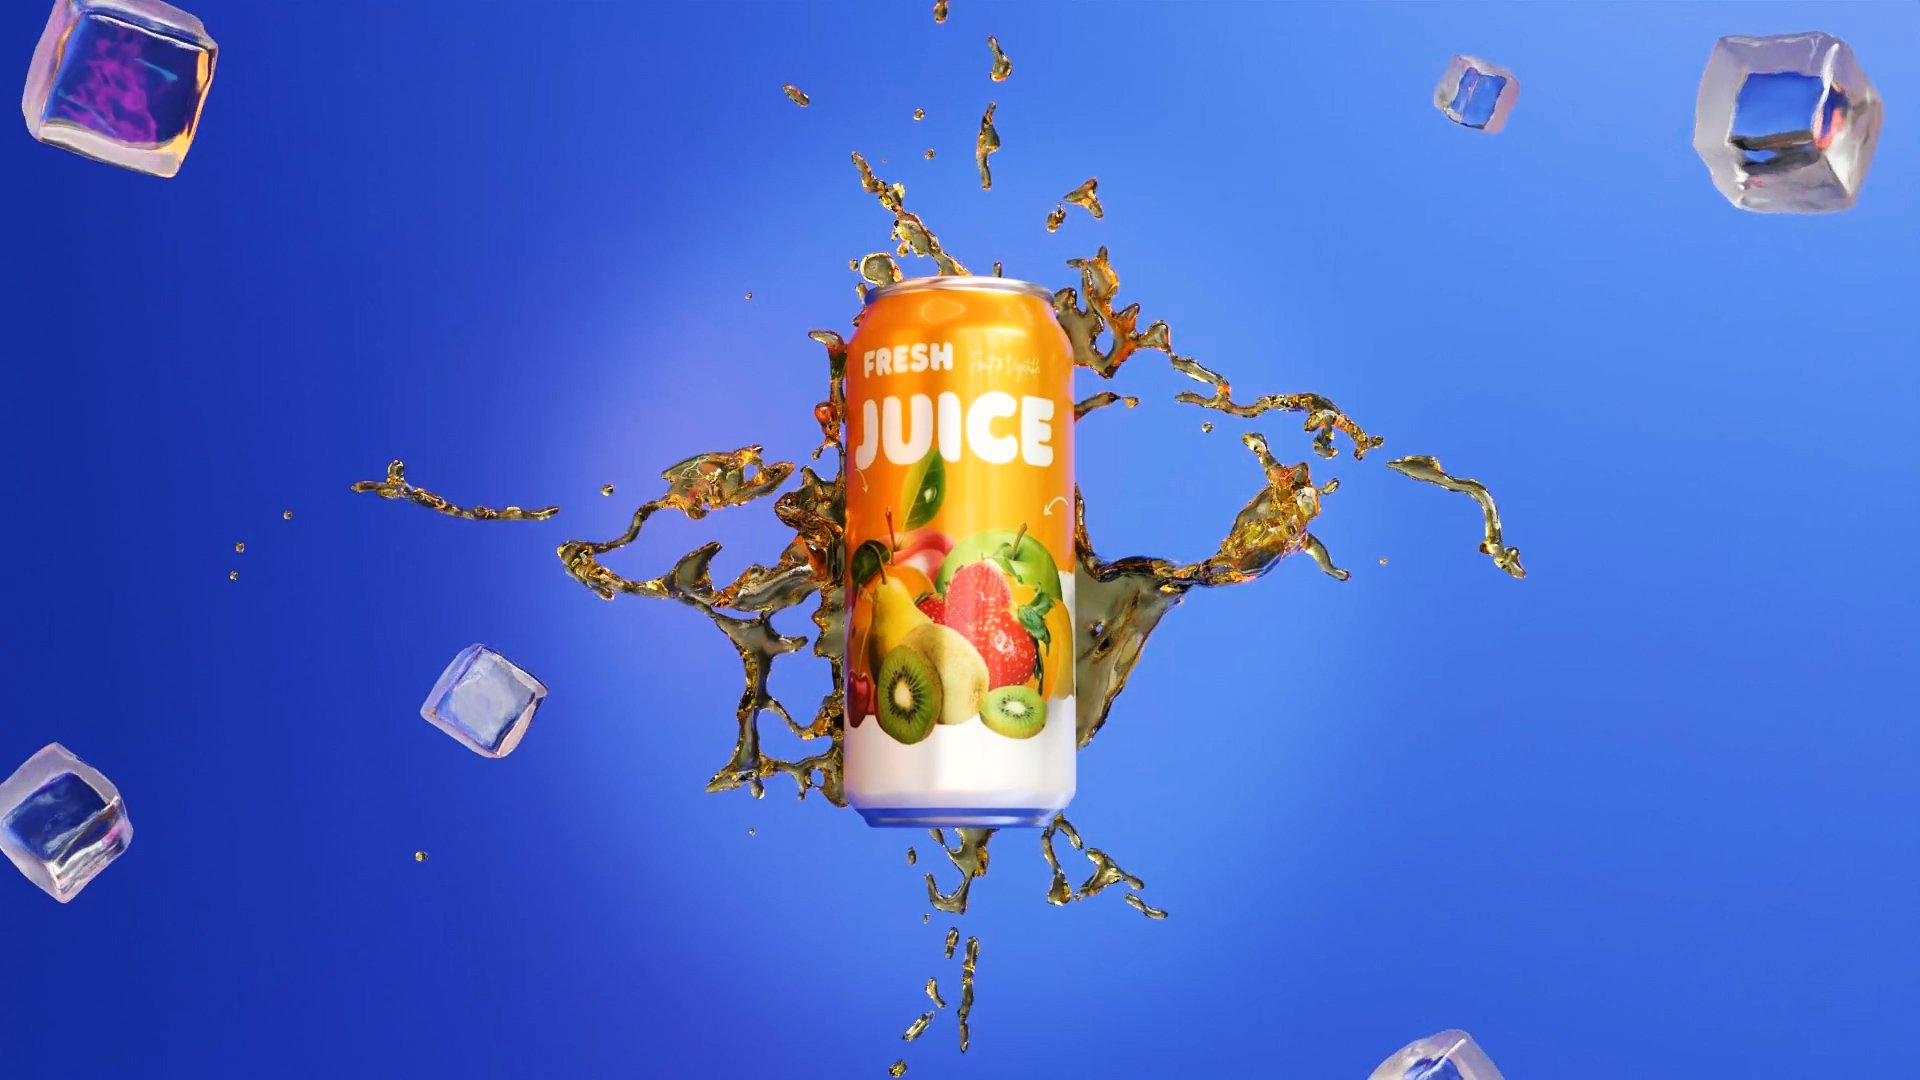
this, but not anymore. Because in this tutorial you
can learn not only how to create colorful renders
for different products, but also how to find an original idea that will help you highlight your
work among the creme, mass and tracking the
attention of clients. This course for
both beginners who are adjusting their path
of exploring the water free and for the pros
who have seen a lot but still have not lost the thirst for
learning and money. Thanks to tutorial,
you'll be able to master the skills and
create stunning vendors for your portfolio clients or for promotional
wonderful water blender. Don't miss the chance to provide yourself with important
knowledge that will help you get five stars and a
long coveted back of money. Let's not waste a minute
and let's get started.
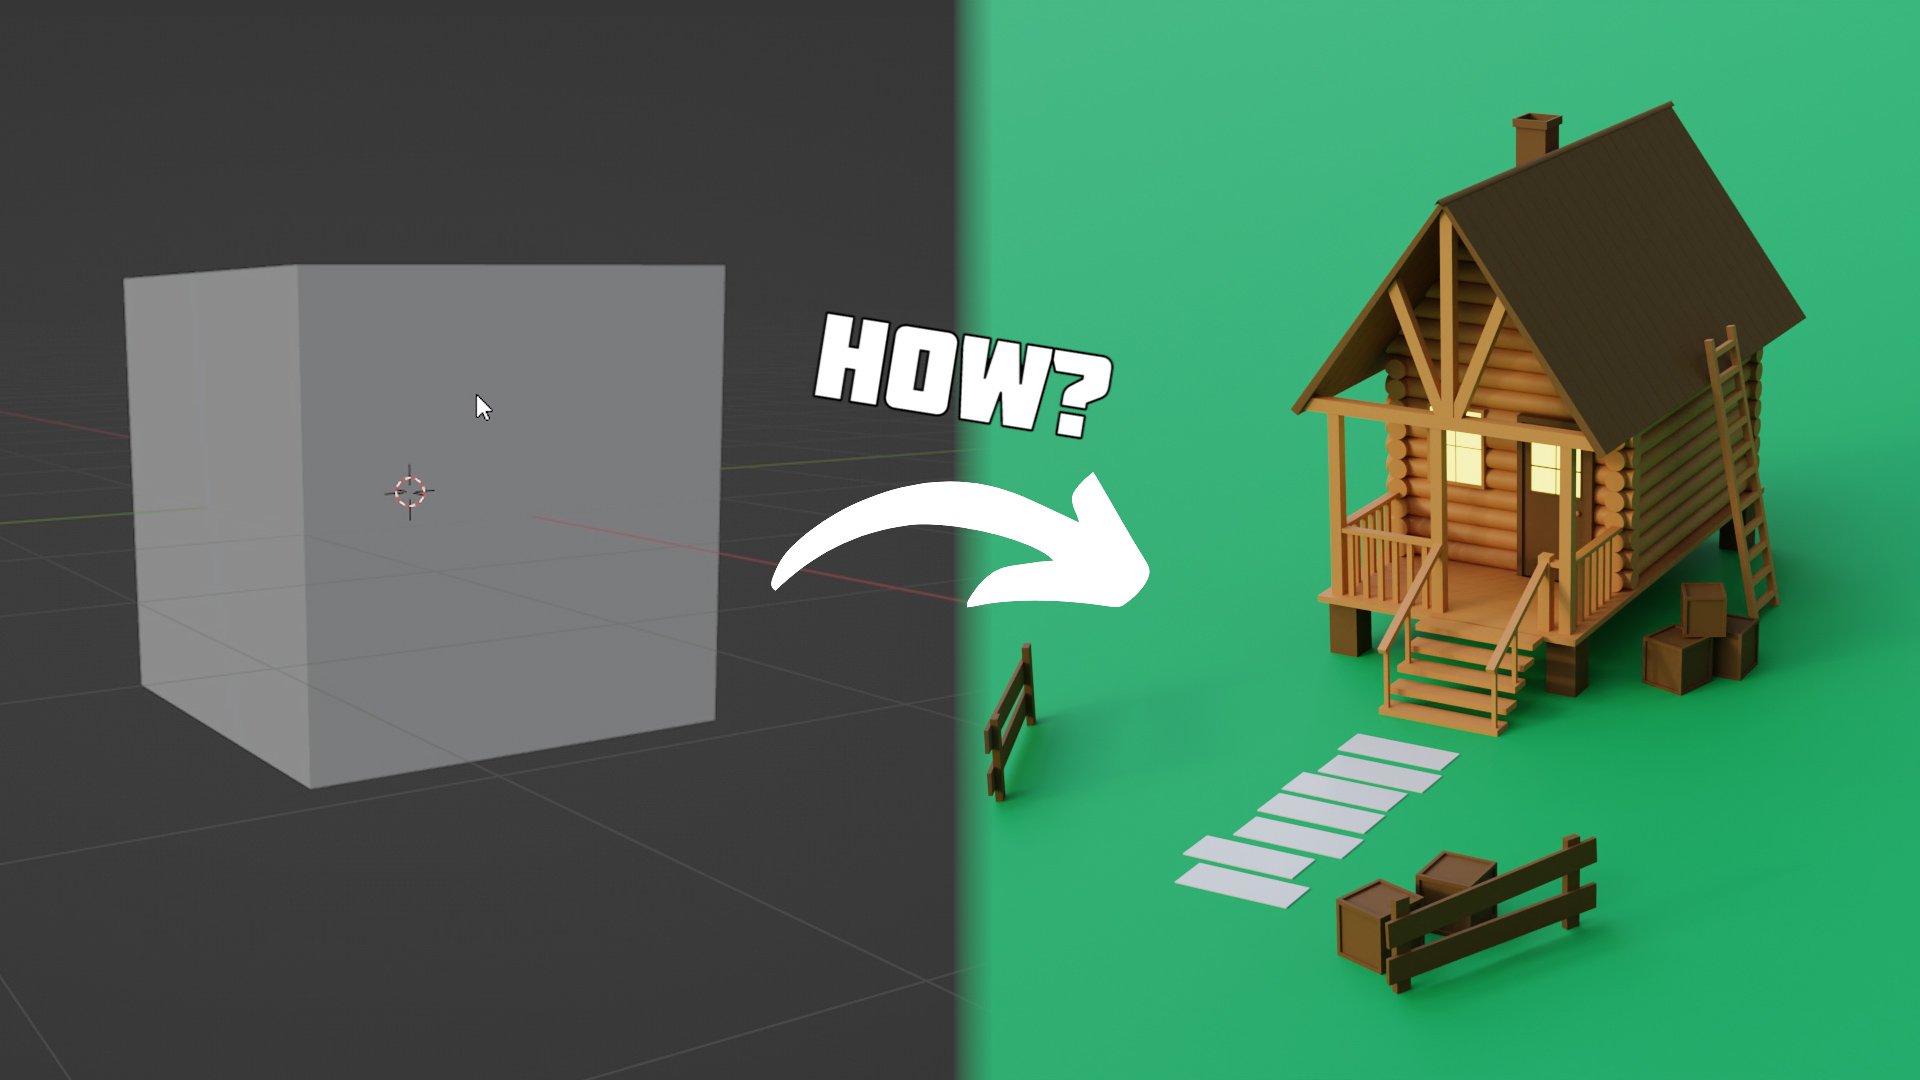
2. How to Catch Inspiration: Before we start creating
our masterpiece, we need to catch inspiration. And many can spend hours, or even days to come
up with a good idea, but I will show you
my way to catch inspiration in a
couple of minutes and not waste your
precious time. My if it is that you need
to go to any social media, Pinterest, or art station and find different
photos of products. Then through analytics
and science, we select the moments
from the renderings or images that we like. And then like a puzzle, we put together our
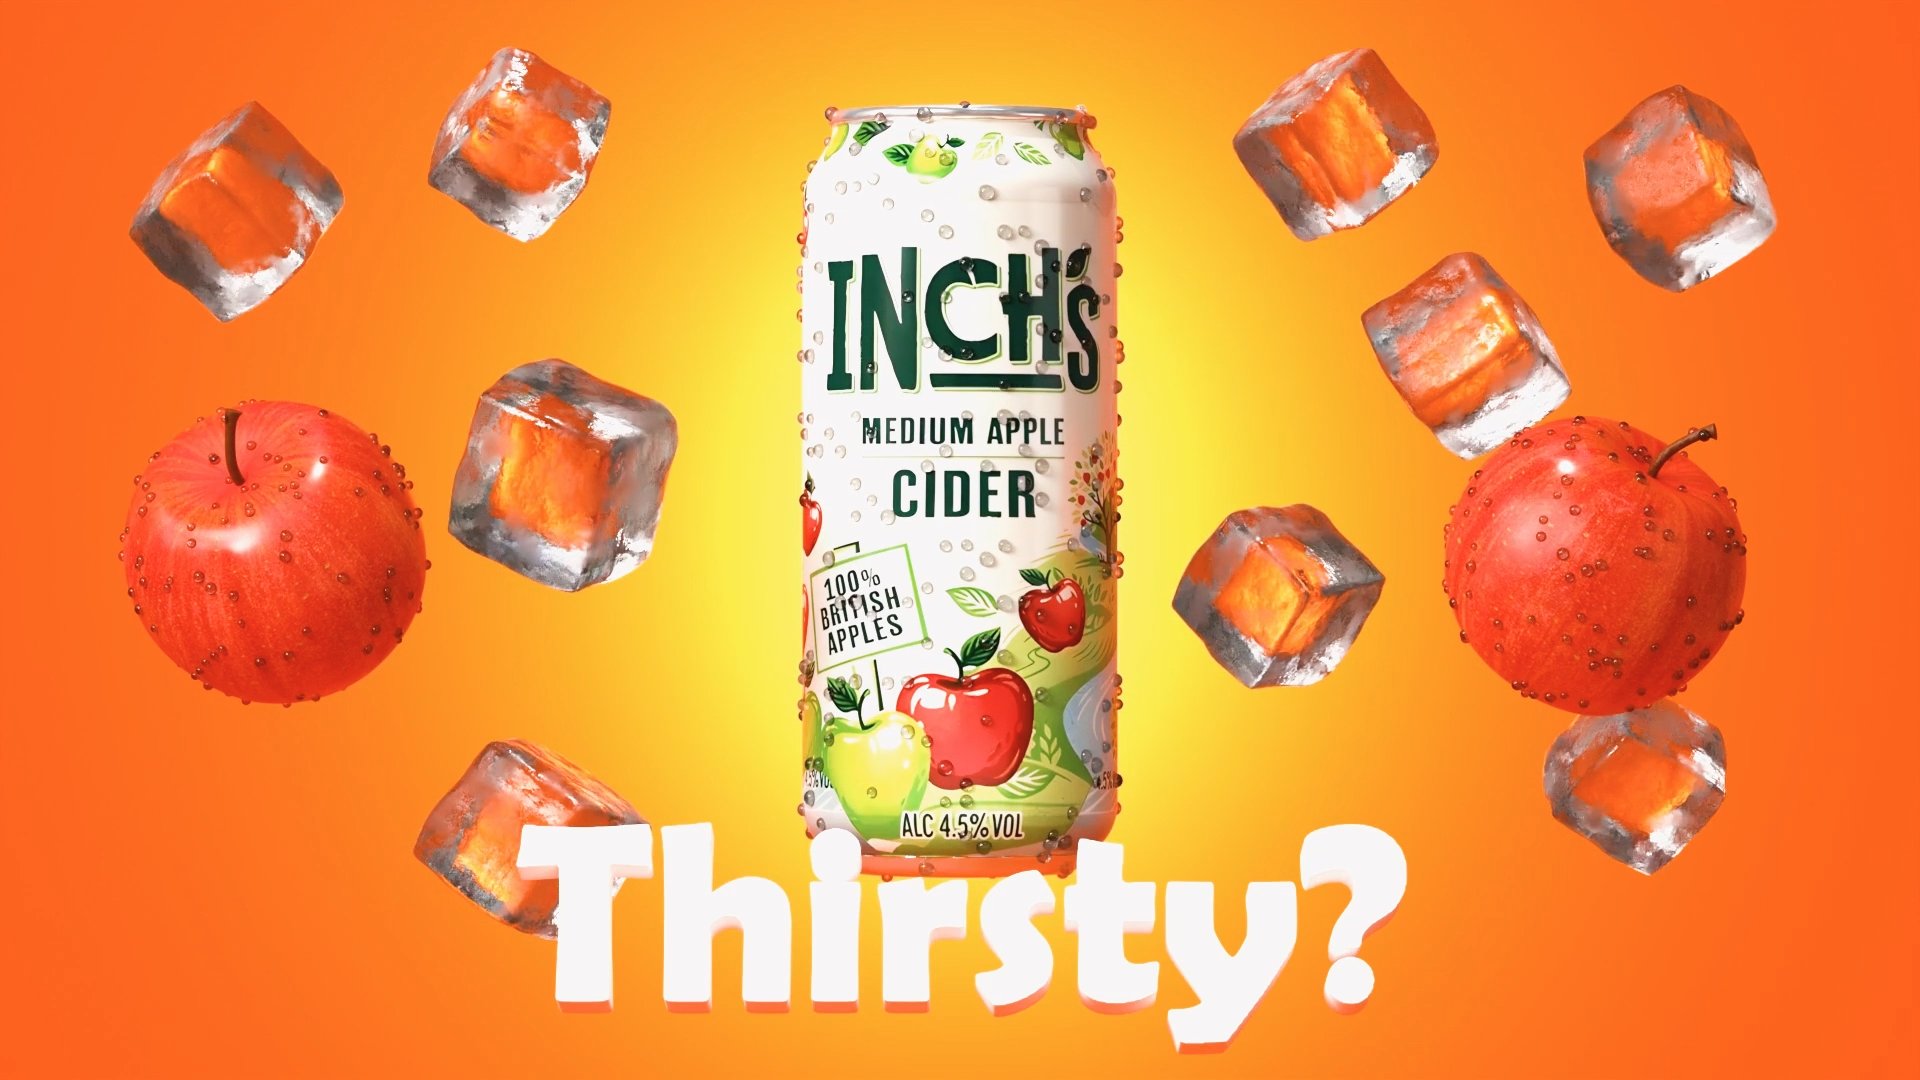
great idea from them. Let's say I want to create
content for cosmetic product. I go to Pinterest, and in the storage bar I type cosmetic products
or cosmetics. Free D or photography cosmetics. Then I look at the renderings
that I like the most. For example, I like this idea. I click on this
picture and save it. Or let's say this
idea. I also save it. And do this until I collect
a couple of pictures. Then from these references, I take all the best. For example, here I like
the background here, I like the lighting here. How bright the textures and
materials are from all this, a picture of our ideal render, Emers took me about
ten to 15 minutes, but it may take
you longer or even less depending on your
experience or inspiration. After we have decided
on the ideas, it's time to turn
it into reality. We align with the
blender and move on to watch the practical
part of the course, where we will first create a
product in the free world, then create a unique ground, learn how to add color
and light to the scene, and learn about camera
and render settings. See you in the next part, guys.
3. Modeling: Welcome to the second
part of the tutorial, where we'll turn our ideas into reality and create a free
model of the product. After we have
opened the blender, we create a new project
and delete all objects. After that, press script
was a to create an object, cover the mass over the image. Click on the reference and
select our product reference. Let me remind you
that you can find all the references for the
editorial in the description. We can also move
it a little among the x axis so that it does not interfere
with us in the future. Press three on the non pat
and using Swift plus A, create a circle and move it down on the Z axis, we can slightly move the image. Go to edit mode by pressing Tab, and to select everything, press A to a certain object, press and raise it
so that it matches the references with
all held down. Select the bottom vertices
and press to fill. We also select the top vertices, but this time we press
E and then as key to get this result and extrude
again along the Z axis. The next thing we need to
do is to add modifiers. The first one will be solidifier modifier to add
thickness to our product. In the thickness parameter, we change the thickness
of the package. The second one will
be subdivision. Here we need to set the
level viewport to two. As you can see, this is not very similar to what we
see in the reference. To fix this, we need to go to the edit mode and
using the keyboard shortcut control plus create loop cuts and add them to the places where
the corner should be, sulk the bottom part by pressing the free key and then
create a loop cut on it by pressing I also, we can lift it up a little and we do the same at the top by creating loop cuts with
controlled path air. So far we got this result. I think here we can reduce
the thickness a little. And to smooth it, press the right mouse button
and select the shaft smooth. Let's now create the lid. Press stop and select
these angles with it. And press Shift plus
D to duplicate them. Then press P selection. By that we make them
a separate object. Exit with added mode. Select or just created
object in added mode, selecting everything extrude on the axis and press to close the lid and for subdivision to work
smoothly at Loop, cut in the corners, both above and don't forget to smooth
it out and below. The last thing we need to create is the inside of the bottle, the jail inside of the bottle. But before we do that, we need to accept the solidify
modifier. Let's do that. Then. Press Three United Mode, select the central
phase and press control plus let's turn on x ray
to see everything better. Now we have to do this
rounding press control plus, several times and
raise our vertices up. Then press control and minus. And move it down along
the Z axis until we get something like this here. I made a mistake and press
control minus many times. I'll just select all
the vertices up to this point and move them down. Let's turn of the subdivision for now and in the same way, select all the vertices up to the moment where
the gel should end. It's better to turn
on x ray to see that. I think probably somewhere here. Then duplicated
papers and plus D, press P selection to make
it different object. Now we can turn on
subdivision and select the neuternal object. Press this key to see only
the selected objects, and in edit mode, fill the top with key and add loop cuts for
subdivision modifier. Now let's go back and
we can also scale it slightly and move the down vertices a little
beyond the z axis. And to make our life
easier in the future, we need to do one thing. Select the main part of
the package and create a loop cut and using
control valid. After that with the Alt, select them and press
right mouth button. And then select Mark them. Then select the two corners on the sides and also mark them. Next I will add
another reference to inspire the idea of
the product placement. Here I also noticed
that in this reference, the product has another
small part of the Lit. I decided to recreate it, but this is an optional step and you can skip it if you want. All I did was just create a loop cut in the
place where the object should select the faces and
make them a separate object. After that, I added a couple of loop cuts for
the subdivision. Here we go. Now let's
light all objects of our product and move
it all into a folder by pressing the M key
and name it accordingly. With this, the second part of the tutorial came to an end. In this part, we
created a model of the product for our
future masterpiece. In the third part
of the tutorial, we will create an environment and a scene for future render. See the part free guys.
4. Creatin the Scene: Welcome to the first
part of the tutorial. In the previous part, we created a free de model of the product, which we will use in this part. And we will also
learn how to create an environment for the
C. Let's get started. Let's select all the
objects of our products, and with the shift key pressed, select this part of the bottle. Then press control P and
choose object transform. This is very important
so that we can rotate our object like
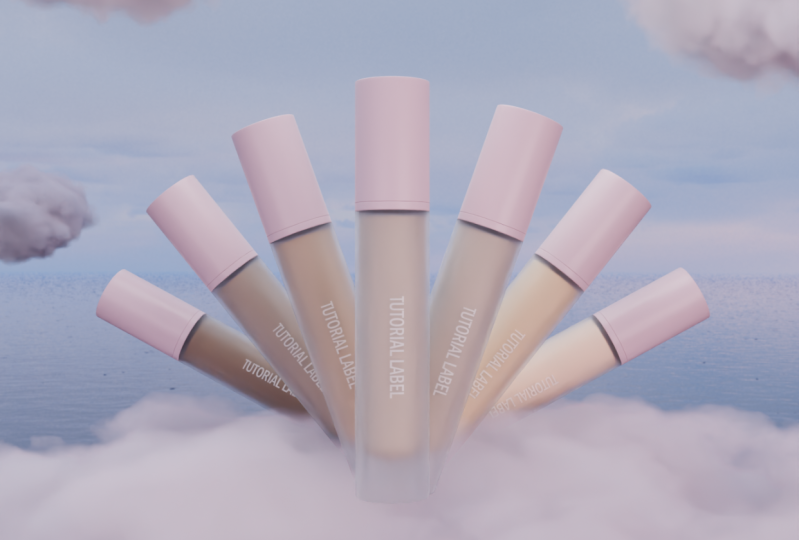
this in the future, only selecting one part. Now let's create our scene, select our bottle,
and duplicate it. And move it on the x axis. And duplicate until you will be satisfied
with the number. I think seven objects
will be enough. You can duplicate
more if you want. Now we simply select each
object one by one and rotate it on the x axis in one
direction and the other, if you want the best result, then try to rotate
it in that way, so that one side will be
symmetrical to other. Now let's learn how
to create a cloud, create a cube, and go
to the shading mode. To see the changes we need to
go to the Viewport Shading. Here we go to this icon. In the first one in the render
engine, we choose cycles. In the devices, we can
choose GPU compute. Then after we did this, click New to create
new material. We don't need the shader, so we deleted instead. Architectture, coordinate,
and connect object to volume. Next, we need to add a vector math node and place it between these
nodes and change it to length. As you can see, something is
already starting to happen. But to add a shape to the cloud, we need to add a map range. So let's do this here. We need to set the minimum to one and the maximum to zero. We can scale the
coupon added mode. Next thing we need to
do is to duplicate the vector map and move it back. And change it to multiply and set the vector
values to one. By changing these parameters, we can change the shape of our cloud to add
details to the cloud. Let's add Noise texture and connect it with
texture coordinate. Before we connect it
with vector mop nodes, we need to add another node. And it will be mixed color
and connect it this way. And change mixed color
to linear light. Now by changing scale in detail, in no texture, we can add
more details to the cloud. I think for scale two
or 2.6 will be enough. And for detail three or four, the last note we need to add is principled volume and
place it right here. But we need to connect
map range to density. As you can see, our
clot is almost done. We need to change that max
parameter to 80 or 100. We can also change
the color to A. And to diversify the cloud, we can change noise texture to four D by changing or seats. We can even animate
it if we want. You may notice that the cloud
is still somewhat gray, but this can be easily corrected by adding
light to the scene. To do this, click on this
icon with the globe, then click on the yellow
and select Varying Texture. And then select your HDRI, or you can take it
from the tutorial, increase the strength,
and our cloud is ready. Let's return on Tour Scene. And now we can move rotate and
scale our cloud S P bonds. Now let's add a camera
and side on the frame. Create a camera by
pressing Shift plus D. And by pressing
and we'll open this heretical camera viewport to the resolution of the camera. Lick on this icon and change
it to any resolution you want in the camera settings. Change the focal length
to eight and just move our camera within the mouse until we are happy
with the frame. The last object we need to create is the background.
Let's do that. Create a plane and scale it. Then go to the edit
mode and select this and extrude
it on the Z axis. And select it again. Press control and
scroll the mouse wheel. Also, don't forget to
smooth everything out. All the domains is to move it back and scale it,
if necessarily. Well, now let's use our cloud
for its intended purpose. And move it under our cosmetics, like our bottle
standing on the cloud. Just select the cloud
and move it by press G, by pressing zero on the pad. We look from the camera view and how our render
will look like. After that is done,
our scene is ready. The end of the third
part has come in, which we have created
an environment and a scene for
the future render. In the next part, we will add colors to our scene minimally. We will learn how
to apply textures and materials in the part for
5. Lighting: Welcome to the part
five of our editorial where we will learn how to create lightning for our scene. Let's get started, Press Shift plus A and
create a spotlight. Then rotated 90 degrees and move it towards
our background. By selecting the spotlight, you will see an icon with a lamp where we can
adjust the lightning. First T's change strength to 15,000 then make sure the
lightning is centered. After that, we can change
the radius to two or three. This will give us this effect. Let's create another light
source, this time area. Light can also rotate
it 90 degrees. But toward cosmetics, I
got it a little crooked. So I will fix it by rotating
it in different axis. And here we can also
change the power to 3,000 You can do more, I think here you can
change the color to some files may be
yellow or even orange. Then duplicated and
rotated 180 degrees along the Z axis and move
it away from the cosmetics. I think this one we should make a white color and change
the power to 800. Then duplicate this light again, and rotate it to 90 degrees and place
it over the cosmetics. Then after we've done
that, duplicate it again. Rotated and place on the left side and do the
same for the right side. Here we go. Now
let's change the HD, right, because this
one is too bright. This one looks much better. Let's change the brightness
of the Lightning. For the top one,
we will change to 7,000 And I'll choose red or
orange color for this one. For the right side, we change
it to 300 so that it gives a little elimination
for the left side. I will set the value to 3,500 Also, let's change the
location of this one so that the light falls
from this left corner. The lighting is ready. Add more details to the scene. And duplicate the clouds
and place them on the left and right angles of the camera duplicated
with Shift Plus. And just move them
by pressing button. And to level up our scene, we need to create
a camera focus. So to do that, create an empty be hand scale it and rotate it so that it
covers all the cosmetics. Battles after that, select the camera and go to the camera settings and check the box next
to Depth of field. In this line we find are empty, or we can just select it
with this eye dropper. And to change the focus,
sharpness, change the value.
6. Texturing: Welcome to part four
where we'll learn how to add color to scene. Let's go to Shading. Select the background click in the new to create
a new material. In this case, just
change the color in the base color to the
one you like the best. In any case, it's red. Also, let's remove the cloud
for convenience and this time create a new material for the main part
of this battle, this part should be glass. Click on this icon
and in service, change it to glass DF. The only parameter we need to change for now is roughness. Let's strike for now, 300. And let's see how it looks in
vendor now I think we need to increase it maybe
to 0.70 0.8 Yeah. Now it's of the lit also
create a new material for it and simply change the
color in the base color. For the bottom of the Lit, we apply the same material. Now I will show you
how you can apply the same material to all
these lids very quickly. First, we need to
select all the, all the objects to which we
want to apply this material. The last selected
object should be the lead that already
has the material. And then press control L and select Lean
Materials. Here we go. And we can do the same
with the glass parts of the products for
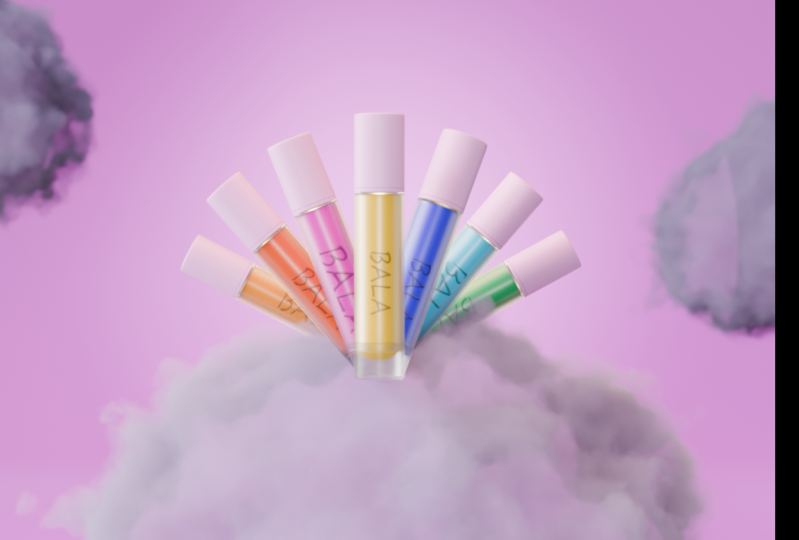
the gel or cream. We also create a new material and choose the color we like. We can also reduce the
roughness parameter 2.3 0.2 or even 0.4 Let's name our material so it will be more comfortable
to navigate in the future. For the other buzz, I apply the same material
and click on this icon. Before make any changes to the material in
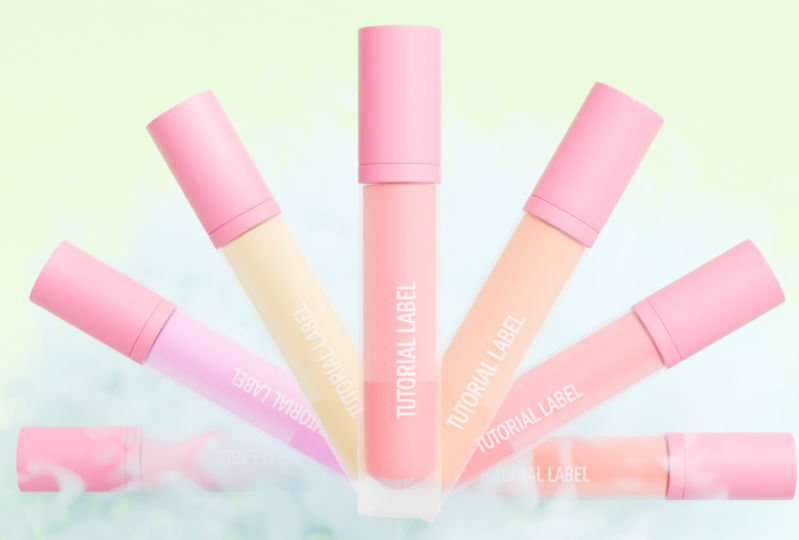
the base color, I just change the situation. On the right side, we'll
have lighter colors. On the left, we'll
have the darker ones. I will swap the materials, or you can just change the
duration for this bottle. I will select the
first material, click on the icon and reduce the duration for this bottle. I will do the same, reducing the situation even more for this side. We do exactly the same thing, except that instead of increasing the duration,
it will increase it. And this is the picture
we should get at the end, let's out a cloud for the full
scene to see how it looks. And I think I'll change the
color for the background. I also forgot to
mention that you can change the color of
the cloud if you wish, and the only thing we're
missing is a label, So choose our glass
part of the product. Go to the edit mode in trading. Create image texture
and press control, then open a label image. If you don't have one, you can get one in the description. Next we need to add principled
DF node and connect color to color and
alpha to alpha. After that, we need to
create another node. This time it will be
mixed shader and connect glass and principal BDF
to the mixed shader. Now we need to go to UV Editor. Here we need to select one of these faces and click L
button to select them. Then press and select Wrap. Now we need to move that
UV map that we created to the center so we can see how the label appears
in the bottle. Here we go. Our label
is in our bottles. Well, this part of the
tutorial has come to an end. We learned how to add colors to the scene and create
materials for objects. In the next part, we'll
learn how to create the lightning for a scene
scene in the next part, guys.
7. Render Settings: Welcome to the final part
of this tutorial where I will show you how to
set the correct values in the render settings
so as not to get 2000 graphics and select your
computer does not explode. Let's get started. In order
to configure the render, we need to click on this
icon in the render engine. We can select either
EV or cycles. In this tutorial, we will use cycles in the device,
you select GPU. If you have this inaccetable
function, go to Edit. Then in Preferences,
look for the system. You need to make sure that
there is a check mark next to our graphic
card you can close. The next setting is Max Samples. It value directly affect
the render quality, but I don't recommend
you setting it too high. I usually use a quantity 800-7000 The next one is light paths and here we are interested in only
one parameter, and this is volume. We can change it
to four or five. Do not set it as
I did, Otherwise, a simple render will take
you ten to 15 minutes. The last thing we need
to change here is the color management
in the look, you change it to Medium Hitrust, You can choose other options. But personally, I realized
from my experience, that Medium Hitrust
is the best option. The last thing we need to do is to click on the
Render button.
8. Conclusion: And now the Torial
has come to an end. And I hope you learned a lot
of new and useful things for yourself and are ready to enter
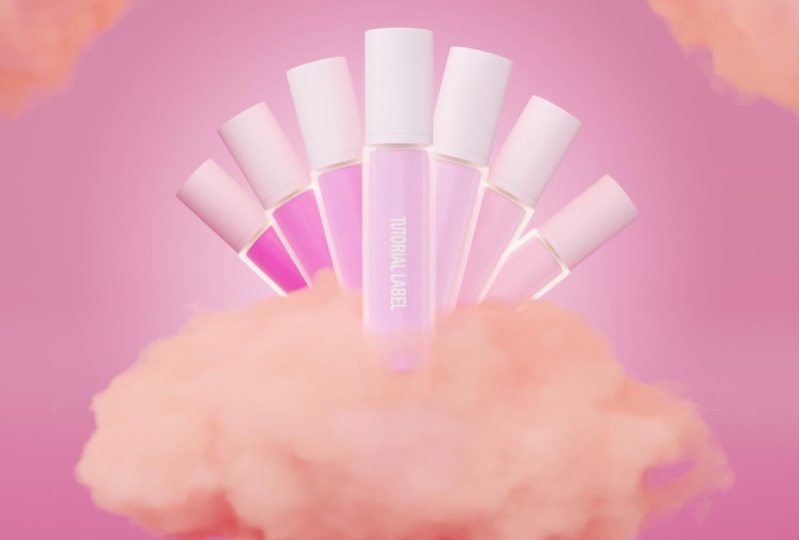
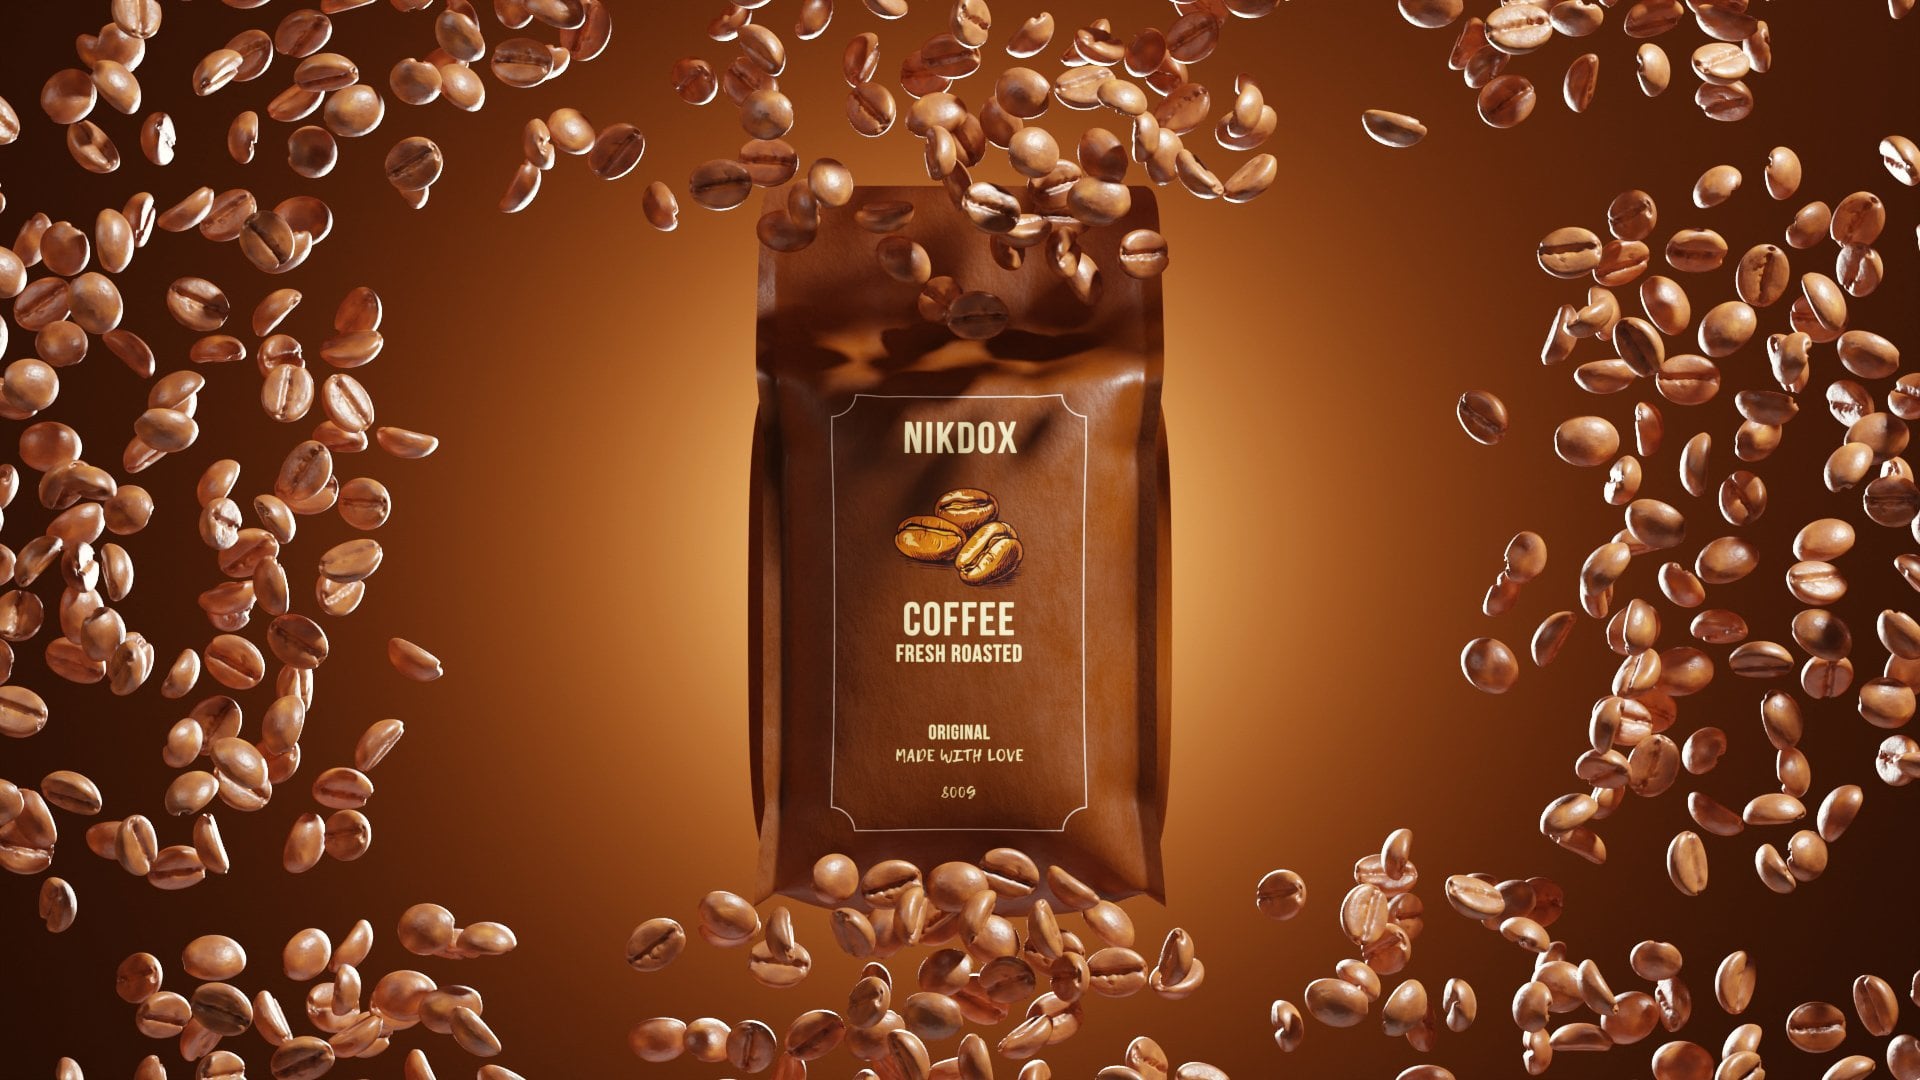
the world of free D want. In any case, this is the
result we got at the end. I will be very glad to see
different variations of your works and perhaps be
inspired by your ideas. Do not forget to share your
opinion and your works. If you have any
questions about Torial, I will always ready to
answer and help you. But unfortunately, I have to say goodbye and see you in
the next tutorial, guys.
 Nikdox Studio