Transcripts
1. Introduction: Hello there. If you
always wanted to delve into the world
of production design, satisfy a client
and receive crete, feedback, and substantial pay. Or simply create compelling
advertisement for product. Then this tutorial is
exactly what you need. It doesn't matter if
you're a beginner, intermediate learner, or a pro. In this tutorial,
we will explore various valuable
aspects that are accessible to beginners and will be useful for
professionals. The aspects will help you
create commercials that will amaze your clients or elevate your product
to the next level. Specifically, we will cover
modeling simulations, physics, texturing, line
rendering in much, much more. Thanks to tutorial, you'll be able to master
skills for creating standing advertisement for
your portfolio clients or for promotion in the
wonderful worth of blender. Don't miss the chance to earn five stars and a long
equated pack of money. Equip yourself with essential
knowledge and provide your product with
deserving advertising to attract attention. So without further ado,
let's get started.
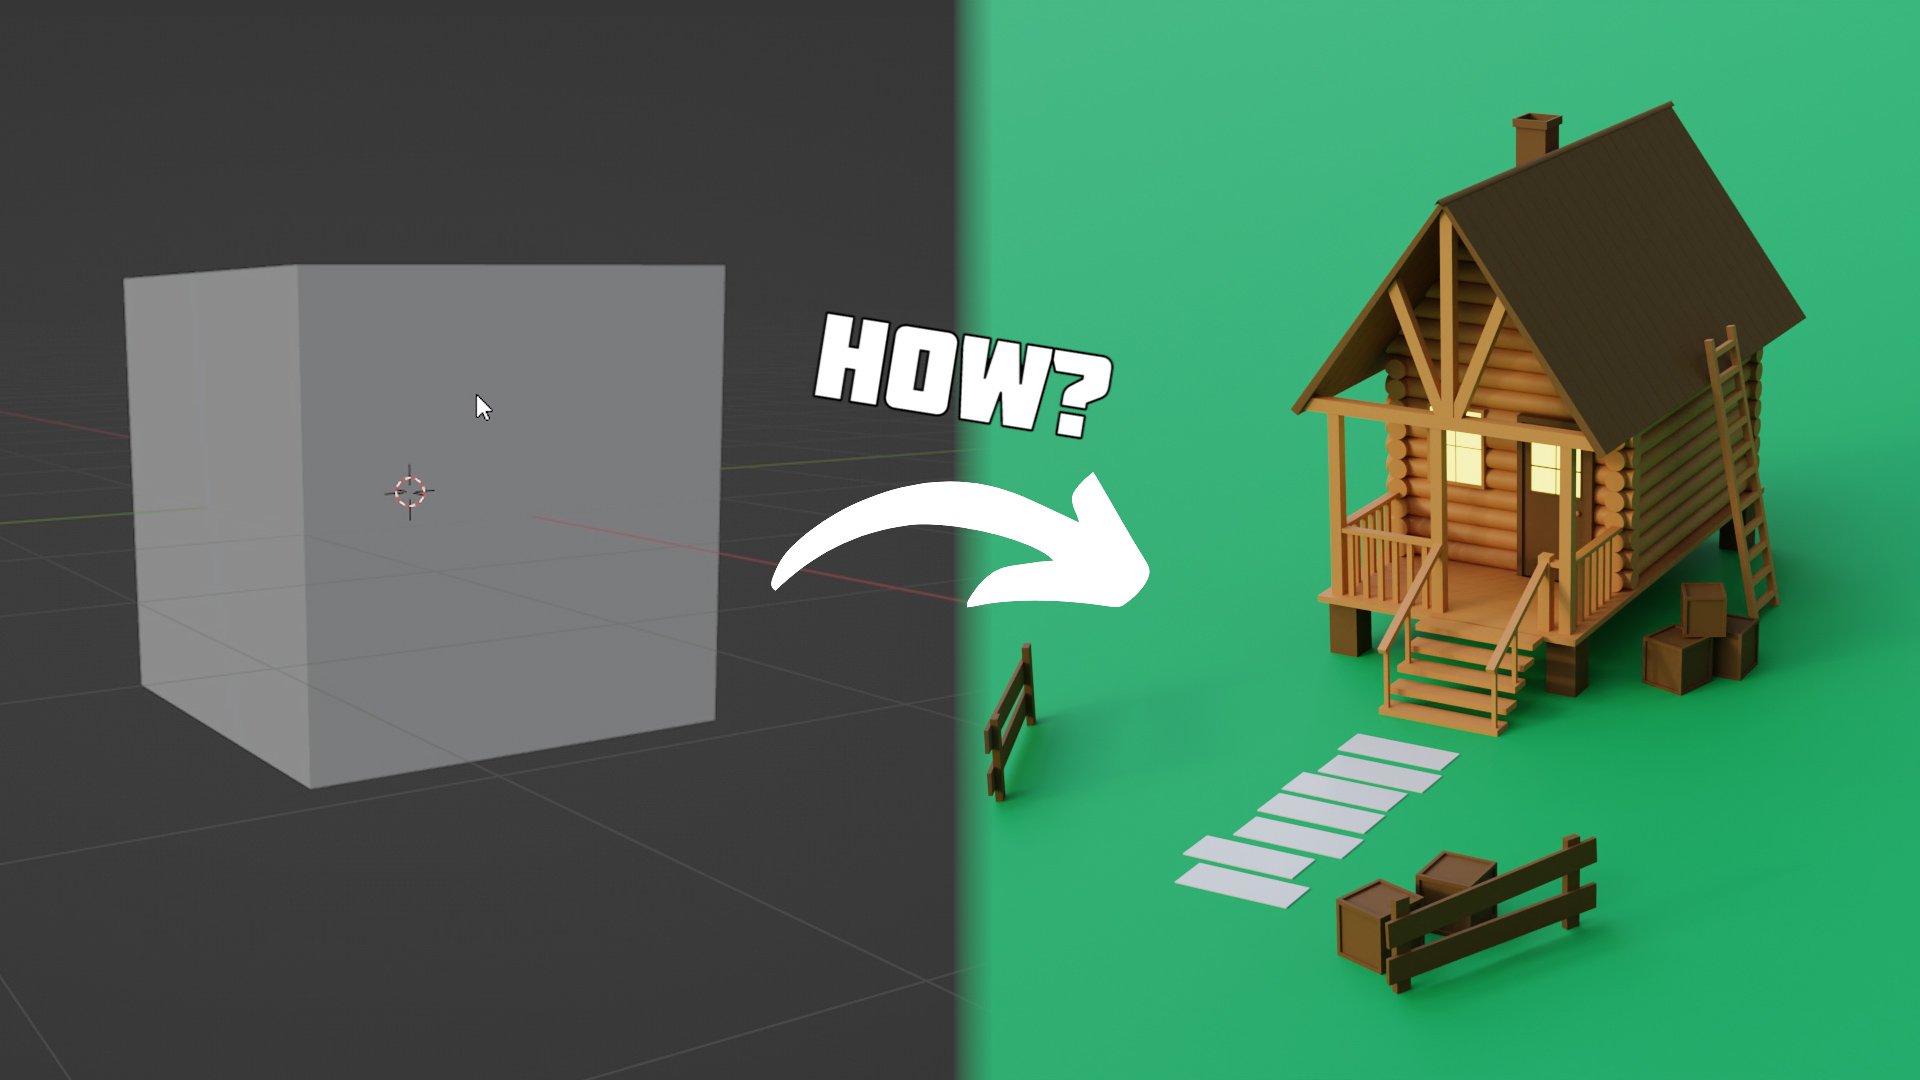
2. Part 1: Can Modeling: As always, we will start
by removing the cube. I will turn on the Screencast
keys so you can see a key. Press then press so plus A and add a reference that I will leave
in the description. After we have added a reference, let's move it a little along the x axis so that he
doesn't interfere. Then I press Shot plus A
again and add a cylinder. We need to scale it
along the Z axis, then go into the
edit mode and select these vertices and extrude them using the key until they will match
with the reference. I also extrude from above until our cylinder
takes the shape of a can. At the very top we also
the slightly scale it totally extrude can again
and scale it at the top. The low poly version
of our Can is ready because we
need more geometry. We will add a
subdivision modifier in order to smooth out can. And for it to work correctly, we must add lot from
below using the key. And for the rest of the can
press control plus R and move them so that the ship
is smoother in some places. If you need also add
the loop cut and scale it to match
the reference more. Also forget to smooth it
by clicking right Out button and press Shade
Smooth in the same way, add loop cut in the upper part. I hear for more realism, at the bottom of the can, press three and then
press the button and scale it after
that remove on the Z axis and then press again, remove the face from the top part and it's time to make the
top part of the can add our reference
and scale it to the correct size and move it down so that it doesn't
interfere our modeling. Then select the top
edges and copy. Then using the shift keys. Then press P and then click Selection to
separate our object. Then we go out from the
edit mode and select our edges so that it is easier for us to
highlight it all. Select the reference
with shift and press the only our selected objects. Go to the tune and into the
edit mode. Select everything. Press to extrude,
and then to scale. Then select half of our
circle and deleted, and add a mirror modifier. And don't forget to
check the clicking box, then we simply move the
vertices under the reference, then like them, and
extrude in the axis. And then scale it.
As we can see, we can slightly move
it to the left side. Then after we show it
matched the friends, extrude it again and
basically do the same thing. Then we select these
edges and extrude it. We have two methods, how
to model the top part. The first way is to create
a loop cut here and always extruded and feel. But there is a better
way to just connect these two vertices using the
key and then using control. Create as many loop
cuts as we need. And press several times, if necessarily we can add new loop cuts and also everything we connect
using the key in the middle, create another loop cut. If you don't have the edge here, then use to simply sold these two vertices and our top of the can
is almost ready. All that remains is to select
disorticies and extract them and scale it with the k.
Then select the diortices, I just fill them. Let's turn on to the
subdivision modifier so we can see how it
will look in the end. As we can see, we need to add loop cuts for a
moralistic result. Add them in those places where sharper
corners are needed. And also, do not forget
to smooth them out. And then move the mere modifier up so that everything works at its shoot and the tap is ready. Don't forget to save our file. Do not lose the
result in the future. It's very essential
just press control plus and name your
file and save. And all that remains is to create a part
that opens again. Press shift A and
create a plane. Scale it in edit mode and
place it somewhere here. And change it so that this
matches the reference. Just let the edges extrude, rotate and move the word. This is, it's nothing
complicated here, but in this moment we need
to add a muromdifier. Also need to see how it looks. Let's move it up here. Don't forget to
check the clipping. As you can see, it's
not very comfortable to continue to edit for
better visibility. Select our reference and
the object and press this key and continue to extract and change
the plane until we achieve a complete
match with the reference. Conside these vertices extrude
and scale them slightly and finally fill them, the K. Here we go, but as we can see, it doesn't have any thickness. Go to the modifier, stop and add the
solidifier modifier, and change the
thickness parameter. Also, we add a
subdivision modifier. Of course, don't forget to
add loop cuts for realism. As usual, add them in those places where there
are sharper corners. Add one here and
here, and also here. Don't forget to add it here in those places
where you can expect the edges and also don't forget to smooth
it out In the end, do not struggle
with the position. Click on this icon and
select Phase Project. This will allow us to magnetize or object
to the nearest phase. Select our object
and moved along the z axis with
control held down. I don't really like how
high the top of our can is. I'll move it down and to
make it more realistic, I'll add a couple
of loop cuts again using a control plus R here. I will move this edges down to create a
small innuitation. Add another loop cut. Now go directly to the
can and in edit mode, select and move the first Ss. That's pretty much
it. I concretulate you because the first stage
of our tutorial is completed. We have created the main
object of our tutorial, to which we'll add a simulation animate and
also deal with textures, lighting, and creating an
environment for the scene. But we will look
at all of this in the next part of the tutorial. Let's get started.
3. Part 2: Liquid Simulation: Welcome to the second
part of the tutorial. This part will analyze
the water simulation. We also will find
out how to create it and find out that problem can arise when creating
a simulation and ultimately create
something unique. Let's get started.
So press shoot plus A and create
a Mt and scale it, then it's like the
can and are empty. And press control plus P, the object K transform. That will be useful to us later. With animating
toward a simulation, we create a cube and increase
it to 26 or 28 meters. And our can should be
about 10 meters in size. It's very important for
convenience in the viewport in dis plate solid wire to
see through this object. The ext we need to create is a plane rotated in 90 degrees and move
slightly behind our can. Now it is important to check the phase orientation
of a plane. This side should be blue. If it were red, then what drops would not
fly in this direction. But in the other disabled
phase orientation, let's go directly to the assimilation
setting for a plane. Go to the physics tub, then select liquid and
select flow flow type. Liquid in service emission
sets the value to six or five. This value is responsible
for the amount of liquid enable initial
velocity and sets normal 200 for the cube. We also select liquid but
in the type select domain, in the main type
we select liquid. In the border collision, we clear all the check boxes, then click on the mesh In
the particle radius A, change the value to 1.7. In flight, we remove gravity to zero so that water
does not fell down. Here, select Modular to be able to bake
everything separately. The last value that we need
to change is the resolution. The higher the resolution, the more realistic
the water will look, the more it will affect the
performance of your computer. For the final results, we will set 138, but for the test, I
will use a value of 80. Do not forget to change
the visibility of our Q tire to better
see what is happening. All that remains is
to create a cage for the can so that the water
simulation runs smoothly. Sector Can and go to the editor. Then press three to select Pass. Then select the
face and press L. Press Shift plus D to duplicate, and then press Alt plus S and kill our object
quite a little bit. Then press P, click selection
to separate our object. And we can also check the
phase orientation and make it fire in view
port visibility. Now we can add physics for the cage that we created
in the physics section. We select the liquid, and this time we select the effector and set
the surface thickness to 0.04 Our simulation
is essential already. All that remains is to
bind the cage to the empty in the main settings, click on the bake data. After it's ready,
then bake mesh. In the end we get
this simulation. For our simulation, we can
return the visibility to the solid and also add a
smooth modifier rope, increase to five, and
forget the shade smooth. The simulation comes
out quite good, but if you look closer, we see how particles
of water pass through the can and
it's not right. It will be very noticeable
in the final animation. To fix this, we need to slide the cage for more
comfortable modeling. We can return visibility, turn to the edit mode,
slide these vertices. You can also scale
them a little bit and press then important step with control plus
a, apply the size. Now we go to the domain settings and bake everything again. It is not necessarily
to wait until 250 frames are loaded in
order to test simulation. 50 or 60 frames will be enough. As we can see this time
everything has fallen into place and everything
is working properly.
4. Part 3: Can Animation: In the previous part, we learned
how to create a water as simulation in blender and
how to bake assimilation. In this part we will
animate or can, and in the end we will do the final baking
animation of the water. Let's select empty and lower it down in rotated
along the z axis, y 45 or 30 degrees. Press the eye button and
select location and rotation. Here we have created
a key frame. Send code to the frame. 12 pre empt rotated to
the opposite direction. We can also rotate
slightly along the x axis. And don't forget to press again and select
location and rotation. This is what animation
we get from N. It seems quite good, but I want this animation
to last a little longer. I will draw the
last key frame to the 26 ten code to the frame 50 and
again, lower are empty. And press the key and apply the key frame turn
code to the frame 70. How it up. And again, apply the key frame. For now we can remove
the bake simulation. We will make it later, and that's what we
get at this stage. It look good, but I
would like to can levitate the duration of
the entire animation. To do this, throw some 90 frame, the 50 frame and
duplicated the same. Just duplicate the key
frame from 70 frame. We can move it slightly so that the distance between
our frames is the same. And again, go to the
frame 50 and rotate it by eight degrees and
apply the changes, then go through one key frame, and we also rotate it this
time in other direction, and apply the rotation, and as we can see, such as an emission we obtained. Then we duplicate our
penultimate key frame it to frame 170. But since in the last frame we rotated it by eight degrees, now we need to rotate it
by minus eight degree, that is returning to
its original position. Do not forget to
save periodically, and this is what we got. Now we can make for all 170, the resolution of 128. I decided to check
before that how the simulation would react
to the animation of the can. In the end, I decided to add a slow move effect in
the domain settings. I set the key frame, frame 26, with the timescale of one, frame 46, edging the value
to 0.5 or you can do lower. It's up to you suddenly duplicate the last key frame in the domain and move
it to the frame at. And also duplicate the first one and move it to the frame 90. But now we can freely back
the Vata simulation for the last time at 170
frames at resolution 128. And this is what
came out in the end.
5. Part 4: Ice: Welcome to the next
part of the tutorial. In the previous
part, we learned how to create animation And created a simple animation for
can ebit assimilation. In this part, we'll
learn how to create an interesting addition in
the form of ice and animated. Let's go for the ice. We create a cube. Let's give it a better name. We will find it in the
future more easily. Then we go to the edit mode by pressing the
right mouse button. We subdivide it eight times, send code to the sculpting node. And don't forget to add a
subdivision modifier here. With all of these brushes that you have to give
the shape of ice. When we have achieved
the shape that we like, it's time to animate, go to the first frame and
place ice in such a way that it is not visible from the place where the
expected camera will be. Then put a key
frame by using key. And then go to frame maybe
26 or seven and sector cube. And move that piece of ice in the direction in which
we want it to move. You can also rotate it a little. And then forget to put
the key frame here. What we got for now, Go to the frame AT, and again, move the cube. Rotate and set a key frame. In order to further
animate the cube, we need to add a camera
to the scene and place it in the place where we think it will be the most
beautiful place. And after we have decided on
the location of the camera, we can continue to animate the ice code to the frame 90 and move
it farther than usual, so that there is an effect
of sudden acceleration, of course, as the key frame. And now we will make such a
natural transition using ice. We code to some frame
and move and rotate it towards the camera so that it occupies half of the camera. Then again, read a key
frame here, what we got. Also move it to the frame 150. Now we can see that it
doesn't look very natural. We go to the Frame 120 and move the eyes to the
right side, and rotate it. Then to soften the approach
of the eyes to the camera, I go to the frame 148 or 147 and put the key frame and just
move it to the frame 140. And now we need to do
a similar animation, but on the other side
we duplicate the ice. Then we go in to the frame 26 and move it to the
other side of the can. We can also change
its rotation or height and apply a key frame. Then in order not
to get confused, we simply let all the key
frames starting from the 18 and begin to animate
in the same way, rotate and move this last time, only this time in other side, you can place it somewhere here. Rotate it like that
at a key frame. And now go to frame 150. And move the ice
cube to the camera. And rotate it and place it in that way until it looks good. And again to the 120 frame and move slightly
to the left side. And apply key frame and again to smooth the
animation in the end, apply a key frame 147 frame
and move it to the 140 frame after we are satisfied
with the result, to Frame 170 and move the
ice in different direction, not forgetting to
set a key frames, I also decided to rotate eyes a little along
the ear axis, because it seems to me
that it will look better. So I decided to
create and animate more eyes in the same way only I gave them a
random direction. And this is what
came out in the end. Now let's put a little order
among our objects so that there is no confusion where reading the second part
of the transition. So let's call the press and create a new collection and call it whatever you like. As long as you remember
that the ice lies here also creates a collection
for the remaining items. And call it something like that, why it's better to
sign our cane with its name and leave
it separately.
6. Part 5: Texturing: In the previous
parts, we learned how to create simulation of water, learned animation, and even created a small
transition using ice. In this part, we will add
color and paint to our scene. Namely, we will do texturing. Let's go first, go
to the shading mode, select and Ice Cube. You probably won't have this. You most likely will have this. Click on New and create a new
material in the first line. Select multi, scatter G X and
increase transition to one. Then add a frontal node and then connect it
with roughness and change the frontal
parameter two to 1.15 Then add a mouth mode
and place it in the middle, and then duplicate it
in the first node. Change it to multiply and increase the value to
two in the second node, decrease it to 0.1 After
that at a noise texture and pump net and connect them in that way else texture change the scale to two, little to 2.8 and roughness to 0.4 And also decrease
the strength in bump, not to very small parameter. In my case it will be 0.08 strike the knives and
bump, not duplicate them. And connect it to clear
normal and change the scale, no structure to five and the
strength to 0.12 Here we go. Our cube material is ready. Yeah, you probably wouldn't
have that environment. You will have basic
setting in the world. But don't worry about
that because you can easily add any
environment you like. Just click on this yellow and
select environment texture. Then open and choose your
environment texture. If you don't have any, then
go to the poly heaven or any other side and unload one of hundreds of the
environment textures. Ad is just personal advice to apply our material
to all ice cubes. Select all of them.
And the last, select one that has material and press control L and choose Link Material. Here we go. A very
important thing is to turn off visibility in the render for the cage
that we created earlier. Otherwise in the render we will see a not very pleasant picture. It's time to create
material for first, go to the edit and press
to and from above. Sell the vertices from
which the label should be. Then click Create mouse
button and then mark, Seen you do the same from below but marks in that place
where the label should end, then go to the shading mode
and create a new material. And also go to the
spanel and create another material
and call it metal. The first material, call label, and also move the
second material up, press label material, intercontroll and select
the label image you want. You can found it on the
Internet or you can create it yourself in Canva
or any other program. Or you can simply
upload made ones, which I will leave
in the description. After we have
selected the label, we apply it to the area
that we selected earlier. Also, don't forget to mark another line of vertices
at the back of the I almost forgot to do this. After that, select
all of the area, click and then unwrap. And don't forget to apply the scale by clicking
control plus A. All we can do now is
change the shape, size, and rotation of the map until we are happy
with the placement of the label for metal. Increase the metal parameter to almost one rough
change to 0.3 and the topic to 0.4 or 0.6 tropic rotation to 0.2
and C code to one. After that we apply
our metal material to the end just like
the part that we need. And then click a sign for the label. We will also make some changes to make it
more realistic here. We also increase the metal
perimeter to almost one. Let's change to 0.3 anisotropic, to 04 or 06 anisotropic rotation
to 0.2 That seems good. Also let's add texture node and press control plus T in mapping, change the size perimeter
along the x axis to 0.12 and change size
texture to 700 or 800. And then add a bump node
and connect them that way. Then reduce the strength in
the bump node to very small. And also reconnect
from generated to UV and the texture is ready for the splashes. Create a new material and
increase transmission to one. And reduce roughens to zero. If we want it to
be ordinary water, then we can leave it as it is. But if we want, for example, for it to be a splash
of some kind of drink, then we can change the color.
7. Part 6: Creation the Second part of the Commercial: As we can see from
this animation, we are missing a new scene. That would be after frame 150. Let's fix it and make it, but before that sled the ice cubes that create the transition and
then the camera. After that, press control plus P and select object transform. Then frame 150, apply
a key frame for the camera without changing anything and go three
frames forward, rotate the camera and
net decrease and apply a key frame here. What we will get here will be our second
scene to create a scene, create a plane and increase it and place it
below the camera. You can also lower it in the
axis If you need to text, create a cube and place it in the same place as the
plane and also increase it. We can also make it wire for
more comfortable editing. Then we create another cube and place it inside of
the previous cube. Here we need to
apply modifier to it and increase the number and distance between them. Then duplicate the modifier
and do the same thing, only changing the factor
on different axis. Here I will change
the count to 26. Only 22 handing in the placate as a modifier. This time I will
change the Z factor, hand increase the col three. Let I give it a physics
for a transparent cube. At rigid body physics, set the type to passive and the ship to math and
into the same plane, I decided to change
the cube size and quantity in
the ray medifier, but this is an optional step. After we're happy
with the result, we can apply all of the
modifiers and make sure that our cube with Ray medifier is placed inside of the
transparent cube. Then go to the edit mode. Select everything by using ak and click and choose
by going Parts. Then create a collection
for the cubes and name it. After that, select
all these cubes and select one of them. Shift, then click right button, set Origin and origin to
geometry in the object. Select transform
and then randomized transform and set the
value that you want. After we have decided
on the randomization, go back to the
object up and select rigid body and choose a Active. If you press space, then you will see an animation. After the select
any of these cubes, press Shift and select
Cours to select it. Then duplicate the ice
as that we created earlier and delete
as animation on it. Then press Shift again and
choose Select to Coursor. Now we need to fit
our piece of ice into the cube so that they coincide in size as
much as possible. Also, if this piece
of ice made earlier ends up in the same folder
along with the cubes, then the next stage
will be failed. So make sure that the ice
is separate from the cubes, Then join these two objects with control J in added model
the cube and deleted. Now as we can see, instead of animation of low poly cubes, we had full fledged
animation of ice. But I personally was
not satisfied with how the pieces of ice
looked after the animation. I decided to change
the scene a little, now it looks better. All that remains is to add
our can to another scene. We duplicate can and
disconnected from the empty. Then we transfer it
to our second scene. And then scale it and rotate it until we are satisfied
with our results. After the duplicate the can a couple more times and
place them on the site. For other cans, you
need a different label. Go to the shading on this
icon and change the pictures. As we can see on the animation, one of the cans blocks
the view of the camera. We just move it up
and we can also move the rest and it's time to
add physics to the cans. We add a rigid body and choose active and do the same
for the other two. Then go to the Frame 170, check the box on animated
inside the key frame. Then move to the next frame and dissllate the box
from the animate, and again inside the key frame. And do the same to
the other two cans. For the top, can we
also do the same thing, we do it all earlier. Somewhere on the frame 160, don't click on this icon. And in the rigid body world, we change the start of the
simulation to frame 120. Don't make it yet because I
encountered a problem later. The fact is that I forgot
to change the size of the transparent cube
when I lifted the can. Now, when stimulating has a can, it just falls on the cube. The solution for that
problem is very simple. You just need to
change the size of the cube and start
the animation. I also decided to add a
speed animation here. But there's nothing complicated. Just set the speed
to one on the frame. After a few frames, set the speed to 0.3 or 0.4 This is what
came out at the end.
8. Part 7: Scene Setup: It's time to create the
environment for our scene. In the case of the scene, we simply select the plane, add material to it. Here we can choose any color
and setting that you like. You can change literally any parameter and see
it comes out of it. For now, I'll just
change the color and roughness for the part where
you have water animation. We also duplicate the
plane, rotate it, and place it behind
the animation and scale it so that it
covers the entire camera. Then go to the eddies mode and setting at the
bottom corner, extrude it towards the can. And having selected this corner, press the combination A control plus B and turn the
mouse feel a couple of times and also don't
forget to smooth here. We can also experiment with settings and colors to
achieve the best results.
9. Part 8: Lightning Settings: Lighting. I used a
regular area light, which we placed literally
on all sides of the can just create an area light, scale it, and
increase the power. You can also change the color. Let's show you how I set up
this lighting from above. I selected power 7,000
and choose the red color. On the left side, I choose
orange light and power at 3,500 At the right, I choose the blue color
and power of 300. In front, I just choose power 7,000 without
changing the color. Another very important
light source here is the spot light that he
put towards the wall. What it does is it gives
such an effect from behind. I also change the color and
increase the metallic in the environment
playing parameters and reduce the roughness. As for the lighting of
this part of the scene, I did the same here. Here I choose the color
red and choose the power of 3,500 On the right side, I did the same only
in a different color. On the top, I didn't
change the color, I just increased the power
and change the size. The last slide is this one in which I only
changed the power. As you can see, I also
changed the parameters by changing the metallic
color and roughness. I also added an environment
texture to the scene. You can add it like I showed you earlier or you can also add it in another way by
simply processing control and sucking the
HTRI that you want. The advantage of this method is that you can rotate your HTI.
10. Part 9: Render Settings: And the last step is setting up the render. Let's get started. Go to the render settings in the render engine
slide cycles. In the device like the GPU, compute in max samples
choose 800-1500 And the last king
in color measument is to choose a medium
height contrast. It slightly improves the
overall color in the scene. You can of course
change it to any other setting the to your taste.
11. Part 10: Bonus: As a bonus, I'll show you how to create water
drops on the can. Let's not waste time. Create a U sphere. And we can slightly
change it with portional editing or we
can leave it as it is. Then we rename our sphere
to something recognizable. Select any of the Gents and create a particle
system for it. And select here in the render, we select an object. Here we select our
drop of water. Create the size if necessary, and we can randomize
it a little, then put the mark on advance, then turn on the rotation. And we can randomize
the rotation. But as we can see, our drops are not very
pleasant to the eye. This is all because our lack
of geometry in some places. Let's add a couple of oop cuts. As you can see, the
problem is solved. All you have to do is play with the settings and the
drops are ready. But if you want to animate the drops so that they
fall along with the can, then we will encounter
a problem. Solve it. You need to click Make Instances
Real, and then apply it. Then with all drops
of water selected, Click on our Can
Withholding Shift and click Control
and choose Object, Keep Transform, and see
how blender crushed. After our blender is alive, everything is working properly. For the drop water material, you can apply the ice
material or create another. Here, select as a glass B SDF. If you created a system
particle before for another object and want to
apply it to other objects, then you don't need to create a new one and try
to repeat settings. You can simply choose
forms already created.
12. Conclusion: And now the Torial
has come to an end. I hope you have learned a lot of new and
useful things for yourself and are ready to
enter the vault of three. Any case, this is the result
that we've got at the end. And I will be very glad
to see different versions of your works and perhaps
be inspired by your ideas. Do not forget to share your opinions and your
works in the comments. If you have any questions
regarding the editorial, I'm always ready to
answer and help you, but unfortunately the end and see you in the
next editorial.
 Nikdox Studio