Transcripts
1. Intro: Hello, if you happen
to Blender and I'm wondering how can they create
something unique then? The tutorial is
for you after all. In the tutorial, you will gain all the necessary knowledge
and learn how to create attractive animations and
product rendering that will help you not only in the development and knowledge
of the free de world, but also help you create a unique portfolio and
attractive clients. This tutorial is useful for
both beginners who have just opened a blender and
foreign professionals who have not less desire
to learn and want to know the secrets that will help them reach a new
level in blender. Namely, in this
course we'll look at basic knowledge
for beginners. Modeling, physics
simulation, texturing, lightning render settings,
and also secrets awaits you that will allow you to take your work to a completely
different level. That the opportunity to
gain valuable knowledge that will not only help you
create a standing portfolio, attract the attention of
clients, and earn money, but will also allow you
to develop and give an impetus to learning
the world of blender. Let's not waste a minute
and let's get started.
2. Basic Knowledge + Secret: This lesson will be
useful not only for absolute beginners who have learned how to open a blender, but also for Pros, because we will also learn
a secret technique that will make your work much easier and save
you a lot of time. This lesson, we will learn all the basic knowledge
that will be necessary, not only to create
today's masterpiece, but also which will serve as
a basis for you to create a free model which will give you unlimited possibilities and
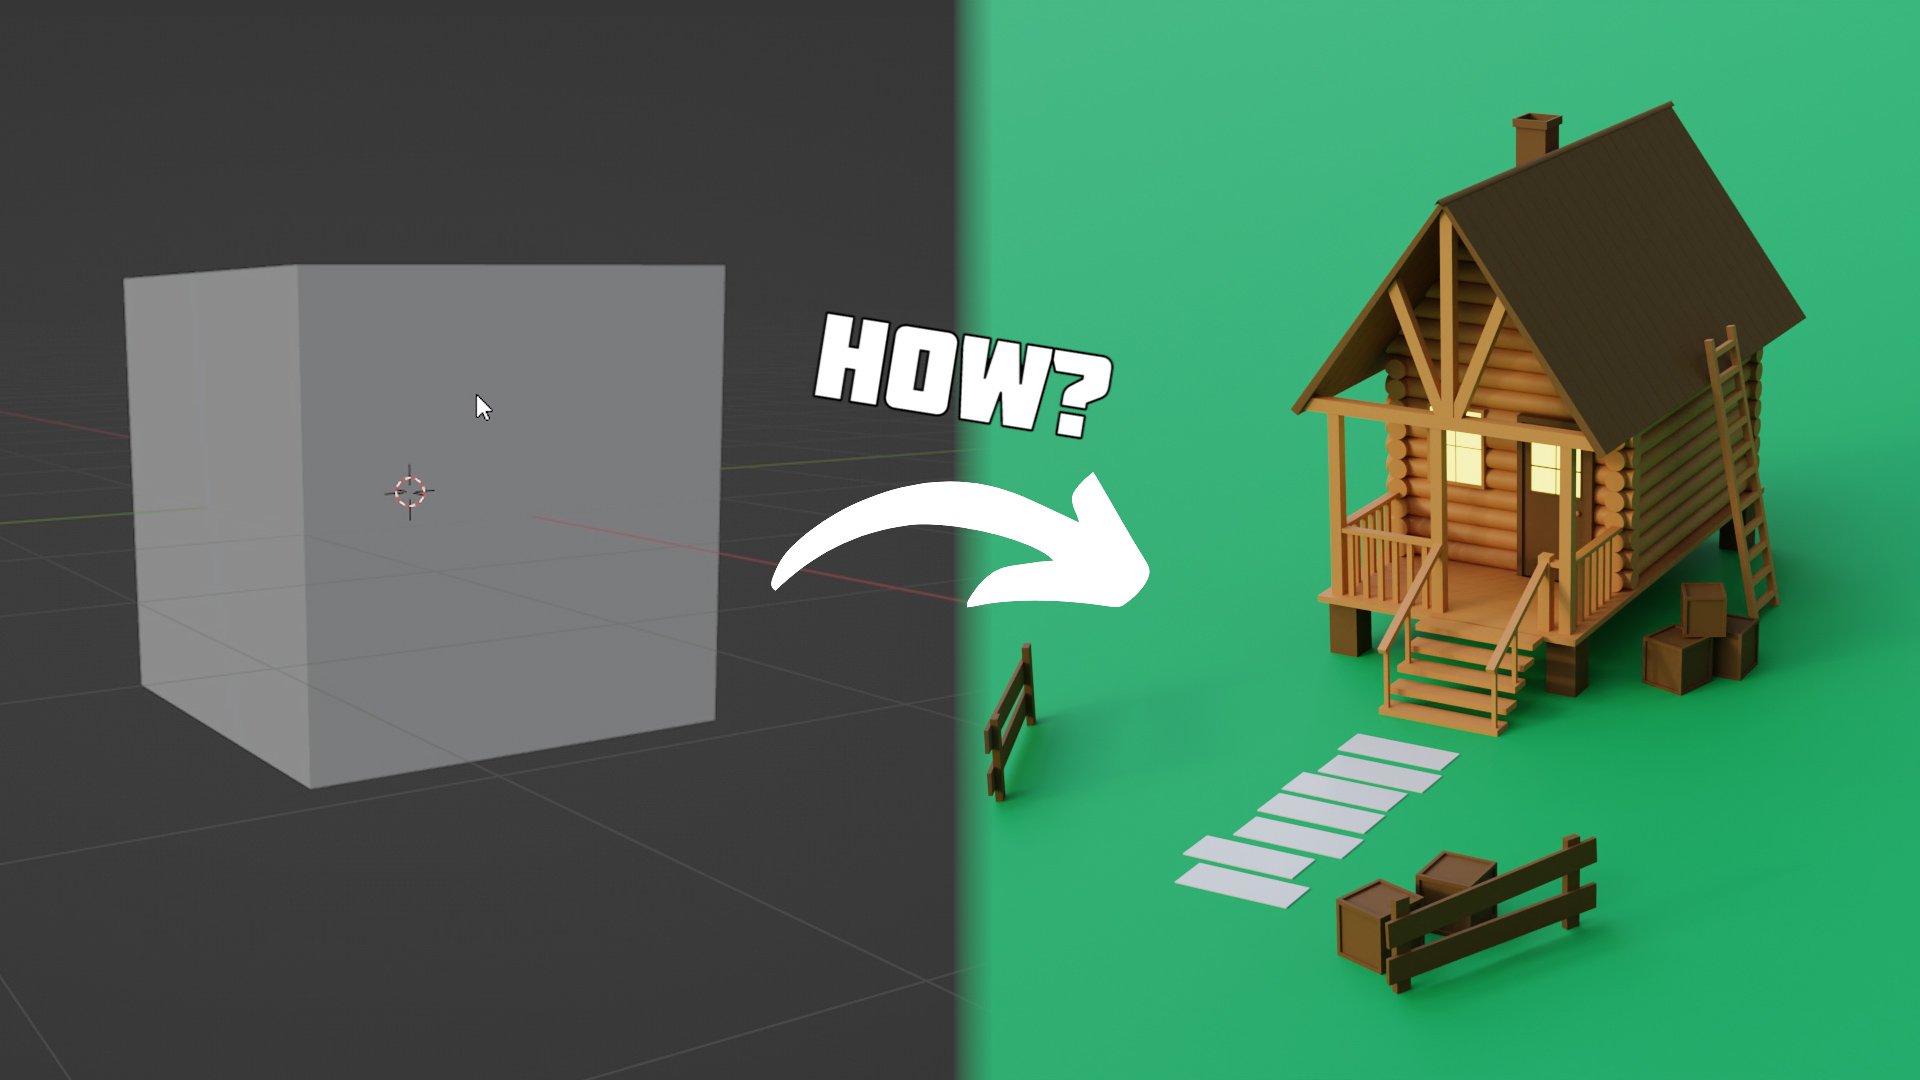
create in masterpieces. Let's get started. The first
thing we need to do is open a Blenzer and
create a new project. And congratulations, you
have learned Blenzer, just we have a lot of
new things to learn. But let's start with the
theory the Fred world consists of three directions of length, width, and height. Or x, y, and z, axis bundle. We can notice them as red, green, and blue lines. You can also find out
which axis you are on by looking here in Blender. As in other programs, you can scale, rotate, or move an object along the X, greg or Z axis. To scale an object, you must
first selected by clicking on it and then press
in order to rotate. Press R key in
order to move key. Also, if you then press
the X or that keys, you can do these three actions
along a specific axis. Blender also has modes
that you can choose here, and as you can see,
there are a lot of them. But today we will analyze
only two of them. The edit mode and
the object mode, in which we are by default. And which allows us to select different objects and make changes that I
mentioned earlier. A edit mode is intended for more detailed changes
to the object. To go to the edit mode, we need to press Top. In it, we have the opportunity to choose between
changes, votices, edges, or faces, which you can select using
12 or three keys. And we can also rotate them, move them, and scale them. But in added mode, there is another new
action available. This is extrusion. To extrude you need to select the vertex corner or face
and press the E key. Let's move on to how to rotate the camera
and create objects. To see our object from
different angles, you need to hold down the middle mouse button
and move the mouse. Or rotate the mouse
wheel to zoom out or move closer
to the object. But how to create an object? Everything is simple here. To do this, we
press Shift plus A, and here we can select a
different set of things that we can create from standard
shapes to Suzanne. You can play with it and find
out where everything is. Now the trick I promised
at the beginning. Now a question for
the experts teach. You know that in edit mode you can simultaneously
select vertices, edges and faces without
switching between them every time and without using the
annoying menu or keys. Well, this is
possible to do this. Let's go to the edit mode and
withholding shift select, for example, vertices and
corners in this menu. Now we can select both. You can even not waste time and select everything at once to save a lot of time and save your fingers from
hard work labor. In this lesson, we learned all the basic knowledge that is useful for creating
a free model. And also learned a secret
that will make your work much easier and save you a lot of time when
changing an object. In the next lesson, we will apply the
knowledge again and create all necessary object for animation and see
in the next lesson.
3. Modeling: The previous lesson, we learned the basic knowledge with which we will create
a free model of product packaging that
will become the center of attention and an internal
opponent in our scene. Let's get started.
Create a new project. Select objects and delete them. Press number one and the Numpad
to go to the front view. And then press Shift
plus A and create a Be using the And key reduce it along the z
axis and then along the greg axis that our que resembles the
shape of a package. Then we go to the edit mode. By then using control, we create a loop cut in this, we increase the number to 25. We need to repeat this
process on all sides. On this side, on this side. By doing this, we increase
the number of polygons. So that simulation we use in
the future is successful. We should have a similar
result. Okay again. Now go to edit mode
and press two. Then we shift to pre. We select all the sharp corners, make sure that you
selected all the corners, and then click on this icon
and create new vertex group. And click Assign to prevent close simulation from being
applied to selected vertices. Then we can go to Physics and apply a close
simulation for the cube. In the settings, we turn on the pressure parameter and set the value 1-3 and also reduce the pressure
scale to 0.2 or 0.3 In the field weight, we need to decrease gravity to zero that
during stimulation, our product does not fall down. Let's play. It looks good. As we can see, we
need more polygants. Click control two to add
subdivision modifier. Also, if you have a
more powerful computer, you can increase the
quality to eight or to ten. Now we need to select the
frame that we like best. After we have decided
on the frame, we can apply the simulation and leave subdusiondifier alone. Now let's add more details to our cube so that he looks
more like packaging. In edit mode, we need
to turn on X ray. Choose the vertices and
select all these vertices. Make sure that you selected all top vertices and
then delete them. If you miss some,
just delete them. Then hold down Alt and select these vertices and turn on the proportional
editing on the top. After that we press to
extrude and move it along the Z axis and scale it
along the Cric axis. Then using control plus air, we create a loop cut
to add more geometry. Now we can turn off the proportional editing
and also scale the loop cuts and the Cre axis and make the top of our
packaging more realistic. We can also select
this vertices then plus and zero to make these vertices flat
along the Z axis. Enable proportional editing. And thanks to it, by
changing the vertices, we can influence and change
those that are around. Let's now add details to
both sides of the package. Please press two,
and by holding out, select these corners and
scale them on the X axis. In my case, I think I need to reduce the radius by
turning the mouse wheel, and again, reduce
it on the X axis. Next, select all these vertices and move them along the Z axis. Our packaging is almost ready. All that reminds is to add a couple of details on the side. For this, we go to the data and choose
our vertex scroups. Select all our vertices that we selected
earlier are selected. In the left part of the screen, we hold down the left
mouse button and this icon and select
along normals. This tool allow us to extrude our selected vertices in
different directions. Let me show you by pulling
this yellow pointer, we can extrude them in this way. We can also scale it a
little along the Z axis. We should get that result. We can also scale it
along the Hicks axis. In this case, on the top. You need to slightly
correct these vertices and lower them along the Z axis
on one side and on the other. If you worry about shading, then press Shift plus to
make everything perfect. Personally, I didn't
like this design, so I'll just delete
these faces on one side and on the other side. You can leave them as you wish. After that, our
packaging is ready. Now let's create a
cafe for convenience. Let's hide our packaging. Press shift A and create an Icosphere increase
in division to four, then go to the edit mode
and press to go to top and T. Then turn on the
proportional editing and the tab increase the radius with the mouse
will and move along the axis. Let's see what we got
in case we need to increase the radius and move it again. Okay, great. Now we need to
change it until it resembles the shape
of a coffee bean. Increase it along
the x and cric axis, and by changing the radius with proportional
editing turned on, you can change the object and
give it the desired look. This is what I've
got at the end. To give more details
to our coffee beer, choose the Sculpture mode. This menu, Go to Modifiers and add the subdivision modifier
to add more polygons holding control in the middle of our coffee bean to add
more realism to it. You can also increase
the strength and radius of the
brush if you want. You can also add more details. After this, we can apply
the subdivision modifier. If you look at the
numbers of vertices, it is too large because there will be a lot of coffee
winds in our scene, and this will greatly
load our computer. We need to add a new
modifier called decimate, which reduces the number of polygants and preserves
the shape of the object. In collapse, we change the ratio to the number of
vertices is less, and this does not affect the
appearances of the being. After that, we can
apply the modifier. Now we can return the
package into the scene and reduce the coffee
bean to a realistic size. In this lesson, we
learned how using basic knowledge call
simulation and sculpting, we can create objects and created two main
objects for the scene. In the next lesson, we will
learn how to make them move and animate them, creating
realistic simulations. Well, this lesson comes to an end and see you
in the next lesson.
4. Animation and Physics: The last lesson, we
learned a lot of things and created the main
object for animation. In this lesson, we
will put them into motion and learn the basics
of animation and physics. And also create a
background for our scene. Let's do this. Let's hide the coffee being
from the scene for now and start animating
the packaging. But before that we need to add a camera press Shift plus A and create it by
pressing Numpad zero. We can see the view from the camera if you
press a menu will open in which we need to go to view and check the box
camera to view using the mouse. Well, we can zoom out our
camera and using the Gkey, we can move it up so that the
product is on the center. Then go to the camera settings and change the focal
length to 295 millimeters. And again, zoom out so that
the product is in the sensor. By changing the focal length, 225, we will make the view from the
camera more realistic. Now let's animate the product, select it, and
move it down along the Z axis until it's not
visible in the camera view. Then press and 90
rotated 90 degrees. Then press and select
location and rotation to put the key frame and adding it to the applied location and rotation of the
object on this frame. And then go to some
40 frame and return our product and press R -90 to return it to
its original position. Again, set the key frame. We applied the changes in
this frame and created the animation. Let's
see what we have. I'll drag the second frame and the 16 frame to make
the animation smoother. With that, the
animation is basically ready for the physics. We need a coffee. Let's return it to the scene.
Let's rename it. And by pressing M K, we can create a folder and
also name it for packaging. We do the same, name
it accordingly. This will help us A in the future because there
will be a lot of objects in our select sites are being
moved somewhere here. Then press Alt plus
D. Two, duplicate it. Then go to the pew
and using Alt plus D, duplicate them until it will be enough pins for our animation. Our simulation ins like them all and rotate on
x axis by 90 degrees. You need to make sure that they appear in the camera view. Then duplicate them
all and move to the right side and rotate
them 90 in decree. Also duplicated
on the left side, making sure that they do
not appear in the frame. Duplicated a couple
more times and perhaps remove some of them
to fit in the corners. And duplicated on
all four sides. Also make sure that they do not appear
in the camera view. But as we can see,
it doesn't look very nice and all the beans are
rotated in one direction. To fix this, right click on the bin folder and
select objects. Then click on Objects Transform, and randomized transform. Here in rotation, we can change x and to rotate them randomly, you can also change the
location and play with the parameters in my
case it suits me, so I leave it like this. Now let's add physics
to the object. Click Object, then call to the rigid body and
select Add Active. Then to Physics settings
and change shape to sphere. Right click here and copy to selected to apply the settings
to all selected objects. Then we select our product
and also add a rigid body. But this time we
change the type to passive engine the ship to mesh. Also, don't forget to check the animated box because we animated the
packaging earlier. Let's see what we cut
by pressing space bar. As you can see, our beans is falling down and
this is not correct. To fix this, go to the
scene settings and turn off gravity and let's play again. As we can see, they don't fall, but some beans still will be visible in camera and interfere. In my case, I will
just delete them apps here, I deleted the camera, so be aware if you selected
the camera, don't delete it. Now, once everything is perfect, let's make magic press shift plus a and in the force field, choose force and move it so that it is in the
center of our product. If we go here, we can see the four parameters
to show how it works. I'll change the
strength to -800 plate. As you can see it
magnetizing our beams. It turns out such a very
interesting result that can get even published on social
networks and attract attention. But in order to attract the client and convince
them of our abilities, we'll go further and take our
animation to a new level. Let's change the strength to -80 I go to the scene settings and the rigid body world in cache. We change simulation
260 because 216 frame, we have our animation
of the product. And as we can see, it
starts immediately. We need to make it more smooth. To do this, let's animate
the strength of our force. Go to the 16 frame. Let's create a frame
with zero strength, and drag it to the Frame 40. Then go to the Frame 60 and
set the force to minus eight. And apply the key frame again. Let's see what we got. We need to create
another key frame on the hundredth frame, and this time we need to
reduce the strength to zero. Let's see what we got again. Okay, that looks great, but all determines for us is to create the
slow motion effect. To do this, we go to
the rigid value volt. Here we can see the speed parameter and
we need to animate it. Let's go to some
98 frame and apply the key frame and speed and
move it to the frame 90. Then change the speed to 0.3 and apply the
key frame again. Let's play the animation. Great, but I will add
another key frame with a speed of 0.1
on the frame 120. And this is the result we got. Okay, But to take it
to the next level, let's improve our product
animation a little. Let's create another window. Move the mouse to the far
right corner and halt it down, and drag it to the left side. Let's create another
window on top. And here we change it to the
graph editor in this window, select a, click A to
select everything, then click and choose C. Here we can turn off the visibility for all directions
except of a z location. That we can only change
the z location here, we need to also choose individual centers to change each K frame according
to its origin. Now we can scale it. As you can see, the
animation becomes smoother and more natural
than it was before. Okay, the last thing that
we need to do is to create background shift plus A and create a plane
scale it a little, rotating on x axis and
move along the Greg axis. You can also join the areas
by clicking right mouth. And then join areas. Now duplicate our background
and rotate x axis by 90 degrees and position it
under the coffee beans. This plane will serve us as a reflection of the
light from below. Now let's go to the rigid
body world and bake our simulation that
after rendering we don't accidentally get some
another result or back in this lesson
we learned how to use gravity to our advantage
using a rigid body and force field and
created pin animation. In the next lesson, we will add color to the scene
and figure out how to create and apply
materials and textures to the scene to create a effect. This lesson coming to an
end to in the next lesson.
5. Texturing: In the previous
lesson, we learned how to attract not only beans, but also the
attention of clients. In this lesson, we will learn how to add colors to the scene. And figured out how to create and apply materials and pictures to the scene to create a bow
effect. Let's get started. First, let's create the
textures for the packaging, but before that let's
go into edit mode. And with old and
Shift held down, select these vertices
on this side. Also at the top two and at
the bottom, somewhere here. Okay. All right,
click and mark seam. And it should look
something like this. Now let's move on to Sing and our scene without
materials looks like this. Select our object and
create a new material. Now we need to enable one
very important addon. Go to the edit, then settings. Then add type note wrangler in the storage par and put a
check mark in front of it. After that we can
close the window. Then press control plus
and select the textures that that you can find
in the description. As you can see, it doesn't really look like
the correct label. Click here, Intellect V editor. Then go to the edit
mode in this face, and then press L, then Intellect, and
wrap in this window. Press and move it along
the x axis to the center. Make sure that our V
map is in the center. After that, select this face and press L. End while
holding Shift. Select the face on this
side and also press L. And do this until we select
the rest of the package. Then press and broke
in this window. Press as to scale
and make it smaller. And move it to the place
where there is no text. It already looks good. But let's add a couple of details to make the
packaging more realistic. So go back to the
shader editor here. In this note we can increase
or decrease roughness for now and specular increase to 0.6 Then press shift A and at Noise texture and
connected to normal. Then again shift
plus A and creates a bond instead of normal
connect to the fight. All that remains is to
play with the settings, with scale, detail
and roughness. For the detail, I will choose
9.4 for the roughness, 0.7 and for the scale, 13.3 But don't be follower, be a student and you can play around with that and
choose your own settings. Also decrease strength
at the bottom. And it will give
us the texture of the package and also connects from nice
texture to gruffhness. This is how our
packaging looks like. And let's create a
material for coffee bean, add a arne texture and connect the distance
to color to base color. Now create a color ramp and
place it in the middle. Then create a bump and nice texture and connect enter in the parameters a little to achieve an
approximate result. Then we increase the size of the Rene texture and all that remains to be done is to change the colors
in the color ramp. For this one we will create a dark orange color and just change the value. And for this one we
will do a similar color but with more
value, more bright. Then click plus and
drugs this slider here. And click again, D
here and all that means is to play with color
and slider and this is what I've got in the end
also be color to the. And in the arne texture
I changed to smooth one here and decrease the smoothness to 0.6 and increase specular one. And to add more
details to the beam, duplicate the bump
and nice texture then creates a color
ramp and connect it all. And add a new mixed color node. And connect bump to mix color, hold shift plus
control and click on bump node to see
the changes better. And change the sliders
and the color ramp. And check the box for
inward in the bump node. And change the noise
texture parameters until we achieve
the desired result. Also, you can reduce the
factor in the color mix. That's what I've cut In the end, this is what my final
material looks like. You can see everything
in detail by stop. In this video, if we come back, we can see that the materials is automatically applied
to all of the beans. Now let's create the
proground material first, let's choose a color. I'll choose the plaque for now. And also increase
a metallic a bit. Let's also create
a new material for this plane and increase
the roughness to one. In this lesson, we learned
how to create and apply realistic materials and textures to objects to create
a wow effect. In the next lesson, we will add light and learn the
secrets of lighting. With that, this lesson has come to an end, and in the next
6. Lighting: Previous lesson, we added
color to our scene and learned how to create materials
and textures for objects. In this lesson, we will learn how to add the right lightning, so that there is no dispute that we are all professionals. Let's do it first. Let's go to the render settings
and change the engine to cycles and then change to GPU Compute, Let's swap the
Viewport display and render display on these windows. On the left we'll see the final result and
on the right we can add it for light. Let's create a area light. This type of lighting
is used more often in the industry and
in lens in general. Move it and make it bigger. Let's also move it up by
pressing our key twice. We direct the light to the packaging and go to the light settings and
change the power to 800. Although it's not enough, let's increase it to
the 5,000 per now. We can also slightly
reduce the spread, let's say 170 for now to make a light hydro
and focus it on our object. Okay, now let's duplicate
the light presenti plus D and using R K rotated and
also directed to the product, also lower it and the axis. And this time we need to set a small power value just
so it's dark on this side. But first, let's create
a new folder for lights. Just like all the
lighting we have, press M and create
a new collection. Now let's create another
light at this time, a point light, which will
serve us in ground lighting. Let's move it behind the object and also increase
the power to 5,000 And move it back to get
this claw from behind. You can play to see what
is the best result for you and make sure that the slide is centered. Now let's duplicate it and
change its type to area high. Lets rotated 90 degrees along
the x axis and increase it and also scale it
along the z axis. As you can see, we don't have enough light in the
front of our package. We need to applicate
the background. Unchange is material to the one we created
for this plane. Since now we can't see
anything from camera view. We need to make this plane
invisible to the camera. To do this, click
on this icon and invisibility and
check the camera box. Beginners and intermediates
usually use a lights, but use the streak of bonds
in light of an object. And all that remains
is to move it further away and play with
materials and colors. I also noticed that the light
is too bright in the scene, so I need to change it
to something smaller. For softer shadows,
you can increase the light scale for this light. On the right side, I
change the power to 3,500 And also the platform
along the z axis so that the light from
below is not so bright. Here, we also use the professional method and reflect light from the object. This is the result we got. You can also choose any other
color for the background. Orange, yellow, or Caffe colors are
perfect for the scene. In my opinion, all that means
is to animate the slides. Let's go to frame seven, key and accept the key
frame for the strength. Let's go back to the first one, change power to zero
and apply the changes. Also, we need to
move the key frame slightly so that our light appear along with
the product and will add drama to the animation. In this lesson,
we learned how to properly light a scene and learned the lighting
secrets that all the pros in the field use. In the next lesson, we will understand the render settings and learn how not to blow up
your computer and rendering. And that's it for
this lesson. See.
7. Render setting: So let's join this, Windows, go to the
render settings. We already change the
engine to cycles, and the important parameter
here is max samples because it is directly responsible for the
quality of the rendering, but it also puts a lot of
float on our computer. I recommend setting the
value 500-2 thousand. I don't recommend
setting it more even if you have a very
powerful computer, because you won't
see much difference. Then go to Color management and choose medium,
high contrast. And this is what
we ended up with. The final touch is to
click on this icon. And in file format, choose Peg and
increase the quality. 200. Here you can select the file in which you want
to save the animation, and all that remains is to click and then render animation.
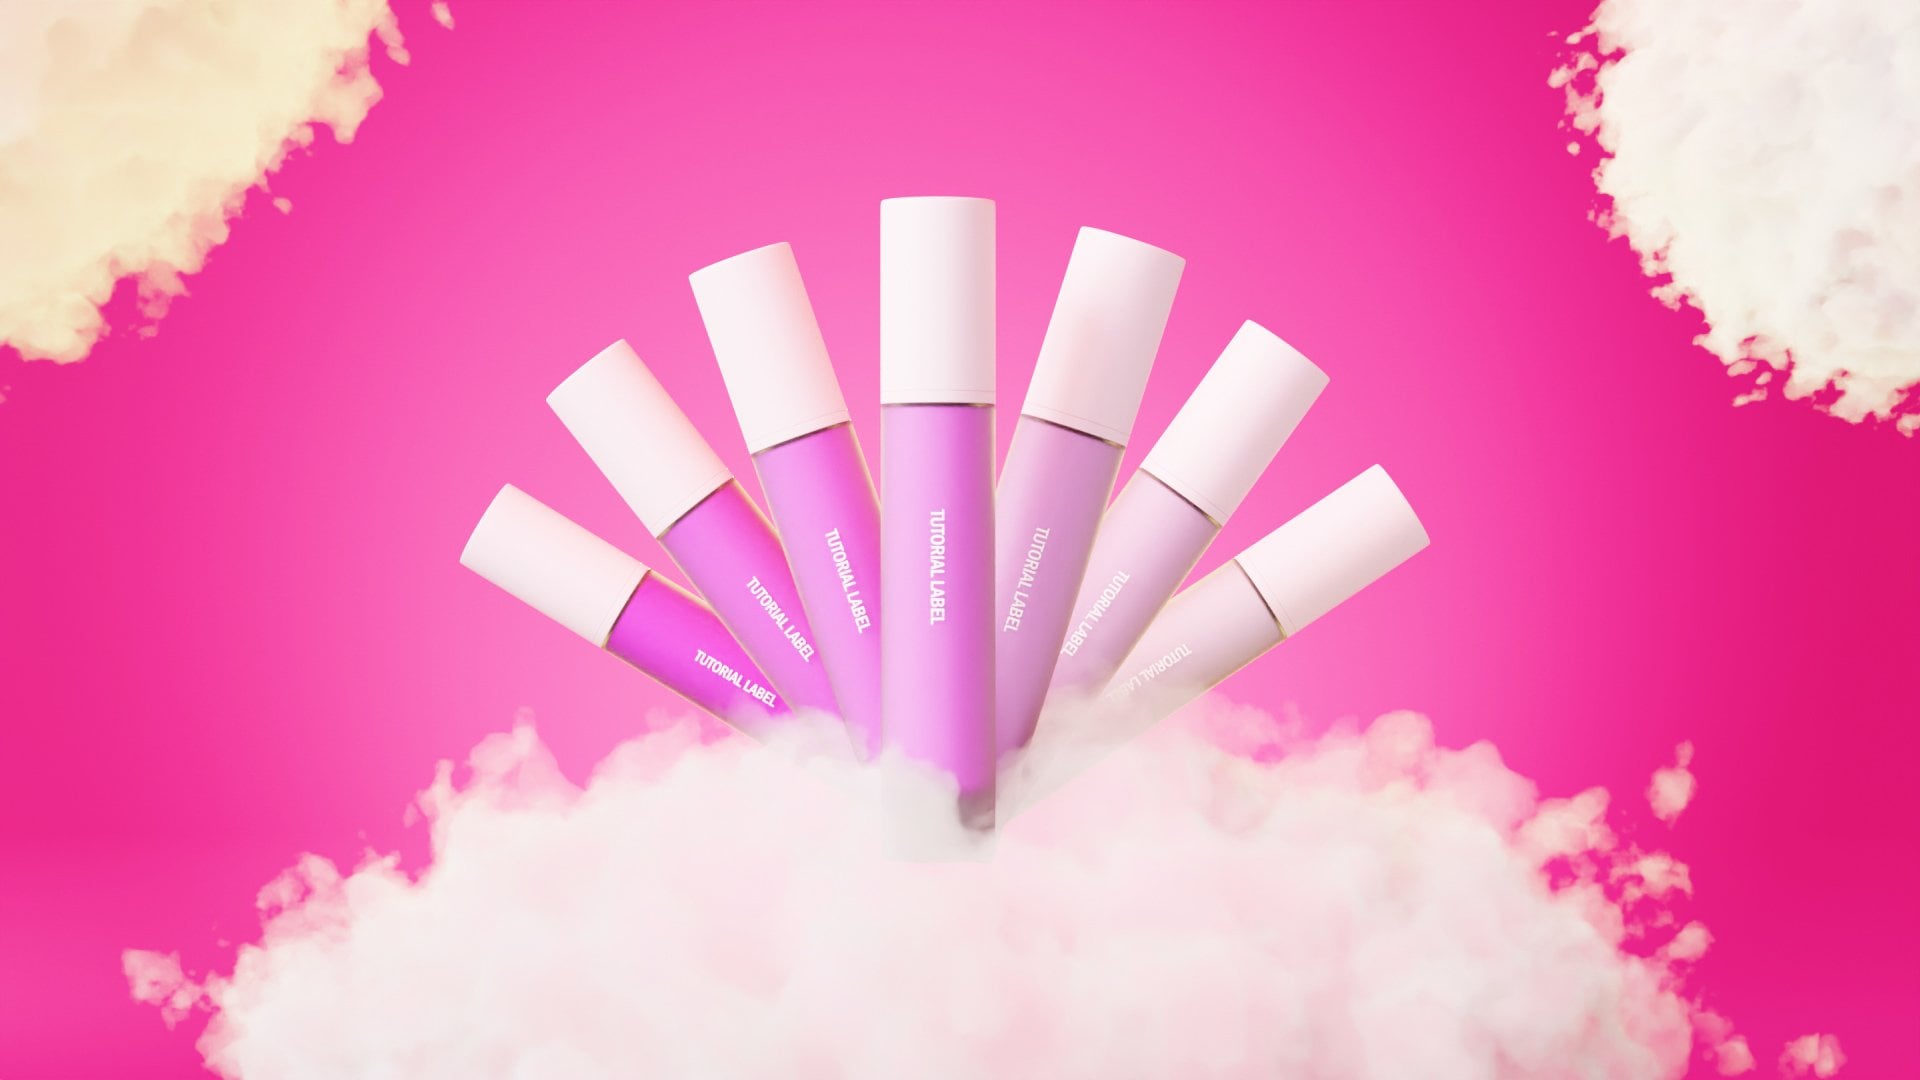
8. Conclusion: For now, this course
has come to an end. In this course, you
have learned a bunch of useful things and are ready
to enter the vault of Fred. This is the result that we got. In the end, I will
be very glad to see different variations
of your work and perhaps be inspired
by your ideas. Do not forget to
share your opinion and your works in the comments. If you have any questions
about the lesson, I'm always ready to
answer and help you. But unfortunately, I have to say goodbye and see you
in the next tutorial.
 Nikdox Studio