Transcripts
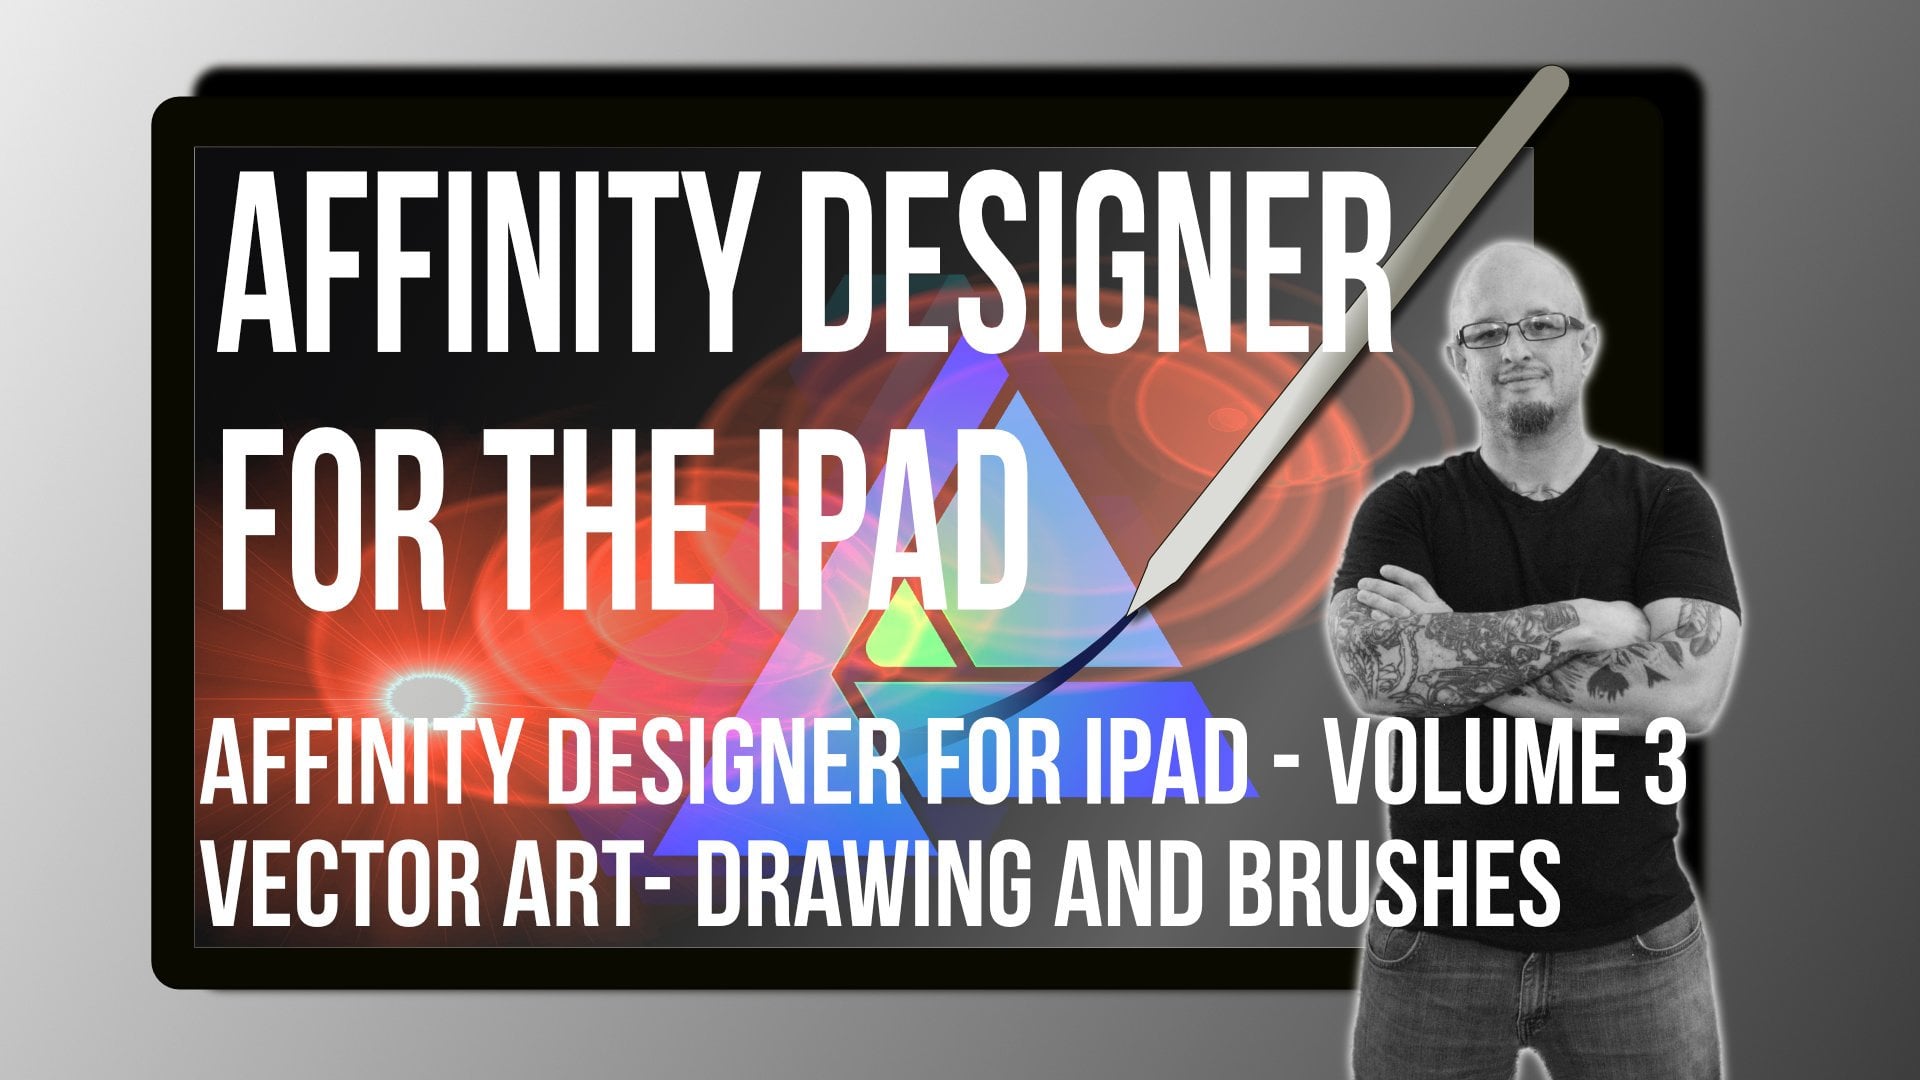
1. Introduction: You want to learn how to create your very own vector brushes for Affinity Designer and
affinity designer version two. Then you add the right place. Hi, I'm Kai, a graphic designer and illustrator
from Germany. Creating your own vector
brushes gives you a lot of flexibility when working
on your creative work. Whenever you want to have
a simple brush for inking, way, more complex brush for repeating patterns like chains. Custom brushes can speed up
your workflow tremendously. Np, completely unique to your design and
illustration work. And the best thing about it, it's extremely easy to
create your own brush packs. In this class, we'll cover all the important steps of
creating your own brushes. We'll go over all the
different brush types and then dive into more detail in short
and informative lessons. After we have
learned how to make new custom brushes,
it'll be your turn. At the end of the class, it'll be your job to create a unique and useful brush
for your next great frog. If you are happy
with your result, share your project with
the other students and myself in the
project section. If you have any other questions left at the end of the class, join us in the discussion
section and ask for help. I'll be right there
to help you out. So interested in
learning how to make your own vector brushes
and join me in the class.
2. The different Brush Types: In Affinity Designer, we have three different types
of vector brush, V, solid brush, V
textured intensity brush. And we textured image brush. Let's start out
with D solid brush. V solid brush creates a
basic solid vector stroke. Nothing more, nothing less. You won't be able to
customize it apart from changing its behavior
when using pressure. Next up, we textured
intensity brush. Now, this is where it gets interesting because with
this type of brush, you can use a PNG GIF credit previously and turn it into
your new custom brush. This type of brush, use
your opacity values of the PNG to create the
shape you want it to have. The parts you don't want
it to show will be black. While the parts you want to
be visible, we'll be right. Different shades of gray, of course, also taken
into consideration. The textured image brush
also uses a PNG file. But instead of D opacity values, it takes its information from
the color of the P and G. This type of brush is perfect
for repetitive patterns. Now that you know the basics of what each type of brush does, Let's take a look at how
to actually create them.
3. The Solid Brush: Before we can start
creating our own brushes, Let's create a new document. First. I'm going to
use VQ HD preset, which works perfectly
fine for this. Since we're working
with vectors, we can simply export our final brushes at a
higher resolution if needed. With our document created, open up the brushes
panel and click on the Menu icon in the
top-right corner. Here, we can create a new
category for our brushes. Let's call it custom brushes. Now, let's start with the simple solid brush with
our new category selected. Click on the Menu icon again. Click on New solid brush. This adds a new brush
for us to edit. To edit a brush, either double-click
it or right-click it with your mouse and
click on Edit brush. Let's take a look at the different editing
options for our new brush. You can adjust the brush
with using the first slider. They've size variance. We can add some
variation to our strokes based on the amount of
pressure we use on our tablet. If you're using a mouse, you can set it to velocity in this drop-down
menu down here. The same goes for
opacity variance. You can adjust all the settings depending on what you
need to brush to do. If you click on this graph, I can next to the
pressure controller, you can adjust the pressure
curve of the brush. In this menu, we can either pick one of the
presets right here, or we can move these points
around to create our own. Let's close this
window and try it out. If you don't get any pressure, I've been using the brush, make sure you have
your controller set to Eva pressure or velocity. Now, next up, we're going
to take a look at how to create our own text
chat intensity brush.
4. The Textured Intensity Brush - Creating an Inking Brush: Next up, let's create
a simple inking brush by trading new text
chat intensity brush. Let's start by making a
texture for our new brush. Since the brush we'll be using the opacity values of the image. For white being 100
per cent visible, and black being invisible. You'll first change our
output color to black. Select the pen tool and
draw a straight line. Increase wetland strokes
to about the size. Next, let's open up the pressure curve
in our Stroke panel. Click on the curve
to add new points. Now, drag them around to create some variation in the line. Once you're happy
with your shape, we need to export it. Select the shape and go to
File Export investment. You go to area and
select selection area. Make sure to increase
the height of your image so it
doesn't get pixelated. And using it as a brush, I'll make it about
250 pixels high. Next, choose PNG as a file
format and click on Export. Save it to a location where
you will find it again. I'm going to save
it to the desktop and call it line art brush. Now that we have our
PNG ready to go, Let's go back to
the brush panel and create a new texture
intensity brush. Select your PNG and open it. Double-click on your
new brush to edit it. I want to add some
sites variance, but keep the opacity
at zero per cent. Keep the body at stretch. This will stretch out V, P and G. We've added, instead of repeating it. Down here, we can change V
head and tail of our brush. Let's move the red line
from the head a little bit to rewrite and keep
the left side untouched. Will adjust the corner
towards a little later. Close women do and try it out. I really like this brush. Now, let's create a rectangle so we can try out the
corner options. Open the brush menu and try
a different corner options. It always depends on the brush. So choose what looks
best for the viewers. Do that until you are happy. And next up, let's create
a textured image brush.
5. The Textured Image Brush: Creating a textured
image brush is almost identical to the
text chat intensity brush. The only difference is that
we don't create the texture on a black background and we created in
full color as well. I've made with simple image of three rectangles and export it with a transparent
background. Go to your brushes
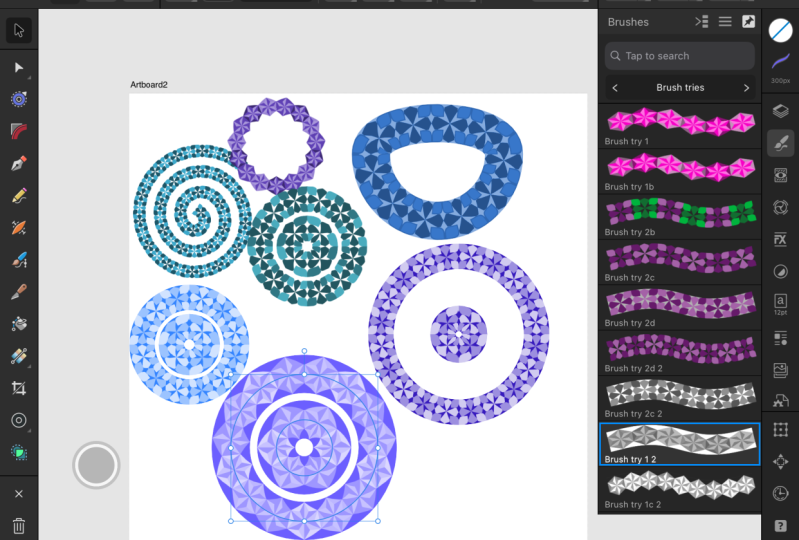
panel and create a new texture image brush. We'll keep it simple
and only change the body from stretch to repeat. This repeats be
texture we're using, instead of stretching
it out like before. Textured image brushes are perfect for repeating patterns. Really can save
time when working on some illustrations
or designs. There's no limit to what you
can do with the image brush. So if you ever feel like
you could save some time, I'll make drawing certain
patterns a little easier. Go ahead and try if you
can make a brush for it.
6. Class Assignment: Now that you know how to
create your own brushes, it's time to create
some amazing brushes for your own collection. Create a brush that
you can use in your next occur and project B, but an illustration
you're working on or some graphic design
work for our client. Make sure to share your brush in the project section
of this class. And if you have any questions, make sure to ask in the
discussion tab below this video, I'll see you next time and have fun creating your
own custom brushes.
 Kai Pruin, Webflow, Framer & AI Automation Instructor