Transcripts
1. Introduction: In this mini course, I'm going to show you
how you can create subtitles and captioning using the new captions and subtitles feature inside of
Adobe Premiere Pro. I'll show you how
to auto transcribe your sequence import captions if you have those available, and then change the look
of all your subtitles and captioning using the
essential graphics panel. And then I'll show you
how to export those and make sure that
baked into your video. So before we jump
into the course, let me please just
introduce myself. My name is Chris Brooks. I'm a full-time video
creator and video editor. So this captions workflow
and this new updates who Premier Pro has been
really valuable to me. So let me show you the
workflow and show you what is available inside of
the new captions workflow. So let's get into it.
2. Before we start: Before you jump into Adobe
Premiere Pro, by the way, you first just wanted to make
sure that you have updated your Premiere Pro recently if you're using an old version. So you're using CSS3, CS4, CS5, CS6, or an older, earlier version of
Adobe Premiere SCC. This option will just not
be available for you. So it's definitely
worth jumping onto the Adobe Creative Cloud app and just updating
your Premiere Pro to make sure that you have the latest and greatest version of Premiere Pro installed with all of that said than done, Less Germans are premier
an auto transcribe our sequence and create really beautiful
subtitles and captions.
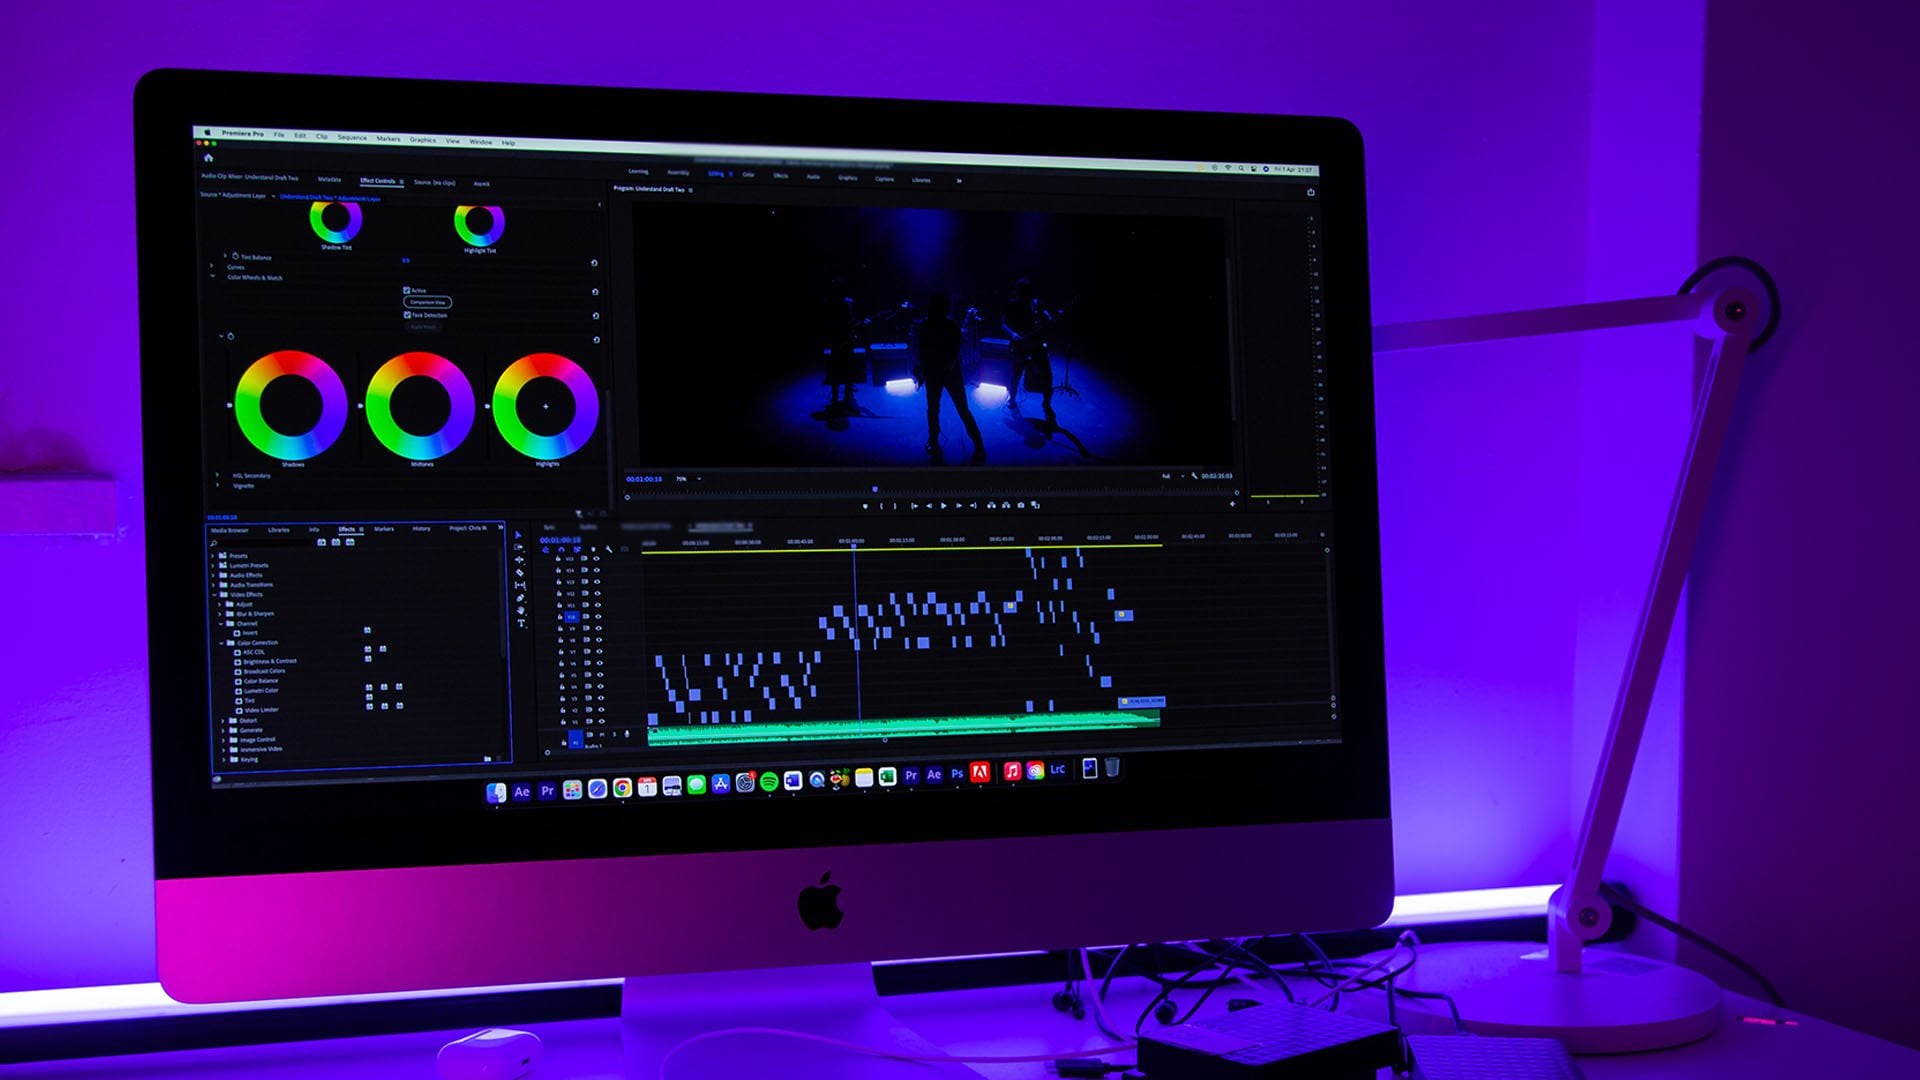
3. Captions workflow in Premiere Pro: So once you're inside of Adobe Premiere Pro and you
put a brand new sequence created and you've
got some footage imported into that sequence. The first thing that
you want to do is to load up the text window. So by default you can see, at the moment we can't see
anything that says texts, but we can see captions appear. If we select captions, you'll notice that the text tab appears over here on the left. As you can see, we've
got a few options here. Transcribed sequence,
create new caption track, or Import captions from file. Essentially transcribed
sequence is going to listen to the audio and it's going to do
its best to transcribe the sequence for you and
create a transcript. Creates a new caption track, is just going to create
a new track appear and you can manually add
all the captions in. Or you could import an SRT caption file or another text-based file
to import your captions. So maybe if somebody
else has captioned the video for you and
they created a file, you can just import
that with the file. But chances are you're
probably going to want to take advantage of the
transcribed sequence. Now, if this is grayed out
for some reason, by the way, now if this Transcribe
Sequence option is grayed out and you can't press it that you want to make sure that you
check your Internet, make sure that your computer
is connected to the Internet because this will not work if you're not
connected to the Internet. So you connect to the Wi-Fi. And if that's still not working, just close down premier
open Premiere backup again, and hopefully that
should now be working. So go ahead and press transcribed sequence
to load this menu. As you can see, you've
got the sequence name, you've got the sequence length. And then down here
you've got your audio. So this is going to figure out which track
you want to analyze. So if you've just got one track, it will be either
mix or audio one, if you've got two
trucks of audio, then you can either go for a mic so you can transcribe 12, or you can select a
specific channel. This is very handy if you've got difficult audios and maybe you've got a music file on track two and your
dialogue on track one. If there's lyrics in music file, then it would try and transcribe those lyrics as well as what's
being said on truck one. In that case, you could
just select audio one and transcribe only the dialogue
that you want to transcribe. Of course, as well,
if you created in and out points
on the timeline. So if you scroll
through and press I and O to create
certain points, you can do that if you
can just leave that empty to transcribe
the whole sequence, and then you can just
select transcribe. And depending on the
length of your sequence, this may take a few
seconds, a few minutes, a few hours if you've got a really slow
internet connection and a very long sequence, just go ahead, go take a quick break and then
come back to this. Once this has finished,
as you can see, Adobe Premier has finished
doing the transcription. And now we just want to proof watch and make sure
that it is correct. In this scene. Lights. So I would
say my camera, that was actually pretty decent, but I noticed there were
a few small errors. So if you do notice any errors,
any grammatical errors, any spelling mistakes,
any wrong words, then you can just
double-click that part. And you can just go in and
make those adjustments. So for example, in this scene, I'm using eight white lights. I said eight whites alliance. So I'm just going to make
that adjustment there. Then I'm going to
put a comma off. And I'm just gonna
change this to k because that's the film. The short version
of Kelvins is K. It's a technical lighting thing. I'm talking about that, but
it's relevant to the video. Let me just double-check this, make sure this is all
in time and he's right. Horizontal lines. I would say my camera Kelvins. You just want to go ahead
and just watch the rest of your video and make sure
everything is correct. You want to correct
any spelling mistakes and grammatical errors. And he missing full
stops are commas. Add those all in. Then
we can just go ahead, go into this top rights and you can see you've got a few
different options here. You can either read, transcribe the sequence if it's
completely messed up, you can export the transcripts. So you can export
this as its own file. So if you wanted to just transcribe your
whole sequence and have all of those woods there
that you can just do that. You can display pauses. So if there's any pauses
in-between your speech, you can just display them
as a dot, dot, dots. You can export this
to a text file where you can disable
auto scrolling, but the option that you're
looking for it to create captions will press that button
and we get another menu. We can either create for my
sequence transcript or we can create from a blank track because we've done
the auto transcribe. We don't want to
create a blank track because that would just
undo what we've just done. So he wanted to create
a sequence transcripts. We can have a caption preset, but I'm just gonna leave this
as the subtitle default. The format will be subtitle. Style will be non for now. And then you've got maximum
length in characters, minimum duration in seconds, gaps between frames,
lines single or double. It would just price
it creates vascular. Take a brief moment to
turn that transcript into captions and then we just
go to the very beginning. I will play this back. I'm using lines. So I would set my camera. That looks really good. It's converted that into
a two line caption. So you can see this one is
spread across two lines. And if this line was longer, it would be spread across
two lines as well. If it feels too quick. So maybe you've
just got one line, then you can just go through to the point where
the word finishes. You can press C to load at
the razor tool, make a cut. And as you can see, it's
going to separate that so you can just get rid
of the second line here. You can get rid of
the first line here. If I play this back
from the beginning, you'll notice this is now split across two different
caption tracks. Lines. I would say. Perfect. Now we want to go ahead
and customize the look of this because at the moment
this doesn't look great. I'm just going to select
one of those tracks will go over to the essential
graphics panel on the right. It may be on the left,
it might be elsewhere. If it's not there, then just go into
Window and make sure Essential Graphics is enabled. Then inside here you can
see you've got the wording. So this is the wording here. You've got track style. This will just be set
to none for default. And this means you haven't
set up a style of the track, but we'll come back to
this. Then we've got texts. So I'm just going to
change the fonts. I like to use monster out
with my Youtube content. So I'm going to change
the monster acts and I'll change this to regular. Then you can change the size
of DC if you wanted to. So I'm going to have
this a bit smaller. You can change the way
this is formatted, so you can have this
to go to the left. The sense of the rights
will evenly spread across. I'm just going to
keep that. I'm going to put that to the
left actually, in this example, you can see you've got your
alignment transform, so you've got your zones. You can put this into different
zones if you wanted to. So I'm going to put mine
into the bottom-left. And of course, you can always adjust that if you
wanted to as well. So you just pull these
options a cross, then you can move that around. These options on the left, this, he's gonna move that across
the horizontal axis, is going to move that
across the vertical axis. Then of course this box here, the settings if he's
going to adjust the size and the
width of that box. So you can force that to
go across multiple lines. If you really shrunk
that box up like this, then down here you've got the
appearance of the wording, so you've got your fill color. If you wanted, you can
set this to black. Your stroke is the outline. So if you wanted
to add an outline, you could add that
you can change the color and
increase the width. You could have
something like this, or you could add a background. So if I pull the opacity of the
background all the way up, you can see I can increase
the size of that. I can add some rounding
into the corners. As you can see,
that's starting to look like a text message bubble. Of course, if you
select the color, you can always change the
color of this as well. So I'll set this
to white to create a nice level of contrast. And then I've got a drop shadow, but I'm not going to
have that enabled in this example because we've
got that white background. Then from that you can just
go ahead and create a style. Because you've done all
of these settings here. You've adjusted everything. If we scroll through,
you'll notice all of these others are using the
old template, the old style. But if we click
onto this example, we go into truck style
and we create style. We'll call this black
text white box press. Okay? Then if you go over
to the other texts, you should notice
it has updated. But if it hasn't updated for
some reason, it should do. But if it hasn't, you can
just go into track style. You can select black text, white box, and that will update. Of course, if you had
multiple styles though, then you could set multiple
different styles throughout. So the first one
could be one style, the second could be
a different style. Or you could just keep
it nice and consistent. That's completely up to you. But that is how you go ahead and transcribe your sequence. How you adjust everything
throughout Adobe Premiere Pro, and then how you
adjust the look of it using the essential
graphics panel. So that brings me on
to my last point, which is the export process. Because the problem is
when you go to Exports, if we go File export media, sometimes you'll notice
the captions are there. However, if you're
using a preset, so let's use one
of these presets. For example, the captions
might not be there. In this example, you
can see it's none. Then all of a
sudden disappeared. So it's really important
that when you're going through the
export process, you can change all of
the other settings completely to how you want it. But if you go into captions, make sure that your
export options are set to burn captions
into video file. If you do that, they're going
to be baked into the video. And that means they can't
be adjusted later on that part of the
actual video file. Just make sure that
your export options are not set to non, make sure they're set to
burn captions into video. And then when you
export your video, they're just gonna be
parts of the video file. So again, one more time through that process, we'll go File, Export, Media, change
all of your settings. Uh, PSE can select a preset. You can go into your
video settings, change everything here, but then make sure
before you press Export, you go into captions and change this to burn
captions into video, and then press Export.
4. Outro: And there you go. That is how you create
subtitles and captions using the new Adobe Premiere
Pro subtitles and captions workflow. If you wanted to
learn more about video production and
video editing them, please do consider checking out my Skillshare page
because I have loads more courses and mini courses available
to you over there. Thank you ever so much
for watching this course. I really do appreciate it. And hopefully I will see you on the next course. See you there.
 Chris Brooker, Filmmaker & YouTuber