Transcripts
1. Introduction/Trailer: Hi, Welcome to the creative In-Camera Video Transitions course. My name is Chris and I'm a full time at filmmaker and photographer from England. Now, I specialize at music videos and creative video edits, and that type of video work requires, really interesting and creative editing. Using creative in camera transitions is a really efficient and really creative way of adding character and style into my work. Over the past few years, I've collected up a beautiful collection of these really creative video transitions and the beauty of all of these transitions is they don't require much editing. You literally just stick them next to each other in the edit and you're good to go. All of the hard work is done in camera. That means you don't need any fancy editing software and you also don't need any specialist camera, you can shoot on your Digital SLR camera, you can shoot on your iPhone, or if you have the luxury of owning a cinema camera, then they also work on those as well. Regardless of what camera you have, just grab your camera and let's begin shooting these creative video transitions. Let's get into it.
2. Setup: Before I I into all of the transitions, I'm first just going to talk about the setup of all of these transitions. They all work in a very similar way. You film your first shot and at the end of your first shot, you do the transition in. Whether that's a whip pan, whether that's a slide, whatever you're doing, you do that action at the end of your first shot and then you move your location, you can change your outfits, whatever you're doing, you want to make the second shot look different and then you're just doing the action into your second shots at the beginning. You've got your first shot at the end and then your second shot of the action in at the beginning. Then essentially we're dropping these into any video editing software. You could do this in Premier, you could do this in Final Cut, Sony Vegas, iMovie, Windows Movie Maker. Whatever you have, these transitions will work for you. Essentially, all you do is you just cut the end of the first clip, so you take halfway between that transition, you do the same thing at the beginning of the second clip, you put these two together and you got yourself a beautiful transition. I'm not going to walk you through that process on every transition because the process is the exact same. Just remember, cut the last bit of the first clip, cut the first bit of the second clip, and then put these together in your edit and you'll have a great transition. That is basically how all of these work, and if there's a transition that doesn't work like that, then I'll talk about how you would edit that transition in that specific video. With all of that said and done, let's get into the transitions and the first transition that we're going to talk about is the whip pan.
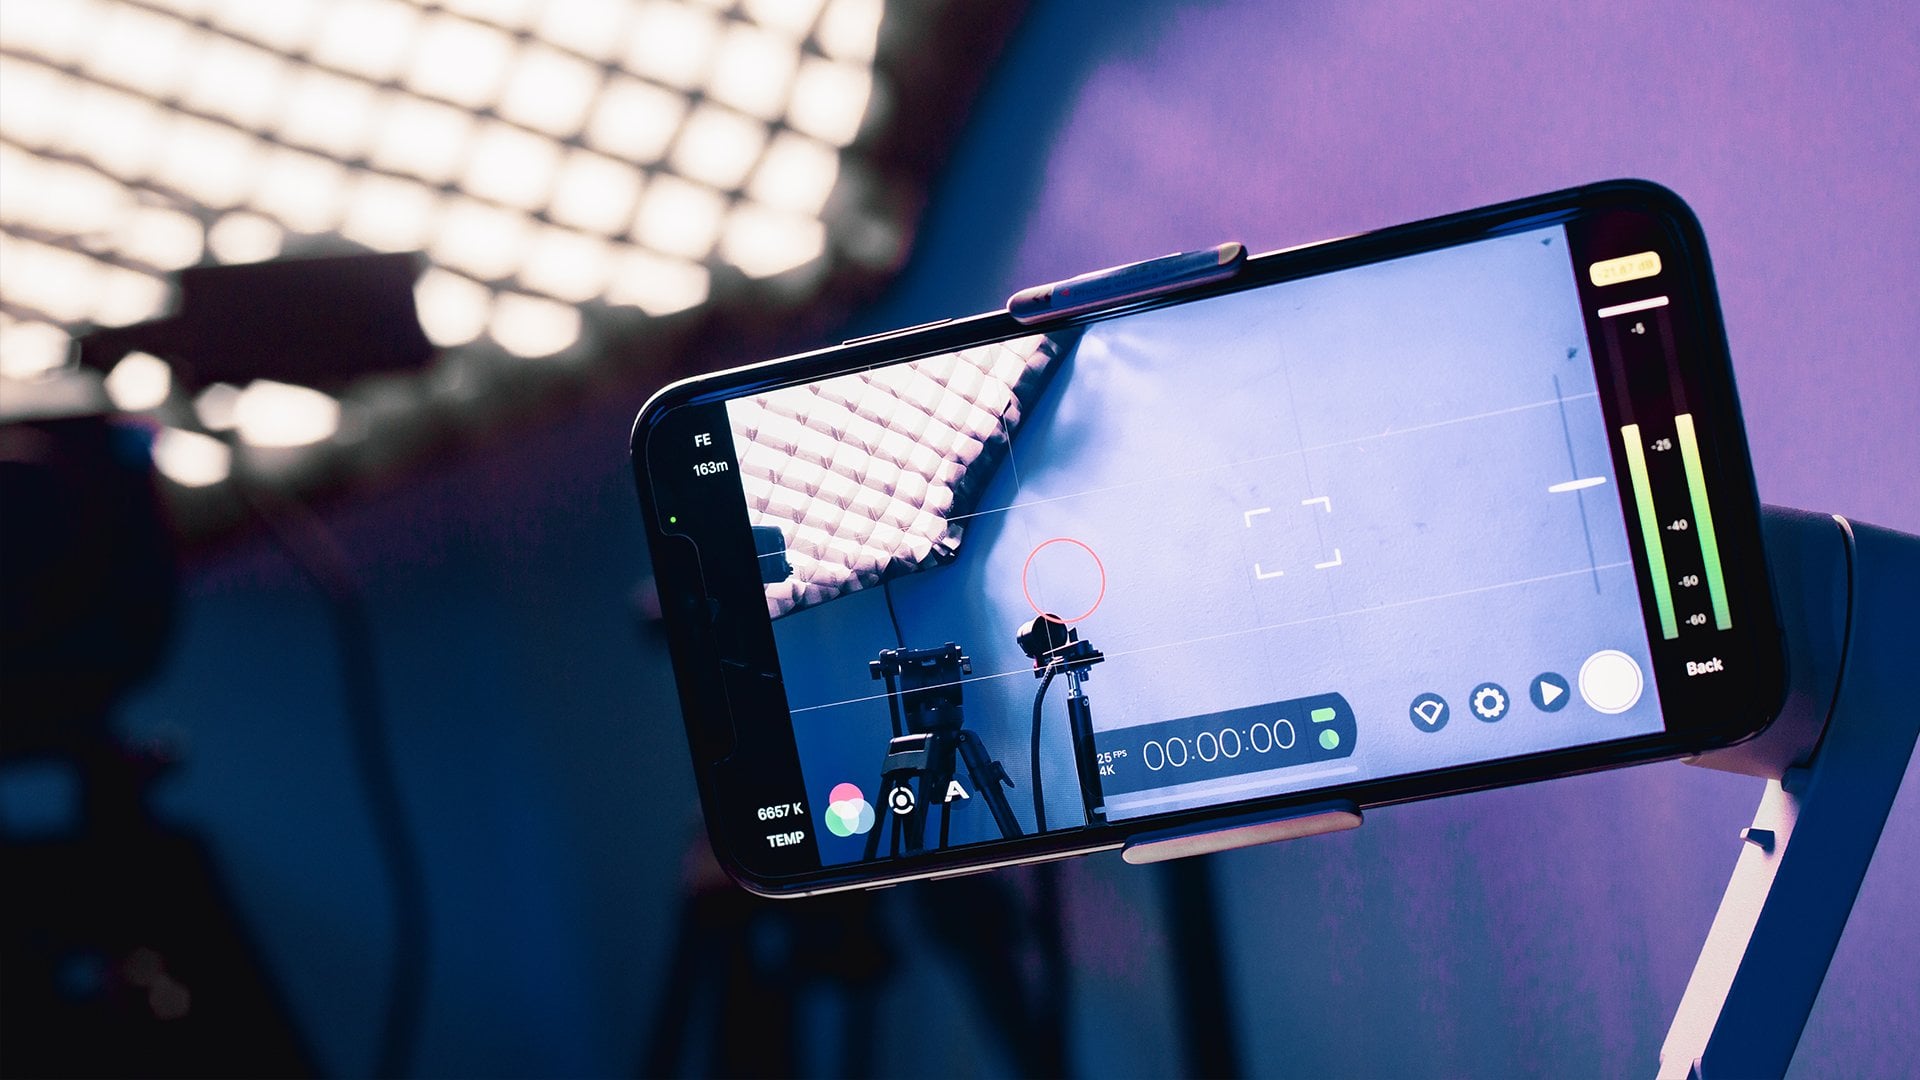
3. Whip Pan Transition: Now the first transition on this list is a whip pan, and I can guarantee you would have seen a whip pan in either your favorite TV show or your favorite music video. Whip pans are very popular and they're very easy to do. A whip pan essentially consists of two shots. You've got your first shots and you've got your second shot. Now, you want to film your first shot and at the end of your first shot you want to whip the camera in a specific direction. You can rotate it to the right, you can rotate it to the left. You can go up, you can go down. It doesn't matter which way you go, but just remember which direction you're traveling in. If you go to the right, remember that you're going to the right. That's at the end of your first shot. Now you want to go ahead and you want to start filming your second shot, but you want to start with a transition. We're going to carry on. Let's go with the right. We've gone around to the right, you want to basically continue that movement around and then come into your second shot. We're going to go around to the left and then cameras rolling, whip the camera in, and now we're into our second shot. We've continued that movement around. We whip to the right or the end of the first shots, and we've whipped in from the left to the right at the start of the second shot. It's really important that when you're creating a whip pan, you travel in the same direction. Because the problem is if you whip to the rights at the end of the first shot and you come in from that same side, yes, it does kind of work and it is a transition, but it doesn't have that same fluidity as a whip pan should have. There's a little bit of friction there and it just doesn't look as seamless as a whip pan does. If you go up at the end of the first shot, then start down at the start of the second shot and whip up again, so you're up and up. It's also worth noting as well that the motion blur from this whip is what hides the video transition. When you aggressively whip, the motion blur from that movement is going to hide the cut between these two clips. It's important that you have a sensible shutter speed. If your shutter speed is set to a really high number, like 1 over 1000, then it might be quite jarring and you might see that cut between the two video clips. But if you have your shutter speed at around one over 50, 1 over 100, there will be more motion blur in the shots, and therefore that cut will be more seamless. Of course, you can jump into your editor and you can add an adjustment layer and add some blurring at the point of the transition. But if you just shoot in that correct shutter speed, then you won't need to do that. The whip pan is an aggressive whip into one direction, and that creates this really nice, seamless transition.
4. Sliding Past the Foreground: The next transition is taking advantage of camera movement and an object in the foreground. At the end of your first shot, you want to move the camera. You want to slide the camera in a specific direction and then you want to go past something in the foreground. Whether that be a tree, a brick wall, a lamp post, whatever it is, you want to slide the camera, past that object to completely cover the lens. You're sliding, sliding, sliding behind that object and then this is where you want to cut and then you want to start your second shots. We start the second shot with that movement. We're going to start behind a different object and then we're going to slide out and continue into our second shot. At the end of the first shot we're sliding into an object and at the starts at the second shot we are sliding out from a different object. Now when you're doing this, it's really important that you're traveling in the same direction again. Similar to the previous transition, if you go into an opposite direction, then it's not going to look great. It's going to look a little bit jarring and not as seamless as you want this to be. If you're traveling to the right at the end of your first shot, then you want to travel in that same direction at the start of the second shot. Now it's also really important when you do this transition, it's really important that at the end of the first shot and at the start of the second shot you completely cover the lens, because if you're too far away from the object and you can see the detail of that object, then when you cut between these two clips, it's just going to look really jarring. If you get nice and close to the object, it's going to be a lot darker. It might be out of focus, which is going to help us and therefore that transition is going to be more seamless. There you go, that is transition two analysis slide past an objects in the foreground.
5. Lens Cover: Next up, we have the lens cover transition, and that is exactly what it sounds like, you're basically just covering the lens. Now, this transition is quite popular with vloggers, especially back in old Casey Neistat days. You would see somebody holding the camera up and at the end of the shot, they would cover the lens, they would change location, and at the second location, they would start covered and pull away to reveal. Essentially, you're just covering the lens at the end of the first shots covering it at the start of the second shot, pulling away and then you cut at that black point. Now, of course, you can do the vlogger transition when you put a hand over the lens or if you're filming somebody in front of the camera, they can walk up to the lens, cover the lens and pull it back. But that is quite a cliche transition now, we've seen it used over and over and over again so that transition doesn't really add anything special. Alternatively, though, you can use that same technique and you can use different objects, you can use people, you can use something other than a hand to cover the lens. Maybe you're traveling forward and you travel into somebody's back, or maybe you go into a sign or just something that is going to cover the lens, and then you continue that same camera movement forward into the next shot but you start with that lens covered, and then you cut these two together to create that really beautiful transition. This is similar to how the previous transition works, the sliding transition, you want to make sure that the shot is dark, you don't want to see anything at the end of the first shot and at the start of the second shot because when we cut these together, that will be quite jarring. It's really important that the lens is completely covered at the end of the first shot and at the start of the second shot. Doing this will ensure that you get the best possible transition and the beauty with this lens cover transition is, yes, you can do this transition, you can do the hand covering the lens, but there's also so many other variations of this transition and it's up to you and your creativity to come up with something original and unique for your project.
6. Match on Action: Our next transition is a match on action. A match on action isn't actually relying on the movement of the camera to generate the transition. It's actually requiring the person in front of the camera to do something that will initiate that transition. Essentially a match on action is cutting on the same movement. Let's say I jumped up in the air on the first shot. If I did the exact same shot, framed up exactly the same in two different locations, I would cut at the points where I was halfway in the air or doing a big action. The big action hides that cut and makes that feel less jarring. The match on action transition doesn't work as well if there's no movement or little movement in the frame because it just comes across as a normal cuts and that can be quite jarring. The way the match on action transition works is it relies heavily on large movement. If you do a large action, you jump in the air, you do a back-flip, whatever it is, you just want to do a large action framed up exactly the same in shot 1 and shot 2 and then cut at the point where that is the most amount of movements that will create a really nice match on action transition. You typically see this in K-pop music videos when they're doing a dance formation and it cuts between different setups, but the choreo is the same. It works really well there. You also see this in travel videos where people are cutting between different locations. The match on action transition, yes it is a little bit different. It's not relying on the camera. It's relying more on the person in front of the camera, but it does create a really beautiful effect when done correctly.
7. Rotation Transition: Next up, is the rotation transition and the rotation transition works exactly the same as a whip pan, but instead of whipping or tilting, we're just going to rotate. At the end of your first shots, you just want to whip the camera in one direction so we're going to rotate upside down, and then you want to continue that movement into the next shot. At the start of the second shot we'll start upside down, and then we'll carry that same movement around to come up to here. I always find with this transition, it really helps to come out of this with a bit of a ricochet, so you're bouncing back into the shot. I find if you just whip back up into here, it doesn't look anywhere near as good as to when you add a little bit of a bounce. The bounce makes it feel a bit more natural and a bit more organic, and it does help to add that character and flare into your transition. Again, it's really important with this transition that you go the same way. If you rotate it this way at the end of the first, and then rotate it this way at the start of the second shot, that transition is going to look a little bit weird. Yes, it will cut, and technically that does work as a transition, but it's seamless if you continue that movement around to do a full circle. It's also really important to note with this one that you want to have quite a fast camera move. This isn't going to work if you do a slow rotate around. This one requires that motion blur, like the whip pan. It's got to be quite an aggressive rotation at the end of the first shot, and at the start of that second shot. The bounce after the rotation can be a little bit softer, that doesn't need to be as aggressive, but that initial rotation around has to be aggressive so that you can cut these two clips together.
8. Tilt Up and Around: Next up is the tilt up to the sky and rotate up from the ground, so exactly that. At the end of the first shot, we're just going to tilt all the way up and around. You can do a 180 or you can just go all the way round if you wanted to have flexibility where you want to cut this transition. At the end of the first shot you're going up, and then at the start of the second shot you're going to start down towards the floor and then start rolling up into the shot. This essentially looks like the camera is spinning up and around. It creates this really nice transition, and when you use choreography or something in the frame to motivate that transition, it can create a really beautiful and stunning effect. I use this transition quite frequently when I'm doing dance videos. I'll have the performer flip the camera up and that motivates that transition so the camera goes up and then rotates up from the ground into the next frame or the next occasion. I think that's the trick with all of these transitions. Yes, they look great if you just throw them in anywhere, but if you can find something to motivate that transition, so somebody throws the camera off or maybe you're filming the London Eye and it rotates around with the eye. If you can, find the motivation to get into that transition, whatever transition you choose. If something motivates that camera move or that transition, then it will look 100 times better with that motivation than without a motivation.
9. Screen Shake/Earthquake Transition: The next transition is again relying on motion blur to hide the cut between these two shots. This transition is the earthquake or the screen shake transition. In order to do this transition, all you have to do at the end of the first shot, is we're just going to aggressively shake the camera. When I say aggressively shake the camera, you want to make sure that you've got a firm grip on the camera. You don't want to launch the camera off or drop it. You want to make sure you've got a firm grip of the camera and then do this aggressive screen shake. There's many variations of this. You can rotate just around here. You can go forwards and backwards. You can circle around. It's completely up to you. But at the end of the first shots, you just want to do this earthquake or this screen shake, whatever you want to call it. We're just going to do this rotation, so this aggressive movements. Then we'll cut. Then the start of the second shots, we're just going to do this movement and then slow down into our shot. We finished shot A with an aggressive shake, and then we start the second shot with that same aggressive shake calming down into our shot. When you put these two together, this creates this really nice screen shake effect and it can look really beautiful. Again, if you can find motivation for this transition, then that is going to look great. So maybe there's a specific beat in the music and you want to do this transition at that point in the music. That is a really good example of how you would use this creatively. Or maybe you've got a dancer doing a stump on the ground and that is creating this earthquake effect. Whatever the motivation is, that is going to help to bring this transition to life even more.
10. Push Forward (Two Methods): The next transition on this list is the push forward. Now there's two ways of doing this. You can either do this the first way, which is more simple and that's all in camera. Or you could do the second option, which requires a little bit of editing. We're going to lean into some editing transitions a little bit now. But I also am going to show you the in camera version as well. The push forward is essentially exactly what it sounds like. At the end of the first shot, we're just going to push the camera forward and we want to make sure we do that at quite a pace. Be careful not to throw your camera forward, but move the camera forward in space towards a specific subject in the frame. Then at the start of the second shot, you want to pull back and then 3, 2, 1 action, push back into the space. You've got two camera moves pushing forwards and then you cut these two together in the edit. The result is this really nice push forward, and the motion blur from that push forward is going to hide that cut from these two clips and creates a really nice transition. That was the first version and that is the most simple version. That can all be done in camera, all you have to do in the edit is just drop these two clips next to each other and you've got a great transition. But the second version is a little bit more exciting, but it does lean into the editing a little bit more. If you're not here for that, then just move on to the next transition. The mechanics of this are exactly the same. We are pushing forward at the end of the first shots and we're pushing forward at the start of the second shot. That's the same. It's just we're taking up to the next level. At the end of the first shot, if you've got people in the frame, you want to count them in, go 3, 2, 1, freeze and you want them to freeze. Then once they're frozen, you want to move the camera forward in space. But rather than just a little bit, you want to travel quite some distance, or maybe five meters, 10 meters, 20 meters. Just go forward and aim towards a specific point in the frame. Just move the camera in a straight line towards a specific point. If you've got people in the frame, then travel through them once they're frozen. The reason why we're telling people to freeze in the frame is because we're going to speed this up in the edit. If we speed it up in the edit, if they're moving, they're just going to be moving around really quick and it's going to look really off putting. If they freeze, that movement won't become a distraction. They might feel a little bit ridiculous whilst doing it, but I promise you, freezing in the frame will look a lot better than not freezing. Get your subjects to freeze if you've got people in the frame. Then we're just going to do the same thing for the second shot. Go all the way back. Go out of frame. Then we're just going to move into the shot so they're frozen and then you count them back in as you're approaching the frame, 3, 2, 1, unfreeze and then they can go into the action. At the end of the first shot, we're pushing forward and at the start of the second shot, we're pushing forward in again. Now once you get this into the edit, essentially what you you to do here is just speed up the end of the first shot of that push forward. You want to speed that's up to 2, 3, 400 percent. Do the same thing with the start of the second clip, so 2, 3, 400 percent something along those lines. Drop these two together and now you've got this really interesting and dynamic push forward. If you wanted to as well, you could also take this to the next level by combining that push forward with a rotation. You can rotate maybe 90 degrees clockwise at the end of the first one, and you can go back and rotate the other 90 degrees. When you add these together, it creates this really nice rotation push forward transition. Again, now the second transition is relying a little bit more on editing. If we wanted to do was a simple, cut the two clips together, and you just wanted to do this on your phone, maybe Adobe Rush for example, then you stick to that first variation of this transition.
11. Sky and Back: Now the next transition is the sky to sky transition. At the end of the first shot, we're just going to tilt up towards the sky and at the start of the second shot, we're just going to tilt down from the sky. Now, this works similar to a whip pan or the rotation transition. We're going to cut on that motion blur. But it's also really important as well that the sky is matching in both of these shots. At the end of the first shot, if we're tilting up to a blue sky, if we then tilt down into the second shot from a cloudy sky, when we cut these two together, then not go into look right. It's okay if there's a few clouds in both of the shots, but you want the sky to be doing something similar in the first shot and the second shot. It can be a little bit jarring if we're going from completely cloudy to completely clear and blue skies. Try and match the two together and you'll create this really nice tilt up until it down from the sky transition.
12. Pull Through the Screen: The next transition is the screen pullback. It doesn't matter what screen you are using here, we can use a laptop screen, we can use a phone screen, we can use a computer screen, a TV screen, it's completely up to you. But essentially what we're doing here is we're pulling back from our first shot through a screen into our second shot. It sounds complicated, but let me walk you through it. With the first shot, you just wanted to film a normal shot, you're on-location, you can do whatever you want to do in that shot, but you want to finish that shot by pulling back a little bit. This is going to help to ease the transition. You don't have to do this, you don't have to pull back at the end of your first shot, but I do find it helps to ease that transition a little. If you don't have that, it creates a slightly jarring effect in the transition. So at the end of your first shot, just pull back a little bit. For the second shot, you want to get your footage onto a computer, you want to get it onto a TV, a phone screen, whatever it is, you want to play that footage back, and then at the point where you start to pull back, you want to start rolling and then pull the camera back from the computer. Then you can just go into your shot, so you can pull back and then go into the frame, you can pull it back, go into your Vlog, whatever you want to do, you just want to start on the computer screen, on the phone's green, whatever it is, and then pull back at the point where that transition is initiated in the video. It's really important as well at the start of the second shot that the frame on your camera is completely filled with the screen. Try and get the entire frames, try and get that entire shot in your camera here, and try not to see the edges of the screen, and then when you pull back, it's really going to create this incredible transition because you're not going to be able to see the laptop beforehand or the computer or the phone, you're just getting this nice transition out. This one does require a little bit more work than the other transitions because you need to get this onto your computer and the timing has to be right. But honestly, this transition looks incredible when it's done right.
13. Walk By Transition (Two Methods): Then the last transition is a subject swipe. Essentially this is just somebody walking in front of the camera lens or they're pushing their arm across the camera lens, whatever it is, they're just initiating this movement at the end of the first shot. Typically, I like to use people walking in front of the lens, and there's two ways of doing this. You could get somebody to completely cover the lens, so they get very close to the camera and you cut at the black point, and then you do the same thing on the second shot, similar to how we're sliding past the lamppost in a previous transition, or alternatively, you can lean back into some more editing techniques and we can lean on masking to do this transition. This time they don't have to be as close, they can be a little bit further away from the camera lens. They walk past the camera lens. Then essentially we can use some masking and a video editing program to reveal the second shot. Now it's really important that when you're doing this transition, that if there's camera movement in the first shot, you want that same camera movement in the second shot. If you're pushing forward and somebody walks past, you want to start the second shots by just pushing forward. Now if you are choosing the first option, the one which doesn't require masking, just the simple close to the lens technique, then you want to make sure that somebody walks past the lens on that first transition, and then they go past the lens on the second transition as well. Now if you're doing this the first method, the one where you don't have to do all of this masking, then you want to make sure there is somebody available for both shots. They're walking into the shot on the first shots and then they're walking out of that shot on the second shot. We need them now on both shots to cover the lens. But if you're doing the second variation, the one with the mask, then you only need them at the end of the first shot. They walk past and then basically you want them to completely empty the frames so they're completely clearing the shot. They walk in and out of the frame. Then we don't need that person in the second shot because we're going to mask around them to reveal that second shot. This is a mistake that I typically see when people create this transition, they assume they need the person on both layers. But the thing is though, when you mask the person on the first layer, you're revealing the layer below, and if there's somebody walking, they're slightly out of time. You're going to see two people walking at slightly different times and it never looks rights. If you're doing the masking technique, then you only need them on the first transition, be into the transition, you don't need them on that second clip, the out. As you can see, we're inside of Adobe Premiere Pro. This is the video editor that I use. Inside of Premier, you just want to select the first clip. We're going to drag that up onto video layer 2 and we'll drag the video underneath onto video layer 1 and you just want to offset them a little bit. The start of the second clip should be overlapping the end of the first clip. Now you just want to select that first clip. You want to go up into the opacity, select the fridge or Bezier tool, and then we'll just draw a mask around the subject making sure we can see the end of the frame. Now we're just going to create a brand new keyframe by selecting this icon. Then we'll move across in time and just move this mask along following that movement. Now you just want to make sure that these two clips are lined up so that you're not seeing any black space behind them. Then there you go. You've got this really awesome masking transition.
14. Drop Down Transition: The next transition on this list as a pull down. Essentially what we're doing here is we're stitching two shots together, and it's going to look that we're traveling from one location to another. In theory, this transition would look like you're traveling downwards through your floor and then into the room below. But it's important that we find something to physically block the lens at the end of the first shot and the start of the second shot. Let's say this notepad is going to be the bottom of the frame. So I would just place this at the bottom of the frame. I'm filming my shots, and then I'm just going to travel the camera downwards, until it gets behind that notebook. I'm traveling down at a constant pace and then it drops down. It's really important that when you're doing this transition, you get the camera lens really close to that wall or the objects that you're using to pull into, because you want the lens to go dark. I get nice and close to that object, keep moving and then we'll cut. Then you can go to the second shot. We're going to start high up behind an object. Then we're going to continue that same camera movement down, keeping that same space until we come into the second shot. Now it's really important that when you're doing this you're traveling, first of all at a decent pace because if you're too slow, you're going to see that cut. So it's important that you have a nice, decent controlled pace coming downwards. It's also really important, like I've already mentioned, that you get nice and close to that wall when you're coming down. Then all you have to do from that is just stitch these two clips together in the edit, you might have to apply a bit of a cross-fade over these two, just so that they blend a little bit nicer. Once you've done that, you should have this really awesome transition, and it will look like you're going from one room, down through the floor into the room below. So that is the slide down transition.
15. Prism Transition: The next transition on this list is a Prism Wipe. A prism wipe requires two things. First of all, your camera and second of all, you need a prism. Now, the prisms that I'm using in this example are from a company called [inaudible] . A prism is essentially just a piece of glass. Now, you can spend a good amount of money on this. You can spend up to $50, $60, $70 or pounds on a good one, or you could just get a basic 10 pound one from Amazon that would do the exact same job. You can have a prism-like this which is a full circle, you can have a half-circle so semicircle prism, or you could just get ones which are just a triangle shape. A big block of glass which you can move in front of the lens. In this example I'm going to be using this full circle because I'm going to try and cover the lens as best as possible. But in theory, all you have to do for this transition is stop filming your shots and at the end of the first shot you just want to move the prism across in one direction like this and then you do the same thing at the start of the second shot. At the start of the second shot you move that prism across and then essentially you just take these two clips together where the prism is in front of the lens and you get this really magical transition happening. Now, you could do a fairly controlled wipe across the screen or you could do quite an aggressive move in front of the lens, it's completely up to you. But essentially you just want to get that prism as close to the lens as possible and then move that a way out of the frame and it's important that the prism is traveling the same direction for the end of the first shot and the start of the second shot. Now, it's really important that when you're capturing these transitions with these prisms, it's important that you have a low aperture on your camera. Your aperture can range from around F1.8 all the way up to around F22 and the aperture controls two things. First of all, it controls the amount of light coming into the camera. If you have a higher aperture around F22 your video will be darker but if you have a lower aperture of around F1.8, then you'll let loads of light into the camera sensor. But it also affects the focus plane. If you have a lower aperture of around F1.8, then it means only a small fraction of the frame will be in focus and if you have a larger aperture of around F22, then basically everything is going to be in focus. Now, when you're working with these prisms, it's really important that you have a low aperture of around F1.8, F2, F3, F4, somewhere around there because it's really going to hide the edges of the prism. If you had your aperture set to F22 you would see the shape of the prism and it wouldn't necessarily work as a transition because you're going to physically see the prism. Put your aperture down to a small number, somewhere between F1.8 and F4 and that's going to hide the physical shape of the prism and you just get this really awesome reflective glass transition effects. But there you go. That is the prism transition.
16. Quiz, Outro and Summary: There you go. That is the end of the in-camera video transitions course. Now before you go ahead and click onto another course or carry on with your day, I have a quick quiz for you. In a few moments time you're going to see a montage. This montage includes a whole list of video transitions that you have seen throughout this course. What I want you to do is first of all count how many video transitions you can see. Then second of all, name all of those transitions. Leave your answers in the discussion panel below, and I'll be replying to every single comment and letting you know which ones you missed or whether you got every single one correct. Then of course, once you've done that, I want you to go ahead and practice all of these video transitions and upload a montage of yourself to the class project section so that we can all see your amazing creative video transitions and we can all be creative together. There you go. Thank you ever so much for watching this creative in-camera video transitions course. I really appreciate your support and of course, on my Skillshare page I have other contents and other courses available to you. At the time of recording I have a course all about Adobe Premiere Pro, so this is perfect for beginner or intermediate level editors looking to expand their skills in Premiere. Then I also have an introduction to film-making course. One I talk through all of the basic settings like shutter speed, three-point lighting, and a whole range of techniques that are going to set you up into a great career in film making. Thank you ever so much for your support. Thank you for watching and I will see you on a future course. See you there.
 Chris Brooker, Filmmaker & YouTuber