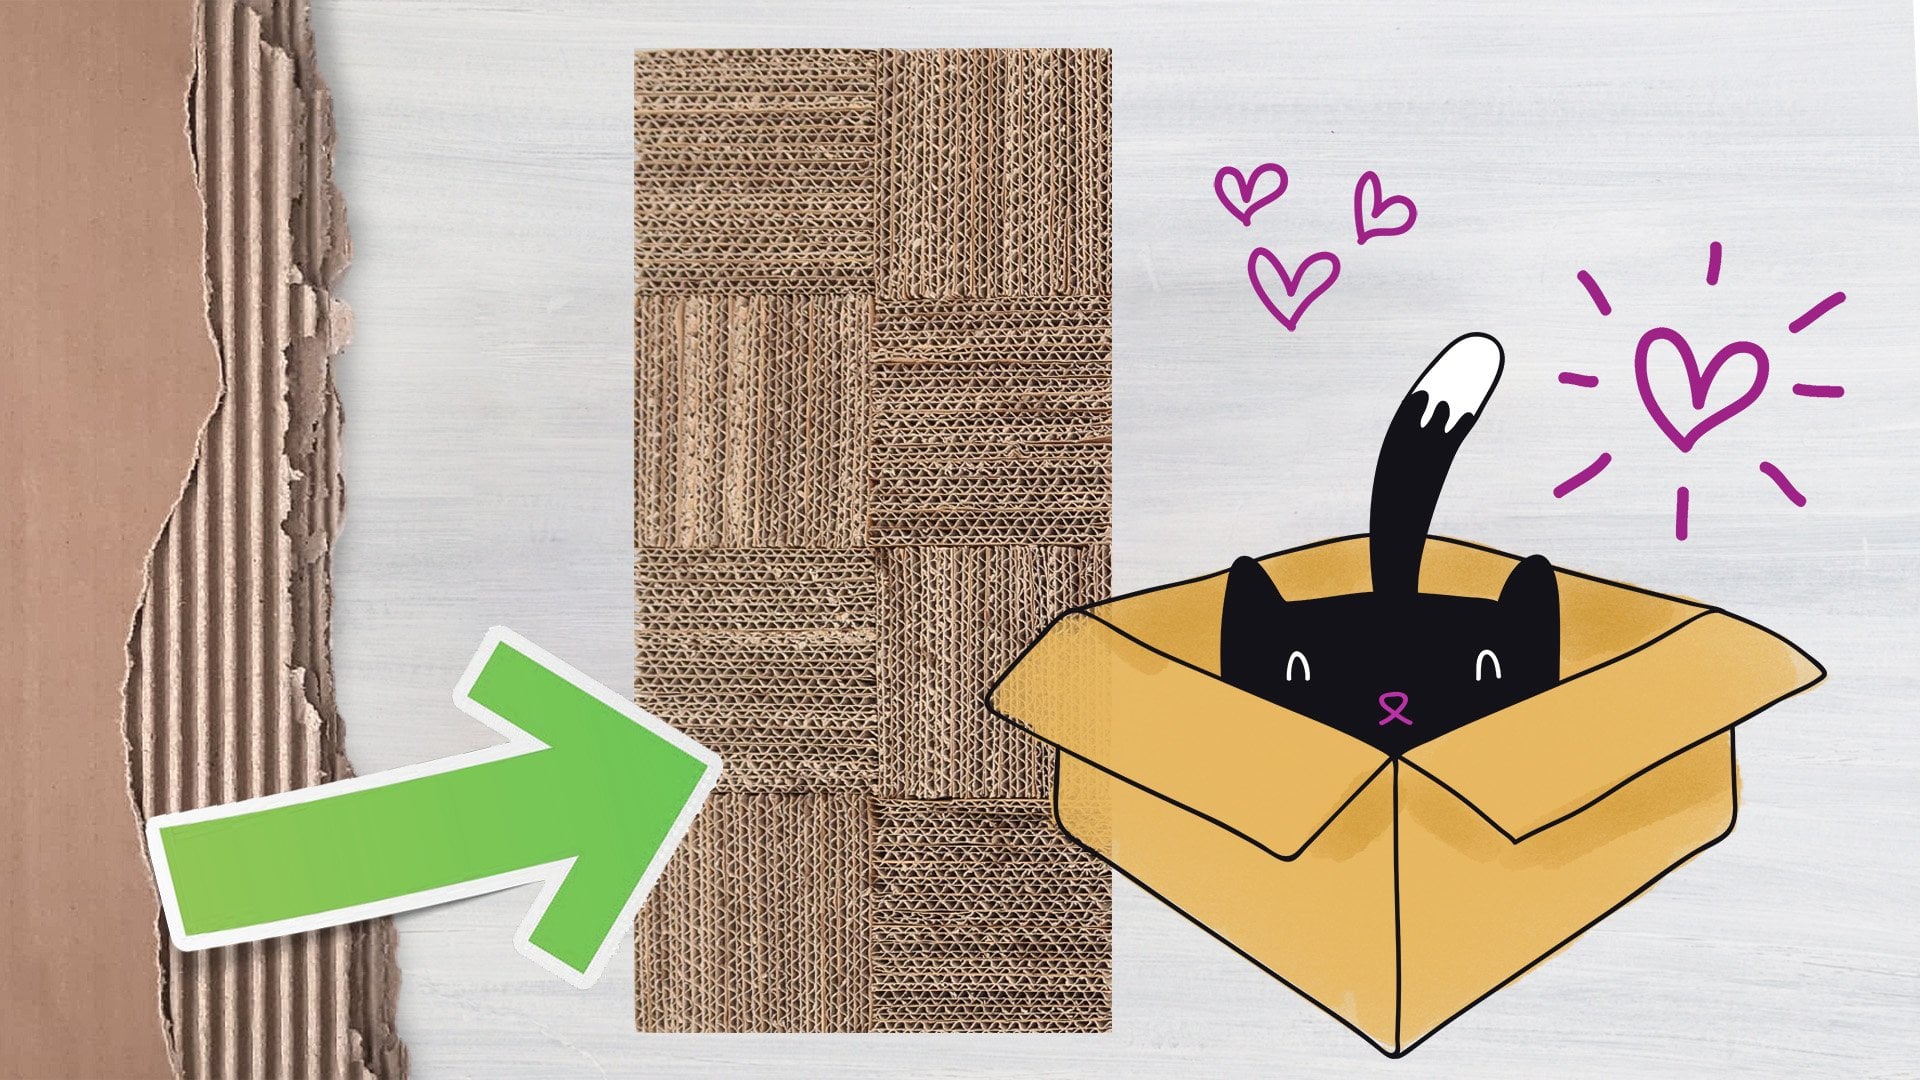
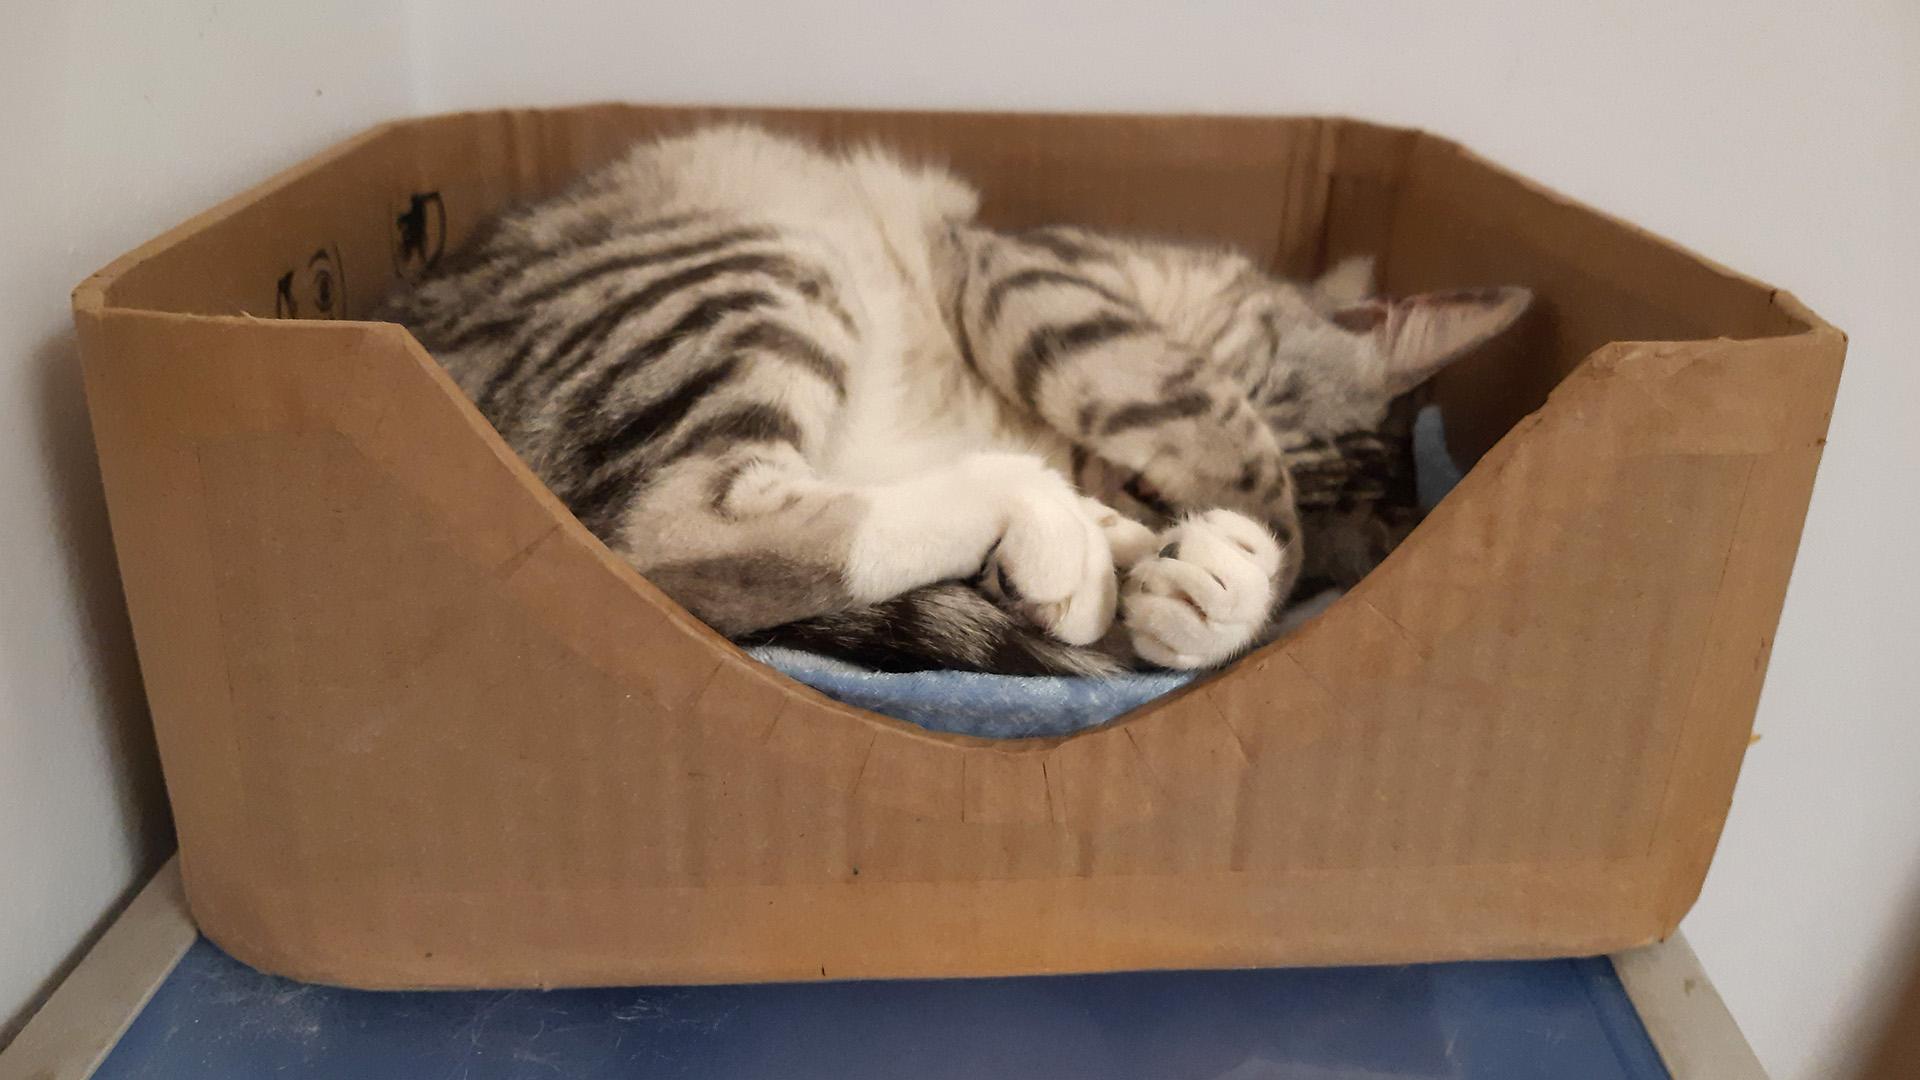
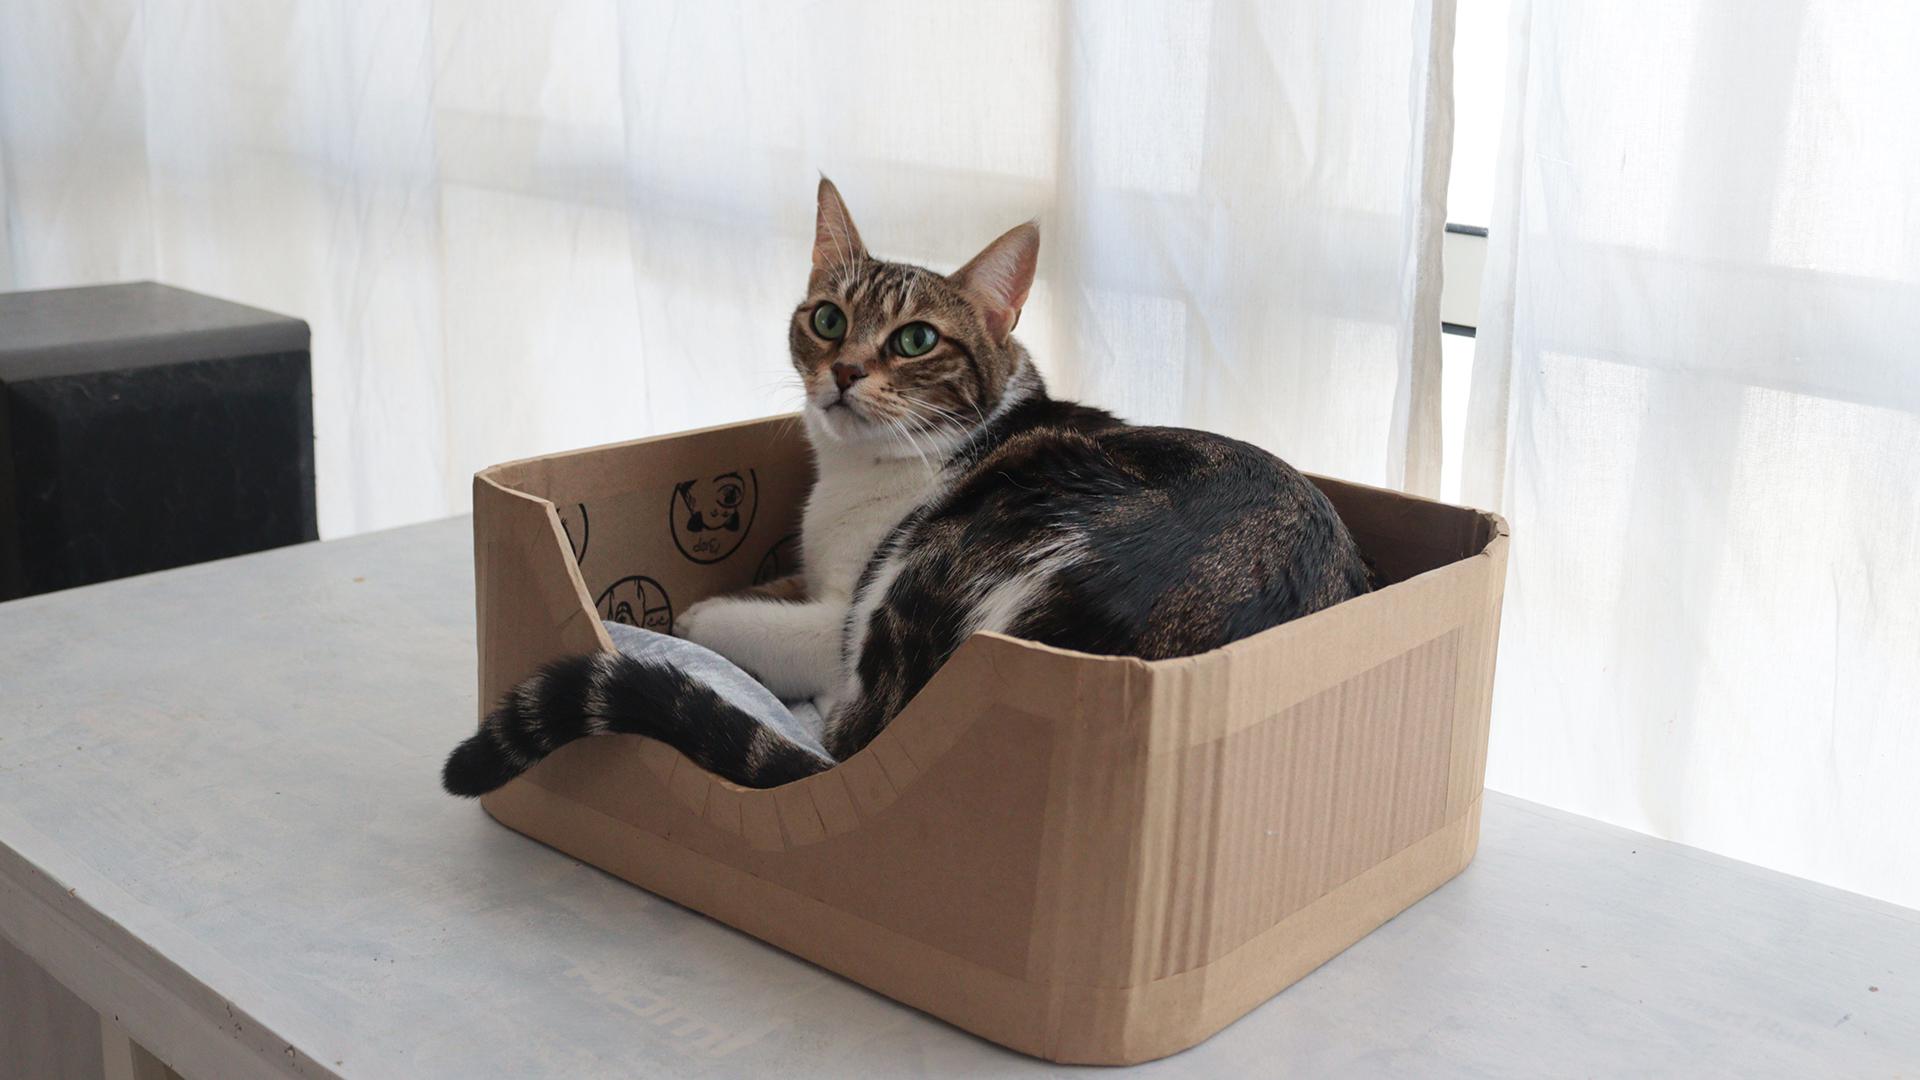
Create a Cozy Cat Bed with Rounded Corners from a Cardboard Box
 Naama Yaffe Mendelboim, Graphic designer and artist
Watch this class and thousands more
Watch this class and thousands more
Lessons in This Class
-
-
1.
Introduction and class project
0:39
-
2.
Making the cat's bed
9:03
-
-
- --
- Beginner level
- Intermediate level
- Advanced level
- All levels
Community Generated
The level is determined by a majority opinion of students who have reviewed this class. The teacher's recommendation is shown until at least 5 student responses are collected.
50
Students
--
Project
About This Class
Welcome to this fun and short DIY class. Today, we’re making a cat bed using a simple cardboard box. This project is quick, budget-friendly, and perfect for beginners.
Let’s get started and give your cat the perfect spot.
Meet Your Teacher

Hi, I'm Naama.
I have been a Graphic designer for 30 years and a lifelong creator of art and craft. During the years I used many techniques and made art and craft projects with paints, polymer clay, Papier Mache, crochet, miniatures, jewelry, etc.
But my passion is ecological projects, using found materials like plastic bags, used papers, fabrics, and cardboard. Taking objects that are going to the trash and giving them a new life, and making beautiful and useful things from them.
See full profileHands-on Class Project
Your project is to make a simple cardboard bed for a cat.
The dimensions of the base are 36 cm × 30 cm, (approximately 14 x 12 inches) suitable for an average-sized cat. It's big enough to be comfortable but small enough to make them feel secure. If you have a larger cat, you can increase the base size accordingly.
Materials Needed:
- A cardboard box
- A craft knife
- A serrated knife
- Hot glue or PVA glue
Post your creation in the project gallery and share it with us.
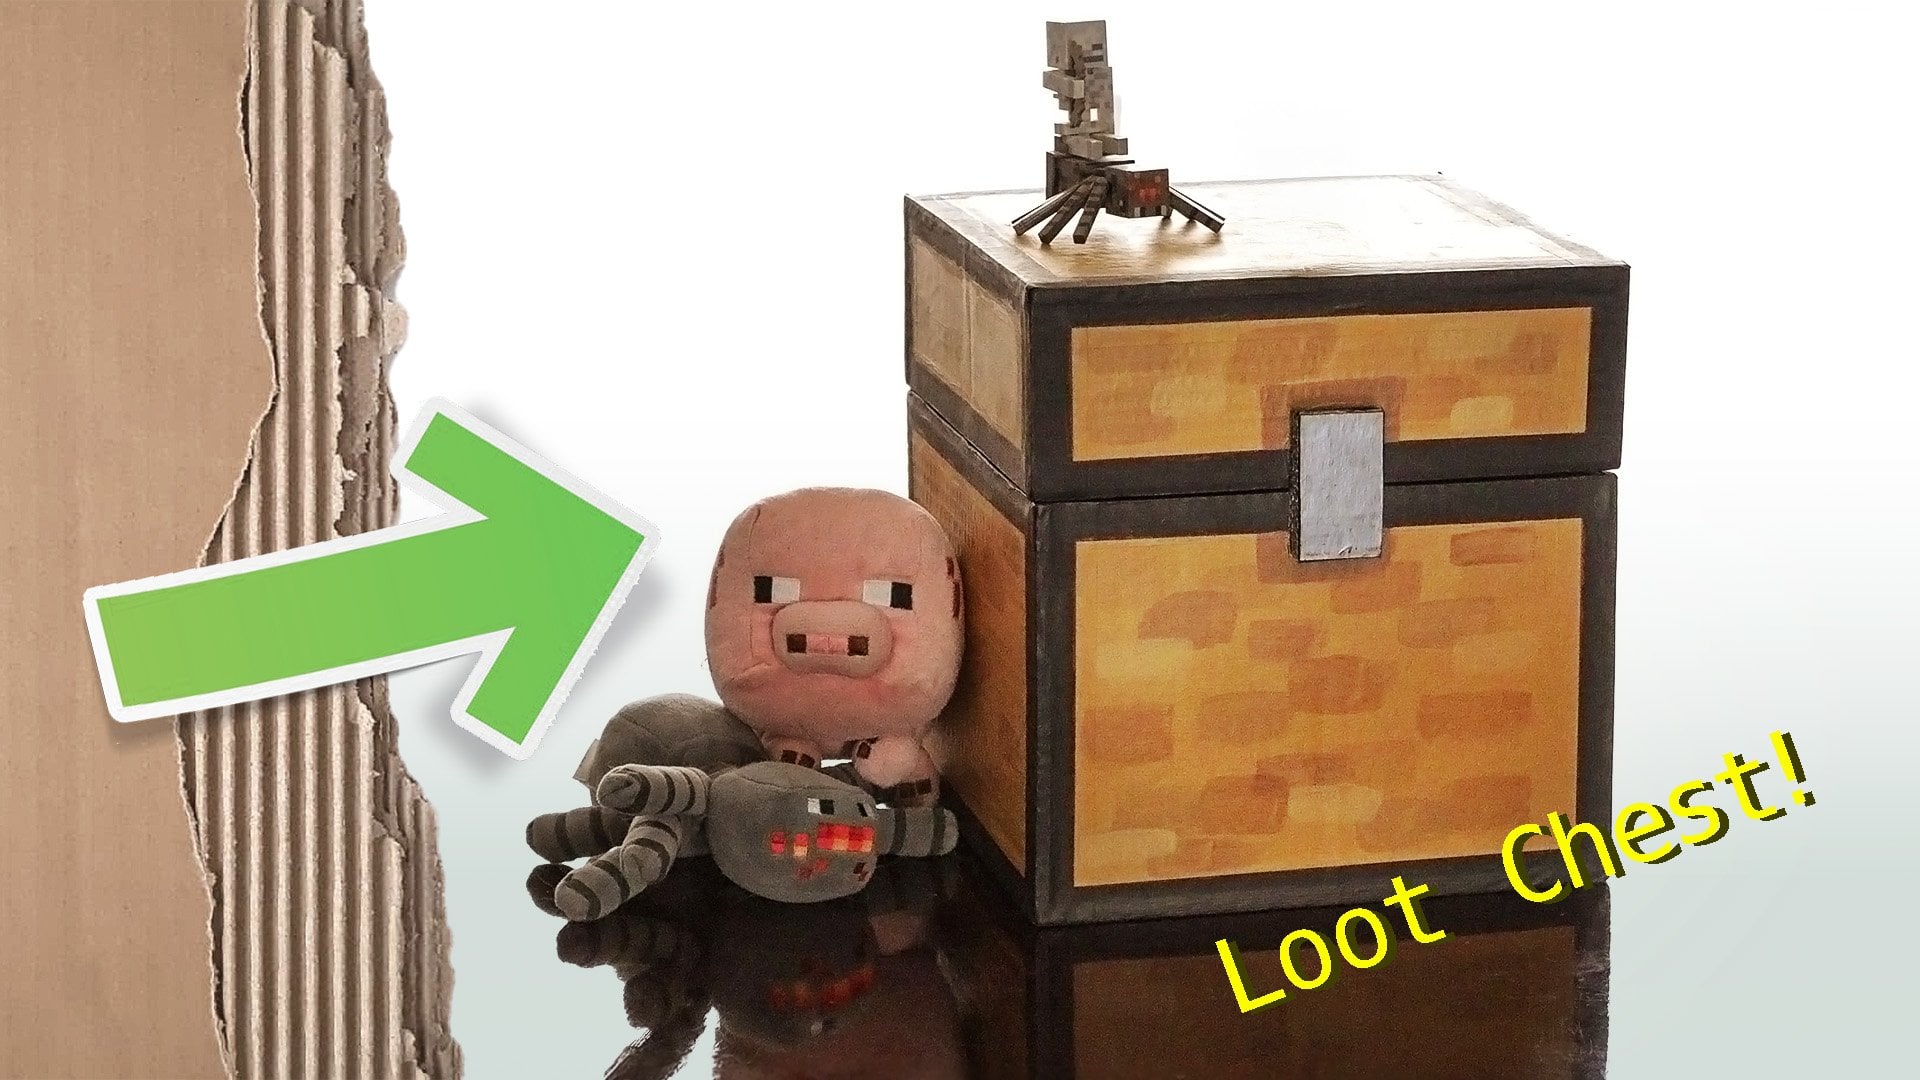
If you enjoyed this, check out my new loot chest project.
Class Ratings
Why Join Skillshare?
Take award-winning Skillshare Original Classes
Each class has short lessons, hands-on projects
Your membership supports Skillshare teachers
Learn From Anywhere
Take classes on the go with the Skillshare app. Stream or download to watch on the plane, the subway, or wherever you learn best.