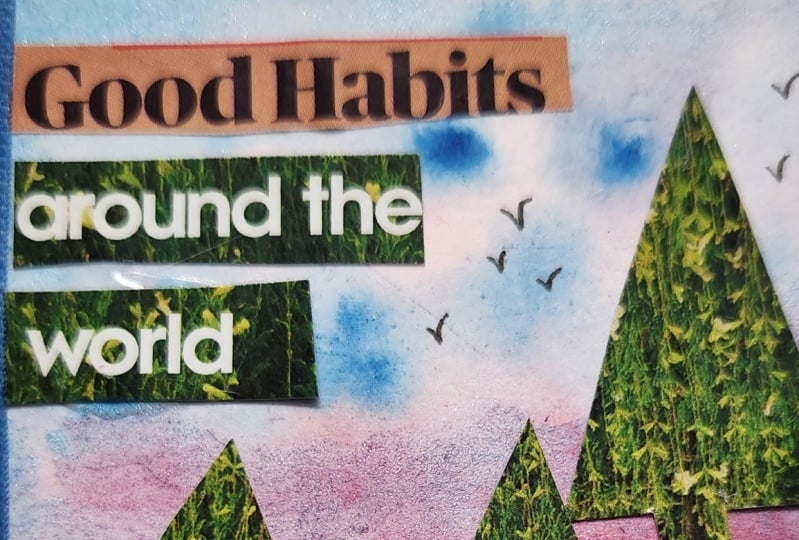
Transcripts
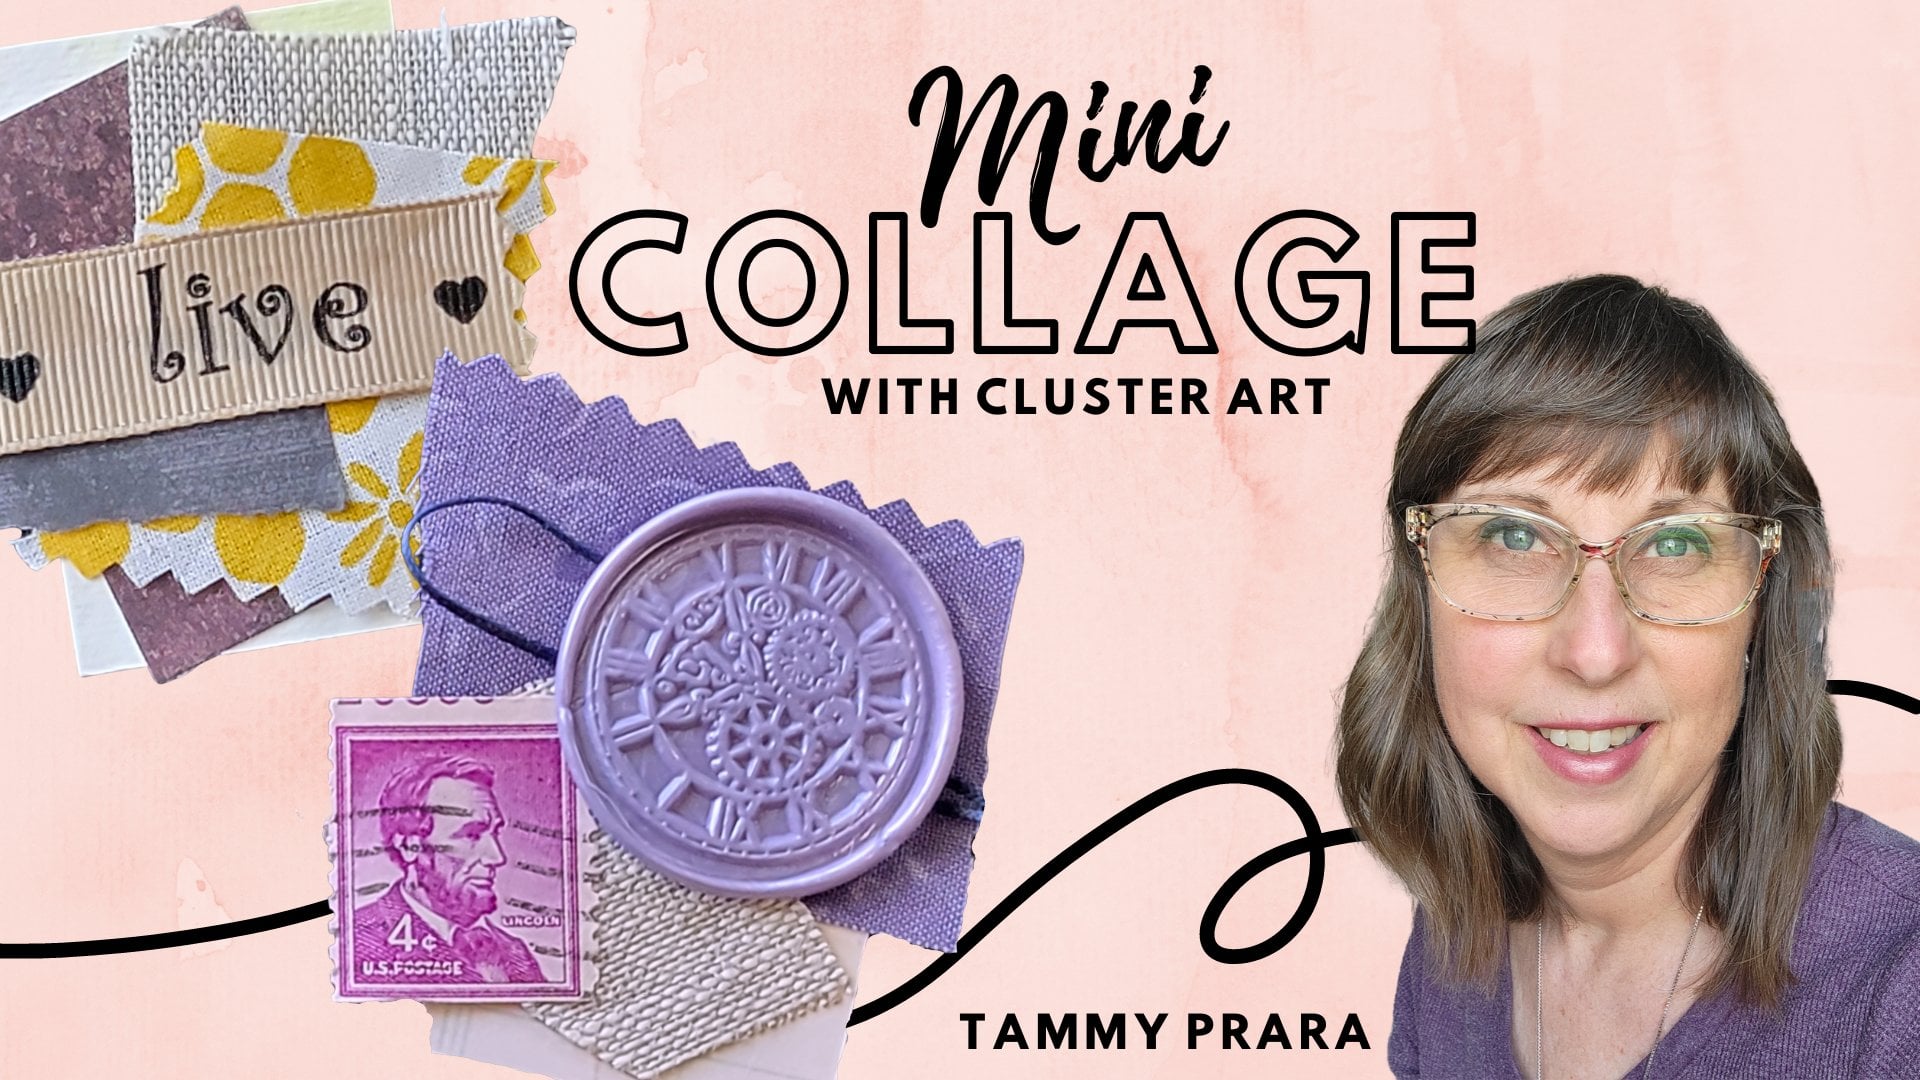
1. Intro to Artist Trading Cards: Friends and Tammy Pereira. Thank you for joining me today. Today's class is about a T C, and that stands for
artist trading cards. Now you might have seen
that hashtag in some of my Instagram pictures
and its tiny little art. It's only 2.5 by 3.5 inches. That makes them a trading card. They're about the size of baseball cards or Pokemon cards, depending on how old you are, you'll know what
I'm talking about. These trading cards
are tiny pieces of art that are
meant to be shared, to be swapped with
another artist. If you enjoy happy mail, sending out letters
and cards like I do, this is a great way to share
those artists trading cards. They can also go
in your journals. They can be a tag for a gift. You can use them as a bookmark. Any way you use them. They are fun to make
and I love collaging. I was introduced to collaging
about four years ago. In my adult years, I know I collage as a kid, but as an adult, I was more of the impression of a mood board or a vision board, something that would
take a poster size to fill with all kinds of
pictures that I liked. And that's what I
thought of collage. Until I really met the art community that
embraced collage. And I found a style I
really like kind of a shabby chic, cozy core. And I hope to convey
that with you making these collages
in four simple steps, anyone can do this. It's great for beginner and I share three different cards, and they're made with
different materials. So use what you have on hand. Do you have old books? Do you have coffee table art? Huge books of glossy photos? Or maybe you'd like
to dabble into some very simple
watercolor and doodling. And all of these actually
pull from my other classes. If you are a little
intimidated or nervous about starting
this particular class, go back and look at my others. I look forward to
working with you on artist trading cards. And hopefully you'll have
some great pieces of art that you can swap or just
share with friends and family. See in the next lesson.
2. Collage Supplies for 3 Projects: Here we have the basics of supplies for any
collage or glue, glue, scissors and the paper
you're going to glue two. So this is watercolor paper. And you can use any
watercolor paper. I'm using today, £140
watercolor paper. I also am using scraps. Use the back of your
watercolor paper. Just have some sturdy paper. I really like this. Elmore's craft bond,
extra strength. I find this glue stick
works really well. And that's what
this paper's for. This is my glue down paper. So any extra goes
straight onto the paper. If you can find glue, liquid glue with
a skinny nozzle, that would be extra helpful, not necessary, any
glue will work. In fact, before I discovered this particular kind of
glue that you can buy, I had a fuzzy, fuzzy tipped paintbrush and I had a puddle of glue and I
would paint the glue down, pen, pencil, and you can
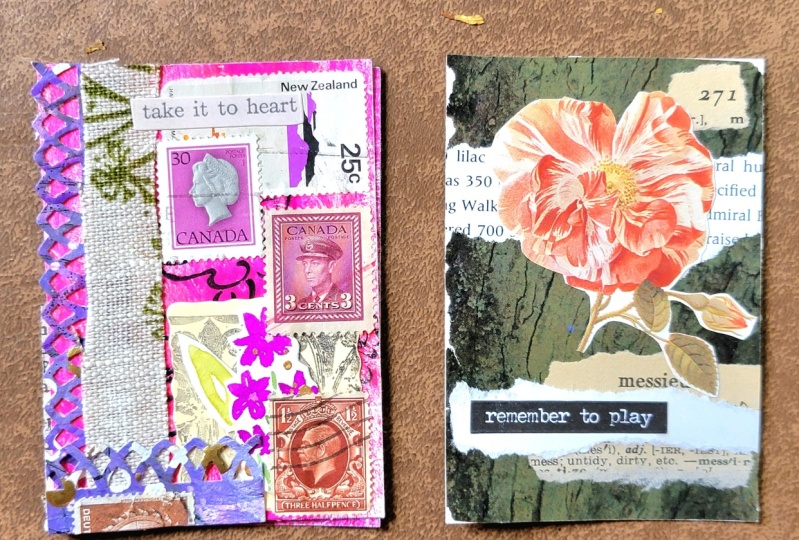
collage my ATC card. And remember, it is 3.5
inches long, 2.5 inches wide. And I've collected
some watercolor paper. Here are some
plane, but I've got some old art and I actually
have some found space. So I'm going to use
up what I have. I've got my paper
cutter, my tremor. You don't need one of these. Definitely just use a ruler and some scissors and
you'd be just fine. I'm going to cut off 2.5 inches. I'm going to give my space. That's blank. That's what I want to cut. Wow, look at that right
up to the old artwork. So let's go ahead
and trim this off. I have my 2.5. Now I want it to 3.5, just lining up my gauge, my guides, and here I have a card that I was able to
salvage off some old art. Creating an ATC card made
with pages from a book. You need books. I find mine at the thrift store. One of the things
I like a classics, and the pages are
browned, already. Have several because the fonts, the colors of the pages are going to be just a
little different. I also like foreign
language book. So here is one in Italian, here is one in German. Now, these pages are white
or fear is a dictionary. Dictionary pages are awesome. They look really
good and collage. And you can pick these
up at any thrift store. Scrap paper. Now because we're
doing a vintage look. I have this dark brown top. I also have a little
bit of white. If you have left over watercolor
paper, just use that. I did ink on this one. So if you have any ink pads and a door neighbor of some
sort to run along the sides of your paper that is
really helpful to create a very unique look
on your paper. Dries more books. These are more
coffee table books. These huge volumes are
a really great for finding large swaths of
color that you can use. In fact, I even save my
torn pages in the book, I found them, and that's where I found these elements
for this card. Maybe you find little
crafting books in your thrift store. And they're awesome for
finding little elements, more text, different
looking text. To use. Large fonts, elements, little pieces you can cut out for your focal points. Maybe you really like
children's books. Old illustrations are
so darling in collage. Cut out this bird or this,
this flower element. Really great suggestions for creating our book magazine ATC. Finally, what to use when
making a watercolor ATC card. So I have watercolor. Use any watercolor. This technique that
I show you does not require anything special. In fact, when I buy
any watercolor, I find these pans at the dollar store and I squeeze my tube paint in
there and make a swatch. These are little
Altoid collected tens. Nothing special, but I just wanted you to
know that's where I keep my watercolor
we're going to draw. So you need a pen and
a little disclaimer. I did use a food and
Tsugi pen when I drew my mushroom and I'm pretty
sure that is water-soluble. So I really recommend
getting a micron, a permanent fine tip pen to use. Obviously water and
your paintbrush, if you can find it, if you have any. Gold, always looks really
cool in your final piece. We need paper. So some scraps. Do you have any
scraps of crafting paper or this is leftover
paper from our other projects. They worked out really
well for creating our last card and for doodling. You have an idea book. Make one and start
collecting ideas that you can draw all and scissors
to cut your doodle out. You may have noticed each of my cards do have
a saying on them. And I found my syncs with
Tim Holtz, ideology books. They come with lots of sayings, lots of ideas for you to use. And I've cut them out so that I can help me visualize
how long it is, what color looks best
on what background. Those are really helpful, but you don't have to use these. Type your own. Use a font on your
computer and print it out. You can glue that
down just as easily. Now, join me in our next
class as we actually create our artists trading card.
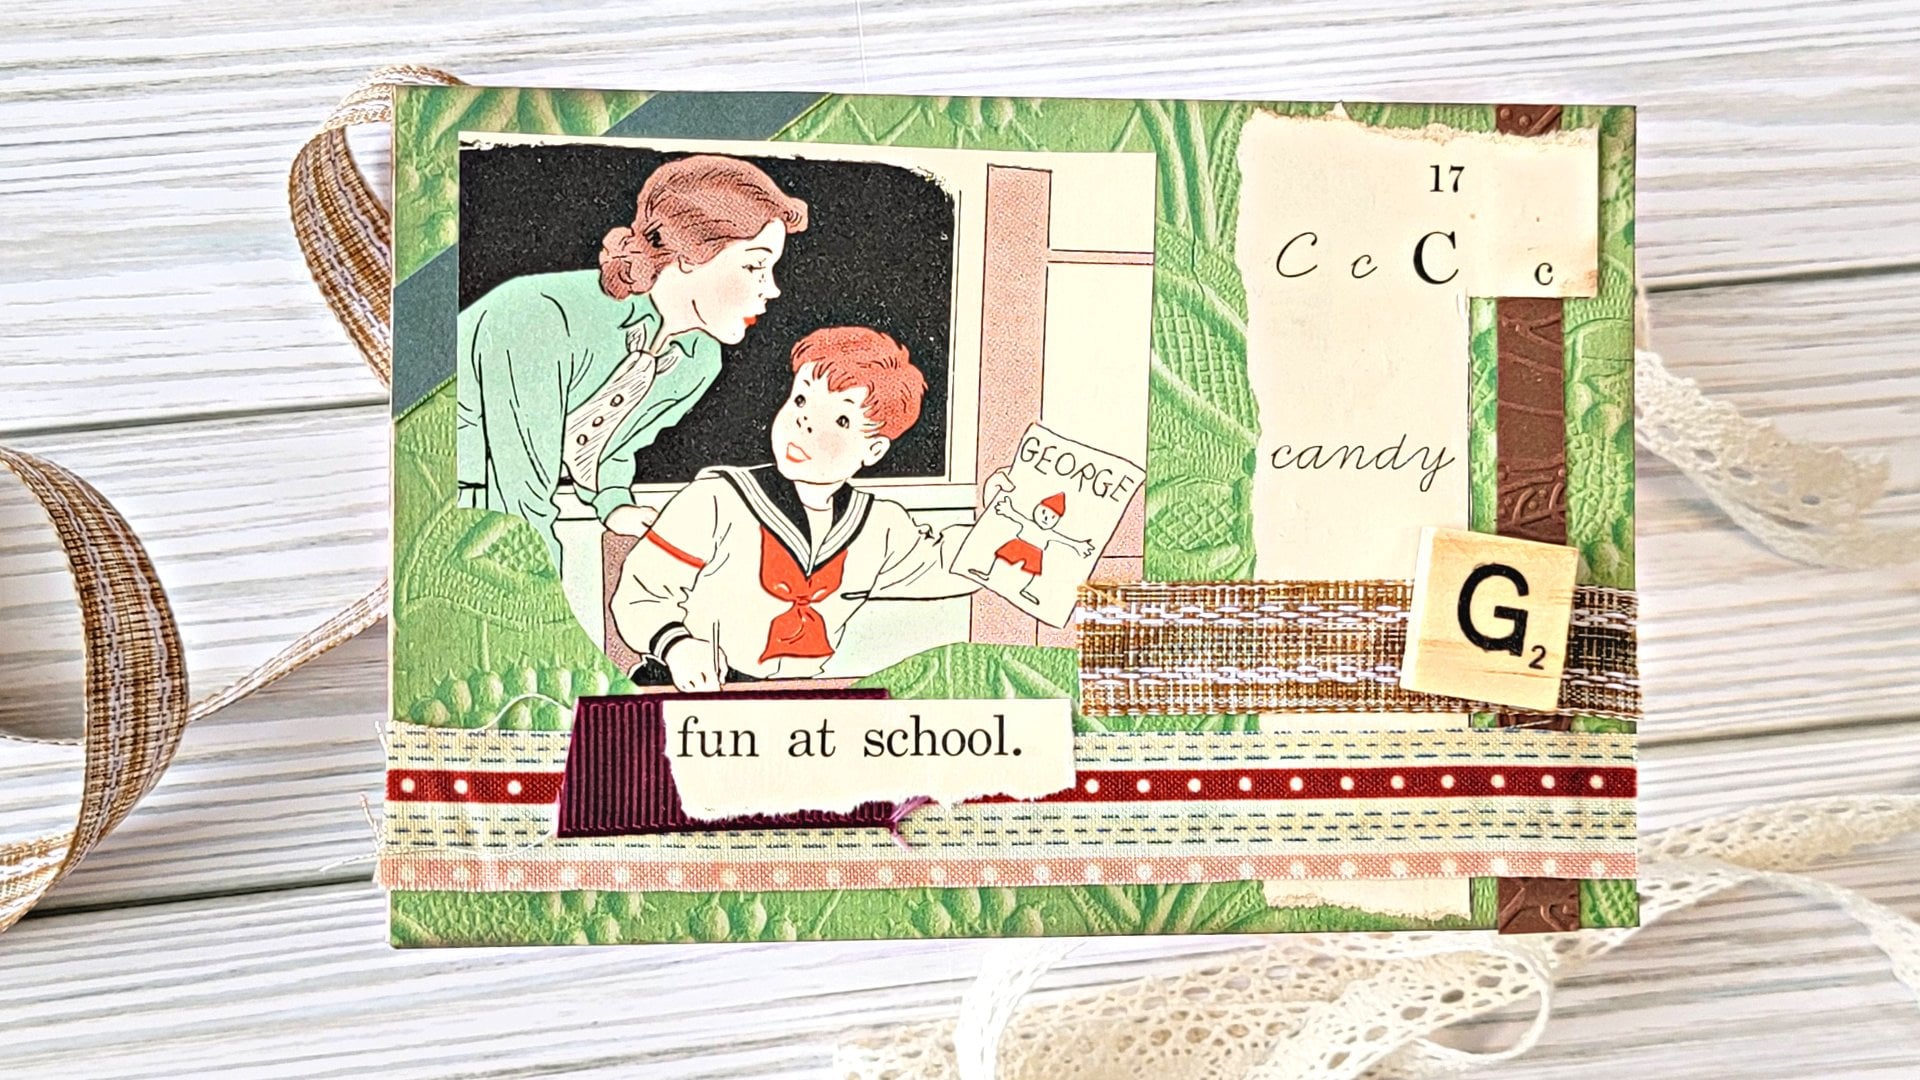
3. Vintage Book Pages ATC: This segment of collage is perfect for you book collectors. This one, I've actually
turned the cover off. It was a two book,
Adventures in Wonderland. I kept half and sent the
other half to my girlfriend, Alice Through the Looking Glass. And what I like about it
are the illustrations. Some really gorgeous work. I think I like that
illustration that'd be nice to cut apart or the header. Let's see what else is in here. The tortoise, Oh, the Duchess. How fun is that? There they are with the
teapot or this one? This is good. I think I'm saving this one. The mad had her singing. I'm going to set that
aside because look, it's a nice size. I can even trim it up and it'll fit really well on my card. I like using texts that's
in other languages. Here I have the Paradiso. I'm just going to grab a page. Here's a German book I found. I liked these tiny
squares of illustrations, but notice the pages are more white than these old book pages. I think I may not be using them, but I sure like that
one flower that would be very pretty
for another project. Who doesn't love
Pride and Prejudice. I really like this. And one of the
things you notice in all the books is that there's different font sizes
and thicknesses. How about saving a page
of Pride and Prejudice? In fact, this page even has Elizabeth and
Mr. Darcy on it. So maybe that'll peek
through our art. Another book that's really good for collage, a dictionary. I just love the bold
and the fine print. We're going to make strips. So this is going to be
a very easy collage. And what I mean by strips
is our background is going to be multiple
strips of text. So to do that, Let's pick some dictionary. I'm just going to tear that off blow fly. How fun is that? Okay. Like I said, I want a page with
Elizabeth and Darcy. There they are in one paragraph. And see how they contrast
the two different fonts. A little Italian there. And you can't have an Alice in Wonderland
illustration without a little bit of Alice
texts going on. And I kinda like
the, the poem inset. And maybe we can pop in a fifth layer because they all look
a little different. Oh, and look, when it goes off, caddy want bus, decide if
you like that are not. In fact, I think I do. I'm going to leave it a
little caddy want bus. Again, I'm picking it up. And who knows if it will
make it onto the card. Exactly how I had it going to do a generous amount of glue stick on here because
these book pages are really light and fine. And let's start with
here on the bottom. And I've got some
glue on my paper. I think I'm going to move
this and I'm gonna put my blow fly up there next. You ever get a
little extra glue? I like my app, my pride and Prejudice, but because it's
going to overlap, I want some glue on my paper. Let's see, is this
one coming up? I'm gonna go up. I think
that one's gonna go up. And my Italian right
in the middle. I want to make sure I don't
have any white showing. And then comes my poetic instant and set compliments
of the method header.
4. Vintage Book Pages Part 2: Now as you saw in my last video, I was working on this card and unfortunately
the video stopped. But I am here to recreate
a very similar ATC. And I have some new
pieces of paper. I have my foreign language, I have some really
antique looking papers. I have some more
Pride and Prejudice, and I've already
got them in strips. So as you saw before, I was laying out the words
and strips and I have this one little illustration
from a Winnie the Pooh. Now we are six book when that's going to
be my focal point. So let's get these
glued on here. Then my last video, I had a piece of paper. I'm going to use a glue stick to really cover this card stock. Was going to lay them
out, pressing down. And then Definitely I need
some more glue paper. I'm putting glue also on
this because it's going to overlap and not just
touch a card stock. I want it to lay down on my
other pieces of book pages. And let's see what
else do I have? I have a little bit
of a Shakespeare. Let's put that on there. My strips are much larger
than my last book. I'll see this yellowed pages. These are from the Music Man. Let's see. How about strip of Italian. Something really small. The font is very similar. Actually, I really do
think I'm going to use this very yellowed paper. If I'm a paperback book
I recently picked up. And I was okay with it being
caddy want as last time. Not exactly sure how caddy
want bus I looked today for. We're going to trim that up so I can be very clear
about my edges. Going to trim this excess off. The scissors have a
lot of mess to him, a lot of glue. But they still do the job,
especially for crafting. I'm going to move
this off to the side. And let's look here. Really love how that
background looks. Oh, that looks amazing. Now I do have my image
of Winnie the Pooh. That's probably a
Christopher Robin. I'm not sure, depending
on the story. And I want to ink the
edges like I did here. Going to use something. I'm a term holds distressed ink. It's called rusty hinge. It will have some red to it. And I'm okay with that. Just going to scuff this on, dragging it across
my torn paper edges, even getting some
streak marks on it all. Well, that's quite a
bit of streak marks. That's awesome. Okay. This aside and make that of folk or I think I
can trim him down. So let's read hash of this. There we go. Now, a little bit
of second layer. What can we do
with second layer? I have some very
goldfish colored, um, or I have this darker color. Let's see what we like here. These are just scraps of paper I had from gel plate printing. And actually I think I really
liked the gold better. I'm going to maybe
save that for my word. And did you notice this
depending on how you tara, do you tear from this side, this side, how you
pull the paper off? You will get that rough edge
of white showing or not. Even that being caddy want
this is kinda fun to me. I like seeing that. Now to decide on my words. Let's see here I
have a clippings, stickers, magic and truth. Little things. Little things might
fit very well with my little toys and
little people. And plus I really like that. It's bolder. It's bigger. It might be the title of
my page, little things. Oh, and see how it's very
antique looking as well. About something across
the top layering. I kinda like that fact I'm going to put my little
things on right now. And let's see what a strip of this purple brown like. Oh, yeah, look at that. You know what, It looks nice. It's because of that
rusty hinge color. Actually compliments, looks
really well with the goal. And that Burgundy. I really liked that. And groups of three always
work really well together. So maybe yeah, off or
both of them equal. Or over the bottom. It's a little heavy down there. Something caddy waffle
or a cross here. I think I do like it
right through here. And it'll peak out
on either side. Just a smudge here and here. I'm really, I think
that's coming together, so I want to remember
where this goes. So I'm going to put
my focal picture, just attach it to my goal. And then we can
glue up the back. Oh, I'm can't lay that down yet till I get my strips down. They're all kind
of in our woven. Paper. Crafting is a bit like weaving. The layers we're making
and the ends and outs get a strip
of glue on here. And I did like it down here. So let's work with this together before we really press it down. Oh, oh, look at that. Yes. Men are locking in my paper. That happy, happy accidents. Don't you agree? I love that warm hand press. A warm hand press. There we go. I'm going to trim this off. See what our final
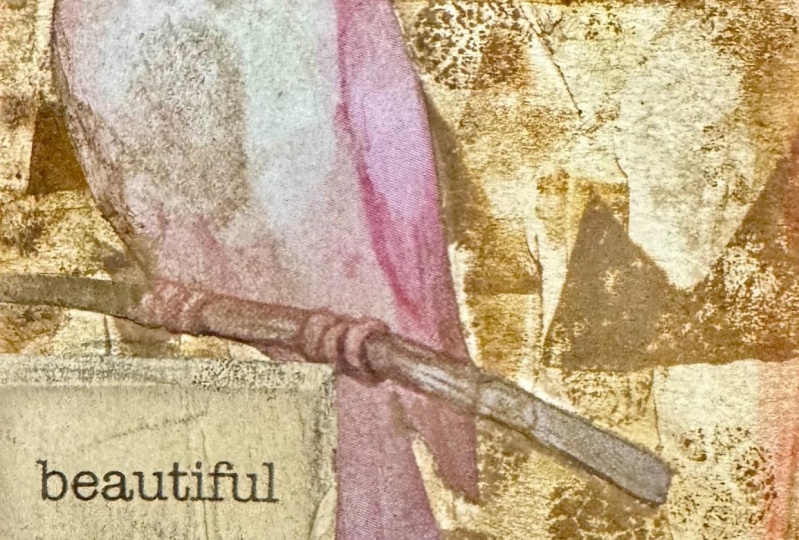
piece looks like. This is my little Pooh bear
and the collage little thing. This ETC. Card. How do you like that? You know what? I'm going
to add one last touch. Go into the board or my card. My rusty hinge. Then I'm not gonna
go as crazy there. Oh, that was the final touch.
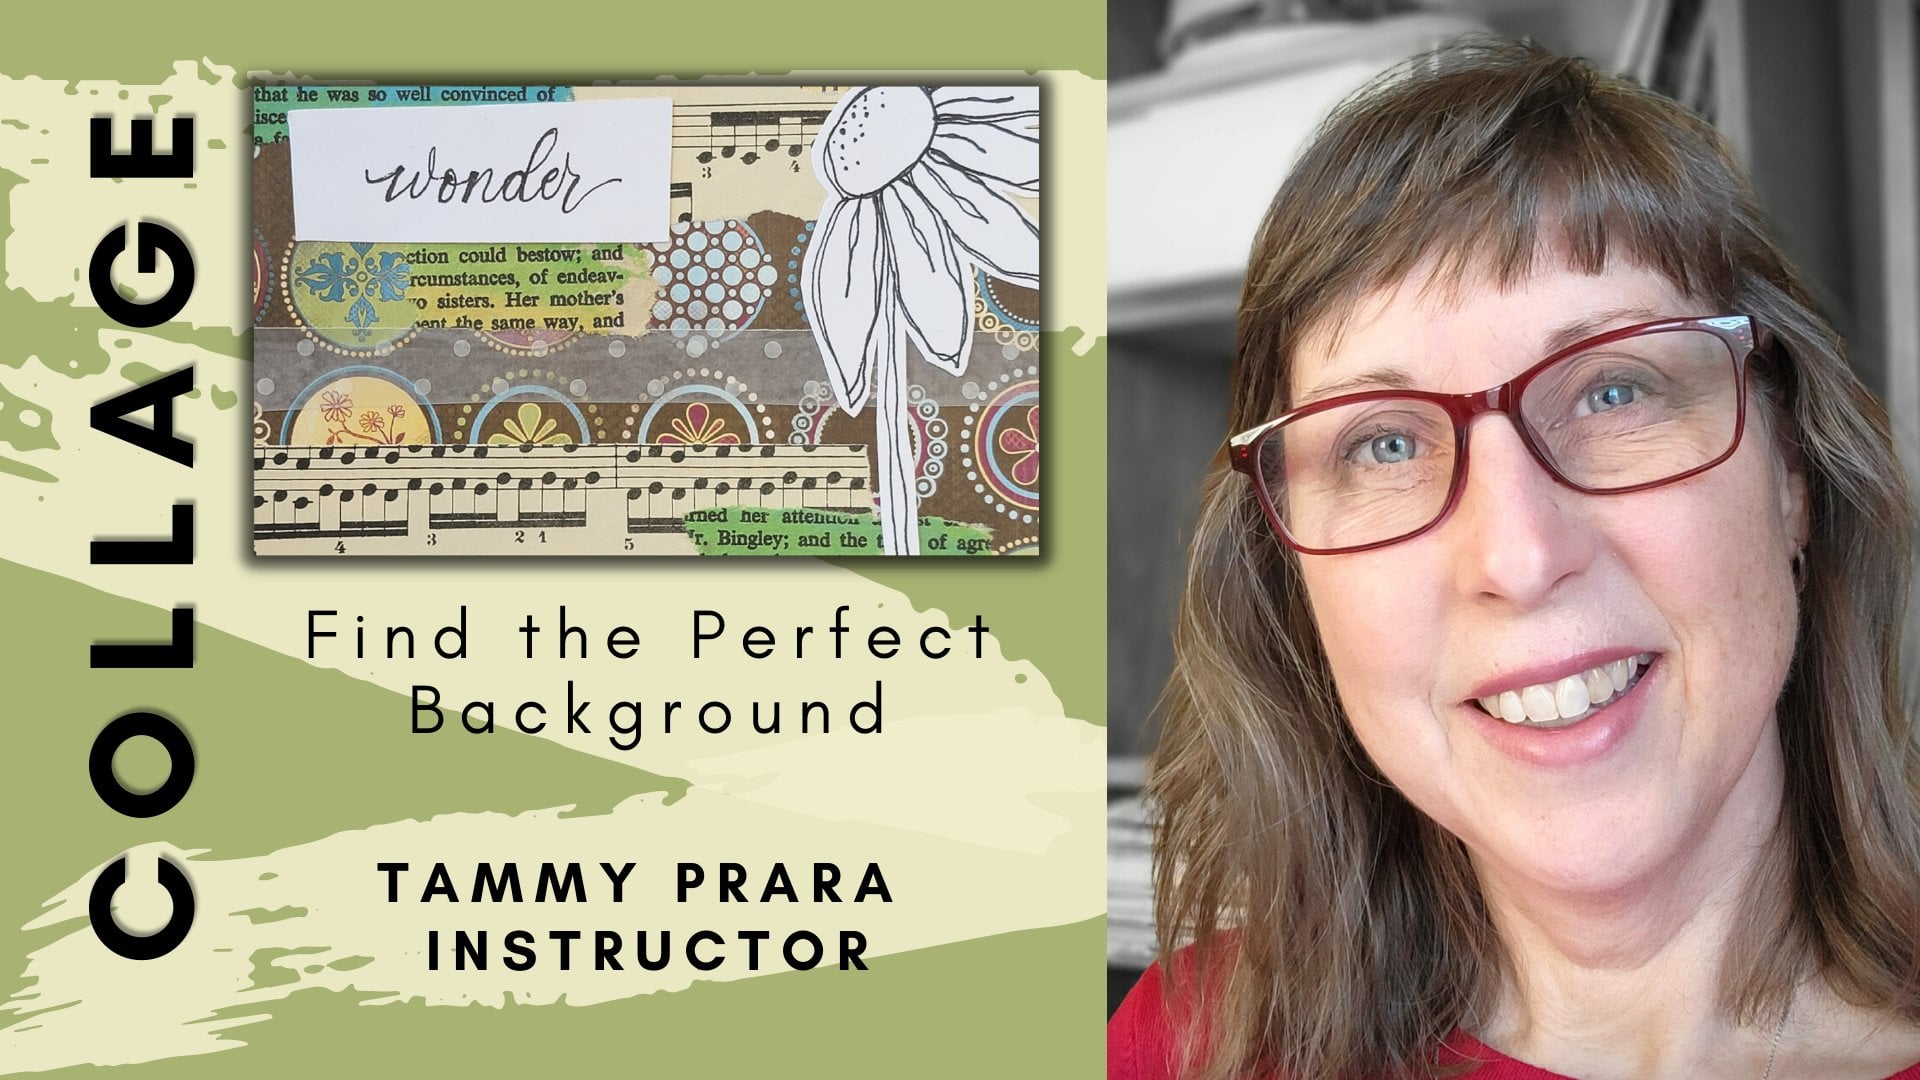
5. Coffee Table Book ATC: Something I liked about this
book when I picked it up, used at a used book sale, was there was some
illustrations, hand-drawn illustrations
along with the photographs. So this would make
a nice element. This is actually what I
took for this flower, was cutting a piece of the
flower out for my page. In fact, I think I'm
going to use this. And it might even look
fantastic against my green grass background. I may just have
exactly what I need. As I'm looking at my elements. I know I have a
background and I have my foreground, my focal point. But I'm going to need
some mid-range elements. And I'm already
thinking because I have green and this periwinkle blue. I think yellow is going
to make a great accent. And I actually liked the
word play over here. So I think I'm going to do that. And I did have, in my Sense, book some pale yellow
pages with very tiny font. Here's some more yellow text
that might work really well. I'm going to save that because the font
sizes are different. I do like that. My two book of sayings
that are easy to choose, a word, a phrase, that will go with
what I'm making. So I'm gonna save that for last. I'm getting ready to
do my background. I have my glue page
all ready to go so I don't make a mess or
too much of a mess. Now this actually has a
little word, summer on it. Debating whether I
want that to show or do I want something up here? I'm actually leaning
towards this side. So I'm going to
get my glue stick. So if you find that this isn't sticking the way you want it to, go ahead and use
your liquid glue. And I definitely love
my plastic squeegee. Few have a credit
card or credit card, a plastic card, gift cards, that would work just as well. I think I found mine
at the dollar store wasn't even that special, but it sure helps press
that glue into my project. And I'm trimming first because
I need to know or my edges are traditional ATC cards are
a certain dimension only. So I want to know that that's exactly what I'm working
with right here. I think I like the
grass moving down, so I'm going to
leave that as my up. I'm going to work in
the portrait mode. I'm going to fussy cut my alums. And two, I'm assuming I'm
saying that correctly. Fussy cut is when you
get in nice and tight. This flower right here. I'm going to save
this bottom text. One thing is I'm saving it because It's at the
bottom of the page. And maybe this will
come in useful later. So I'll save that. Also. I kind of liked what
was talked about here. I'm kinda particular
about the words showing up in my art what's
going to be seen? And maybe let's take
this down a bit. Don't you just love torn edges? I think it looks really
interesting that way. Actually, I think I want
the yellow behind here. So let's see what I
can come up with. With the yellow. I do like that. I do want to make
it a bit thinner. So let's take off a bit more. Yes, the yellow works
really, really well. And I think I'm going to
take this blank part of yellow and save it for my word, my phrase that I
can put on here. And maybe I won't
need the white. Maybe the white can just be a little bit
of a pop on there. One of the great things about collage is moving, arranging, before you glue down, can you know, for certain that's the look
you're happy with. So as we're playing and
arranging and rearranging, that's the fun of collage. Now as I'm working
out my elements, I want to try some tiny text. Maybe this was too bold of word. I like that too. Oh, yeah. Yeah. Look at that. Just all that darkness on
the bottom looks great. Oh, maybe just a
smidge of the yellow. I like that too. I think there we're
getting there. We're getting there. I'm glad you're here
with me to hear exactly how I'm thinking. Now. This is not
technically that long, so let's take that
off so we're not confused and doesn't
need anything else. Try one more block of color. I think that
actually looks good. I'm ready to glue down. Going to stick with
my glue stick. And one of the problems
I've always had, and if you have a
solution for this, please let me know. But I like what I see when
I move it off the page. I just hope it gets
back in the same spot. Ads, the ebb and
flow of collage. You think you have it perfect. But it's not until
the final glue down that you can surprise
yourself with a new layout. It's not going to be
exactly how it was, where you thought it was. Now this is actually
a peel and stick. So let's find the paper backing. Go. Do more. Actually, I think I
will put it over. And my focal point as
this beautiful flower. Not exactly sure what it is, but stay, stay, stay. Did I not get glue on there? Very simple. Four steps. I say four steps because
there's background, midground and your focal point. And the last piece,
sign your work.
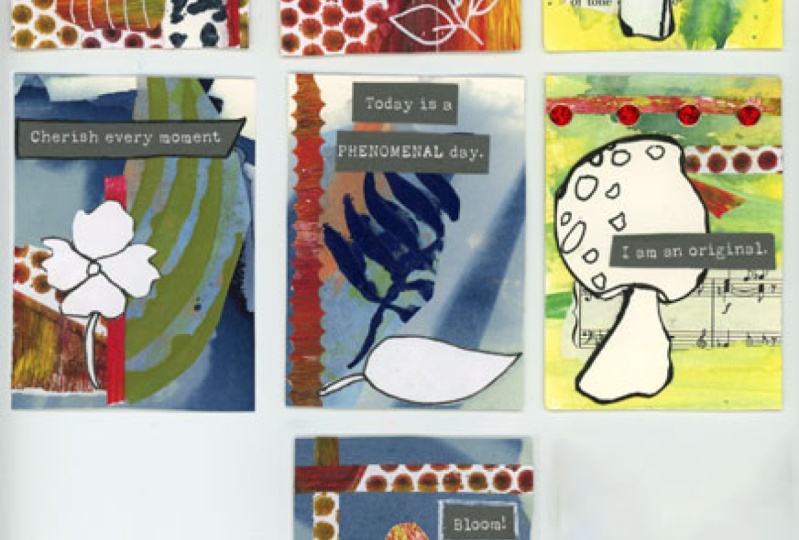
6. Watercolor and Doodle ATC: For this ATC card, we are going to use
some watercolor. And that's why this is out. We have a little water. These two are for us to doodle. Can you create some images
that you can put on your card? Like my sample? If you have idea book f naught, y naught, is there an element, a shape that inspires you? A little home, a
little mushroom. Maybe. You want to do a little bit of foliage like I did something simple botanical, basic,
elementary shapes. And we can cut that out. But first the watercolor so that can dry and
then we can doodle. I'm going to wet them
all just a smudge just because I'm not sure
what I want to try yet. Have a lot of blues. I have a little bit of green
and one reddish color. I think I'm going to
work with my green gold. And let's get your
paper completely wet. This is what's called as
a wet on wet technique. Up to the corners. I want the whole
thing shiny wet. And I'm going to
use my green gold. I just love colors that
we'll have two tones to it. So here's a gold. I'm going to thin that out
a bit and bring it across. And how about touch
of olive green? In fact, make that
a bit darker there. How about really dark
up in the corner? And they can blend
in play together. And let's see which
one says aqua green. I write my colors on
the side of my pans. So I can always
remember what they are. Now that's very loose, very wet. And that's exactly what we want. My papers curling a
bit doesn't bother me because I usually will actually put it under a heavy book when
it's just a bit damp, dry. Oh, you know, it'll be fun. I think I'm going
to take it there. That's fine. If you
haven't splattered paint. You ain't living. Let's look at this
fine tip gold. Has that something else? Wow. Okay. We're going
to drop that in. To give it a little bit
of finish. Finesse. You can let your
watercolor play and swirl. Alright, We really got that wet. I'm going to let it dry. And we can do it all. Doesn't have to be complicated. I'm just using
really rough shapes to give the impression
of mushroom. And just doing a woman, I hash marks and a few
circles across the top. And I can concentrate
them all on one side for a more
asymmetrical luck, which I think looks
really charming. Going to fussy cut my mushroom. Will speed this up. I've got my paper is all dry. I do have a very simple
doodle of a mushroom. Now, what will my
mid layer look like? I was thinking about
maybe some more text. Since I do have my pre
ready text, ready to go. Um, I do have a little
bit of the brown. I don't know if I like
either of those two to well, let's see what else we have. Maybe something from
my German book. I have any text
already cut for that. That would be give
me some white page and then I think I will go ahead and just hold some
up and see what happens. If I like that. Actually, I think I do
better than my dark paper. Try some font from
my big English book. Embrace said I'd
saved some just to see if this smaller text works better. And actually I think it does, I think I do like it
better than my large. I'm putting down my white
paper so I can have a better background to see. Do I even want both fonts? I could use both fonts. Brown. That's not bad. Alright, now I
have some sayings. Do I want white or black? I think because I
have that brown, I might need black. If I take the edge of
my quote saying book, I can see what the black would look like on here
instead of the brown. And I do like that better. Now the question is, anything up or down, down and up and bullock wording. I think I do want
the black wording. And I do like this. See possibilities everywhere. Because this is such a
basic, simple quick collage. I think I'm going
to cut this up. I kinda copy the style that
I did on this other card, giving two lines of text. And I do think I'm going
to shorten this up a bit. And as I turn that over, here's another piece
of inspiration. What do you think of that? I actually think I like that. Let's leave it. Happy moments. I am ready to glue down, wind to carefully lift
that up and scoot it over. And let's do my
self-adhesive sayings. Just about a
self-fulfilling prophecy, see possibilities everywhere. Because that happy accident
of turning my paper over gave me that inspiration
of this green bit. I loved that. Okay, So outcomes, my German, I don't have to
glue at all because it's not all going
to be on here. Right here in the center. And keep on my magazine
snippet right here. I like that red right
there in the middle. That was inspired. Now for my mushroom, I'm actually going to
use a liquid glue. The Tammy method of the press. Pressing everything down
so my glue stays nice. And I'm so grateful
for my paper. We're going to trim that. And we followed our
four rules of collage, background, midground,
and our focal point. And don't forget
to sign your work.
7. Wrap Up and Class Project Ideas: Thank you for joining me today. I hope you learn something new. Your class project. Choose one of the styles
of artists trading card. Maybe you choose the book pages, or maybe you use the
glossy photo pages. Or maybe you chose the
watercolor technique. Create that and share it
in the class project. I'd love to see what
you've created. And the world too, we would love to encourage each other and learn from each other, be inspired by each other. And then that way you are trading your artists trading
card with other artists. I hope you'll give it a try. I'd love to see your work
and let me know too. If you've actually swapped with someone or you've sent it
on to make someone's day. Have a great day. Thank you for joining me.
 Tammy Prara, Making Matters