Transcripts
1. 00 - Overview: in the short class, you'll see how to use basic splint tools to create and modify supply in tow. Florist segment. How to clone these. How to arrange them into a composition, how to add light, how to manage them and off course how toe Add some effect in lighting, how to remove black dark shadows and how to arrange things to achieve Look you need. And now you can see a few examples or works that can be produced with method and techniques that a show in these glass. So let's open cinema and start building our project from scratch.
2. 01 - Building element: in this series, we're gonna look how to use basic shape tools. Was playing tools and murder of Kelowna for creating beautiful organic Florida ornament. And let's start, and we'll take spline arc tool and draw some shape. So I hold left button to move, and then I can manage the are too and extent. For example, if I move mouse to the left, you'll see we get Newark and I hold left mouse bottom and create another to East Element. So I agreed one more, so I'm holding left mouse button and forming the shape. Now I hit, escape and click to there, these last spying point and extend insight. So boarding lift my was button, then holding left mouse button small twist, and I'd like to create south and inside. So I holding left most button spine out, holding the left mouse button, drawing the Ark and extend it inside and smoke across park. And one element here, and maybe few sheer holding the most bottom drew in line, holding the most button toe reshape and to extend insight left left and maybe changing these arc a bit. Hope the shape is a cape may be small here so holding the most bottom drumline extent Reshape. Oh, it take some time. Yes, like this small here. Small. Yeah, and I think it's OK, so our shape is ready Now we're going to use sweep to and rectangle moving rectangle to the sweep and then Splain. And we have these strange things I navigate pressing middle mouse. Now I go to Rick Tango, Shrink down the with and you'll see we'll get our kind of extrusion. So I said, Small height and small with I ed rounding. So we have this smoothing age. Maybe 0.5. Going to sweep, going to caps, field cap cap steps 5.5. So we have the same shape and then five, and we have very smooth basic element, and now we're going to risk wanted to build our composition.
3. 02 - Forming design: so in sweep, we have to find on the front you our income point or going to move, and it's here, and I'd like to move it. Do these side so to have rotation around these free please said Courts zero. Now I'm going tomorrow graph. Kelowna Going to sweep going, not sweep. Clone our radio and you'll see these beautiful ornament as we have sweep and rectangle, we can manage height. I have small freezes and I go into cloners set to run the entrances for speed up my you put . And now I can create some variation on going to sweep and withholding control duplicated. Going to wreck tango. Extend height 16 and we have sweep. Let me name it. Stop and with have kind of random and you'll see that if we add some more counts. Greed this early ing. But still, it's very beautiful, and it's like mathematical stuff. We can extend three years and let's build a composition. I'll start from the center with, for example, six elements. They're not over lane duplicate extend at with other lane going to transform, and I can rotate this thing id like toe up it so and rotate extent radius. One more going to transform Fring down this size extent radius. So it's very decorative. Elements 00 and diet Want Teoh rotated to the opposite side. Maybe minus 90 at this kind of ring. Now I'll create plane. Move it to the side to the back. It was C. We'll have this cutting off element going to camera. Put it to the 00 00 So the front for you going to our render setting setting to maybe square element. I'd like to use maybe a normal lens with 15 4 clan and built the condition like this. I'd like to go, maybe to rectangle I use this search bottom Good Rick Tango and extend some height, for example. It was 20. I used me 60 Check. Yes. 2060 6100 Winning. I want twice. Oh, maybe these elements 40 120 And the small one decide, and I'd like them to use to be this similar. So we're going to the last corner and delete this week top and maybe move it to the front like oh, move. Play in a bit forward. So yes, this kind of thing Clone a move to the front. And these one? Maybe to the bottom? No. I made our composition and now will start to render and to colorize this thing.
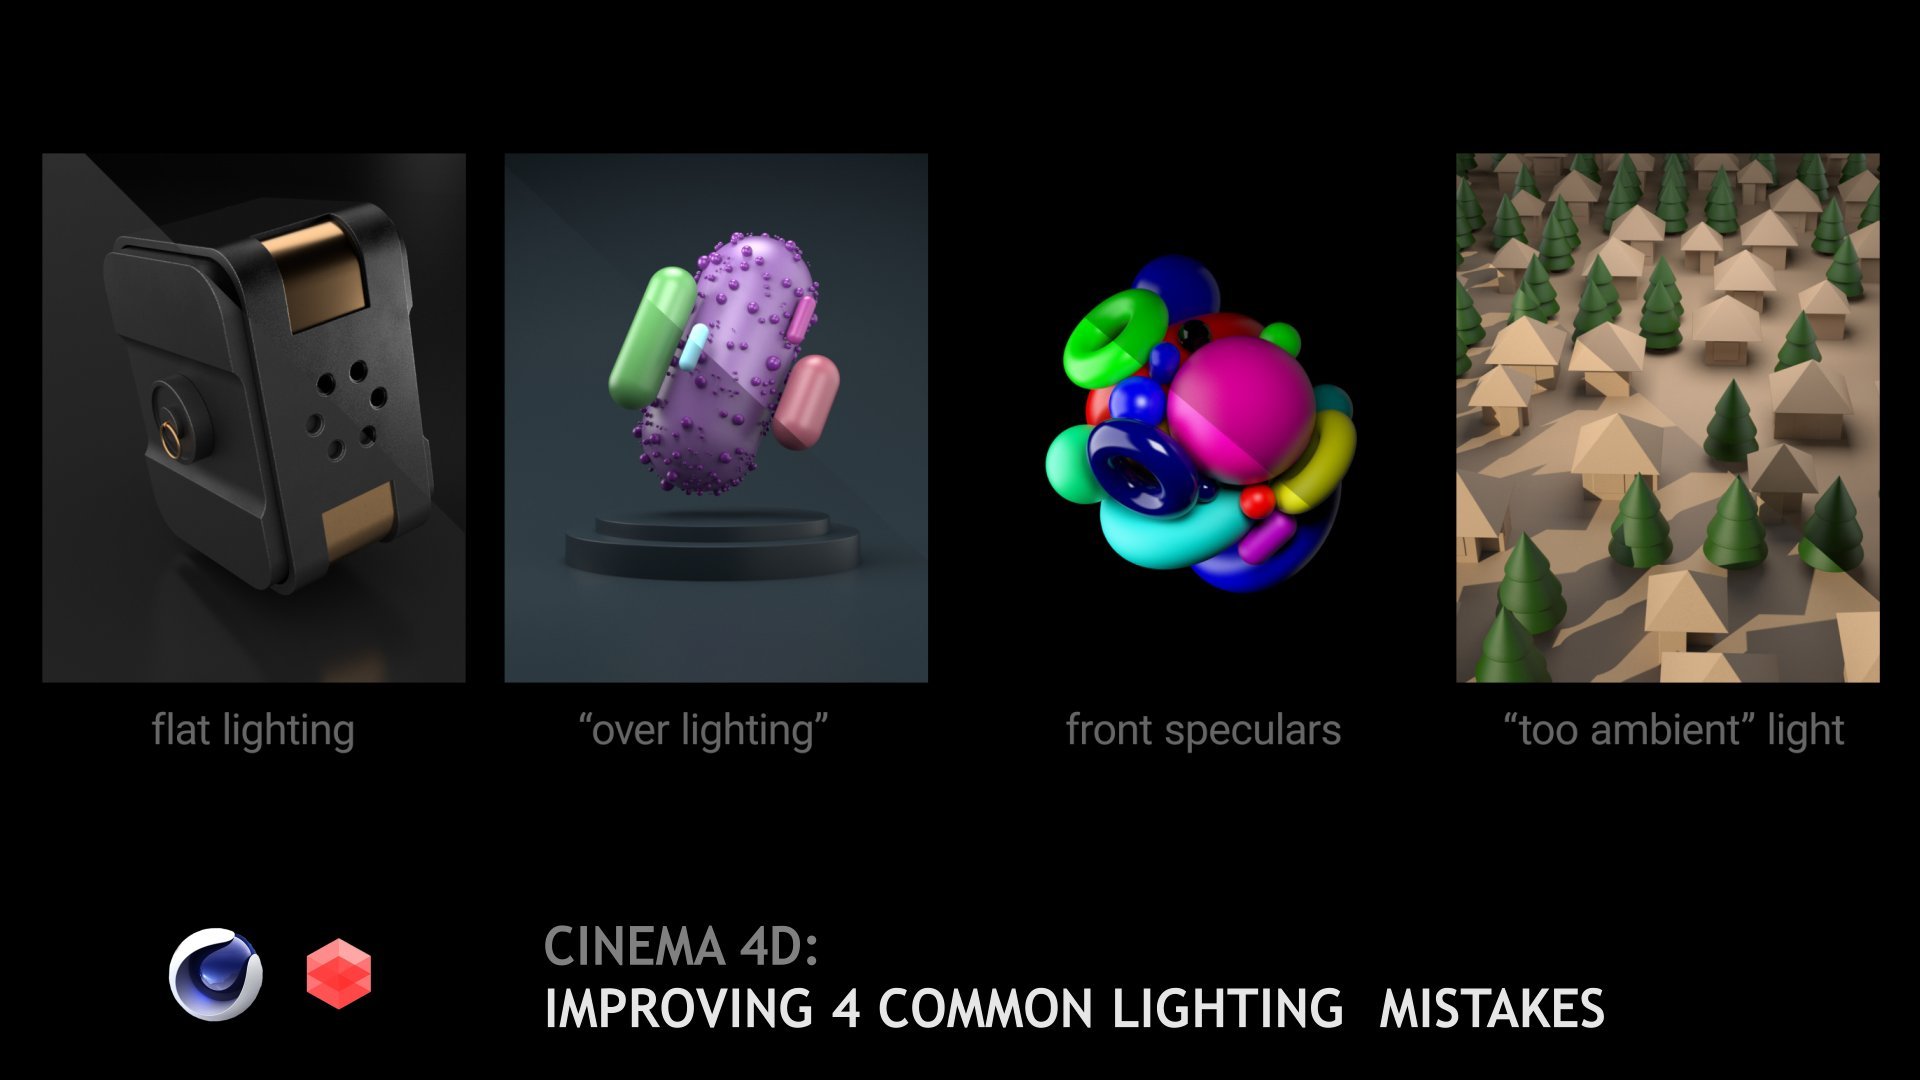
4. 03 - Rendering with Standart Renderer: after we build up the German for you, let me show you how to manage lighting using by standard render. First of all, they're going to the light said shadows area This is small, physically accurate, more realistic. Going to details in the square We have this radios. It shows the fell off and go into options on the shadow Visibility in view port. And now we can move our thing to the top like these and you'll see how our lights works. So I'd like to have small shadows. I extend our light me be a shrink down, fall off and extend more He surrender this kind of look I just like this dark areas And in this class I'll show you simple method with one light set up. Of course, you can add more lights. Let me show you Very first One light going to move toe with control drag rotate at, for example orange looking great basic material and at them toe all our elements. This is our 19 and these interface can be changed and reflect INTs. I removed the fold speculative at Backman going to free now going to die electric and add some roughness so basic plastic. Kind of like these. We have orange light from the bottom with short lights. I'm in short shadows and one more that the another side with for example, nido purple color and we can render and you'll see that we have very poor plight scene with dark elements. And now you have to tweak your lights, for example lowering their power 30 and manage all this stuff. It's not about these, Um, I mean this class Oh, at some strength. So it's up to you. Cow tow work with lighting. It's very dedicate stuff and everyone build his own. I just want to show you one light. Sit up. How toe manage these things. First of all, we'll go to shadows decrease a cure. So maybe 2 16 Teoh, improve our speed and add Puma samples. And now we're going to affect global domination. And now we have different presets. You can check what works better for you. But the idea off this team is to produce extra long light bounces so it heats the object and then going another way, I use one heat 2.2, going to symbols going to custom, simple count and prevue setting in record danced, so he surrender. We have some percussion with low quality, but you'll see that even these low quality stuff will work great and remove all the dark Sigmund's with have we have some noses and some of noises. I made off material. I think that looks nice, going to material going to reflect INTs. They're sampling increase by most playing right to. I think it works better with reflection. And now I'd like to keep with one bones. If you add another, for example, method. You can manage depth count, for example, £16 too much. I think four might works good, and, as I said, you have to manage and work with preset to find one that fits your needs with overall quality and speed up. And they're a lot off technical tutorials about customizing stuff, and you'll see that we have a great decrease in speed by adding on Lee. One additional message four bouncing and a rendering report with these burden or common control are and you'll see when we add for your more bounces, we have where you white image, and I think we'll have to decrease light power or going here secretary method and decreased there intensity on these methods. So, for example, 80 80 and now I don't want to change this set up. I just want toe. Add few materials with control. Drag the basic floor. I'll create blue material for maybe this and will use white for other right click. Oh, replace 12 three and red one, and you'll see if you use betrayed more within clone and you'll have to elements they will have order. White, red, white, red, wide, red You would have for elements, and one of them is red. You have three white and one red, and you can build your own order but aiding colors and edit clones and they will change one . Now, though, cloner, I want to add one toe. Remove this purple thing sweep, read and maybe a three or four even more elements with white segment. Now we have to near red object, I add. Some signaled to count. So if we have 123456 so 72 should works fine because it divide by six oclock and a hit render to see what we get at the end of these class, we have some problems and this is time. So it takes on Lee already 24 minutes and we have some zones to random. That's why in next should video I'll show you how deep you render I use. Red Shift, for example, will handle these seen.
5. [optional] 04 - Rendering with Redshift Renderer : Let's have a look on GP render. I use red shift. I go to global elimination step and said Iranians, cash and really inspiring cloud. I think it's quite the sea Calgary's we have sudden trader said to number bonds to for and simple next to 256 I hope this provide clean result. Now we go to Red Shift. Rich friend of you Doug, this panel here she play, we have starting red shift now it should parse was seen. And one thing that the complex you've seen them more ram you need to allocate for your GP or so in this frustration were going to corner And don't forget to use rendered instances for loading memory using. Now we look our camera going outside and create some place they used it Relate as they said will use one light And we have immediately appear upbeat and struggled with you Port. So I posed this thing Red state going to displayed Zabel shadows and going to hell nine mode. We have speed degree increase. Move it to the up Preparing progress friend. Er going to move it up a bit extent moving forward so we don't have this strong shadows going to relight degrees. The strength, maybe 10 create material and we use same thing plastic. So we're going to preset plastic with head blue one at roughness. It will update our preview. We head wide one and read one at Play Blue to the plane. If I pose this thing and double click on this fair, it should update a preview. Sometimes it could affect some bag, but this time I just need to replace previous stuff with our new materials. Select cloner, right click Apply and she played and you'll see that we have immediate Vieux Port respond. I have to cars 1980 t I do force and it works Very great. We have this dark zones and we can handle these things differently. We can add additional light. For example, I'm with in front of the camera. Extend it said intense two, maybe 21 maybe two. Move it up and once again very, very responsible. Going to put board there. Resolution is set and a trend of and let's take a look. How much time? Oh, I'm sorry. Wrong. Vieux Port Going to camera now, random. And now we'll see how much time it will take to calculate this image on too graphic cards. We head one minute building caches, and now you'll see that almost in two minutes will get our image. Brenda. Even one minute, 20 and these with over blight 32 minutes, you'll see the difference. And that's why I am using Jeep you, renda, to save a lot of time in my process. So thank you for attending this class and hope youll get new knowledge is for improving your skills and work quality.
 Alexey Brin, Motion designer