Transcripts
1. Overview: his motion designer. I always feeds the problem with render times, and of course, you can rent a render farm. But in this class, I'll show you what tools and settings you can use in red shift to optimize your render times and to shrink down there waiting time. And, of course, even in renting render farms, it can save your a lot of money, so we'll start to explore their techniques.
2. Sampling and Noise: red shift is a powerful tool, especially when it comes toe render optimizing we can on our interview. So we have some Renda and by default you should check. The rendered in form is on and we have not Barket rendering but progressive rendering. And for example, we have some settings by default. When we render this thing, we'll see that there are a lot of noise. Sometimes it can be tricky. How toe fix the thing. I show you the logic. We're going two samples mode and you'll see that we have immediately bucket moat these black and white image the white zones shows where we hit maximum off our samples. Our logic is to get a great image. For example, I up this samples will see that we have ls more noise? I'm going to brute force and maybe up this thing up our image became more clear. You can check it. So you remember the first attempt the second Hello cleaner shadows. But we have some issues with metals. Of course, you can go the hard way. You're going toe o a B manager going to maybe diffuse reflection refraction. Shadows. Oh, I think difference. We don't need for now and all other stuff, especially if you can't volume rendering etcetera. And you can check layers and you can see which layer has the noise. But I prefer Teoh, Simplify workflow. We're going to disable brute force for now and we see that we have much clear image because but forced insert a lot of noise. We can go and investigate what zone produce a lot off. Nice as we see, we have Nour's in glass, our shadows war almost clear. So we're going to simple overwrites going to reflection and I peak hour simple Zmax animals to play before we're going back to our samples and our reflection Start together a lot of more samples. We have these white zones and they're lowering their threshold them or samples you get in noisy zone, for example, If I up it to a very high level, we see that our white turns into gray. But when I lowering their result, we have our white come back into the scene. I suggest you to keep the balance, maybe using default, adaptive threshold. And if you said samples over 4000 it's time to investigate dual. You're makes Do you meet adaptive aero threshold in you're seeing, for example, maybe all you need to do is just decrease, maybe in twice. And you don't need so much samples. I keep the default up our symbols and we have some noise being reflection. Maybe I repeat this thing, Brenda, off course. All these manipulation gathering extended, run to time. But I'll show you the trick. Why we're doing this thing so basic. A lot of nice noise, noise improved and our maybe final settings. And you see that in meadow we have it clear there result. And after you did the basic settings, you're going to J and work with workforce their same logic, maybe twice and hit render. Sometimes if you have long around the time you can change, we can. Brenda, I think a very good and clear result we have here, especially in these zone and in this. And we have, of course, drastically improved off, render time and sometimes just hit Iranians Point Cloud that it works better Now you may ask, we have 20 four seconds instead off 12 for example, Here we have these four seconds 54. But let me show you one thing duplicate and said Not optimized, not optimized. 4.5 seconds. And now we're going to our simple overwrites disabled this thing and said 2088 in our uniforms. Let's check the time. Six seconds and let me render full rest with our previous result This hour Unified sampling . You see that we have a lot of noise already and in shadows and check their in the time we had 24 seconds. And now we have much more time to render almost 30 a five seconds. So do so. One. So this is the best thing that shows that using not on Lee Unified sampling But analyzing your image and going to these simple overwrites folder and up on Lee samples you need to clear your image is a good way for optimization your Brenda. And don't forget that we're starting with Disable this, Jay. We're going to unify, assembling fighting something in between, for example for and 256 sometimes it can be higher. It depends on your scene, of course, but we keep samples lower, going to simple overrides and up on Lee samples. We need to clear I was seen shadows Maybe reflections or maybe lights or shadows would be more clear, or my Rivelle ums or scattering, So this is the first lesson.
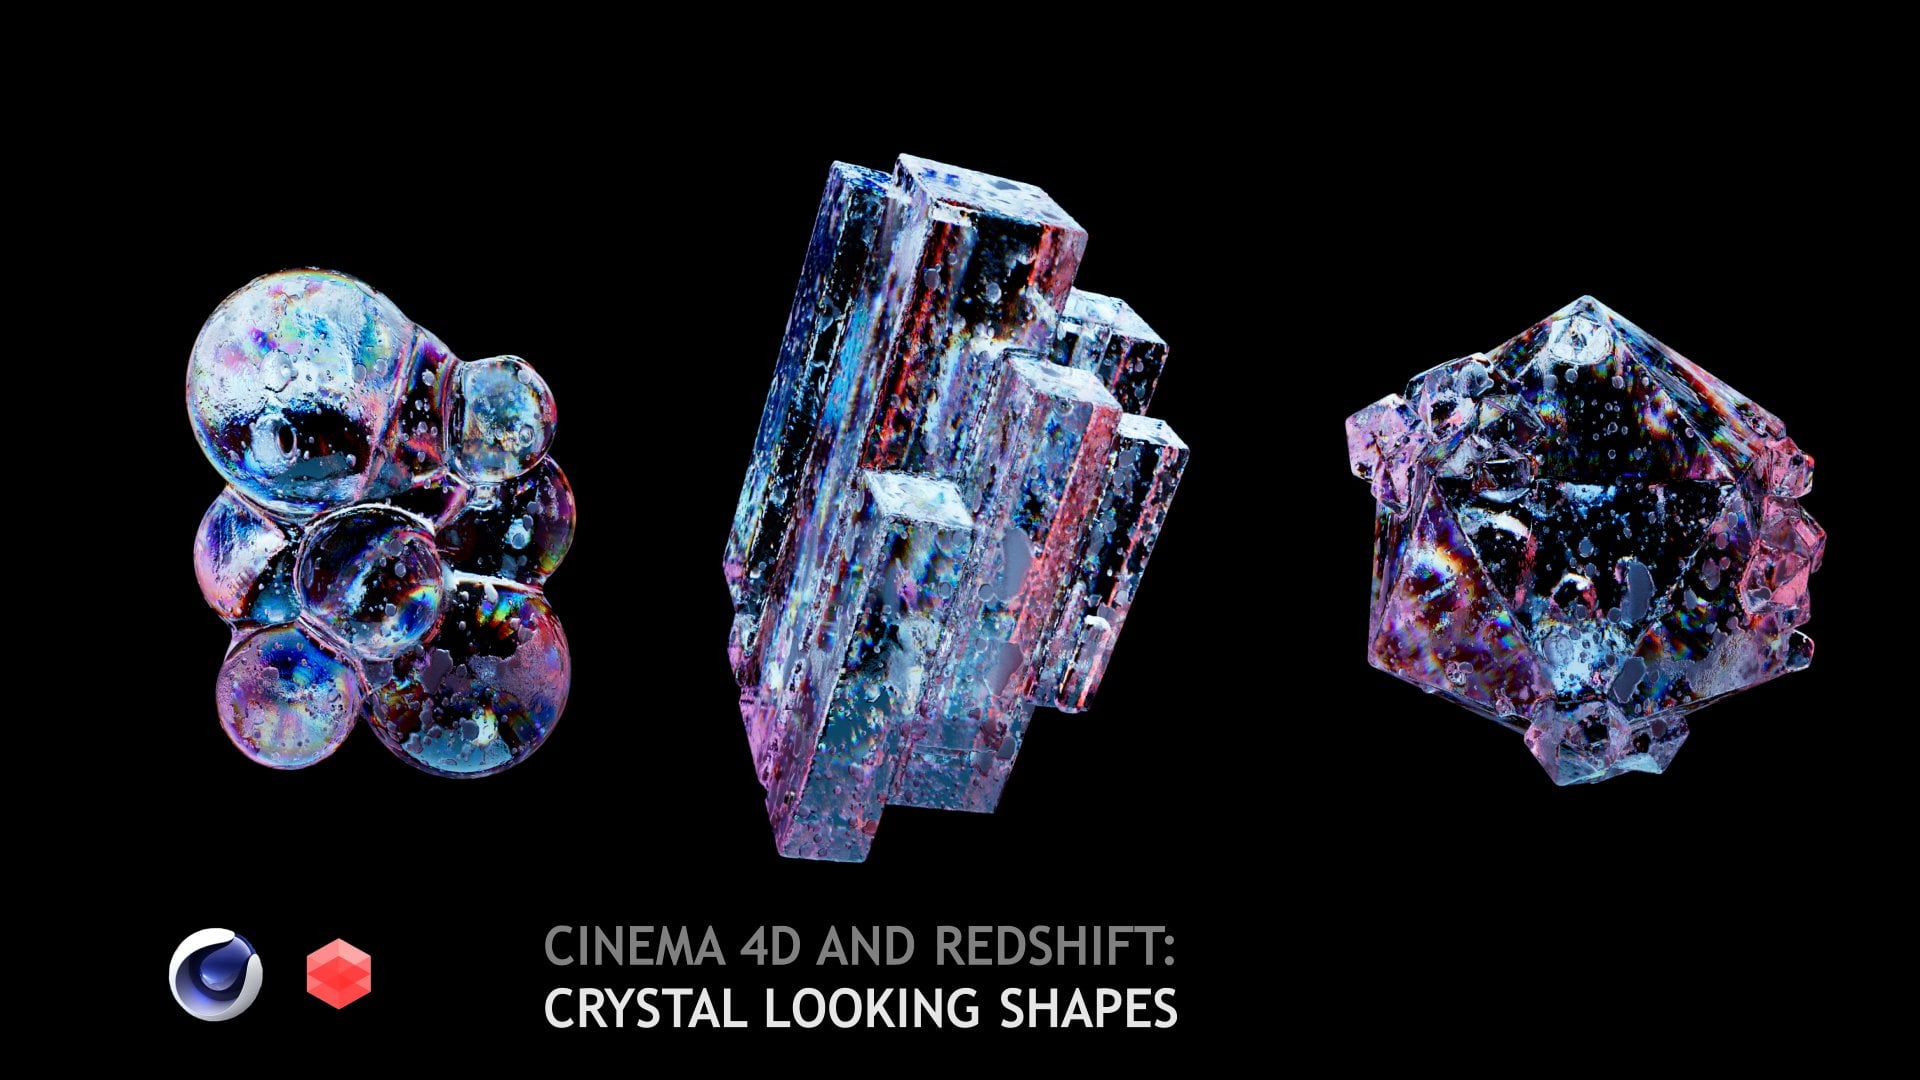
3. Redshift 3.0.22 features: the next scene. Chrissy, uh, this is a kind off bubble. We'll show you how we can optimize or we can play with red Shift 0.30 22 higher. There are two more and you settings that we have here and let me render before. Ah, while it's rendering, we're going to basic settings in. Just investigate what settings? Over, crank up we up samples Max Reflections and I have subsurface scattering going here. Now this is the word you can show you in first lesson. We're playing with symbols, find the level, find proper air or threshold value and then going and upping samples we need. For example, we have a lot off reflections here and we're off them 45 seconds. Now we're going to system. And if you have Arctic's cards, you can enable rt support your render cards and we could render I think, ah, this technology will be improved again and again if you have 2000 plus family in cards. Maybe 2080 2060 plus and all them you can get sometimes a great boost in rendah your sin. So we're going to system experience options and enable optics are t for wants what it jib use. We just said listing on and we get reduced by 10 seconds without losing quality. Want to beautiful? And the next thing he's ultimate example of what it does. It provides enough symbols to meet adaptive threshold value they lowering. This thing is the higher samples will be distributed to proper zones. The trend A and we check what we get course of their A sound preparing and these will not be a optimized. And it depends on your scene. So every time you're working with render optimization, check all methods you can use before send to render farm or two final render 32 seconds. I think this is a great improvement. And one thing I want to show you that in our base settings we had, um, big amount of noise in some zones and in automatic samples. We can get it clearly result. So these two options enable optics party and ultimate example also can improve your render speed even if you think you find the best values four separate simply. Let's go to the next settings
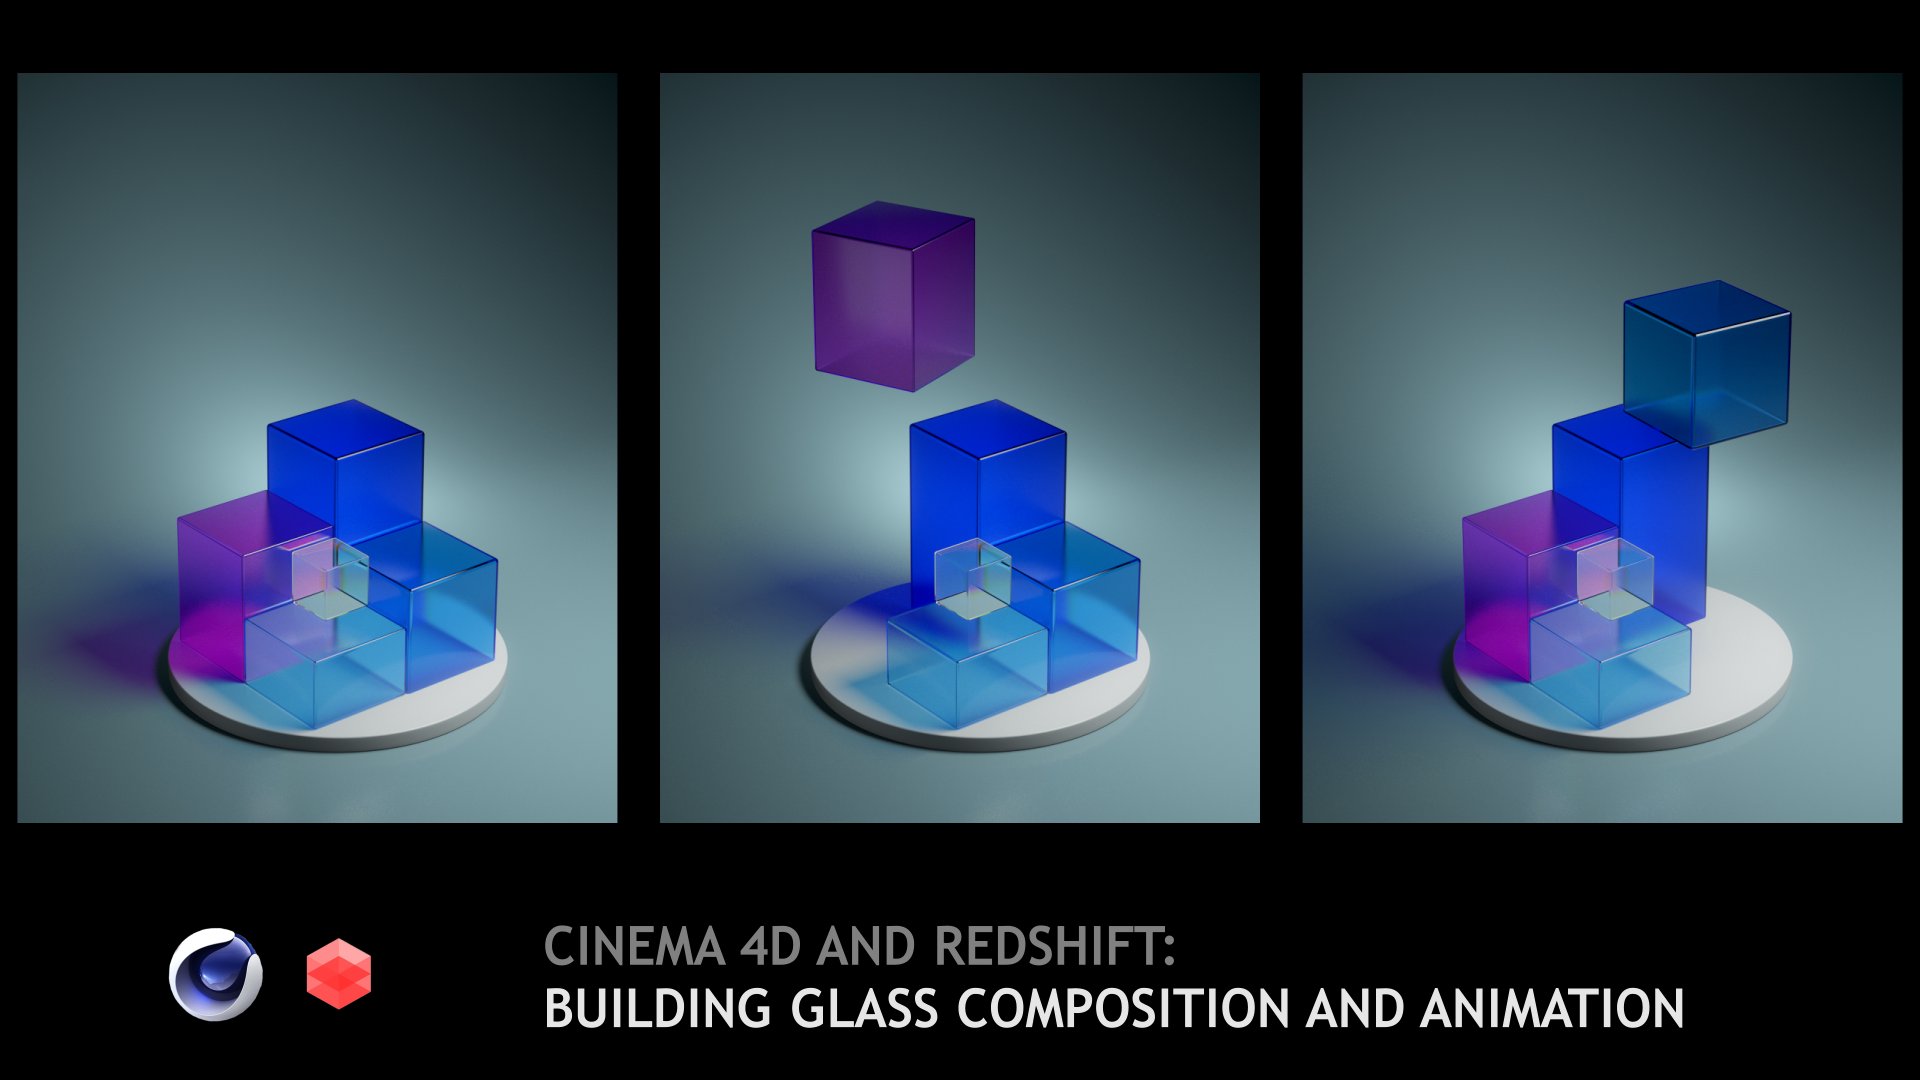
4. Bucket Size and Resolution: Now we have a very simple scene and I want to show you their one more trick that is connected with bucket rendering. Let me set the bucket rendering and you see that we have small back. It's that goes in I was seen and render eat in six seconds, almost seven seconds popping back in size. And we have 4.5 seconds and one more. The huge buckets. Four seconds. So we're goes from seven seconds to four seconds. But sometimes you can find Let me disabled bucket rendering glow these projects almost identical scene. But in the center we have very complex element and very simple at the site so we can go to our markets. I keep with 1 28 going toe our rendering and you'll see that they stuck with this element. You can sing everything. He is not working, but it's okay. You can see the sound or your video cards making you can check Temperature rendering is going on, but it really stuck with element. While these car is rendering only one zone, the other cart almost finished all the rest of the scene. We have 53 seconds and sometimes you can go and decrease bucket rendering. So both cares will render the complex zone You avoid situation when one card is rendering there. Maybe these transparency O r maybe subsurface catering. And they're the card finished and other regions and wait. It's very seen dependent and resolution dependent. It depends on how much cars you can't. Sometimes it can works with lowering resolution. We can check 39 seconds and we had 54. And now I want to show you that this scene almost indented, Kal. But resolution is much higher. And we have one minute so dear. Four seconds with big buckets and with small buckets. It doesn't veranda these think, you know, half. Be sure to check different bucket sighs rendering, but in more cases, they're huge. Value will help you a lot of time. Let's go back toe our ah bubble candy scene and check what we can get more with bucket size . Who had our 45 seconds 34 seconds started three. And now we can go. So just like its size, I disabled our appear she trend a and what result we can get here there render well our bulls 32 seconds with small bucket and 20 seconds with big ones. And you see that sometimes in low resolution we can get improvements with small buckets. But in final resolution, we have a lot off lost off time. Go on tell was simple scene and now we kept 32 seconds and head 33. So now you know that the logic is fighting with unified sampling. If you don't use, there's a field are emotional, you can go to ah, simple overrides. Find their samples you need for your scene. Then you go on, Jay going to brute force and sometimes you can just hit already and supporting cloud. I don't change from the full settings and it gives you a lot of improvements even in animation. Then in system, you can check off course optics up to you ultimate example ing and checking back its size. So now you know all the tools which I use to optimize our render. And one more thing is that we have optimization settings. If you have not much reflections or reflections, what transparency you can degrees, these values also to improve your settings, for example, we don't have reflections here. Maybe we can decrease, We don't have transparency and maybe we can Lowering their reflections, he trained and sometimes he can gives you in March speed in rendering. But sometimes not. It depends on your scene and render optimization is one off. They're not interesting part off motion design, but I think that cutting few seconds from each frame will save you a lot of time in ah, rendering balls sequence. You see that we get such a seconds. Of course we lost some see here some reflections. But overall, I don't see that much difference. And I prefer to rendah my sequence with 30 seconds per frame and not these 45. Thank you for your attention and have a nice day.
 Alexey Brin, Motion designer