Transcripts
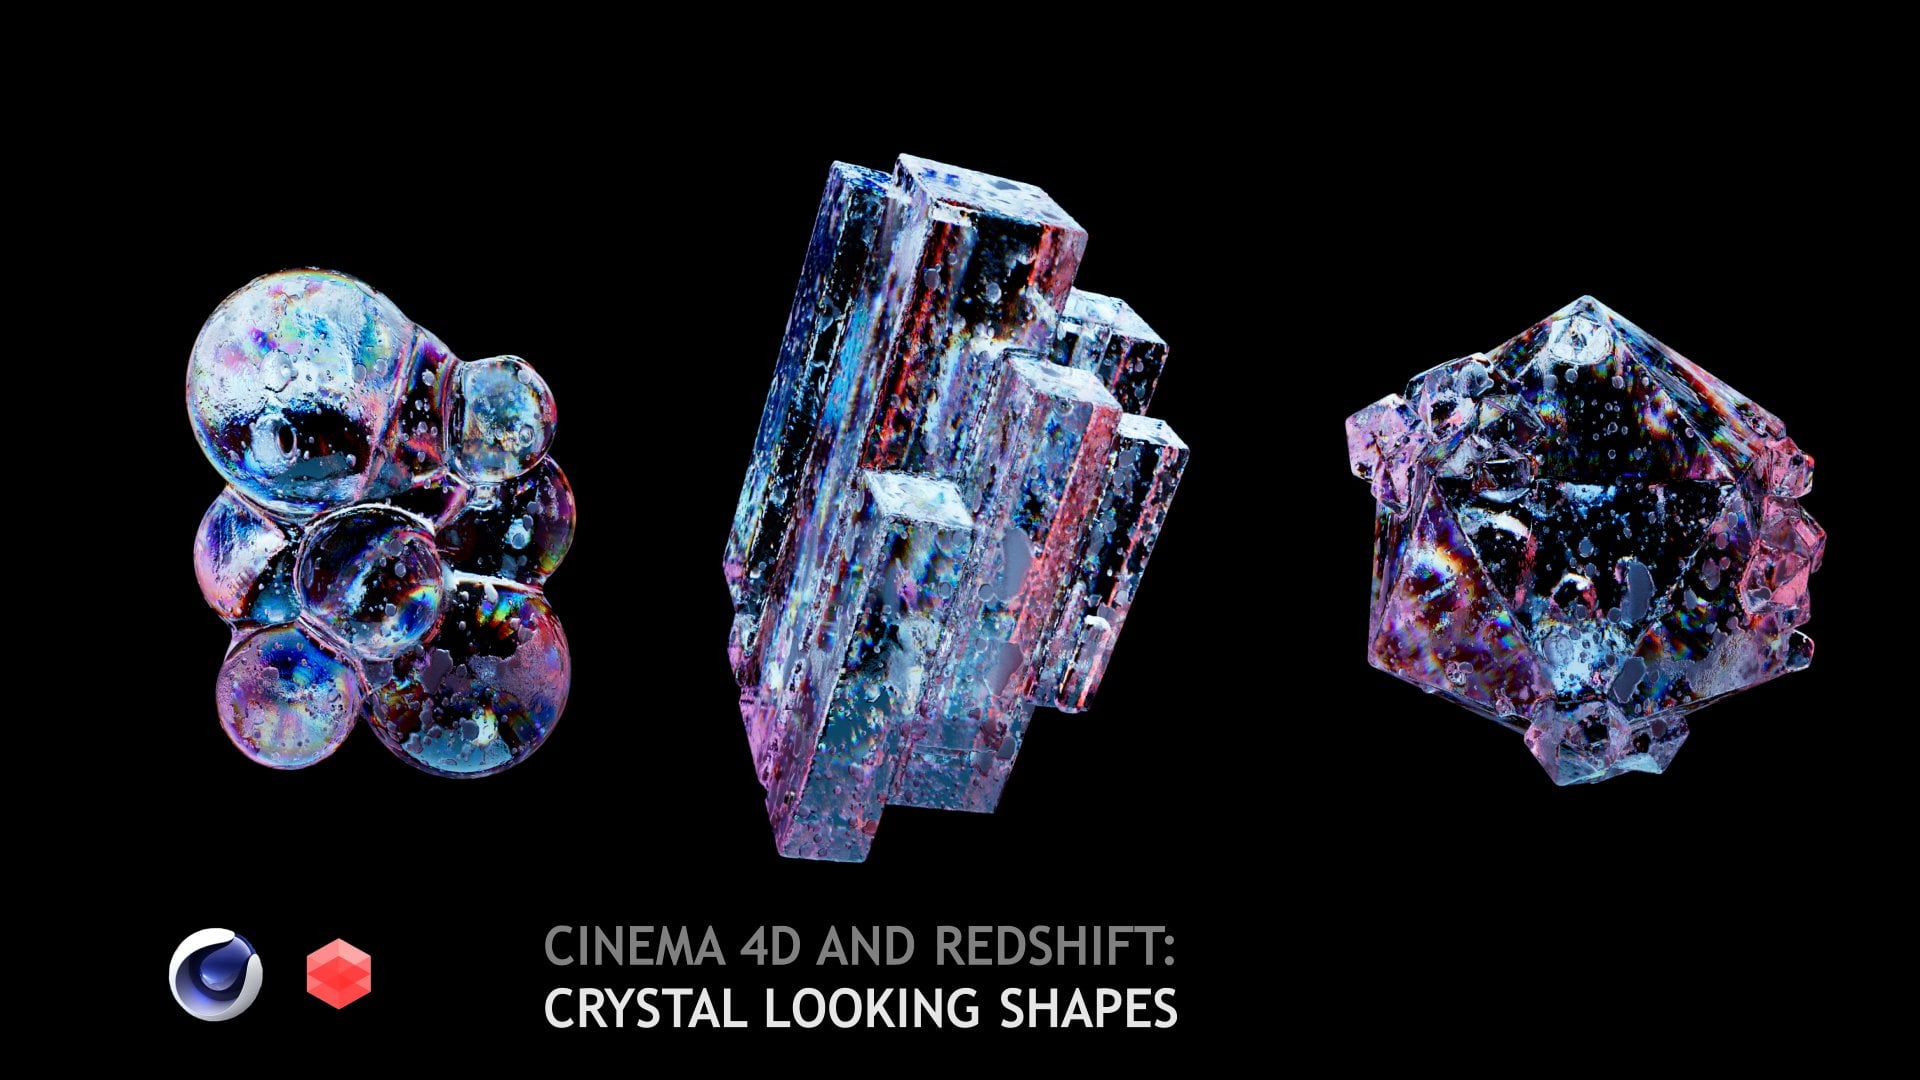
1. Overview: In this class, I will show you how to build a semi automated animation with one element which will drive another group of objects. We'll talk about lighting, scene, setting, different glass shaders, and finalizing random you via lookup table presets. So on screen you see the result of this class in if you like it, let's start to investigate and explore the techniques of these sin.
2. Building Scene: Usually I'm showing the process of milling seen by this time. I would like to short the tutorial and to show you almost final version of this. And we'll clarify how I built this with simple copy element. Let me add rotation. How this build new project, plain band, selecting plane, algae, this camera and said a big values. And then we said strength to 90 degrees. And we have to put it into null and rotate 90 degrees. And any agrees to another side. I think you're familiar with building this l looking background. We need to add a lot of high segments to have this smooth bending zone. Then you can extend band or keep the length. Move it to the front, to the back. And limited background. Then I create just cube, use dropped floor and control C, control V, smaller cube. Going to side view and arrange this thing on the top of this smaller, big one and f two in there where frame like this, going to select cubes, out clause or phrase. And disabling subdivision by area thickness may be five. Now we have to go to side view and to be sure it doesn't cross the floor. So I can up it will use dropped four plugin like this. I can do it manually. Maybe one more. I can hold out in left-click for micro movement. Going to cube, object, fill it. Cured subdivision 26 and pivot radius may be to 0, very small, or maybe even 0.5 because these closer phase will generate, extrude and create huge pill it go into closer phase and move this up a bit closer phase dropped the floor, and we see that these plug-in doesn't work properly. So I manually put it above the floor, will maybe holding out and left-click. And like this, this one. Move that to the top. Now intersection. Then I create cylinder with huge radios. Multiply by eight to have the smooth rotation, caps, radius to one, and signaling maybe to 12, going to hide something lower. And now I'll do this kind of trick. I put it below the floor, algae. Gil, OR GO put it there. And then after selecting, GO, going to drop the floor or arrange it manually. So you see that our cylinder is hide in 20. So we need up half of its height, ten. So this is how it was built. Camera object, Teller, zooming out. This is the main principle. Going to camera. And one more thing. I need to add an object to be 0 and put all our cloth elements except these 12 direction. So now the scene is ready for further animation.
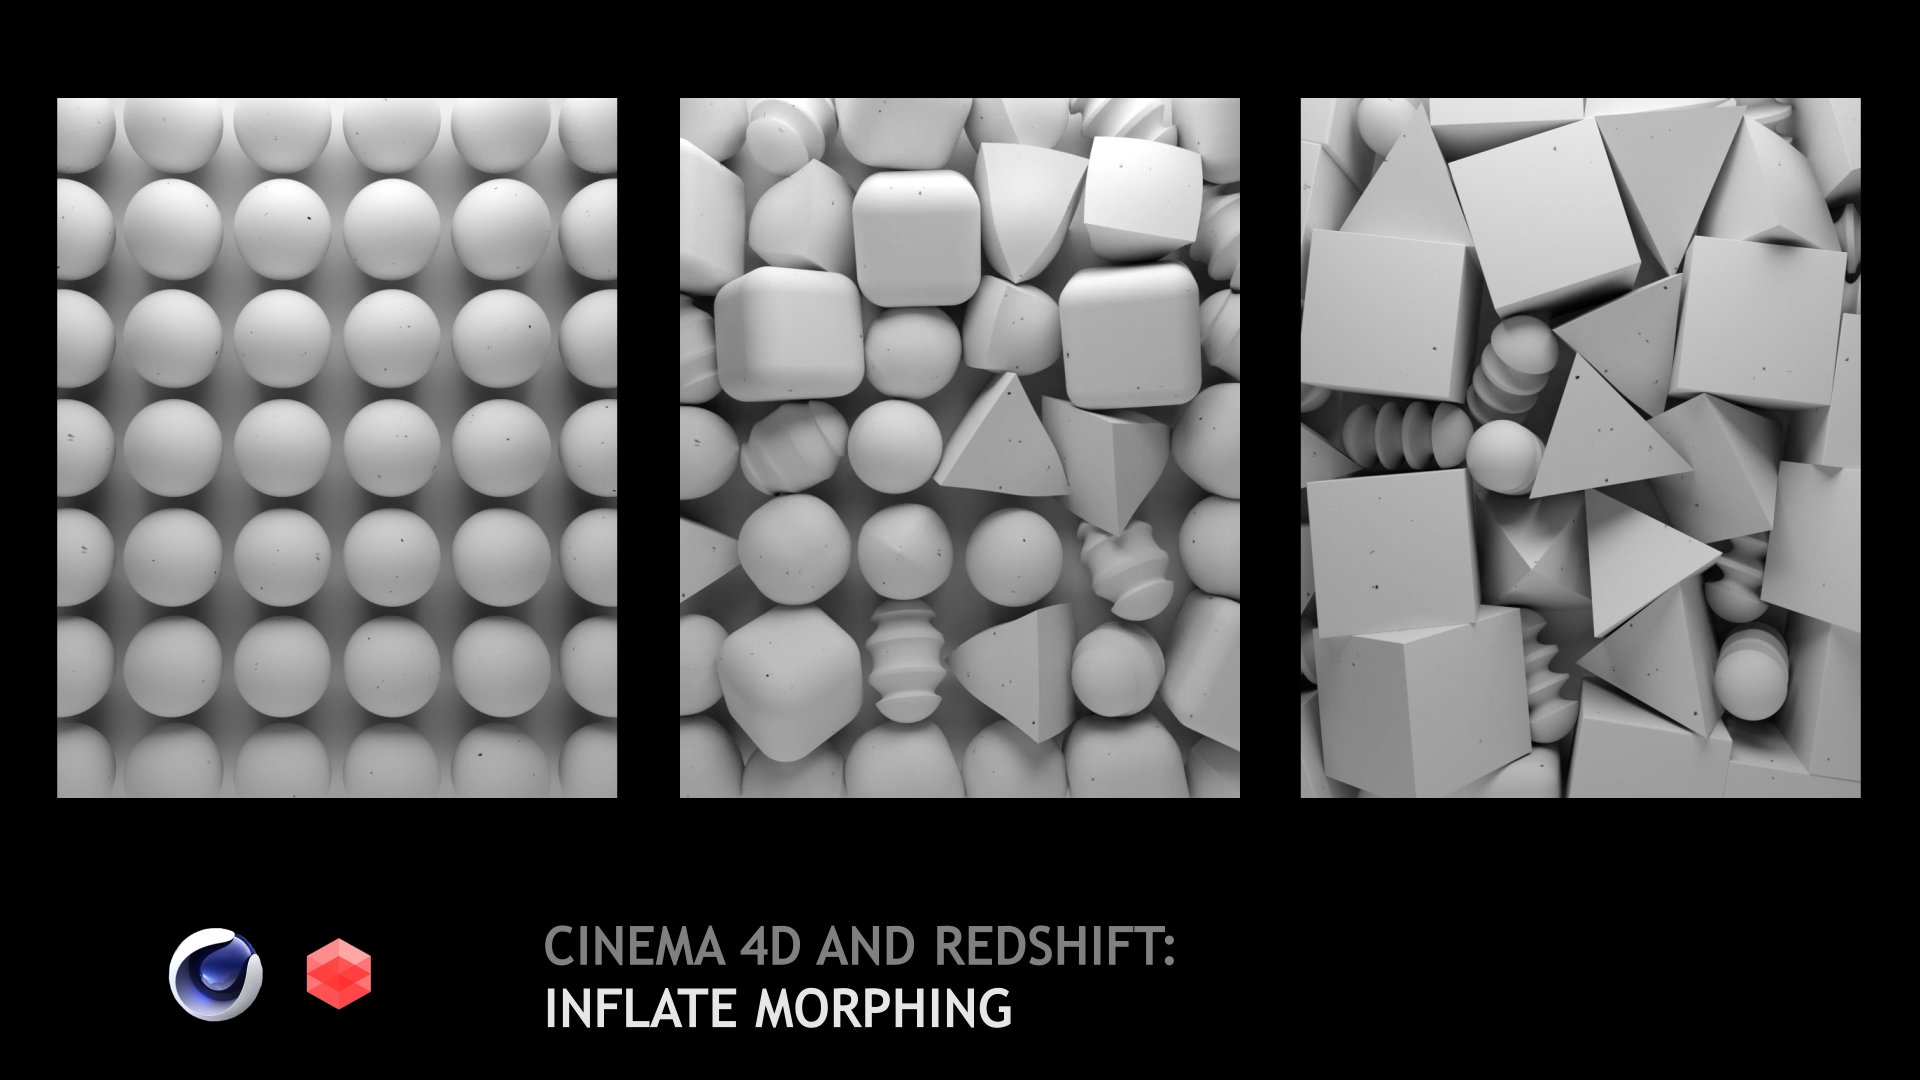
3. Animation: Now I will show you how we can create complex animation with reference object. I need to animate this one, these, these, and these small cubes. I can do it by hand and then rearrange the keyframes, but these will not be very effective. That's why I show you another way and create a new group, 20-20-20 and create animation on it. What I want to do is, so we put to the top. It will like this. Stick there for a short time. And then going back. So I control C, control V. I would like to add some rotation to it in this h value 316. Now I holding Control Shift and delete all keyframes that are not needed for this innovation. You see that nothing is going on. Because we have to play with our keyframes and manage what's going wrong. First of all, I would like to delete these 0 rotation value. So we have radiation from 0 frame to 50 going to affix and see that there is something going wrong here. There were another keyframe I deleted, and now we have this beautiful animation. I would like to add more speed and velocity by moving these tangents values. We have almost no rotation at the start. Fast rotation at the top, and then almost no rotation at the bottom. So start phase and phase, no rotation. Middle phase, a lot of rotation. Now I have to move these tangents to the zone. So the middle will be on 25th, frame. It looking like this. Now we have to play with position. Rearrange these one to 24 and create the same logic. We need fast moving to the top. So I can extend these tangents, 0 in y, n. We will get this type of result. Fast movement to the top, rotation and going back. Select these tangents, maybe decrease. And a bit at the end. Chicken. First movement, rotation and going back, going to cube and may be extended to 60 frames and middle move to the 31. And now you see that we lost all our velocity. This is a good point. So I show you once again how I do it. Right-click animation show f curve. Move tangents to the left, checking these value to 0. So I avoid all these little movement in vertical. Checking. Rotation, going good, position, maybe extending and put a bit to the side. Chicken predation. Very nice. I'll keep the animation as is. Now. I'm going to our base geo. This is cube animation, selecting fracture object. And I'll create a former effector calling inheritance over to the base juror. Fraction effectors, inheritance factor, selecting inheritance factor, I need position and rotation vector, QP. And check what we get. We get beautiful animation of our group, but this result is not what we're looking for. We're going in change direct to animation. We had our animation in 60 frames. Let's set the equal value. Of course, you can speed up, for example, 30 frames and it will be twice faster. Or we can extend maybe to 120 and it will be slower. But I keep with animation, we were setting up with curves. Now we have step gap. This is the beautiful option. So it adds gaps between animation and objects. And now you see that we have some problems. It rotates all elements around the 0. This one, we can try to manage this with changing transform space from generator to maybe note. And now it looks perfectly. Every cube is rotating beautifully around its own axis. Trend to check animation, to out. Nothing happened. And now we have to fix these problems of intersection. How we can fix it? We can go in to our cube. Animation, showed track. Going to position an upward, maybe to 180. So ever cube will be moving up enough to not intersect. And other neighbors going to inheritance and add step gap. So one cube goes to up and another goes down. 123. Few more frames on. Maybe we can come to our cube animation. Right-click and radiation, show track and decrease the rotation keyframes length from ten frames, 250. And now you see that almost no intersection. Let's try like this. Close going to inheritance. Add few more frames. Instead, gap. Maybe speed up EBIT 123. Very good. Maybe 13 frames. Of course, to see our animation fully. Great one trying to play with step gap. Almost no intersection. This one, great, great. I think everything looks nice. Checking frame by frame. Rotating. We have small intersection may be decrease and add one more frame into the gap. Yes. There is a small intersection by I keep this thing as I didn't changed grade going back. And I think there is intersection, but looks very nice. And extra frames. Play. Perfect. Putting cameras to the bottom. And we have our loop, maybe zoom out a bit because these big one will go away from our screen border. This animation is good for me and we can go to the next step.
4. Materials and Lighting: Now we'll learn redshift. I have a redshift layout. This is almost the bees layout with only maybe render, render view ducking into here and Q buttons here. Set to play. Going to background. Decrease, disabled hiding in random view. And now we have to build some lighting. I will create some materials. One for the background, something very simple. Maybe a light blue with a little bit roughness like this. And create material. Calling glass. I peek tinted glass, preview, preset and set it to base GO. Now we see some problems. I duplicate with holding control and dragging material to the side. This will be podium and set it to clear white cylinder. Now we see that we have some problems, some intersection and I up our fracture objects may be to BU. And values. At the bottom. Glass is very transparent. So I go in and add roughness. Change column may be too blue one. Add absorption scale for deeper color. One. This looks much saturated. I think keep inbetween maybe 25. As I remember, we had different values of thickness. And now you see the difference in our resulting materials going to cube, going to basic and visible and render off. Going to glass, duplicate with control drag. Said maybe something like purple and drop it to some glass elements at more roughness. And go into coating and add one more layer or reflection like this. Going to glass, duplicate. Change maybe color. And add more absorption scale and put this one to another space. Like this. Very lightened, transparent and less transparent and higher rough. Now we should build our lighting. I'll create era late and put it. Above our Germans will go into general intensity ten. Move two, or E, but K. And now you see that all our work started to pop up. All these fillets are starting to create sparklers. Extend this area light, moving, maybe to the side. And we see that we get this coloring going on here. I need to rearrange it. More proper and beautiful shadows. This one could be work very well, disable fracture and we have some problems with these geometry. It intersect with cylinder. I up it a bit, and now it starts to be almost invisible. So I go into object extend thickness two, maybe three, and maybe two. Or maybe 1.5. Going to side view, we see it still has some intersection out moving to the top, put fracture back. And now we see that we have this intersection with these. Go selecting it will to the top out and turn our fracture back. And this is the beautiful thing with working with inheritance factor because all this manipulation doesn't affect our final animation. You see that everything still works perfectly as we planned and create one more material and use not glass, but water and move it may be too this one. Closer Phase. I add some strong dispersion. So it blends. So it splits color like rainbow effect. And then I create the same effect with dispersion in all these glass wares. But very subtle. There is a trick. The lower dispersion, the higher effect will be visible. So we want to add subtle effect and an OB dispersion to they're pretty high value. We have some animation, we have some geometry. It will this one, let me find they're more interesting combination, very deep color. I don't want this duplicate glass and decrease this absorption scale. So I'd like to have very subtle effect of these sub-surface coloring in these particular objects. Now, we have this animation. Will light is pretty setup. Next video, I'll show you how we can improve it.
5. Final Tweaks: I would like to add more light. This will be our top one. We can go into base, GO bolded, then we can go to redshift materials, tools, render all materials. So our preview will be updated and after waiting, we see a small difference in color of our glass materials. Create one more light and maybe put it to the side to light up these zone of cylinder. Going to top you rotate. Who did here? Decrease. And now we have, so waits value not to overexposed, to lose our shadows. So we need some balance here. Think of these value can work. Then I go in to our material of background, rename it, may ground, maybe decrease the value. It'd be dukkha. And add more IR. For these specular element. Like this. Adding one more irrelevant and put it directly behind our glass. Sculpture. Decrease maybe ten. Maybe said it to sphere, maybe one. And now we have to up it because we have intersection and find its position. So it creates some speckles on the top of our caps. Kind of like this. And find the intensity. So maybe we can light up the background. So our geometry will be having this Perloff effect. And to be separated from our bending background. And think these one looks good. Now we check in, do we need global elimination here? Almost no difference. But in these zone will have some lighting up. I think we can keep one jet engine and going to add some postproduction redshift tax. Redshift. Camera going maybe to exposure on it. Enabled. We have some tone mapping go. Now, here, now we're playing with film speed. And be sure you have this render or camera view to see the changes. The darker the high Esau, the brighter our reading will be. So maybe we can keep a bit higher than default. Going to bloom, adding bloom effect. This will create solved glow. I add extra intensity, decreasing the threshold. So we start to see this blooming effect. Of course decreasing threshold. We need this effect. Very subtle. Softness can play, decrease almost no effect. But I'd like maybe to put it here. So we're going to exposure, dark, our rendering a bit, go into bloom threshold. Yes, we start to have very subtle bloom on these wide zone. Pretty good. And one more thing that we have in redshift is Lookup table. We're going to these double arrows. Or if you don't have them to settings load and enabling them redshift in data loads. We have a lot of beautiful loads. So you can on them and check what is good for your rendering. Some of them can drastically change the view of your render. Some of them are useless, and some of them can produce very good results. And going to Adam, let's going to advantage. And let's check what you get here. And I do like this. Adding blue and contrast. This is AGC 100 plus. Maybe we have something interesting for color. Look good. And I'll keep with these Acura optima to 200. Below we see the lute strength. And you can play it like this one is Adjustment layer. And you playing with capacity in photographic exposure, you can add vignetting or maybe degrees. I think we can add to help you to see these bright zone. And this will be all elements I want to set up here. Now how we can render it for Instagram or something. We're going to output, it's already set to five to four aspect ratio. We're going to current frame, set a to all frames. And then you have to manage the settings. There is a special training in my profile with redshift optimization. For now, I will set bucket rendering and going to system and let automatic sampling do the whole work for me. Just click here and you see that render is pretty clean. We have these 6.5 seconds enabling our 20X speedup checking. We had 657 and now we have even higher value time. Let's check bucket rendering maybe to 128. Now we get 6.2 disabling RT speedup taking 6.2 head, and now 7.21. So this kind of fighting proper balance of bucket rendering settings with RTI, disabling or enabling. This is up to you. I think six seconds per frame is very good value for this animation. So I'm going to set the output to render and project file. This is talking it create folder with name render and this name of Project I get I is m and alpha channel. And after I render the sequence in TIF file, I can input e to premier aftereffects Vegas or any software and then rendered to your preferable video file. After I render everything, I found out that there is some no the good points here. For example, we have blown out on this edge. Not very good. Here. You can find one more. So I pick up our sphere going to project, going to include and put on the background here. So my sphere will light up background and doesn't affect our base geometry. I hide based geometry, and I see not very good implementation because the sphere is clearly visible during animation. What we can do with it, we can decrease scale like this. But up intensity six maybe is too much. Five, going back to our base Jew that we have the backlight and the background. Very smooth and no blown out on our geometry. Of course we lost some spec colors. But you can add. One must fear is here, background. This fear can be a name like GO, going to project. And instead of including background, we adding based geo. So it add some sparklers. We can go play with the sphere extended. Move it to the side. Very far. Going back camera. So our sphere will create some sprinklers. Maybe like this. We can decrease the scale or maybe at it. But decreased intensity may be 2.2. So very slight visible speculum decrease. Yes, we start to getting these gradient iLab to high-value. Shaken. Looking very nice. This result I'll keep as final render. Thank you. Attention. We cover up a lot of things here with setting glass shaders, working with curves, inheritance, effector, lighting. And now you know how to create this type of sins. Have a nice day.
 Alexey Brin, Motion designer