Transcripts
1. Introduction : When we become aware of our
own needs for self care. When we start treating
ourselves with more kindness, with compassion, we start
putting ourselves first. Then it's because we've come to a realization that self
care isn't an indulgence. It's actually essential
for our self preservation. It's essential for
us so that we can build an inner strength,
inner resilience. And maintain that
inner resilience given what's happening on
the world stage right now. That's really important
that we can find a way to build our strength that keeps us centered and
it keeps us balanced. Thoughts and emotions
are like giant magnets. Whatever we put
out there actually comes back to us in
some form or another. It's really helpful
to understand the mechanics of how that works, because when you really understand how our
thoughts that then get wrapped around with emotions create the life
that we're leading. Because they act like
magnets and they attract the same kind of thoughts and
emotions back to us. When you understand the
mechanics of how that works, it really helps us
to make better, more positive life choices when our lives are going better, when we feel better about
ourselves and about our lives. Then we then have a positive impact on the
lives of those around us, and then on the wider community and ultimately on
the world at large. Welcome to this class. Change your thought,
change your life. I'm Don Dra. Most of you
know me as an art teacher, but I'm also an holistic
health educator. And what I like to do is to combine my art and
design background with my health education
background and develop and create tools for self
awareness and change. The time is right
for us to really begin to understand
how in actual fat, we as individuals have a
lot of very creative power. I'm not talking about whether
you can paint or draw, or whether you can
play the piano. Talking about the
creative power that we have to actually shape our lives in the
way that we want them to attract to ourselves. The lifestyle that
we would like to be living for centuries, we've been taught to dismiss
our intuition and hand over what I call our sovereignty
to various authorities. The time is right
now for us to regain our awareness of the
creative power that we have. One of the lovely ways in
which we can do this is to use what I call the tools of
affirmations and wisdom. In this class, I've designed and created some
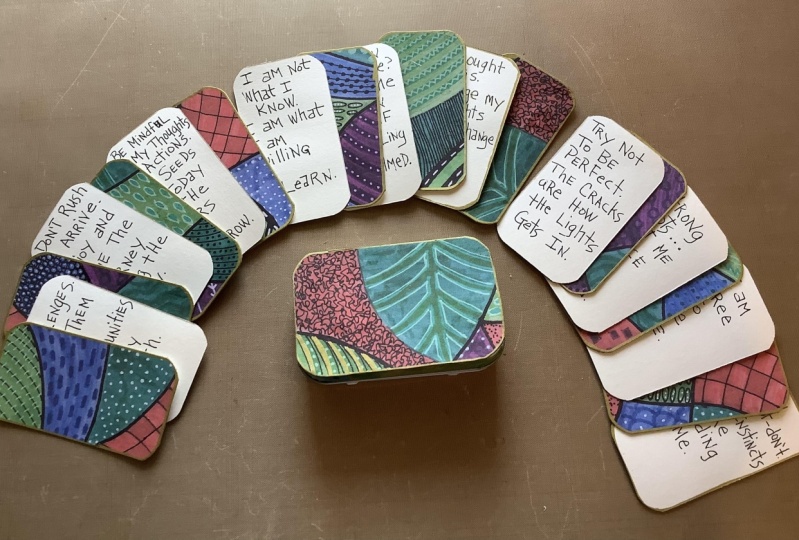
affirmation cards and wisdom cards that
you can then also design and use for your
own self awareness. It's a, it's a very
gentle way to refocus one's mind and to help us to see situations from a
different perspective. That in itself then
raises our vibrations, which is really good because
we want to be living in high vibrations rather than
low fearful vibrations. I also want to explain a little bit more about
the thoughts and the emotions and how we
create things with those, because they have immense power. Let's have a little look at
what this class is all about.
2. Project Overview : Words are very powerful. They hold vibrations just
like a musical note. It's really beneficial to our good health and those around us if we can use those words with awareness and with
conscious intention. The project for
today's class is to create some affirmation
and wisdom cards, which can be really instrumental in helping you to replace low vibration words and thoughts into higher vibration
words and thoughts, which in turn then supports
our overall well being. We'll have a look at what
kind of papers to use, whether you use old off cuts from previous craft projects, or whether you decide to go with brand new papers that you
can buy commercially. Or whether you want to make
it more personal to you by creating your own papers and choosing your own
patterns and designs. I'll take you through the
simple process of how to make the cards using good
old fashioned paper, glue, and scissors. We'll look at how to attach the patent paper onto
the backing card, whatever you want to use, and then how we're
going to trim those up ready for making them
into the cards themselves. We'll look at the different measurements that you can use, depending on which
cards you're making, and then get them ready
for trimming around the edges and adding the
gold pen for decoration. We'll then add the
high vibrational words and statements which
you can find in the resources section
where there is a list of 40 affirmations and
40 wisdom sayings. And I'll share my process with you as to how I
lay out the cards and how I then use them and for what situation I might
like to use them in. If it interests
you to understand the mechanics behind how our thoughts and
emotions affect us, then take a look
at the next slide. Thoughts are electric and
emotions are magnetic. Because there I give you some very simple
scientific information as to how the mechanics
of those actually work. Wherever you decide to jump in, let's get started and
I'll see you there.
3. TEEM : We're going to take a simple
scientific dive into. Team thoughts are electrical,
emotions are magnetic. Together, they create an
electromagnetic field around the body that is in constant communication with
the electromagnetic field that exists throughout
the universe. Your brain, in fact, your entire body is comprised of a tight network of nerve cells. And they all interact
with one another and they generate an overall
electrical field. In fact, where there's a nerve
cell, there's electricity. Given that you're surrounded
by your own electric field, your brain waves are governed
by the same force as those tiny photon particles that travel through the universe
at the speed of light. In fact, the light seen
coming from a star and the energy of your mind
are one and the same type. Pretty mind blowing e. This
is where it gets really interesting because
your thoughts are formed in this
electrical field. What you're hearing now and the words that your
mind is processing, are all the same electrical
impulses that are made of the same energy as everything else
in the universe. Just park that information for a moment whilst we
ask the question, where does the
magnetism come into it? The heart, in addition to
its electrical activity, also generates a
strong magnetic field. The heart and the mind together send out
emotional information, which is then communicated to the electromagnetic fields
of the people all around us. And they in turn are communicating their
information to us. You know the feeling
when you walk into a room that has
a bad vibe to it, because what you're experiencing through your own energy field is the lower vibrational frequency of someone else's energy field. It's been scientifically
measured that negative emotions make
our field weaker, while positive emotions
strengthen it. The scientist and philosopher
Dr. David Hawkins, he created an energy map which shows the vibrational frequency
of different emotions, which he numbered 1-1 thousand. You've got the emotions of
reason, love, joy, peace. They're all between 400, 600. Whereas the emotions of shame, guilt, anger, and fear
are all below 150. Now what he also discovered
through this research is that any emotion below 200 actually
cause ourselves to die. This is why it's so important, so crucial to our well being
that we manage to regulate, and manage our emotions well. Let's just go back to thoughts. What happens to them when we release them? Do they disappear? No, they don't,
because the forms of energy which is always in constant motion
seeking that which is similar in a vibrational
frequency to itself. When you attach an emotion to the thought form that
then acts like a magnet, that energy will seek out other similar emotions from the universal
electromagnetic field. If we can run with
the idea that energy likes to find other energy
that is the same as itself. In other words,
like finds, like. Then the way I think about
this and try to put it into a very simple explanation is if you can imagine these
clusters of energy, in other words, the clusters of our thoughts and emotions. And we send them out
there and they mix up with all other kinds
of energy that are of a similar vibration. Then I like to think, in a way it keeps
it really simple. For me, this is why I like it. I like to think of it
in a sense that the energy clusters together
and they create clouds. Now when a cloud gets full
enough, it will rain. My lovely idea here is it's what kind of cloud
do I want to stand under? Do I want to stand under
the lovely cluster of energy cloud that has
gorgeous thoughts in it? And have that rain
down upon me with lovely kindness,
compassion, understanding? Or do I want to be
adding to the cloud of hatred, fear,
resentment, jealousy? And that cloud gets bigger
and bigger and bigger. And because those are the
thoughts that I'm sending out, that's the cloud that then
decides to reign on top of me. You might find that a very simplistic way
of looking at things, but for me it works. I hope it works for you too. That's quite a lot of food
for thought, isn't it? And I invite you to
listen to it again at some point if it
resonates with you. In the meantime,
let's take a look at what materials you're
going to need to make your lovely transformative cards that are going to bring about
more awareness for you, for your own growth
and transformation. And they're going to
really help you to refocus the way you
think about things.
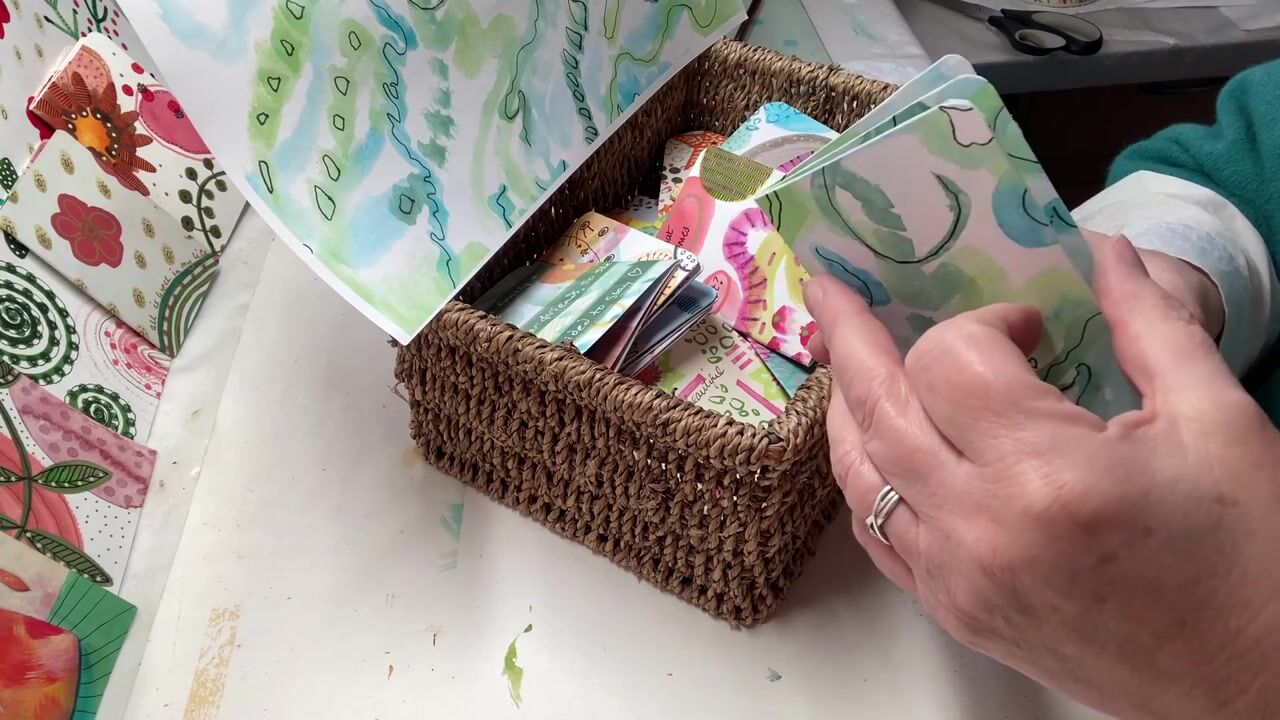
4. Materials : Let's have a look at the choice
of papers that we can use for both the affirmation
cards and the wisdom cards. You could either go
with a paper that's exactly the same all over it so that when you've got
your cards faced down, you've no idea what's
underneath it. Or you could go with a variety of different patterns,
which looks really nice. Then when you're
spreading it out, that's actually a
great way to use up any old crafting papers that you might have that where you've used them
for different projects, it's a nice way to be able
to use up those things. Or you could buy
a ready made pad, already got the paper
in it, and you again, just use that for cutting it up or my preferences is to
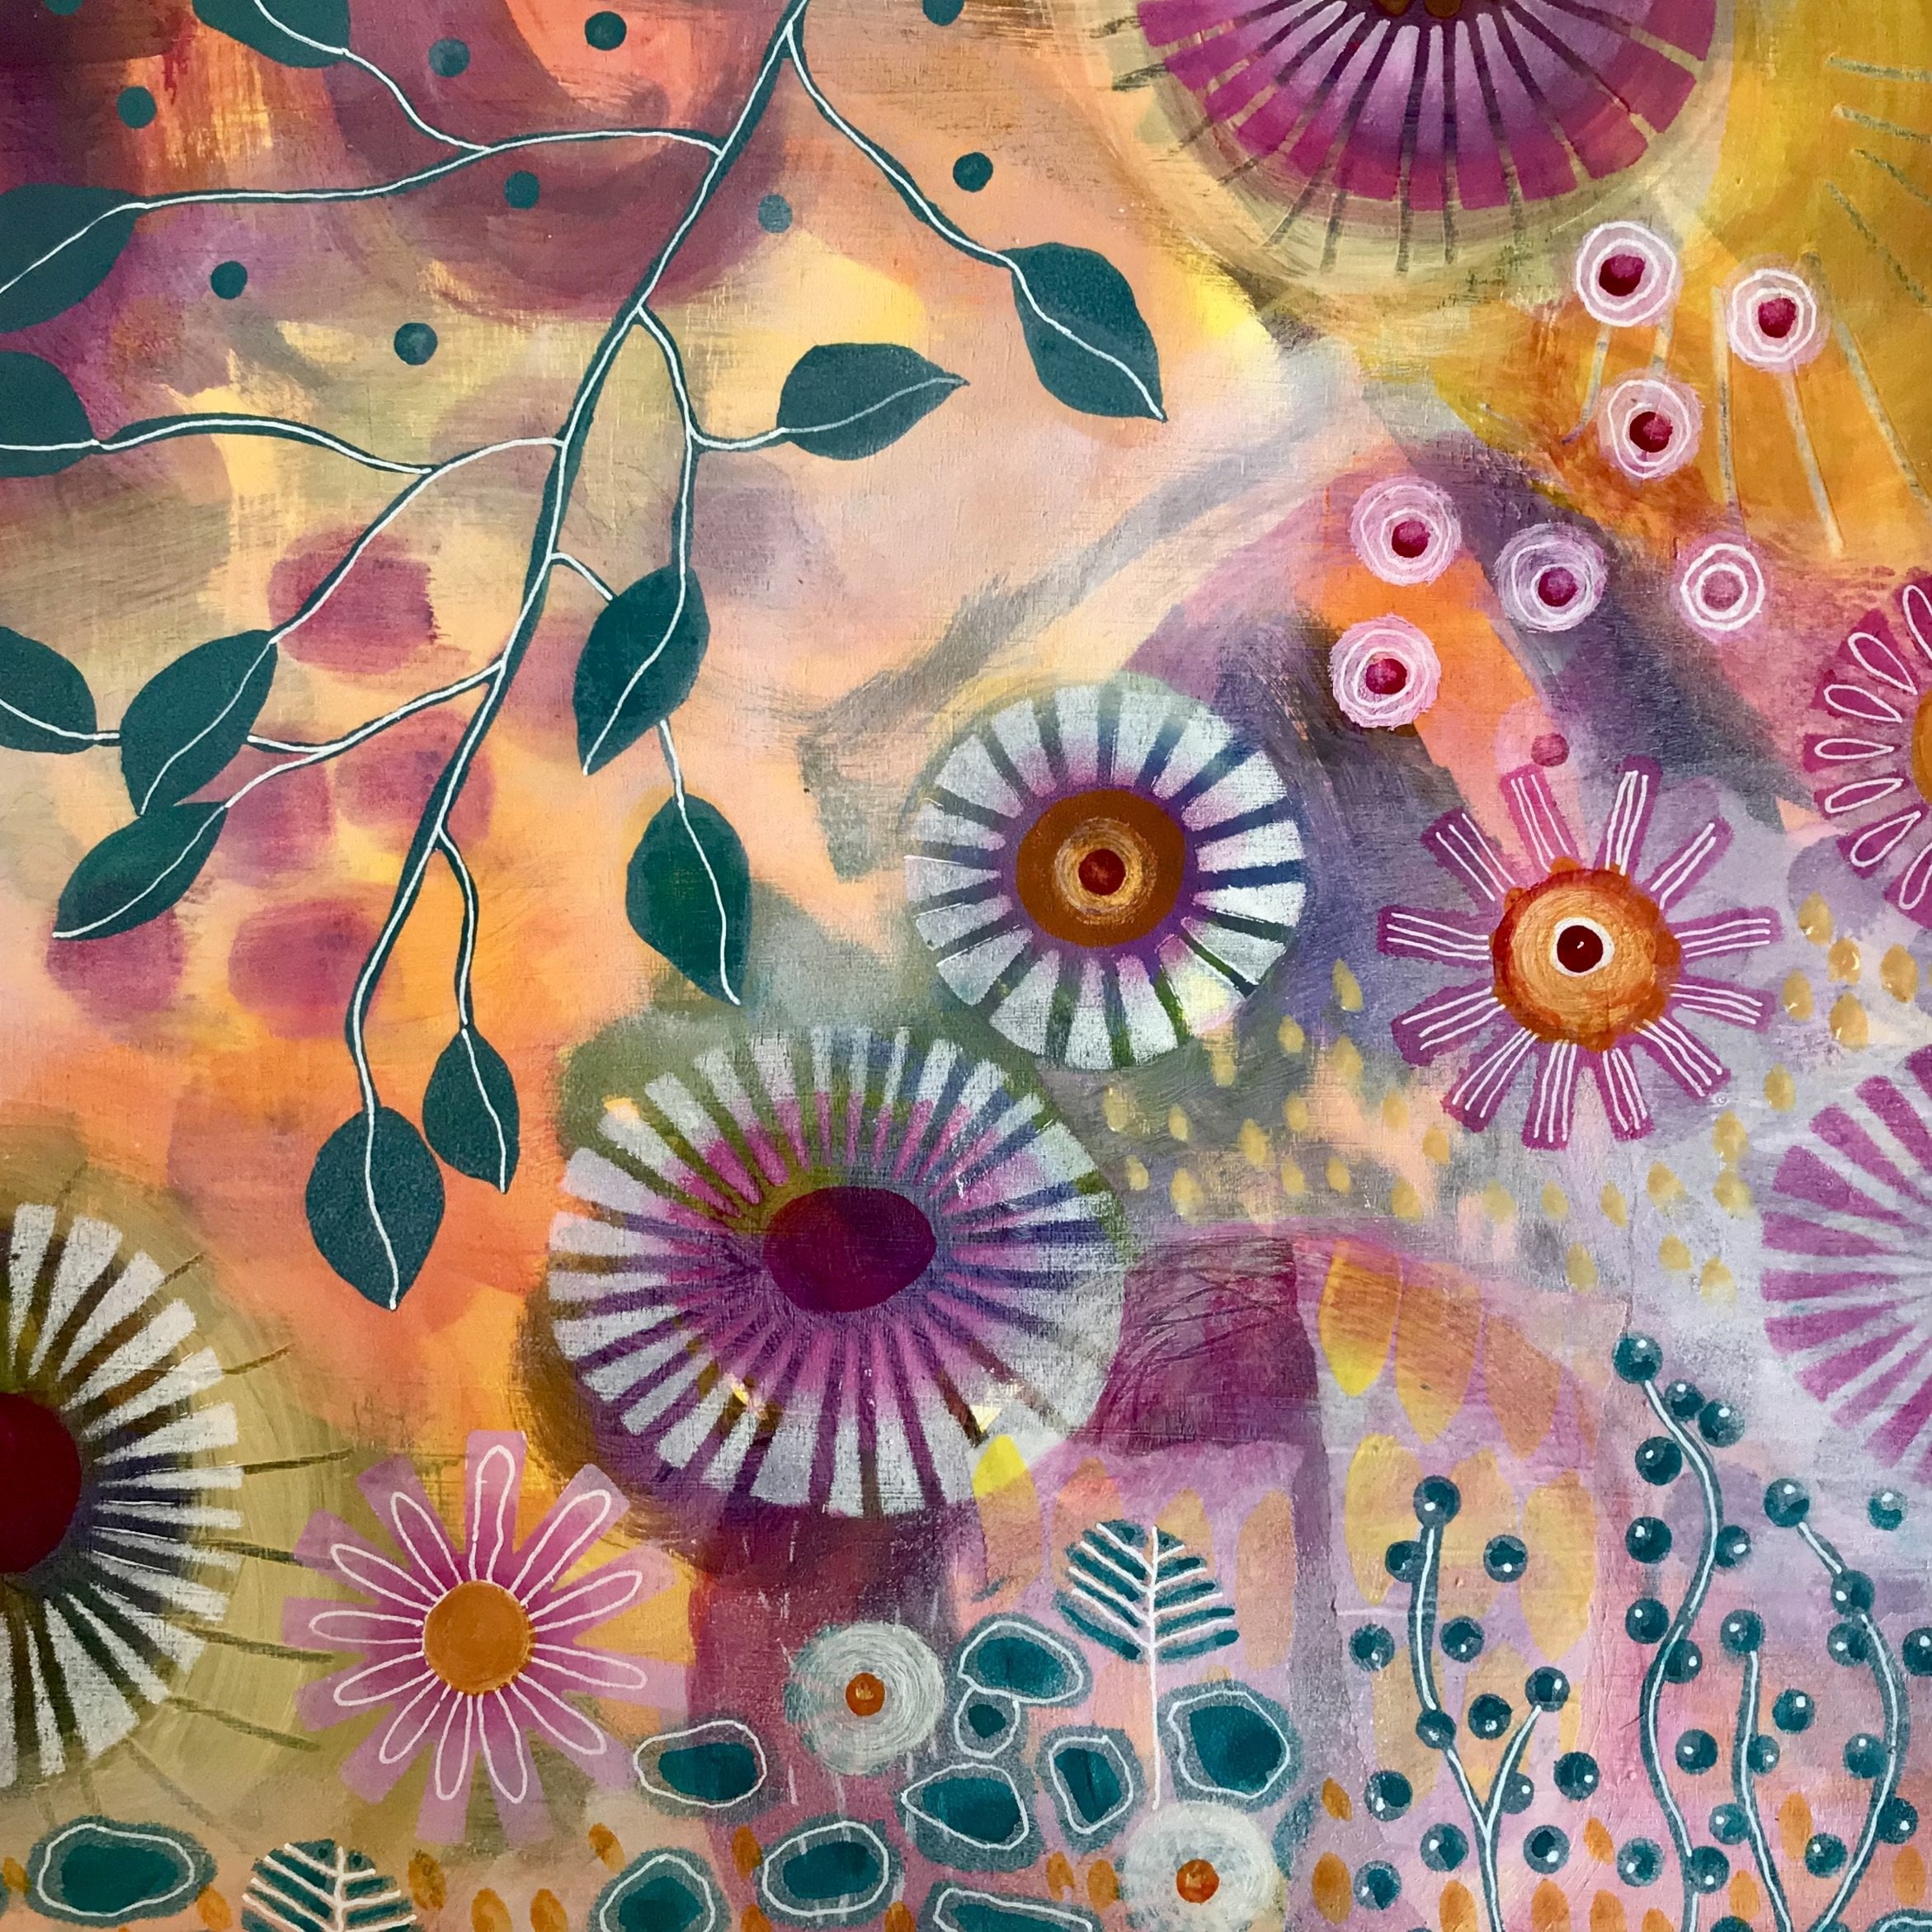
make my own patterns. Now obviously I run
classes in this. I do have lots of patterns where I've created them myself. What I like to do is to
use my own patterns, because then it feels really, really personal to me. Then if you're interested in actually making
your own patterns, then do check out my class, Beginner's Color Contrast
and Pattern part two, because that takes you through the whole process of how
you can create these. But also, I've added a little
extra video at the end of this class and you can watch there where two people
are actually doing it. And that might just
encourage you to have a go yourself in terms of the
weight of the paper. Even if you buy a
ready made one, it's still not
quite thick enough. Often they've got
another pattern on the other side as well, although they are
obviously margini thicker than these that were, that are actually
photocopied papers. You're going to need
some kind of backing paper to put your cards onto, to glue your cards onto. My choice is actually
watercolor paper. Now, you don't have to
use watercolor paper, you can use any
kind of card stock. The thing that I
would say though, is, for example, this
one is 300 grams, It's a nice thickness
when that's coupled with that
glue on top of it, then that actually gives a really nice thickness for cards, It's not too thick that
you can't cut into it, but it's not too thin,
that it's really bendy. Either a 300 gram card stock, whether you choose to do it with artist paper or
whether you choose to just buy craft
card either will do. If you decide you want to photocopy whichever pattern
it is you're going to use, can I suggest that you go for a heavier weight copy paper? This one here is 120 grams. Obviously, you don't have to
choose the Navigator brand. There's plenty of
brands out there. But go for the
slightly firmer paper of 120 rather than the
cheaper alternative, because it gives you
a nice quality paper. You're going to
need a pencil for marking out when you're doing your measurements
on your paper, you're going to need scissors
for cutting them out. Or if you prefer and you're confident enough to
use a sharp blade, I use a scalpel blade with a cutting mat
and a grid ruler. But if you don't have a grid
ruler and a cutting mat, you can just use an ordinary
ruler for measuring out with your pencil and then
cut out with your scissors. You're also going to need
some glue or adhesive to stick your patent paper
onto your backing paper. I'm going to be using Mod Podge, which is basically a PVA glue. If you don't have
mod podge but you've got PVA, that's absolutely fine. It's also handy to
have a glue stick. I've got Pritt
stick here just in case you need to do
any extra gluing around the edges once you've cut the cards up into
individual pieces. Then finally, for
writing and decorating, with, again I'm
using a Posca pen. Gold Posca pen of a five M. And I'll be writing with a gold
Posca pen that's a one M. But you can use any felt pen for you
decorating round the edges. I've got just an
ordinary black pilot pen and I've got a green
fine liner there, which happens to be a Lira. But any brand'll do. You
don't have to use these. I'm going to be
using an four sheet, which is quite an easy
one to work with. Because for the wisdom cards, which are 10 centimeters
by 7 centimeters, that will give me
eight cards per paper. For the affirmation cards, which is 5 centimeters, seven centimetres, that then
gives me 16, obviously. Depending on how many
cards you want to make, will depend on how many copies then or how many sheets
you want to pattern. I'm going to be using two of the sheets for the
affirmation cards and four of the sheets
for the wisdom cards. Let's take a look
at how we prepare the papers ready for
making the cards. I'll see you in
the next session.
5. Preparation of layers : This is the design
that I'm going to be using for my wisdom cards. I'm going to be making
the wisdom cards larger than the
affirmation cards, and that's predominantly because they'll have more
writing on them. I don't use the original design. I actually photocopy it. I keep the original here
in a plastic sleeve, which then sits inside a folder so that I have
easy access to it. But what I've done is I
photocopied that four times. I'm going to be using
the ten centimeter by seven centimeter size. That will then give me 32 cards as opposed to the
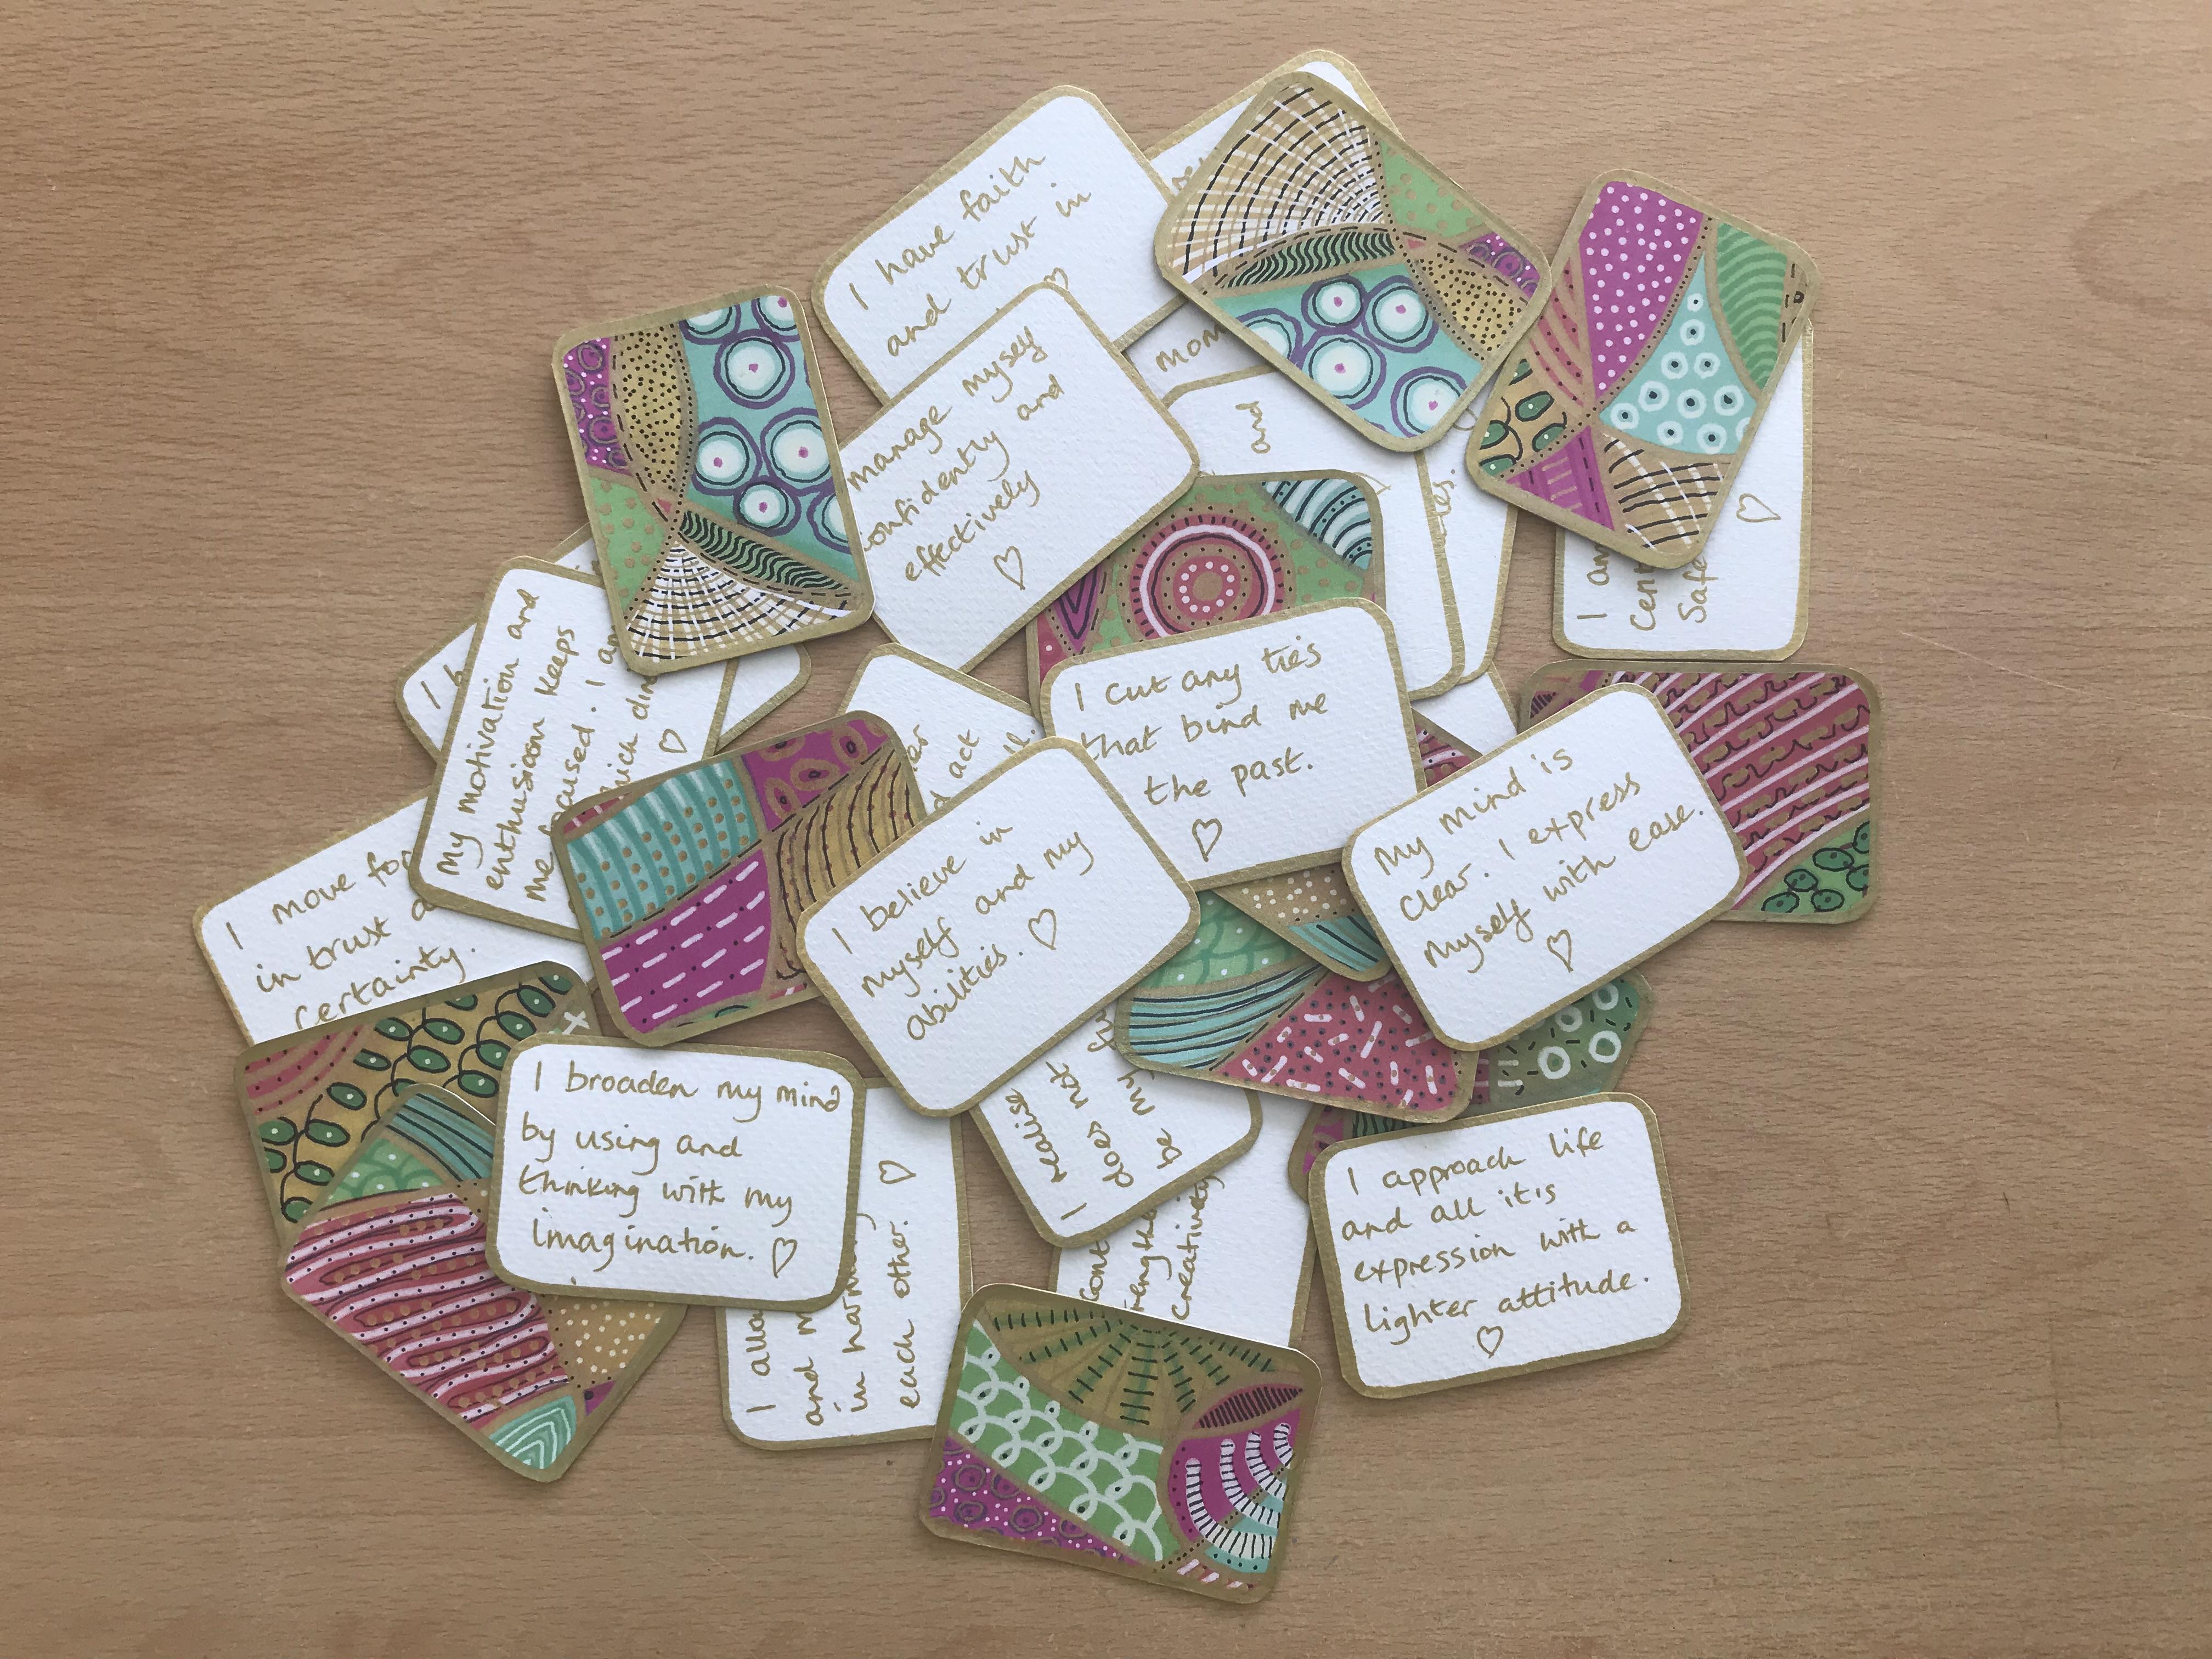
little ones here. The little affirmation cards, they're only seven by five and they have a small
amount of writing on them. But I want to be able
to make these bigger so that they've got a larger
amount of writing on them. The process for making either size card is
exactly the same. The first step is to take whatever card stock
you're going to be using as the base
for your cards. Whatever glue you're using. In this case, I'm
using the D pod, which I've watered
down ever so slightly. I'm using quite a thick brush, quite a wide brush at the end, so I don't have to do
quite so many strokes. And I'm just going to
carefully past that on all the way across the
surface of this base card. I'm using the watercolor
paper in this case. Obviously the
thicker the paper I use or the thicker the card then the more it will take liquid like
this, a lot easier. But of course you don't
want it to be too thick, otherwise you'll find it
quite hard to then cut them. I'm just making sure that
this glues all the way across and I've
not left any gaps. I'm also making sure to get
it right up to the edges. Now in a sense that's not absolutely essential
for me because I know that I'm going to end up
cutting some of the excess off here because this size is
just a fraction too large. I will have a little
bit of waste that depends on what size
card stock you're using and what size
your patent paper is. As to whether or not you'll
have any excess, of course. Then I'm going to take
one of the photocopies and line it corner to corner, smooth it down at the edge. And then from the
center just press outwards and make sure that that is sticking onto
that much podge. Something I find quite
useful to do is to then I've got a little
bit of excess there. Look, let's just wipe that off. Is to just turn it over and then give it a really good press down all over so that you're getting that
sealed on there quite nicely. If you find when we've
done the cutting that some of the
edges are coming off, the edge of the pattern is
coming off the card stock. It's not a big deal because what you can do then is just use a glue stick to just
secure those edges around. If you don't get it
exactly on at this stage, it doesn't really matter. I can see here that that
needs a little bit more. I'm just going to
put that in there. Press that down, I
think up there as well. It probably needs a bit more. Get that on there.
Wipe that out because I don't want any
excess glue anyway. That's great. What I'll do now is I'll make sure that I've done all four pieces and
let them dry thoroughly. And then I'll bring
you back to camera and we'll start looking at how
to measure up and cut them. That's all four patterns now nicely glued onto
their base papers. We'll have a look now at
how to do the measurements, obviously depending on
what size you want to do then how we're
going to cut them.
6. Trimming & Measuring : Here. I've got one
of the boards ready. The papers glued on
it really nicely. You can see it's got a slight curve to
it, but that's okay. When we get them cut down, it'll have less of a curve. And I'll show you also how to straighten them
out a little bit. What I need to do
first of all though, is just trim off
this white edge. I'm going to be using a grid ruler and a
sharp scalpel knife. If you don't feel confident
using a scalpel knife, then just use scissors
to cut them off. But the reason I'm
doing this is because my photocopy didn't go to
the edge of the paper. I just want to make sure that I've got the
exact size that I'm working with so that I don't end up with any white
edges by mistake. I'm just going to
trim all this off, then measure on the back to get the size of the
cards that I want. Now obviously, depending on
what size you choose to do, you'll be doing your measurement slightly different to mine. I'm wanting to do ten
by 7 centimeters. I'll be measuring out
the back of mine, so that, that's what I get. But if you decide
to go any smaller, you might decide that
you want to do nine by six or you might want to
do the really tiny ones, the seven by five ones. Which means that you'll
have to measure slightly different to how I'm
going to the measuring. I'm sure that you will be
able to work that one out. Let's just finish this trimming
here of this white edge, then I'm going to turn the whole thing over and do
the measurements on the back. Go take that off, just to swap to a normal ruler. This edge here
actually measures in total just over
2,020.5 As I say, I'm going to be using
this size here, which is 10 centimeters
by 7 centimeters. I'm going to do this one here, this edge here in
multiples of ten. I'm going to mark it
off at 10 centimeters. And then at 20. And then the same
down this edge here, 10.20, I'm going to join those two lines up
together with the ruler. Now this is really handy
to do this because it really gives you an idea then
as to where you're cutting. Just turn and do
that edge there. You'll see there that I've got a little bit of excess
at that top edge. That's absolutely fine.
We'll just lose that. Then I need to do
measurements in increments of 7
centimeters along here. I'll start off there with a 71,421.28 And you can see that that will end up giving me a little bit of excess there. And that's fine as well. I'll just measure along
that top bit also, 714-20-1208 and rule of those out as well so that I'm really clear
where I'm cutting. Now, as I said earlier, if you're not confident
using a sharp blade, then as long as you've
got these lines on, you can just use scissors and you'll still get
a really nice result. I'm just going to take
my grid ruler back, because I like using
a grid ruler because I can use the marks on it to make sure that I'm getting the whole thing fair and square, and I've got good right angles, because that does make
a difference there. Well, not effort, that's
the wrong word there. Carefully, you can
do this stage then, the better the
result at the end. But you'll still get a good
result even if you don't have this measuring rule. Don't worry if you don't, I think I need to put a
new blade into this. It's feeling a bit blunt
and dragging a little bit, we'll just take off this
excess here at the end and then use that guiding
line there to cut down there We have the beginnings of the cards. In the next session I'll
show you how we trim them a little bit further and
decorate the edges as well, before we then start
putting the text on.
7. Shaping & Decorating : That's all the papers
now nicely stuck onto the thick watercolor paper. That's making them
really nice and strong. If they've still got a
little bit of curve on them, all you need to do is just
bend them the other way. What you can do is put
them between the pages of a thick book just
for a couple of hours, and that will also help. Now what you'll see
here is that I've actually rounded off
the corners here. Instead of leaving
them like that with those really sharp corners
have rounded the corners off. I think they look and
feel nicer to hold, they just invite
me to pick them up rather than these
sharp corners here. The way that I've done that
is by just taking a pair of scissors and gently turning it along each corner like so that it just rounds
that off really nicely. If you look at commercial cards, you'll see that they've nearly
always got a curved edge, they're just nicer to hold. Now on the smaller cards, what I did there was I actually used a big gold Posca pen and five Mposcapen
made a little line all the way around the outside. I also did it around
the inside as well. For these larger ones, I don't want to do it
around the outside, but I would like to do
it around the inside. The easiest way to do that is to draw around it as if you were using it as a
bit of a template. Because that way it
leaves a little bit of the gold on the inside as well. If you can try and
keep it in place, you might have to
come back over it a little bit just like
I've got two there can always fill in a bit if you need to And round that side, Whoops. Go back over it if you need to. Sorry, I'm making a bit of a I messed that one but
you get the idea. I'm just taking that
around the edge there. Now, in the demonstration there, I've had gold on
my finger and I've managed to put that on
there, but never mind. We're not meant to be perfect. As Leonard Cohen says
in his lovely lyrics, there is a crack in all of us. It's how the light gets in. Please don't try
to be too perfect. That will dry nicely. And that will be ready then for putting in the words of wisdom. If you want to do some
around the outside as well, please feel free. It's
entirely up to you. If you don't have a
gold pen, of course, you can always use a felt tip pen or even a
crane or a colored pencil. I'm going to do that
on all of them, just around on the inside. And then in the next session, we'll have a look at
how we're going to add the words of
wisdom to these cards. I've already done it with little affirmation cards
as you can see there. But we can just have a look
at some of the words and I'd like to give you some food for thought
with them as well. I'll see you in the
next session where we start to actually
put the text in.
8. Adding Words of Wisdom : As I mentioned, when we had a look at the materials needed, I've created a lovely
affirmation list for you and a lovely wisdom
quotation list for you. Both of which, if you remember, can be found in the
resources section. You can, of course,
create all of your own affirmations
and your own wisdom. I predominantly from what
I've created myself, but some from famous
quotations that, again, you can easily find online and others are from lyrics
from great songwriters. It's up to you where you decide to choose
your affirmations. Feel free to have a look at different resources other than the ones that I've
provided you with. So I've got another
five cards to finish. As you can see,
the smaller cards have a slightly different
format to the larger cards. The reason I did that
was because I wanted to use capital letters to just have an immediate saying at the top of it so that as soon as you turn the card over, that's what you saw
straight to it. And then the explanation or the continuation of it I should say, is written underneath. But again, you
don't have to do it in the same way that
I've done it at all. Of course, you don't
have to use a gold pen, you can use a black pen, you
can use whatever you like. If you are not that keen
on your own handwriting, then you can always print it
out on your printer and then stick the saying down either on your affirmation
cards or your wisdom cards. So I'm going to finish
these last five cards and then I'll bring you in to show you how I actually use all the
different kinds of cards.
9. Using the Affirmation & Wisdom Cards : There's no right or wrong
way to use the cards. You'll find a way that feels comfortable and
relaxing for you. Sometimes when I'm
in a little bit of a rush and we all are
from time to time, but I might want some
clarity on something. Then what I'll do is I'll just give the cards a quick shuffle. Hold the thought in
my head that I'd like some wisdom around. Hold the cards in my
hand while I'm thinking that then when I'm clear
about that thought, because that's really helpful. If you're actually clear
and it's not too woolly, it's not too ambiguous, then I will draw a card that,
well, I'm not going to say. It always gives me the answer. Now, interesting,
this is saying to me, this is a reminder
that I have the skills and wisdom to handle
with ease and grace. Whatever comes my way today, that's really rather lovely. Now obviously you can set
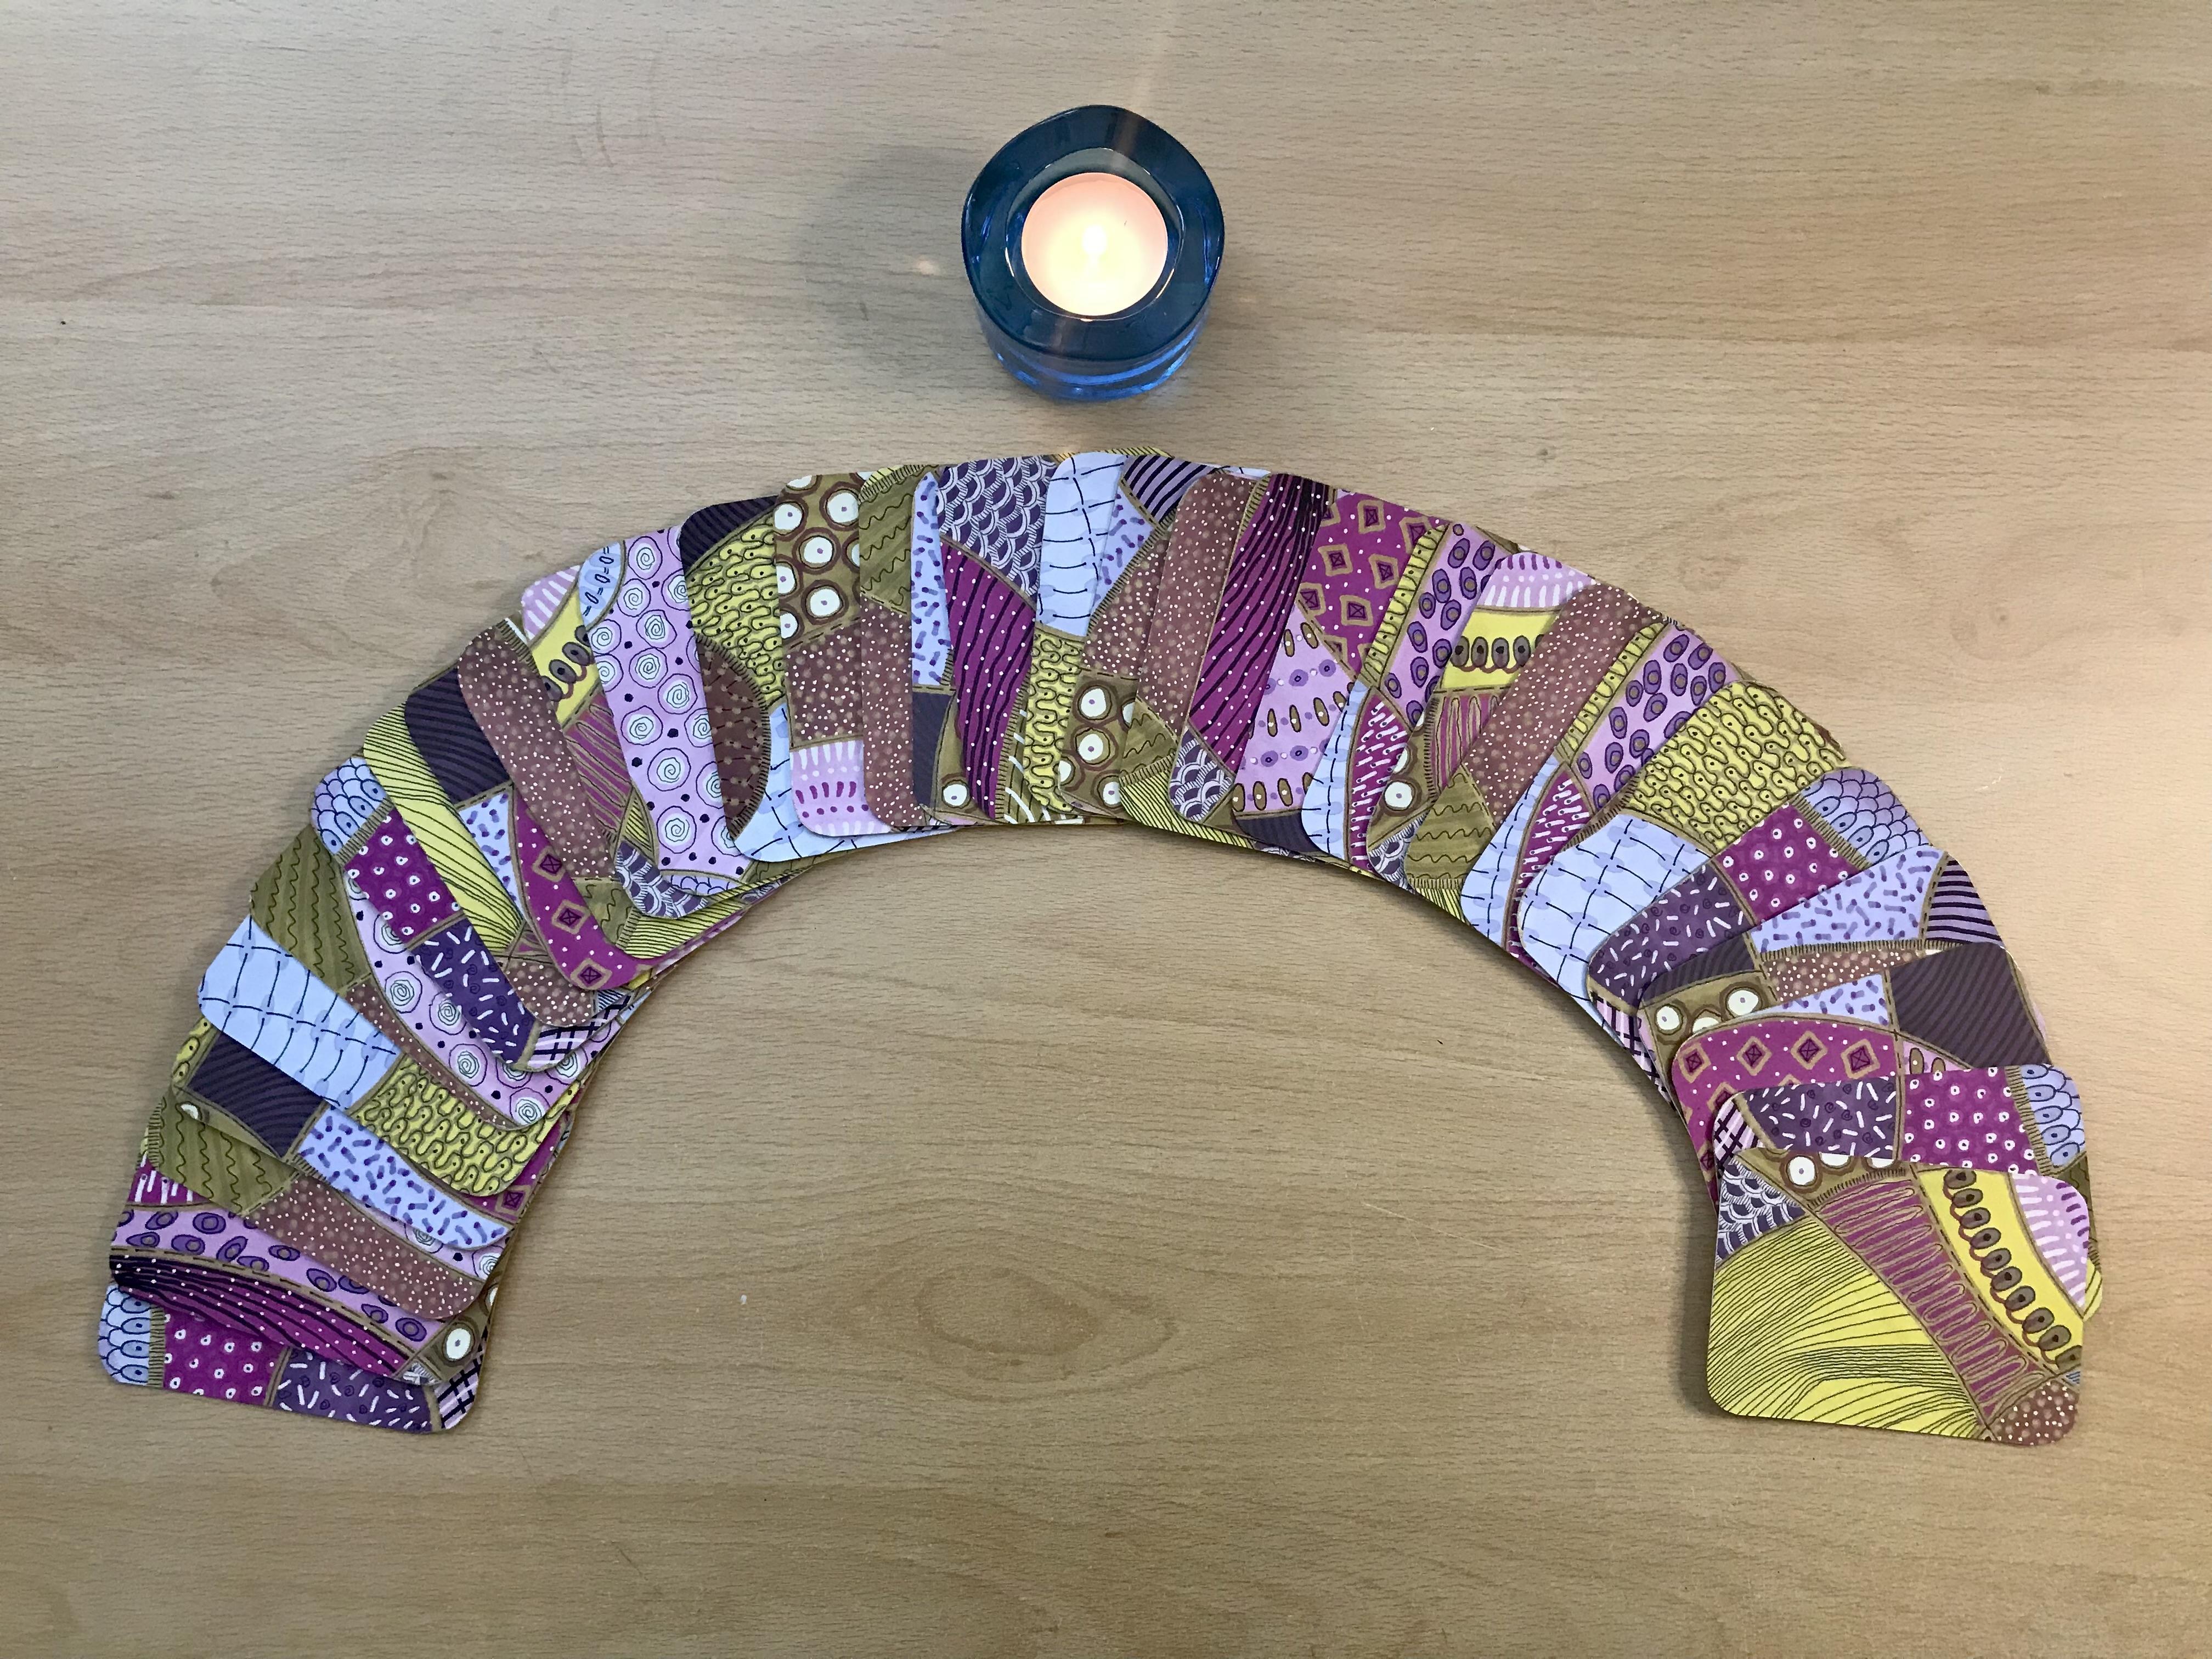
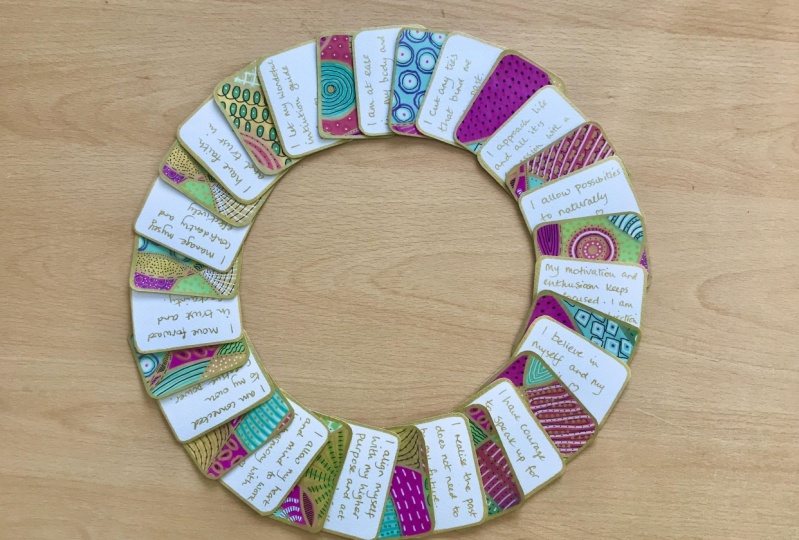
the cards out in a grid. You can set them
out in a circle. What I usually like
to do if I've got more time is to set
them out in an arc. And I just a fan, I fan the cards out so
that each one is visible. Now, it doesn't have
to be a perfect fan, Remember, we're not trying
to be perfect here. Then what I usually do is
close my eyes for a moment. Just sit with the thought that I would like some
inspiration around. As I said earlier,
it's good to get clear with your thoughts
and not have them. Yeah, open ended me. I do notice that I don't know if the word
is concern or not, but I've got a little
bit of frustration or resistance, that's
the better word. I've got some resistance
around Christmas this year. I'm not altogether sure why. I'm hoping that me and
members of my family will get together and spend
a really nice time together. I'm going to ask
the question here. I'm just going to ponder for a moment and
ask the question, might I be able to
do to help me to release this resistance that
I have around Christmas, particularly as I'm not even clear what that
resistance is about, I'm going to take my
non dominant hand, which in my case
is my left hand. What I usually do, I put
my hand over the cards. Now I've got my eyes
closed. I find that helps. What seems to happen
is that one of my fingers will touch
a card at some point. That is usually the card that I need that gives me
the solution or that gives me the insight to the question that
I've just asked. Oh, there we go. That one just touched on that card
there. Let's pull that one out. The question was about my
resistance at Christmas. Oh, now that's very interesting. I've just pulled the card there. I create healthy yet
flexible boundaries. Now, I obviously don't need
to go into details with you about what may or may not be happening
around Christmas, but that is extremely
appropriate. Yes, very thankful for that. Just as a general reminder that it's okay to create boundaries. They can be moved
slightly flexible, but it is really good
to create boundaries. So that's my process
for choosing a card. Do have fun with yours.
Keep it lighthearted. You know, if you're in the mood and you've got friends there, invite them to join you as well and see if they'd
like to pull a card. Whatever you do, keep
it light and fun.
10. Final Thoughts : I hope you've enjoyed
the class and it's given you some
food for thought. As always, I would love to
see what you managed to make. If you'd like to just leave
me any of the images of your affirmation cards or wisdom cards under the project section,
that would be lovely. That's a way that I get to see how you're
doing with it all. If you'd be kind enough
to leave a review, that would also be great until I see you in
the next class. As always, take care everyone.
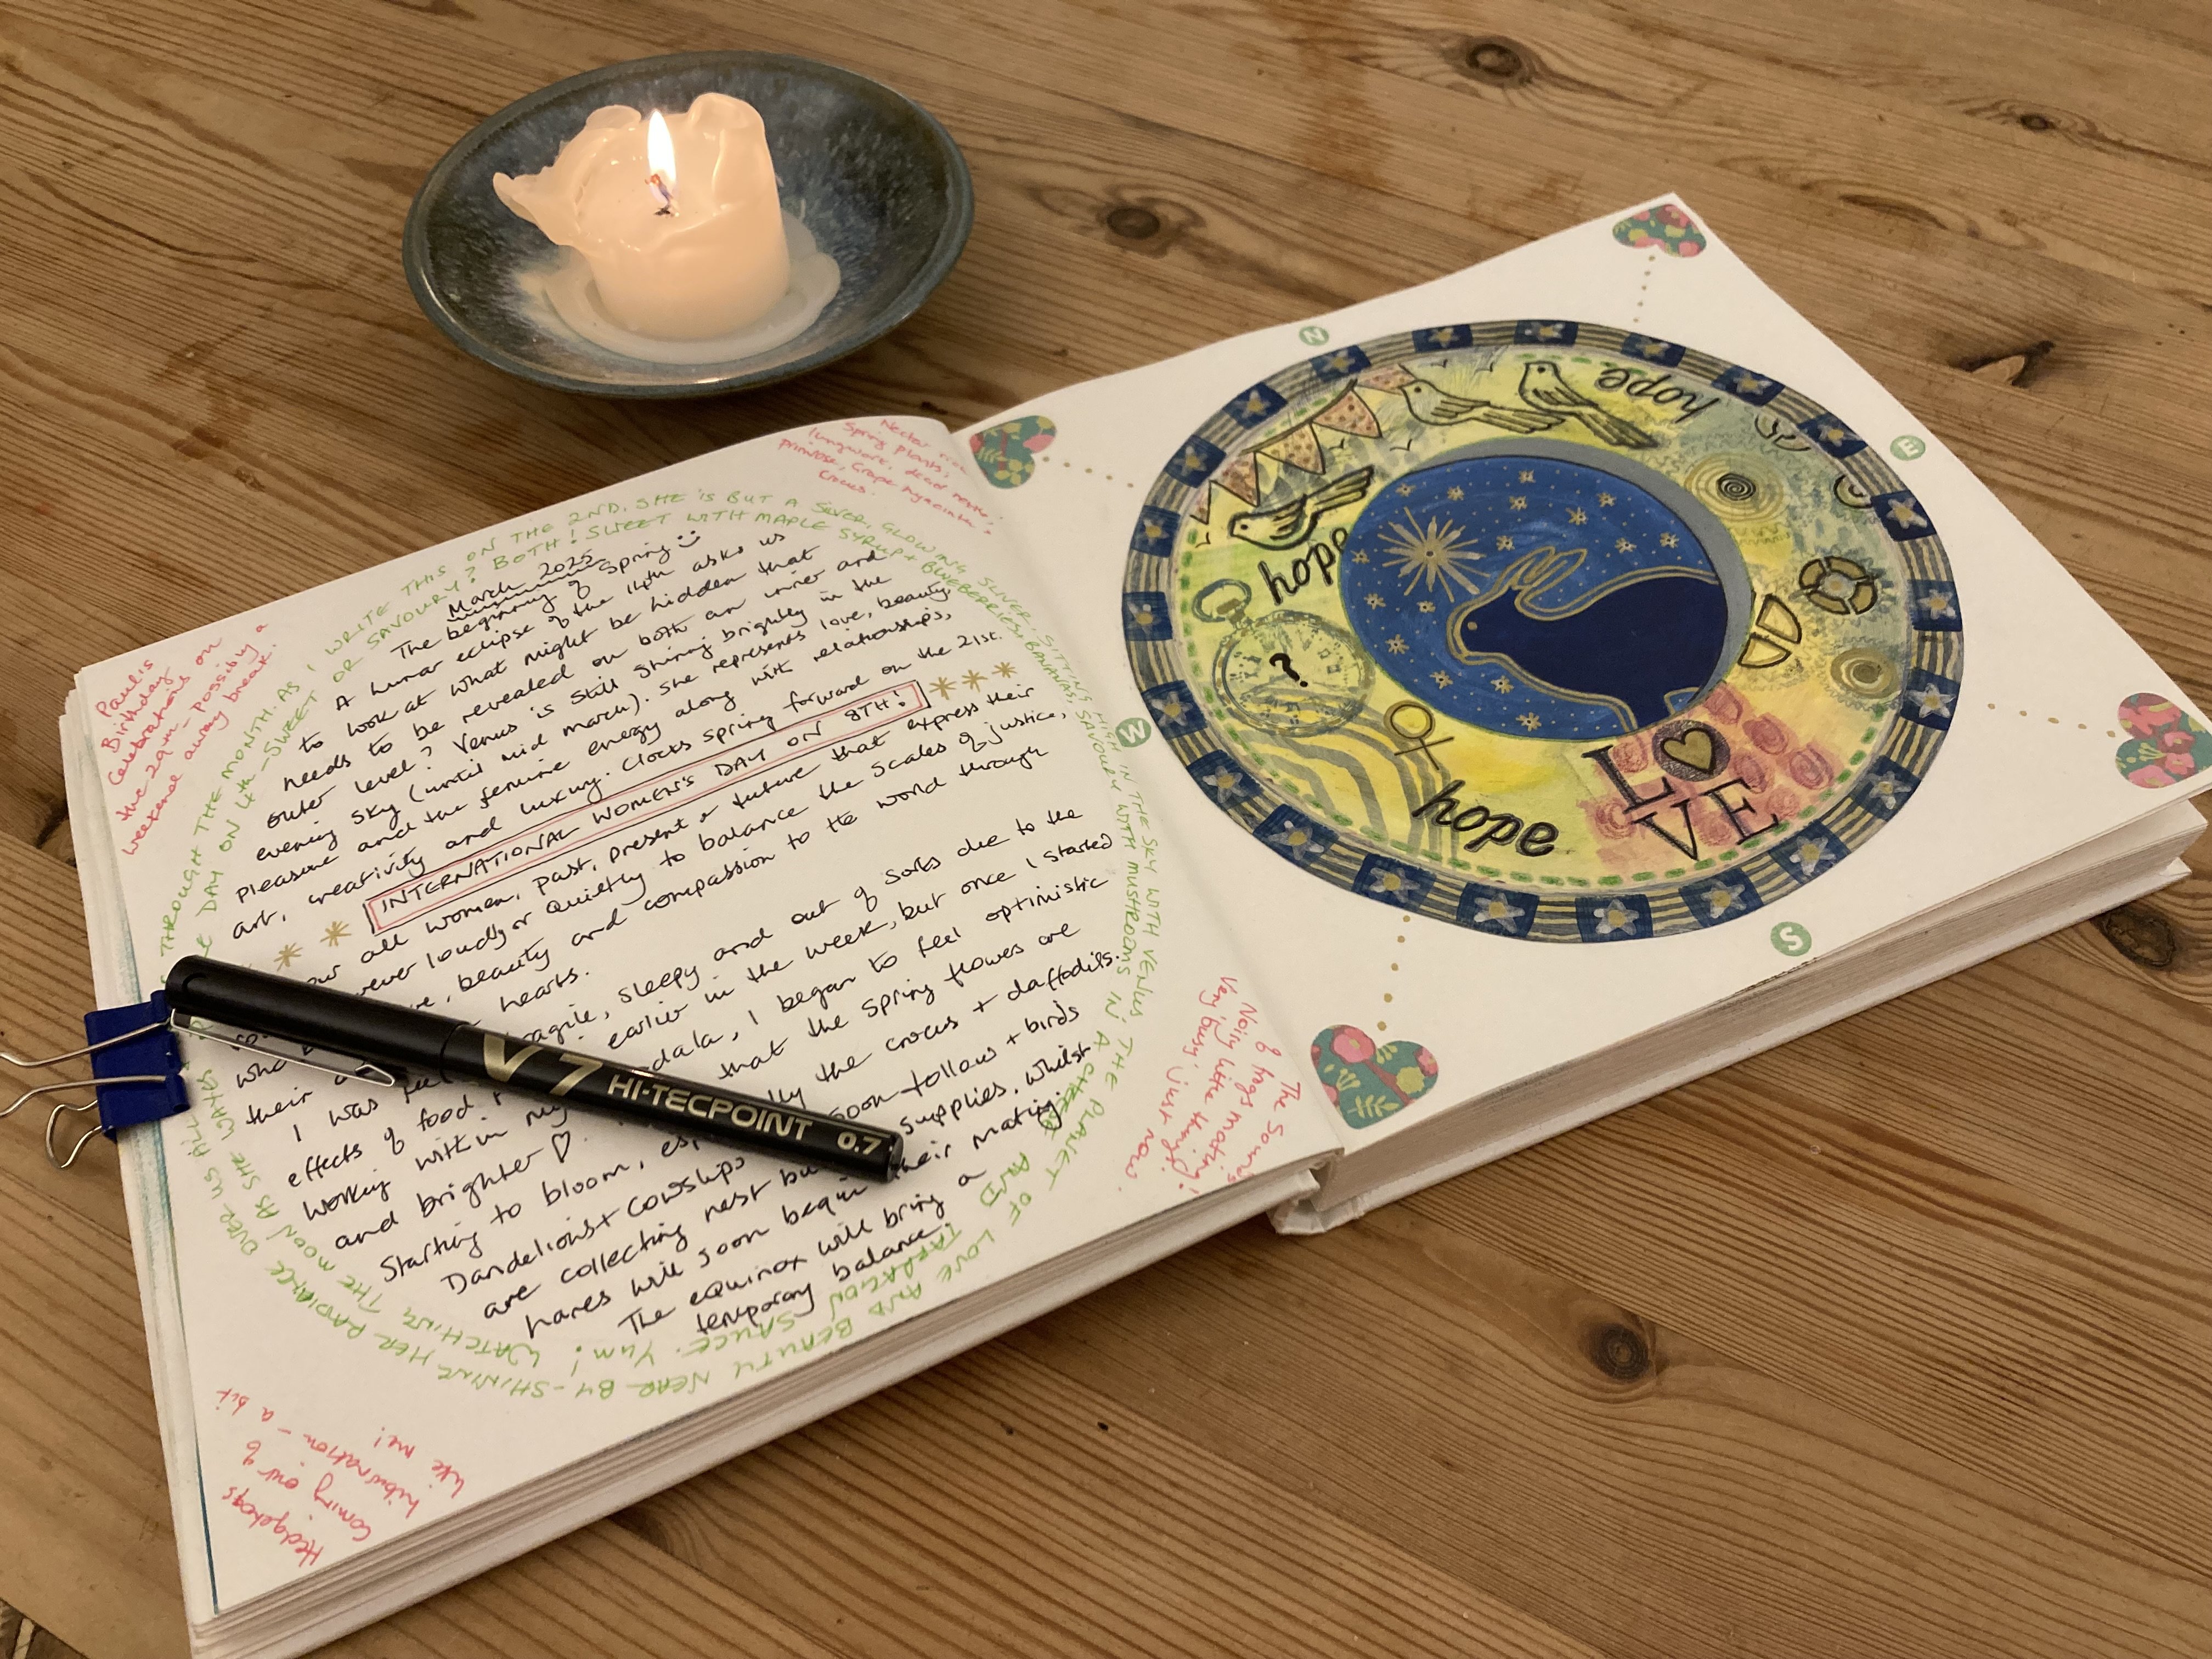
11. A Little Extra : Every month I get together with my two dear friends
Angie and Chrissie, and sometimes Lottie the dog. We come together to
support each other, do some creative activity, and just generally check in with each other
how we're doing. We light a candle
for each one of us and that just helps us to become present in the moment and engage with what it
is that we want to do. When the girls heard that I was creating this class
for skill share, they decided that they also wanted to do some
affirmation cards, starting at the beginning and creating their own patterns. Girls, what do you feel like
when you're doing this? What are the feelings
that come up care free? I think it reminds me of when I was a child just
being able to doodle and creating things
for the fun of it because it doesn't matter what it looks
like at the end, it's just using color. Yeah, it makes me
happy doing this. Good. What about you, Chris? The good thing I start to
stop thinking is very being, I feel this is very
playful and I'm curious, wonder what's coming out. Now if I do this, it's good fun. It is good fun, isn't
it? It is good fun. And have you noticed me, I don't know what you
were both feeling like when you first came in because I didn't
check in with you. But have you got a sense
that your whole energy has changed since you started
doing more relaxed? Definitely more relaxed, yes. Because actually you
came in, you were a bit sort of feeling
that you were late, you were a bit behind. Yeah, therapeutic. It's just it takes your
mind off everything else. Just being present with
its Yeah, exactly. It's very therapeutic. I feel I can just be
me and play around. Wonderful.
 Dawn Cawthra, Artist, Designer, Holistic Educator