Transcripts
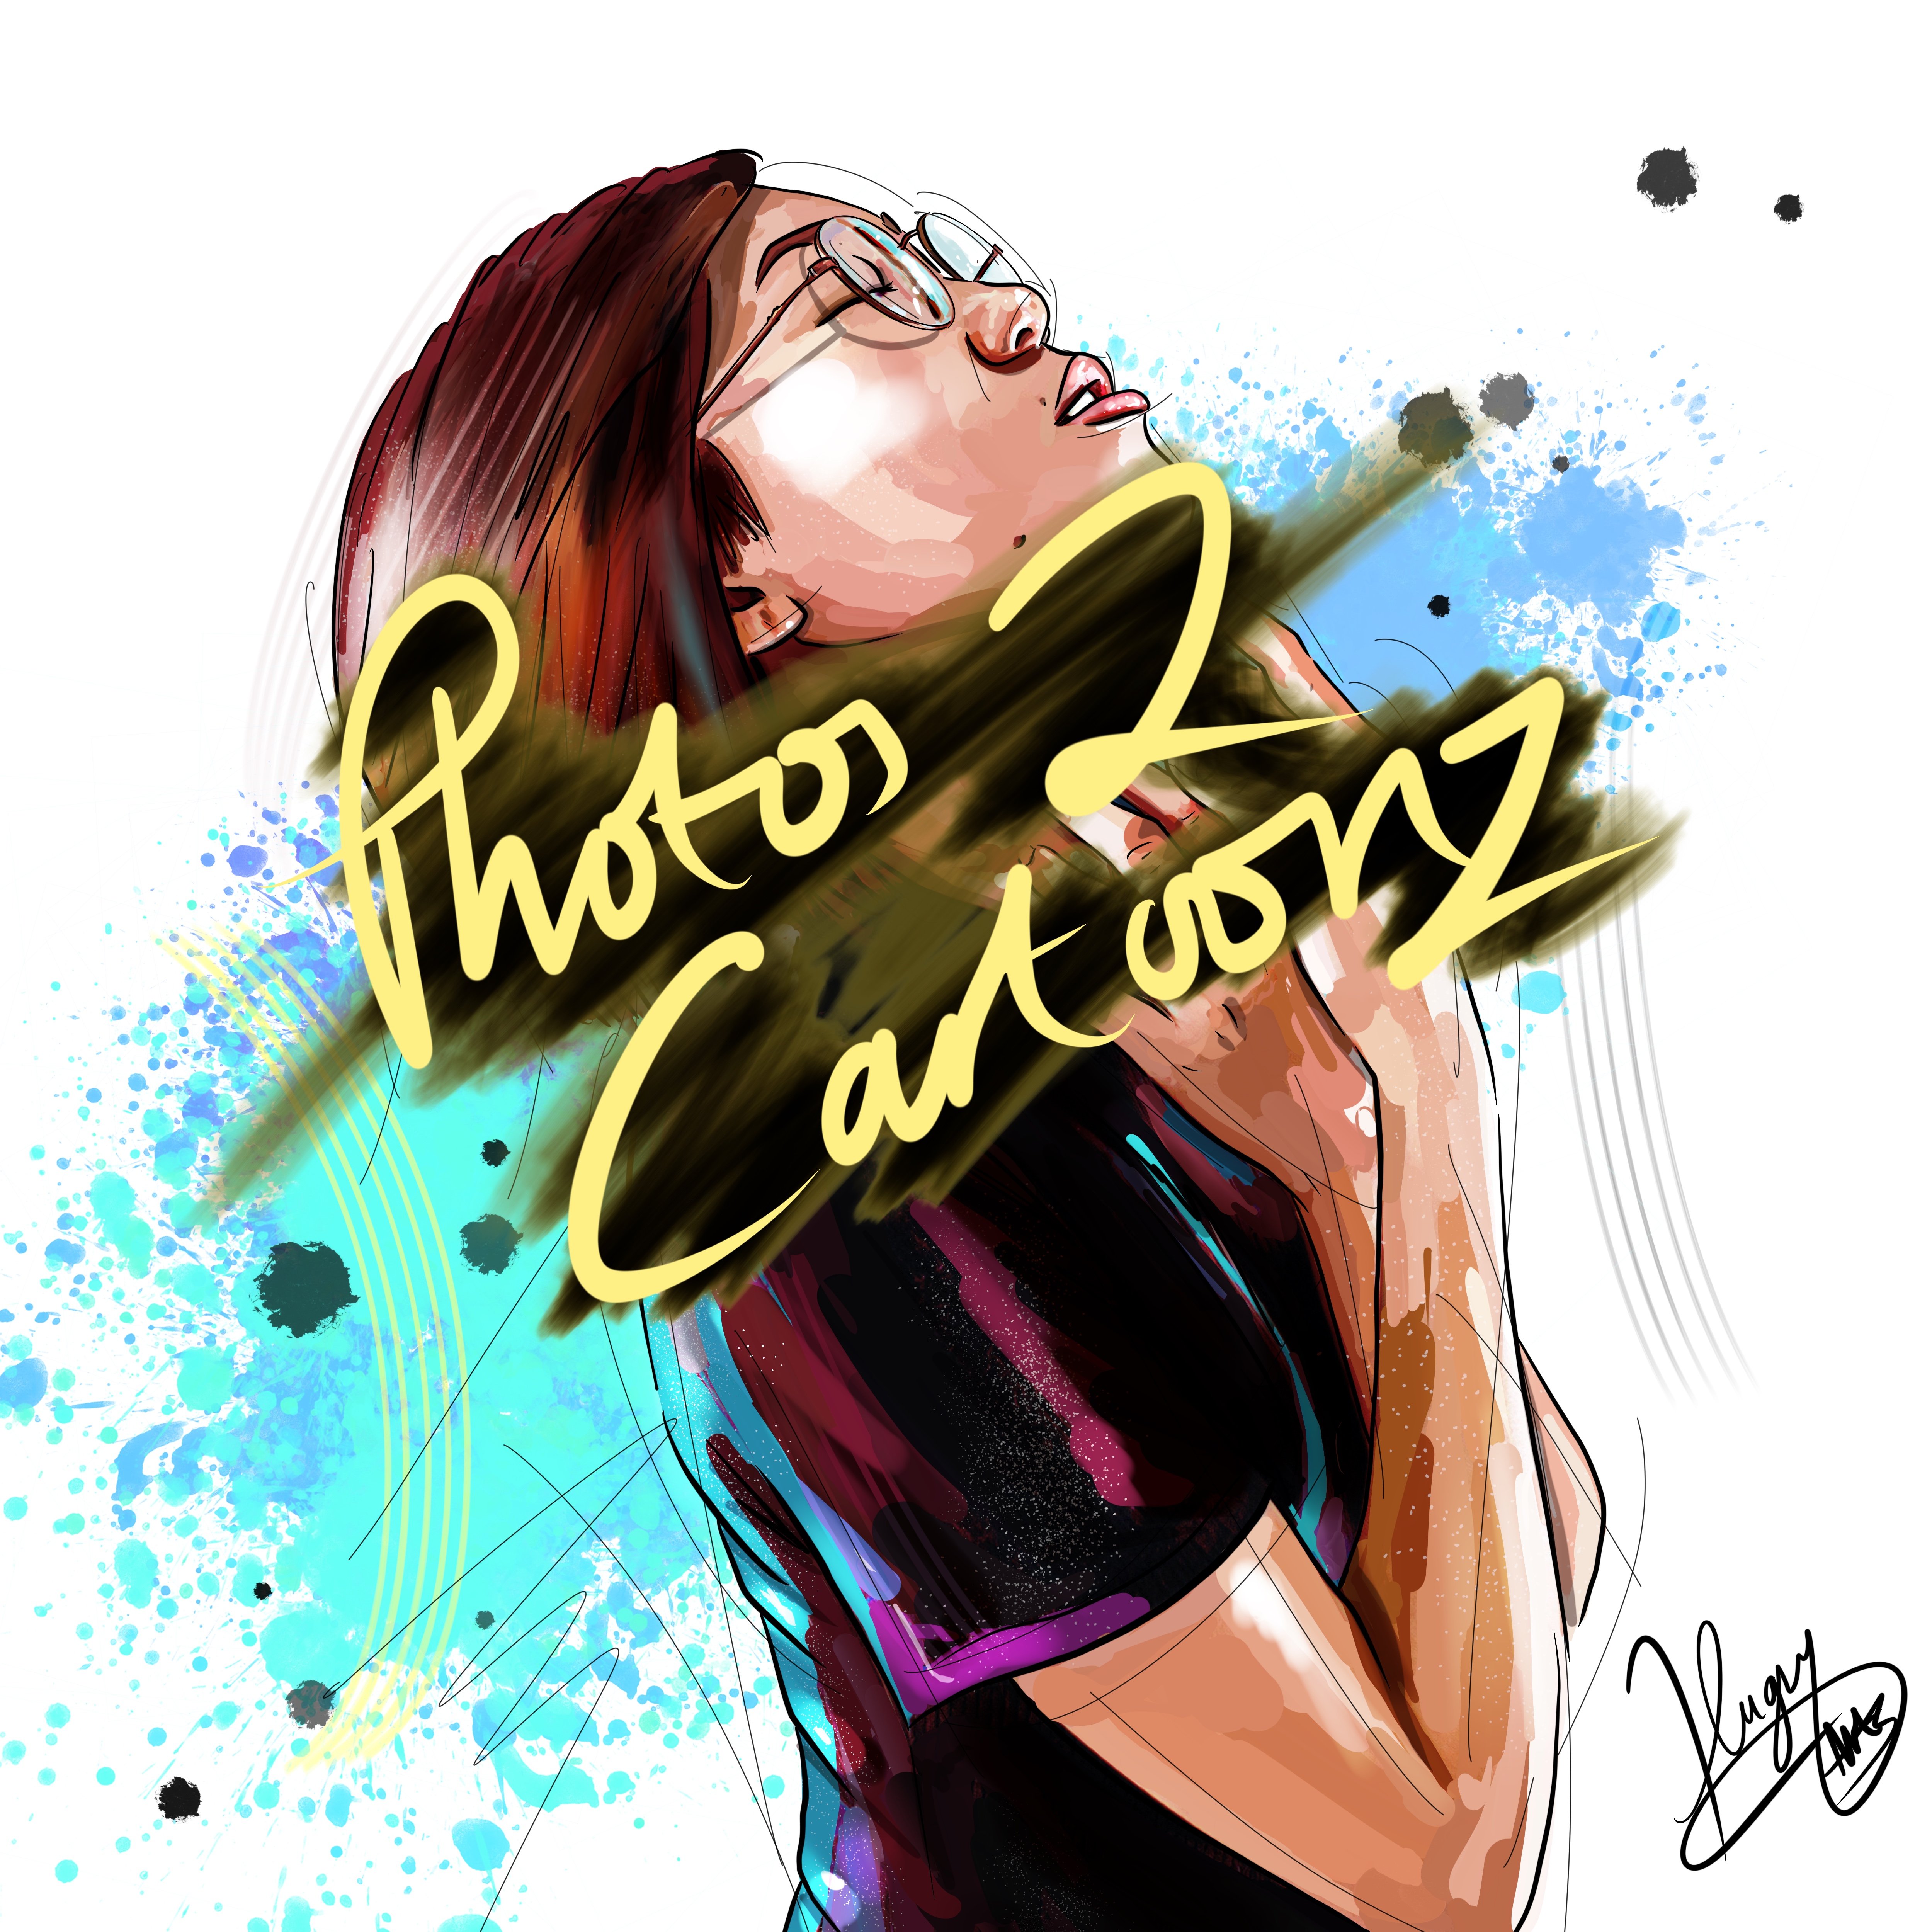
1. Introduction : Hello everyone. Michael Hughes here, aka hugs. Yeah. That's about a few requests recently. Skin on my process for my drawings. So this is sort of a step in a different direction from my photo edits. Just kind of some similar principles in terms of selection tool and blended. Um, but yeah, I mean, basically I'm using different brushes. I provided you, I provided you with some of the essentials for this class, which I've created myself. Obviously the blending brushes for the photo editing. It smaller, designed just for that, for blending and not for painting. So these ones, which I've created now are more for the painting, not the blended. So I'm just going to be taking you through my process. I tried to make it as efficient as possible for myself. Personally, I like to stick to two methods and certain ways. I think that helps. Rather than just going in blind and freestyle in it every single picture. I know there's some artists who prefer it that way. About a set method, which I stick to. And, um, yeah, I mean, for me it works. Get my pictures done pretty quick and efficiently and using the same certain steps every time, which I'm going to show you today and I have so, yeah, in this lesson you're going to be learning the whole process of how I would draw a picture. I'm going to be speeding up some parts, which I've already, I've actually already finished the law in the sketch for this, but I'll just start it off and show you. I mean, we all know it was sketch. I'm going to be using tracing Technique because this isn't aimed more at beginners. I think more experienced digital painters. I mean, they make up their own processes already. I suppose. This is a beginners and it's definitely a help because if you couldn't start tracing, you can start learning more about the anatomy. Where certain shadows keep falling. Every single person. The shadows seem to keep falling in the same places. And you will start the different skin tones. And again, the same sort of process which I'll use on an ivory paint into her purse. And I do, I'll always certain bits of red and orange and yellow in the second place is on every single 12. So it's a sort of repeatable method that I hope you enjoy it and come away with this with a lot more knowledge and confidence to go and do some drawings itself. That is one thing I'm going to be going over the selection tool a bit in this lesson is a tool I just think some people are not quite aware of just how powerful it is. There's some, there's some things you can do with the selection tool, which is super powerful and it'll just make your life so much easier. So I'll be covering that. And yeah, Let's get started.
2. Sketch & lines: Okay guys, it's the first class. So there's less than sorry to the iPad on. Grab the pencil, right? So I'm going to be working from a canvas of 3,750. By 3,750 is canvas size that I like to use because it fits Instagram posts quite nicely. Still large, so it's not becoming pixelated and it's stretched. So nice, large size. And I have got, let me just show you before we start is called large 16 layer. So I'm going to be used in the stunned color profile. I mean, even if I'm printing, To be honest, I still stay away from this. I stick with this and just anticipate that the colors are just going to be slightly duller when you print. Yeah, usually more inclined to do my posts for Instagram and digital purposes. So stick to my vibrant RGB dimensions, 350 by 350 pixels, 700 DPI. And it's gonna give me 15 layers. So just again, for just show you sort of a finished finished when I'm done yesterday. So yeah. Just give you a quick idea from the beginning of how it will look at the atoms. So open up another thing. Now, turn all these off. Basically. All I've done is I've added a photo reference for all of your family or friends or commissions, or I got this off Unsplash. So I just think it's a cool, funky photo just to get stuck in with license simple to add your photo. Lower the opacity to about 70. So we can see where we draw in our sketch. So open up a layer, just pretend these top two layers are not there. I've actually already done the sketch, so I'm just going to start it off to show you. We do it what Penn OUs. So we've got two layers open and going in the one above. And the brush pack I provided you with some of them real essentials that are used. You can, if you want purchase my, my level 2 art brush set, which is going to be on Etsy pretty soon. It's going to start off with the G sketch brush. So nice line. Brush is pretty pressure sensitive, falls off Towards the end of the stroke. This is more for realistic looking, cartoony style, as opposed to the big thick black line work which you see on other styles. So you'll see if you like the style, obviously. This is perfect for you. So we will start on the eyes. Just get the basic shapes. Excuse the silly glove. I've removed my paper like screen, which was a bit of a mistake. But it got to the point where it got so won't, couldn't even see the screen anymore, couldn't see what I was drawing. So I removed it. And they basically don't work with a glove with no screen protector. So that's where I am. So just lightly go over. I always start on the RD because I'll always do this. Duplicate selection arrow flip horizontal. For the UK. Has the other. I don't. Again, I tried to make it as efficient as possible, as quickly as possible. Although there's the I merge them together. And on we go nose. Just looking for the, you know, the most standard shapes to follow. Actually blend my line work in at the end, which I'll also show you. And in fact, I'll probably be removing them completely from the lips. But yeah, all my line work will remain. Coach the guide for the painting process. Which is why I'm not massively concerned about it. I try and do do it as neat as I can. Yeah. I mean, you haven't got to get this perfect line for line. You know, this is, this is it Rory? Obviously drawing from scratch using your own anatomy, knowledge and stuff is so different level of awareness. The next level up, this is an absolutely brilliant way. Don't let anyone tell you any different. It's a brilliant way for beginners to really get stuck in and learn the anatomy of the shapes and how things were. And you could still create excellent art. And as you can see, just going around all the main shapes and lines I can see. It hasn't got to be perfect as long as it's got some sort of flow. Let's be honest, it doesn't match at all. If you wanted to, you could just sort of got the face right and clothing. It's not really that important. But we do it properly it or do it efficiently for this FID. Things like change the stuff, I blend the line work yet. And so kinda just take a little bit of time and just do it. Because when it comes to blend in and this line work, you can actually create a nice contrast ready-made field. So it's just kind of cheated, to be honest. I like how the contrast works. That's what gets the realism. For me. Really stands out on Instagram and stuff too. The hair line work was definitely be getting into the air. This is just a guide. So you get the idea. I mean, really looking for the edges. Not too worried about it, the shadows and all that. Yeah, that's that's gonna come with the painting. So I'm really looking for the outlines and particular features. Not so much the logos, to be honest, I don't always do the logos are well for this vapor. I mean, you got the idea. So we basically just quickly sketched. We got we've got a little figure. They re the paint. I'm just gonna go ahead. So I've already done it. So there's the 1 on. Okay, let's get to it. So what am I gonna do? I think, I think I've merged it with a O positive layer, so, so kinda lost it. So what I'm gonna do, I'm gonna try, try my best to go back all the way. So when I first started, there's red and hopefully I can get my original one buck. Great, great. Start to my video. Yet. Right, where are we in our area? K? So that's marriages that together now, nutshell really, to be honest, I'm not sure what happened there. So I've got my line work back anyway, took a bit longer on this one. And so I said, as the line work done, It's one of the most important bits. All we've done is traced the main features of this guy. Join me in part two. I'll show you my super efficient methods and how I paint the sky. Keep it as simple as possible. It's really effective.
3. Colour block with selection tool, also eyes and mouth: All right guys, welcome to part 2. Sorry about that part one there that was a bit of a crazy situation, but hey, all these things happen. So I'm not going to be sort of redoing it. These things happen to everybody. You know. The old magic toxic good one where you just see Adobe logo. I did that. Get there. So another good one. Yeah. The old two-finger redo there for a reason. Okay. So we're going to line layer. What we're gonna do now, open up a layer underneath it. And we're gonna get our selection tool. We're going to click Color Fill. And we're going to pick a skin tone. We've got a pretty fairly likely skin gentleman year. So it's just going to go sort of red, the orange. I'm quite pale. Pale tone. If you just remember that sort of thing. I mean, you haven't got to be precise. I always go a little bit lighter for this bass tone. You'll see what I mean. It's okay. A selection tool set to color fill. Unless just us just go around and loosely follow our shapes and lines. Would sue. Like so. Dokey all the way. To save you a ton of time in the long run, this Do you love your silhouette of the figure on its own layer? So you can do whatever you want. Okay? So there we go. We can now select them at any point. And colorful off. We saw a can't paint into our background. If we had one, we can pay where we want it. So so start with the skin. So we will get a red blush color. I'm thinking a brush. Brush. Let's just it's very small. It's just push him know. And they'll blush there and the cheeks blush on the nose. So okay. So the big, softy, slightly more saturated. Just to give a bit of edge to that blush that we got their job done. So Genoa, we still got this selected, but we just flicking it off so we can see our reference for all which we're going to walk back up to max. You got quite that red lips. So a cherry lips. Pick the darkest color you can find not quite that dark color that flips it on the layer above. So let's go to the big softy lips him. Okay, Let's get shaped. Weeks off the sheet. Sometimes it's easier when you start dock to then go lighter. It is to go darker from light. It's just a trick of the brain. So bear that in mind. Especially with RUs, I would start really dark with my way lighter sin and we'll do the OU's name. So turn them off. Reddy brown, big softy. And yeah, as you can see, color in the dark. A wet brush, this one. So be careful when you use an API, you will pull whites back or different colors back. So you're sitting there K when you use an app and it will become one of your favorites, I'm sure. So yeah, I don't really look like IE, so then I'll just sort of go through a skin tone, gray, unsaturated skin tone. And I'll just start from the middle. Kid my way out like so. Same on this room. So I'll go a little bit lighter. And we'll go a little bit lighter again. The depth. Okay, so let's remove spinach. K is Clarissa and what color eyes didn't have? Very dark brown. Open a layer above. Very dark brown. And here we go. Still on the big soft brush. Go with a dark is color first. Darkest color first. Again, it's a pretty big tip for you guys doing. We're going from dark to light rather than the other way around. So much better way of doing things. Your brain can easily see things that way. Right? Is saturated the lightest. Okay. I'll do is go really dark. Discussing pupils. Here's the pupil is. Okay, is get rid of the spillage. Like so. Woo Commerce, I'm going a bit of a fall. And there we go. Get rid of spillage, maybe go to Somalis. So we've actually done is lips, we've done his eyes. It's got a little bit of blush, not too much on his cheeks. As you can see, that blush basically fades away once you start adding the contrast in that for the IOUs and the lips. So crack on with the skin. Back to this layer, select in it. Let's get some more reds and blushing. Quite enough. I'll do this process for every single reference or use. Wherever. We've got blush or not, I'll always have some saw a blush. It just adds a better life with the redness. That's a bit of a vibrancy makes him look alive. Years in particular was really quite red on the inside. D, D, D. So underneath the IOUs I was like, Oh bit darker than the base skin tone. Right. And the eyes. And the eyes obviously, we're working on the layer underneath her eyes though, so we're not impacting, not in any way. Going to build a free rein. Again, it's all about the efficiency. We go just a touch darker and more saturated. Maybe get a shaped brush. Okay. Like so, just get a blend of sculpture over the net. Okay. That's part one of the skin done. We've got our main features out the way. Next, I'm just going to be going straight in. And I did all my shadows, which will help us with the rest. So I'll see you in Part 3.
4. Shadows using multiply : Hi guys, Welcome to Part 3. The progress we've made. We've sort of we've added our reference photo traced around him. And we've connect with our sketch. Blocked filled I was sketching, so we've got a silhouette to work with. We've added some blush and some darkness around the eyes to make him a bit more believable. And I did, some, are using some lips. That's where we're at. Next, we're going to go just underneath our sketch layer at the top, create a new layer. It's going to be a multiply layer. And this is going to be able to shadows. So what we want is our big soft brush again. And let's just look at the reference photo and see. We can see me got warm lights, warm, dark shadows with cool lights. So we'll stick with that to keep it believable. You should always are warm light and the light shadow. What am I out of it? Yeah, that's right. And vice versa. Now that I've like warm light with warm shadow would look a bit, you know, you've got that muddy, muddy look that ever moans about them. So as you can see, I've still got this selected, so it didn't take that now. And we're going to take that. So we've got our photograph and I will multiply layer open, big softy one brush selected, click Selection tool. Make sure you have got color, fill and ticked, and freehand. And we're going to be either in the shadows in. Again, this is where Selection Tool is pretty powerful. So we can see we've got a shadow there. We can see all this is in shadow. So shadow, it shall be, click it and close it. That's just one. And we carry on. Let's just get my line work open. So C Well I'm Sydney or possibly David touch. So see what I'm OK. And you see this shadow? This is how he plans. I did. Okay. Ipads decided to freeze up, so let's just shade in our area that we did select. I'm going to just open it back up. She didn't like so close open backup, right? Shadow. Shadow. The shadow. The shadow, a little bit of shadow layer, there's a better shot all day. The shadow and the shadow, the edge of the nose. We know the nostrils. I've got a bit of shadow. Fact, the whole bottom of the nose. Shadow. Thank you. Don't be but most of the top lip is in shadow. Under the bottom lip. Shadow. And we got this shadow just a little bit of shade. And shadow. Hello. Shadow. Shadow. Pretty much done for the face. Shadow, shadow, shadow. Now what I'm gonna do see save and load. Click, Save, click Plus. We've now saved that, locked it in. So it doesn't matter what happens from here will always have that locked in. So shut down, start again. We'll start again. Just a signal, signal the clothes. So again, just blocking in some shadows for the clue. Luke. So so to show already done not no harm and do it again. Shadow, shadow. I'll use this for every Krishna. Please. Crease Greece. Or in shadow the bottom, the, the shadow. And the more you get used to this sort of method, you won't really find it tedious is, is just so useful. Rather than freestyle in it. You know, the ones you press dot save lives shadows. You can be there for you to access at anytime. Shadow. Decrease in shadow. Shadow. Okay. We'll have their own little shadow down here. Save plus our shadows at w1 and locked in. So if we click this now, locked in there, well, facial shadows, which we're going to want to warm, brown color. Can I get a brush for this one? Let's start working our way. It doesn't all going to be 1, 1 pressure, 10. What opacity? Mix it up a bit. For the darker areas. Darker. Let's just get rid of the foot woman, a sweetest. See what we're doing. The shadows in the ears of very dark. You know, those nostrils. K, You've got the Jess, you get the JS. Click the Tool, click it again, save and load. Let's load up our clothes selection. So looking at my reference for all bit of a warmish gray going on. So unsaturated slightly. We'll go with that same process. Let's go. I like to sort of start darker and lighter. Still try to imagine the creases where you've got your sharp edge. Go to aka, just faded out. Fade it out. I mean, we know what's going to be that under the arms there. You can see I'm doing this. I'm not being too particular. I'm just leaving a bit of gradient. It's just like a bit of variety to it. So shadows completes some of our features back on. This is the point where now we're shadows have been added. So join me in the next step. The next step we're going to be just sort of color. And n is clothing coloring in his hair and his eyebrows and his little mustache. And then it will start to look a bit more like a human, not like a statue. She's guys.
5. Colouring Clothing and hair: Hi guys, welcome to the next step. Quick recap. We've added a photo of unsplash as our reference. We've traced around it, sketched our line. Like so. We blocked, filled the whole silhouette to work with. And we've added some lips and eyes and shadows. And that's where we're at. So the next step now is to start coloring in and with clothing and hair, eyebrows, cigarette, ETC. So we're going to do, we can open a layer above our silhouette. We're going to select our silhouette. So that's selected color fills off. So we can't go outside the lines here. Scrub the color of his shirt first. Bit, sue a lot, a bit darker than that, a bit of an off gray. The pen we're going to use is the round block brush, which is their favorite download. Back on our layer. Photo off silhouette on so we know where we're going because we're using color so close to white and we're going to color in. The gentleman did jumper. Simple, flat. Meaning we're only going to color and the edges. You only need to be careful around the edges. We're selection meets. Obviously not there because we can't go outside the lines. They're just hit play here will need to be a little bit careful in the face. Base color there. Forget the cold chain for now. Like so. I'm just looking at the core and the edges together, closed shape and then we'll just fill it in. Like so. So big for this bit, we don't need to be careful here. So I said jumper is done. Always drag to the right. Take it up as high as you can. Fill more cleanly or more area. So that's the jumper done. Underneath his jumper. We're going to have his dark colored dark blue jeans, which smile a little bit more blue to that actually. Okay, So select this again, so we can't go outside. And we don't have to be too careful with this one because we'll be going underneath our jumper. So literally just with the int. There we go. We've got this jumper on separate layers. So we need to be going up. I mean, we could use the pupils layer, new layer every time. Got very dark hair. Maybe a bit too dark. For my specific opinion. Bring it back. The brush I'm gonna be using for the hair is the big softy shape 1, which is also turned off. And of course, select our base silhouette layer again. Go back to a layer above our head. Now this is shaped like so. We'll follow stroke, but you see variant, which angle you're working on, you will get different sizes. So I always like to work from the side because you've got that flat edge message just so February and blend this up in a minute. Favoring this fringe or hair line. Obviously we can't go inside, so don't be scared of the edges. And his eyebrows, which I'm assuming I have a similar color, which they are just going to go with such lighter they'll lock them in. I mean, you could do the strokes if you want to sit there for I was doing it. Every single player if you want it to. Just find. This works better for the style suits by 0 and you just block them in and work with shapes. If it was fine art and ultra detailed. And yeah. I get why you would single out every hair and every detail. But it's not. The only bros in place is mustache, which is again very dark block in the middle. And just we're given the shapes of our sketch. Look. So I think you also add a bit of hair. And it's Ginny chaired a lot though. Not a lot. It's just a little something so we'll just have a little something like so. Okay. So under all something under this chin, chin, bottom lip. Now the cola. I think all that common but what was it called? Knowledge-sharing strap, sole patch, right? A soul part. Okay. So our chat now he's got colored coat color close to tears done, sorry, blows done. He's looking like this. No. And this is where you start to see the progress. Well, I'm here. We've got a cigarette colored did select there was silhouette. Go to a jumper layer is fine. Turn off, turn off, turn on, pick up the color of the cigarette. Gonna go a little bit lower than that. Big softy, just going to be coloring it in through there. And we're going to use off boy, deep gray for that bit and maybe know that bit now. So last bit whiter. Okay, so that wraps up this section. They were fella is let's move into the top now we don't need to trace it the moment. We can see the reference photo. And this is the progress we've made. We're making pretty good progress. It's just time to fine tune a few more areas now. Add a little bit more color variation. The clothing and the skin and the hair. Then it'll start to pop before we add the final details and locked in. So yeah, tell me in the next part. I think what we're gonna do next is add a bit of variation to that jumper. The details will shut dab in at the end. It's nothing, it's not important. Which is add some off whites to the top to add a bit of variation. And we will smudge in slightly. Not all. Some of our multiply mode shadows will just soften some edges. Another thing I like to do, the part after, which is I like to soften the line work and completely removed some as well where it doesn't need the contrast. You haven't got to do that. A lot of artists just leave the line work there. But for this style, for the style I'm going for, I actually like to just blend it in with a brush that I got made for it. So yeah. See you in the next bit, guys.
6. Adding Colour variation: Hi guys, welcome back to the next step. The next part of trace. Nice cartoony pictures which you've drawn all by yourself using quite efficient methods, using Selection tool a lot to help. And I'm suddenly ask them they'll tricks like just the red blush on the cheeks and things just to give it some life and steer and well clear of the muddy, muddy pictures which you see. Hogging up Facebook groups. Kinda work too. It's on the shading, mimics him warm lights with warm shadows, it over blending with brushes and things. So we've got a wishy-washy, sort of muddy effect. So we're going to steal wealthier lot by using this method. So for this part now what we're gonna do is let's just move our fella back to the bottom. We're just going to add some variety of color to our clothing, first of all, and then face hair. Just to give it a little extra depth, I saw nothing heavy, nothing. It's not as bad as it seems. So select the jumper, which is on its own layer. Shut it down. Now. If you select your color, you'll know where you're at. So that's where we're at. So we need some darker areas there. So just so, so the OLS value changes will do going to be using the big soft V-shaped brush, which I created. And we can open a layer above it. But we're locked on that that jumper. So if we buy off, so just look for the dark areas really, I mean, with ever so slightly darker, not a lot. A bit. And just add in some variation. Really, nothing heavy. Little bit dark. Just to pay out in a bit of depth, you're going to be too precise. It's not fine art. This ultimately. Ultimately it's a cartoon. You know, granted, it's a detailed cartoon. When you think of things like Mickey Mouse and The Simpsons is a lot more to this, I can guarantee you. Yes, we've added a bit of depth there. So have a look where we're up. See simple trousers. Select. I wouldn't reach over and on the trousers. Not going to mess about too much. We open a new layers for this because there's not a lot to it. So I'm just going to grab the color and just add a bit of that dark. So a little bit on white, I suppose, or not. Give that transition a little smudge it just to add a bit of variety. Go job that. So yeah, we'll do that with this. Now. We've added all I'm colors will just blend in some of that sharp transition. Not all of it. You aren't gonna go mad. Some of the larger areas could just be softened up. You want to keep some sharp edges for realistic purposes? I'll do. Okay. So I mean, I've long did that take no time at all? We've got a bit of depth. Go it on and I will talk. Now we need to add a little bit of light, select a jumper, shut it off. Look for the lighter areas. So we know that I would jumper is that tone. Go touch lighter and so on. Just a touch because we're pretty light as it is. We're back on our layer. Unless some light areas not being picky guys are really not. I mean, I've got the reference opened, but just going to chuck it anywhere to be perfectly honest. I'm going to just go away. I think like my hit. It's just more about the variety rather than the accuracy, if you will. So yeah, that'll do give it a little blend in some areas, not all of it. Not all of it. Just soften some of it for the transition that will do to be fair and equal to k. So we've got variation on our clothing know. And I will have fella style and look a bit more believable. Massive fan of flat like the, I think maybe you just didn't blend mode applied enough. So we are just, you'll see things that'll stick out. I'm on the multiply mode. Just stretch out some of the shade. Obviously some very sharp shaded I've left there. So could be as sharp on one side, but you don't want it all to be sharp, wanted to be believable. So I'm just softening some of it. Okay? Okay. All right. I'm happy with that. Okay. Job done. Discuss it, gets stuck into this hair. Should we select his hair to open a layer above? We're going to be trying to solve this hair right now. So you seek a very dark hair and the photo, it's not given us much to go with. Hair. Basically black as it is, so we just need to bring some light into it. So thinking what we'll do, we'll select our hair color that we chose. And we're just going to have to lighten it up. A touch big, soft D-shaped one. We want to add a new layer and we just got over here selected. I'm just going to let, just going to insinuate some shines. We can go a little bit lighter again, just a little. And maybe even a lighter again. Let me know in the reference he hasn't really got this shiny hair, but he has now looking slick fella, look in Slack. Okay. Let me now do. I'm happy with it. It's Hey, it's so dark, it's not we're fussing with. Maybe what we could do is maybe bring some some strands, some oils, drums flying off. Like so. Now I'll do the Braves. Me, we'll go select them. Go a little bit darker and just add some strokes in there. Like so. For this, we're just going to go back over this period is to solve a very black beard. Just spoke tonight some random spiky biota strokes. So doing. And I'll show you, I'll show you in a minute. You'll see the motion I'm doing for the hair. Sporadic and run them. Not a lot of care going into it to be fair. Okey-dokey. Yeah. So the stroke so I was using a just for the sort of hay strokes. I like that. You've got some So among them his pump it out. Anyway. I just wanted to quickly, well, I'm remembering quickly say thanks to everybody who took Mali photo editing lessons. And those also. So many people watched and gone involved. Really made me happy with funds for that. B had done better. What boards? What soften it with a little blend to be fair. Just a very soft blend. Okay. Where we then that's where we are. The chops pretty much looking done. We still call it, it will change the color in which I'm gonna do now by the way, while still remember. So this is a silver shade. So we're gonna go to the silver side of the board, very dark and we're going to color it all in. There was big soft D1 going to color it all in very dark. Like so. I mean, we know where we are, It's Silva. So will gradually go up some light bits. We've got lotsa, we'll get lightest. Do twill to train. Don't think we do need a bit of shadow below and it will just pop a little bit of shadow beyond it, like that. Okay. So this is where we are folks. I mean, what's left? Eye lashes was hey, I mean, big soft shade Obi I don't really mess around with eyelashes for this soil just insinuates that the man has oil actually is small. My style looks so let's be fair. They are absolutely awful. So I'm not going to stick with them. They are terrible. Swim, go into hafta, get my Relax brush. Wherever that may be, software eyelashes all include this in the pot. That was atrocious to be fair. It's not some propanoic lashes in. Okay, my spatter. And with you, what we'll do now is add a little bit more color and depth to that skin. And then we can add the details on the light. And we're done. We can have a nice little drawer and at the end of it, See you guys.
7. Skin tone and details: Hello everyone, Welcome back to the final closing stages. So we just need to add a little bit more depth and color to that skin. So select our original base silhouette layer then the bottom there. And let's first have a look at the months which quicksand. So that's pick up more toughened color and start adding some of that big soft brush. Very soft brush. This quite wet. Perfect for this super sort of willy nilly. Just sort of shock it on, is not going to do nothing too drastic. Little darker for that neck area. From what I can see. That's what we'll do. Of course, it was only ever a base layer. So hoops, while they press click OK. Bring to bear that Tn over and do the forehead. And the hairline. This brush is awesome. Does all the work for you? She's not going to look so anemic. After we finish this step of the node, again, random mistake to make twice. It's going to have a bit more color in his cheeks. Is mothers not going to be so worried? Mix it up a little bit. Oranges. So I'm gonna go nose. Literally just got logo, rusty orange color here. And a bit of variety to it. At that must just add in a little bit more to them shadows underneath our Multiply layer. For either more depth. Starting to look a little bit less like Pinocchio. I'm more like a real boy. That's a bit IV. That's a bit IV. Now what I want to add a little bit of more blush to where I've just washed over. Maybe not so light. Lips. Not massively satisfying with them. We did 3D, 3D roughly bush over the lips. So we'll just we'll have a little look at them. About 31 and I like it. Okay. The battery is running out. This is I withdraw and at the moment and this is where we're at. I can see one thing sticking out straight away which I will also at right away. That is this neck area. So we need a vehicle much darker. There don't be. You need to such ration for the transition. And it was not that he's looking. All right. Now, company the battery is going to I'm going to have to pull this vid short. So this is where we're not. So reference. I would draw red. We are going to have to pull it short because I didn't realize that my battery was good to go so quick, which is a shame. But basically all that was left was smudge it in the logins, which I'm not going to do now. I'm just going to add an odd layer. This is going to be the light. We've got a cool light. So if you go to a nice cool yellow, is my favorite brush to pick soft its shape is. And where you belong. Now, add some light in where we see loved. Select those silhouette first would help. That's why we did it. This is just going to give us even more depth. The Lidl puppet, the darks, compliment each other. Should we run under open to the drawstring? Go a little bit of light, little bit smack down in the middle, which It's very faint. I'll do a little bit of a white light on his nose. And my c is I thought we went on the right by it. I'm actually thoughtless the wrong Paula's. We buck, right. Okay. It's here on the right. A bit of that for you guys to always just blend them in a bit if you wanted. Soften them in at the end. With silk blender of course, will not be without, turned out happy that so many things went wrong. But this happens to all of us, these sort of these little mistakes and things happen to all of us. So I suppose it's good to see is tied to worry about. It was a panic on Procreate. There's always an undo. Okay guys. A colab done. What I was going to do. A little bit more depth to around this one to do is I'm just going to quickly select his shirt back to the multiply layer. And I'm going to add a little bit of little bit more depth just to write that. Looks so I'm not going to blend it in. Maybe. This is me, this is me nitpicking. Okay, So if I was going to now add our details on the shirt, I'm so of clicking above my layers. Selected our silhouette. Just drawing them in simple as that. C with G, G sketch. I'll just do the one logo. Can mess around too much. I just want to show you how I do it. This is why you do it. And this is why. This is an efficient method because it could look don't into some people go there, do we do now? So they've got back on this layer without our yellow color which was ruined. Fact. I'm gonna run down the text like so you go, you've got to be perfect. Job done. Guys. That's where we're at. Final step. If you want. Not a sudden it looks all background. So we will do same as well. It's got a brush. The brush in a bit of background, a bit darker. Bottom. Variety. Variety. Even put a bit of blue on it. If you want. Not too much. You're going to have a go with the Add Layer if you want to bring in some light on a sec guys. I mean, we could carry on and on and on. But you got to call stop to it sooner or later. So I'm going to call this one done. But we enjoyed it, guys. I hope you learned some good stuff. You can see we've got quite a neat little drawer in there. You could go round and neaten it up a bit more. It's a bit rough around the edges. I would normally go to my layers and I would just soften, soften the edges, especially on the silhouette layer. I will just soften him too much. My line work a bit better. Final touches. That's what I would do. But yeah, it's not bad. I felt like I do get a bit intimidated when the cameras on, which don't have a cause for teaching. But I still got a lot to show people. Hope people can learn from it. So if we just do a quick before and after, we just try and get this to the top on this chrome killed iPad. Okay, so there's our photograph, reference photograph. Thus, we are decent little picture of it. Thanks for taking part. I'm watching guys really, really appreciate it. Thanks for not going MAD for the web and this silly thing which is actually her in stats, right? So I'll see you all soon. Thanks guys.
 HugsyArts, Aspire to inspire