Transcripts
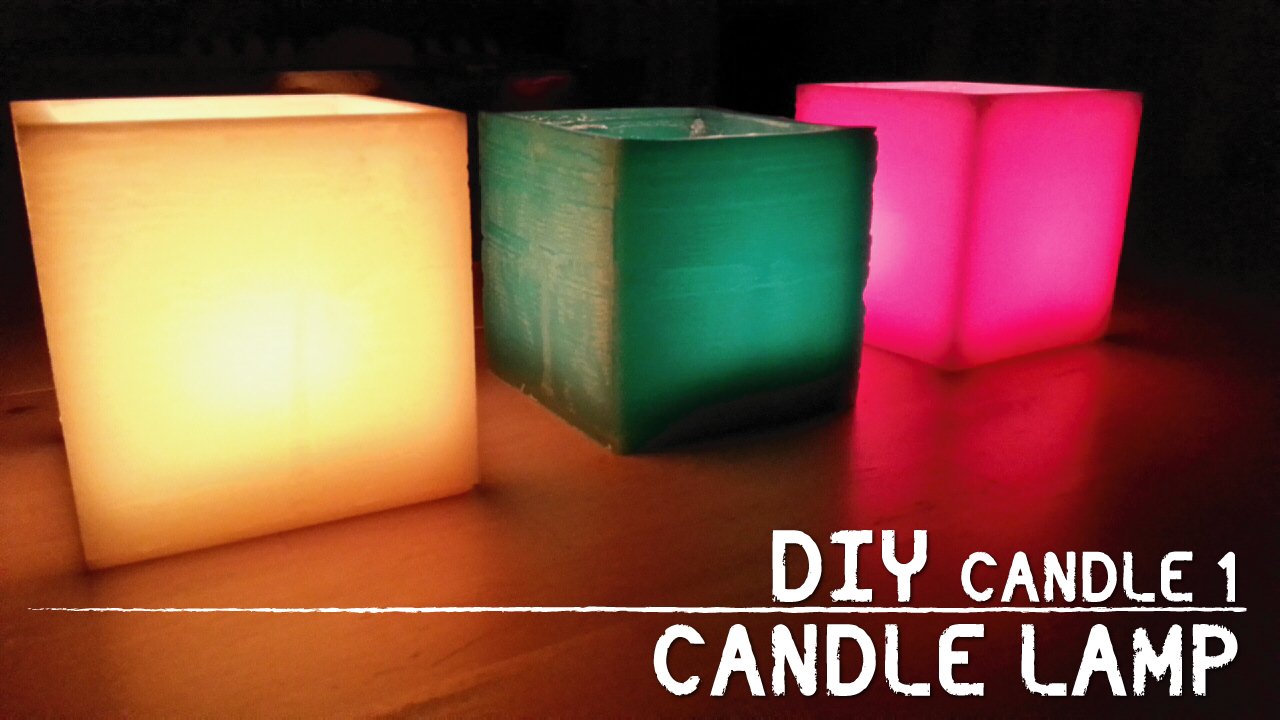
1. Introduction: Hi, everyone. My name is Carlo. If you love candle san craft, this class may be perfect for you. We will learn three different ways to make birthday candles all with materials that you may have at home. We will go a step by step from the ISS is candle to the final one where you will be able to create your own design in a condo on surprise your friends in your next birthday You may know me from class, Candace one where I teach you how to make a candle lamp. And if you took the class you already have a head start. Well, in this new class we will learn how to use paraffin in a completely different way. Appliance some knowledge from candles one, but also learning new ways to work the Sarafin so well. If you like the classes far, please click and roll and see you in next media the by
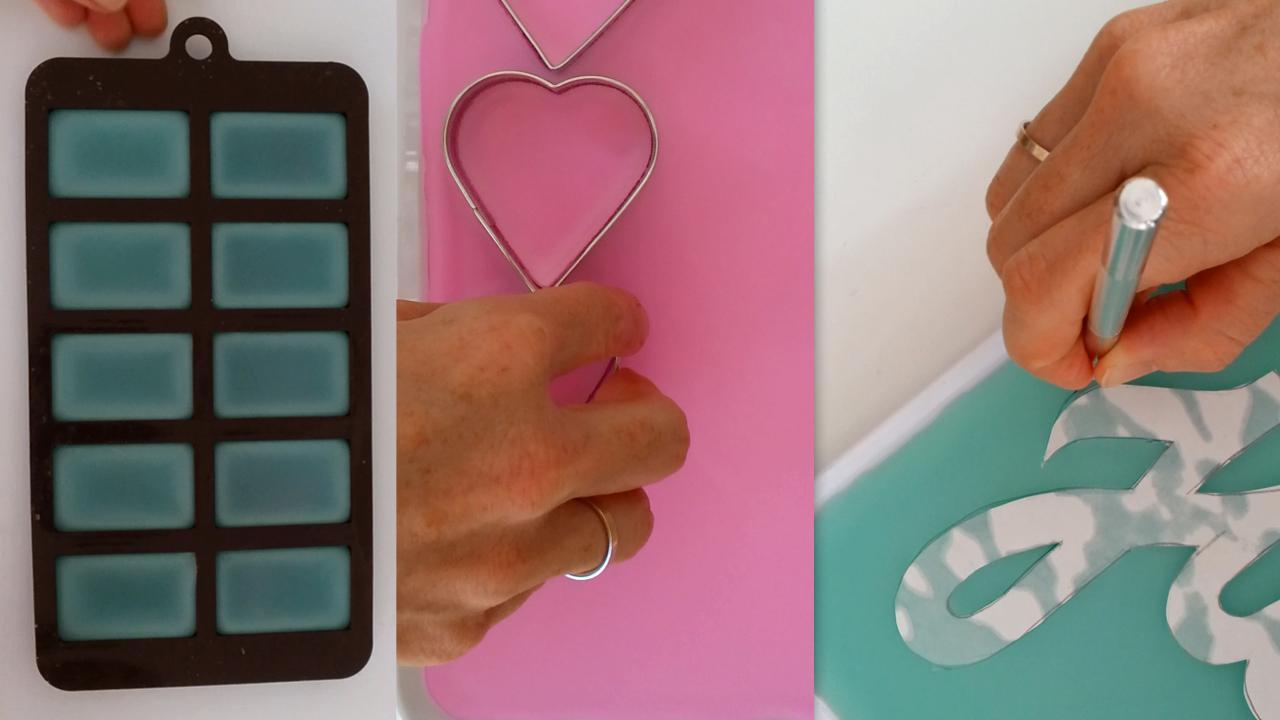
2. Silicon molds: Hello. In this video we are going to learn how to make candles with silicon malls. If we don't have a home, we combined them. For example, any bay they cost like $2 you can find them in cook Staff are also in ice. The ones for cook are more flexible on the ice, ones are less. But both of them worked with news. So first we have to apply in all the areas that the barfing is going to touch with some release agent. And if you don't have, you have to live with some foot coil. Also, as I teaching my first class, you can clean your pulse with this release agent never with water when we have everything, really, we have to prepare our week. We have to cut a threat on dreamers in the barfing already melt at least five times on between each time we have to let it get cold. You are going to see that the end you're about the threat is going to have at least three times its problems, that it's hot in the first time. When we have our week ready, we can start with our silk amount. If you want to use just one color, you just need to feel the silicon mold. Remember where you start, because this is the way that you are going to start preparing your candles when it's really cold. The perfect you're going to see is going to be a transparent on by the time you're going to see that skating a pack because leave some time between ones to the others and then start with two colors. We have to put on just a little bit off the school. Er, wait to date. When you start getting on my back, it's time to put the second color. In this case, I didn't way touch the stuff in the number, and it was going to give this mistaking the candle. You can carry it with a cutter for adding the second. So when we're going to a star making candles when it's complete apart, you're going to see that is still warm. Must use going to be flexible like a So now it's really complete a pack and we start with number one that is the one that we feel. First we have to put a stick in one side and then the week in the other side. Careful, and it's going to be very soft. Then. If you don't have a week opener, you can use another stick to make the whole for the week after you make the whole, you have to do with weak inside. Can you cut it? At least one finger wrong. And if you see they shoot us, mash it a little bit. You can correct this. No, and just leave it on a side to get it to get cold. We're going to make all of them. Just in the same way was he is very easy to correct because it's like a doll, He complained. It very, very. I recommend not to leave the silk among refill on go to other place because it takes a love . I don't know, 15 minutes to get a pack and you have to start doing it. If it's get a all cold, we won't be impossible for you to make these holes the kind of will break if you force it. I think it took me half an hour to make the condos and no counting the time that it takes the barfing to melt, I recommend to have your elements weak sisters on sticks next to you on something to repair and much all next to you because these steps are going to be very fast. We don't want them to get cold. I will. We have our surgical notes. Really? You come by letters, numbers or any form. You should think that you need to put a week on a stick. That's all about silicon moles. In next video, we're going to learn how to make others with a cook scatter.
3. Cookie Cutter: Hello. In this class, we're going to learn how to make birthday candles with a cookie cutter. So first we have to apply in an all trey some release agent. If we don't have a really statement, you can apply some cocoa. This tray is a plastic one on all one you can use any other material. It has to be at least one finger deep. So when we have our already melt way, have to prepare. The weeks is just the same process that I showed in the video before. We have two nurses, many times, country until with triple the volume. Why we do these? Because we want to protect our week from water for some. Okay, So when we have our weeks ready, we leave it in us on a side and then we need to do is to throat the parking already melt in the trade. That we already we have to do is very careful. We can put as much as we want. It depends on the thickness that we want our candles. Now we see that barfing is transparent. I think we have to wait on the side. And please don't go away until the perfect gets a back in the next video. I am going to show you a trick to know when the briefing's ready. So when we see that's our parking, it's a park. We can start cutting our try to position the molds, using the carving the best you can. I like to cut all the candles are as I can on then to take the Sarafin left all in one, I would show you. I want to tell you that for me, the best molds are the metal ones because they're very sharp plastic ones hasn't a a image there is not as sharp as metal ones. So this is why I use metal. But both of them we were perfect. So aside, tell you before I like to take all the extra sarafin on site and then just work with please remember that all the powerful that way have left. We can melt it again and use it for a new Campbell. So I would show you how to make one of these candles just us the same Silicon molds way have to put the stick on the bottom and then the week on the other side. If you have a weak opener, you can use thes or just you said good stick to make the whole and then cut to a week at least one finger along. So we have our first compliment, Arabi. I will fast forward the video to show you the complete process, but very, very quickly. We have to do all this process as fast as we can, because if the party gets cold, we won't be able to make the holes without breaking it. It's very, very quick to make at least nine or turn candles. Oh, I think it took me 10 minutes to make them. And the result is very, very nice. I wish you and then how looks a cake with all this birthday?
4. Paper Design Candle: Hello. In this class, we're going to learn how to make a free this time for a first birthday candle. This is going to be so much fun because you can great almost anything you want. I suggest to think in the personal is going to blow the candle on what he or she likes the most. Then go to Pinterest or Internet and look for some inspiration. So then you have to start to make your sketch in a paper. I decided to make a name, so I'm going to show you with this example what you need to take care of. First, you have to think about the bigness off the letters off or yearly sign. You have to make it at least one finger thickness. So the kind of wont break, then the process of cutting is going to be very fast. So we have to decide where we're going to put the good sticks on how many of them. For example, medicine is horizontal, and I think I need to sticks. So to support the weight off the combo Third, we need to think how many weeks we're going to boot and where we're going to put them. A good trick about these is to make a circle. So you have to give some space between one week to the other. I think, for example, four weeks. We were perfect on these on just at the end, where we need to cut our designs, hold around the drop. The first part off this process is going to be similar from the video that we have before. So we have to puts and release agent toe all this her face from the all trader we are going to use. And if we don't have a release agent, just you can use a coil. Then we have to prepare the weeks and finally we have to drop. The sarafin already melt in the train. We have to wait until they get so back. And please don't go away because it takes fire 10 minutes. It depends on the temperature of your house. When we see that the paraffin is already a park, we can start putting very, very soft our design. I like to put it in the middle because he's going to be easier to cut it. Don't worry about the rest of material because we can melt it again. I used for a new combo, and now I'm going to show you a trick about how to know when the paraffin is ready to start cutting. When you make a cut with the cutter and it's not bloody, it's just a perfect clean cut. It's time to start using it. I mean, no juicy, perfect cut. So it's going to be very, very easy because the paraffin is so soft on the paper is going to God you I just use a regular paper. I like to cut all the design around very carefully. I think it took me 10 minutes to start cutting on just to finish the combo. 10 minutes. I did it. So you cut all around the design, and then the best thing is to take away the pieces that we don't need, just the way I'm showing, making it in little pieces. I'm taking it. It breaks because the part of Penis are still warm, but the war you can take it. And where did it longer two away. When you have a little detained details like the E sometimes is better to use a stick instead of the cutter to make these little holes. Now you have to take care off the little details. And then we have to separate the completely sign. Help yourself with the cutter. Make sure it's all separate from detail from three. We have to put our weeks. They're good sticks. Remember that when you leave the design to get cold, it's going to remain in this position. So please take care of the sticks. You have to make them. It's strange on that, so you have your own design company.
5. Materials: Hello. In this class, we're going to talk about materials in the left. You can see para friend that I buy on. If you don't have a home you can use on some old candles, you just need to take the week before or after you melt. If you melted within a week, the week is going to be underwater off your job. About the week they I use 100% coltan on the left is just a threat that I bought on. I use one filament on the right. This is some cook a threat that you can divide and use just one filament like I'm showing in the video. Very, very. Okay. On about the release agent, you can buy like I do, or you can use some coke oil. Any kind will work. Don't worry on. The last thing that we need is our stick. Any stick work. And that's all
6. Good Bye: Well, this is my last video on. I go like to tell you some stuff before I say goodbye. I didn't explain how to melt parf in or had cold around or about the release agent on week on types of parking because I explained all these in my first class about how to make a candle lamp on if you didn't take it, Maybe you need to take this first class before this one or at least see the third bdo about general information. I would like to give you some safety recommendations before I go. The powerful lights at 100 C or 212 degrees for a hate. Please always use double boy system to mail. Also, be careful with the hot barfing on Don't patches A. Well, I encouraged you to make your own purchase and share it with your classmates in the gallery on. Also, if you like the class, please give me at time up. Be free to ask me anything out in the discussion section and I will answer as soon as possible. I hope you enjoy the class and see you in my next one
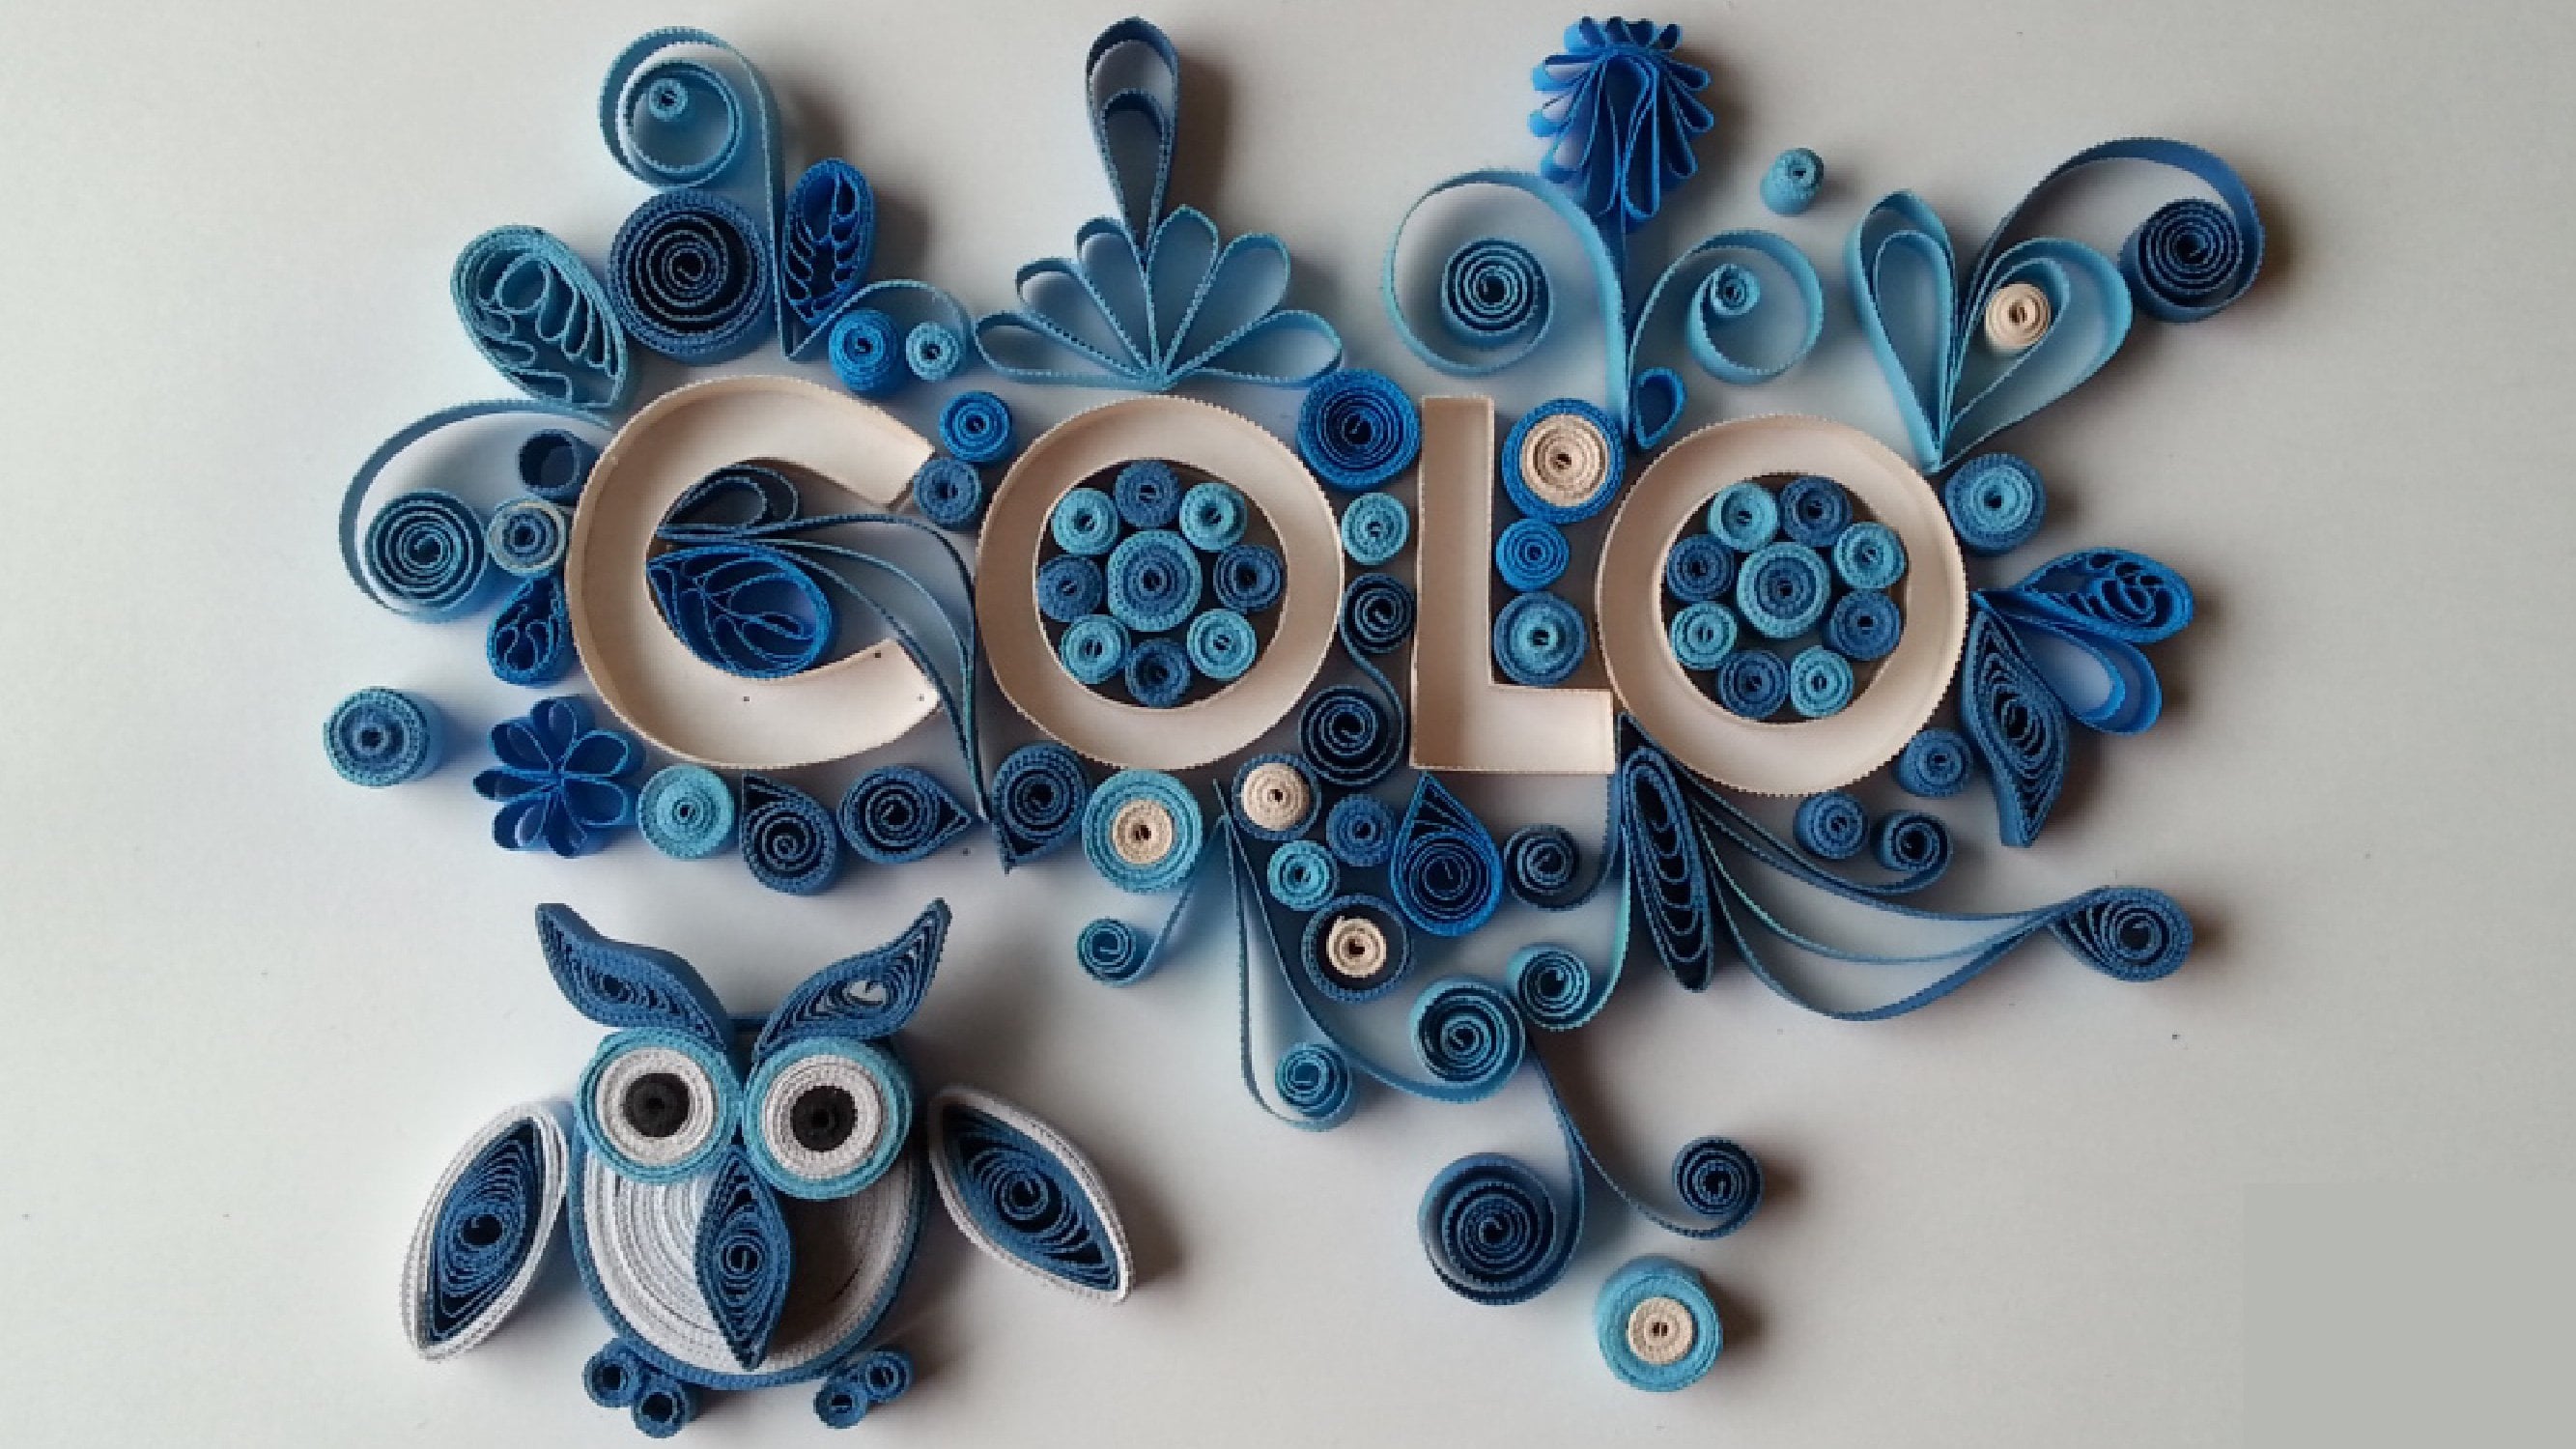
 Colo Alonso, Industrial Designer + Wife + Mother